Hello all.
Unusual start the post from thank you. First of all, I would like to thank my friend
Natalii , which using a gel pen she breathed life into this piece of electronics

. Thanks are also due to colleague Radek, who served good advice during the design of the system. I also thank my mother, who negotiated good prices with suppliers

. It is also worth mentioning Piotr's colleague, who at the very early design stage has allocated one of his disks for grinding
.
And now about the project. The inspiration for this device was
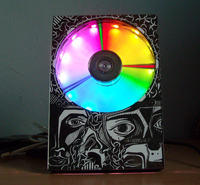
video . I decided to recreate such a clock in my own workshop, introducing several improvements and placing a special emphasis on the aesthetics of the whole.
 Principle of operation
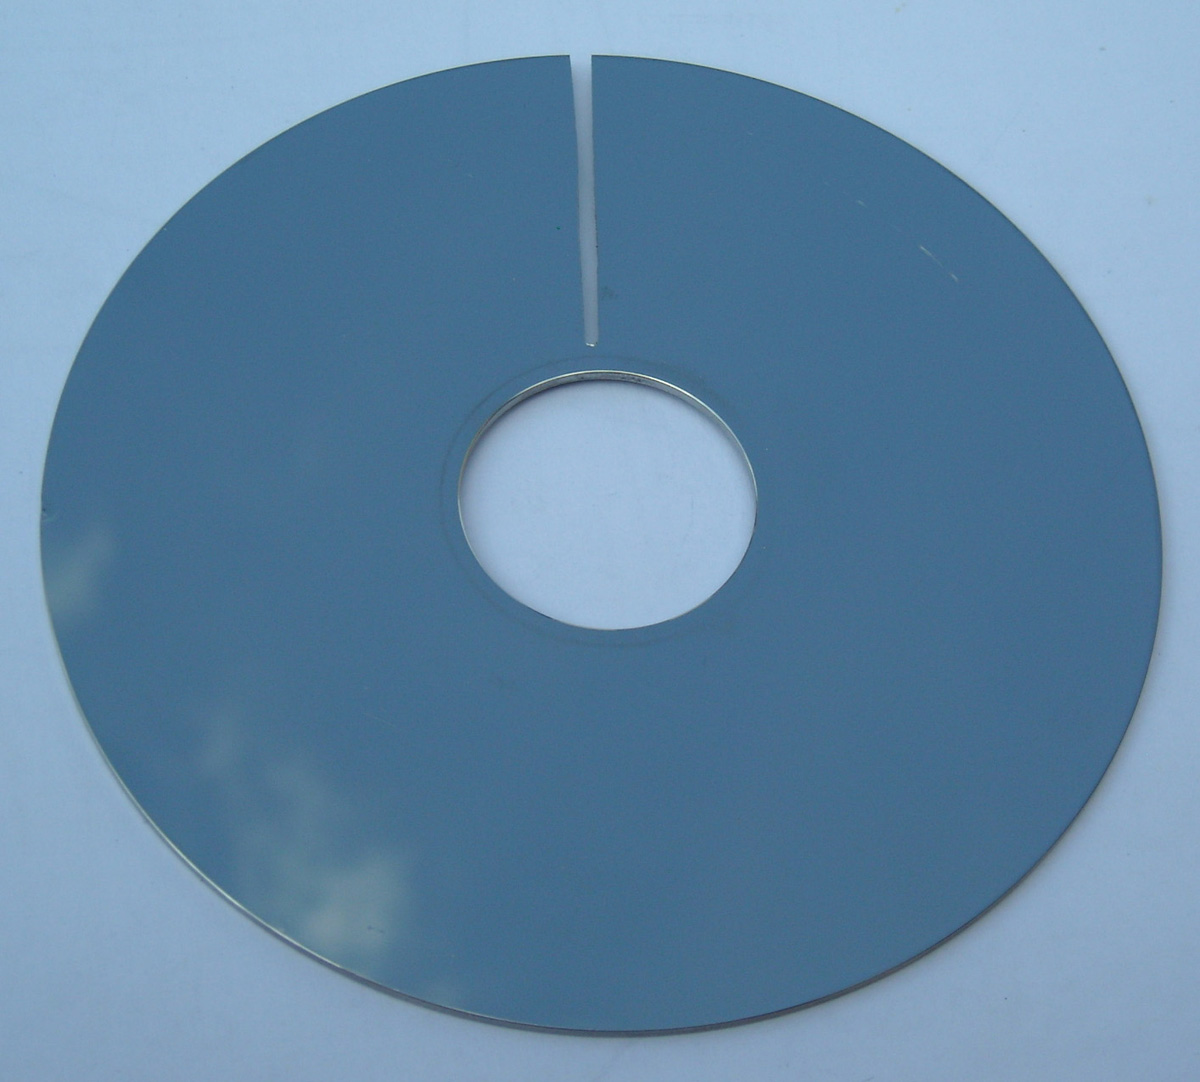
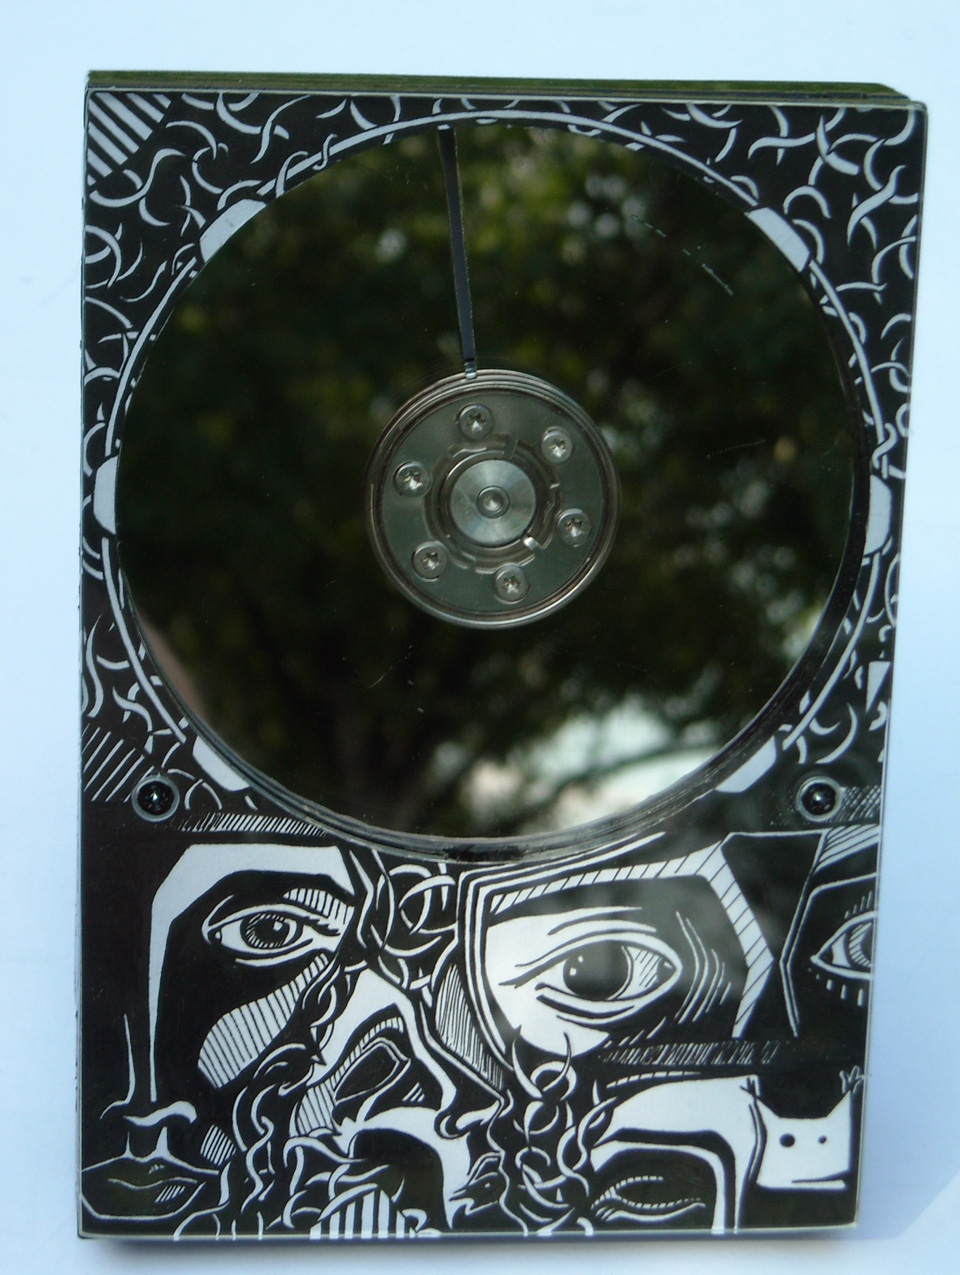
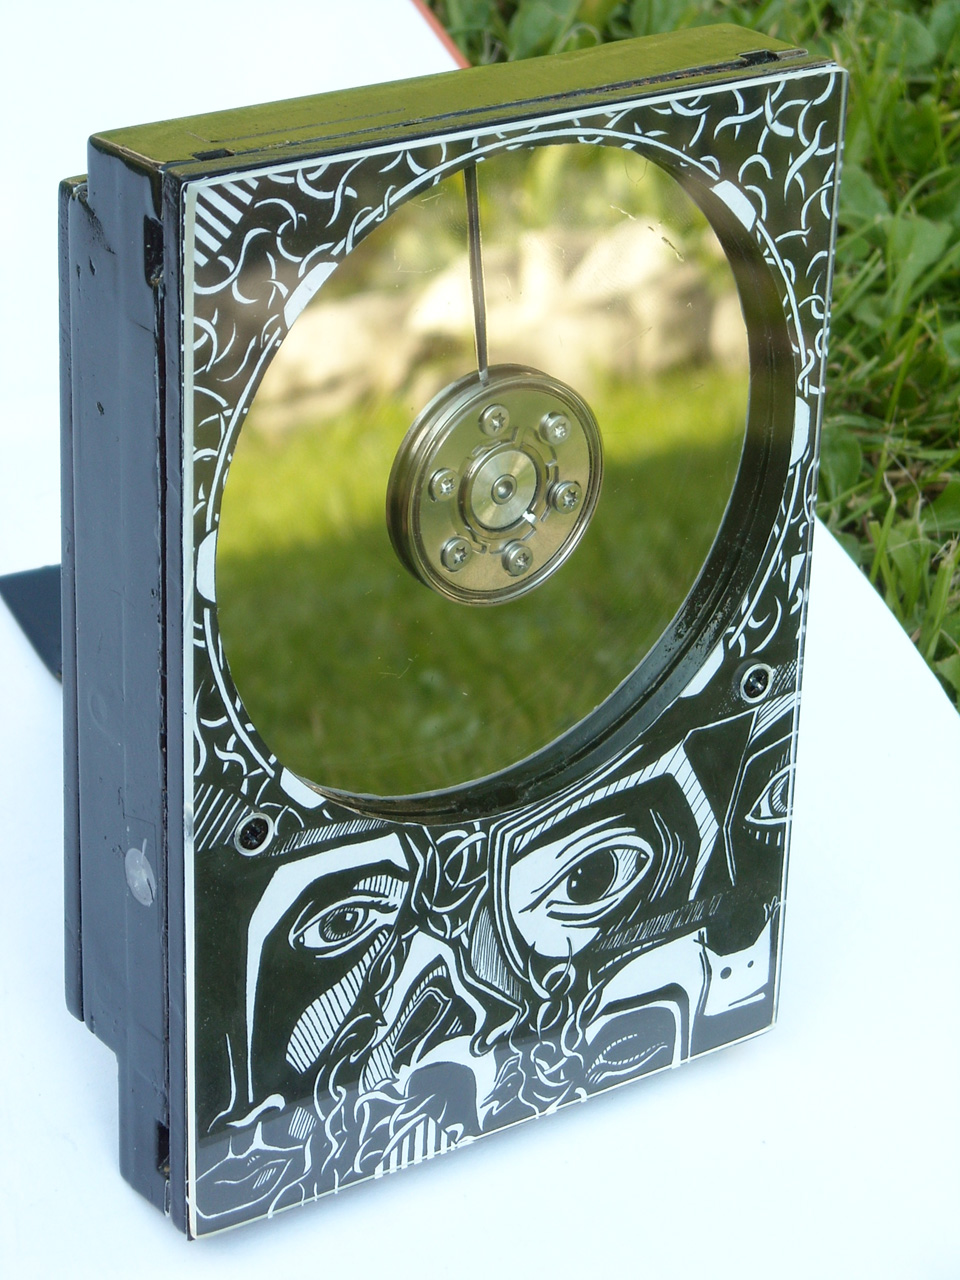
In short, the principle of operation is simple - the rotating plate has a cut-out slot. Under the plate there are RGB LEDs, which act as an even backlight. Properly modulated diode light gives the effect shown in the photograph.
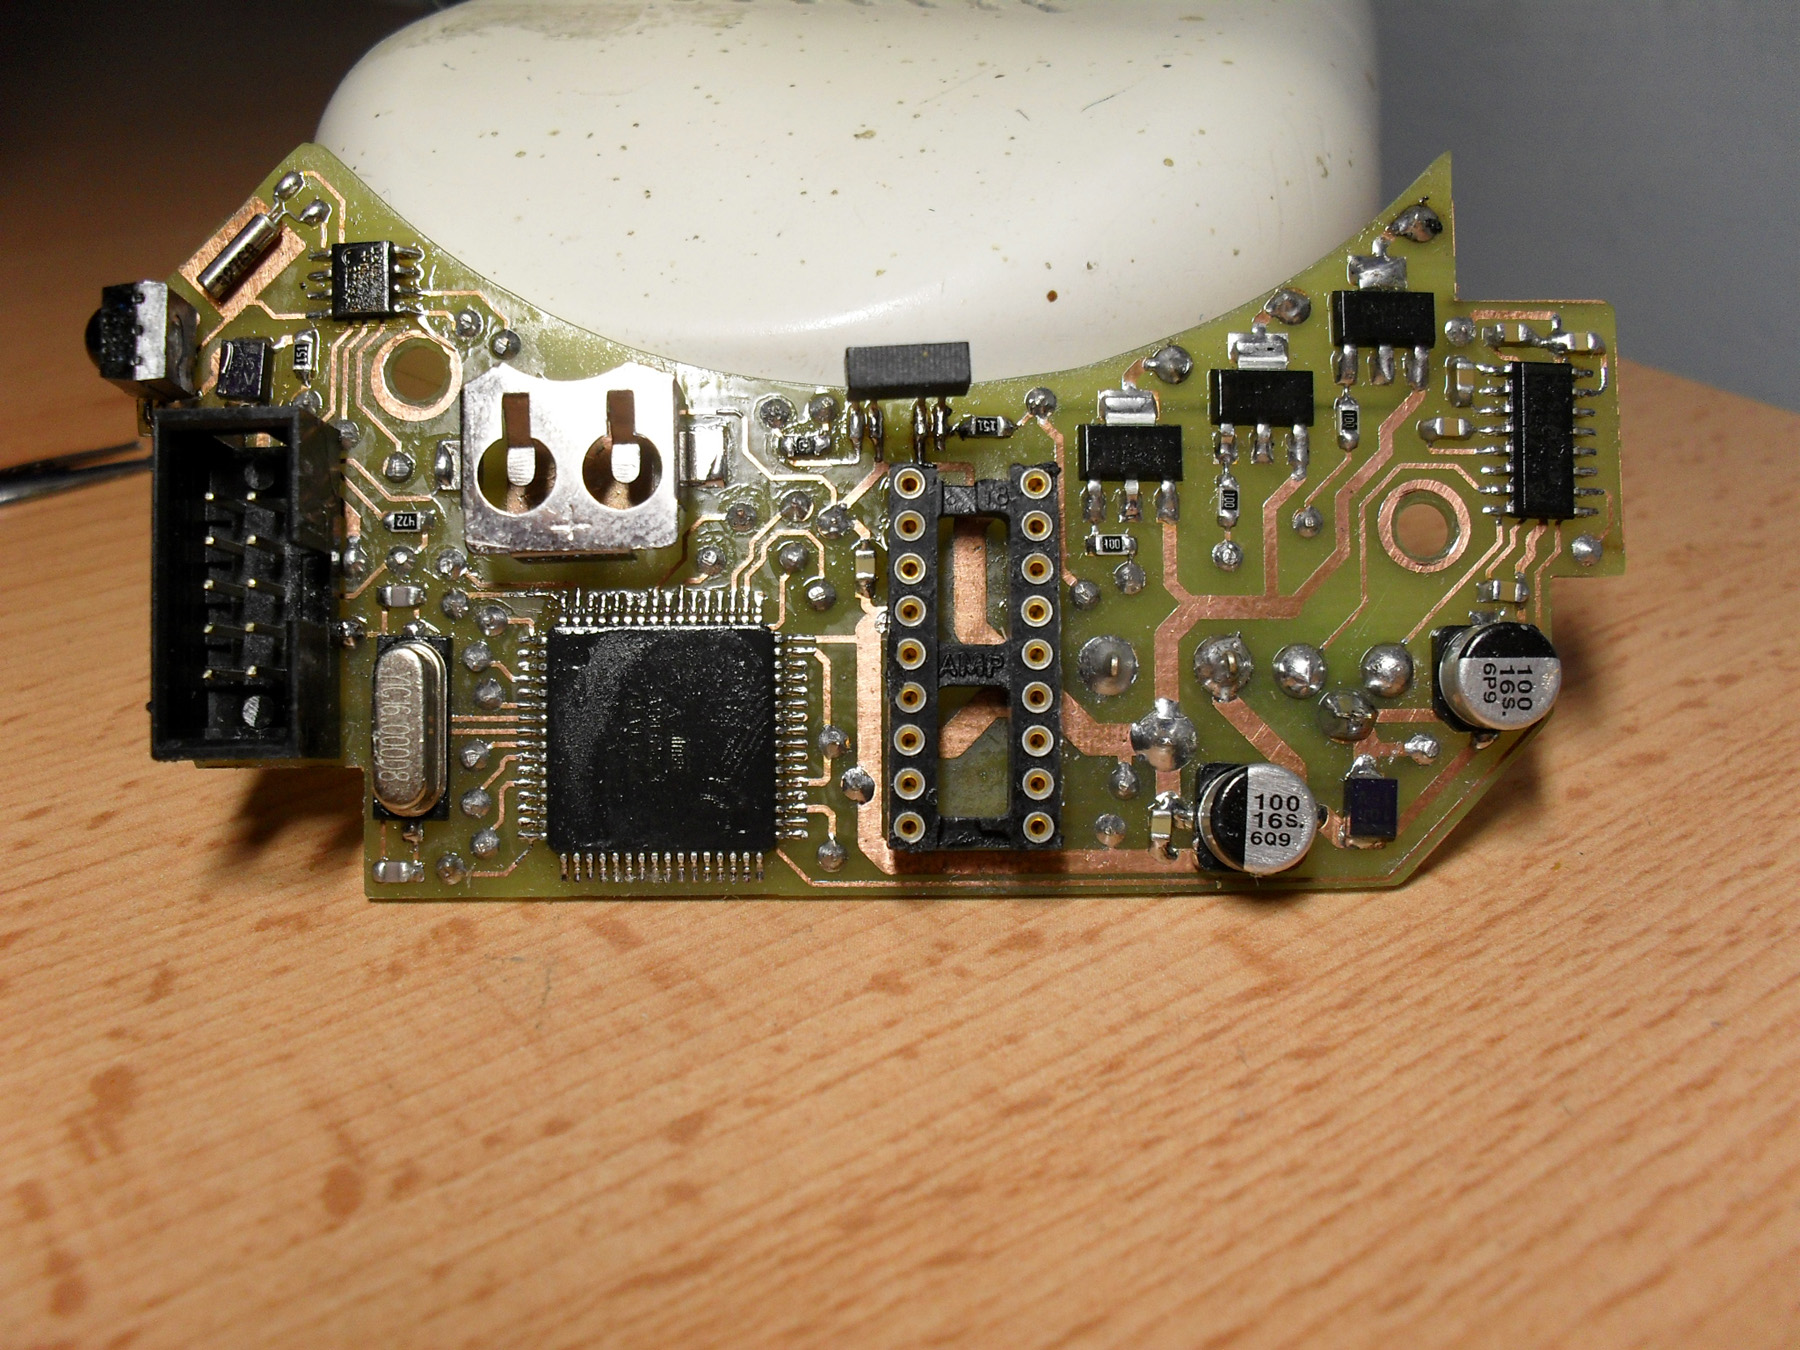
Mainboard
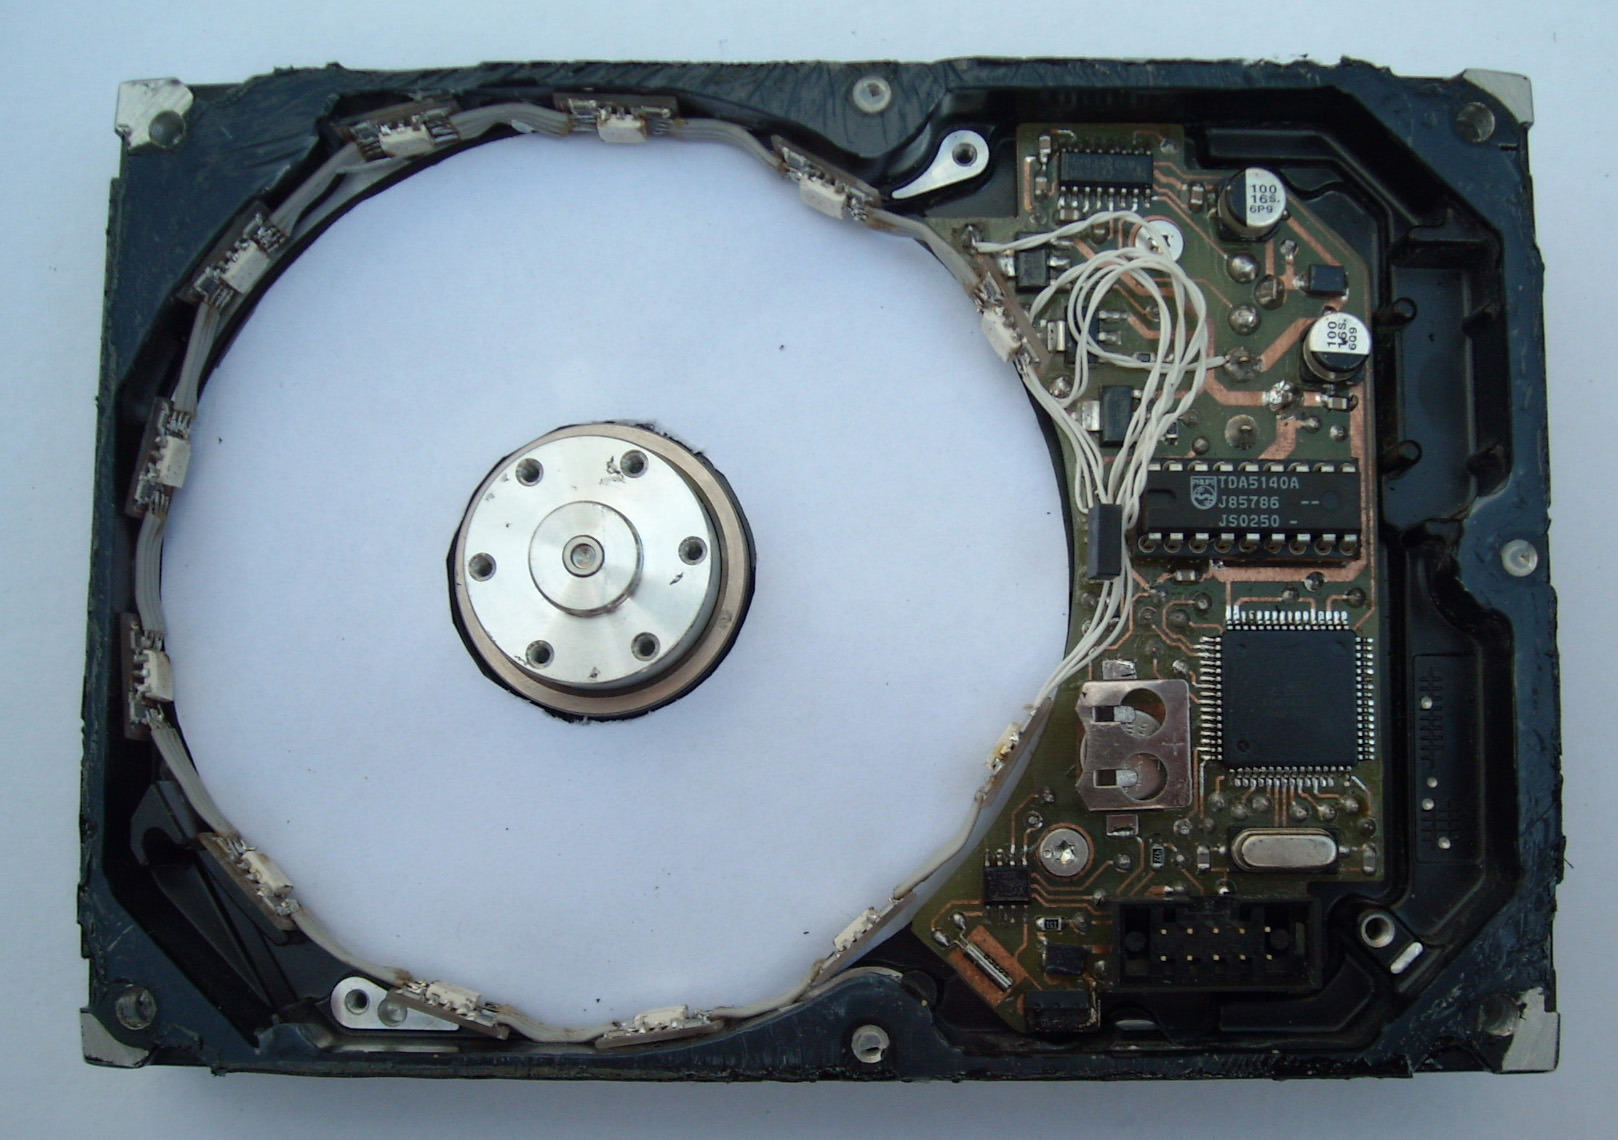
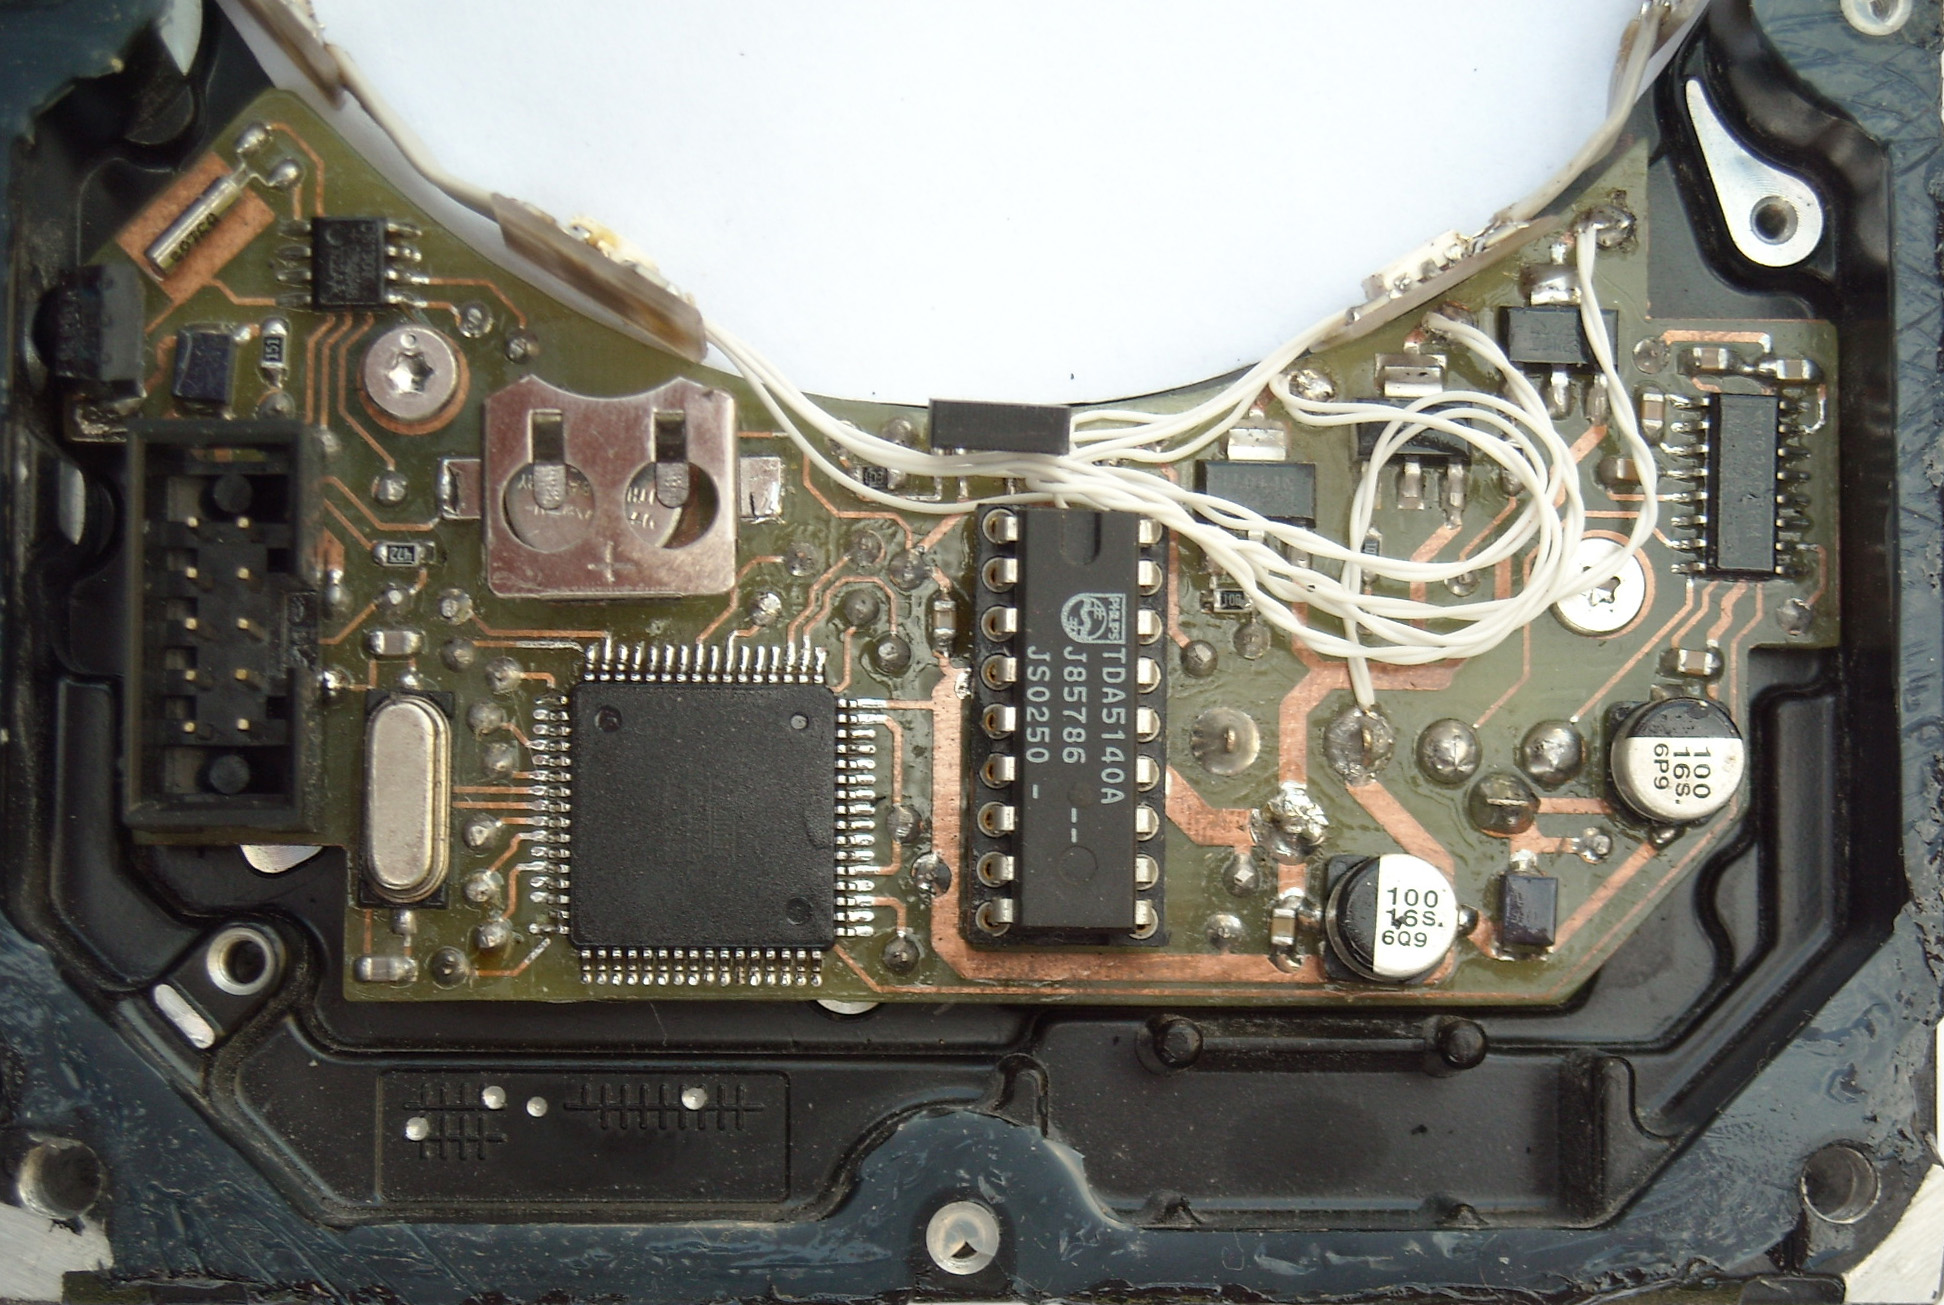
The controller was based on the ATMEGA128 microcontroller. I will immediately anticipate the malcontent forum questions, saying that the program does not take up to 10% of the flash memory. However, I needed quite a large number of peripherals to not exercise too much with the application (all written in C). As a real-time clock, I used the DS1307 chip. The engine is controlled by a dedicated TDA5140A controller working in a standard configuration with datasheet. The device is equipped with an RS232 interface, through which, after putting everything together, you can load new software using the bootloader
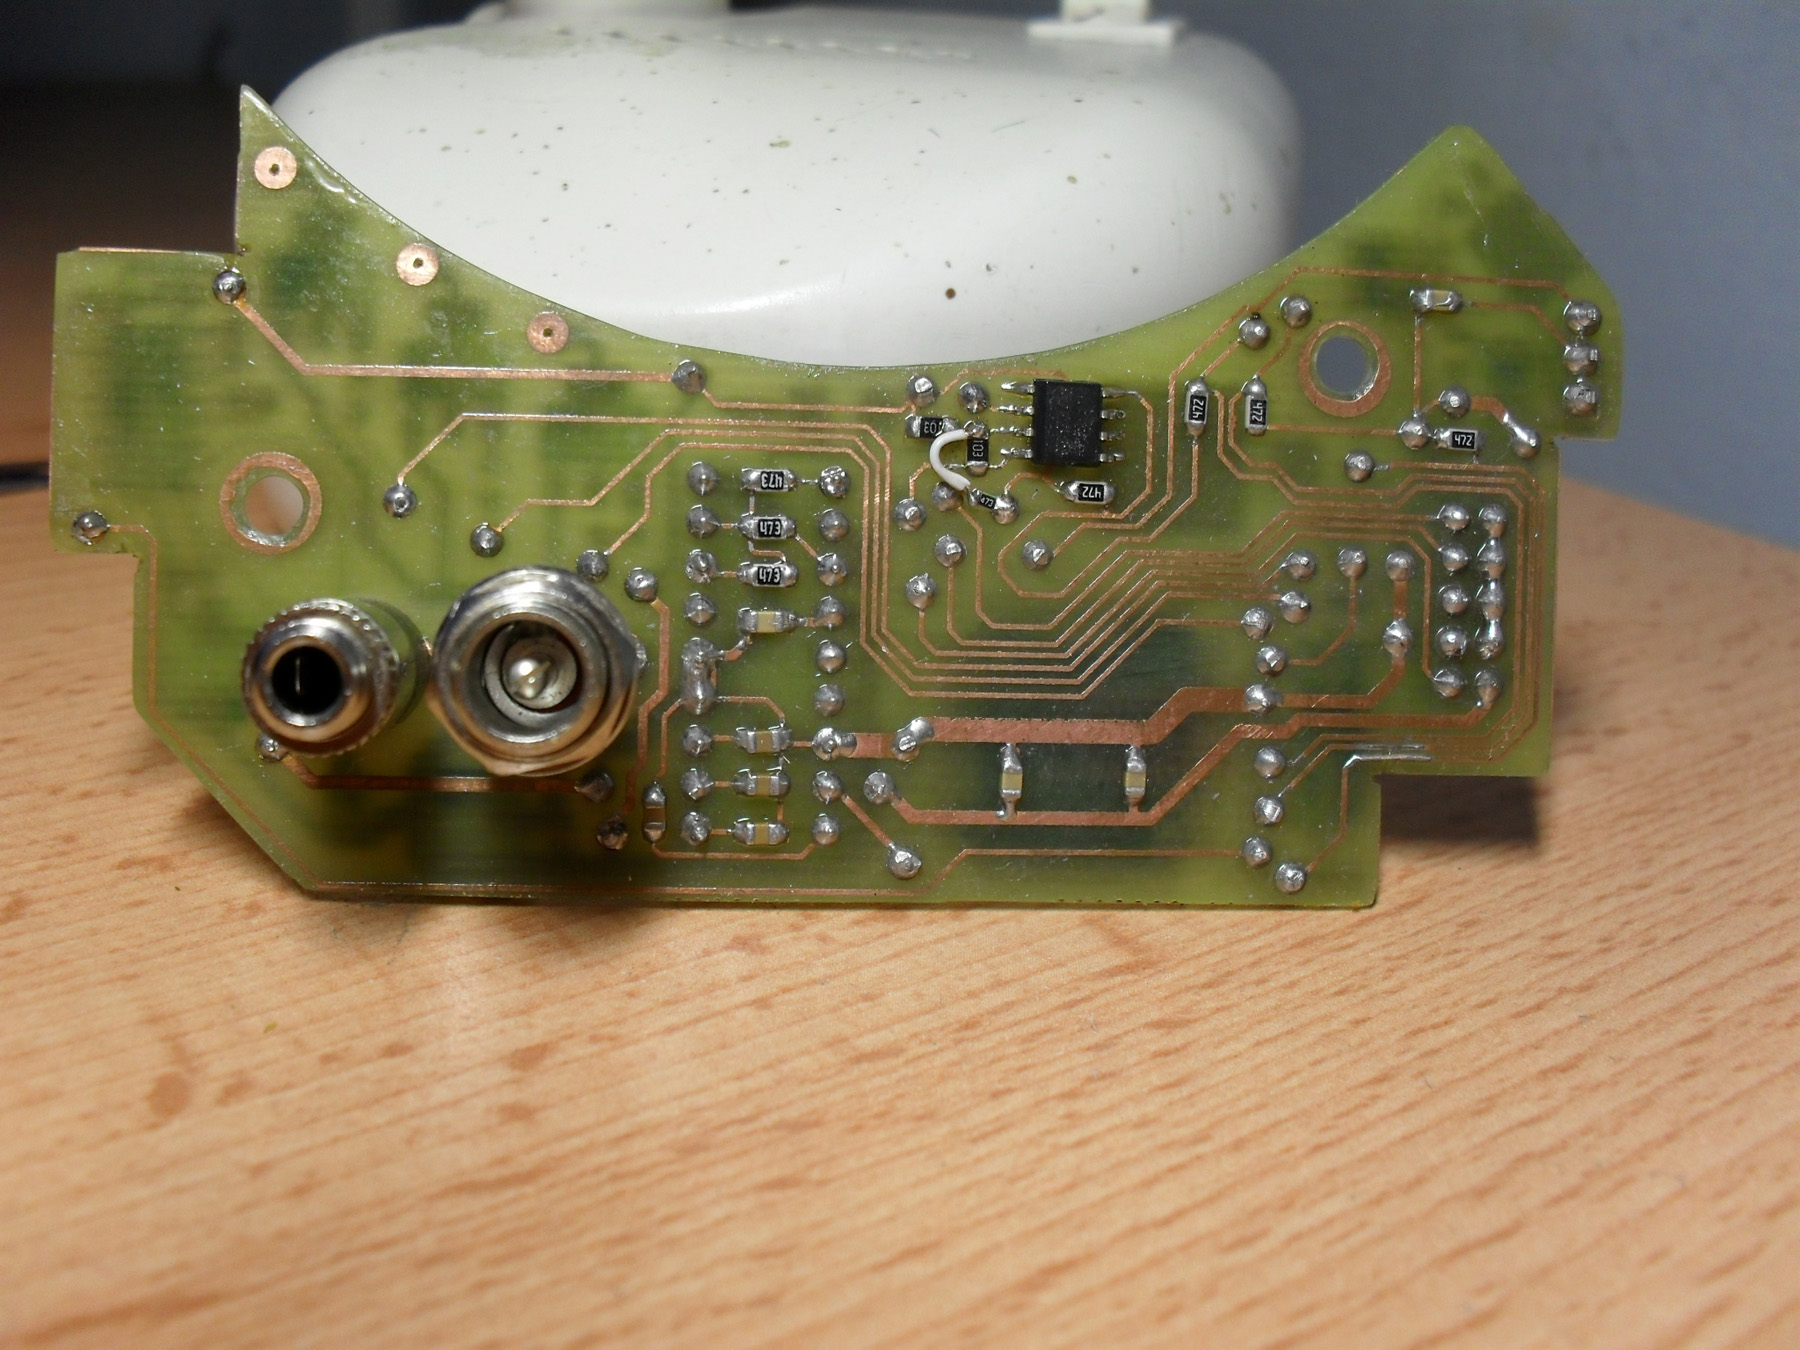
MegaLoad . The control is performed using a small universal remote control operating in the RC5 standard. PCB itself made by photochemical method, irradiated by the "on envelope" method.

 Backlight
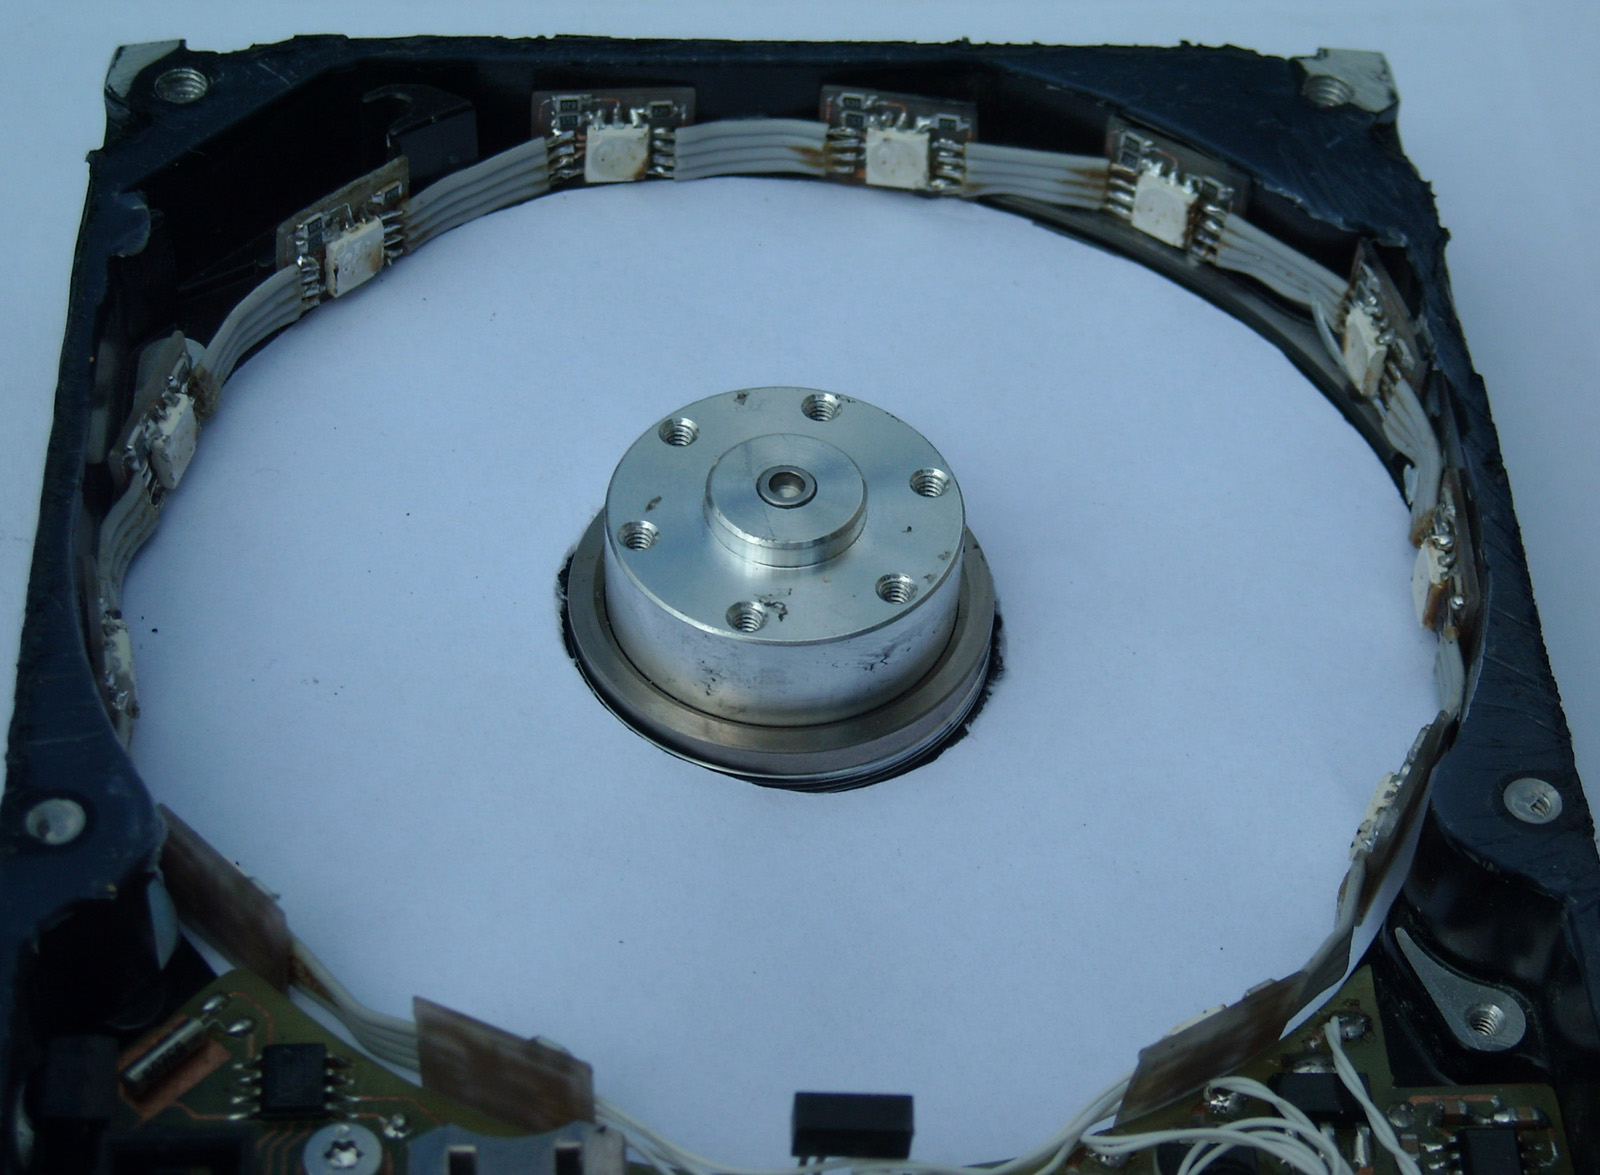
As a backlight I used relatively bright tri-color SMD diodes. I placed the diodes on small tiles that I combined into a chain. In addition, under the plate I placed a ring made of white paper that reflects light well.

 Synchronization
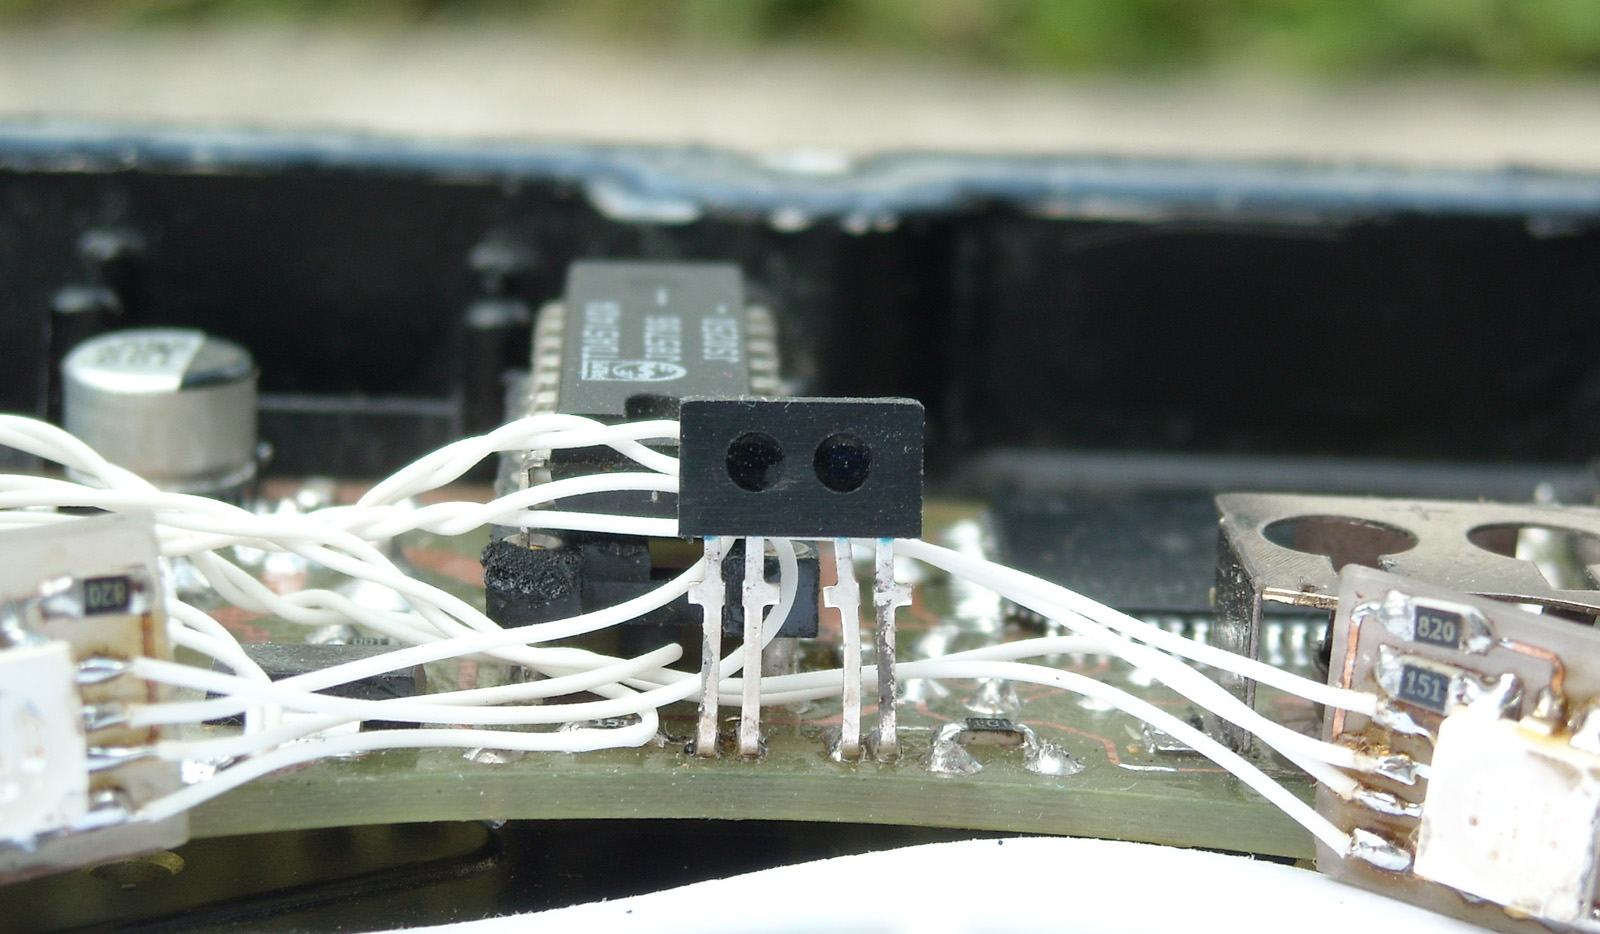
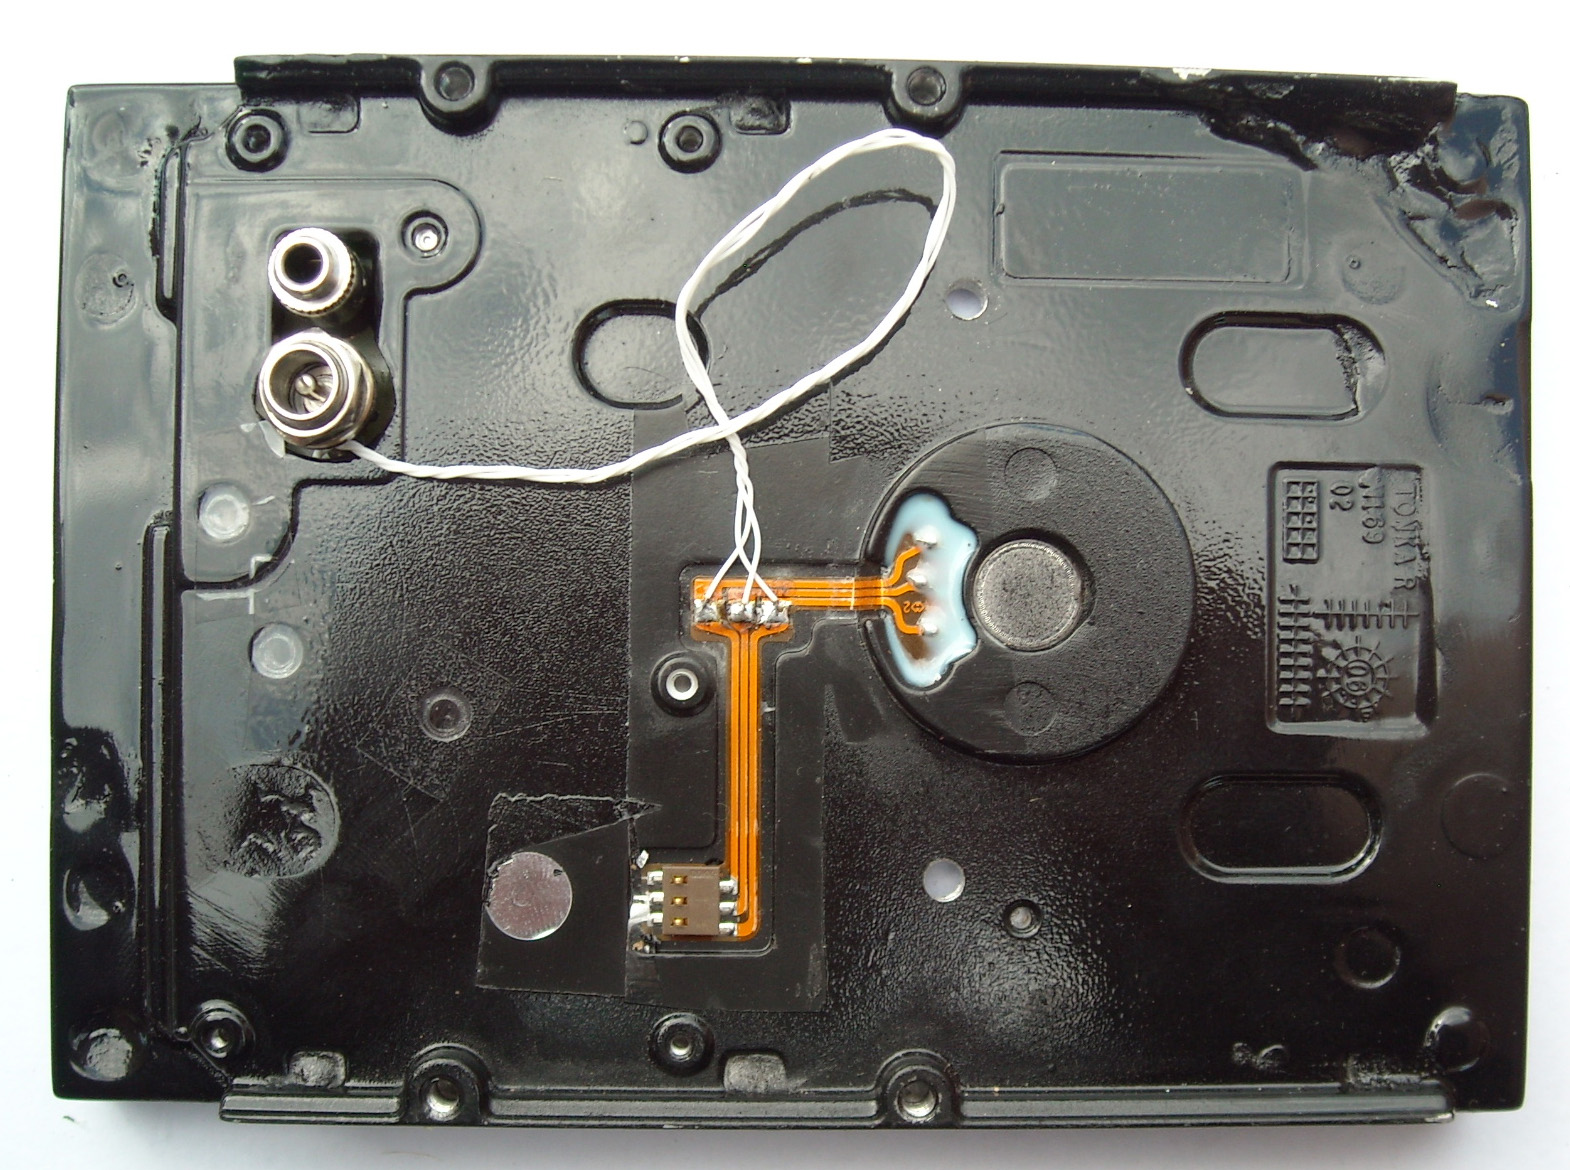
Synchronization provides the system with a reflection sensor. In contrast to the slotted sensor, it can be positioned opposite the edge of the plate, thanks to which it completely hides in the casing. The impulses from the sensor were not very clear, so before being fed to the uC they are shaped by a comparator with hysteresis.
 Housing
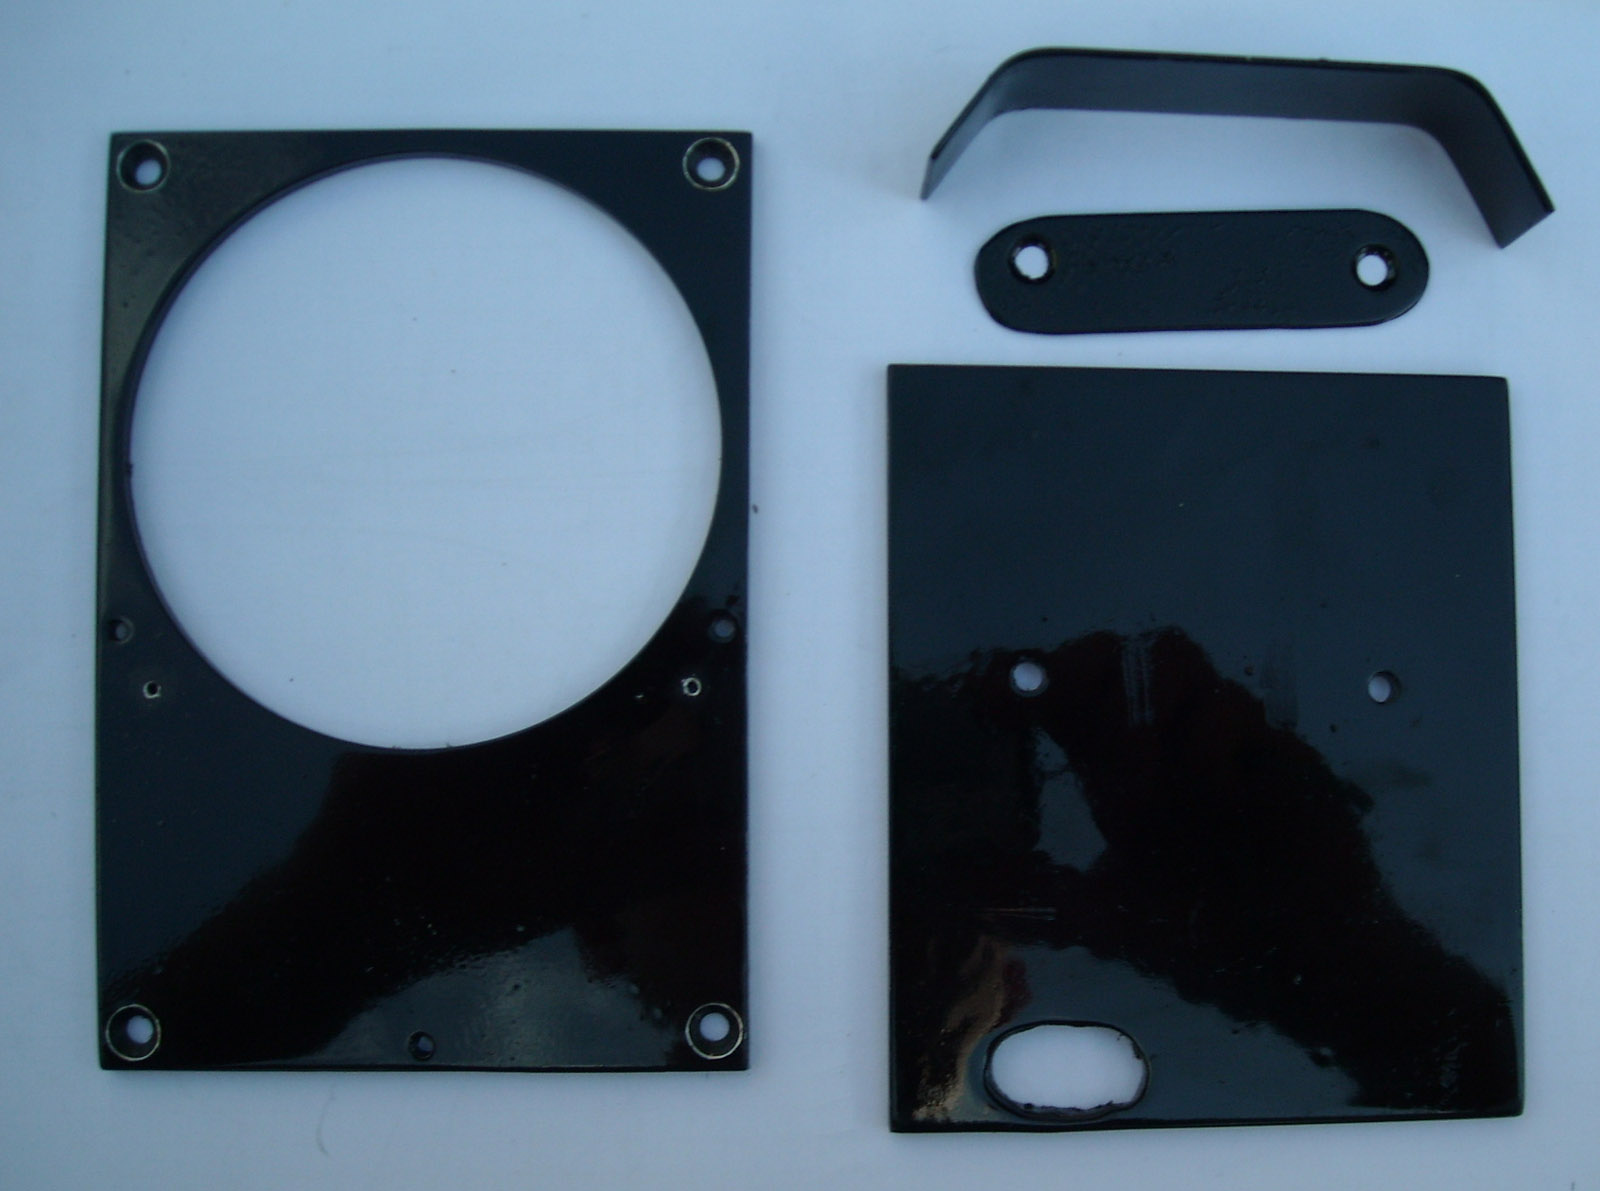
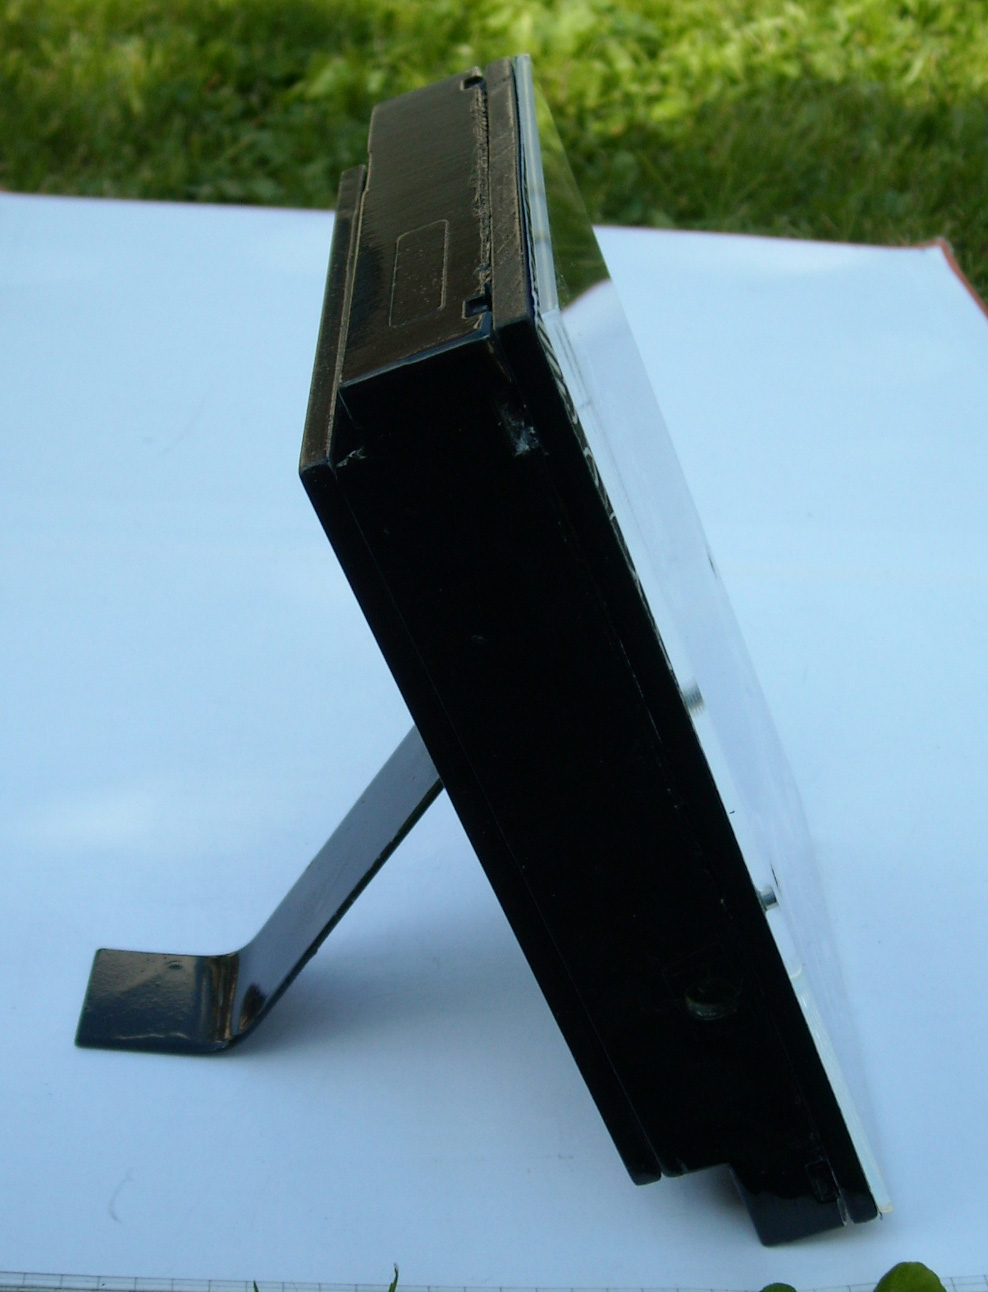
The housing was of course original from the disc. However, I had to make some additional masking elements. I made them from plastic, whose commercial name is reynobond. Everything was painted with black spray. Leading head made of two-millimeter plexiglass. An artwork made by Natalia, mentioned in the introduction, was placed under the plexus
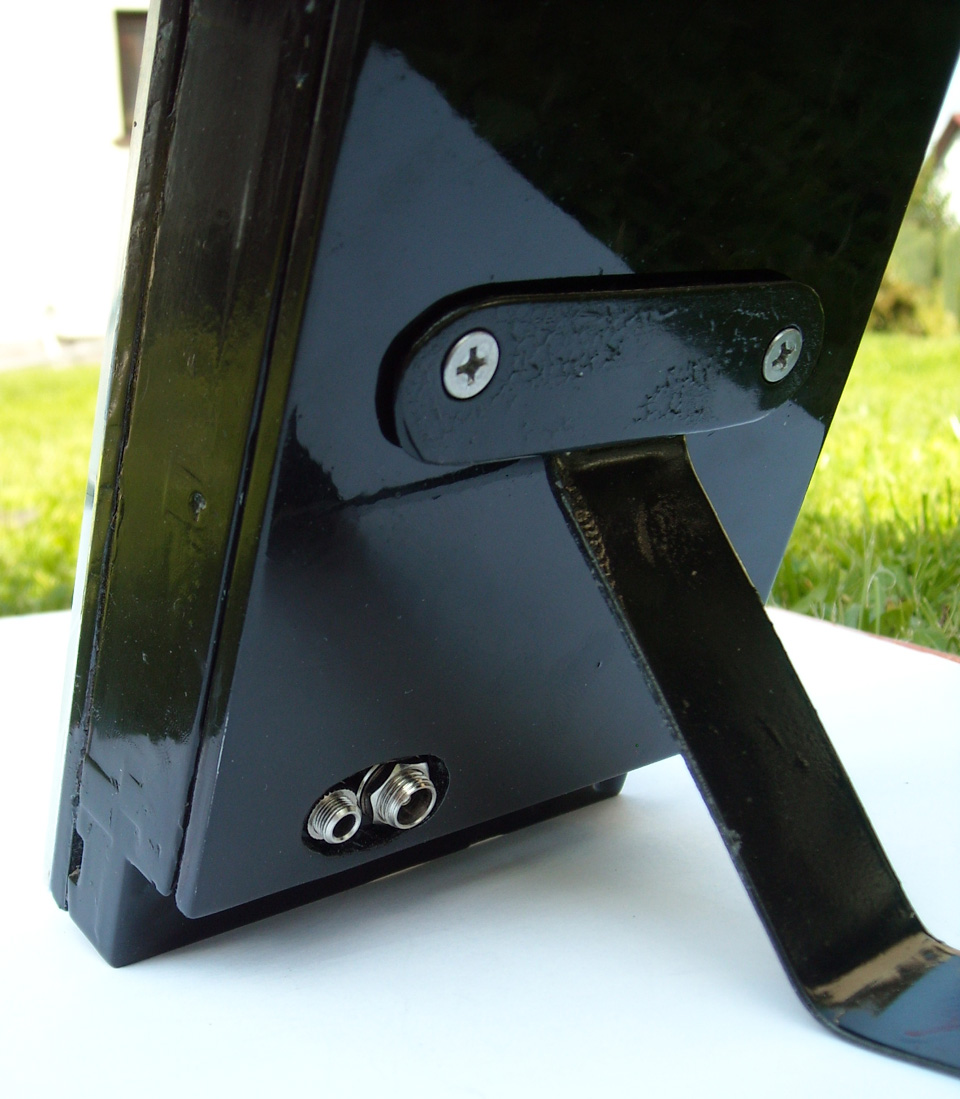
. The power and programming sockets were placed on the back of the housing. The hole from the infrared receiver was drilled from the side to not break the front panel, but the system reacts without any problem to the pilot's commands. Below are some additional photos of the clock.


I am open to any questions and encourage you to discussions
.
You can find an article about your clock here:
http://hackaday.com/2009/09/07/hard-drive-rgb-clock/
============= ==== Added 19/02/2019 ====================
Hi everyone!
After almost 10 years, I felt like wanting to restart my watch and make one change. As with the tools from that era it is already a bit hard and you had to do a lot of hard work, to restart the project I will add another file
BOOTLOAD.hex being the right bootloader for this project (communication on UART1, baud 38400)
Below I also paste the code of a simple script that emulates the operation of the MegaLoad program, which can be used to upload the final application.
Skrypt testowany był na Pythonie 3.6.4 i wymaga zainstalowania dodatkowych pakietów np. poprzez wywołanie komendy:
>>> python -m pip install pyserial bincopy
Pozdrawiam wszystkich,
mb1988


Comments
A great idea admire :) - what are the costs of the project? - have you spent time on the implementation? - a cut in the plate was cut out with something ??? Regards ((((((((((MG)))))))))) ... [Read more]
The project is circulating somewhere on the Internet, give the page you used. I do not see the weight on the plate, there are probably high vibrations and noise. [Read more]
@ mggarbi Not counting the disk, but including other elements, plexiglass, impulse power supply and shipments, the construction amounted to over PLN 150. I designed the device over a month and a... [Read more]
A piece of good work, and the effect is amazing, probably the audience falls off their jaws. The only thing I can suggest is to change the plate to another with a correctly made gap, this unfortunately... [Read more]
Something beautiful. That's what I've been waiting for. :) About two months ago, the project with the movie you were modeling was in DIY. Immediately I wanted to make such a clock but because of the... [Read more]
The effect is really first-class !!! Miracle, honey :) Great esteem! How much electricity is it pulling? [Read more]
The most currents are drawn by the diodes and the motor, and in total it is about 1A at 5V. [Read more]
And is this TDA1540 that you used to make the tacho exit? [Read more]
Breathing down :D My question is how you realized the time display, I mean, how does it work with this slit in the plate? How many of these LEDs are there under this plate, and are they arranged... [Read more]
Yes, there is. But the specifications show that it will not give me the information I want. In the fact that the project needs exactly one interrupt per turn. In addition, the datasheet also speaks of... [Read more]
Is the poor drive of WD Caviar? Cool design, but not for me to do, the possibilities are many, creativity pays PLN.150 the cost of a drive, in my opinion, it's not much, and the effect is ... I'm ador... [Read more]
It looks amazing but a bit I do not understand the principle of operation. [Read more]
The breath is breathtaking. My opinion is well made and very aesthetically pleasing. I guess I'll even be tempted to have such a watch as long as I find some hard disk ... [Read more]
Congratulations. I really liked your design. I think that if you took care of such wonders in your free time, there would be a lot of clients. And as for the noise - if you could make a sealed housing,... [Read more]
:D For me, a bomb project, a thundering effect. Congratulations. I'm just wondering about doing this one. :D but I have two seemingly stupid questions for some. :D 1. Is any hard disk suitable... [Read more]
Hello, I am new here. I would like to make such a watch myself because I have a broken disk but I have a problem similar to my colleague above ... where to get this motherboard ... [Read more]
I can say it, because it did not reach everyone, that as you can see the main PCB was designed and made by the author himself, in addition it is designed specifically for this particular hard disk enclosure,... [Read more]
I will answer the questions of fellow MG550 and creator - Any disc will be suitable for such a construction, as long as it has an efficient engine I think that the speed does not make a difference. And... [Read more]
1. Where do such tiles do? 2. mb1988 could you throw the project of this tile? In this project you have only plexiglass to download. [Read more]