WS-04H1 aka Sonoff POW R2 - energy measurement and relay (ESP8266 and CSE7759B)
 .
.
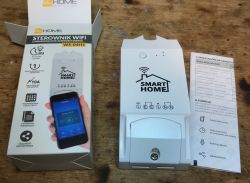
Here is another product which turned out to be a repainted relay from Sonoff - the WS-04H1 from elHome. Here I show its interior and the procedure for changing the ESP8266 firmware to Tasmota, for example. I bought the WS-04H1 for 12$ along with similar products in the series when I still thought it was a completely separate product family. I have already shown a few other gadgets from it:
[ESP8285] WS-05H1 or Sonoff Dual R2 clone - firmware change, stencil, Tasmota .
Interior and Tasmota upload on elHome WS-03H1 (Sonoff clone TH10/16 Ver 2.1) .
And now and it's time for the WS-04H1, so here we go.
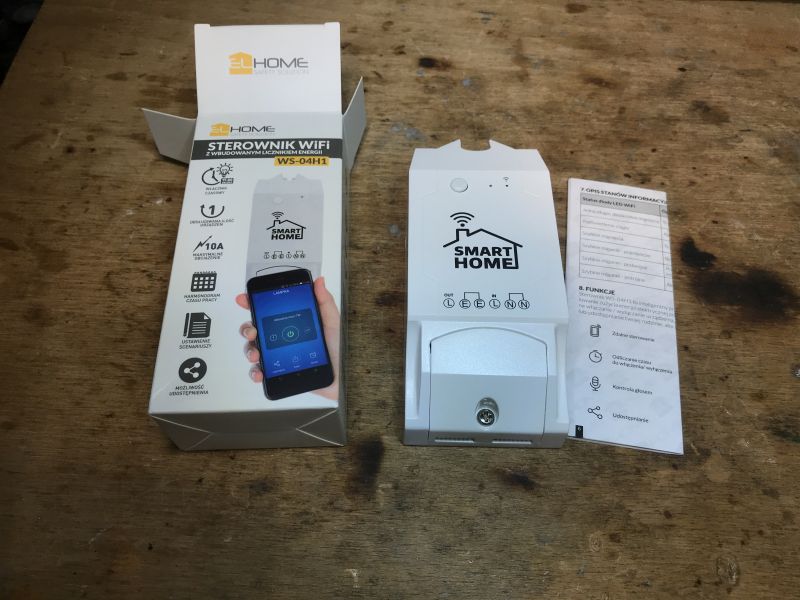
The packaging suggests nothing that this could be a Sonoff:
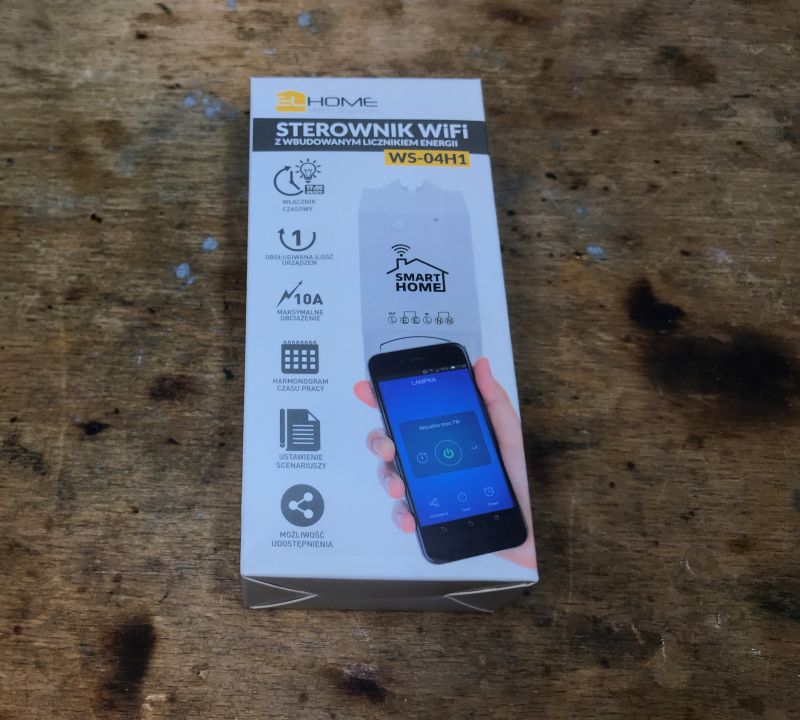
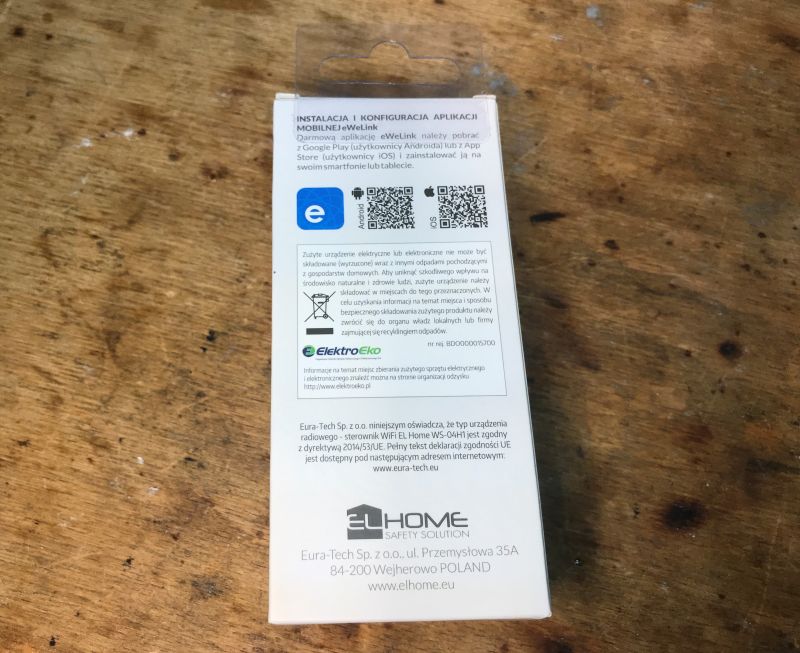
 .
.
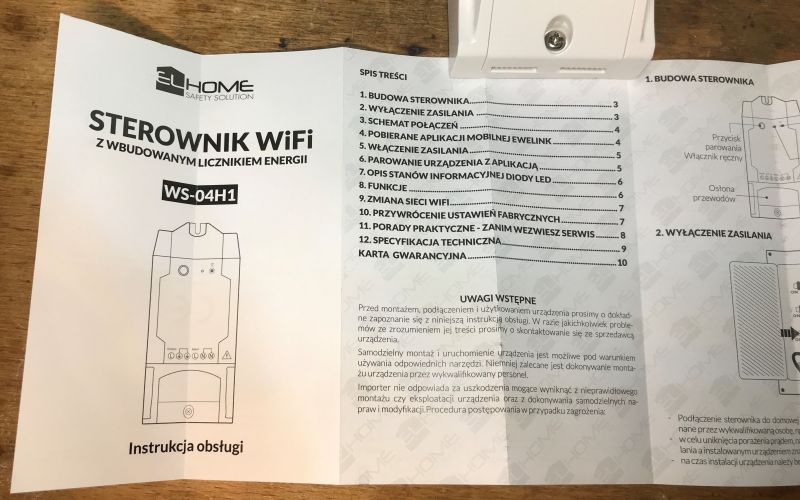
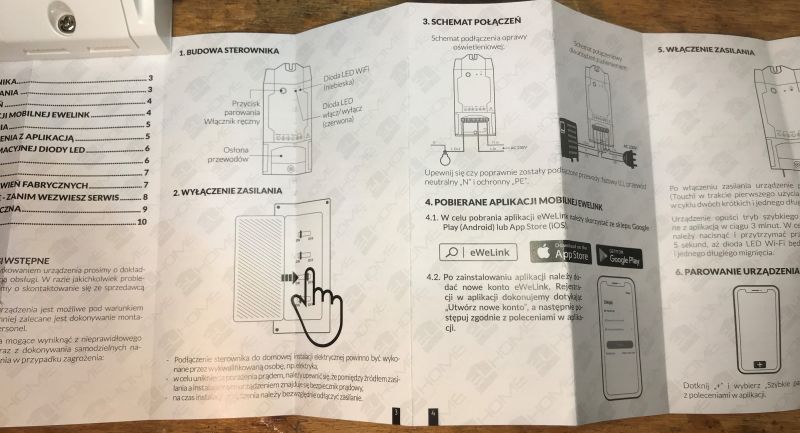
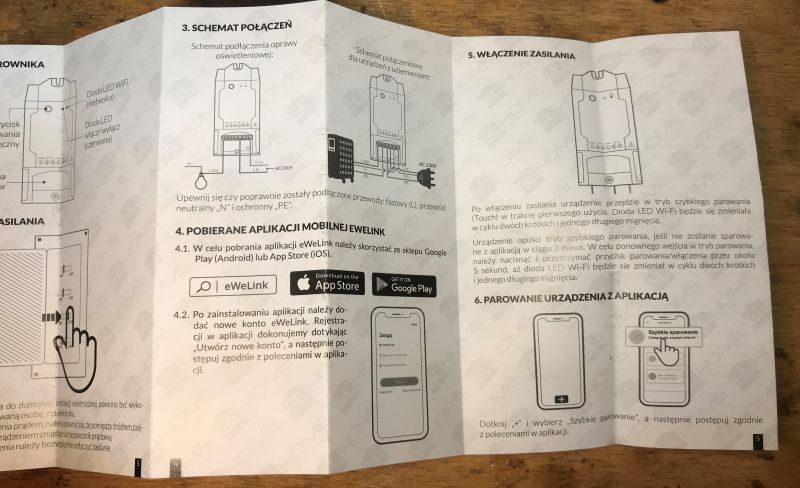
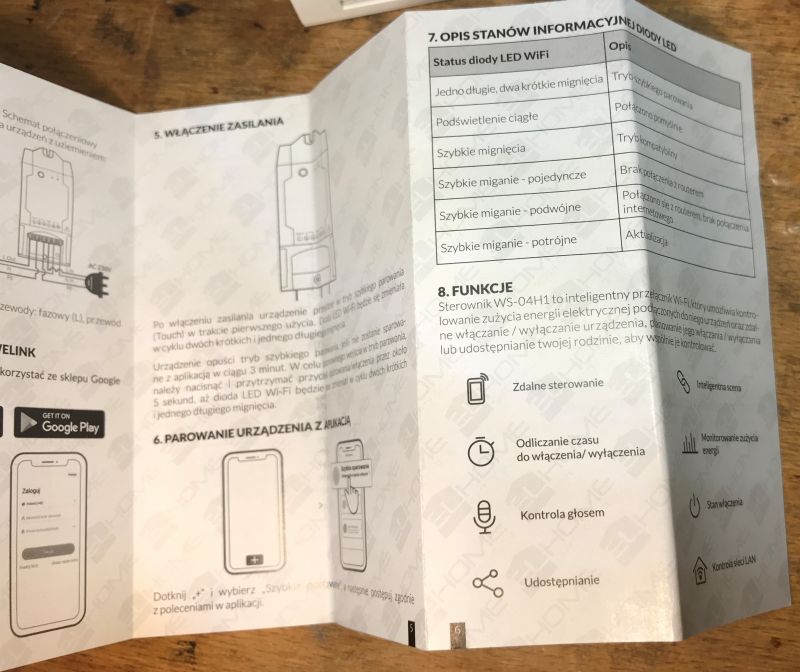
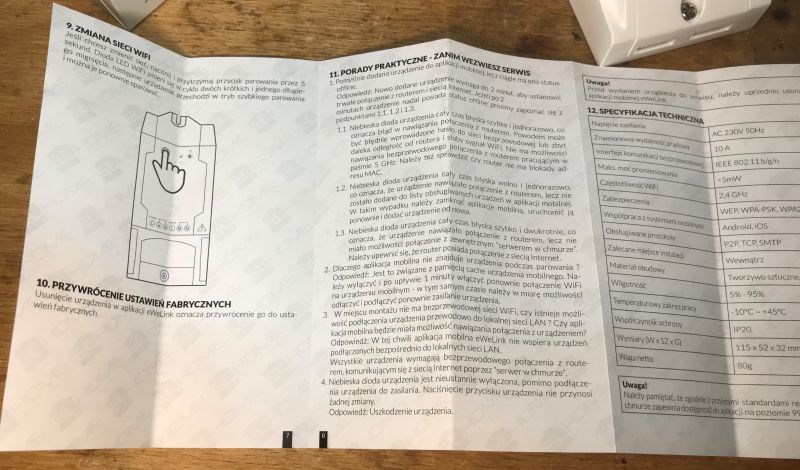
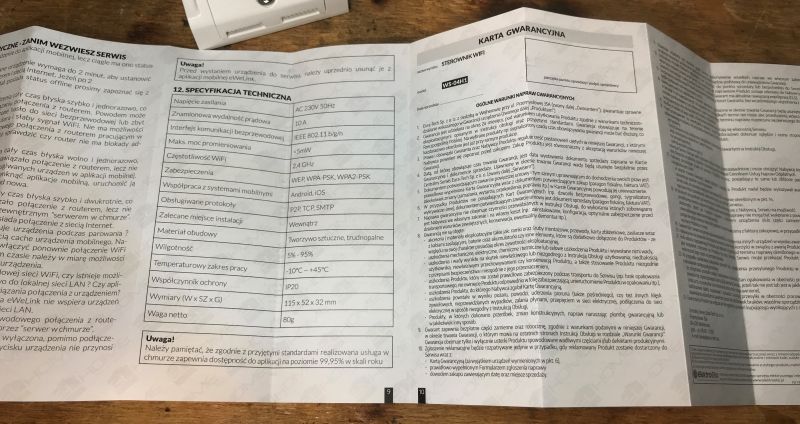
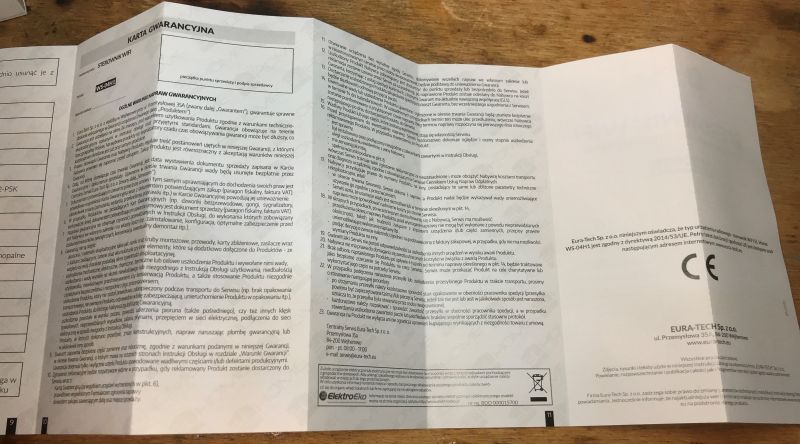
Someone has made an effort, as the instructions are in Polish:

 .
.
In the manual you will find detailed information about pairing the device with the eWeLink app. In addition, there is also a warranty card, I wonder if the "manufacturer" respects this.
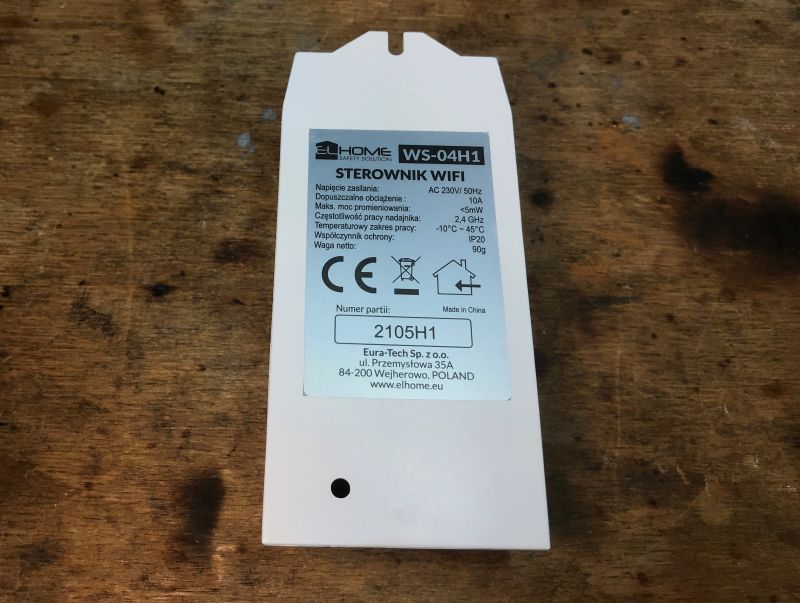
And then there is the product itself:
 .
.
Time to look inside...
Interior of WS-04H1 .
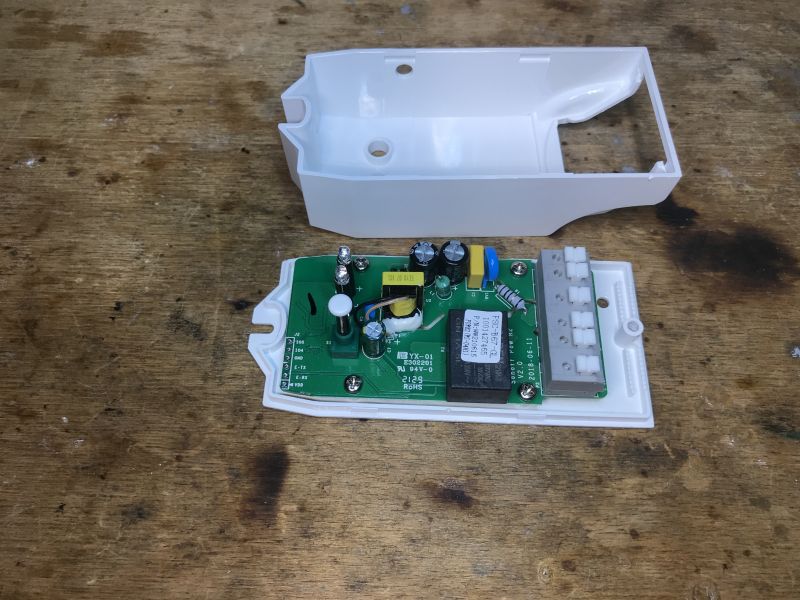
Lift up the housing and look inside.
 .
.
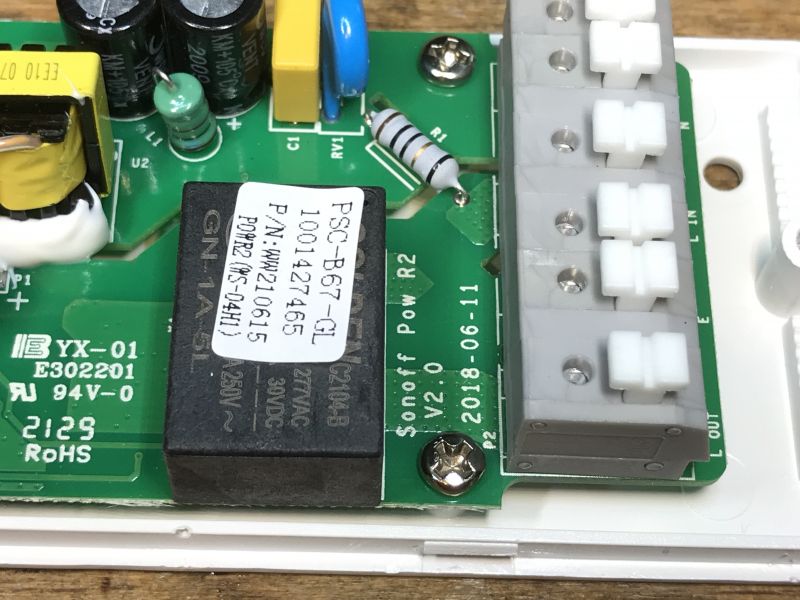
At this point we learn the secret of this product - the writing on the PCB makes it clear. This is in fact the Sonoff Pow R2 V2.0, dated 2018-06-11.
 .
.
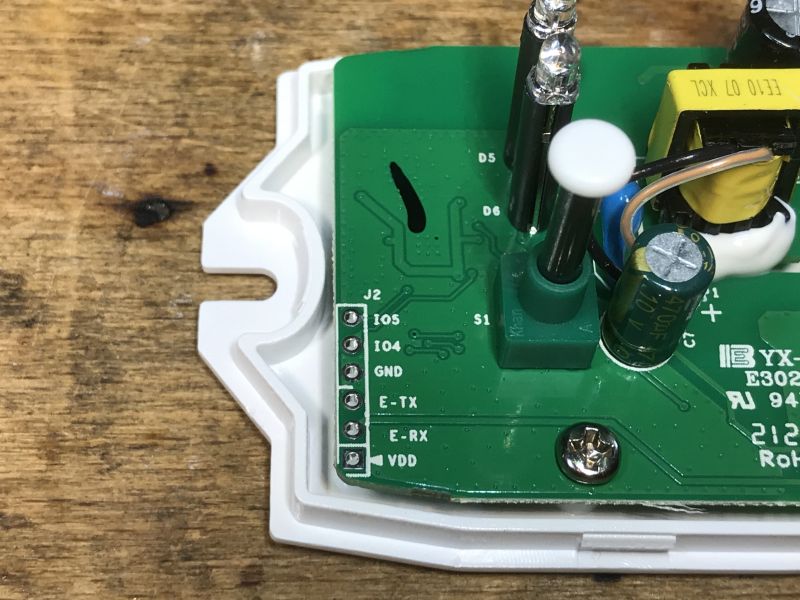
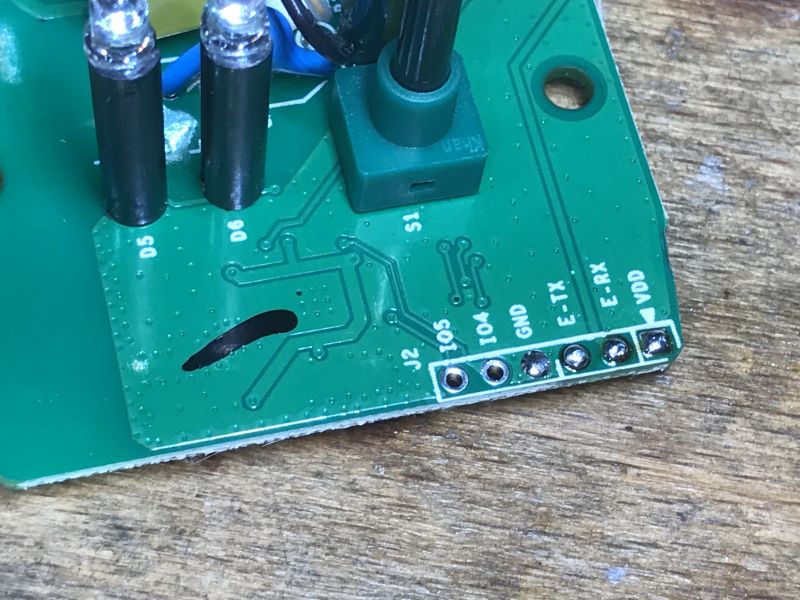
Here we have the programming pads (IO0 is on the button):
 .
.
The design itself is not bad either, not only is a fuse resistor present but also a varistor and filter capacitor. Tuya often omits this from their products.
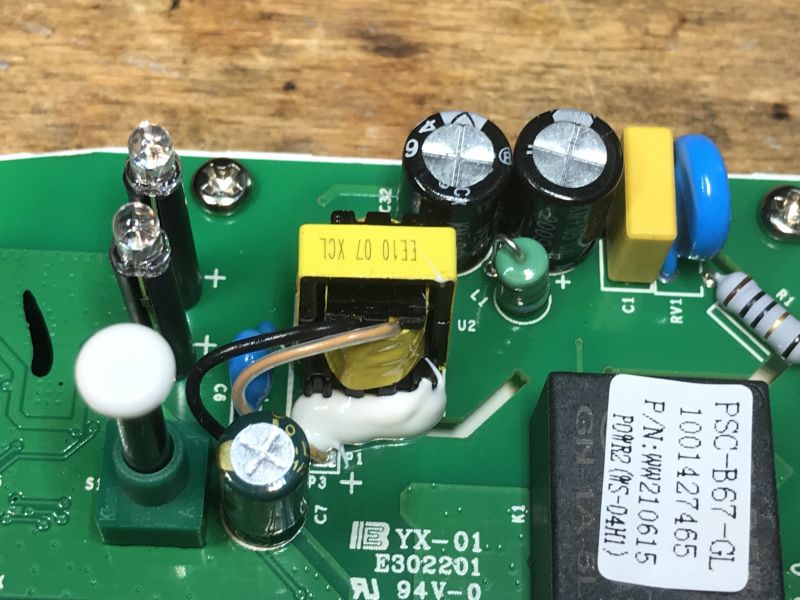
The rest happens on the bottom of the PCB:
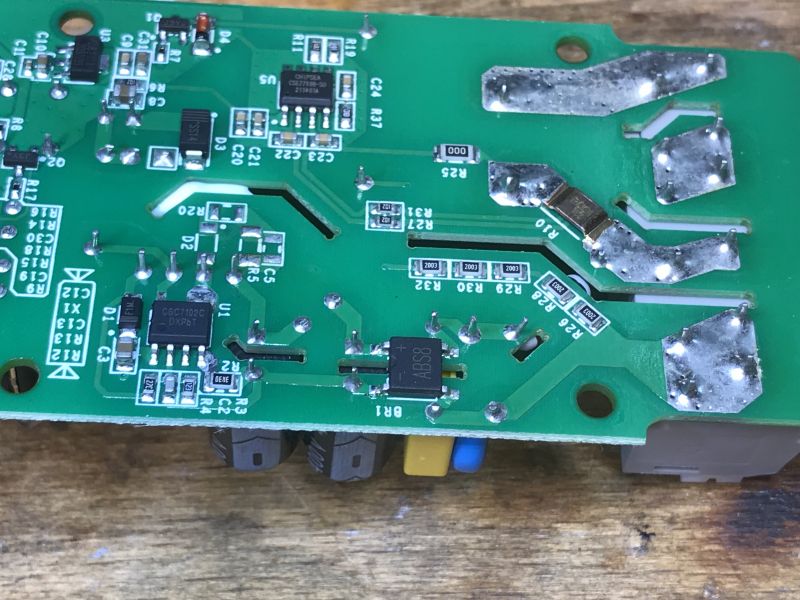
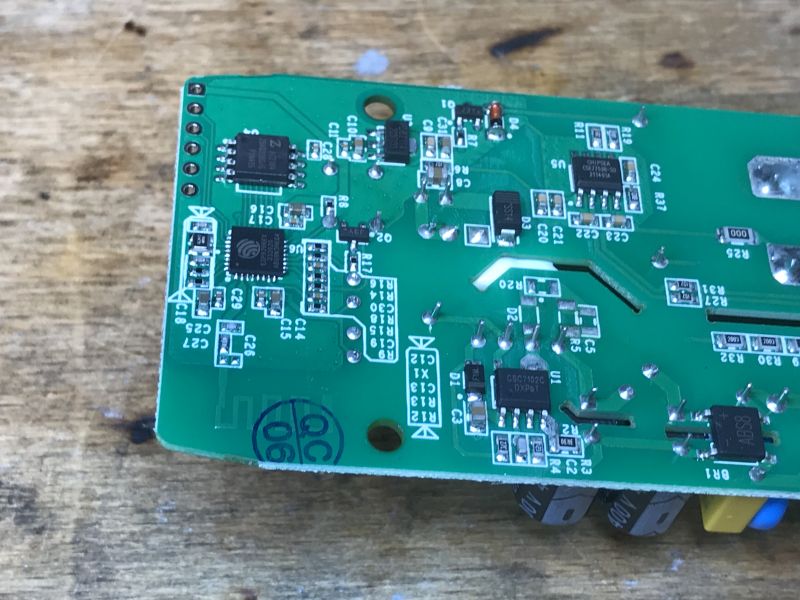 .
.
The power supply is a flyback, it is based on the CSC7102C. I am familiar with this circuit, I described it here:
Sonoff Basic ZBR3, which is the famous relay version on Zigbee. Interior, schematic .
Next we have the ESP8266EX with a flash memory bone:
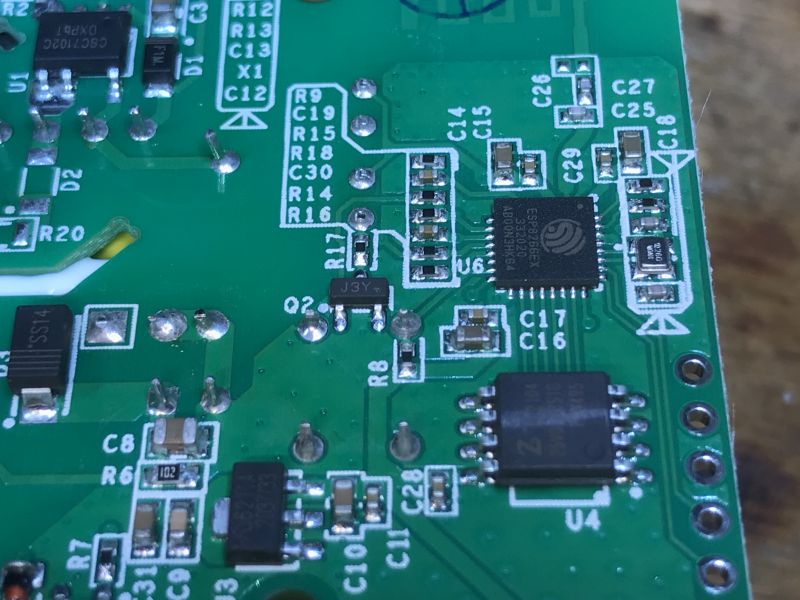
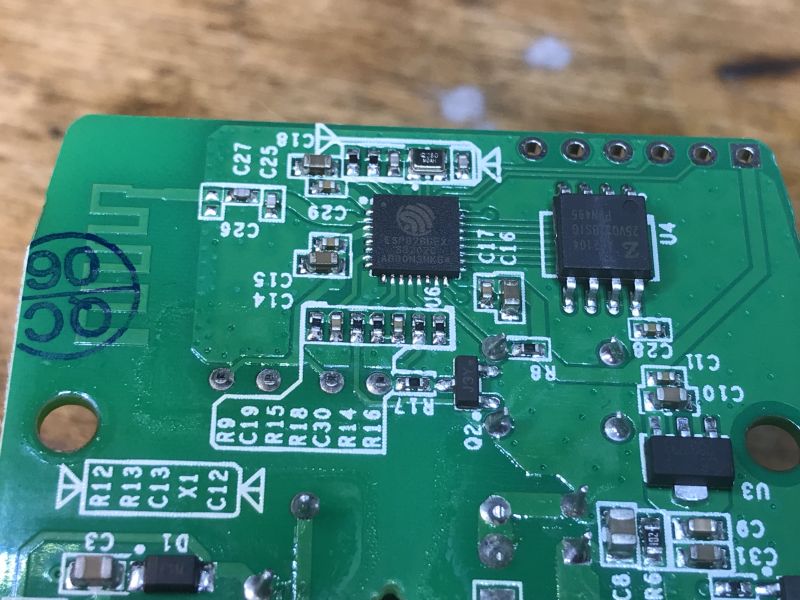 .
.
Next to it is a 3.3V LDO supplying this part of the circuit.
Apart from this, there is also just a bone for energy measurement - the CSE7759B:
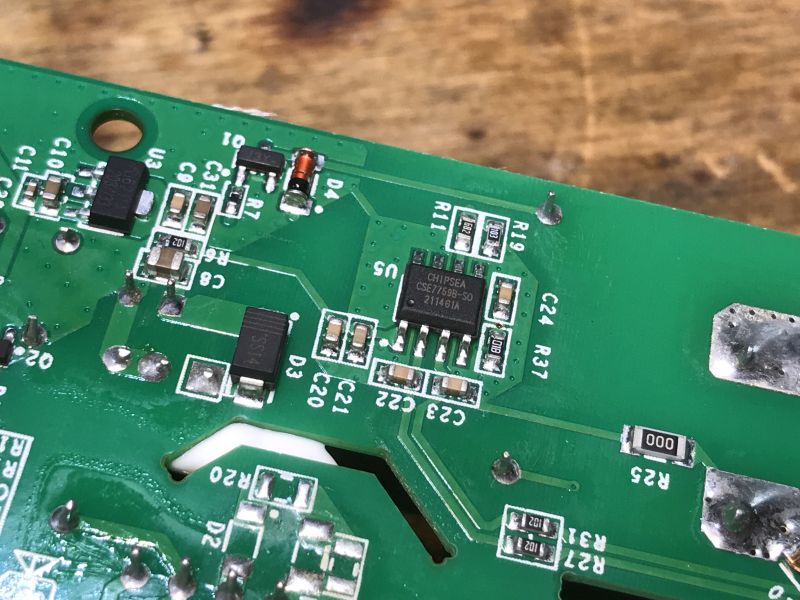 .
.
This circuit is similar to the BL0937, it represents the measured power/current/voltage as pulses with a frequency corresponding to the measured quantity:
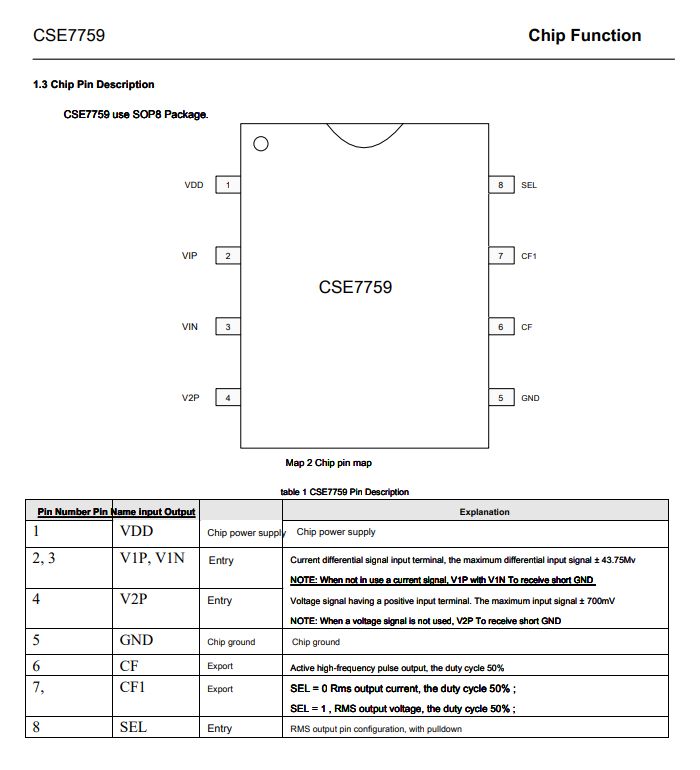 .
.
Changing WS-04H1 firmware .
You can upload e.g. Tasmota, if only via esptool.py or the online method:
How to install Tasmota easily - online installer tasmota.github.io/install via web browser .
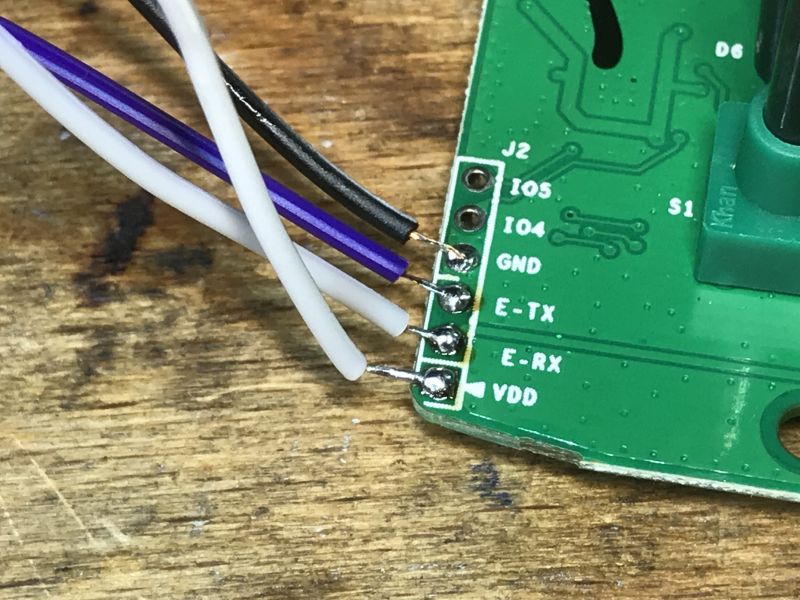
Solder the ground, power, TX and RX:
 .
.
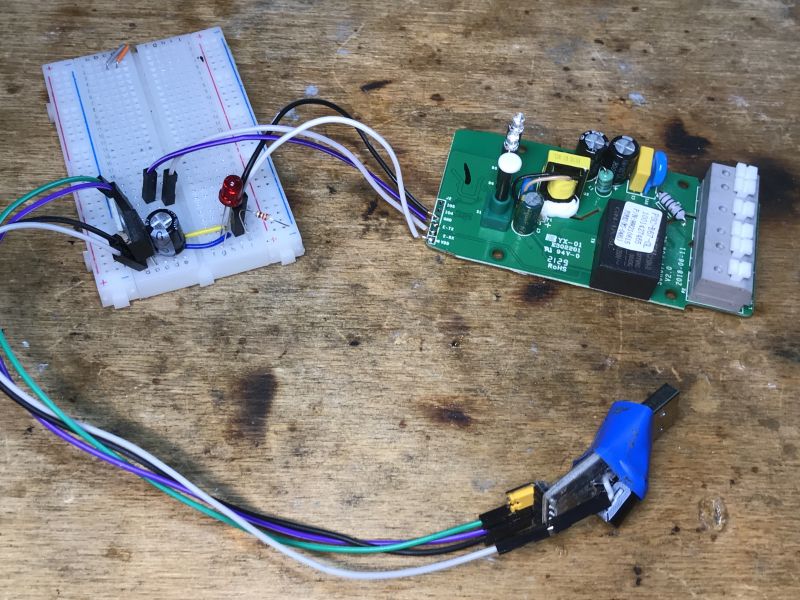
Here is all my programming circuitry (I have a 3.3V LDO on the contact board):
 .
.
Before connecting the power supply we push the button, as it is on GPIO0, and we need to run the ESP in bootloader mode from the UART . Only then can the batch be uploaded.
The templates for this device are on the Blakadder website:
https://templates.blakadder.com/sonoff_Pow_R2.html
Code: JSON
Code: JSON
Both differ only in the behaviour of the blue LED.
The device requires calibration with the VoltageSet/PowerSet/CurrentSet commands according to Tasmota's documentation for accurate measurements. Connect a known load, e.g. a 60W light bulb, switch on the relay and then enter the expected measurement results with these commands.
Summary .
It is definitely worth knowing that this product is essentially a Sonoff POW R2 with a different logo on the case. It's all ESP8266 inside, no weird surprises like in Tuya where you can end up with BK7231 or another chip . You can confidently order and change the batch. The Home Assistant can also be combined with. Tasmota has already been discussed on the forum, even in a DIY version:
ESP8266 and Tasmota - WiFi relay control step by step .
Do you use the Sonoff series, and if so, for what? Feel free to discuss.


Comments