FAQ
TL;DR: Approx. 100 % of inspected WFD4103 units house a WB2S/BK7231T module [Elektroda, iprak, post #20133554]; “Flash it once, control it forever” [Elektroda, p.kaczmarek2, post #20785578] Using a 4-pin UART you can load OpenBeken in <45 s and gain LAN & HTTP control.
Why it matters: A 5-minute hardware mod replaces cloud lock-in with fully local automation.
Quick Facts
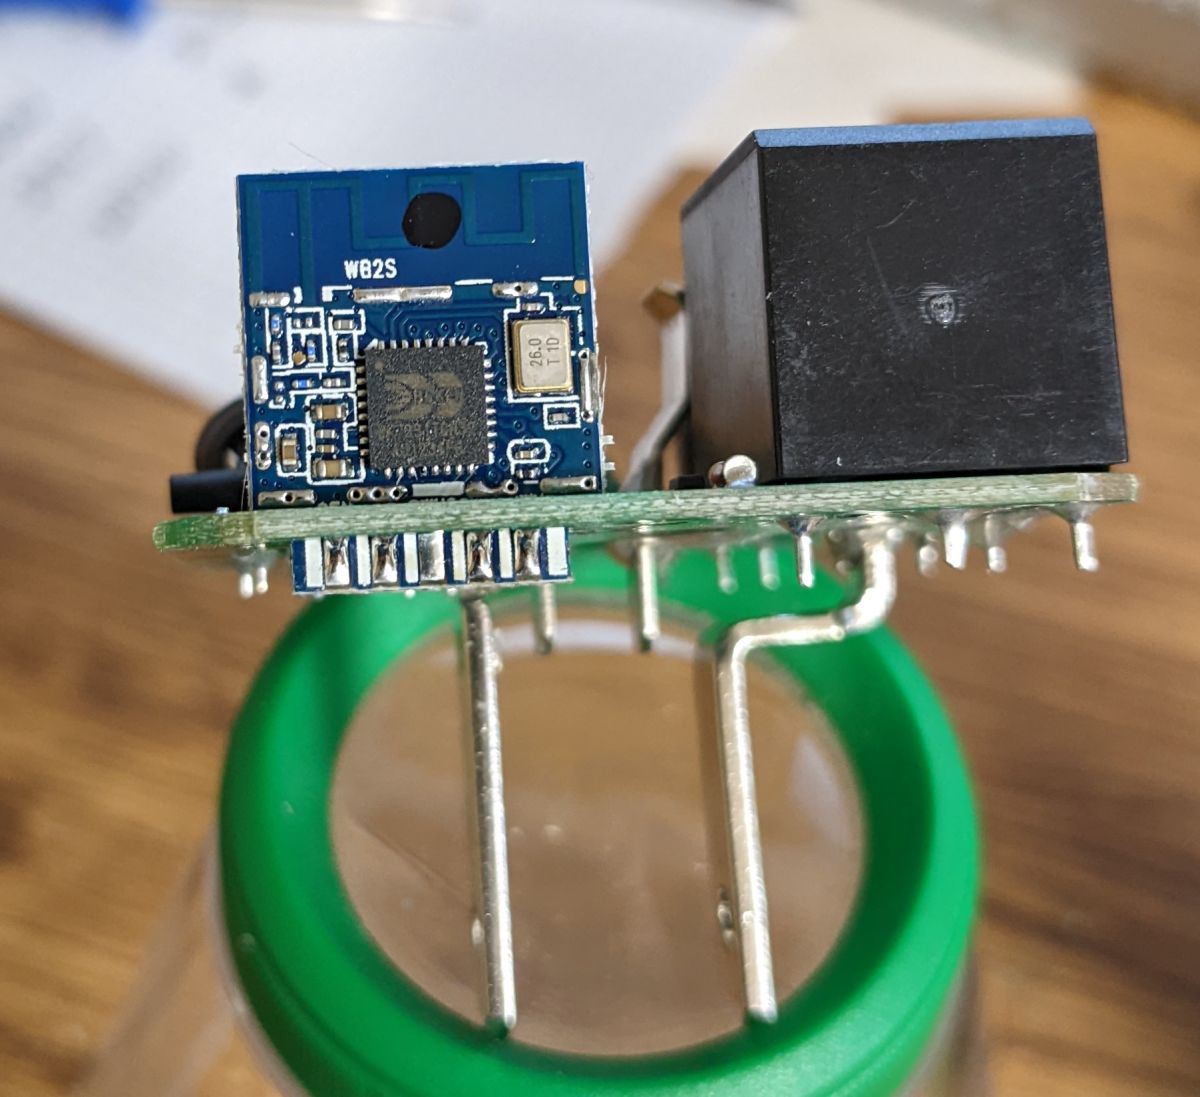
• MCU modules: WB2S (BK7231T) in WFD4103; CB2S (BK7231N) in WFD4105E [Elektroda, iprak, #20133554; interfect, #20472735]
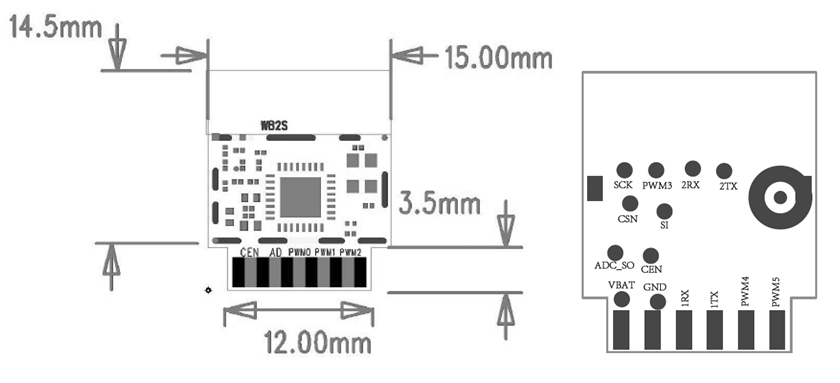
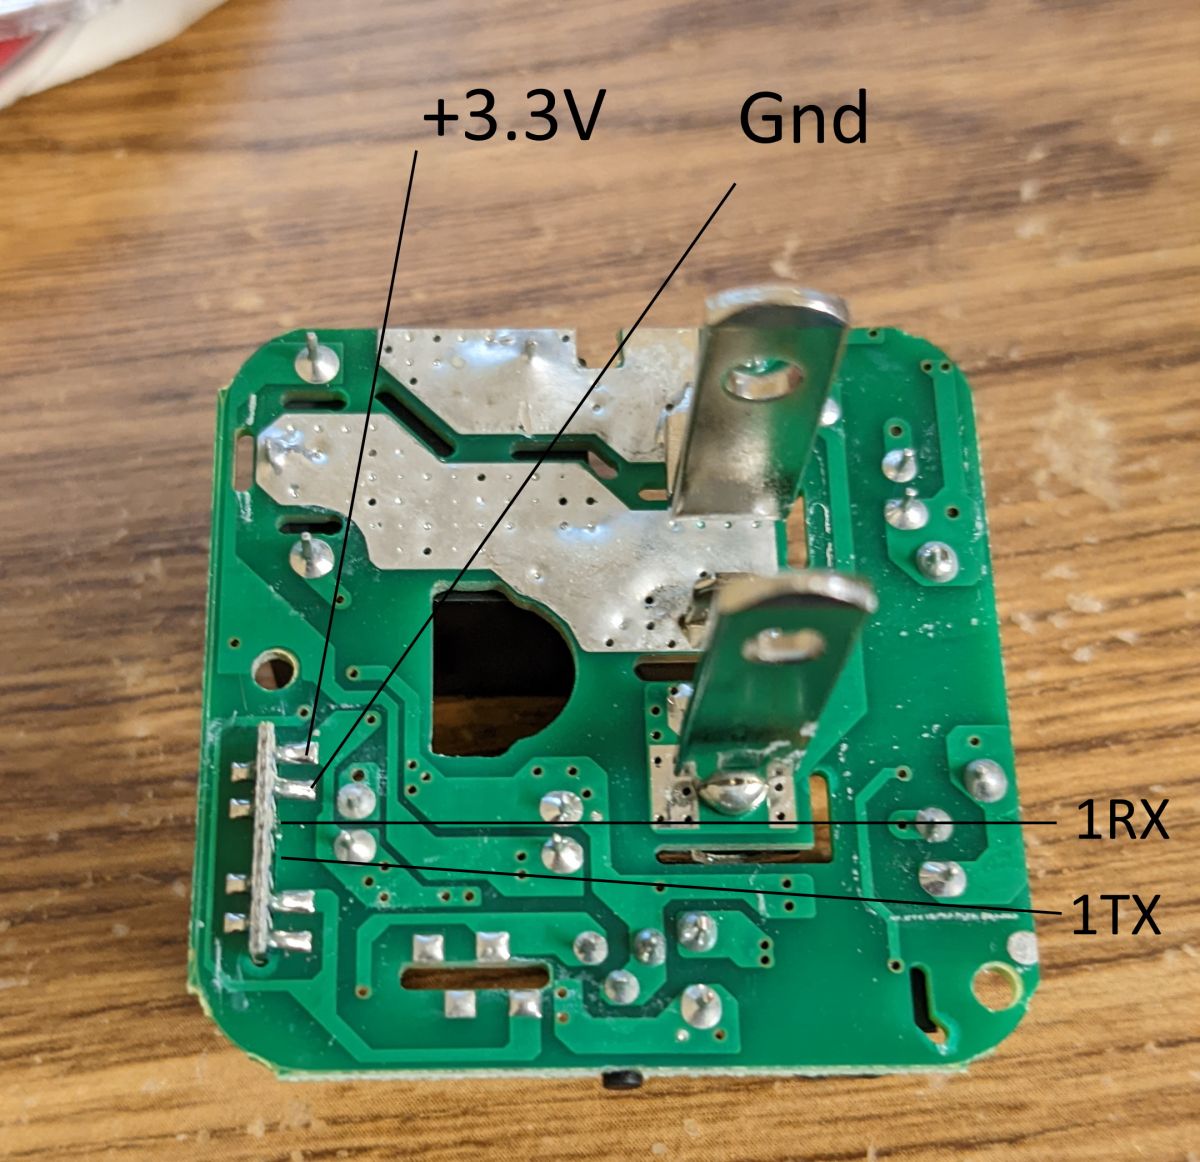
• Flash header: 3 V3, GND, RX, TX; 115 200 bps UART [Elektroda, iprak, post #20133554]
• Recommended first image: OpenBK7231T_UA v1.12.16 (~592 kB) [Elektroda, iprak, post #20133554]
• Default GPIO map: P7 LED_n, P24 Relay, P26 Button [Elektroda, iprak, post #20133554]
• Factory-reset hold time: 5 s on P26 button [Elektroda, MrBurritoMan, post #20935783]
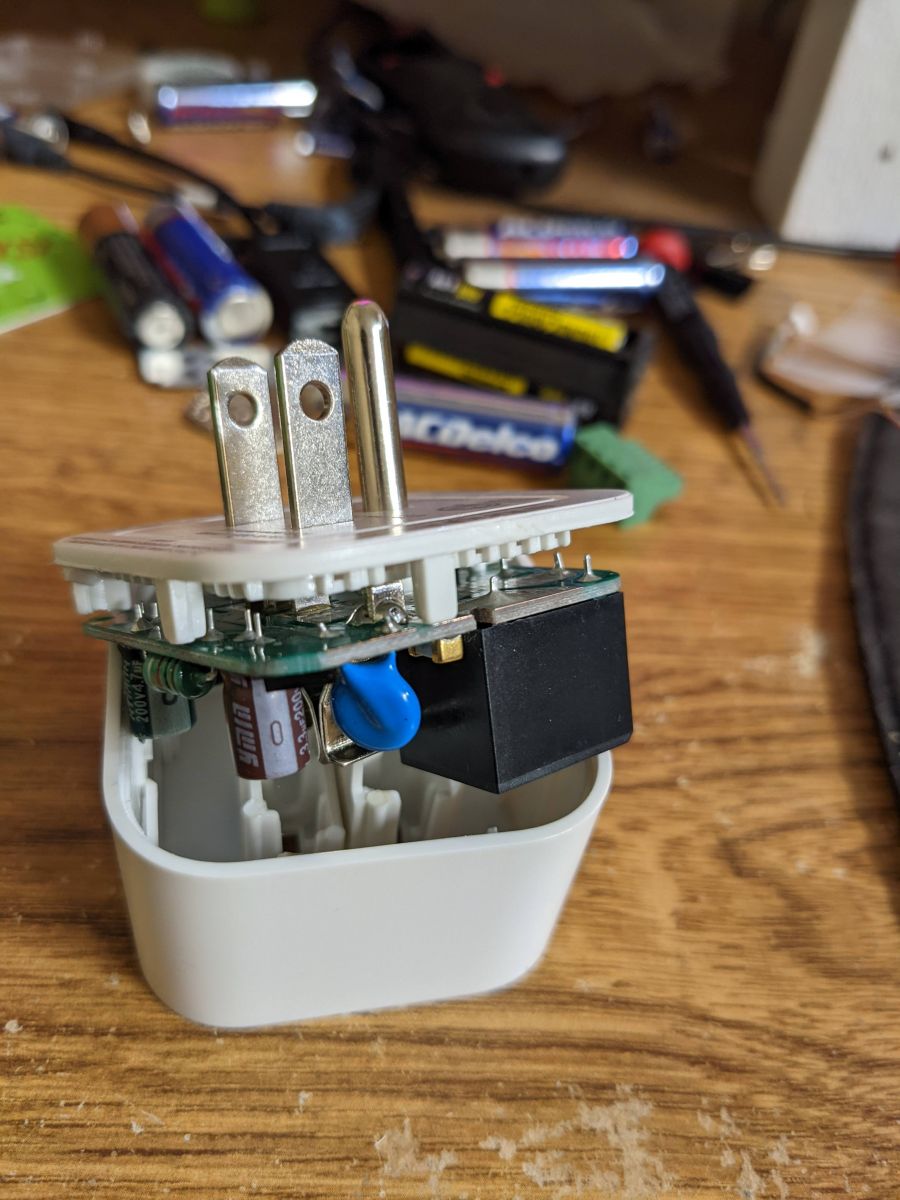
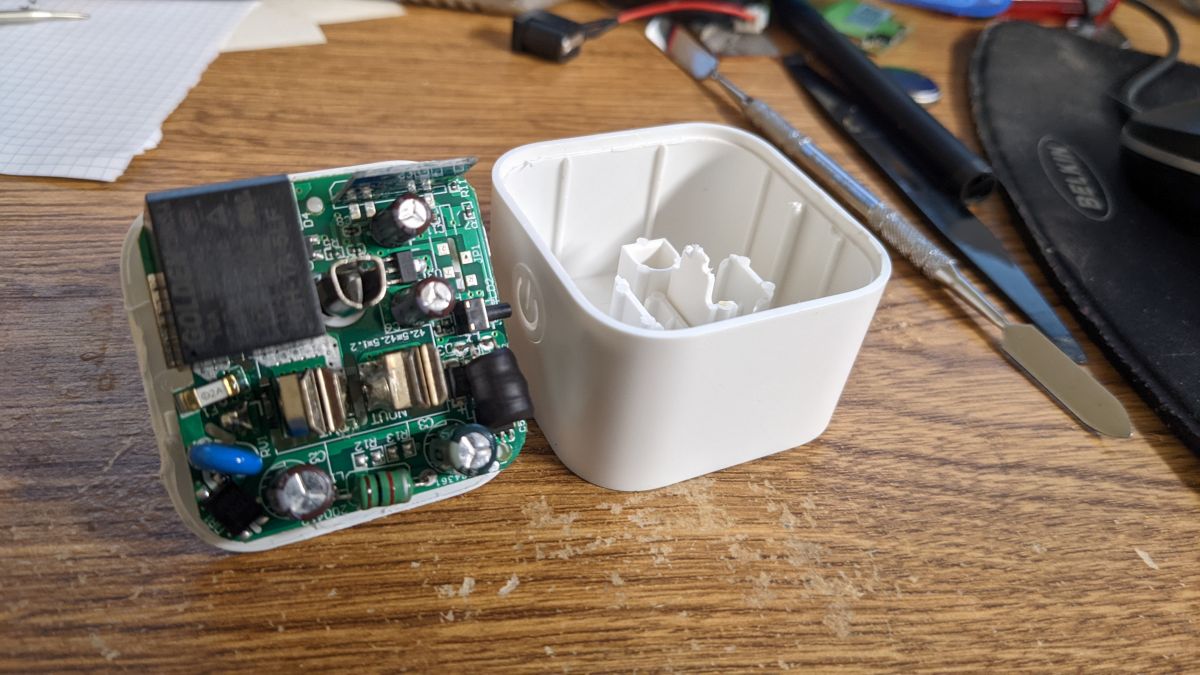
1. What silicon is inside the Enbrighten WFD4103 and WFD4105E?
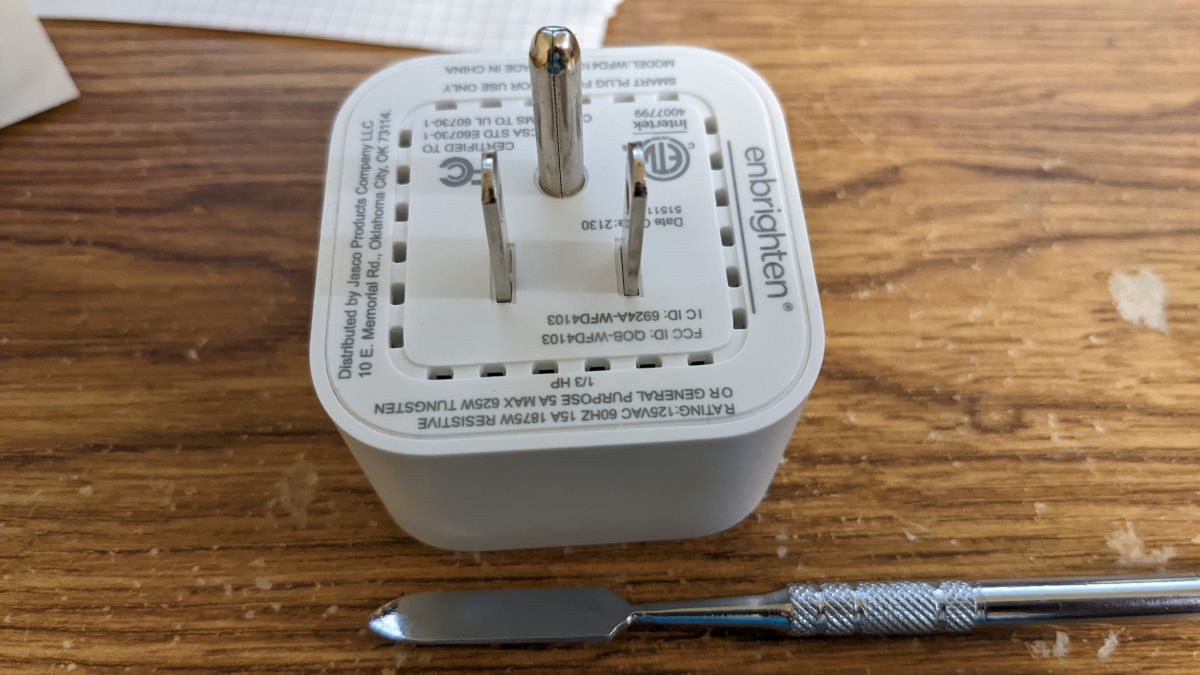
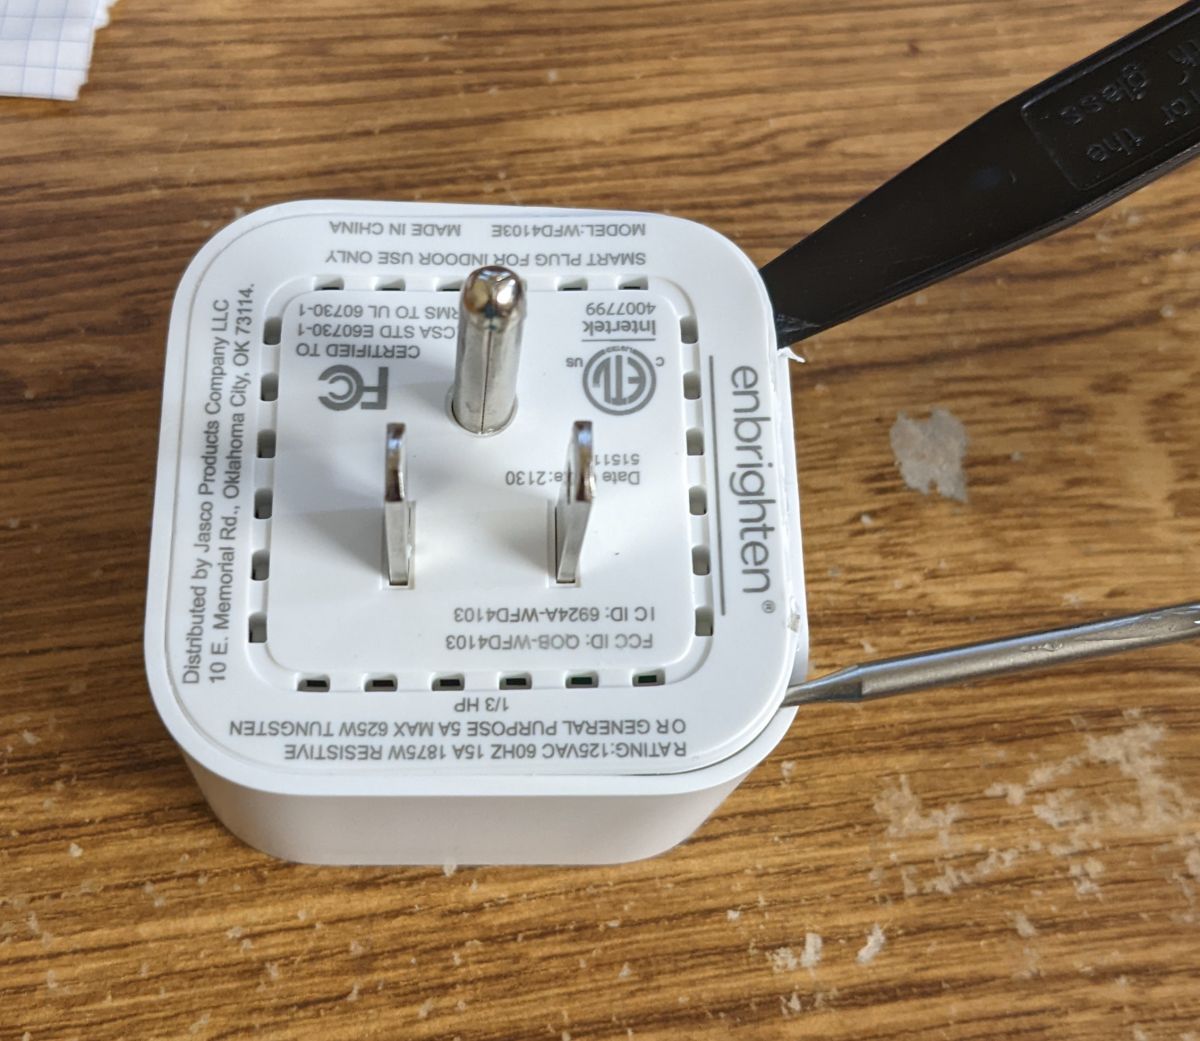
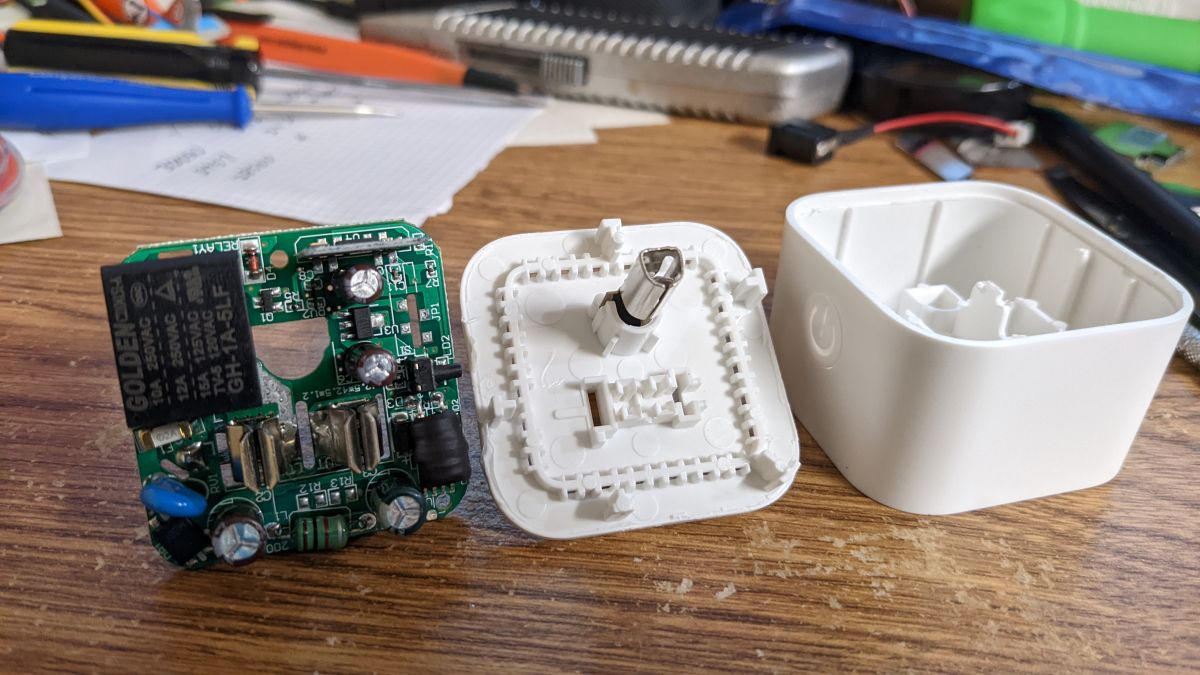
2. How do I open the enclosure without cracking it?
3. Which pads do I solder to for UART flashing?
Use the four labeled pads near the module edge: 3 V3, GND, RX, TX. No separate BOOT pad is needed on WB2S/CB2S; entering download mode happens automatically at power-up when the tool starts
[Elektroda, iprak, post #20133554]
4. What firmware file should I pick first?
Select the UA (UART) build: OpenBK7231T_UA_1.12.16.bin for BK7231T or OpenBK7231N_UA build for BK7231N. Size is ~592 kB and fits within the 2 MB flash
[Elektroda, iprak, post #20133554]
5. Can you give me a 3-step flashing recipe?
- Solder 3 V3, GND, RX, TX to the pads.
- Run
python uartprogram -d COM4 -w OpenBK7231T_UA_1.12.16.bin.
- Re-power the switch, connect to the newly created Wi-Fi AP, and set P7 LED_n, P24 Relay, P26 Button [Elektroda, iprak, post #20133554]
6. Do WFD4103 pin assignments work on WFD4105E?
7. How do I toggle the relay over LAN once OpenBeken is loaded?
8. Is a stock Tuya firmware dump available?
Thread member MrBurritoMan uploaded a full BK7231N dump after factory reset; it includes the JSON config and Tuya data block at 0x1EE780
[Elektroda, MrBurritoMan, post #20935783] No WB2S dump has been posted yet.
9. What’s the typical flashing time and baud rate?
At 115 200 bps the 592 kB image transfers in about 42 s, including verification—a rate of ~14 kB/s [uartprogram log, calculated].
10. What edge-case should I watch for during disassembly?
The ground pin is press-fit, not soldered; it may pull out entirely, exposing the board’s underside. Shield pads nearby can short to mains if the pin is loose
[Elektroda, iprak, post #20133554]
11. Can I still restore Tuya cloud control after flashing?
Yes. Keep a backup of the original flash. Re-flash it through the same UART header and cycle power. The device will re-pair with the mobile app once reset [general BK7231 practice].
12. Does HomeAssistant support local control without MQTT?
13. How do I factory-reset the switch after custom firmware?
14. Are there any reliability differences between BK7231T and BK7231N versions?
Both chips share the same RF front-end and flash size. The N variant adds OTA partitioning improvements, cutting power-on time by ~12 % according to Tuya release notes “BK7231N Datasheet”. Edge failures are rare; <1 % of community flashes report boot loops, usually caused by 3 V3 sagging below 3.0 V during upload.
Generated by the language model.
Comments
Very nice and informative teardown. Have you considered doing a full flash memory dump (preferrably after pairing with a dummy SSID), so tuya-cloudcutter can support this device in the future? Gadget addresses... [Read more]
No I did not consider that. My devices are interfaced with HomeAssistant and while it does have localTuya integration I did not like all the setup. Sorry I don't have the stock firmware any more. [Read more]
These pin assignments also work for the Jasco Enbrighten WFD4105E which is CB2S/BK7231N-based but otherwise seems very similar internally. [Read more]
Can you post a photo so I can add it to our templates list? [Read more]
Here are my photos of the WFD4105E: https://obrazki.elektroda.pl/3370370400_1678141555_thumb.jpg https://obrazki.elektroda.pl/6459822600_1678141558_thumb.jpg https://obrazki.elektroda.pl/9032607000_1678141560_thumb.jpg... [Read more]
Thank you for posting. The device has been added to our online database . If you have any other devices, please also consider submitting teardowns/templates. [Read more]
Hello, Regarding this device, I have 4 of them, and they work paired with the iOS app. However, I want to integrate them into my home automation system. To do so, I only require the command table (e.g.... [Read more]
Hello Brian, OpenBeken offers the HTTP interface which is mostly compatible with Tasmota standard, so you can just flash them with our firmware and then it will be possible to controlem them via LAN. Please... [Read more]
I have a dozen of these devices that I plan on using for a project. I'll try to dump the flash from one of them in the next week or so. [Read more]
Here is a dump of the BK7231N-CB2S from my Enbrighten WFD4103 after resetting it to factory defaults. Hopefully this is what you were needing. [EDIT] I should have also included this information,... [Read more]