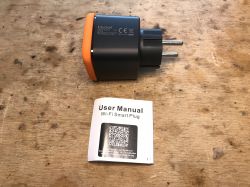
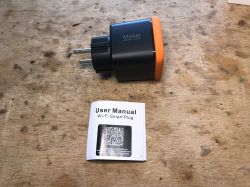
I will present here the interior of a very cheap "outdoor" Tuya socket, which also offers energy measurement. Here I will provide information on how to change its firmware and show the ready configuration
OpenBeken for this slot. I will show how to run the statistics system for this socket in OBK and use the Home Assistant Discovery. This socket has a WB2S WiFi module inside and a BL0937 chip for energy measurement
OpenBeken Support.
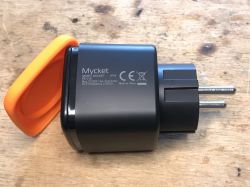
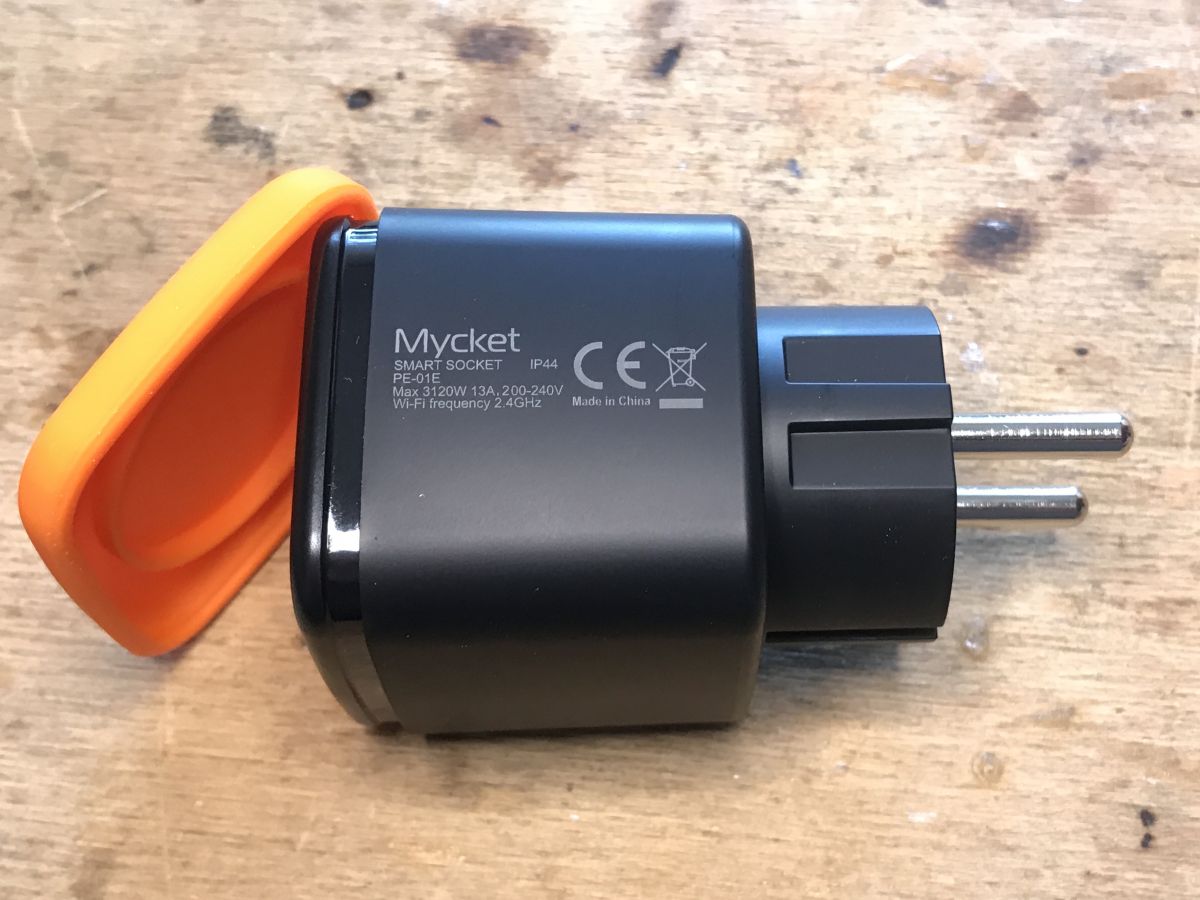
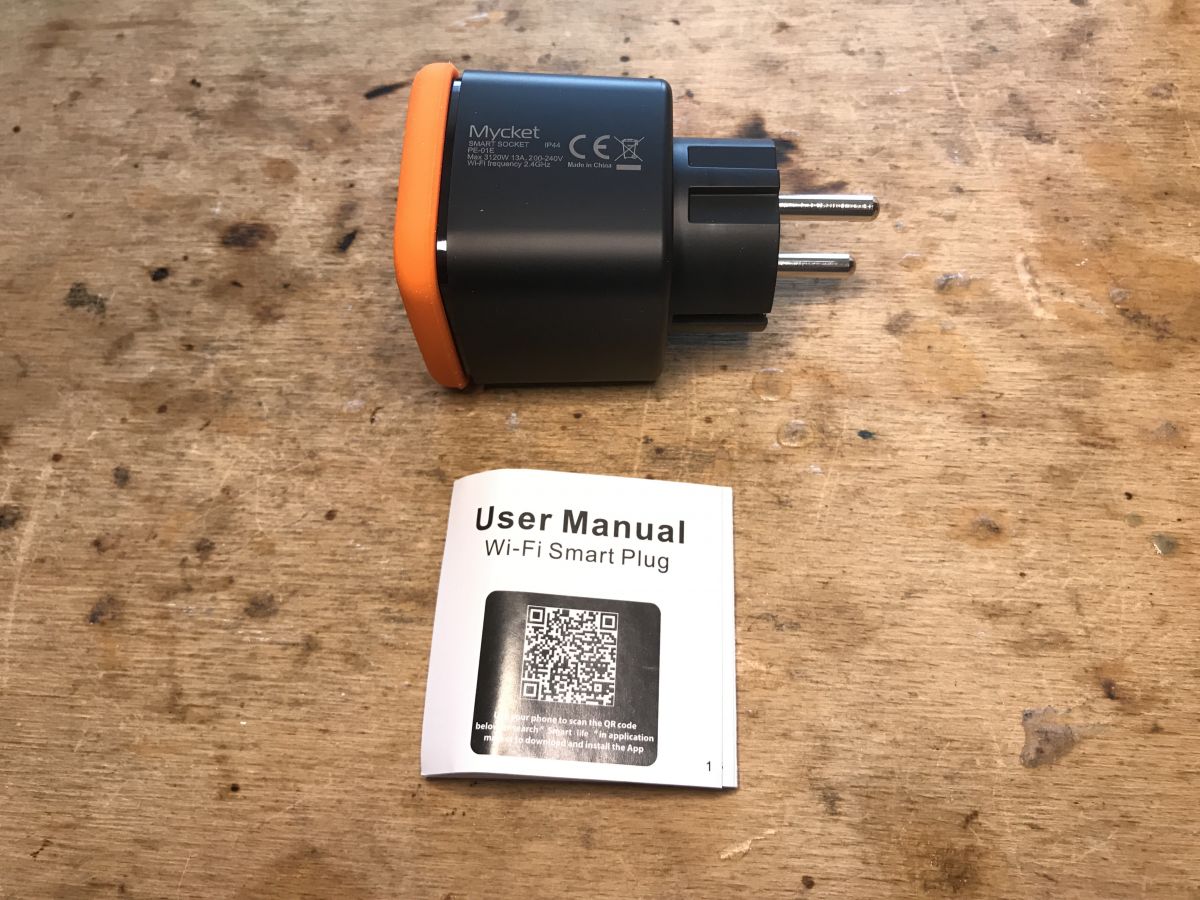
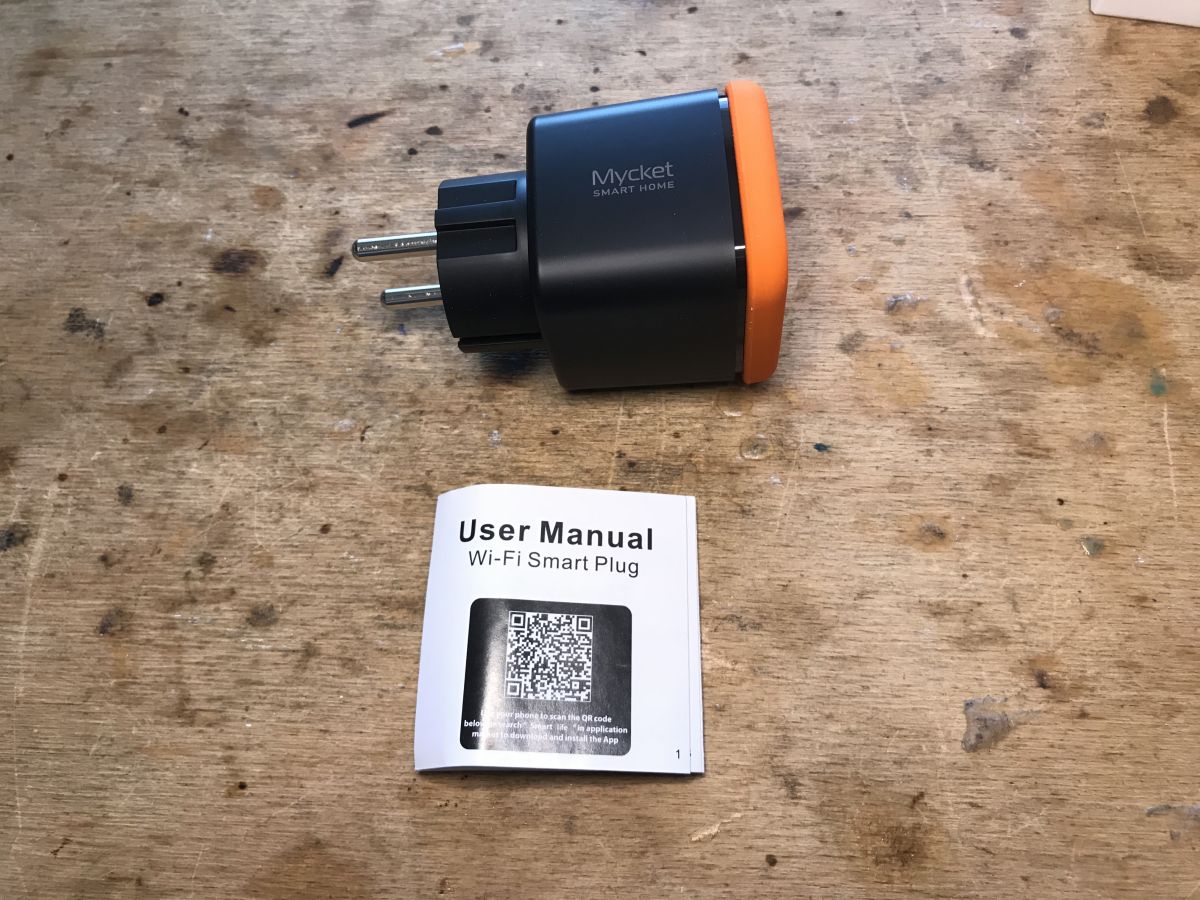
Mycket Smart Socket PE-01E IP44
The socket is quite distinctive, I think it will be easy to recognize, even though I won't include screenshots from the listing here - I just got them from its importer who supports OpenBeken's development.
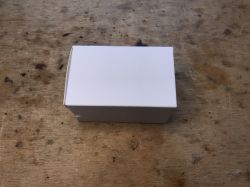
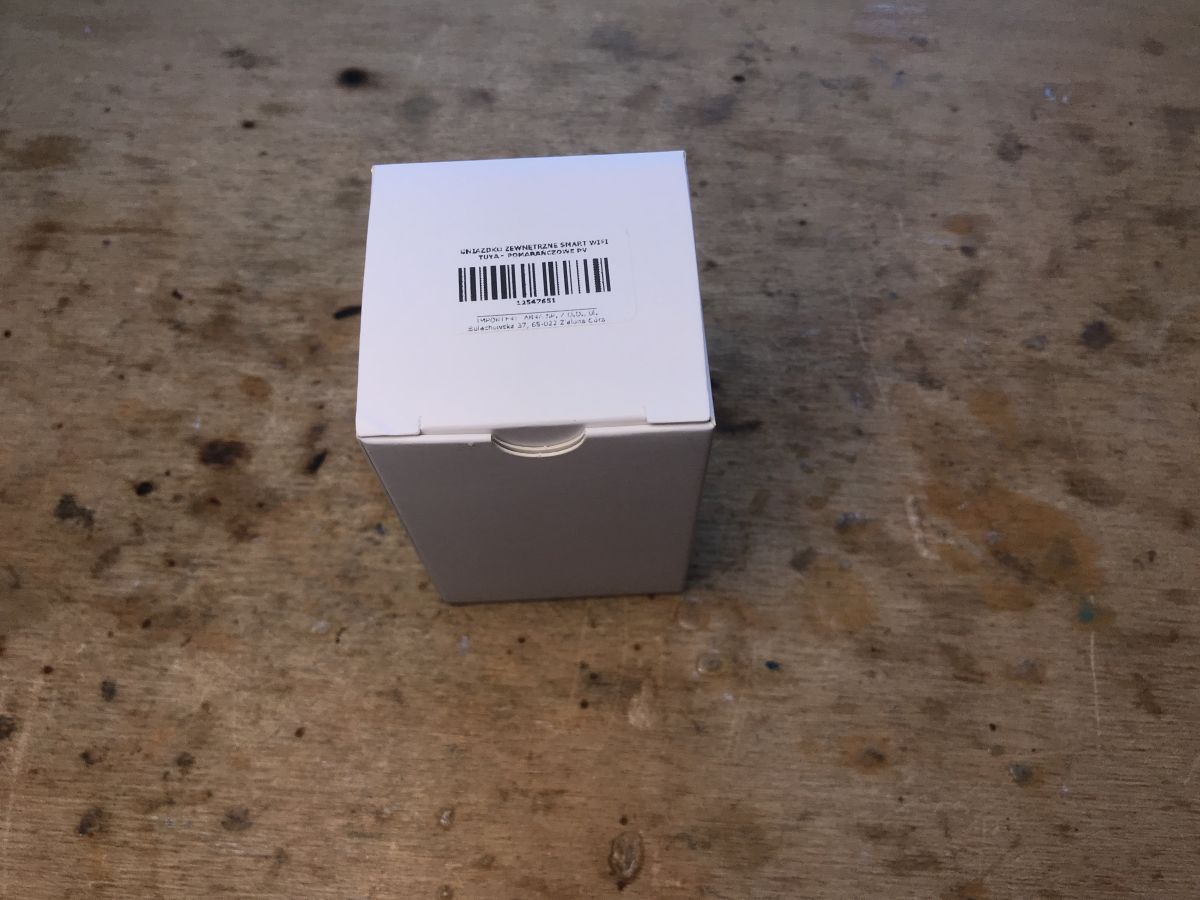
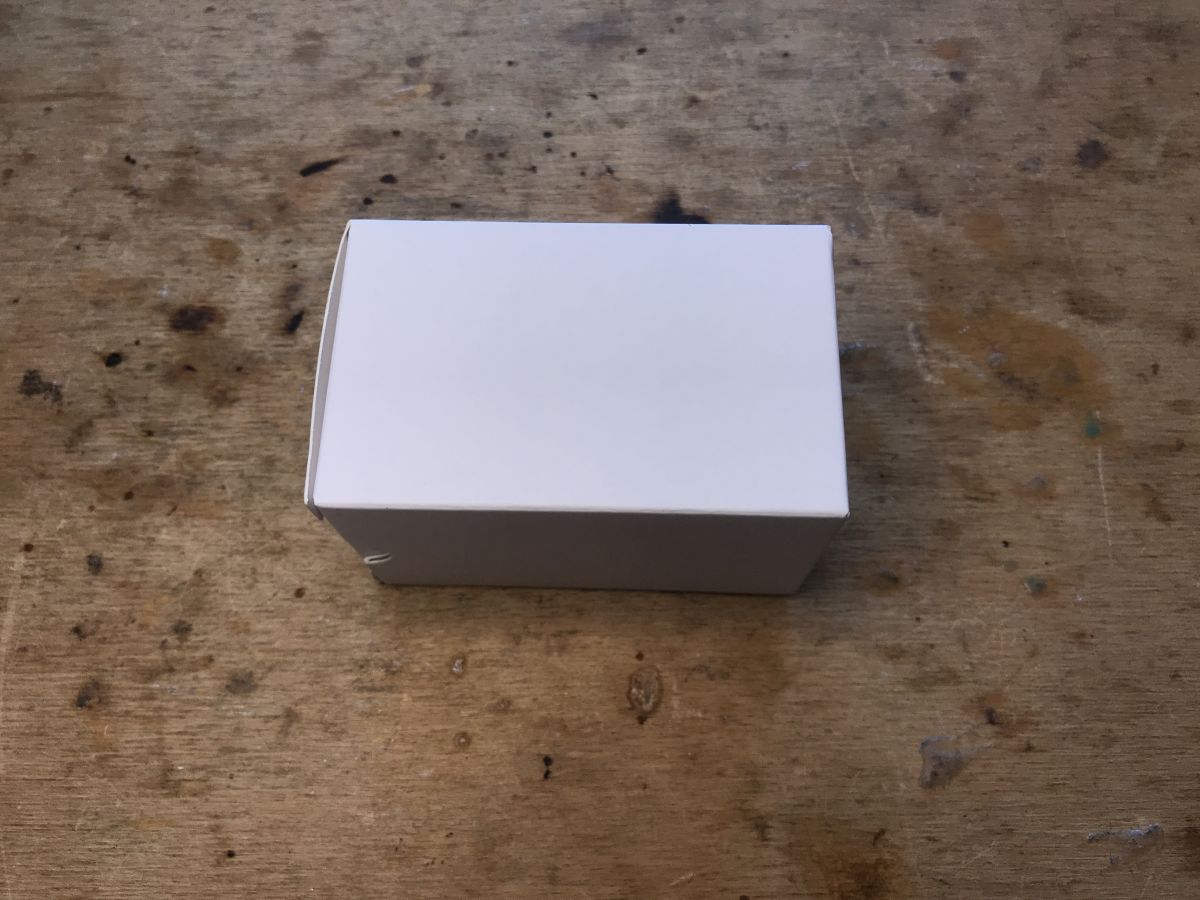
Here is the box:

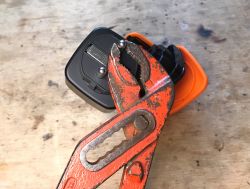
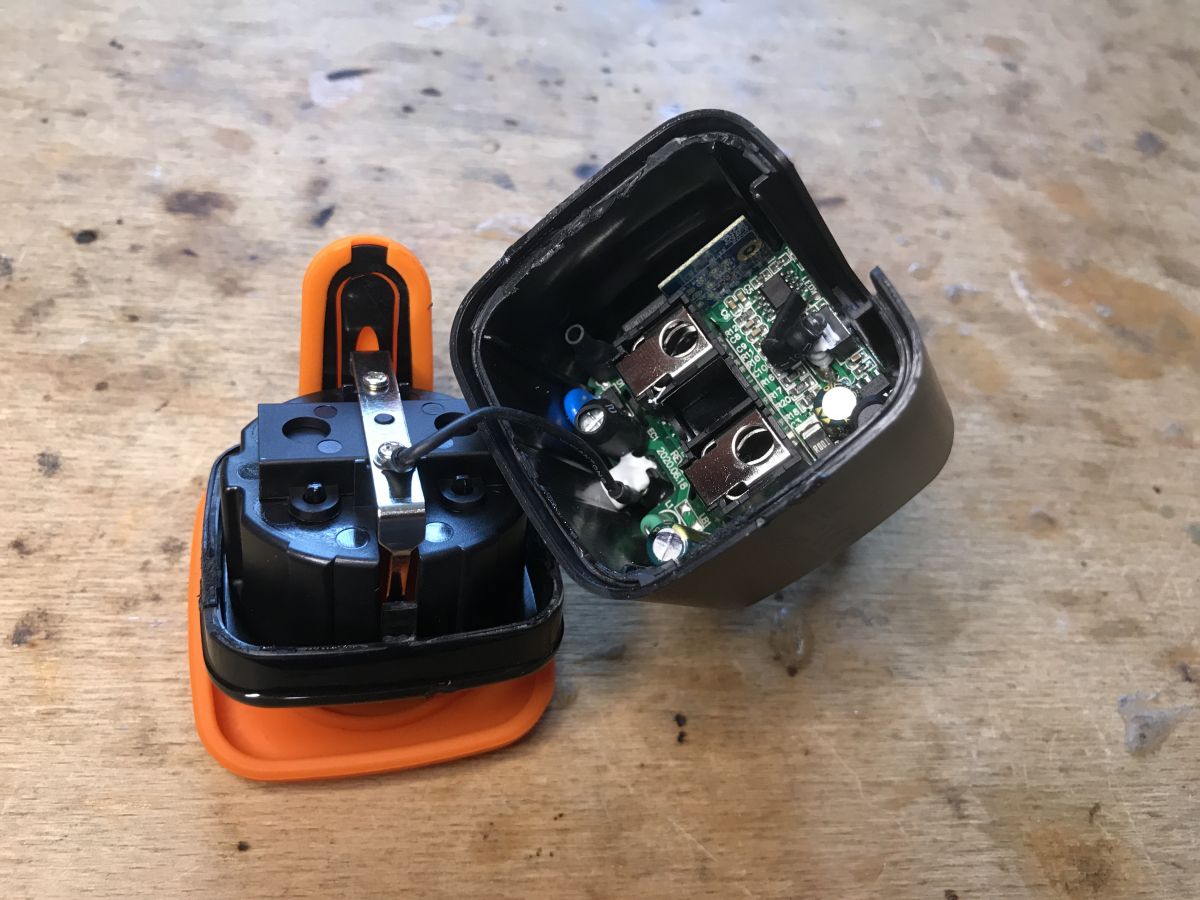
 The interior of the PE-01E, loading the charge
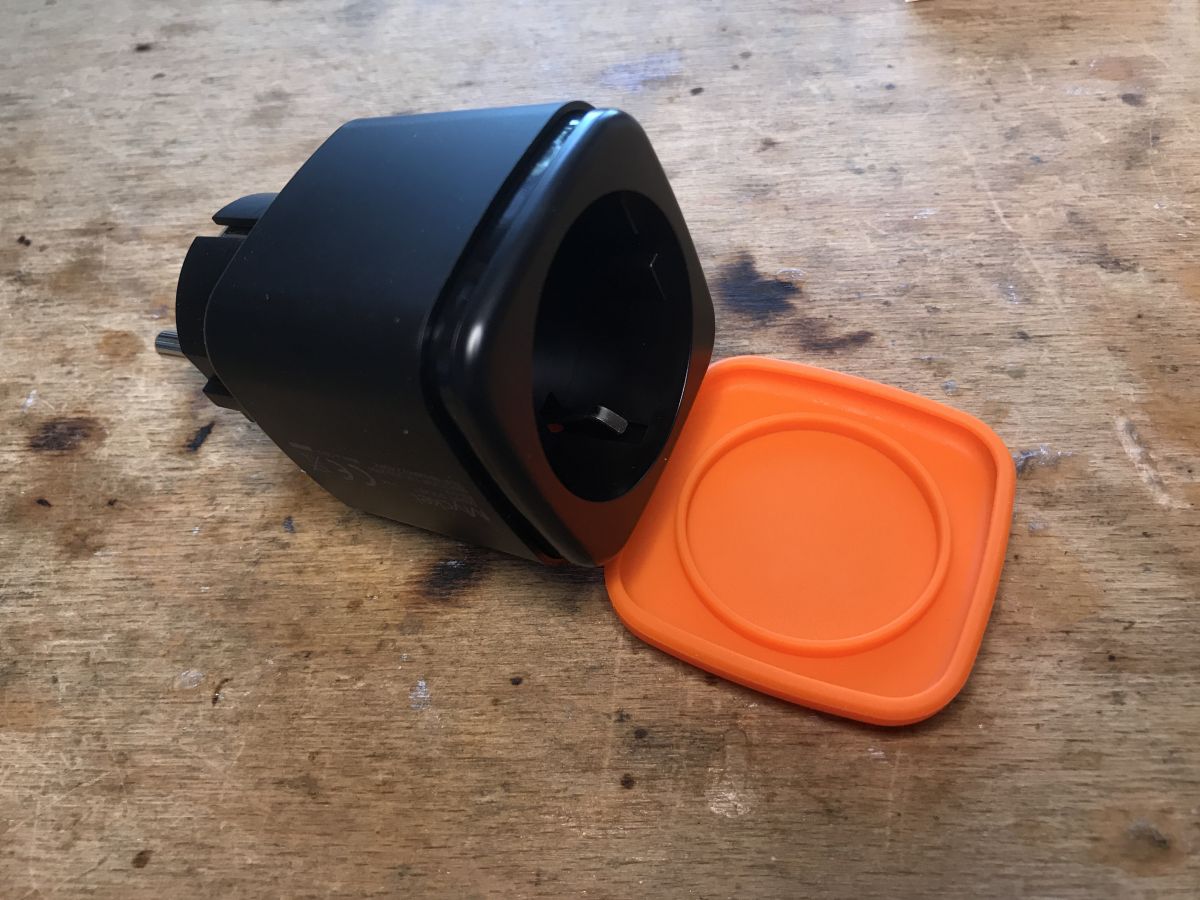
Unfortunately, it is not a Blitzwolf BW-SHP6 that is easy to disassemble and assemble. It is also not simply a clone of LSPA9. The cover can be removed, but then there is a problem with the pins:

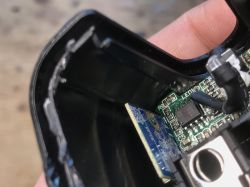
You can see the energy measurement system - BL0937.
The pins do not twist. They are soldered. Unfortunately...
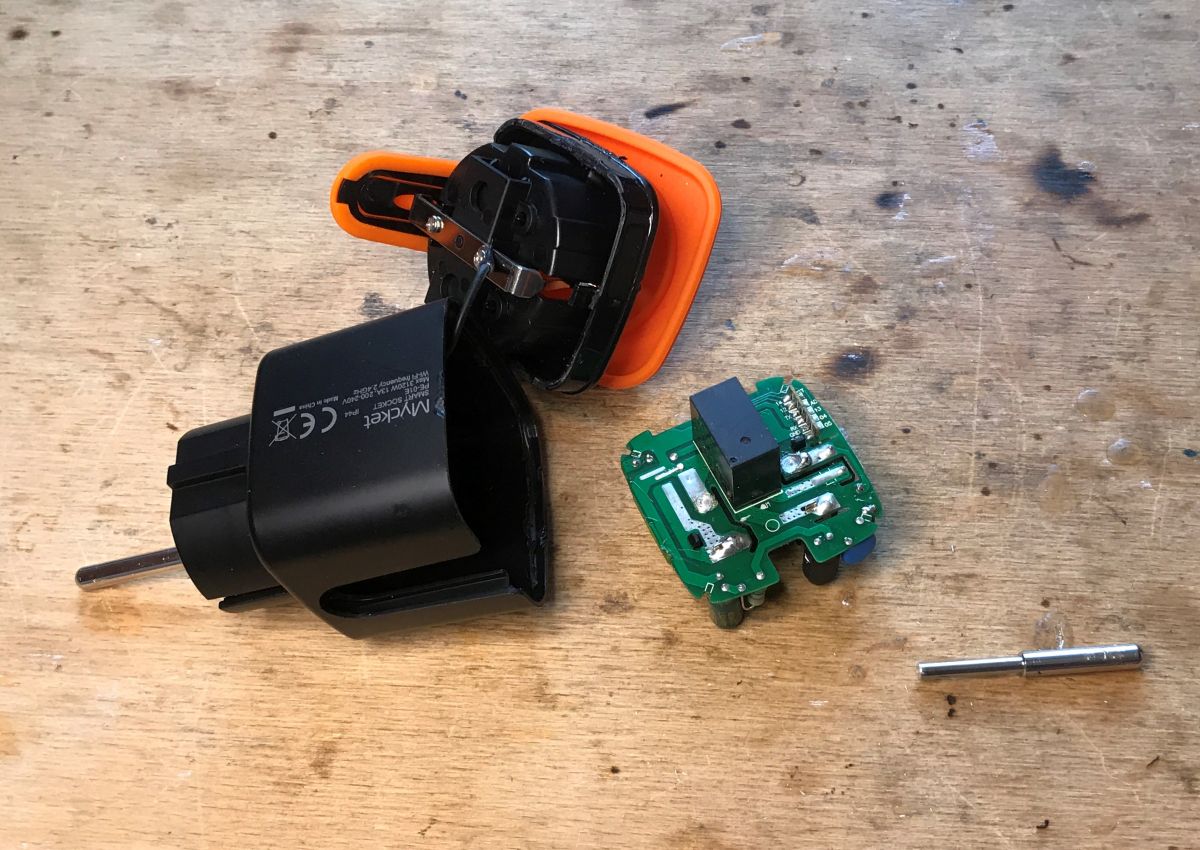
The PCB was removed, but at what cost:
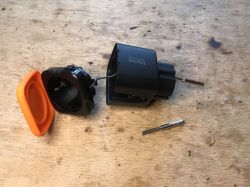

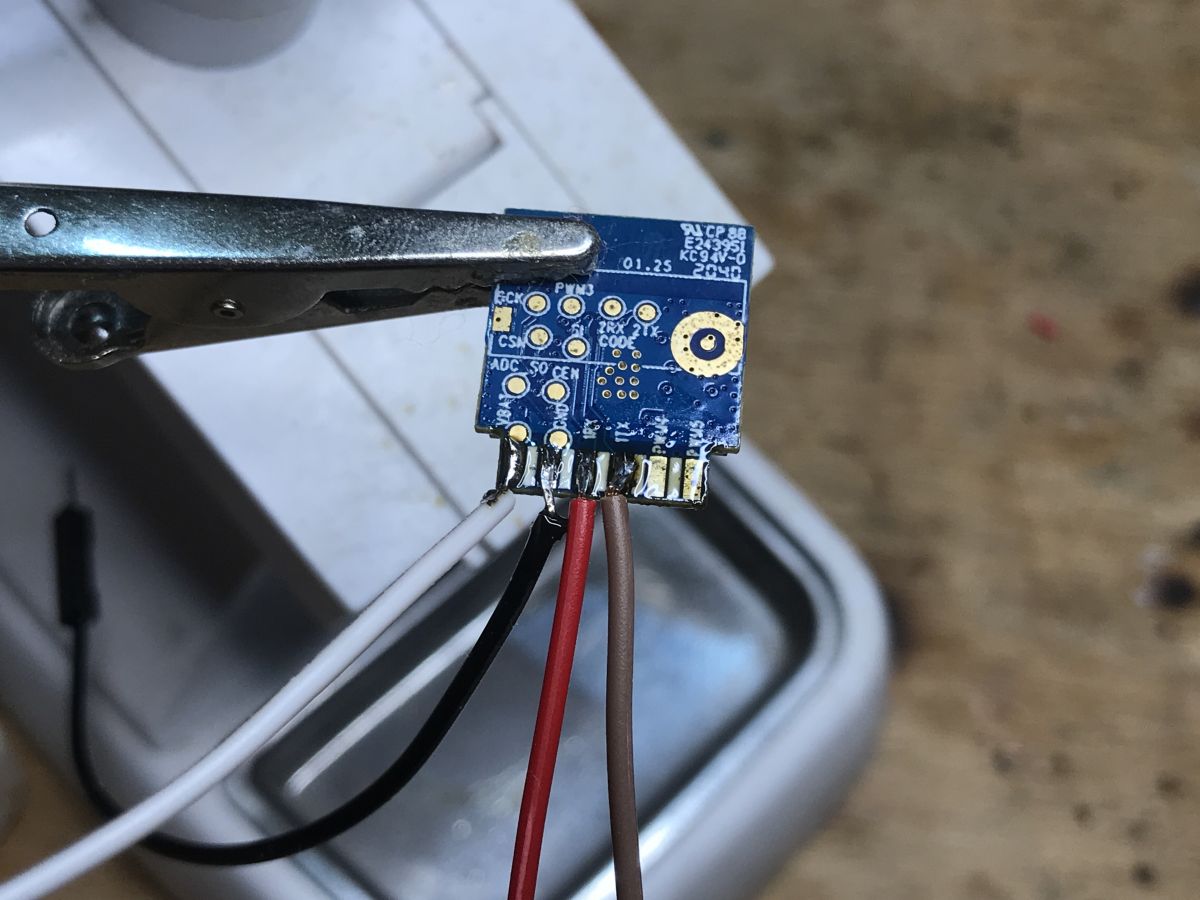
There is a WB2S module inside. I took it out for programming:
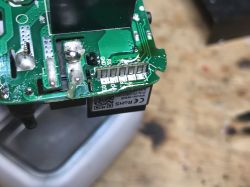
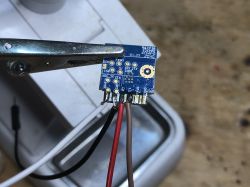
I only connect VDD, GND, RX and TX. USB to UART adapter in 3.3V mode. VDD is 3.3V. bkWriter is able to program this module. To perform a RESET, I cut off the power.
Just like, among others here:
Electric socket with LSPA9 energy measurement - we program our own firmware
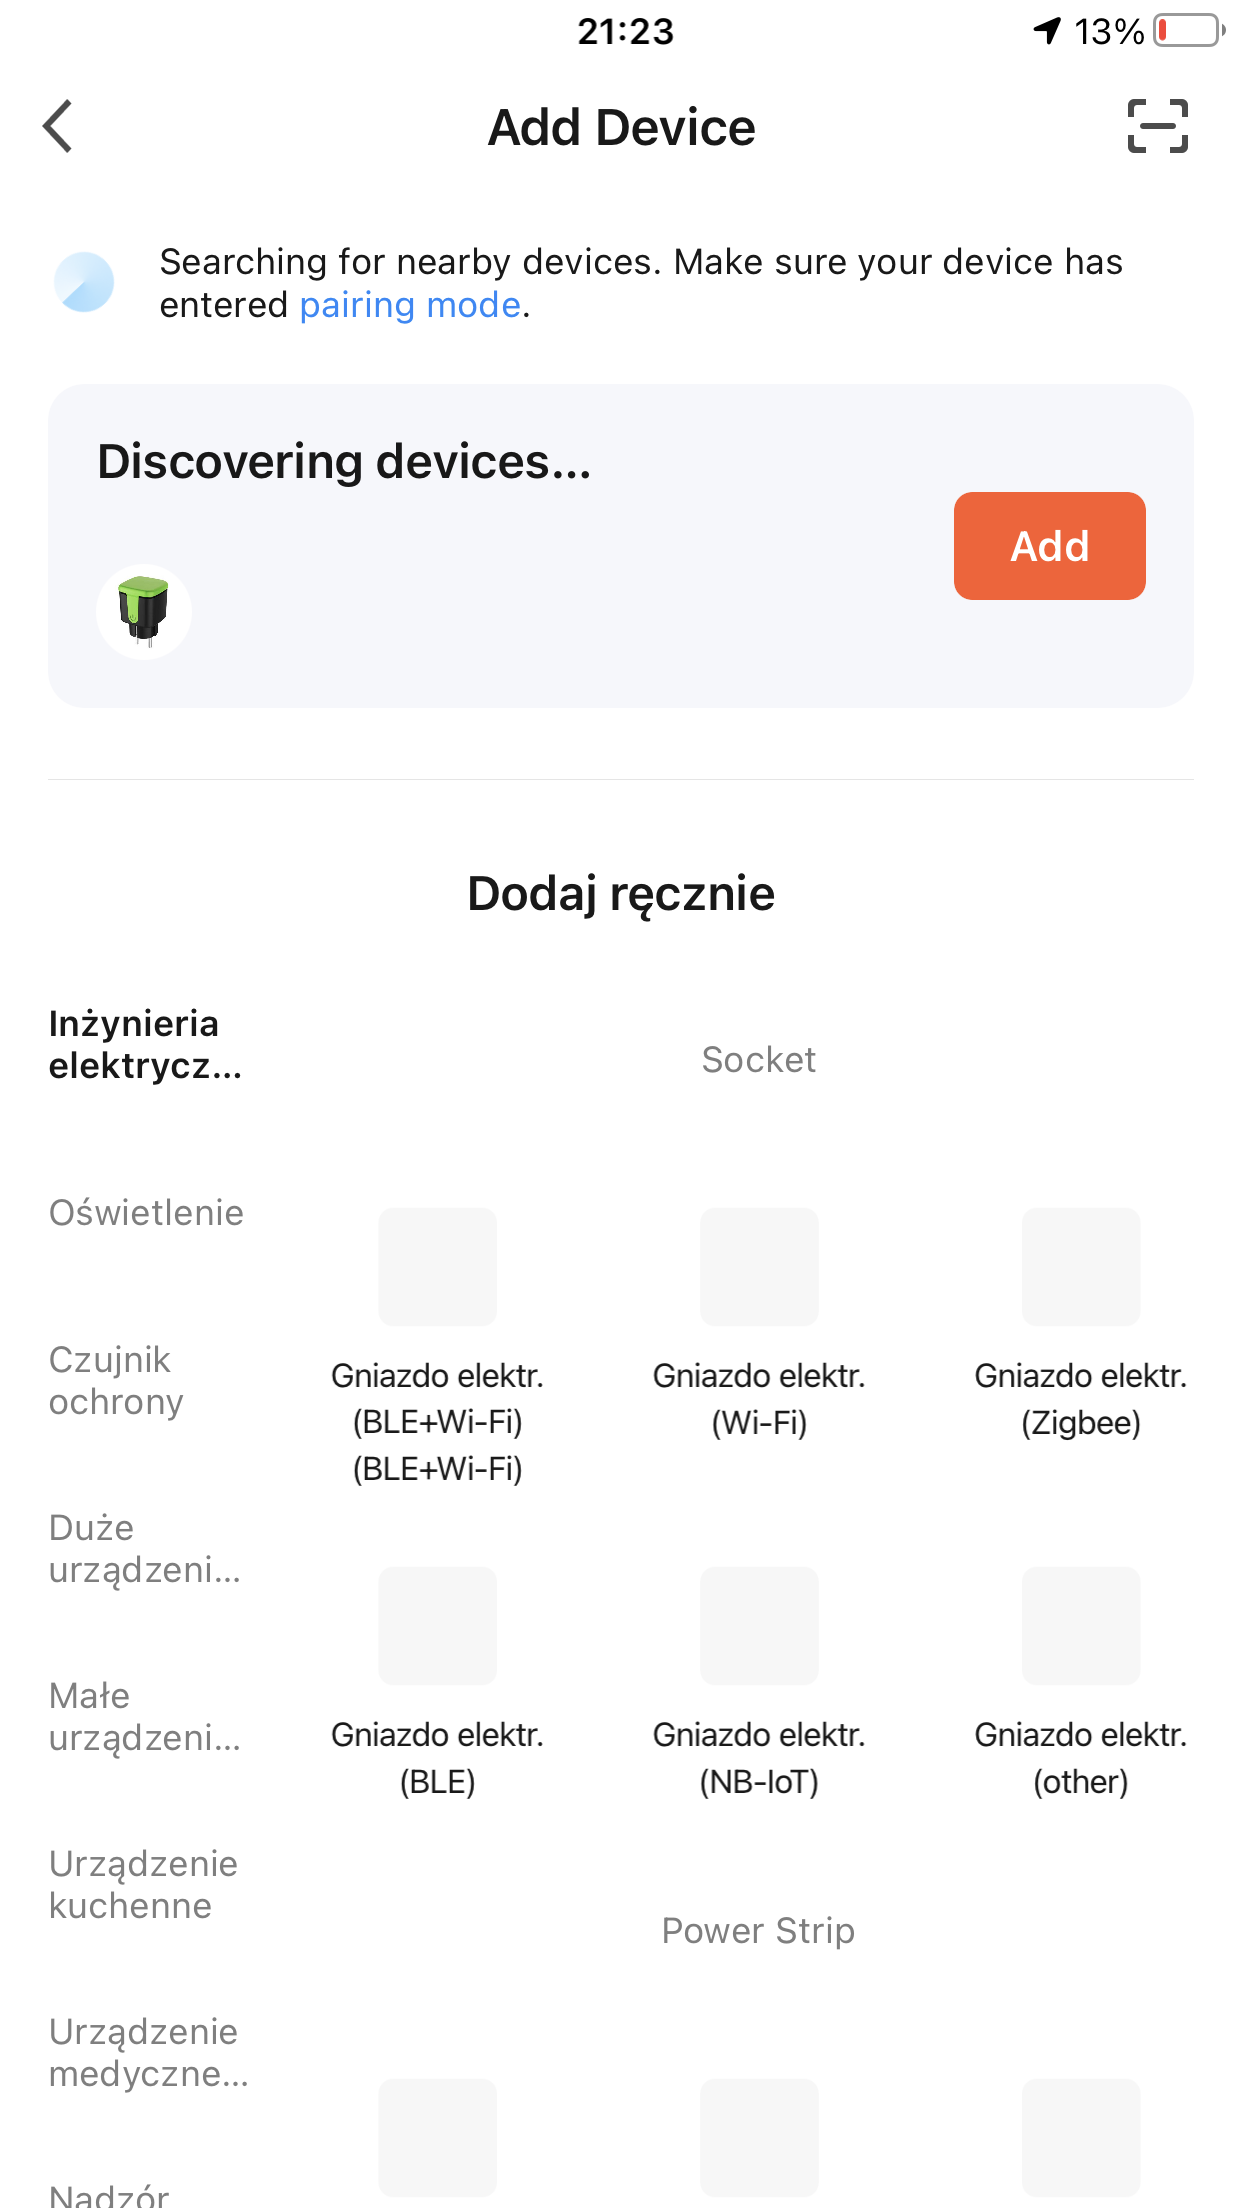
We take bins from here:
https://github.com/openshwprojects/OpenBK7231T_App/releases
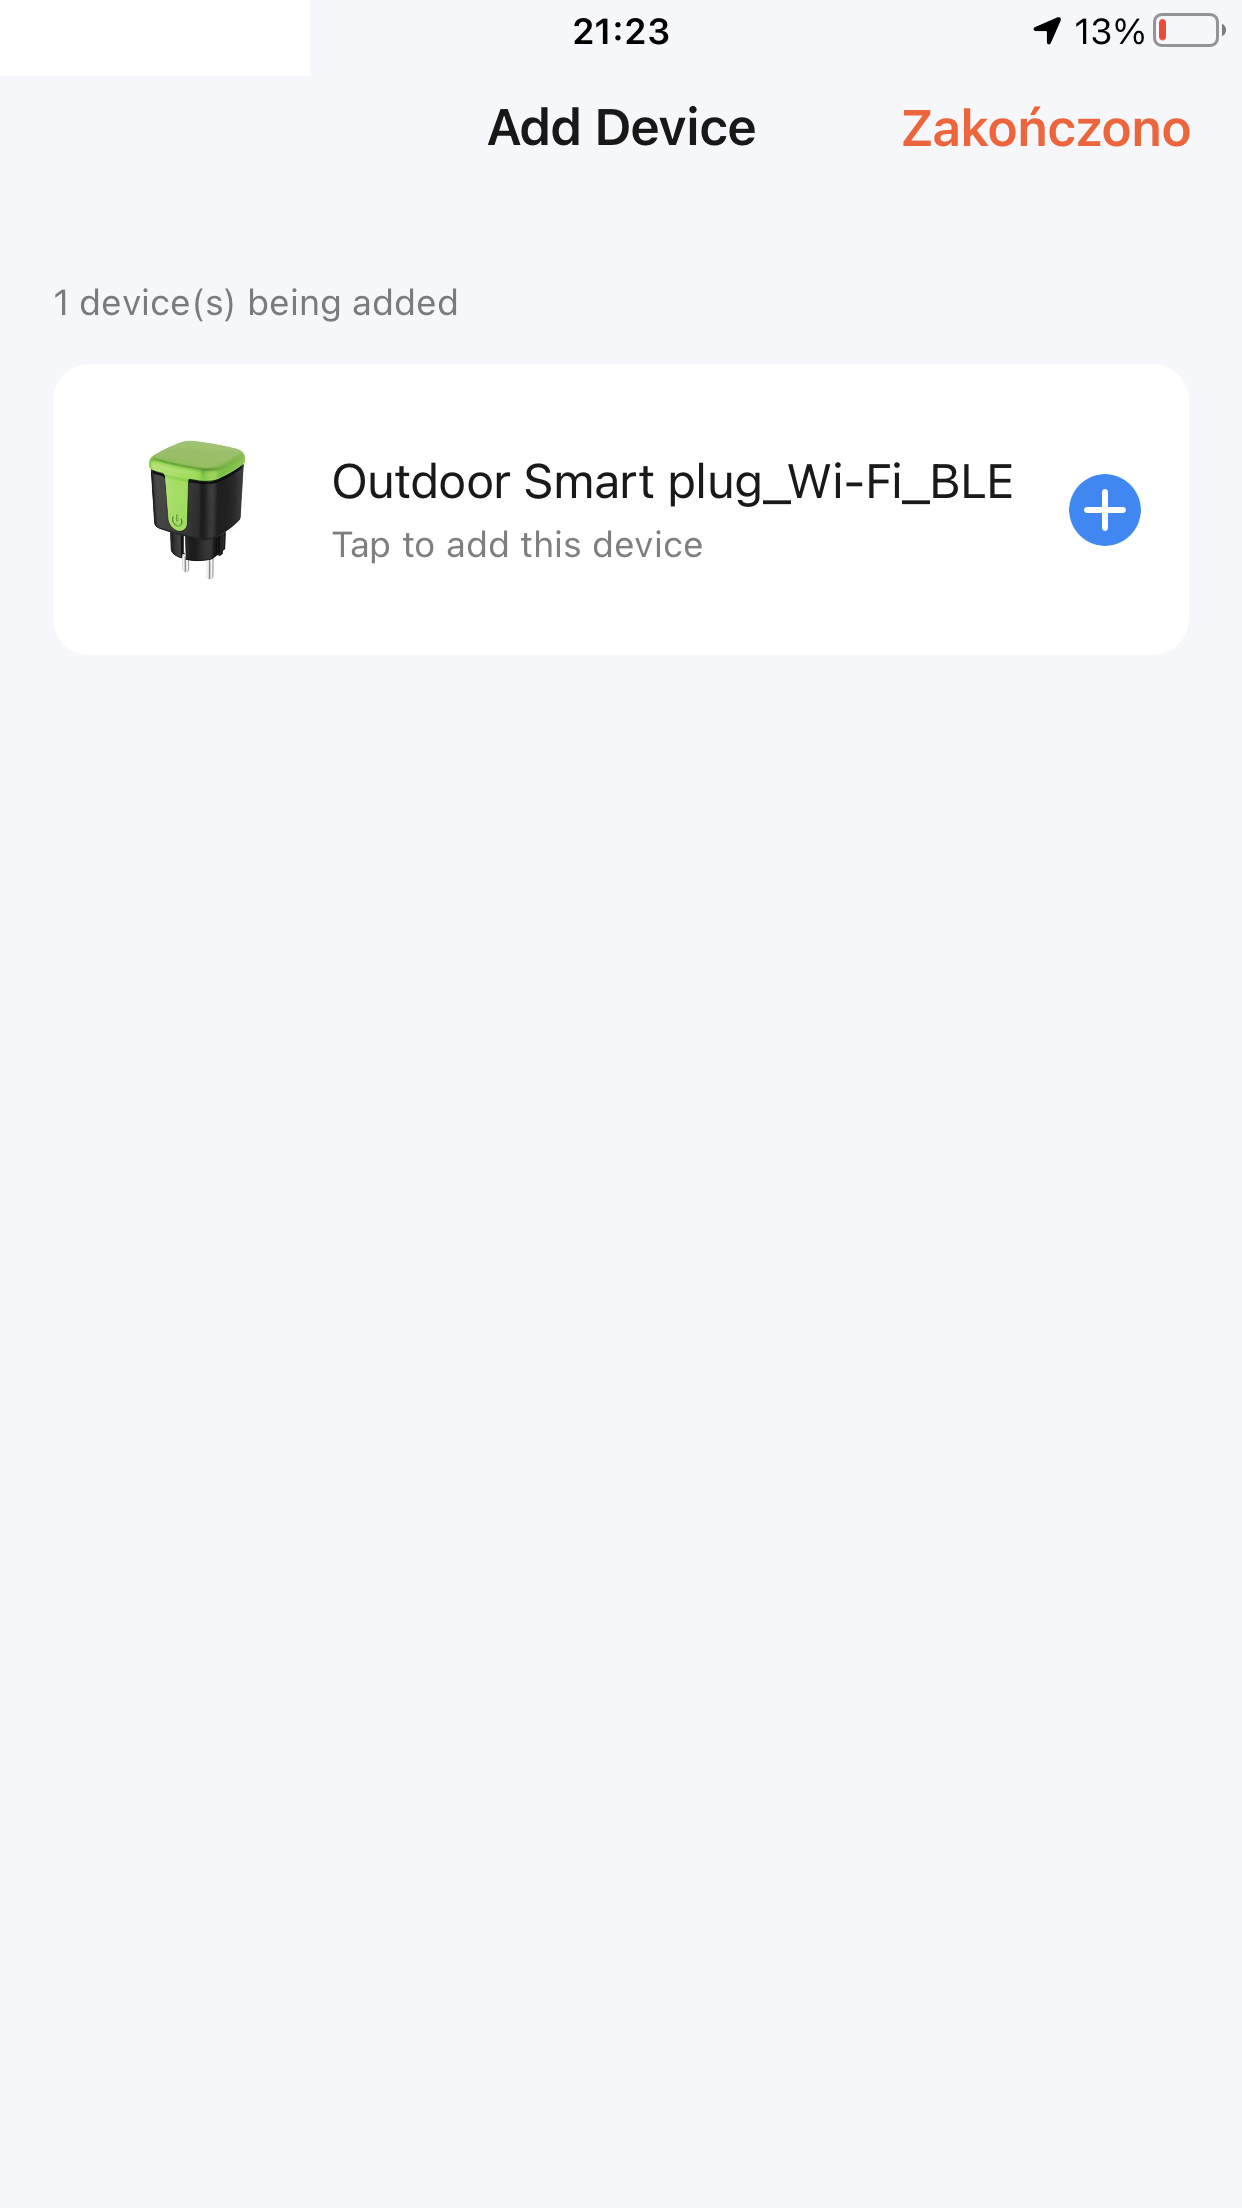
Pairing with Tuya
The purpose of the game is to change the load, but I did a short test with the Tuya app anyway. Let's see how Tuya sees this nest ...


I steamed them like this:
 OpenBeken configuration
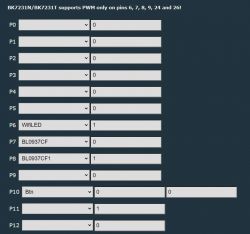
To configure the firmware after the change, we need to know what pins are the button, relay and signals from BL0937 on.
This is shown in the screenshot below:
Additionally, the energy measurement should be calibrated in accordance with:
https://www.elektroda.pl/rtvforum/topic3887748.html
This socket additionally has a separate LED diode, which can be used either as a WiFi status LED or connected to the relay status (with _n if we want with negation).
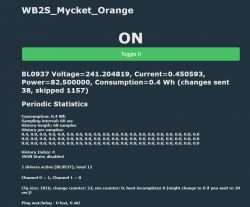
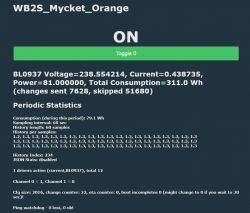
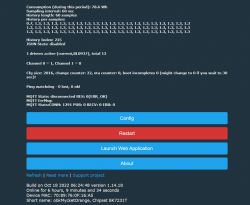
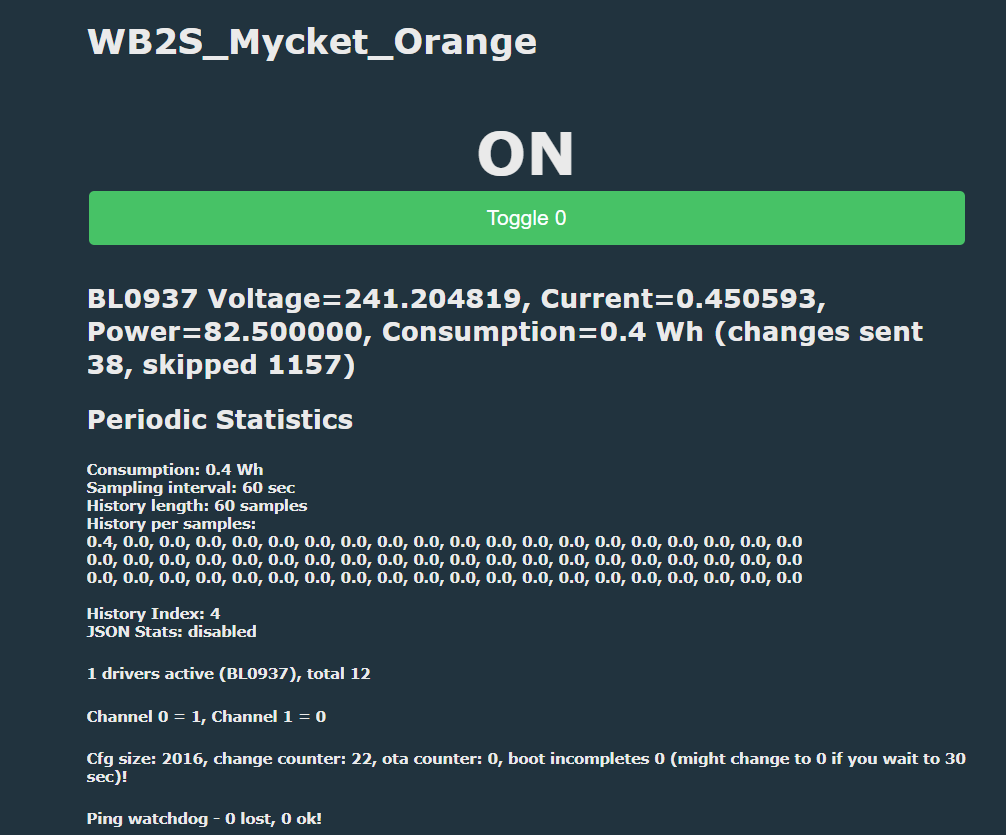
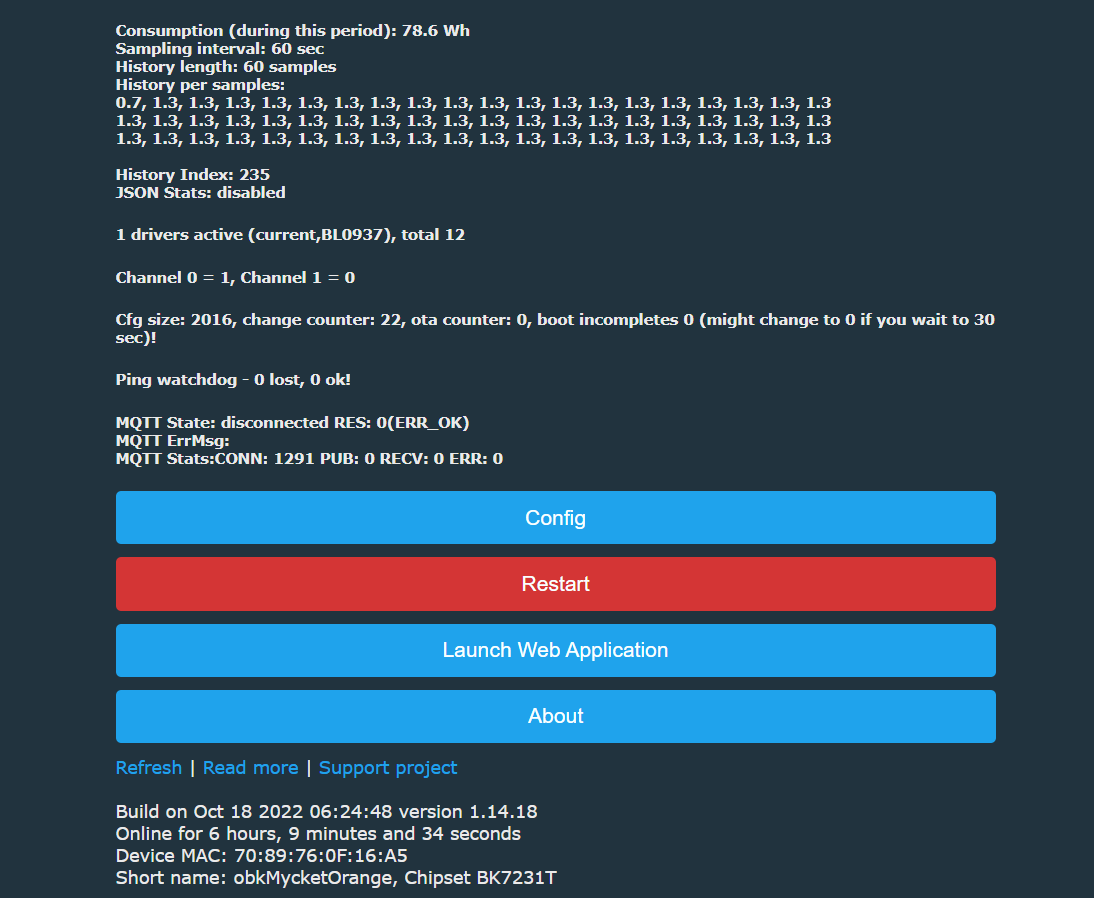
Energy consumption statistics
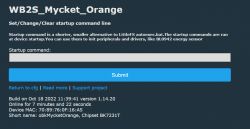
It is worth adding that thanks to the latest updates, OpenBeken also counts how much we used in watt hours. It always counts how much we have used in total, but it can also count the consumption in the last period of time (e.g. in an hour). This can be run through a console command, which we enter, for example, in 'Short startup command':
SetupEnergyStats [enable] [sample_time] [sample_count]
SetupEnergyStats 1 60 60
sample_time - how many times it saves the measurement in seconds
sample_count - how many samples we save in total
Here is the view from the panel:
Little later:
 Pairing with Home Assistant
There are already two ways at the moment.
Method 1 - Home Assistant Discovery:
Just set up MQTT. Then we open "Generate Home Assistant CFG" and there we have:
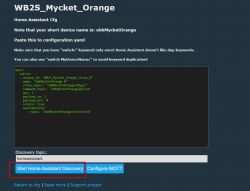 I emphasize - recently the Discovery also automatically adds the measurement fields to the HA, i.e. voltage, power, etc. You do not have to do it manually anymore.
Method 2 - handwriting Yaml like in this topic:
https://www.elektroda.pl/rtvforum/topic3887748.html
Summary
Those slightly more budgetary power metering sockets, the Mycket Smart Socket PE-01E, NAS-WR01W and NAS-WR07W models are a bit more difficult to take apart. I had problems with each of them. I finally put this Mycket together, but I had to figure out how to solder the pins of the plug so that they would stick firmly. Luckily I had a soldering iron strong enough and the pins returned to their place (because yes, they were soldered to the pads by the manufacturer).
I have already prepared a tuya-cloudcutter profile for this socket, including the pull request:
https://github.com/tuya-cloudcutter/tuya-clou...mmit/41f82d20b0e4d450ec6d788441e612910740dc32
Tuya-cloudcutter will allow you to change the load of this socket remotely - without opening the housing. Details can be found in their repository.


Comments
In this socket, as in the documentation, there is a 1mOhm shunt? https://datasheet.lcsc.com/lcsc/1811151441_BL-Shanghai-Belling-BL0937_C94616.pdf So the equipment is deadly to fumble around at work, I... [Read more]
Here you have some pics.... https://obrazki.elektroda.pl/9497957800_1673784351_thumb.jpg https://obrazki.elektroda.pl/3192942200_1673784351_thumb.jpg https://obrazki.elektroda.pl/6098912600_1673784253_thumb.jpg... [Read more]
Hi may I ask how did you solve this: "Luckily I had a soldering iron strong enough and the pins returned to their place" Because I believe if i use a strong enough soldering iron i will will... [Read more]
Hello @ThWi, welcome to Elektroda. There is no magic in soldering, I just mixed some Pb solder with the original one, added some flux, then used solder wick to remove the old solder mix, then readded... [Read more]
Hello thanks for your feedback. I think I got it, you right soldering isn't a big issue. But the pins shout be inside the cover (moved from buttom). May be I'm wrong but it might be you reamed... [Read more]
Ah, I see what you are asking for, I can see the problem, but I don't remember how I solved it. I can show you how socket looks now: https://obrazki.elektroda.pl/7044298500_1698665399_thumb.jpg ... [Read more]
Hi, great, this points me out! I can see the glue means you drilled out the cover holes to put the pins from "inside" through the hole. That's what I expected. Yes, I know the tyua json, but I... [Read more]
Hi. I recently purchased a similar device to the one described here: https://www.aliexpress.com/gcp/300000512/nnmixupdatev3?spm=a2g0o.productlist.main.7.129ftQMhtQMhjA&productIds=1005006437113170&pha_manifest=ssr&_immersiveMode=true&disableNav=YES&channelLinkTag=nn_newgcp&sourceName=mainSearchProduct&utparam-url=scene%3Asearch%7Cquery_from%3A... [Read more]
What version of Tuya's firmware? [Read more]
Main module V1.1.15 Other type V1.0.5 [Read more]
Version 1.1.15 from smart plugs is not susceptible to flashing via WiFi [Read more]
I thought this only applied to the N version I understand that there is no possibility of undoing the firmware. [Read more]
Actually, you didn't give any information in your question whether you have a device on T or on N, but in my experience Tuya uses them interchangeably. In any case, this soft is listed as zpatchable. You... [Read more]
This is sad, I had hoped not to dismantle the plugs which should be tight. I did not write what type of module because to find out it is necessary to dismantle which I wanted to avoid. [Read more]
Now I understand, so you have specifically this version, the "external" one? Well it's hard, it's going to get worse and worse, they probably don't even produce devices on the old software anymore. What... [Read more]
The latter method is a bit axe-like, for ordinary plugs I've seen a way with a frame, but with IP44 it probably won't work, from your photos it looks like they made a "socket" in the deep part of the housing... [Read more]
I managed to open this plug harmlessly. Inspired by the frame idea, I used a vise for the first plug and a hydraulic spanner for the other two. In both cases, use spacers of hard cardboard or thin plastic... [Read more]
Thank you for the comprehensive presentation, until I checked myself if my Mycket has hidden screws, but I don't see anything like that.... I know about the hidden screws on the Blitzwolf, but my PE-01E... [Read more]
As you can see from this thread, every now and then the name of this socket changes, as well as the mounting method, apparently previously there were no screws but soldering. By the way, in the examples... [Read more]