I will show here how you can easily install Tasmota on a device with ESP8266/ESP8285 or ESP32 via a web installer available on Chrome, Opera and Edge browsers. The described method is much more convenient than the "manual" installation via esptool.py, but it still requires connecting the USB to UART converter to the system, power supply and shorting IO0 to ground. Here I will present the installation process step by step, so that any beginner can handle it.
The goal of the game will, of course, be to free the "smart" device from the cloud, from the manufacturer's servers and gain full control over it, as well as pairing it with Home Assistant ... but here I will only discuss Tasmota uploading itself. So that's the first step.
Hardware connection
I assume that we have already dismantled the device and verified that it is based on a supported chip from the ESP family.
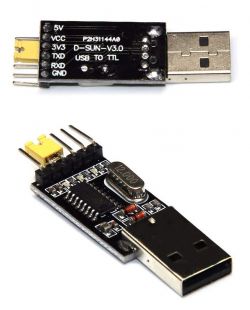
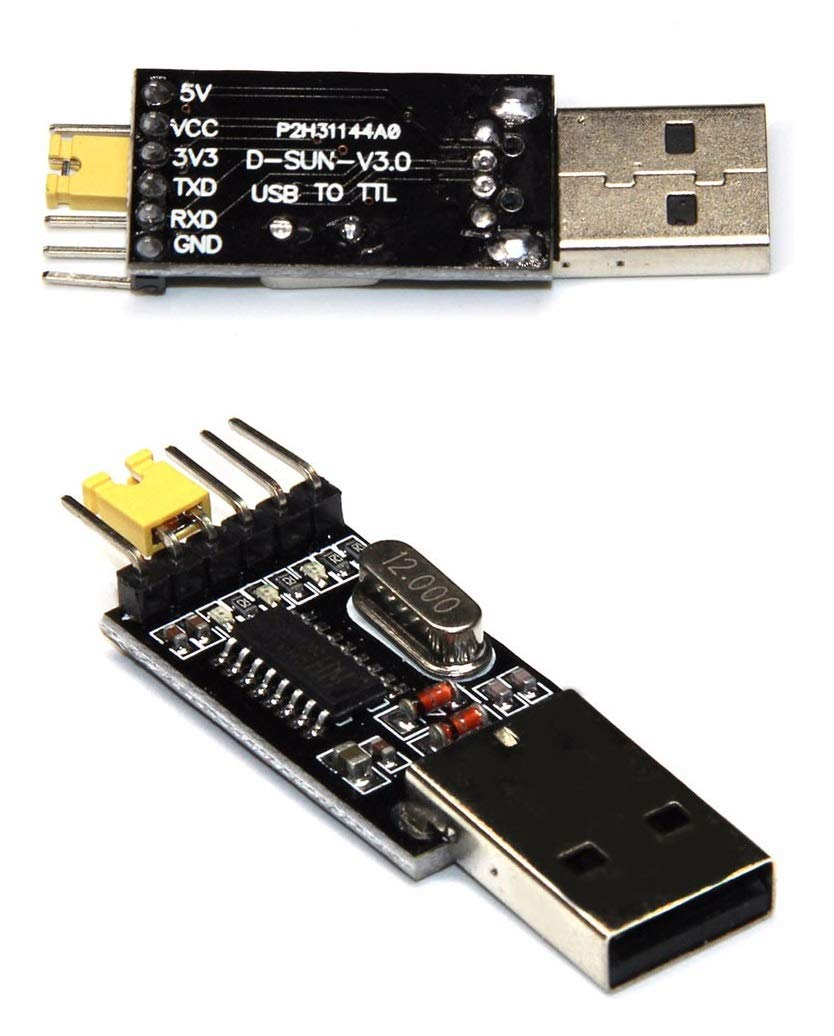
For programming, a USB to UART converter with 3.3V logic levels is enough, I personally use the cheapest versions where the voltage is selected with a jumper:
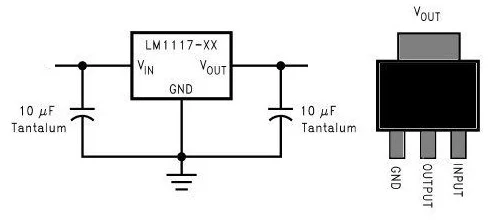
In addition, you need a solid 3.3V source with good current efficiency, because this 3.3V pin from this converter is not suitable for this application. You can use e.g. 5V from USB and power the 3.3V LDO regulator, I sometimes use TC1264, but the AMS1117-3.3V is more popular:
 (okay, if the board has AMS1117-3.3V or another LDO or step down converter, you can connect 5V to its input, so that its output is 3.3V for the WiFi system, it will come out the same ...)
In addition, you need to short IO0 to ground, it must be at ground level during ESP boot to start bootloader mode. RST I don't even solder. Here is an example of a board with signals for programming (already whitened):

Not every device has these signals output, sometimes you have to search and combine.
Connect the RX from the converter to the TX of the device, and the TX from the converter to the RX of the device.
ATTENTION: of course, all operations are performed with the system disconnected from the mains!
And this is my whole programming layout:

During programming, I do not operate RESET, just to enter the bootloader mode, I first short GPIO 0 to ground and then disconnect the power supply for a moment. To boot normally, I disconnect the power, open the GPIO 0 and reconnect the power.
For details, refer to the ESP catalog note.
Important - backup - esptool.py
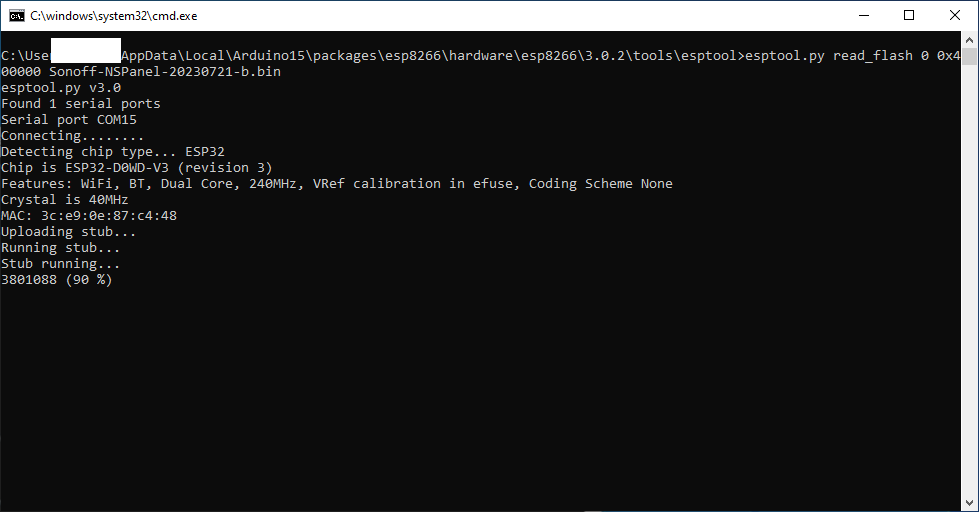
I haven't seen this online tool able to make a backup, so for the record, for security's sake, this is how you can dump the ESP via esptool.py:
esptool.py read_flash 0 0x400000 Sonoff-NSPanel-20230721-b.bin
Esptool.py requires Python, although it can also be bundled together with the Arduino ESP package.
This is the command for the batch size of 4MB, depending on the device you may need to change this size:
Backup is not mandatory, but I highly recommend you always do it! This will allow you to return to the manufacturer's software if necessary.
Installation via tasmota.github.io/install
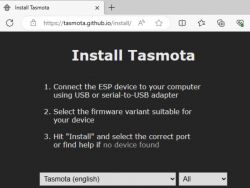
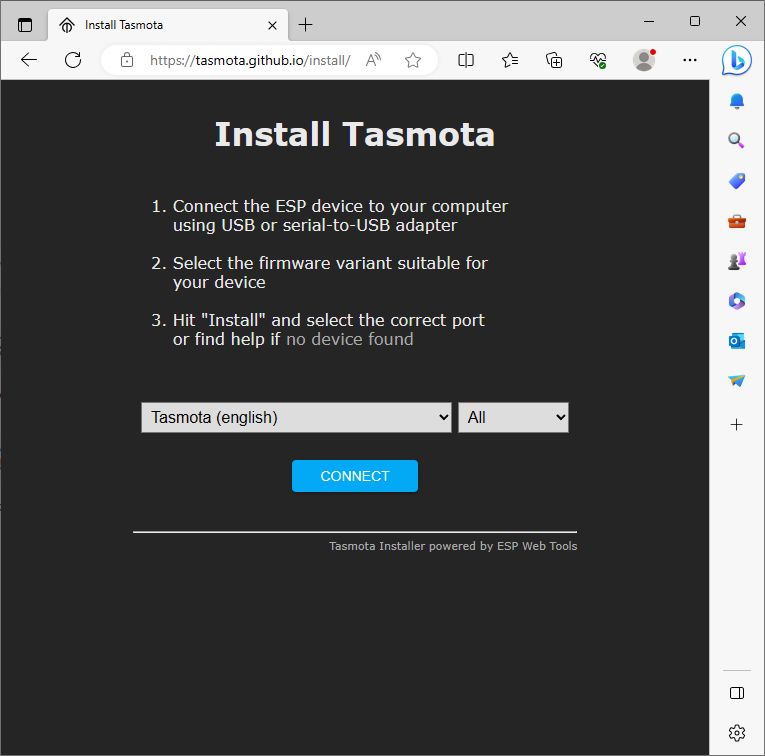
We open the installation page:
https://tasmota.github.io/install/
We are greeted by this view:
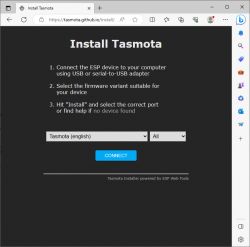
If our browser does not support Serial Port, we will see something like this (screenshot from Firefox, thanks for pointing out @rb401):

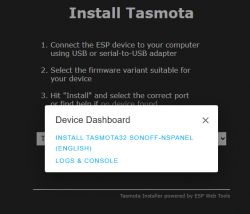
Select the desired batch version from the list:

Here I chose the version for Sonoff NSPanel because I just flashed it, but you should choose what interests you.
Next, a COM port selection window will appear, must select a virtual COM port from our USB to UART converter. As a rule, there is only one, no problem.

If the port does not appear, it is worth e.g. checking if something has taken it, e.g. the Cura program, popular among 3D printer users at one time, automatically occupied the COM port for some incomprehensible reason.
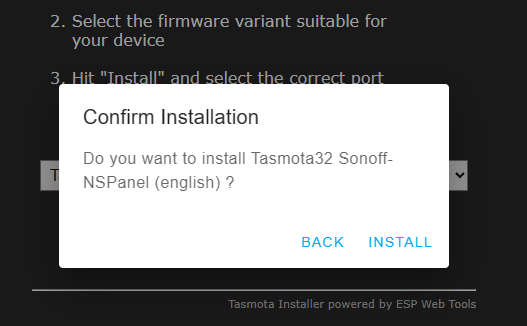
We confirm:
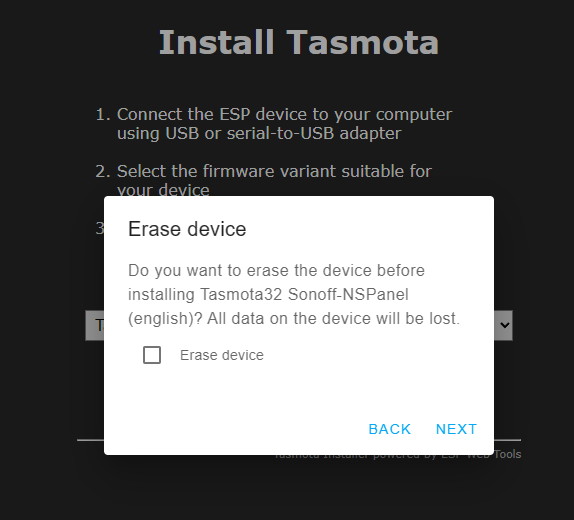
The erase option can erase all memory before uploading a new batch:
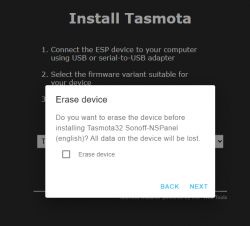
We confirm:
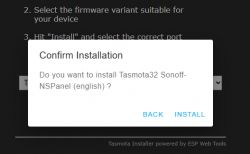
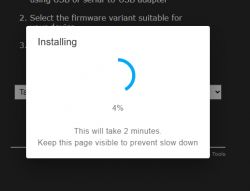
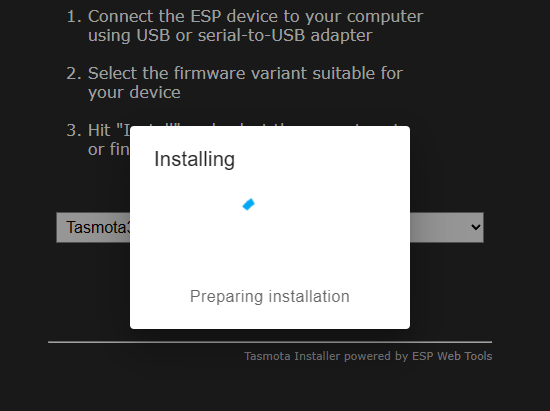
Now the installation will start. The USB to UART converter is working, it cannot be disconnected now. We wait patiently.
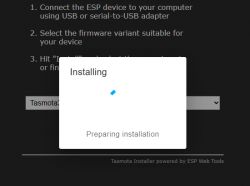
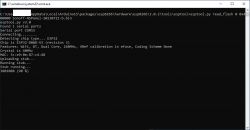
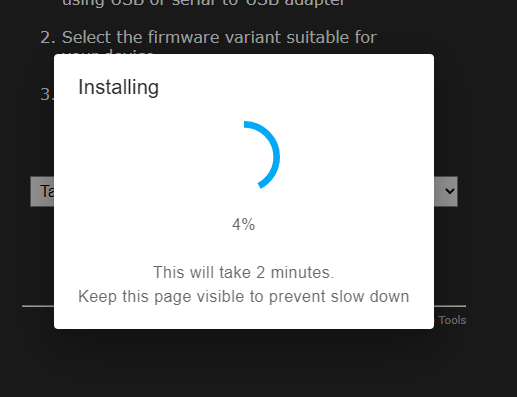
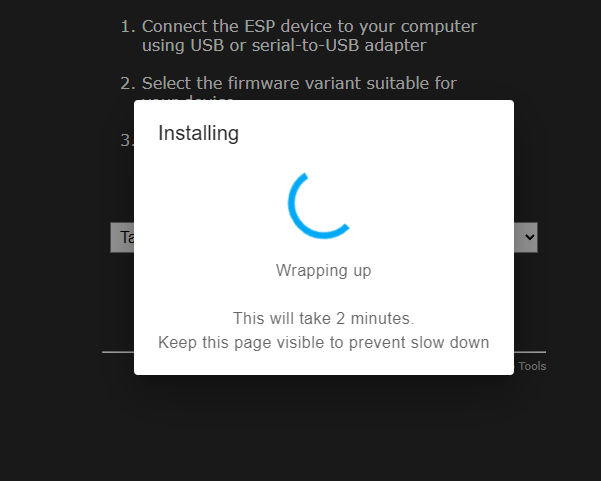
Now the main installation process is underway, it will take up to a few minutes:
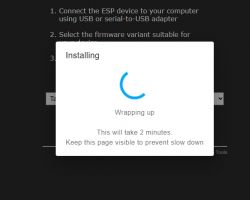
Then we are still waiting for the finalization of the process:
Ready! Success!
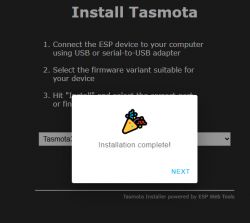
In case of need, we can quickly upload the batch again to another device.

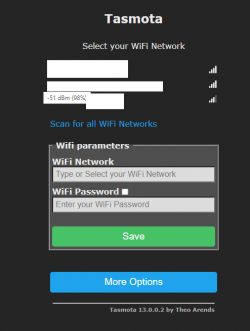
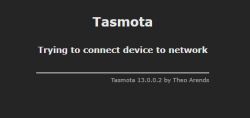
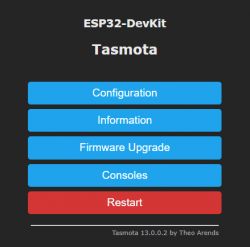
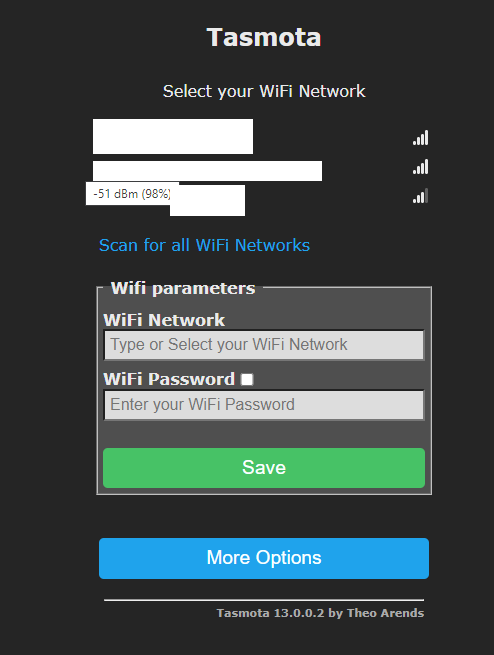
Now you need to disconnect IO0 from ground and reboot! Then Tasmota's WiFi network will appear:
 Tasmota setup
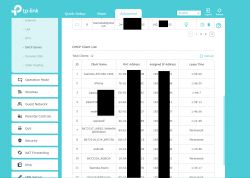
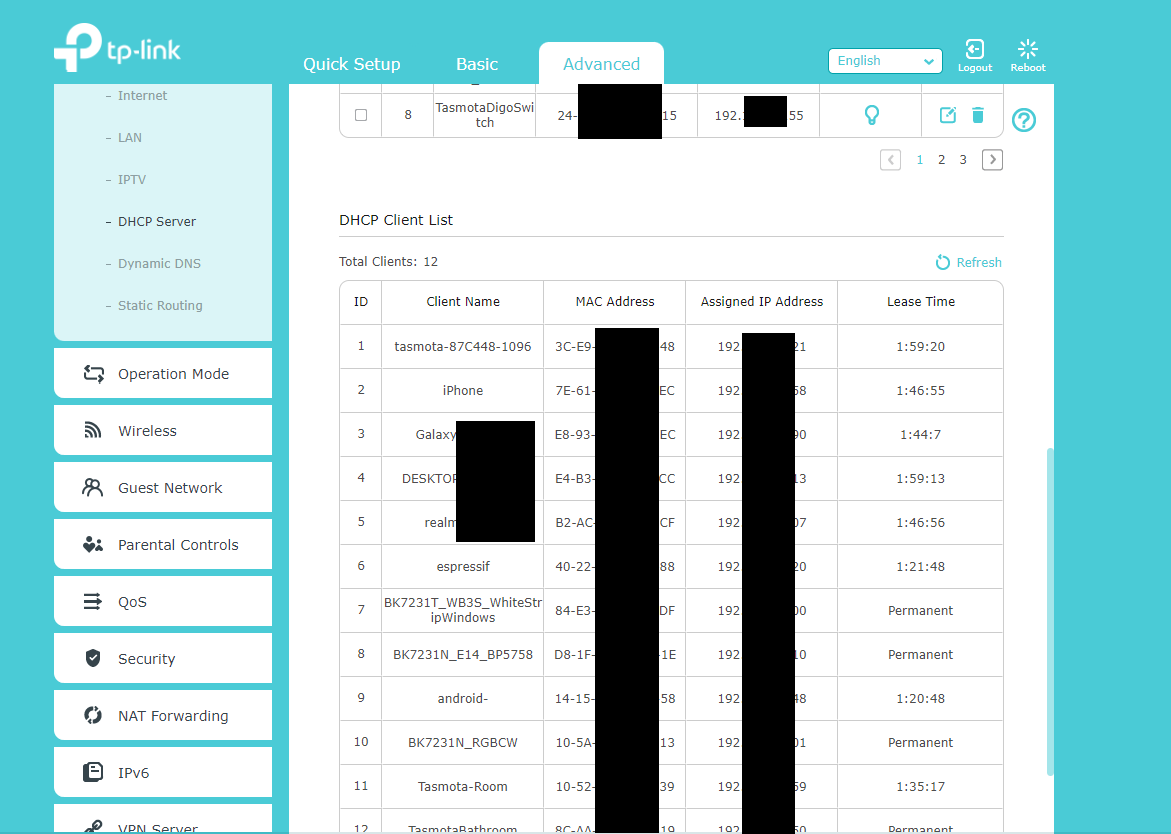
This has basically already been discussed, but briefly: first we connect to Tasmota's WiFi network, then we set information about our WiFi (SSID, password) on the IP address 192.168.4.1 and then Tasmota connects to it and we can get to know its IP, e.g. from our DHCP server on the router:
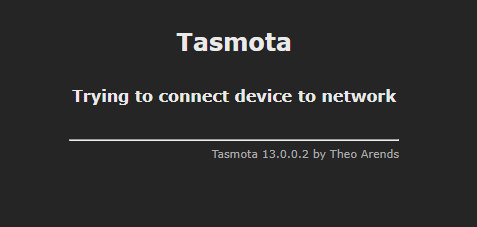
After approval:
On our router:
Ready:
That's it for now. For more details on Tasmota, please refer to:
ESP8266 and Tasmota - controlling the WiFi relay step by step
For Home Assistant information, please:
Tutorial Home Assistant - configuration, WiFi, MQTT, Zigbee, Tasmota
Anyway, there is also an old method of uploading the batch via WiFi:
SC3-01 SmartLife switch and ESP firmware upload via WIFI (tuya-convert/OTA)
Summary
A very simple method. It releases us from at least a few obligations:
- no need to download flasher
- no need to install python (in case of esptool.py, because there are also tools that do not require it)
- no need to look for current binaries (everything Web tool finds itself)
In addition, it is fast and efficient, and even works on Microsoft Edge.
I guess the only thing I have to gripe with is the lack of a backup. I didn't see that option there. Maybe I missed something?
Anyway, maybe someone will find it useful. For standard devices, you probably don't need a copy...
PS: I attach copies of drivers for CP2102, CH342, CH343, CH9102 and CH340, CH341. Maybe someone will like it. 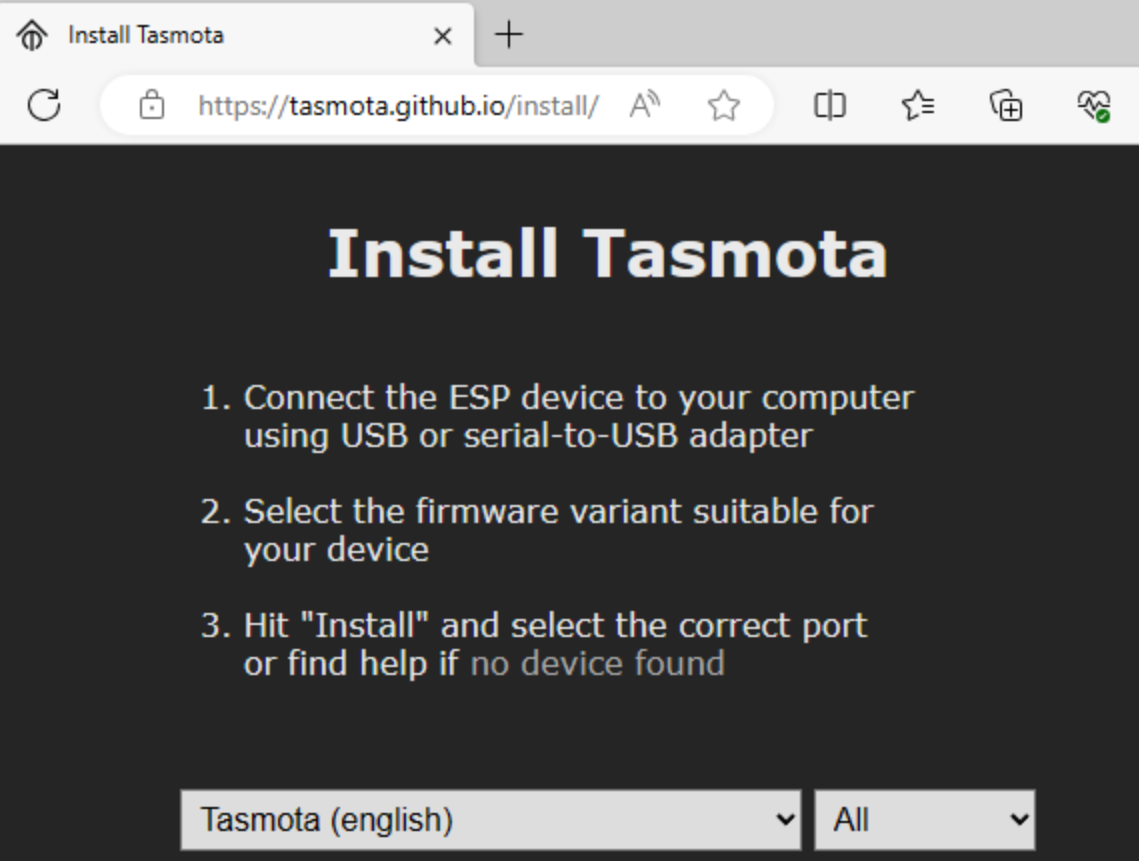


Comments
I also ordered such a USB to UART converter in a hurry and am waiting for the shipment. In the meantime, in my free time, I looked at other offers and it seems that the CH340 version as "USB - UART converter... [Read more]
Indeed, perhaps this is a good alternative. As for the topic - a small update - it is worth adding that after hovering the mouse over the list entry, we see the supported platforms: https://obraz... [Read more]
I have a question if I may. How to return to a software backup? I uploaded tasmote to NSPanel but I don't have time to play with it at the moment and I want to go back to the original software for... [Read more]
Have you made a backup? You can upload it via esptool.py and the write command. For example: esptool.py write_flash 0 Sqqqqqqq7.bin If you don't have a backup, I have some dump from NSPanel: ... [Read more]
OK thank you. I will check it in my free time. I made a backup. FlashNextion or whatever it is, I also made a flash from the console on the tape, but not any backup. I haven't seen anything about... [Read more]
It's good that you asked, because you would be surprised after putting the device together.... I found something like this, because I restored it once and it worked: - ns-panel.tft - nspanel_blank.tft ... [Read more]
Approx. Thank you. So, first I install the tft file via Tasmota via FlashNextion and then I restore the backup via UART, right? [Read more]
That's right, I followed this process and it worked. Remember that FlashNextion requires a URL to the file on the HTTP server, so you must, for example, upload it to an HA server so that Tasmota can... [Read more]
The problem is that I don't have HA. Generally, I bet everything on IObroker. I'll try Samba. Thanks a lot for your help and quick info. EDIT: I uploaded the tft file via FlashNextion and... [Read more]
I have a request. Again I want to go back to the ori soft because I used the Raspberry for the Klipper for the 3D printer and want to go back, but I don't remember how to create a virtual server to upload... [Read more]
And why a virtual server? A regular server is probably enough, or we don't understand each other... You can set up a simple server in Python. In cmd: python -m http.server 8000 Or in Visual... [Read more]
Because in the console I have to give it as a link yes? Am I mistaken? I can't remember anymore. [Read more]