Interior and Tasmot upload on elHome WS-03H1 (Sonoff TH10/16 Ver 2.1 clone)
 .
.
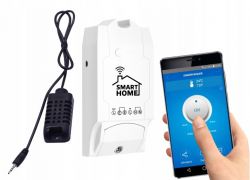
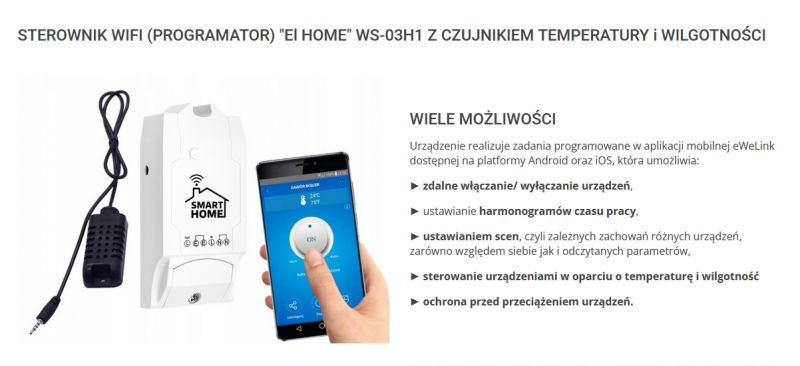
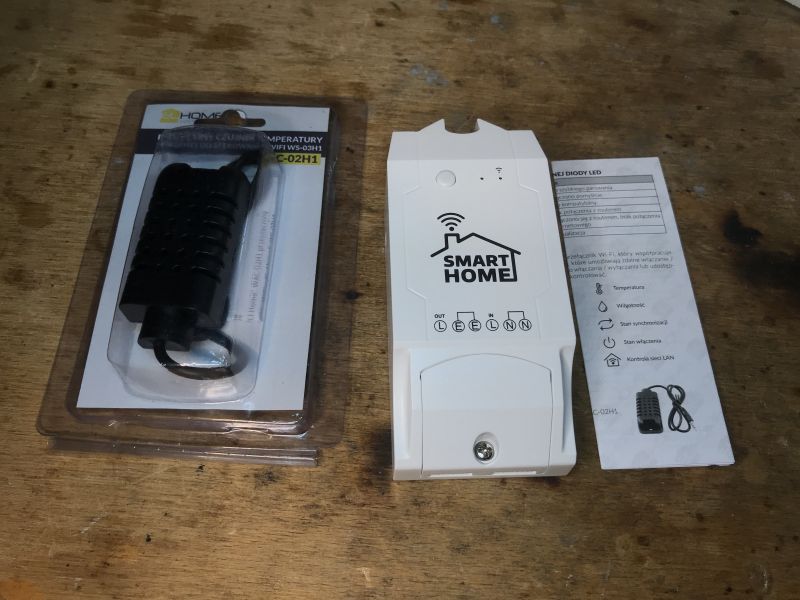
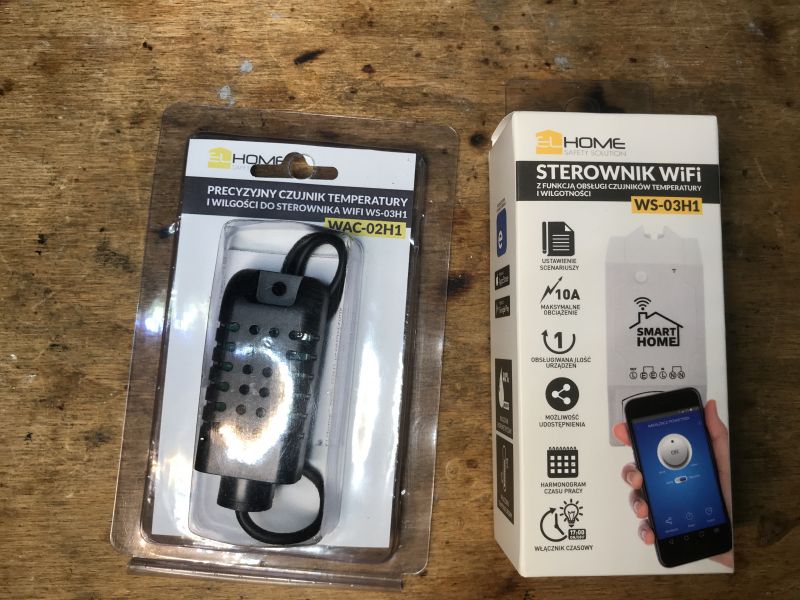
Here I present the WS-03H1 elHome module kit together with the WAC-02H1 temperature/humidity sensor, a repainted Sonoff TH10/16 kit with AM2301 sensor.
I will change its firmware so that it can be controlled locally.
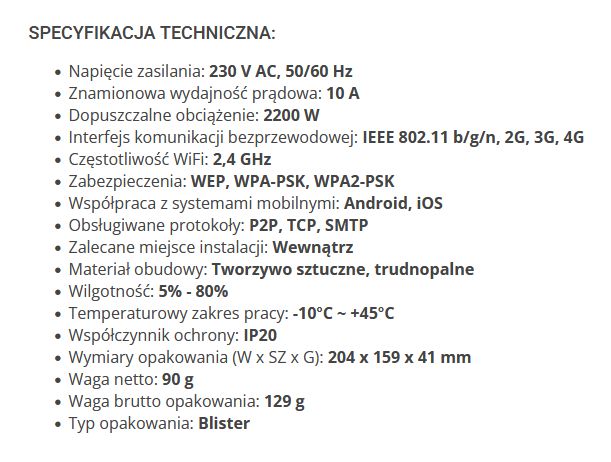
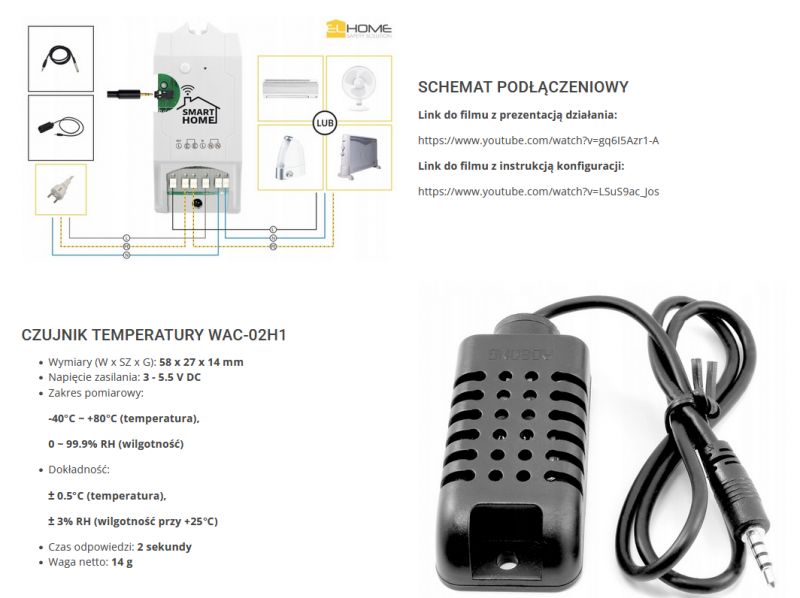
The kit can be bought together for £100, or the base and sensor can be ordered separately. The configuration may vary depending on which sensor you have:
 .
.
 .
.
 .
.
We get a set like this:
 .
.
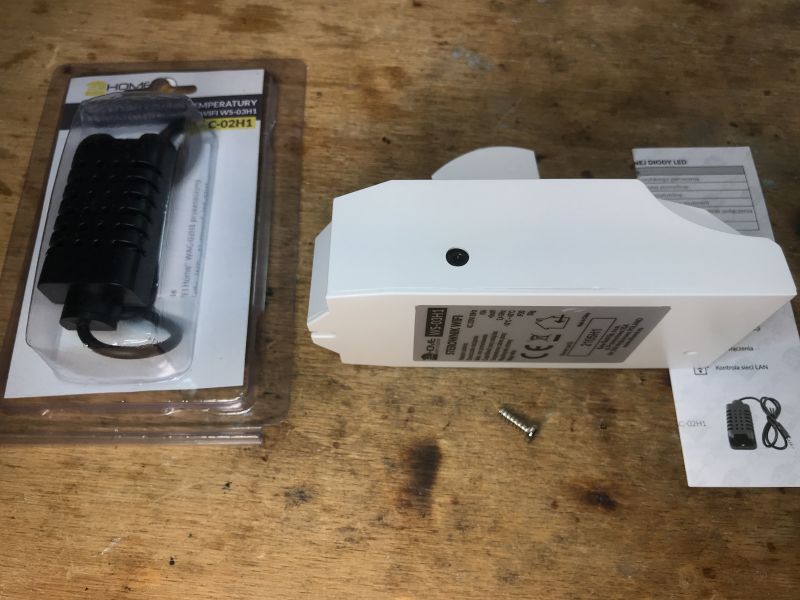
The module has a jack socket on the side for the sensor:
 .
.
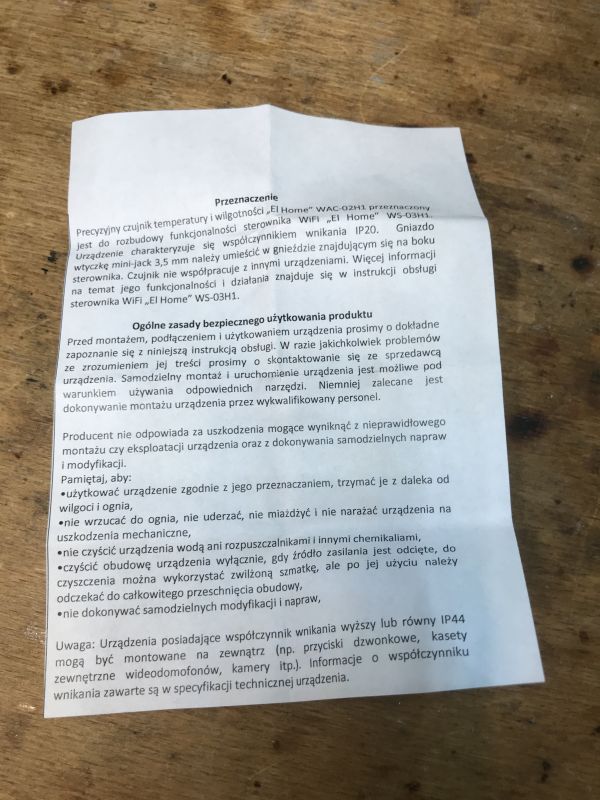
Leaflet:
 .
.
Interior of WS-03H1 .
Before dismantling I already had my suspicions, but only after removing the housing does everything become clear:
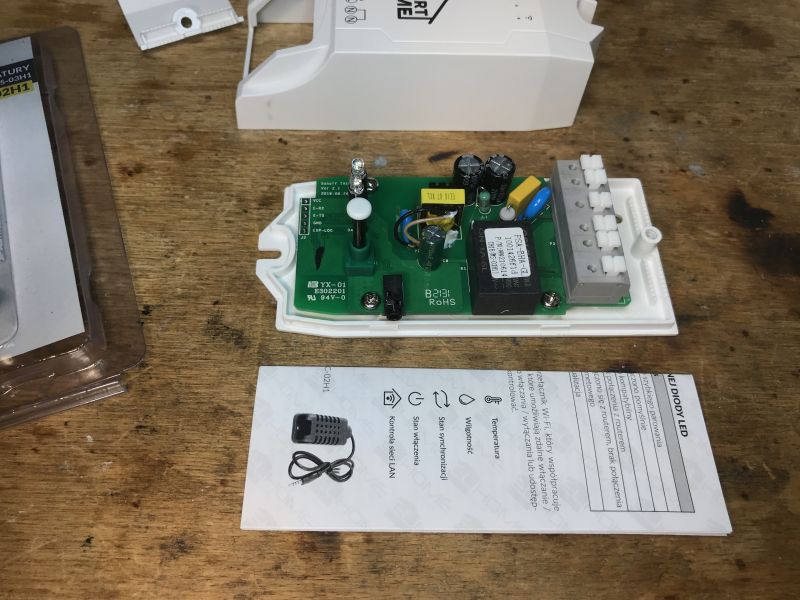 .
.
This is simply a Sonoff TH10/16 repainted from the outside:
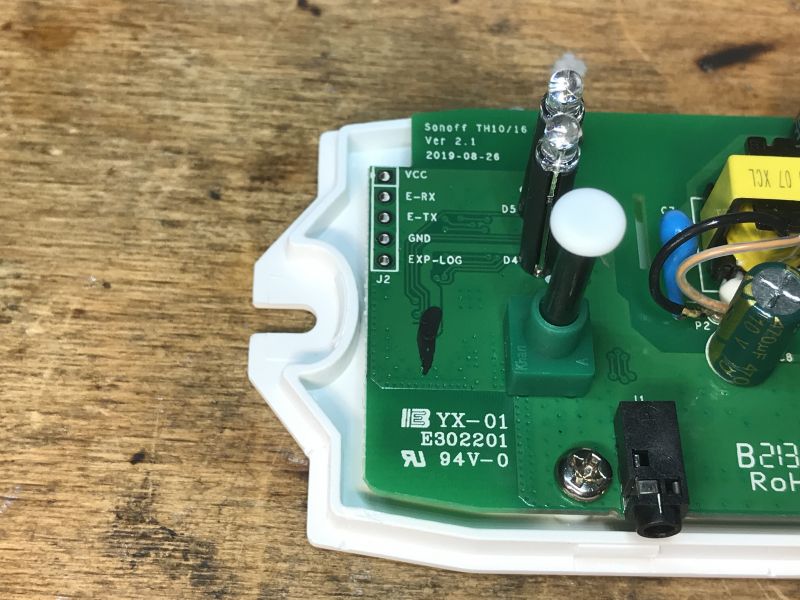 .
.
Here is the connector for the sensor:
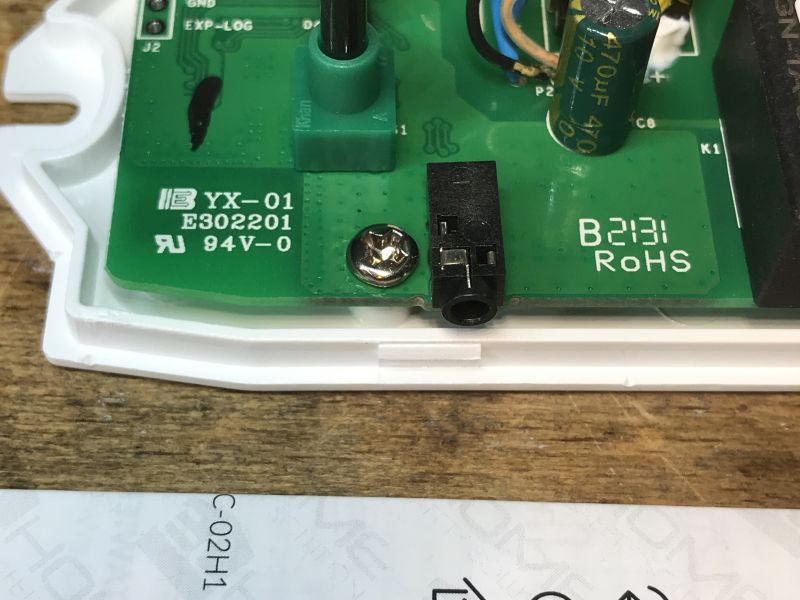 .
.
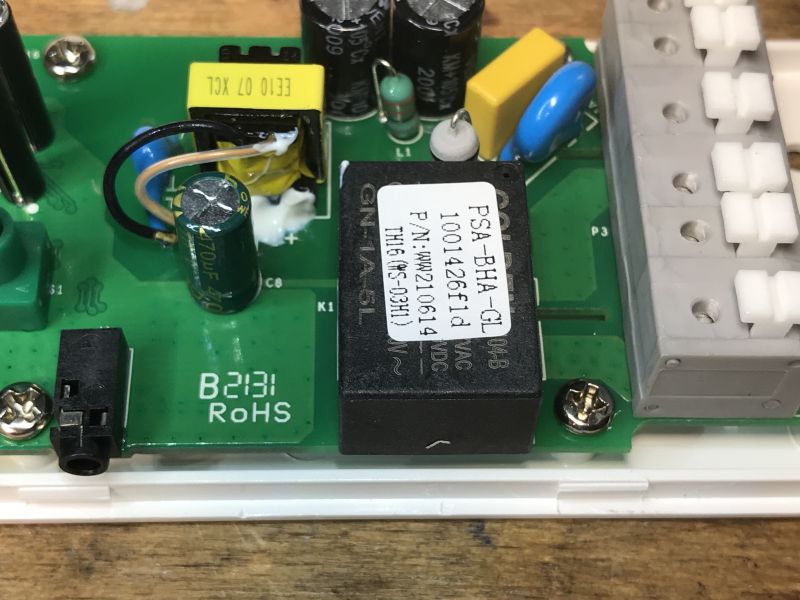
Relay and in the background the power supply, by the way it's been a long time since I've seen a capacitor and varistor in a smart device, the quality here is quite good:
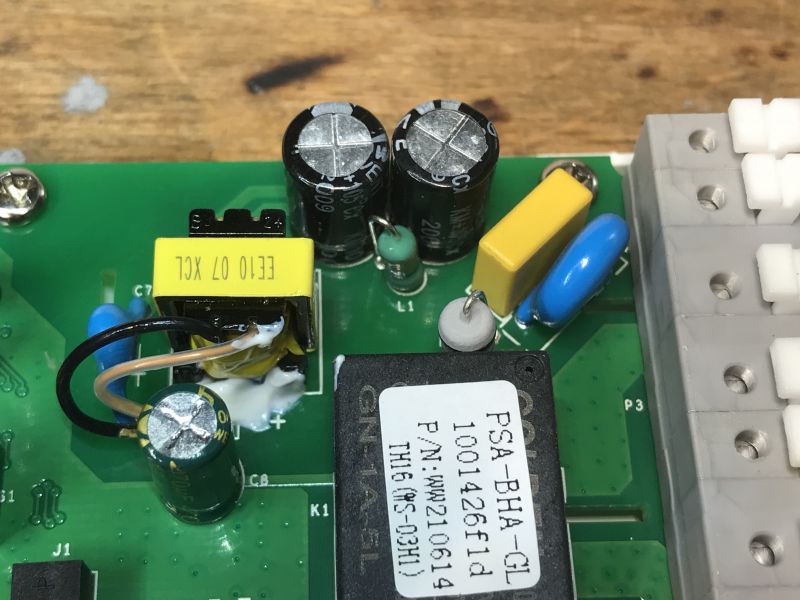
 .
.
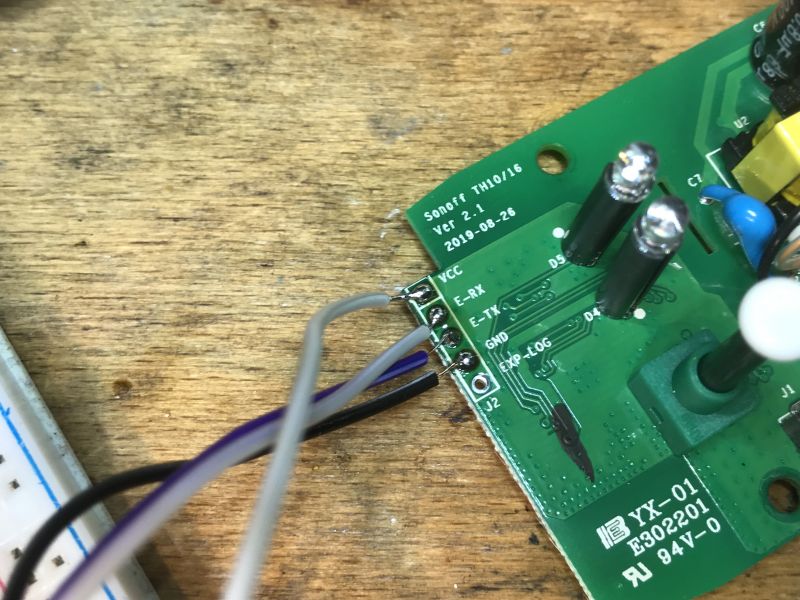
There is also a programming connector - IO0 is missing, but IO0 is on the button.
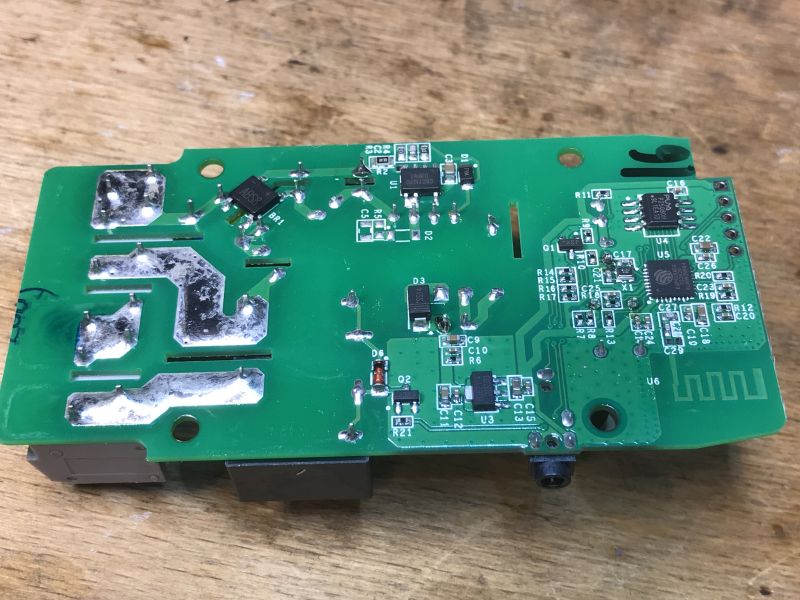
Now the underside of the PCB:
 .
.
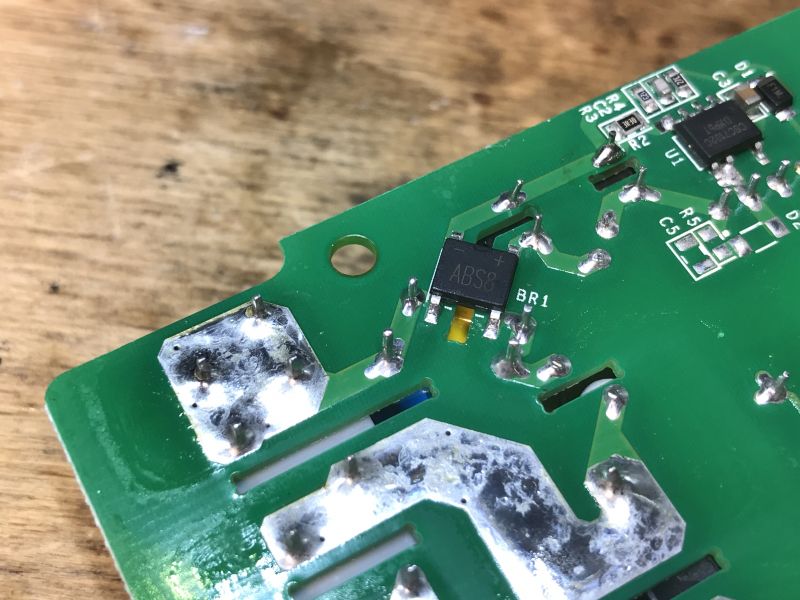
Rectifier bridge:
 .
.
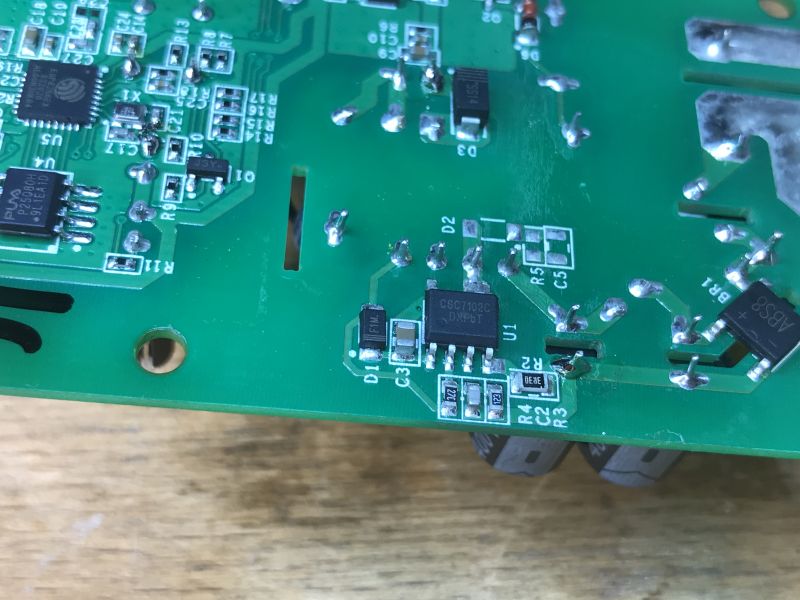
The flyback converter here is based on the CSC7102C:
 .
.
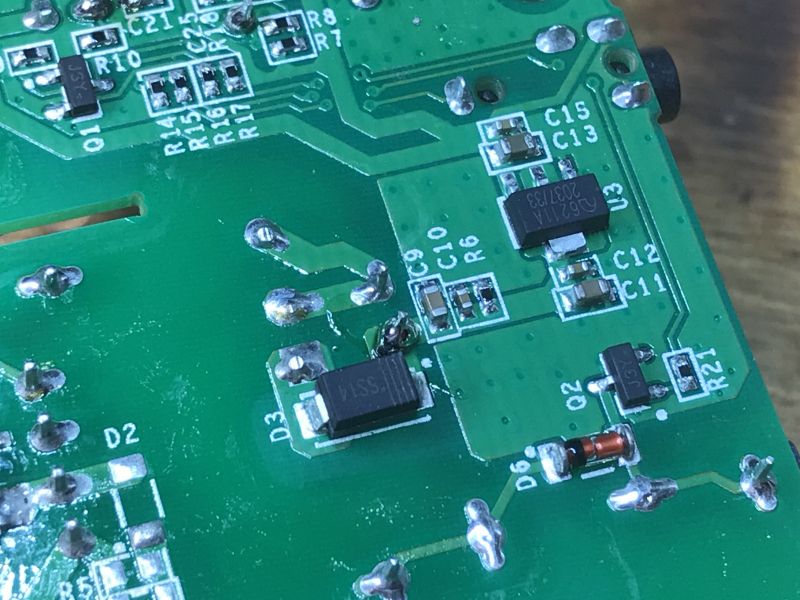
But it generates the voltage to power the relay. The ESP requires a slightly lower voltage, a stable 3.3V, wic there is also an extra LDO here:
 .
.
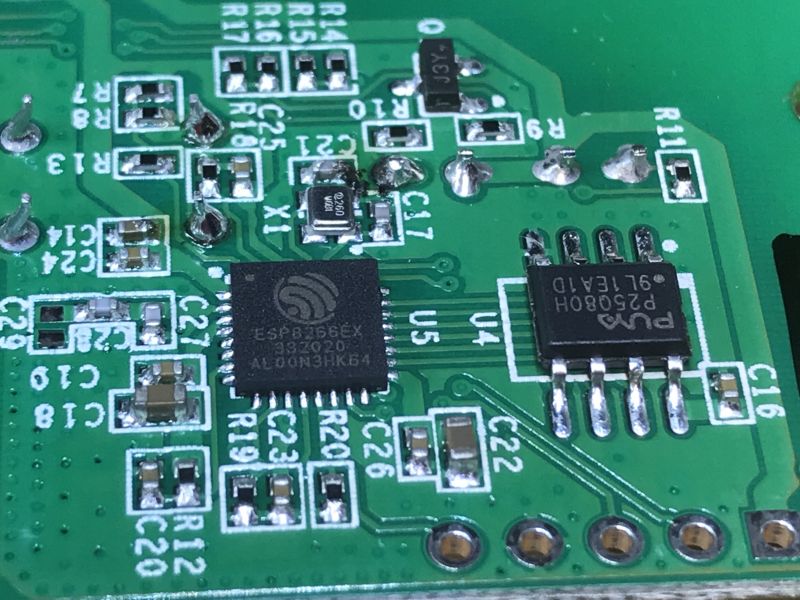
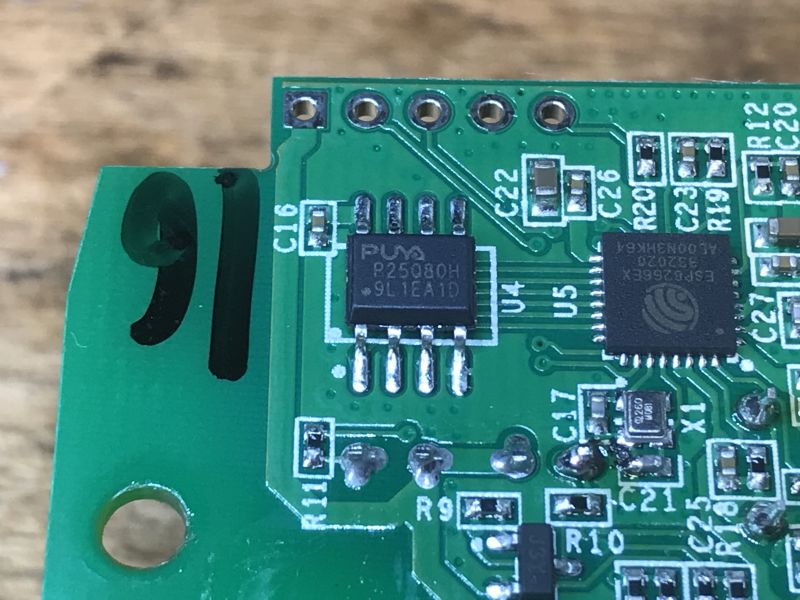
And then there's the ESP itself - along with the SPI memory bone of course, the Puya P25Q80H, just 1MB.
 .
.
Changing the WS-03H1 .
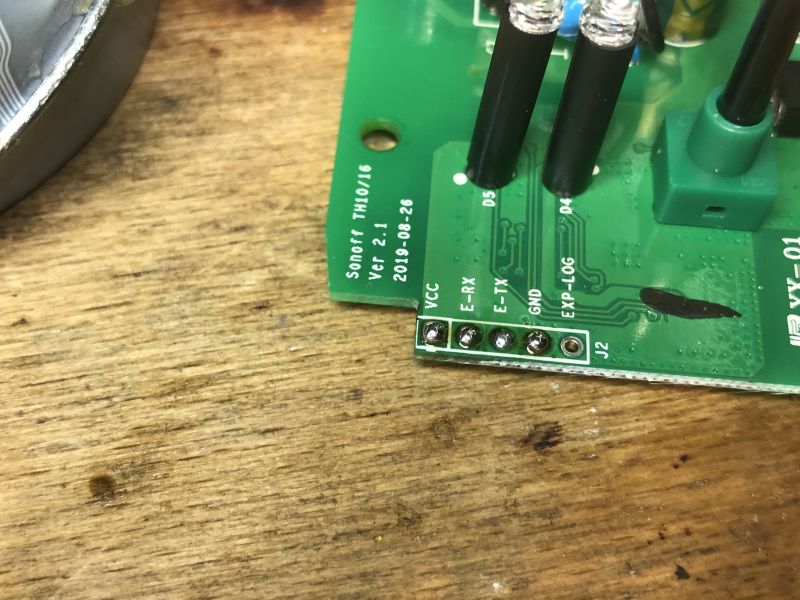
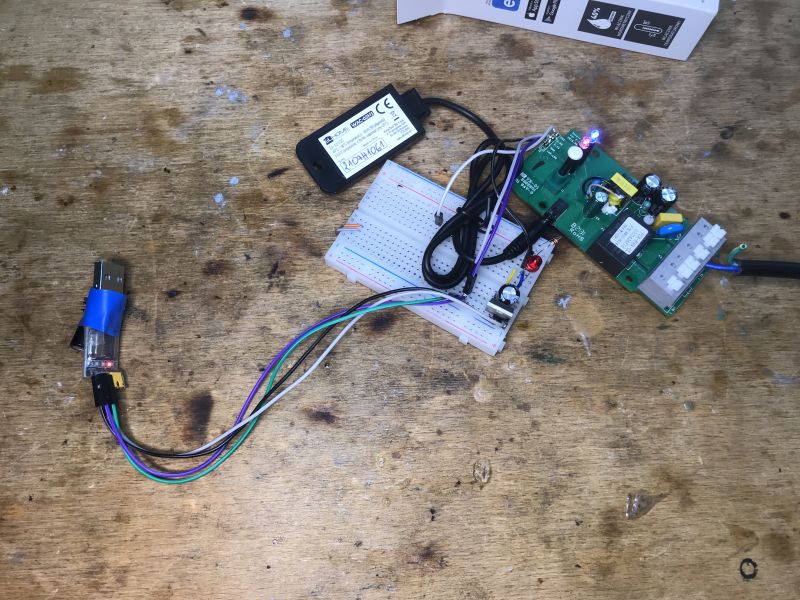
We solder the four cables. We don't solder IO0 because it's led to the button. We only need to hold this button at the time of reboot.
 .
.
Then we can use esptool.py or Tasmota's online installer:
How to install Tasmota easily - online installer tasmota.github.io/install via web browser .
What remains is to configure Tasmota.
Fortunately, we already know it's a Sonoff TH10/16 clone, so the Blakadder website comes to the rescue:
https://templates.blakadder.com/sonoff_TH.html
Basic template:
{"NAME":"Sonoff TH","GPIO":[17,255,0,255,255,0,0,0,21,56,255,0,0],"FLAG":0,"BASE":4}
There we also have a list of known sensors for this model:
Quote:.
- Sonoff Si7021 Temperature & Humidity Sensor
- Sonoff AM2301 Temperature & Humidity Sensor
- Sonoff DS18B20 Temperature Sensor
- Sonoff AL560 5m Extension Cable
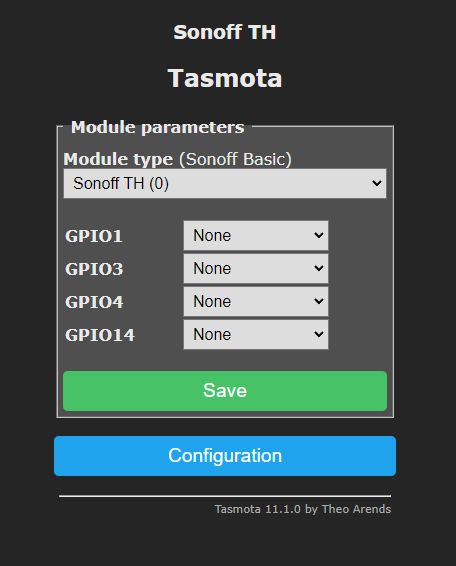
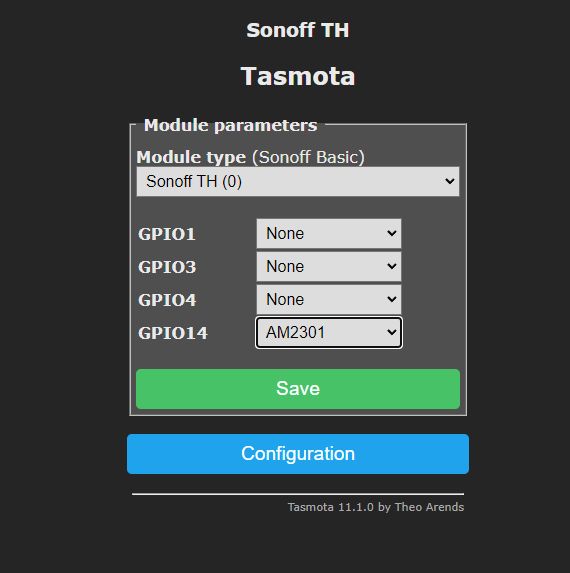
Our sensor is located at IO14 , so we select a role for it as in the example below:
 .
.
 .
.
After saving the settings and restarting, we should already be receiving measurements.
Schemat WS-03H1 .
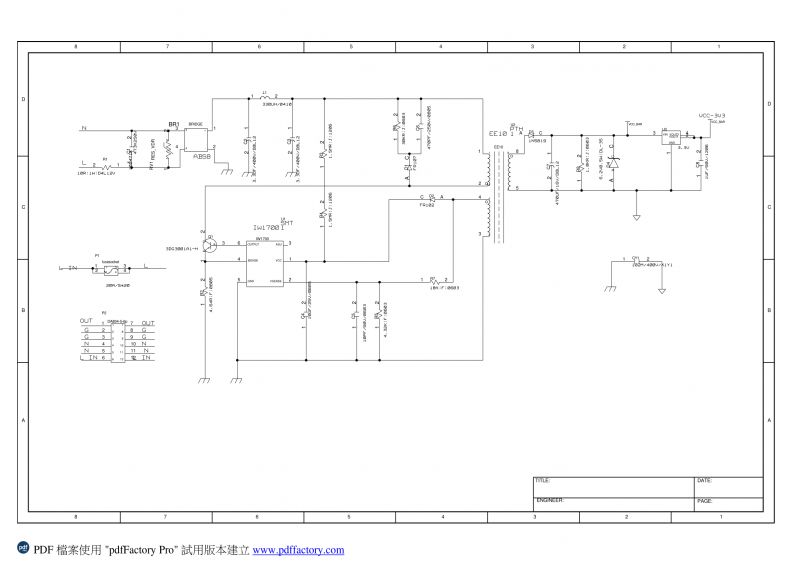
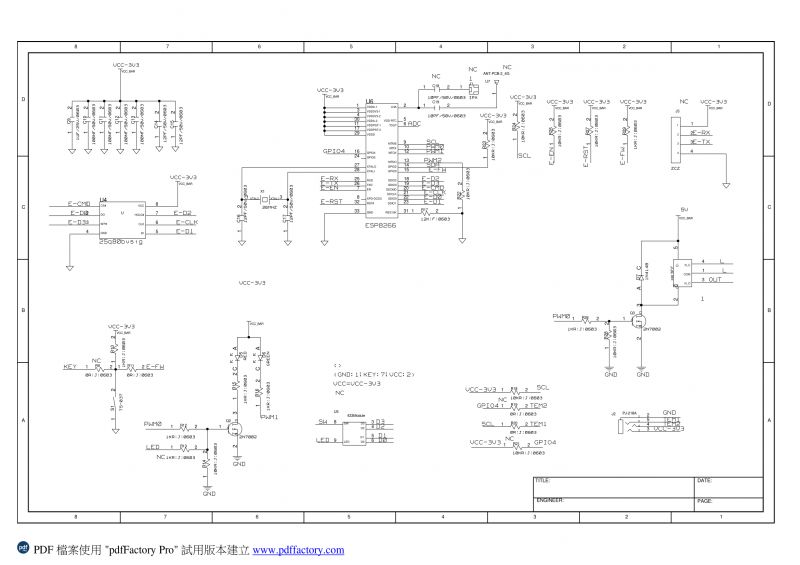
This time exceptionally the product in question has a diagram available online:
https://wiki.iteadstudio.com/Sonoff_TH_10/16
 .
.
Only minor differences I can see here, e.g. the inverter in the schematic is an IW1700 and in mine it's a CSC7102C. Probably both circuits are very similar.
Interior of sensor .
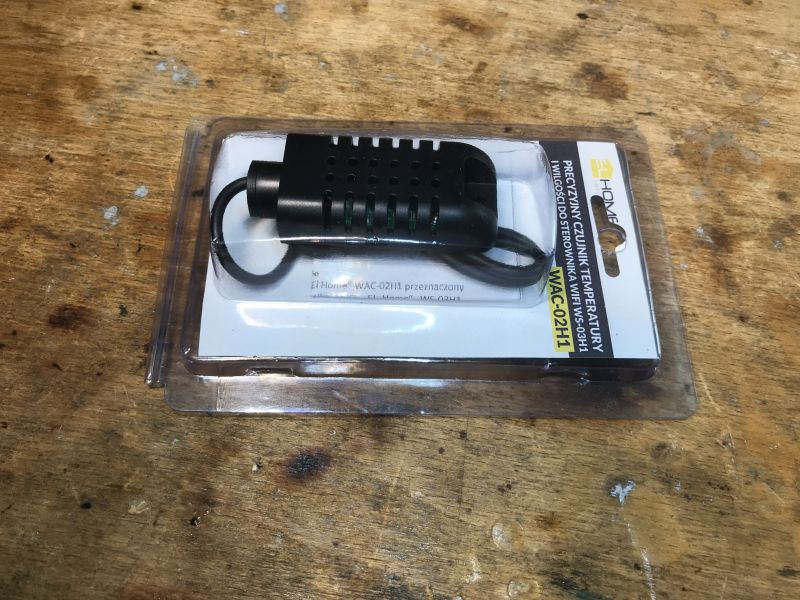
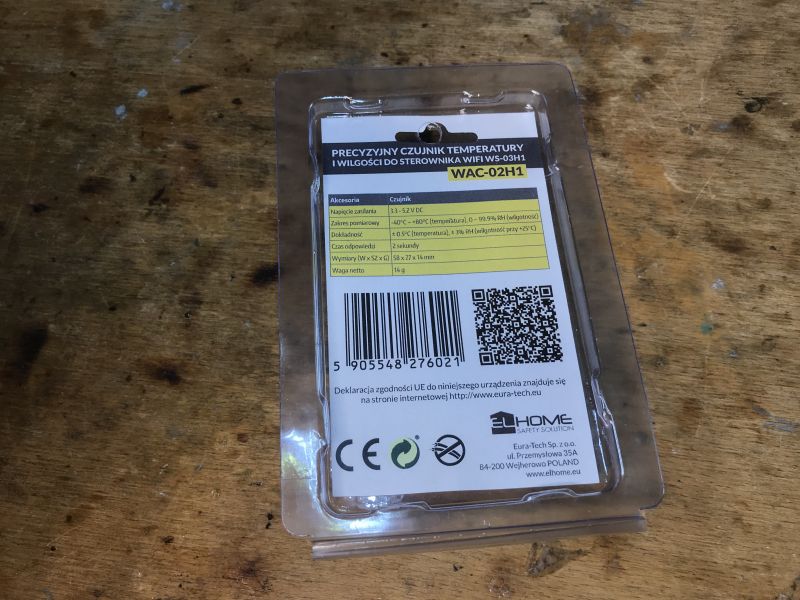
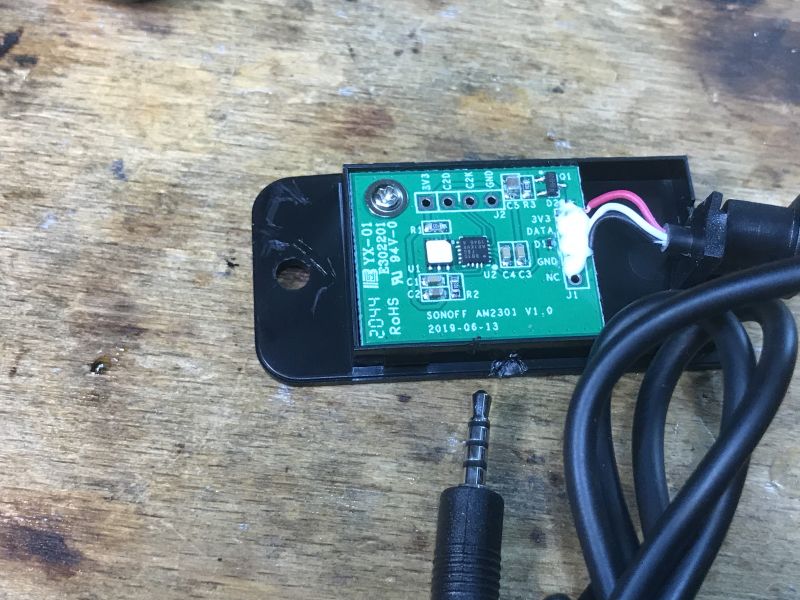
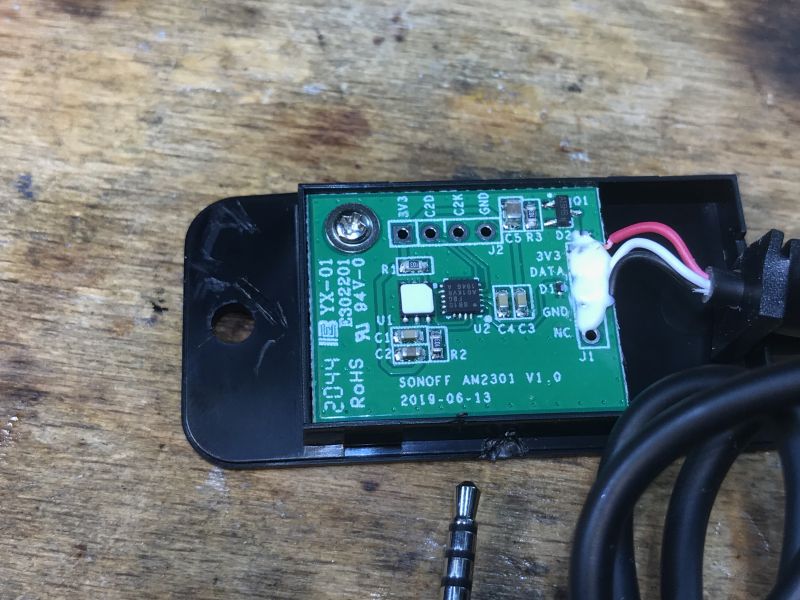
Then let's see the inside of the WAC-02H1 sensor:
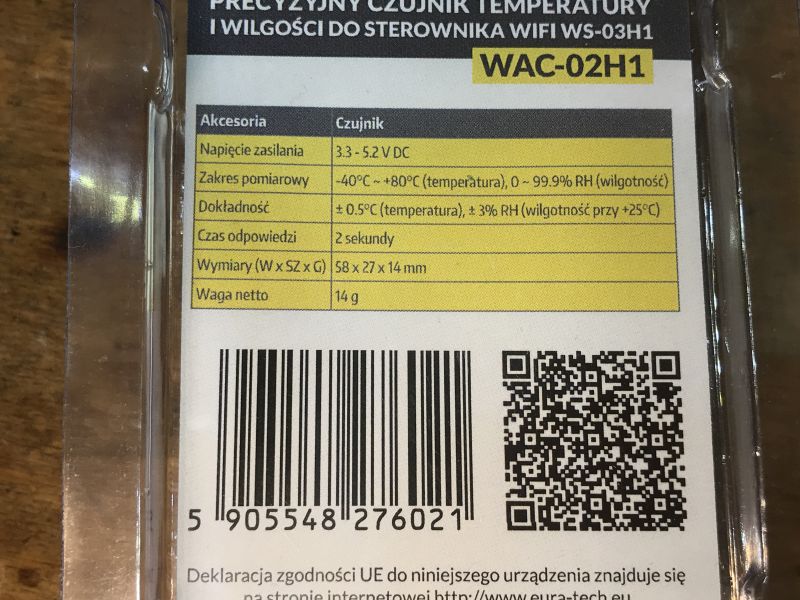
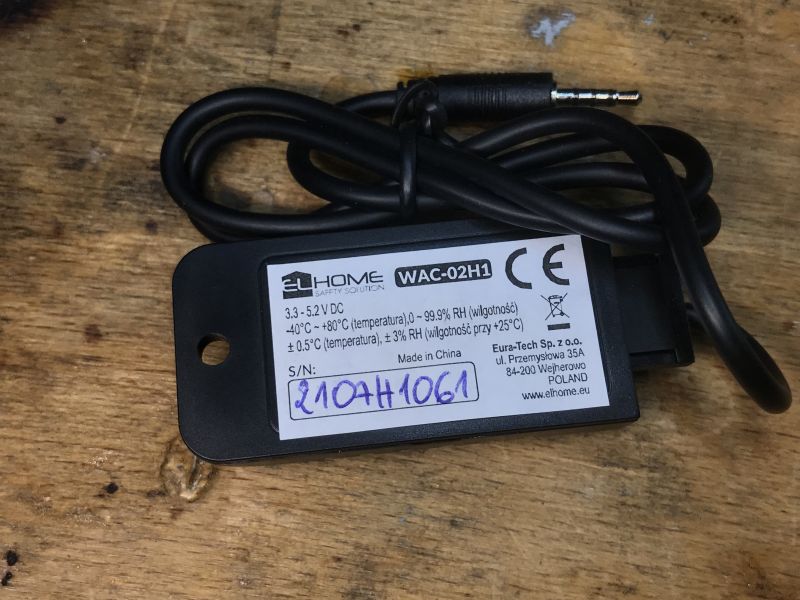
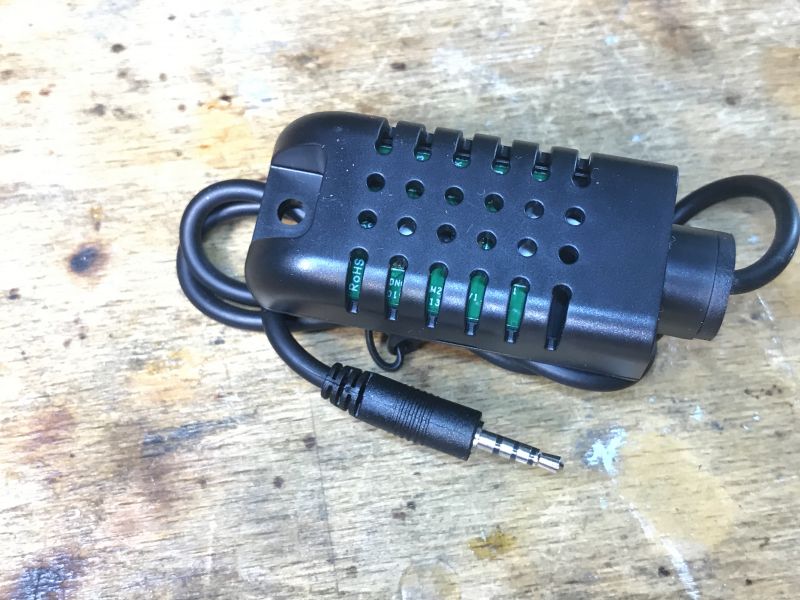 .
.
After removing the casing:
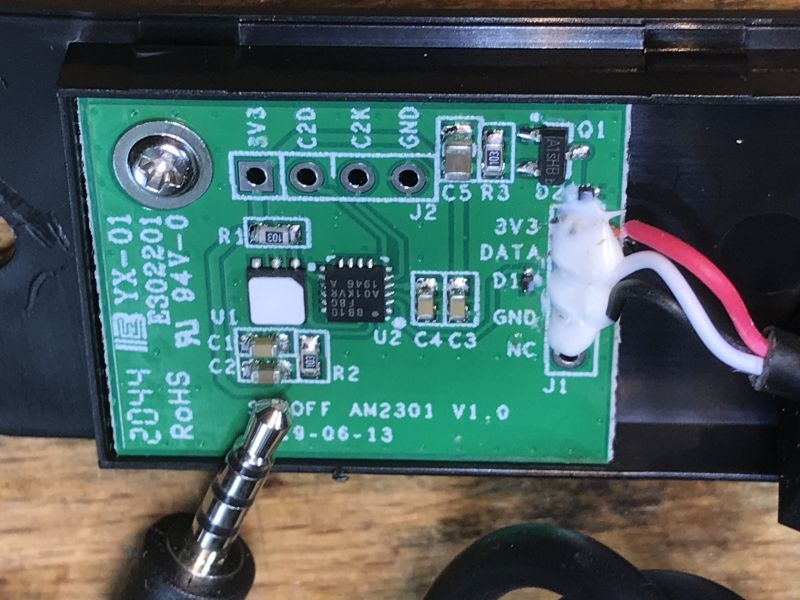
 .
.
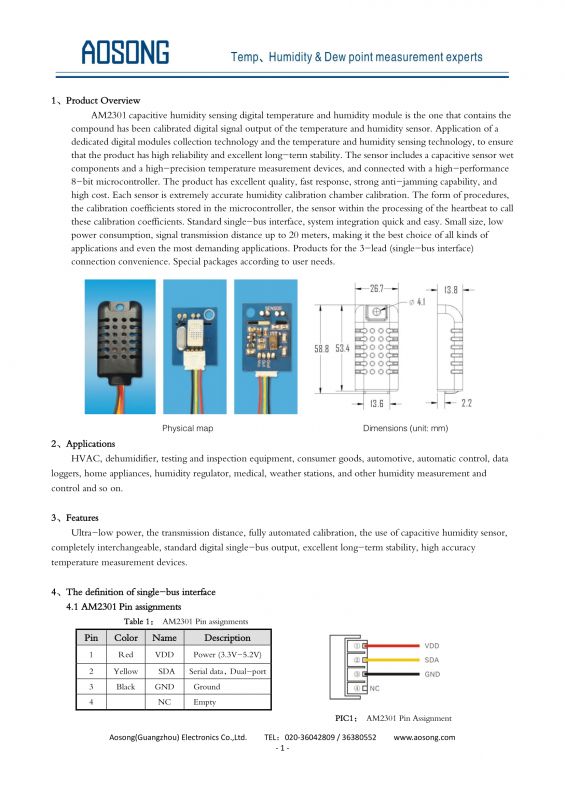
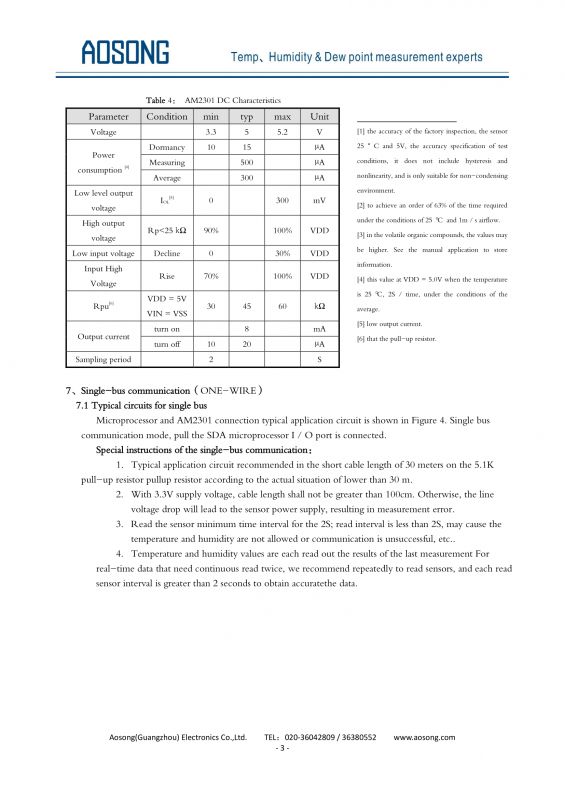
Well again - full documentation is available online:
https://wiki.iteadstudio.com/images/3/39/AM2301_Manual.pdf
Summary .
At first I thought I was going to have to work out the hardware from 0, as with many of the entries on our list of interior IoT devices , but here, thankfully, everything was already documented. There was even a diagram! The equipment itself also looks pretty good, it's a shelf higher in quality than the Tuya. I think it can definitely be recommended. Plus you can get it with a variety of sensors, so there's something for everyone.
Does anyone reading use this type of sensor, and if so, on the original firmware or after flashing? Feel free to discuss. .


Comments
Welcome Nice that you posted this article about uploading firmware to this controller. I happen to have a problem with the original Sonoff, after the update it works but shows neither temperature nor... [Read more]
Hello, do you want this to work with the original Sonoff firmware or do you want to upload Tasmota or Supla there? Tasmota from what I remember also supports Si7021 and I think I even encountered this... [Read more]
Hello I use the Sonoff to switch on the living room lamp (I have two other models, Basic, also for this purpose) when I am away from home for a longer period of time. It is supposed to simulate my presence.... [Read more]
But if you upload Tasmota then the device will no longer work with eWeLink or Home. It will be accessible locally, by IP, possibly via Home Assistant. You can also upload Supla, they have their own... [Read more]