logo elektroda
logo elektroda
X
logo elektroda

Interior and Tasmot upload on elHome WS-03H1 (Sonoff TH10/16 Ver 2.1 clone)

p.kaczmarek2 1131 4
ADVERTISEMENT
Treść została przetłumaczona polish » english Zobacz oryginalną wersję tematu
  • WS-03H1 module with temperature and humidity sensor and smartphone. .
    Here I present the WS-03H1 elHome module kit together with the WAC-02H1 temperature/humidity sensor, a repainted Sonoff TH10/16 kit with AM2301 sensor.
    I will change its firmware so that it can be controlled locally.
    The kit can be bought together for £100, or the base and sensor can be ordered separately. The configuration may vary depending on which sensor you have:
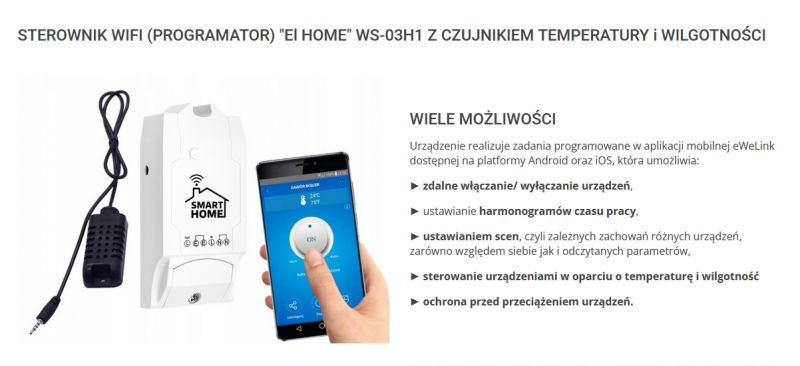
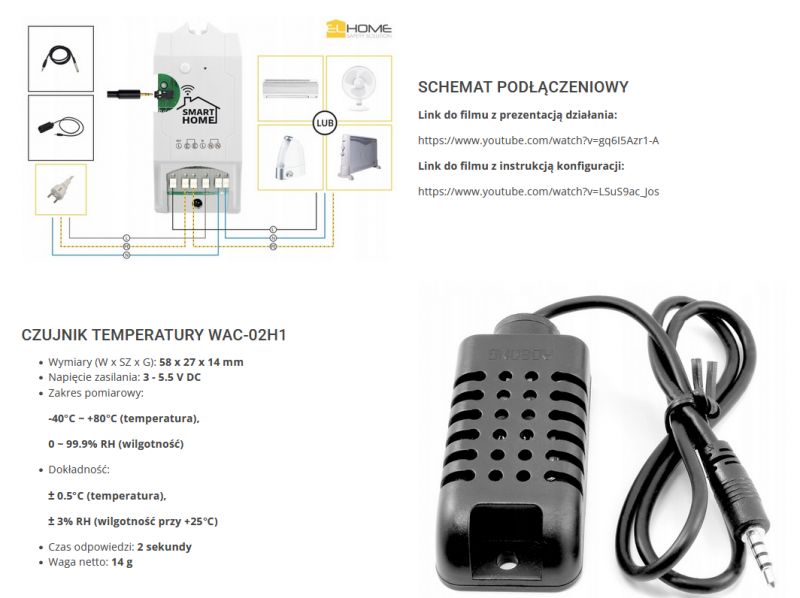
    EI Home WS-03H1 WiFi controller with temperature and humidity sensor and app features. .
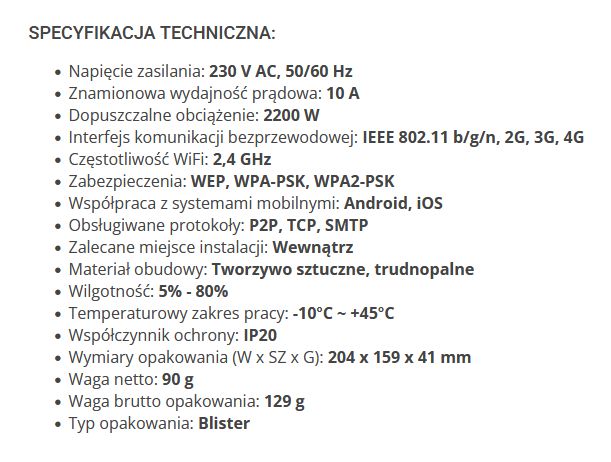
    Technical specifications of WS-03H1 module with sensor .
    WS-03H1 elHome module with WAC-02H1 temperature and humidity sensor. .
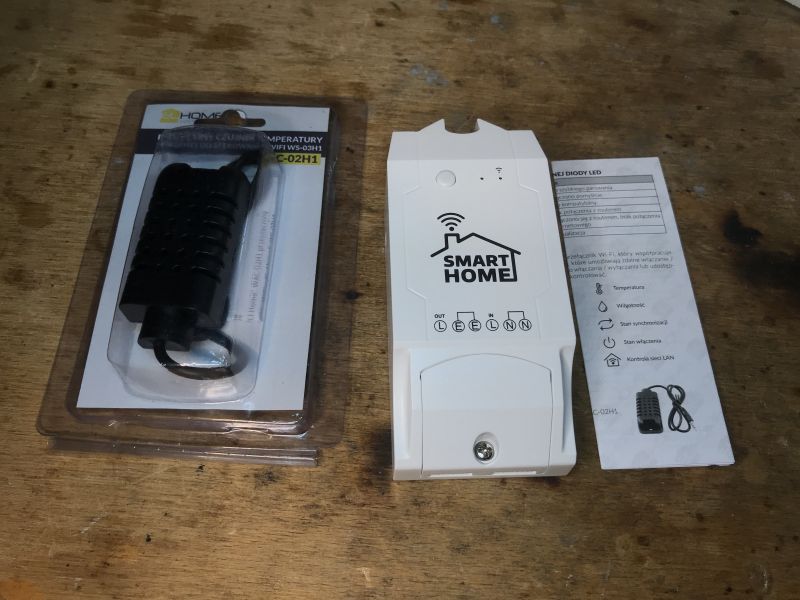
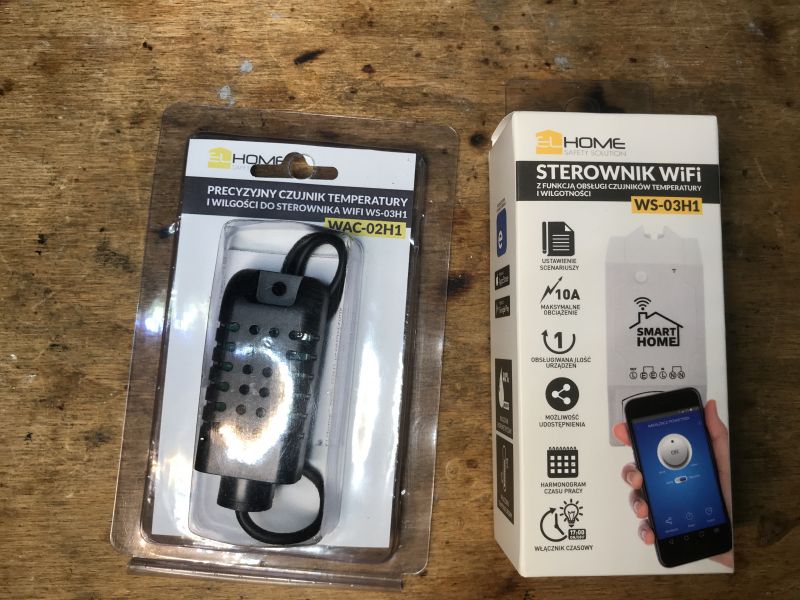
    We get a set like this:
    WS-03H1 elHome module set with WAC-02H1 temperature and humidity sensor. WS-03H1 elHome module set with WAC-02H1 sensor in packaging .
    The module has a jack socket on the side for the sensor:
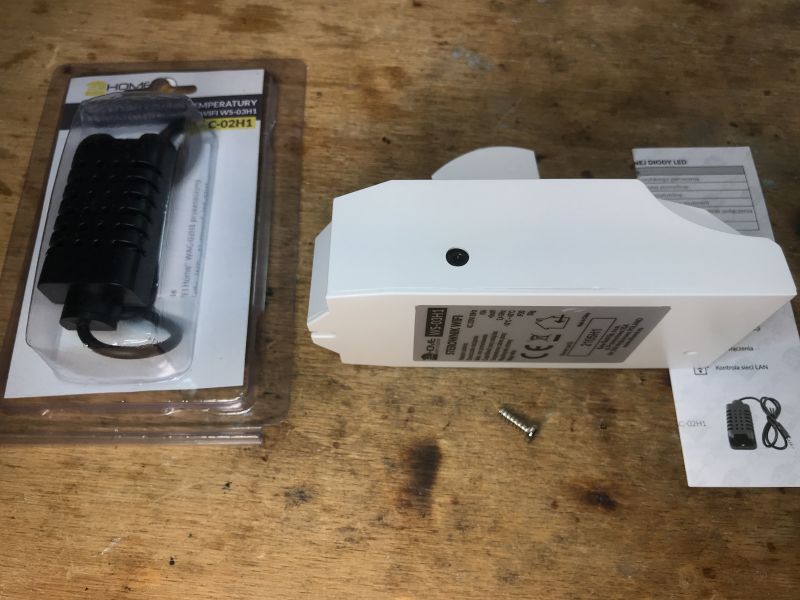
    WS-03H1 elHome module and WAC-02H1 sensor on a wooden table .
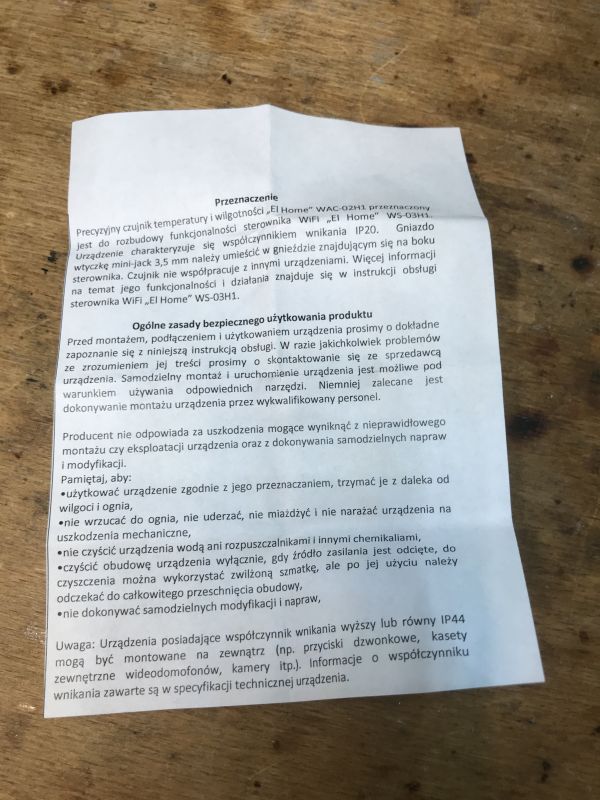
    Leaflet:
    Information leaflet for the elHome WAC-02H1 sensor .

    Interior of WS-03H1 .
    Before dismantling I already had my suspicions, but only after removing the housing does everything become clear:
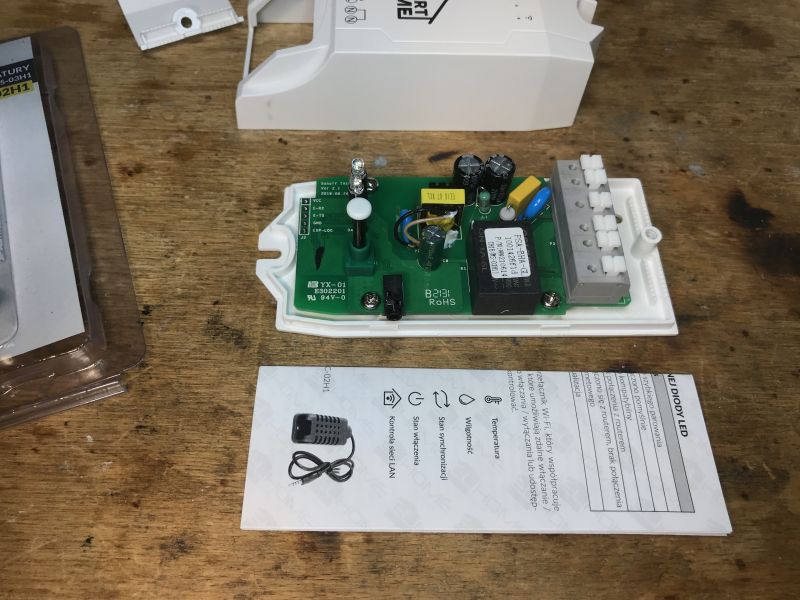
    PCB of the WS-03H1 module with electronic components and a relay. .
    This is simply a Sonoff TH10/16 repainted from the outside:
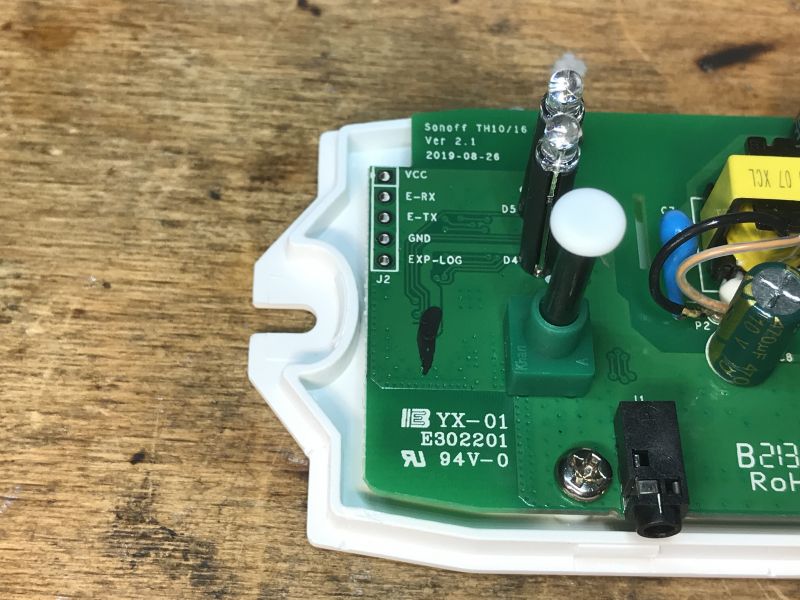
    WS-03H1 module with visible internal components. .
    Here is the connector for the sensor:
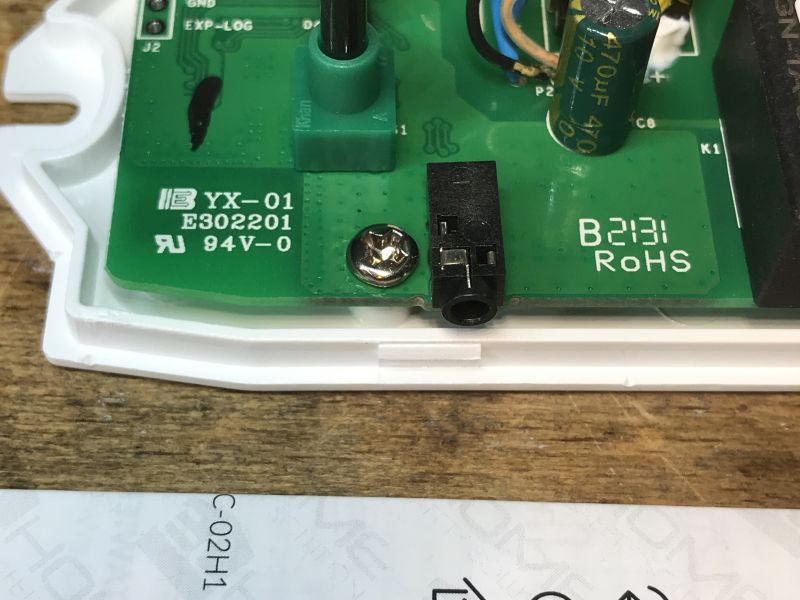
    Close-up of the WS-03H1 module's PCB with a jack socket. .
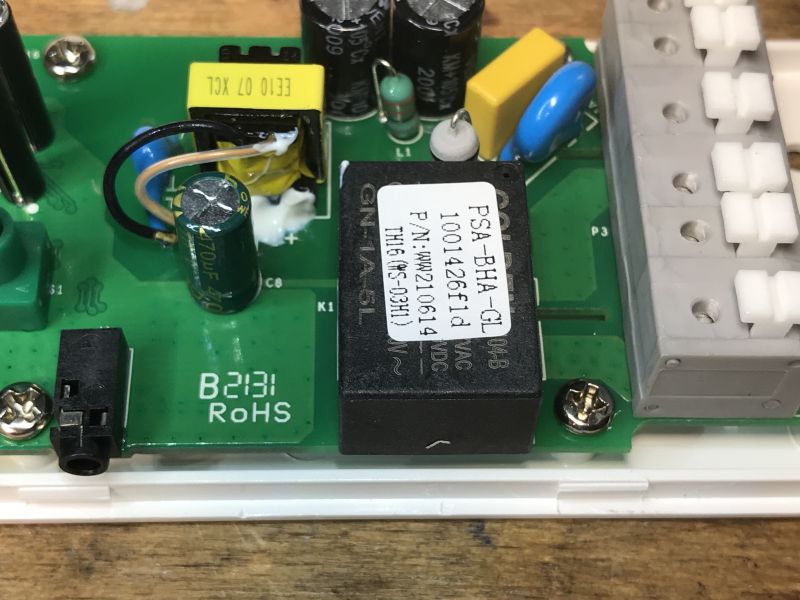
    Relay and in the background the power supply, by the way it's been a long time since I've seen a capacitor and varistor in a smart device, the quality here is quite good:
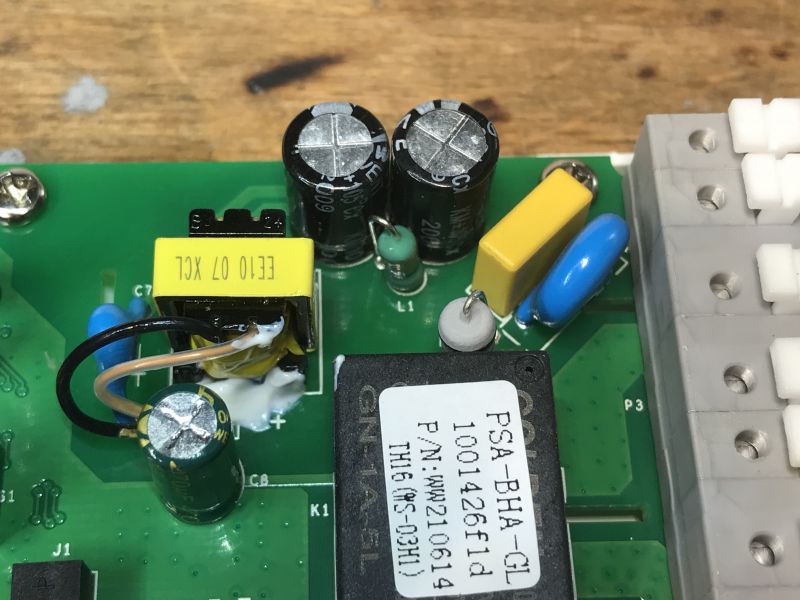
    Close-up of the interior of WS-03H1 module with visible electronic components. Photo of the interior of the WS-03H1 module showing a relay and jack socket. .
    There is also a programming connector - IO0 is missing, but IO0 is on the button.
    Now the underside of the PCB:
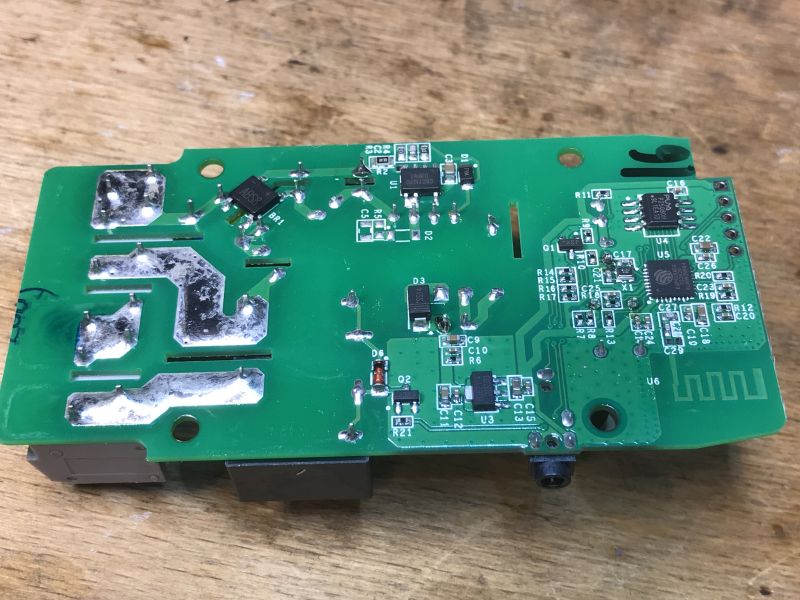
    PCB board with electronic components of the WS-03H1 module. .
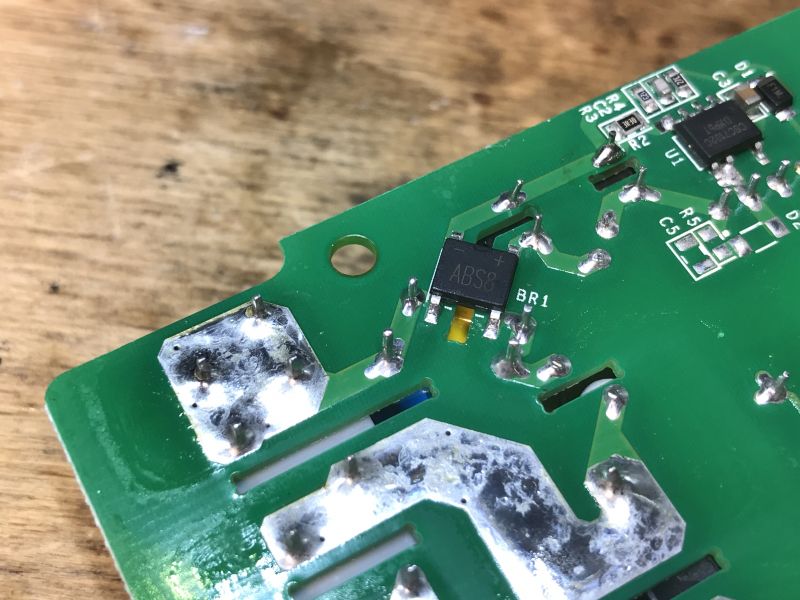
    Rectifier bridge:
    Close-up of internal components on the PCB of the WS-03H1 module. .
    The flyback converter here is based on the CSC7102C:
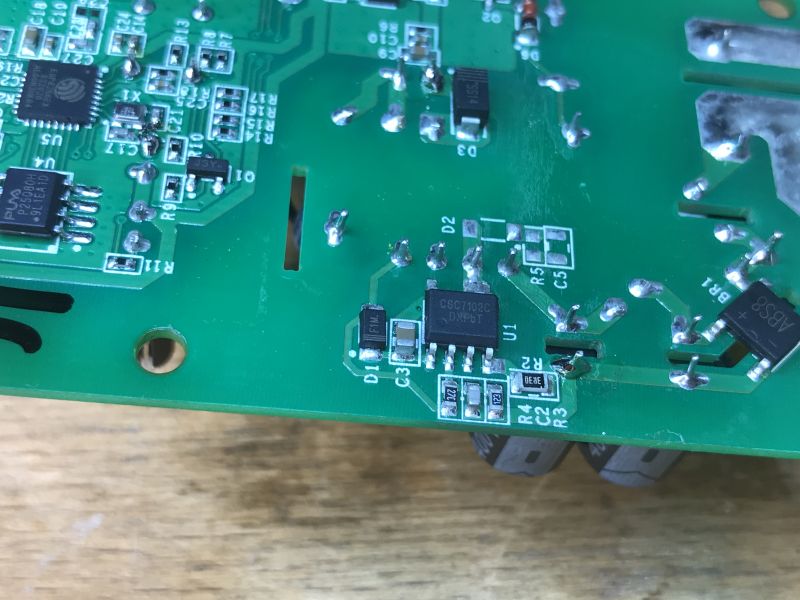
    WS-03H1 module circuit board with visible integrated circuits and CSC7102C converter .
    But it generates the voltage to power the relay. The ESP requires a slightly lower voltage, a stable 3.3V, wic there is also an extra LDO here:
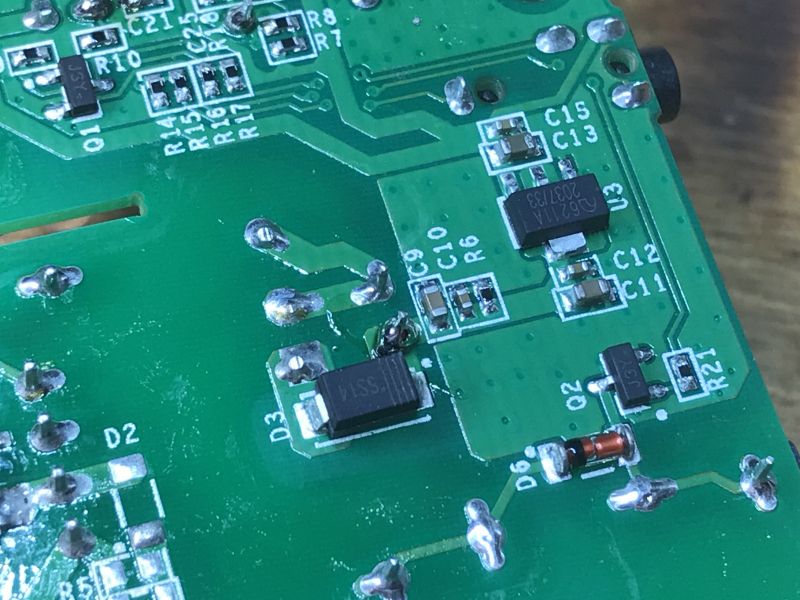
    Close-up of the WS-03H1 module PCB with visible electronic components. .
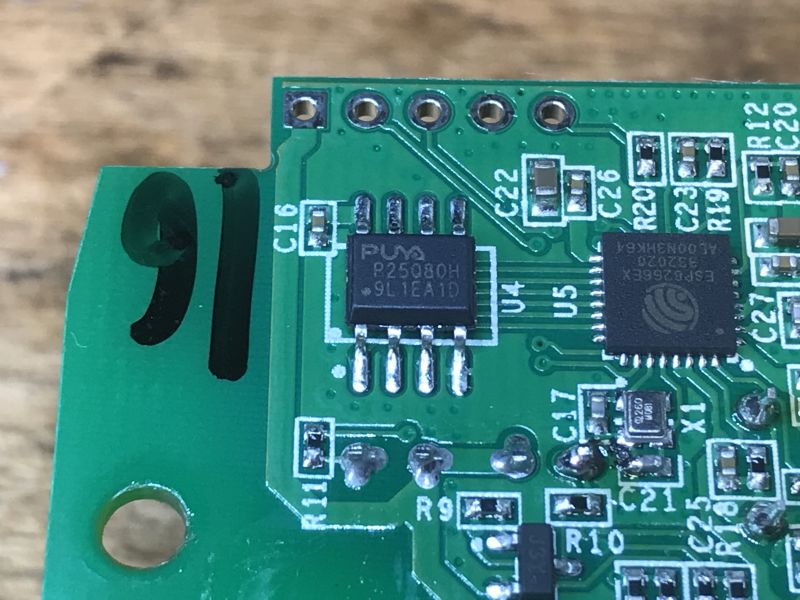
    And then there's the ESP itself - along with the SPI memory bone of course, the Puya P25Q80H, just 1MB.
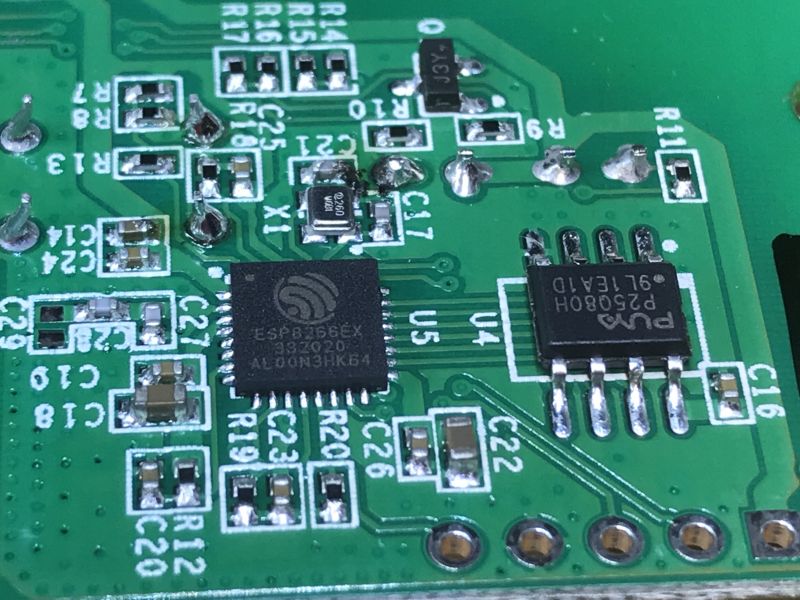
    Close-up of a circuit board featuring the ESP8266EX chip and Puya P25Q80H SPI memory. Close-up of the WS-03H1 module PCB with visible components. .

    Changing the WS-03H1 .
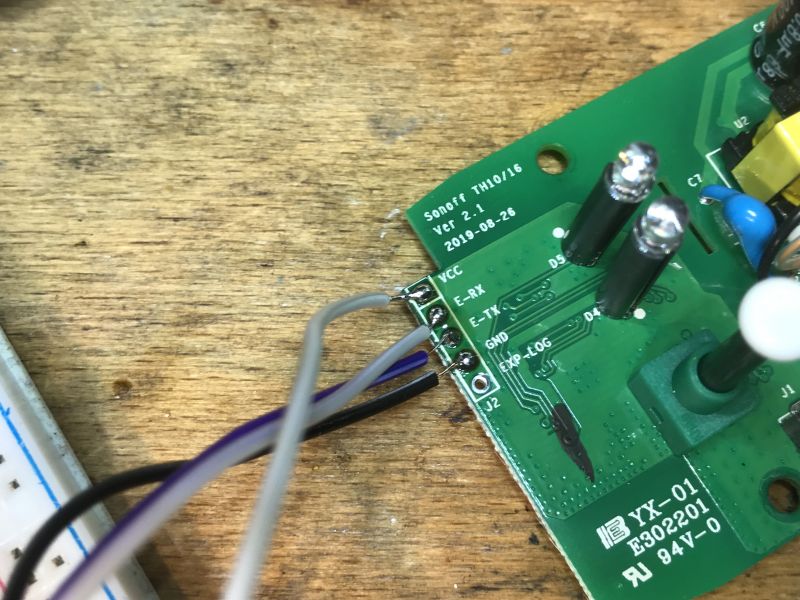
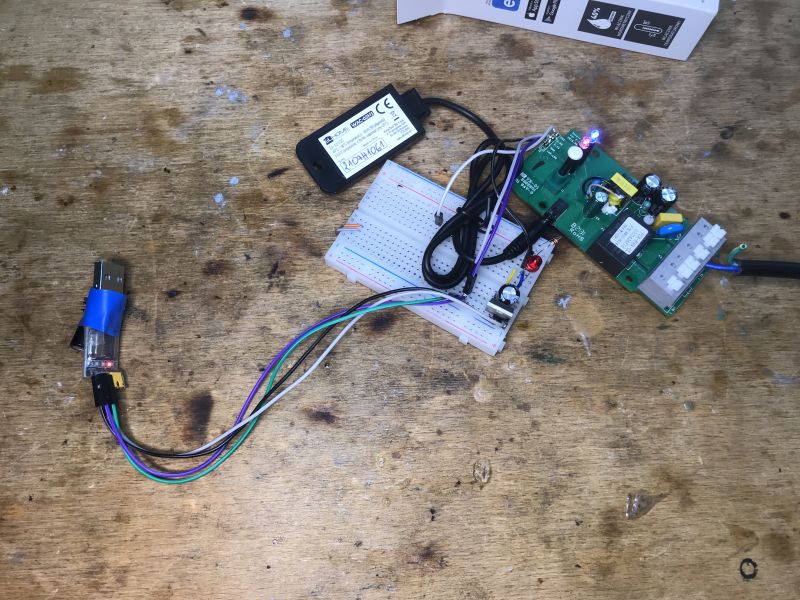
    We solder the four cables. We don't solder IO0 because it's led to the button. We only need to hold this button at the time of reboot.
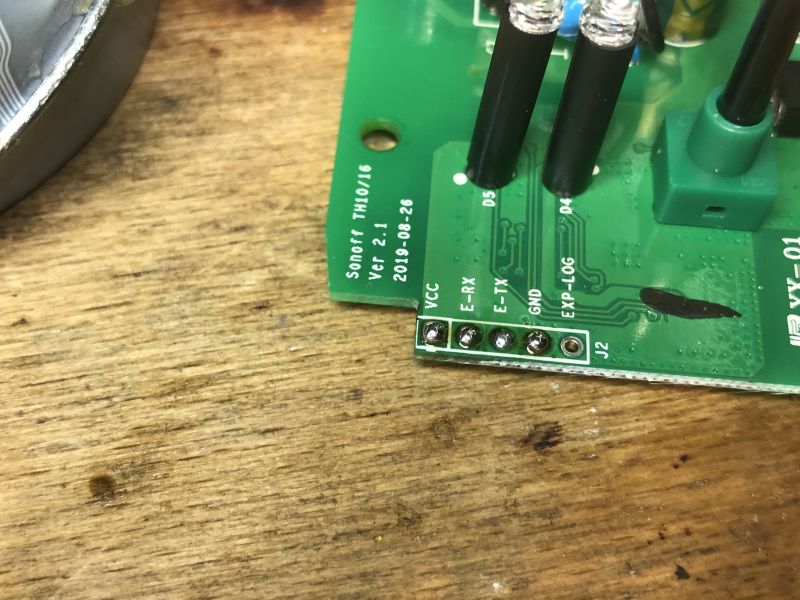
    Close-up of Sonoff TH10/16 PCB board with connection ports. Close-up of Sonoff TH10/16 circuit board with visible connector labels and connected wires. The photo shows a disassembled electrical module with a breadboard and sensor connected by wires. .
    Then we can use esptool.py or Tasmota's online installer:
    How to install Tasmota easily - online installer tasmota.github.io/install via web browser .
    What remains is to configure Tasmota.
    Fortunately, we already know it's a Sonoff TH10/16 clone, so the Blakadder website comes to the rescue:
    https://templates.blakadder.com/sonoff_TH.html
    Basic template:
    
    {"NAME":"Sonoff TH","GPIO":[17,255,0,255,255,0,0,0,21,56,255,0,0],"FLAG":0,"BASE":4}
    
    .
    There we also have a list of known sensors for this model:
    Quote:

    - Sonoff Si7021 Temperature & Humidity Sensor
    - Sonoff AM2301 Temperature & Humidity Sensor
    - Sonoff DS18B20 Temperature Sensor
    - Sonoff AL560 5m Extension Cable
    .
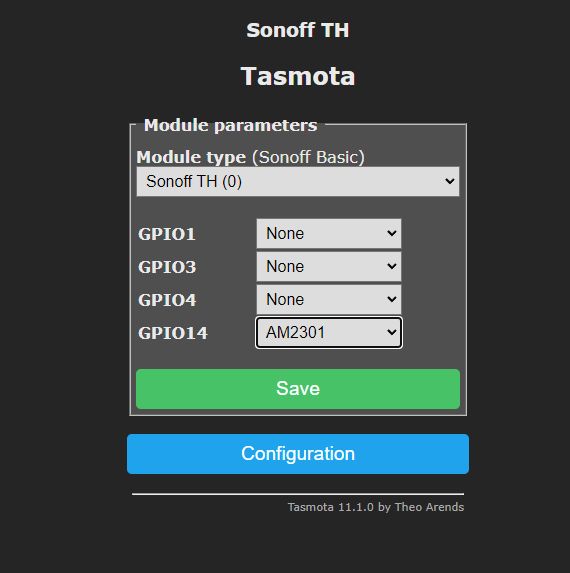
    Our sensor is located at IO14 , so we select a role for it as in the example below:
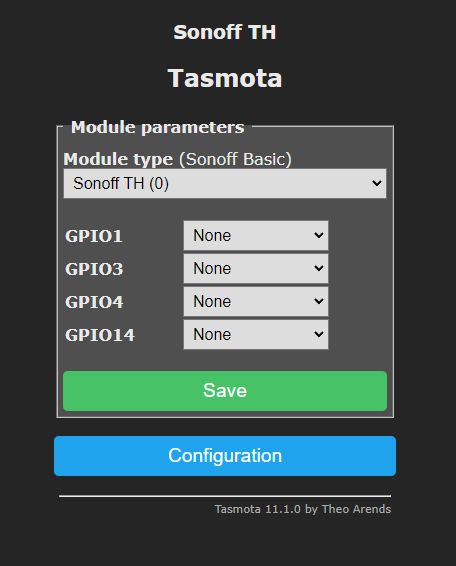
    Tasmota software configuration interface for Sonoff TH module. .
    Screenshot of the Tasmota interface showing the configuration for a Sonoff TH module. .
    After saving the settings and restarting, we should already be receiving measurements.

    Schemat WS-03H1 .
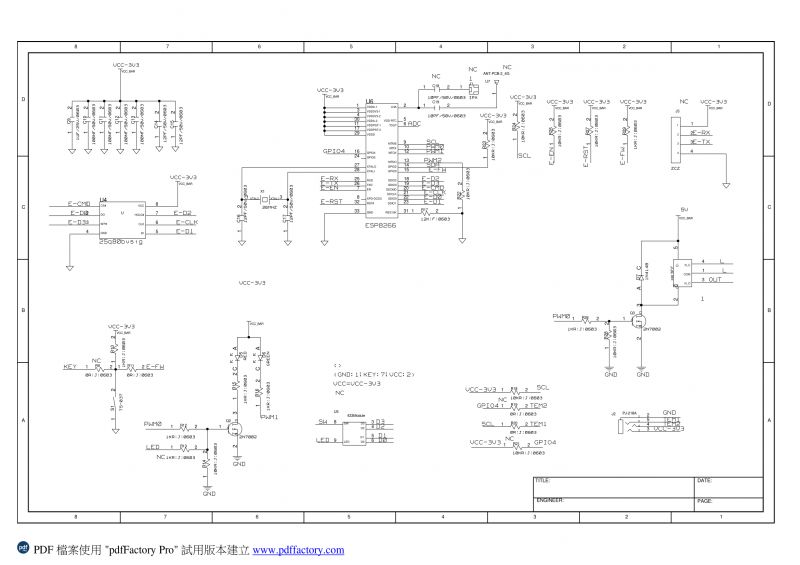
    This time exceptionally the product in question has a diagram available online:
    https://wiki.iteadstudio.com/Sonoff_TH_10/16
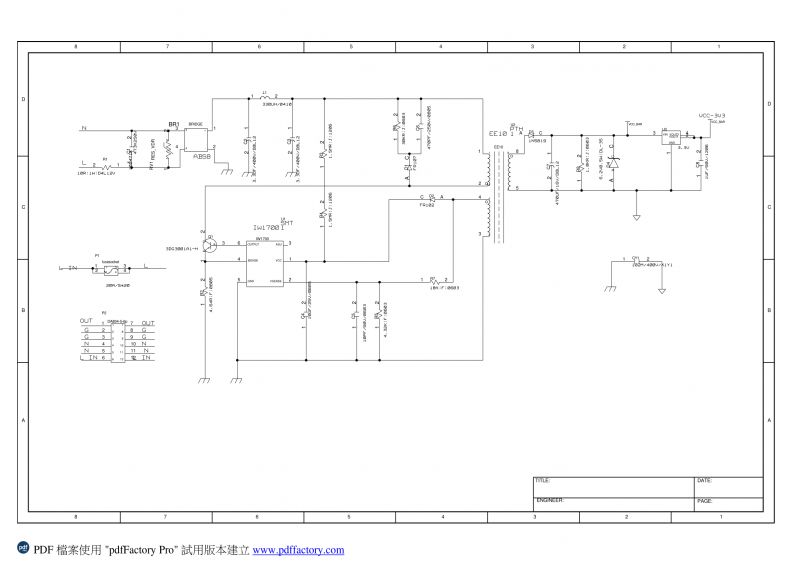
    Electrical schematic of WS-03H1 elHome module Electrical schematic of the WS-03H1 elHome module with sensor. .
    Only minor differences I can see here, e.g. the inverter in the schematic is an IW1700 and in mine it's a CSC7102C. Probably both circuits are very similar.

    Interior of sensor .
    Then let's see the inside of the WAC-02H1 sensor:
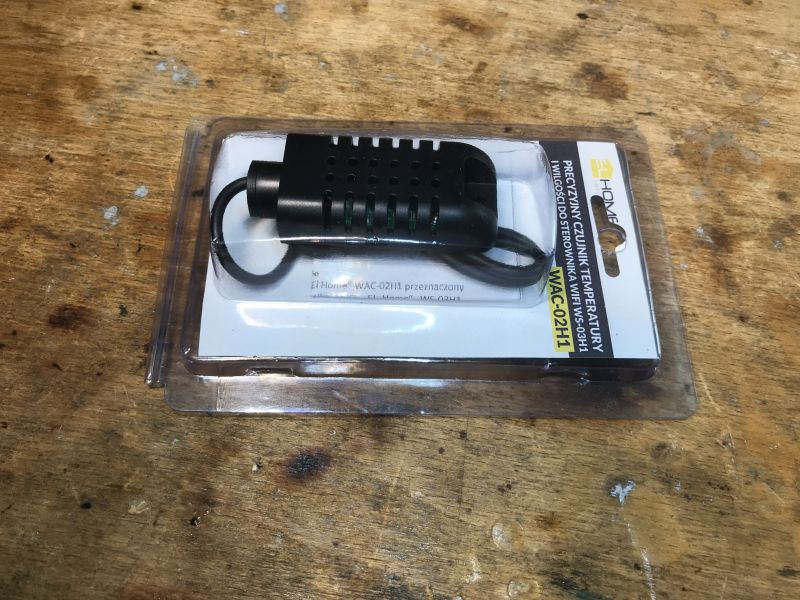
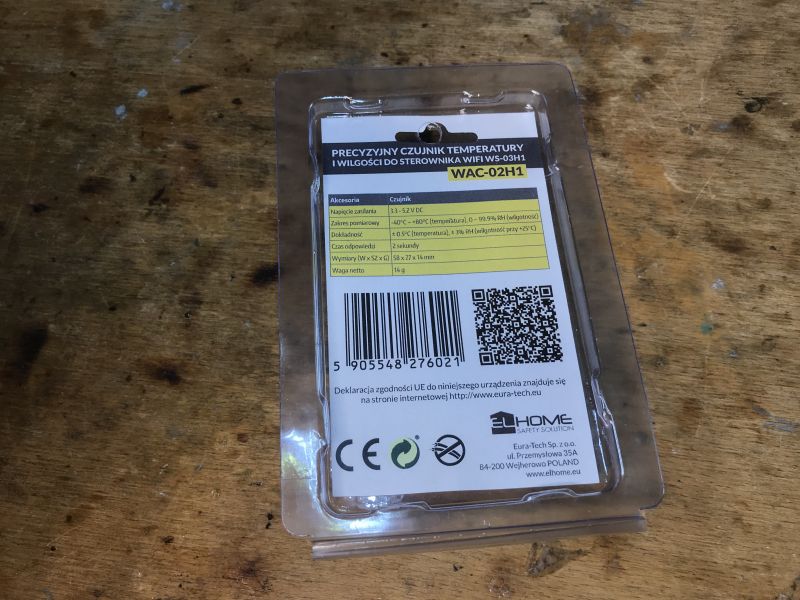
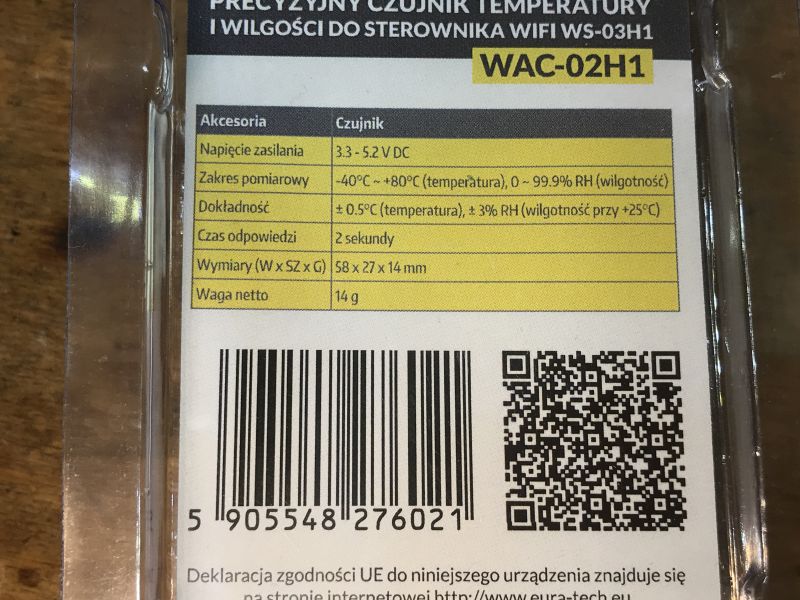
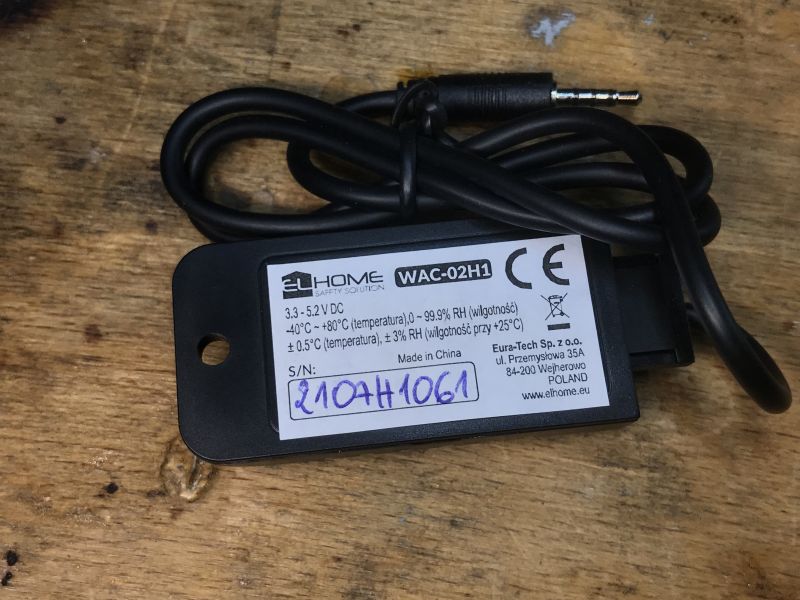
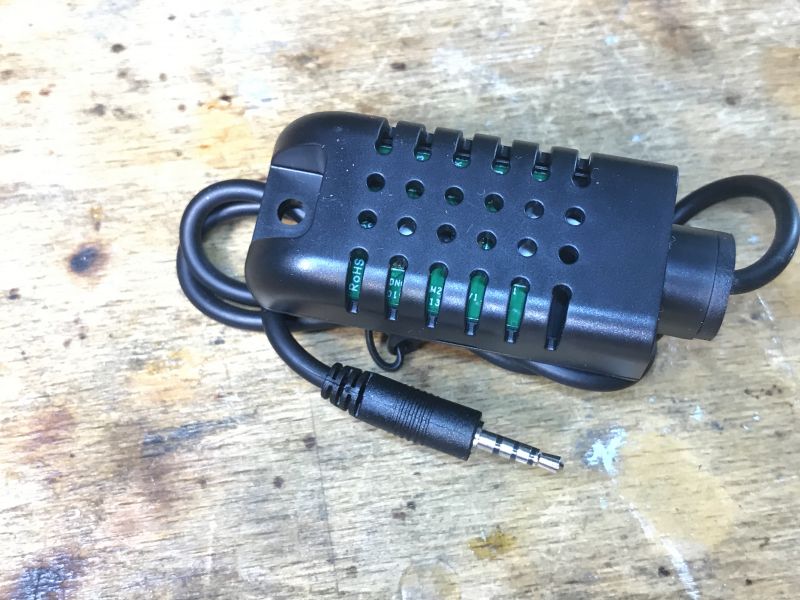
    WAC-02H1 temperature and humidity sensor in ElHome packaging. Label describing the WAC-02H1 temperature and humidity sensor. Label of the WAC-02H1 temperature and humidity sensor with technical specifications. elHome WAC-02H1 temperature and humidity sensor with label on wooden surface Temperature and humidity sensor WAC-02H1 with jack plug .
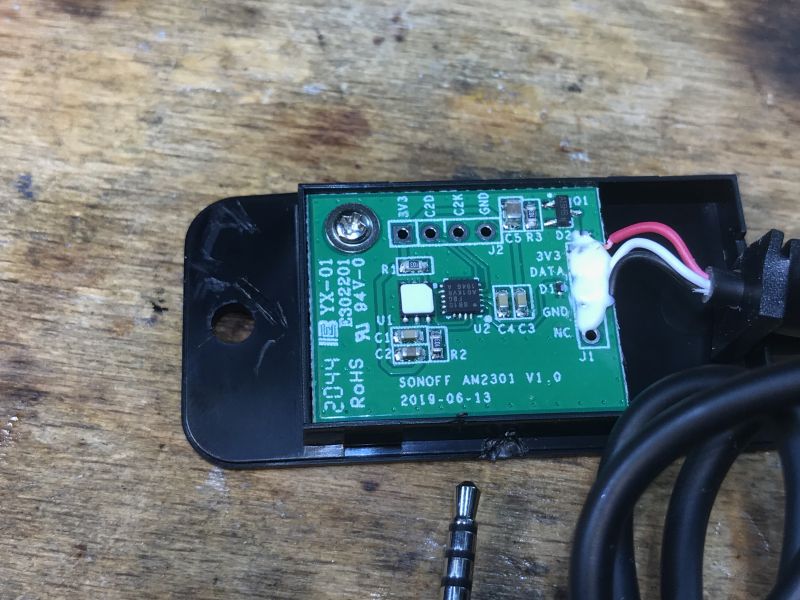
    After removing the casing:
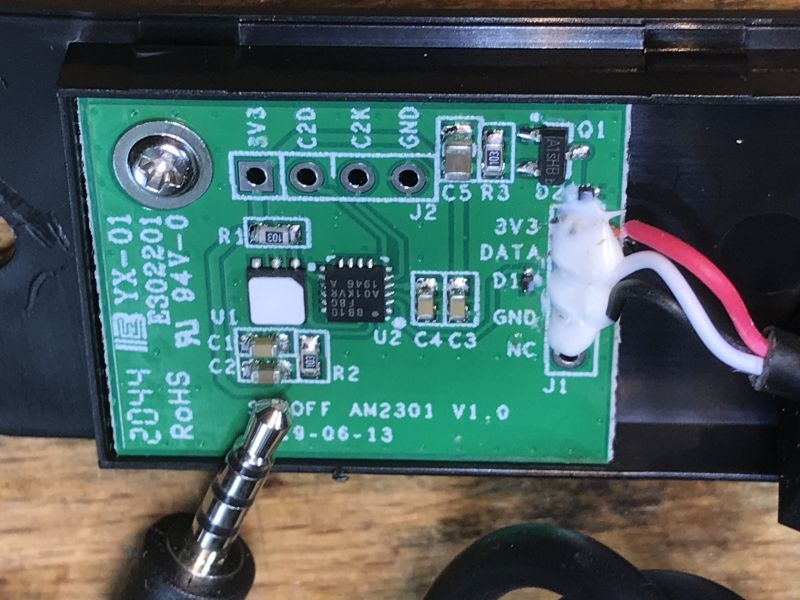
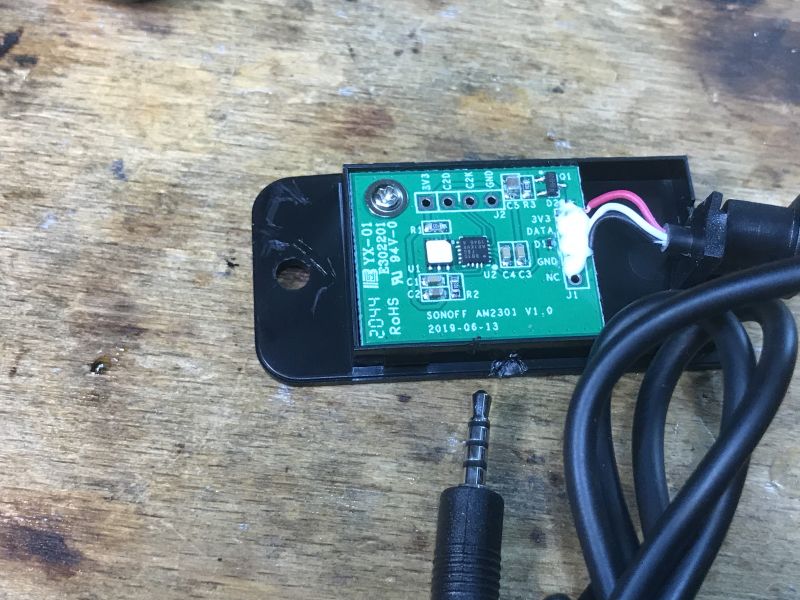
    Close-up of the AM2301 temperature and humidity sensor PCB with a jack socket. Image of the interior of the AM2301 sensor on a wooden background. Interior of AM2301 temperature and humidity sensor showing the circuit board. .
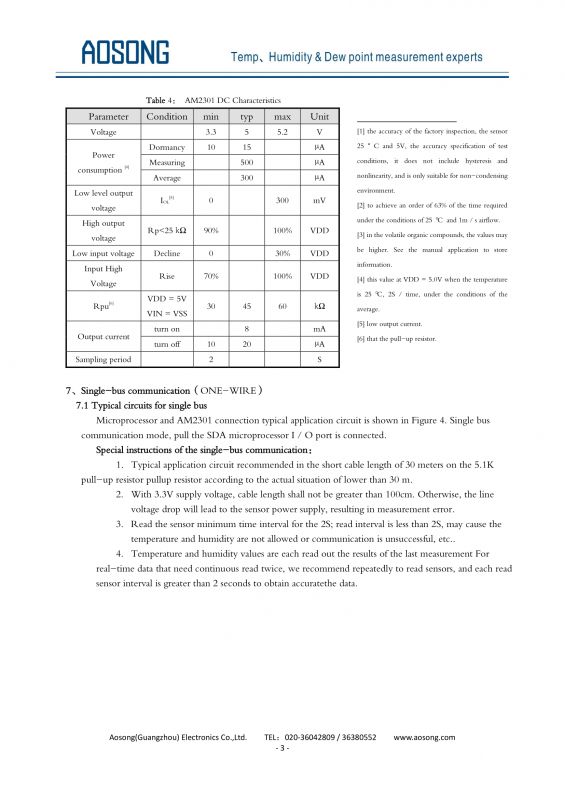
    Well again - full documentation is available online:
    https://wiki.iteadstudio.com/images/3/39/AM2301_Manual.pdf
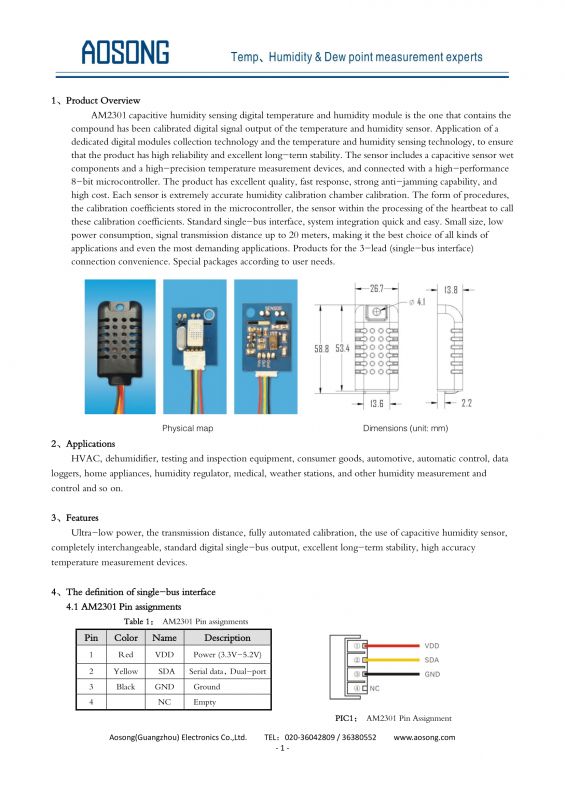
    AM2301 temperature and humidity sensor specification Table with technical specifications of Aosong AM2301 sensor.

    Summary .
    At first I thought I was going to have to work out the hardware from 0, as with many of the entries on our list of interior IoT devices , but here, thankfully, everything was already documented. There was even a diagram! The equipment itself also looks pretty good, it's a shelf higher in quality than the Tuya. I think it can definitely be recommended. Plus you can get it with a variety of sensors, so there's something for everyone.
    Does anyone reading use this type of sensor, and if so, on the original firmware or after flashing? Feel free to discuss. .

    Cool? Ranking DIY
    Helpful post? Buy me a coffee.
    About Author
    p.kaczmarek2
    Moderator Smart Home
    Offline 
    p.kaczmarek2 wrote 11922 posts with rating 9984, helped 572 times. Been with us since 2014 year.
  • ADVERTISEMENT
  • #2 21188794
    wosiekpl
    Level 21  
    Welcome

    Nice that you posted this article about uploading firmware to this controller.
    I happen to have a problem with the original Sonoff, after the update it works but shows neither temperature nor humidity. At first I thought the problem was with the sensor. I bought a new one and after connecting it, it turns out that it still doesn't work properly.
    Looking for more information, I came across a page which describes that the problem lies in communication. After doing an update, the device is not communicating with the sensor.
    Here I found some information

    https://forum.supla.org/viewtopic.php?t=5703

    So today when I noticed your description I decided to write, is it possible to upload the previous software?
    If so, what to upload?

    Greetings

    Wojtek
    Toledo
    Spain

    PS

    On 4 August I asked here, i.e. on Elektroda, but nobody answered me.
    Therefore, I have now decided to write it here because maybe I can replace the software.
    Also, I looked at another topic, How to easily install Tasmote and I see it is a bit complicated, at least for me
  • ADVERTISEMENT
  • #3 21188819
    p.kaczmarek2
    Moderator Smart Home
    Hello, do you want this to work with the original Sonoff firmware or do you want to upload Tasmota or Supla there? Tasmota from what I remember also supports Si7021 and I think I even encountered this problem when I tested.

    Make a copy of the 2MB batch of your device via esptool.py before any changes.
    
    esptool.py read_flash 0 0x200000 my_backup-paired.bin
    pause
    
    .

    I don't know if you can easily find the original batch to upload, although I for example have some snapshots on my repo:
    https://github.com/openshwprojects/FlashDumps/tree/main/IoT/ESP8266
    Helpful post? Buy me a coffee.
  • ADVERTISEMENT
  • #4 21188830
    wosiekpl
    Level 21  
    Hello

    I use the Sonoff to switch on the living room lamp (I have two other models, Basic, also for this purpose) when I am away from home for a longer period of time. It is supposed to simulate my presence. I bought this model, i.e. the TH16, so that, in addition to switching on the light, I can see what the temperature is. I use eWeLink or Home as applications. Therefore, it is not important to me whether the soft is original or not. I just want it to work with the AM2301 sensor, because I have two of these.
  • #5 21188832
    p.kaczmarek2
    Moderator Smart Home
    But if you upload Tasmota then the device will no longer work with eWeLink or Home. It will be accessible locally, by IP, possibly via Home Assistant.

    You can also upload Supla, they have their own cloud, but it too is separate quite than eWeLink or Home.

    Ew, as I wrote, you can try to upload that batch what I posted on the repo, if it fits at all. It's unlikely to break the device, at most you'll then restore your batch from the copy you made earlier.
    Helpful post? Buy me a coffee.
ADVERTISEMENT