WiFi Manager in PlatformIO - convenient WiFi configuration for ESP8266 and ESP32 - tutorial
 .
.
WiFiManager is a library that offers a ready-made system for pairing with our WiFi and its configuration is just a few lines of code. Pairing is done in AP mode (WiFi network emitted by the ESP) and then, after providing the pointers to our network, the system itself remembers them and uses them for subsequent launches. The configurable Access Point can optionally be password protected. WiFiManager also offers the possibility to return the device to pairing mode from a code, e.g. at the push of a button, allowing it to be easily transferred to another WiFi in the future.
Here I will show step-by-step what an example WiFiManager integration looks like with a finished project. For this I will use the clock program from an older topic:
Clock on ESP12 and MAX7219 display - tutorial - part 1, ArduinoOTA, basics .
I already have ArduinoOTA configured there, i.e. the mechanism to update the batch via WiFi, but no WiFiManager yet....
All the code is in the linked topic - along with an explanation of how OTA works etc.
I will use WiFiManager by tzapu here, documentation is available here .
Basic WiFiManager integration .
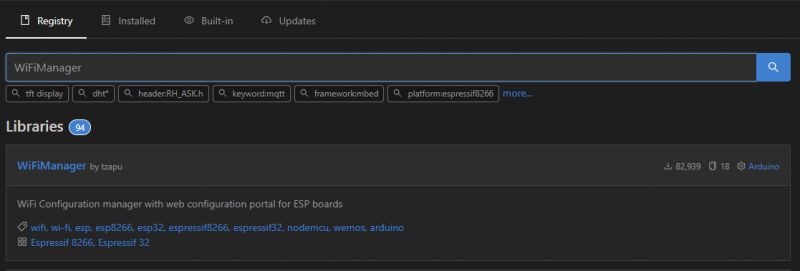
I implement my project based on PlatformIO because of the simplicity and availability of this environment. I prefer it over ArduinoIDE. So first we add the WiFiManager via PlatformIO/Libraries:
 .
.
In our program, sequentially:
- we throw away the old WiFi connection code, together with our password and SSID hardcoded in.
- attach the Manager header
Code: C / C++
- we create a global object of his class
Code: C / C++
- we initiate the pairing or connection to the stored WiFi
Code: C / C++
autoConnect has two arguments - the name of the configuration WiFi (ESP will create a network with this name) and, optionally, the password
These calls are blocking - the program will stop until the WiFi is configured.
That would be pretty much it, but it's still worth giving the evap option in case we change our network. So, on to the main loop:
Code: C / C++
Before that, you still need to set the AP_TRIGGER_PIN pin to input mode at the start, and make sure there is a hardware button to short it to ground. I myself used pinMode(AP_TRIGGER_PIN, INPUT_PULLUP); so that I didn't have to connect a pull-up resistor to the supply voltage, and so the pin defaults to high (1) until someone presses the button.
Full code as amended:
Code: C / C++
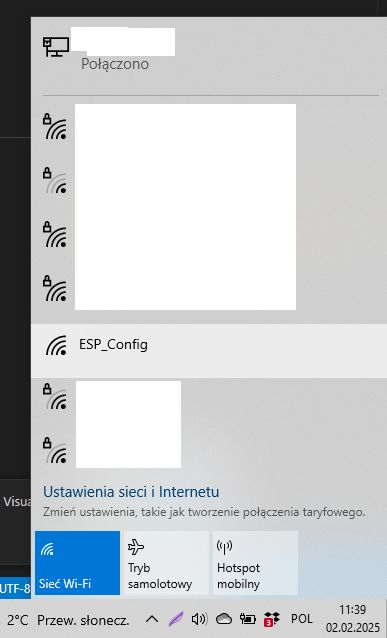
Now it's time to see if it works. I compiled, uploaded and lo and behold, the configuration network appeared:
 .
.
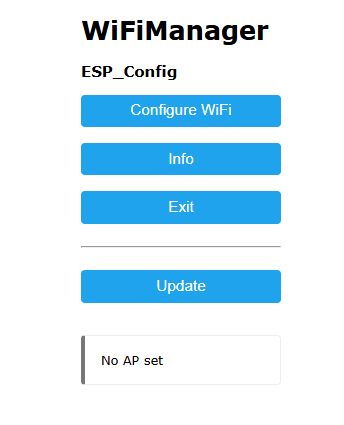
Once connected, you can visit the 192.168.4.1 address:
 .
.
There you can get a list of WiFi networks seen by the ESP and connect to one of them:
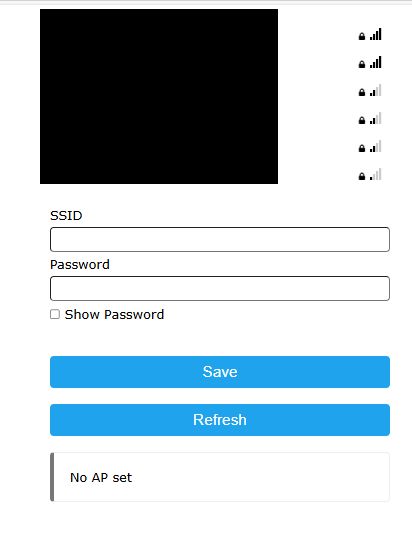 .
.
The ESP remembers the password given and joins my WiFi after a while:
 .
.
Success! .
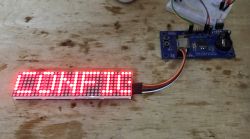
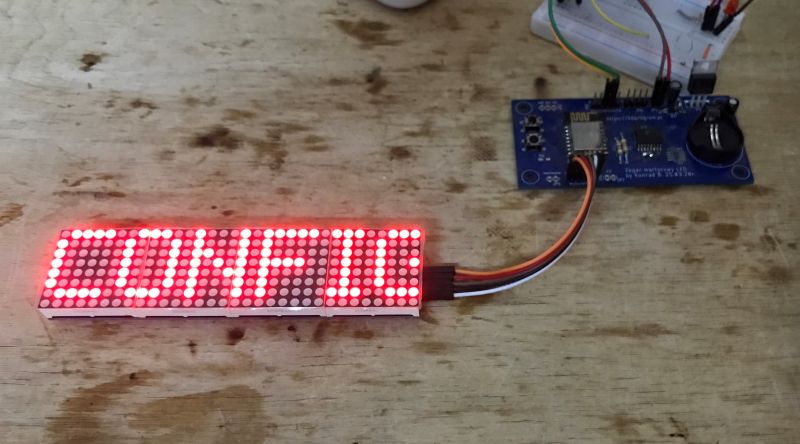
I also checked the behaviour of the button - correctly restarts AP mode and, in order to communicate this to the user, I have then added the display of the word Config to the screen:
 .
.
The basic functionality works, but that's not all.
Parameters in WiFiManager .
WiFiManager, however, offers more than just configuring our SSID and password. Basically, we have a whole additional system of parameters here that are automatically shown on the web page, displayed and edited. We add a new parameter by creating an object of the WiFiManagerParameter class. Below I will demonstrate this with the example of time offset (time zones), the offset will be expressed in seconds. First globally:
Code: C / C++
Then, in the setup function, we add the parameter created and retrieve its contents after configuration:
Code: C / C++
atoi converts the string into an integer. Similarly, if we support the configuration while the program is running (in loop), then we also need to refresh the parameter value afterwards. Then it can be passed to the NTP client to set the time offset.
Code: C / C++
All the code after the integration of the parameter:
Code: C / C++
From now on, the parameter is visible on the configuration page:
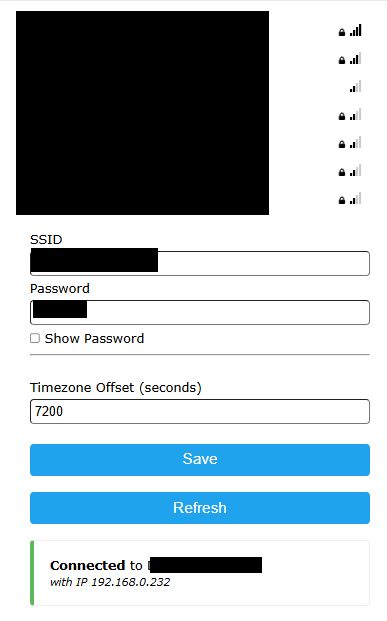 .
.
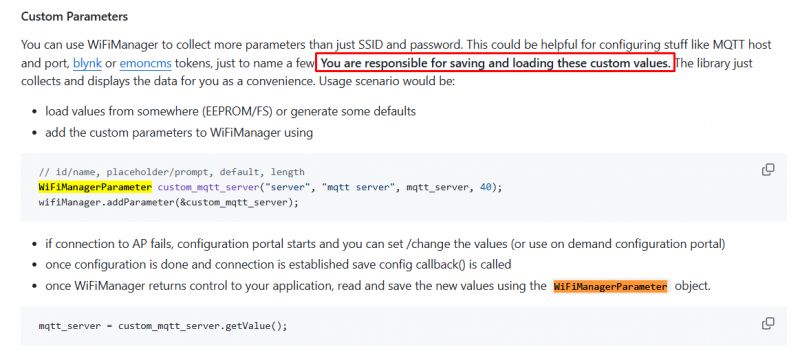
We test, everything works, and then suddenly we restart ESP i.... surprise - the parameter has reset.
The explanation for this phenomenon is in the WiFiManager documentation itself:
 .
.
WiFiManager unfortunately does not save them, we have to do it ourselves.
Simple parameter saving .
We have to save the contents of the time zone offset ourselves. On the ESP we do not have an EEPROM, but we do have a Flash memory that can be accessed via a class called.... EEPROM. This is presumably for name compatibility with other Arduino platforms where EEPROM is actually used. In the case of ESPs (including the NodeMCU), the EEPROM class emulates the EEPROM in the Flash part of the memory. This allows us to store persistent data that will remain after the device is rebooted.
It is now necessary to consider what we need to add. In theory, what is needed is:
- reading the settings at startup from the EEPROM and sending them to the WiFiManager
- after the configuration in WiFiManager you need to write these settings back to EEPROM
In practice, however, there is the problem of the "first start-up", i.e. the first switching on of the board will in this case load some random data from the EEPROM, it will be whatever just happened to be there in memory....
For this purpose, I additionally calculate a simple checksum (derived from the settings) and check if it agrees, because the chances that by chance the EEPROM data will have a sum that agrees with the calculated one are really small and in practice this will allow to detect the "first start".
Example implementation:
Code: C / C++
Other functions (with read/write call added):
Code: C / C++
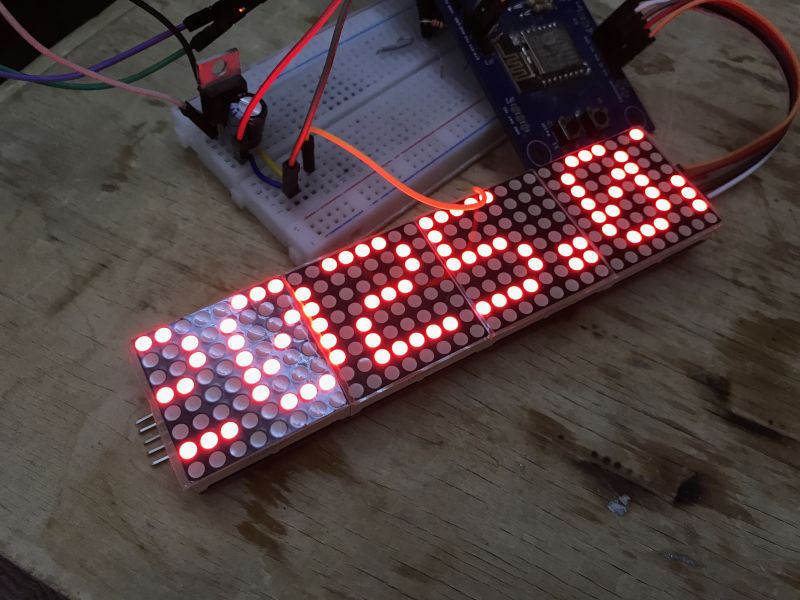
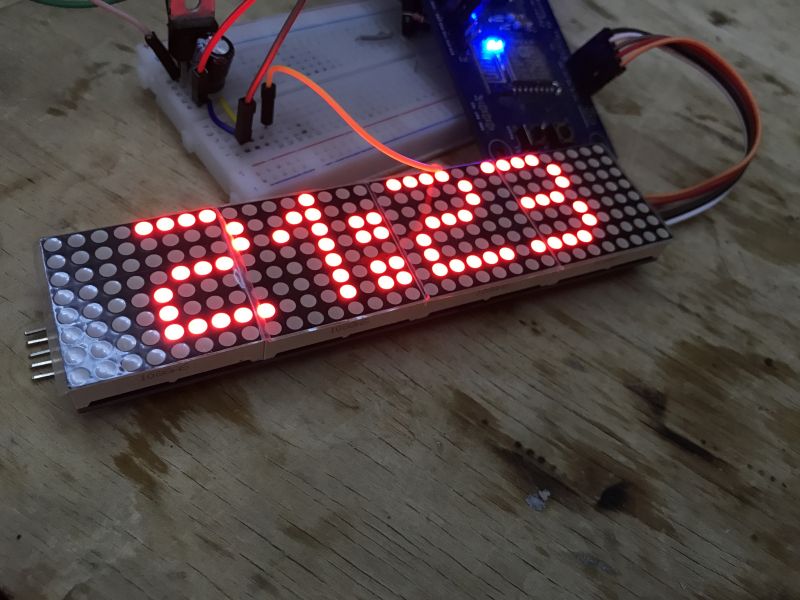
From now on, the time offset is remembered even after loss of power. The clock shows the correct time:
 .
.
 .
.
. Information page .
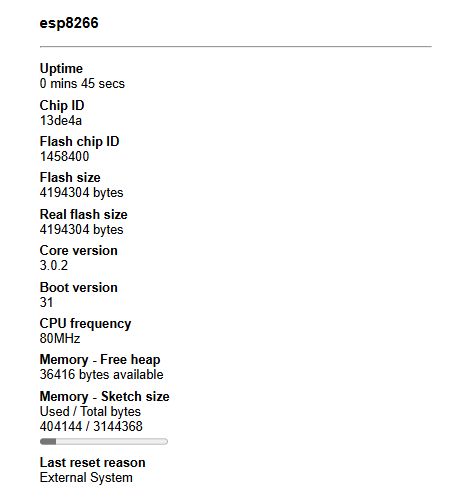
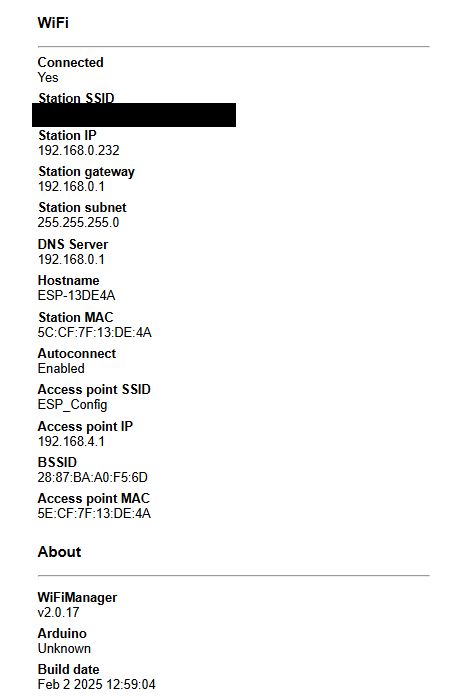
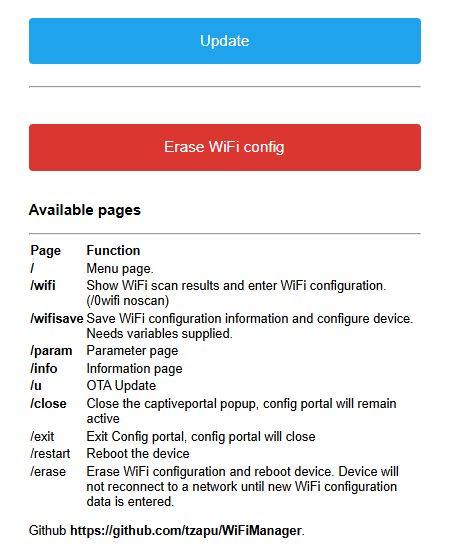
It is also worth mentioning that WiFiManager offers a simple information page about our device. There you can check the status of the ESP and the network it is connected to. This is available at the resource address /info.
 .
.
 .
.
 .
.
Summary .
A very simple and convenient to use library. Definitely worth using, thanks to such a simple WiFi pairing system our projects become useful even years after it changes the data of our current WiFi network and we don't need to compile them separately to run them with another router. Additionally, the whole thing works seamlessly with ArduinoOTA, so in my opinion both of these libraries should be the first to run in our projects.
Of course, the code shown is just an example and could be optimised to reduce flash usage (don't save when no change has occurred), rewritten in a more universal way (better checksum counting etc), but that wasn't the goal here. Perhaps I'll present better solutions - LittleFS - in a separate topic altogether, and then I'll return to the subject of saving settings.
Have you used WiFiManager in your projects, or do you have other solutions so that you don't have to save WiFi data rigidly in code? .


Comments
I would add that the parameters in WiFiManager can be very useful when configuring MQTT. We immediately configure our network and in addition access to MQTT. [Read more]
Nice example, in fact my code could be improved by this, I see they used: wifiManager.setSaveConfigCallback(saveConfigCallback); . to call save, and I'm blindly saving in the theme code. And... [Read more]
Well okay, I'm having a problem with this library in terms of, restoring the connection when it's lost, it works much better with simple logic to disable and restore the connection, but it's probably me... [Read more]
Cool, add a description of how to create other pages conveniently, as if we wanted to at least click out of the WebUI timezone - then the description would be fully complete for me :) . Alternatively,... [Read more]