
Here is a short teardown and flashing instruction (and how-to-free-from-cloud guide) for another popular Tuya wall switch, the WiFi DS-101JL, although you can also do the same with its 2gang and 3gang version. This switch is based on BK7231N, so you can upload
OpenBeken . There is a module inside
CB3S which directly controls the relays, as well as touch buttons and additional LEDs (WiFi status LED and relay status LEDs). Both LEDs are on separate GPIO, which is very good, because it gives us the ability to freely configure their behavior (some people prefer the LED to be on when the light is off, and others to have the LED turn on together with the light).
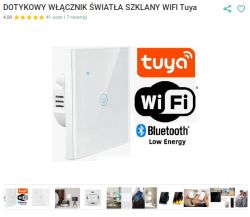
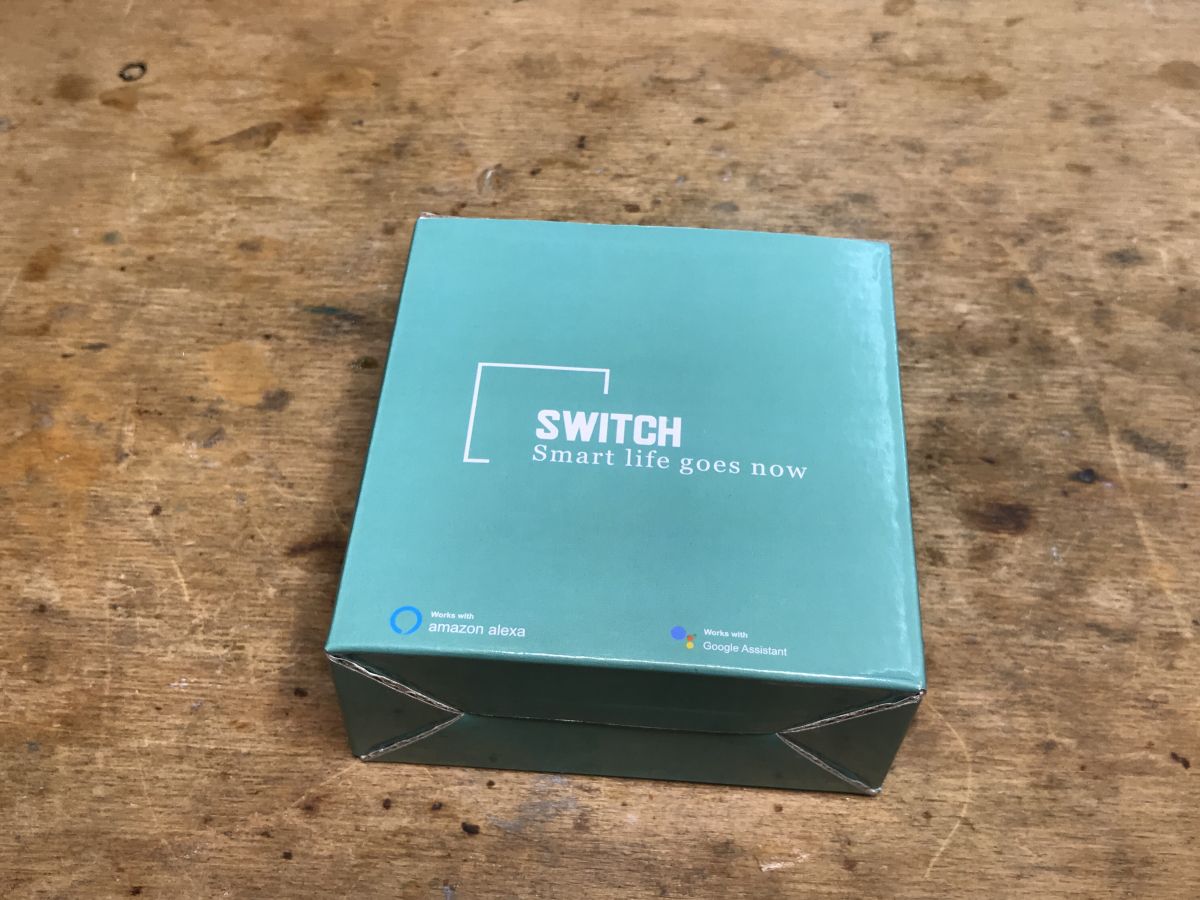
Purchase of DS-101JL
The product was bought on a Polish auction site for less than PLN 55 (12$ or so) with free shipping, it was bought by a reader so that I could change the firmware for him:
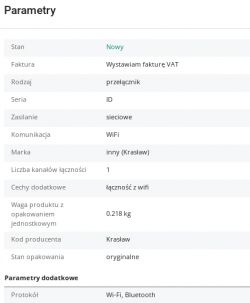
The specification reveals that it may be something on the BK7231, because Bluetooth is mentioned in it, the ESP8266 itself does not support BT:

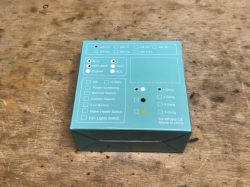
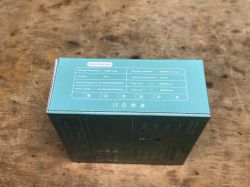
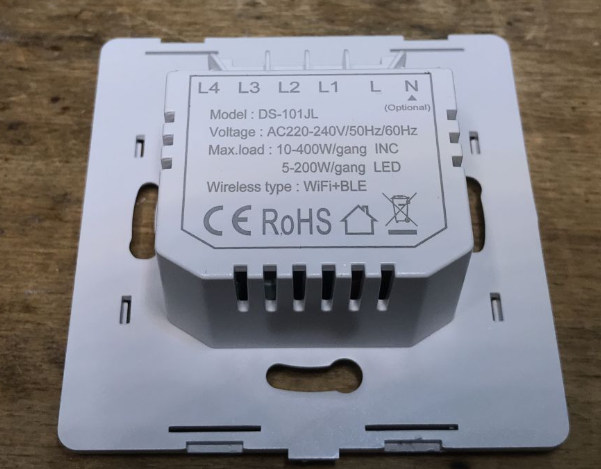
Product Parameters:
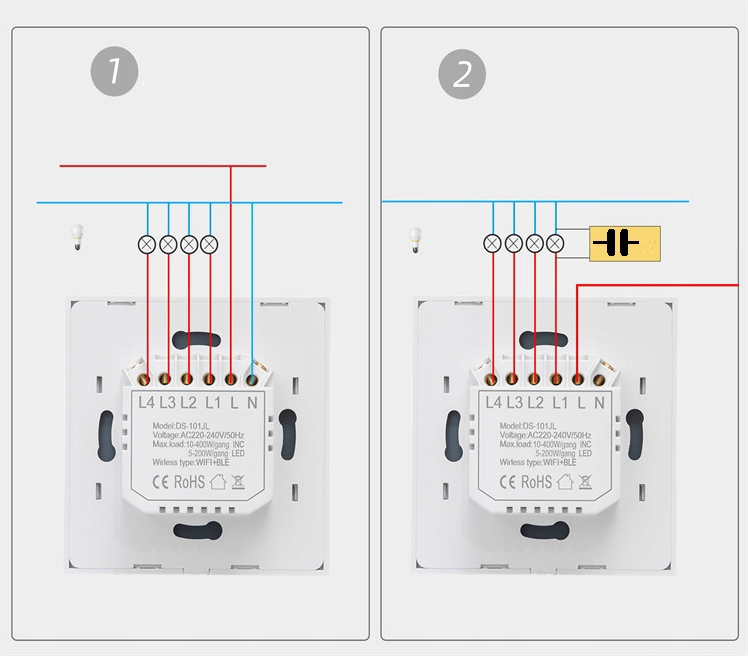
Installation:
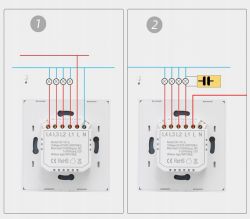 The above switch can work without the N cable! Connection details in the diagram.
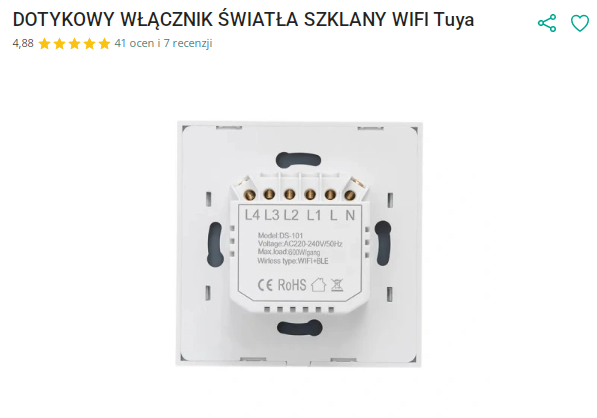
The seller does not display the model of the product, but one of the graphics from the auction shows that it is DS-101:
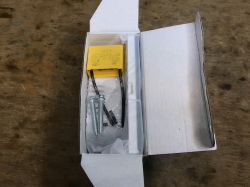
 Parcel received
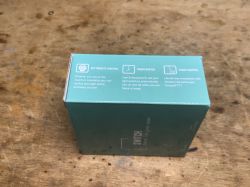
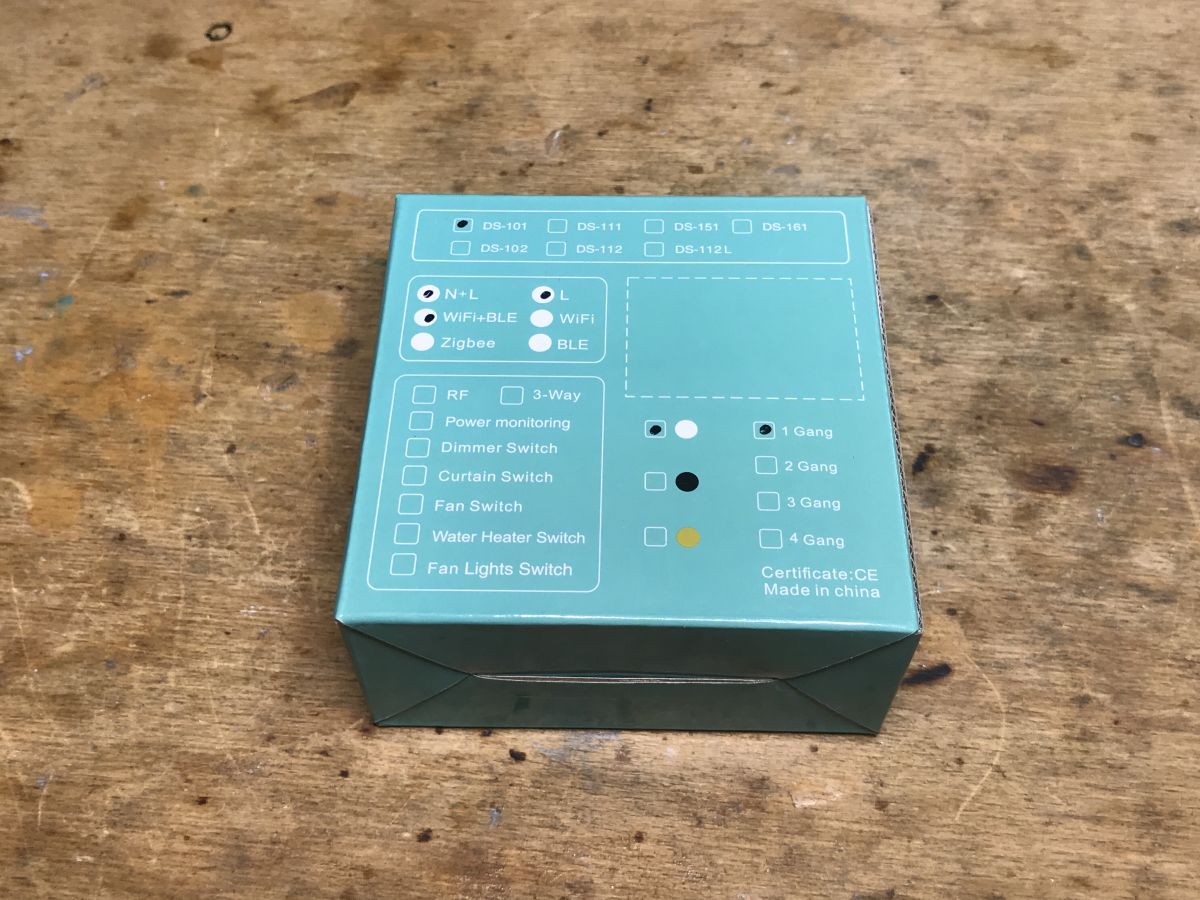
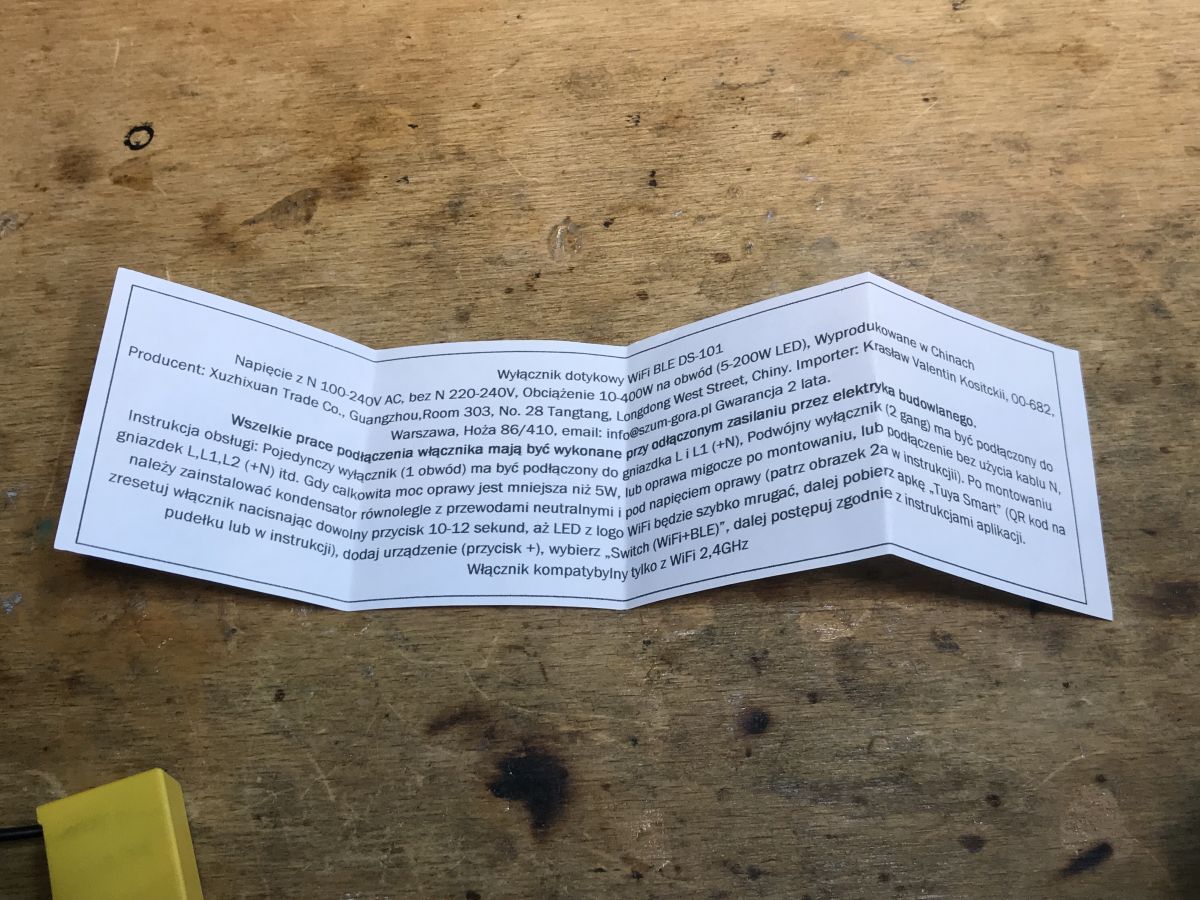
Let's see what do we get in the package?
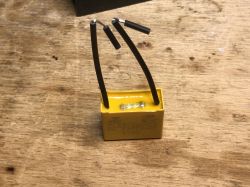
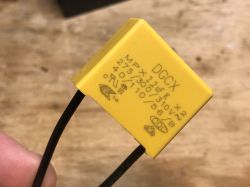
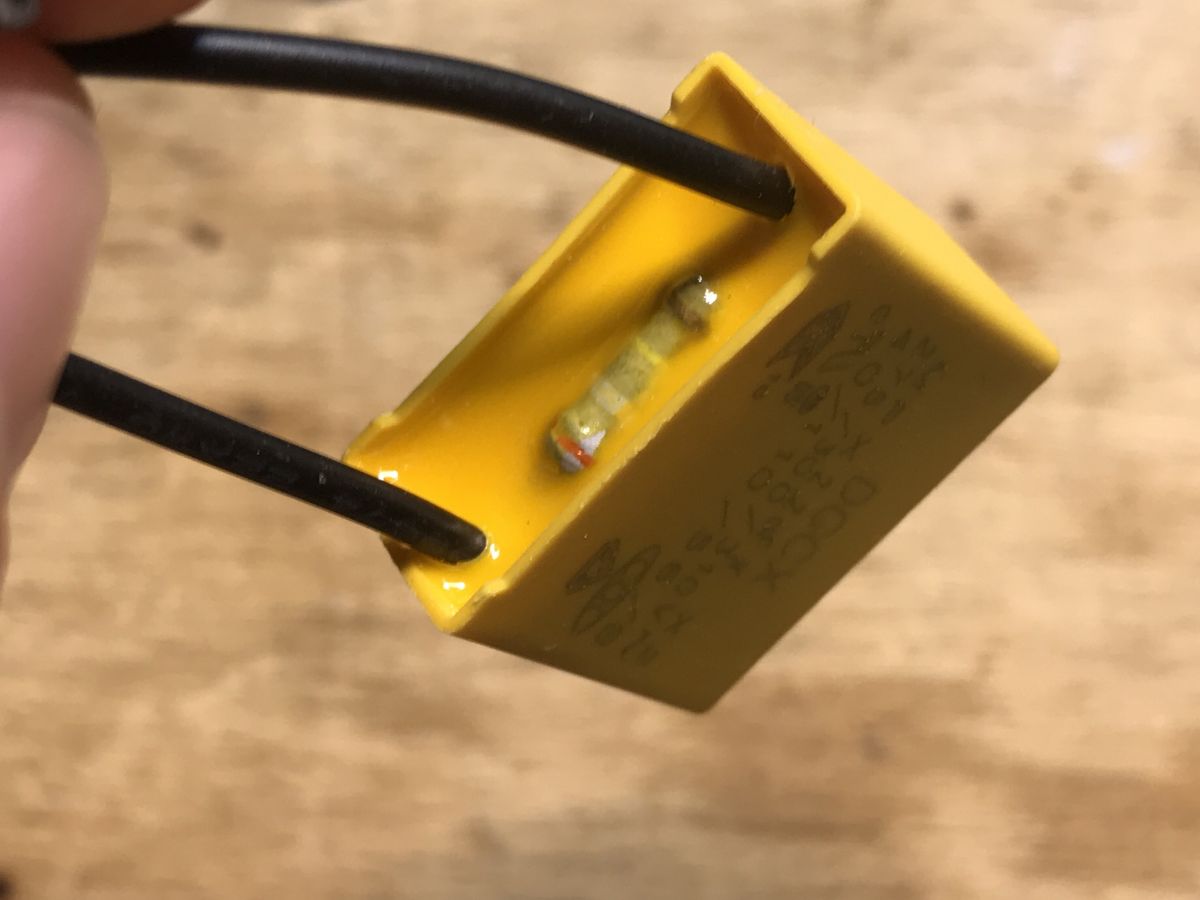
The set also includes a capacitor to be mounted in parallel:
Description of the assembly in Polish (a plus for the seller for writing "capacitor" and not an adapter):

By the way, this capacitor also has a built-in resistor, does anyone know, maybe for what purpose it is? Is this just against holding a load longer or does it have another role?

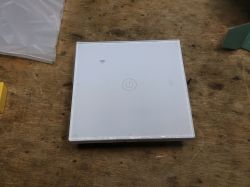
And the switch itself:
 DS-101JL teardown/b]
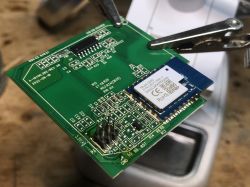
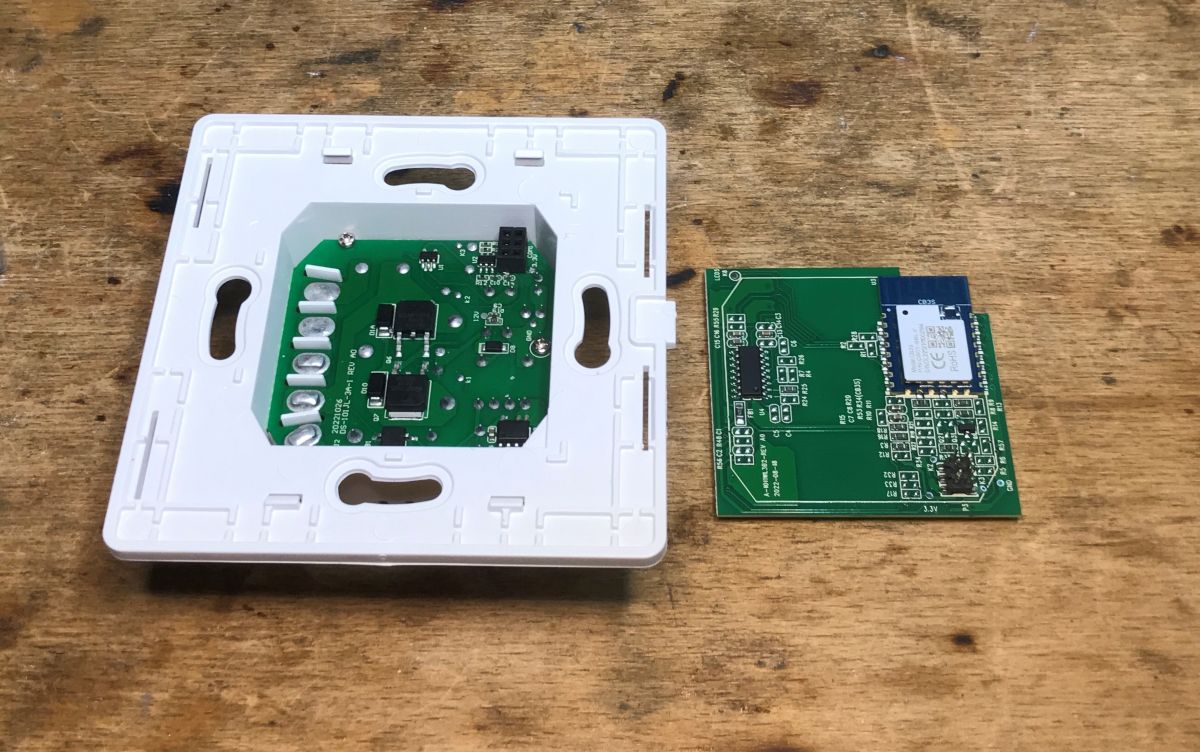
We pry the front cover with a screwdriver:
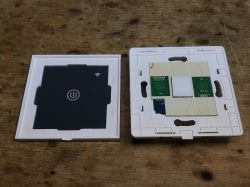
We pry the board, which is held only by a pin connector:
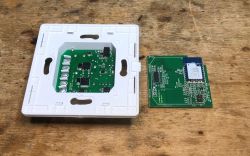
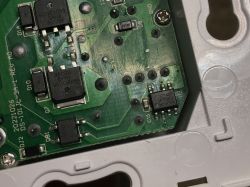
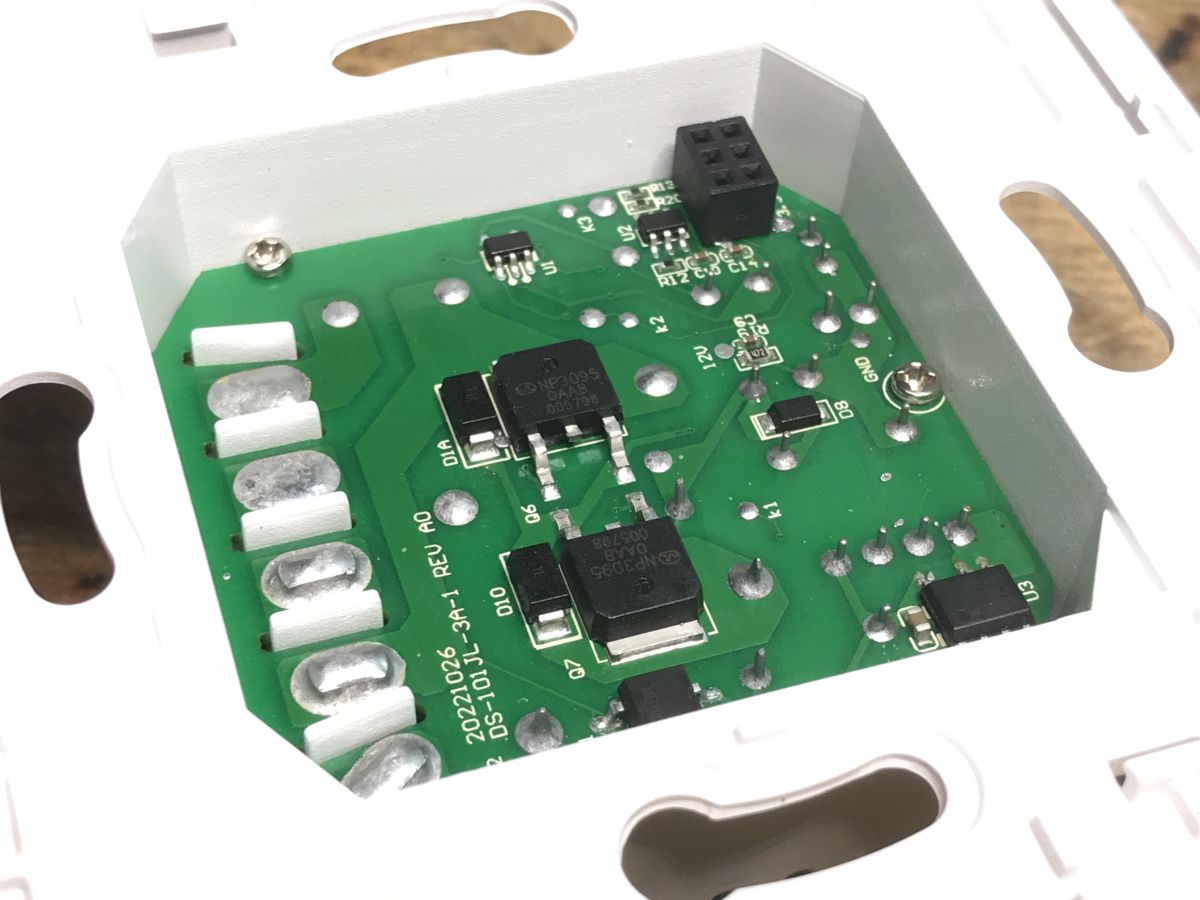
The switch uses the CB3S WiFi module. The chip in the SOIC is not a TuyaMCU, it's just a touch button controller.
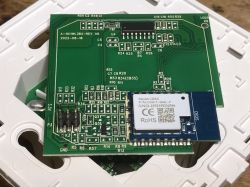
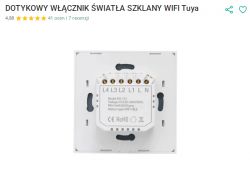
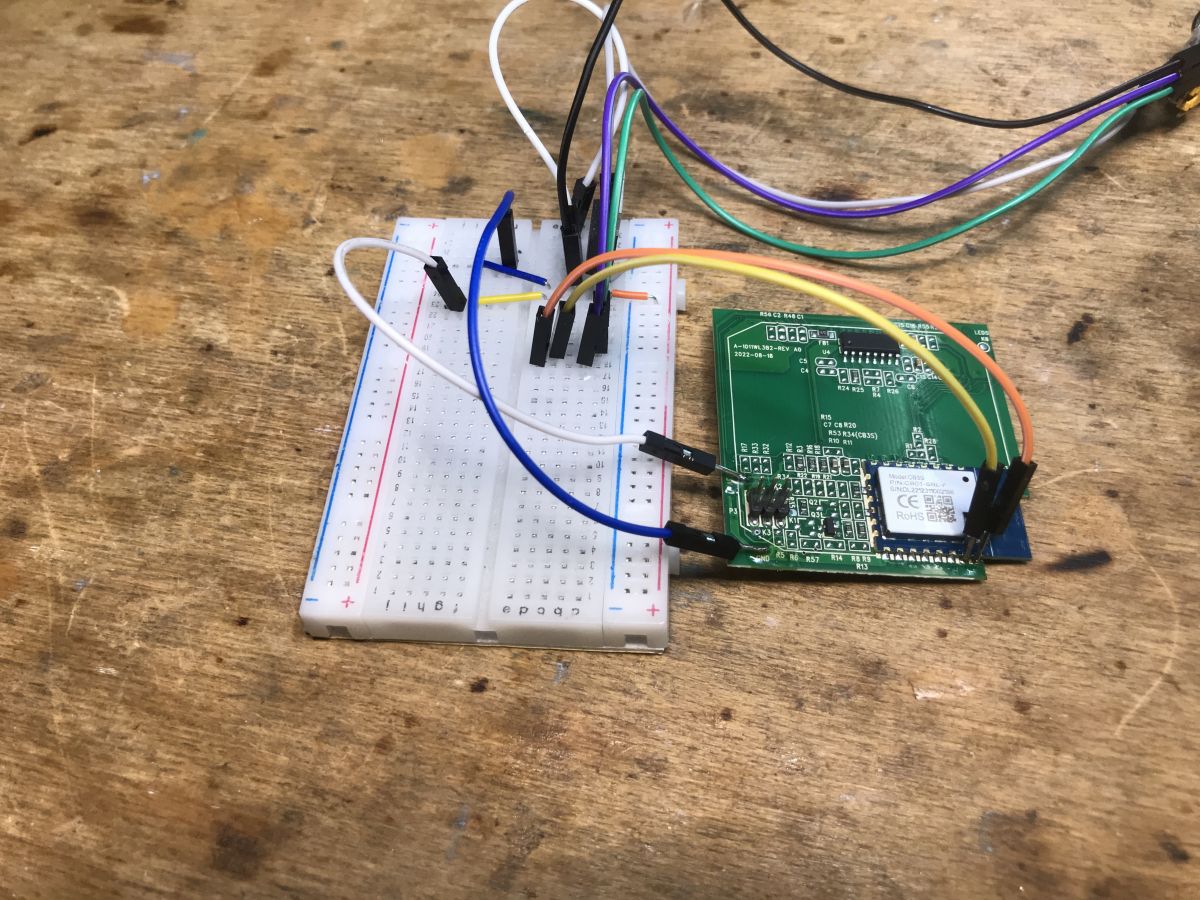
PCB designation: A-1011WL3B2-REV A0 2022-08-18
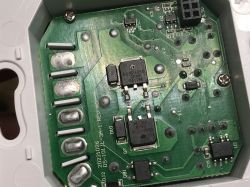
I haven't analyzed the power section yet, but here are some pics:
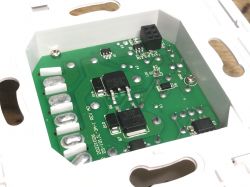
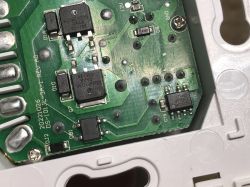

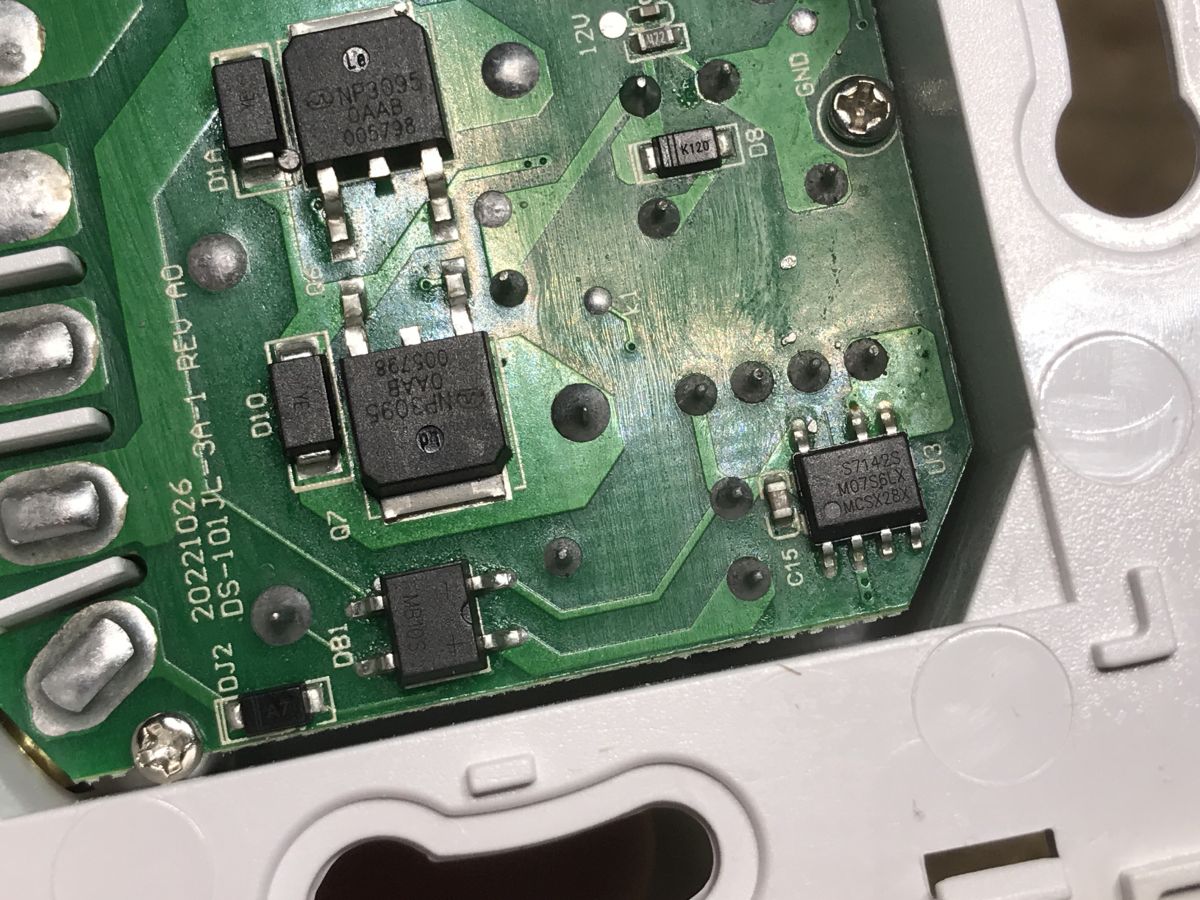
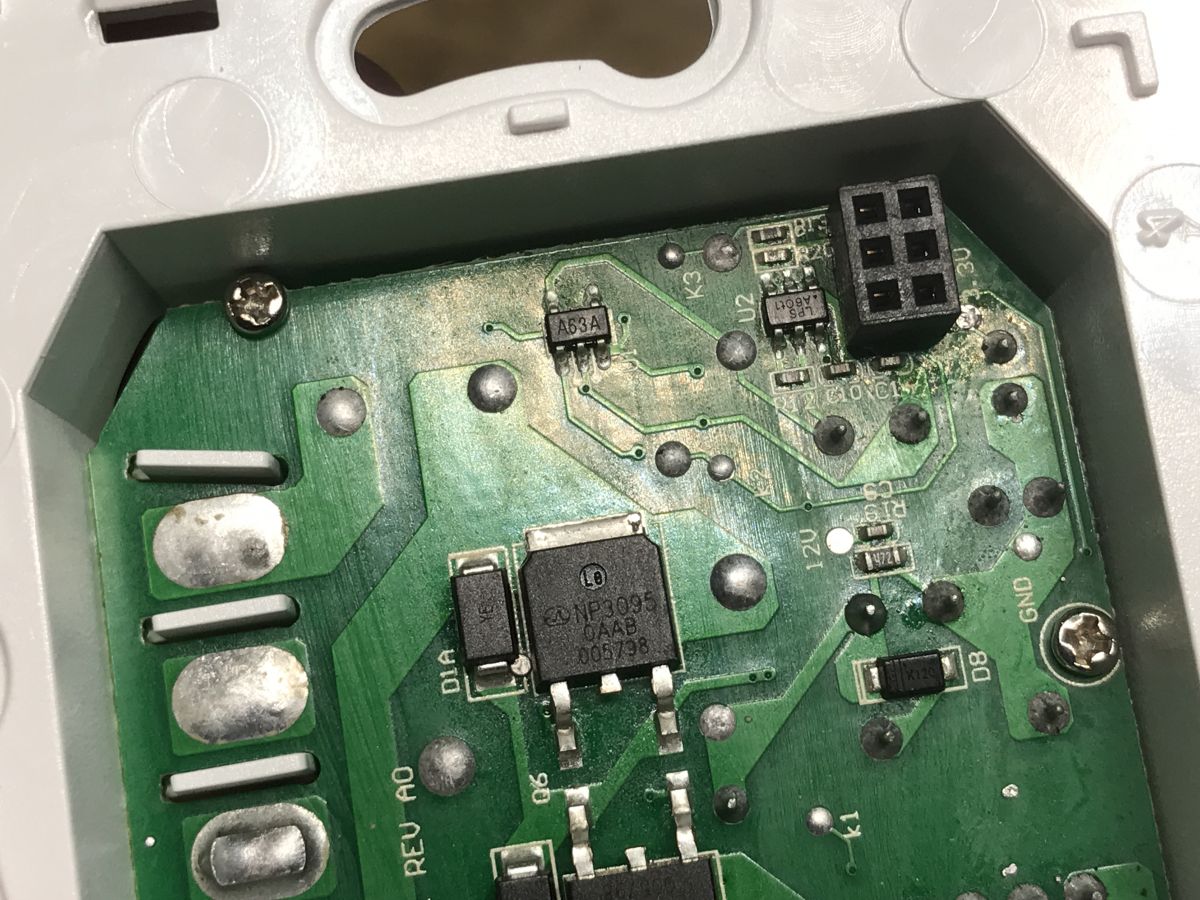
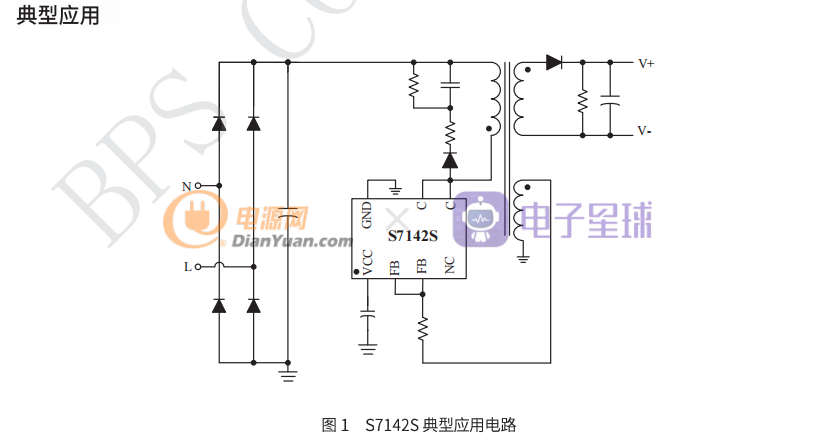
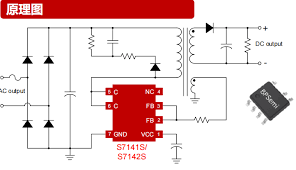
On the board you can see S7142S:
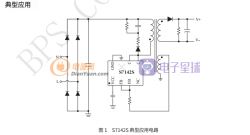
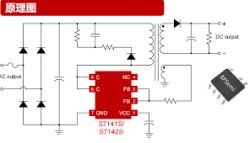
As usual, we have a small flyback converter here. You can also see elements that look like triacs or MOSFETs, NP3095. The small A63A chip is probably the LM321, but I have not analyzed its role in this system, and I have not deciphered the meaning of the LPS A60T1.
[b] Firmware change
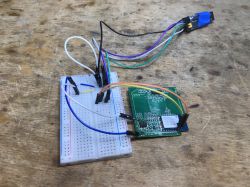
The purpose of the topic is to change the product firmware, so I will focus on the WiFi module board. I will use BK7231 gui flasher as per:
https://github.com/openshwprojects/BK7231GUIFlashTool
First, some flux and time to whiten the pads, ground and 3.3V, as well as RX1 and TX1:
You can find CB3S pins on the web.
Then we solder the wires:
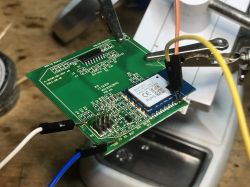
Ready layout (see BK7231 gui flasher manual):

 BK7231 gui flasher in the latest version can extract the Tuya GPIO configuration
 The full template is below:
Description in words:
Quote:
- Relay (channel 1) on P6
- WiFi LED on P22
- LED (channel 1) on P26
- Button (channel 1) on P20
Summary
The firmware change went smoothly. Now you can use Home Assistant Discovery in OBK to pair the switch with Home Assistant. The double and triple gang versions can also be handled in the same way. Fortunately, there was no additional MCU inside handling anything but communication, it is not a TuyaMCU based switch, so there are no complications or difficulties to set up.
By the way, this switch may be better to buy in some cases, because it is able to run without N, and also because there are two LEDs on separate GPIOs.
PS: Btw, I also recommend reading the related topic posted by a reader from the USA, which discusses a different version of this switch and also shows how it can be programmed via WiFi, without soldering wires:
https://www.elektroda.com/rtvforum/topic3978184.html[/b]


Comments
Oh! I had missed this new post about DS-101JL. I purchased my DS-101JL in last year and was struggling with them and just left them aside. The PCB version was A-1011WL3B2-B123-V2.0 and it had a... [Read more]
I recently bought a 4-Gang DS-101JL which has a so I decided to post here. It came with Tuya FW V1.3.5. According to this page, this FW is a patched version hence tuya-cloudcutter is not an option... [Read more]
There was one more issue with the tool. I used the option in the tool to configure automatically. However the device name did not match the standard default device naming convention of using the... [Read more]
There is an alternate option for this wall-switch. With the brand "athom", you can buy the DS-101JL with 1, 2 or 3 relays. The touchboard is similar to the board p.kaczmarek2 has in his DS-101JL, but with... [Read more]
But is it still produced with ESP? Name can be changed in Configure names to anything you want: https://obrazki.elektroda.pl/8706167400_1737047055_bigthumb.jpg [Read more]