OpenBeken custom driver testing with simulated IO - PIR driver development example
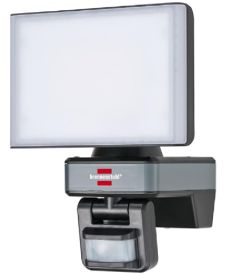
Here I will show you how I created and tested a PIR-controlled LED lamp (with light sensor) driver for OpenBeken - all without access to physical device. This topic will cover whole development process: from concept, through simulation, to automated testing. Whether you're learning how to contribute to OBK, or just exploring firmware inner workings, this tutorial shows how you can confidently write and verify a custom driver using only OBK simulator and self tests.
You’ll see how to simulate GPIO inputs like motion and ambient light levels, how to expose driver controls via the HTTP web interface, and how to validate correct behavior with unit tests.
Warning: this topic is a development tutorial/guide for OBK and requires some basic C programming knowledge, basic OBK knowledge will also help!
Generic driver idea and used hardware
The following PIR driver will run on a LED lamp that has a motion sensor (boolean value) with controlled sensitivity (via PWM) and a light sensor (ADC). The PIR driver should feature two control modes, first manual, which just ignores all sensors and allows user to control it, and an automatic mode, which is using motion input, ADC input and user-defined settings (time on and light margin) to enable light. Light is only enabled when there is a motion and the environment is dark enough - it should not be enabled during the day.
Sample OBK device template (as sent to me by user who has this device):
Code: JSON
Pins 8 and 9 are used for CW light control, so they can be ignored. What matters to us is pin 6, which is PIR data input, pin 23, which is light sensor input and pin 26, which is used to set PIR sensitivity.
Step 1 - Environment setup
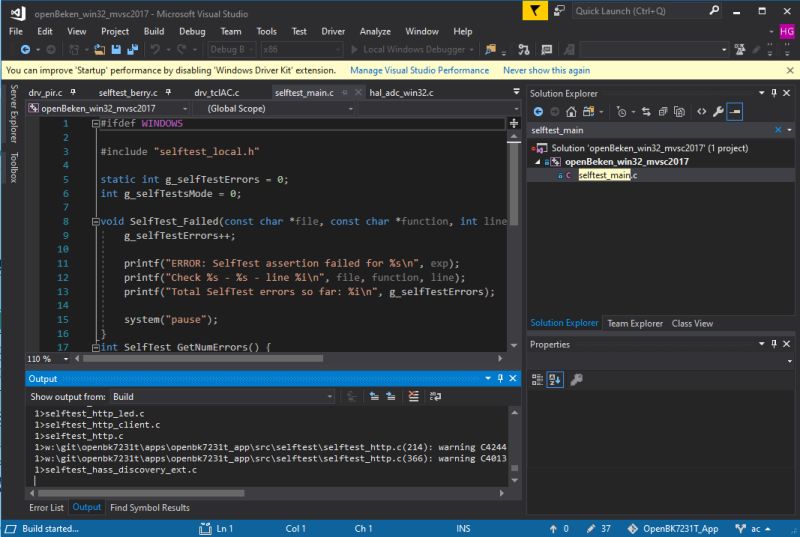
OpenBeken can be run directly on Windows platform with a virtual device simulator. All required dependencies are available for download in simulator repository. Just open the MSVC project (update it if you prefer newer MSVC):

Then you should be able to both build and debug OBK Windows port:
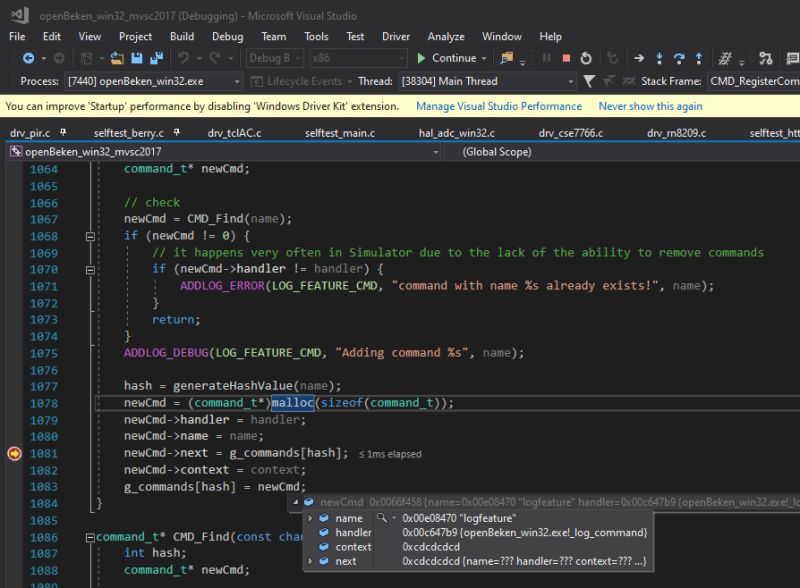
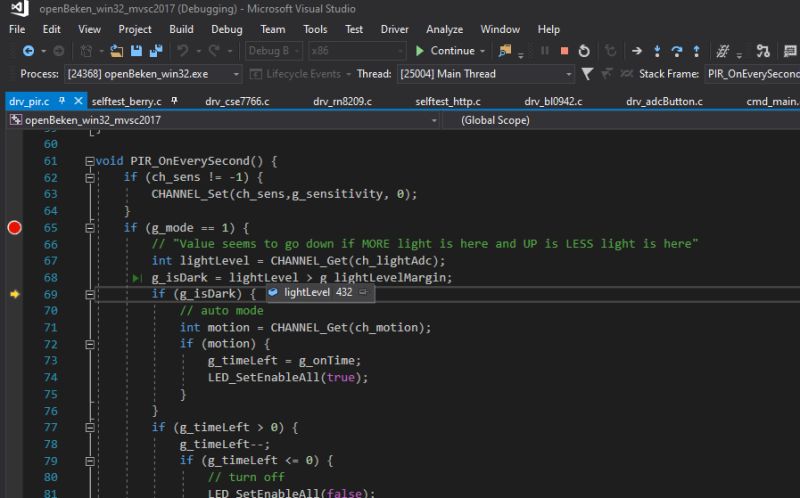
You can put a breakpoint in any function that is included in Windows port and you'll be able to investigate variable values, stack, etc. Of course, it does not include platform-specific code, but that's expected by design.
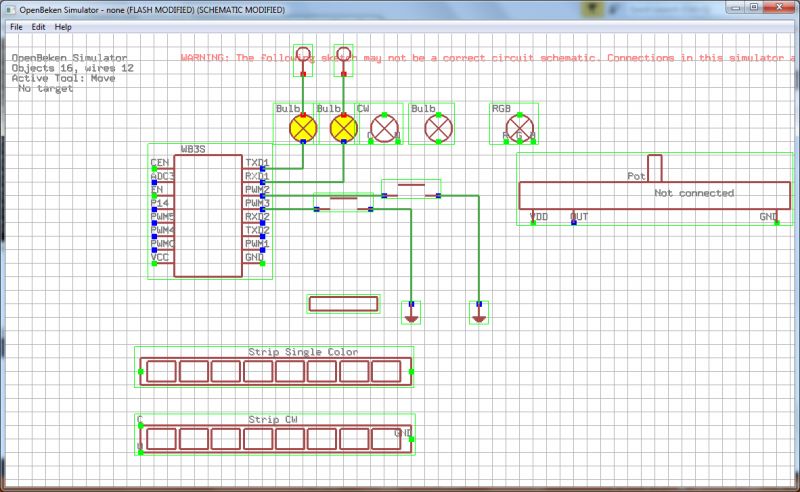
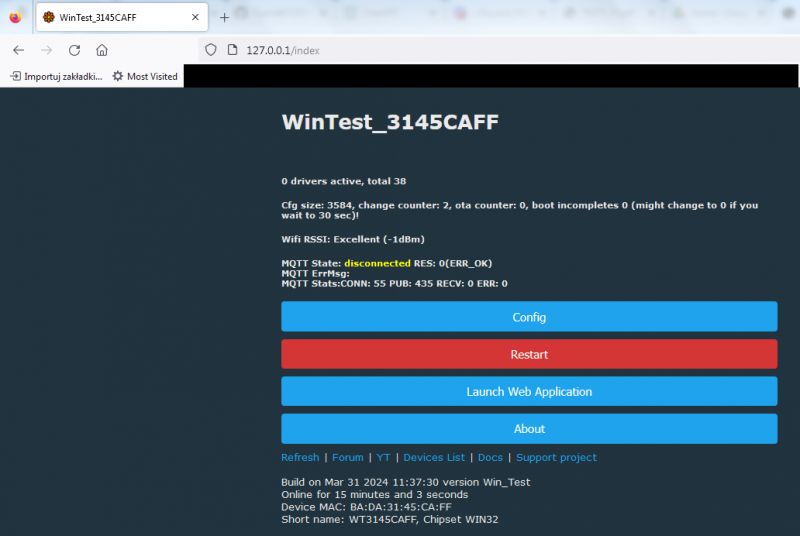
You can also access simulated device page and schematic tool:
Step 2 - Initial driver setup
Now it's time to start writing a driver. I've already covered a basic driver procedure in the separate topic, so I will just link to it below:
[English] How to create a custom driver for OpenBeken with online builds (no toolchain required)
[Polish] How to create a custom driver for OpenBeken with online builds (no toolchain required)
Driver can basically have a quick and slow tick functions (slow tick is called 'on every second', but soon will be customizable), init function, shutdown, and can also receive channel change and HTTP page refresh callbacks, which can be used for custom user interface.
Step 3 - First driver draft
So, as shown in previous tutorial, I've started with drv_main.c entry:
Code: C / C++
Then I've prepared the function stubs:
Code: C / C++
Init and OnEverySecond functions should be obvious, one is called on start, and second periodically - on every second. The HTTP page function is more interesting - it provides access to static HTML (if bPreState is 1), and to the dynamic HTML state which is refreshed every second (if bPreState is 0). The static html should be used for configuration page with user inputs, and dynamic section can be used to display current driver status information.
Code: C / C++
I've also included function headers, including the flash vars for state read and write.
So, let's start with the init function. In this case, we need this function to automatically find matching channels for PIR device and also restore settings from flashvars:
Code: C / C++
This driver assumes that user has set the required pin roles or/and channel types and it uses just first channel/pin that matches the requirement. It should be good enough for the start, more customizable version can be done later.
Then let's consider HTML page handler, which is used to create configuration UI and display current PIR state:
Code: C / C++
This callback is both creating the HTML page and receiving the data from submitted HTML form via http_getArg function. Parameters are later saved to flash vars, so they are persistent between reboots.
Finally, I've implemented the PIR logic, which is refreshed every second:
Code: C / C++
The logic above is fairly simple. In automatic mode, driver is first testing light level in the environment. Then the PIR is checked. If the environment is light and there is a motion, then light is enabled and timer is set to initial value. Then timer is ticked and if it runs out, the LED is disabled. That's enough for basic PIR functionality.
Step 4 - Testing driver configuration manually
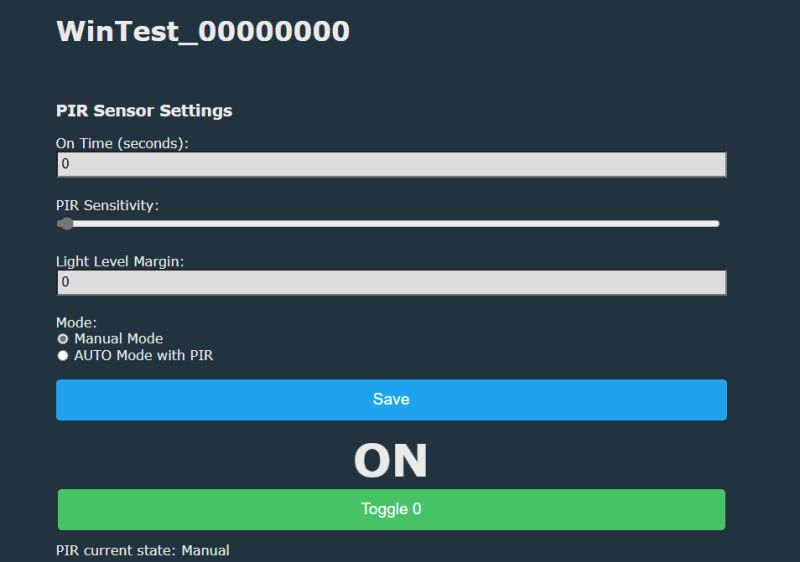
This is a somewhat obvious step, but it's still worth to mention it. While developing a driver, it's very easy to test it directly on Windows. You just need to run the simulator and access the OBK page on your PC IP, by default using port 80. Port can be changed via command line, if you want to run multiple OBK devices at the same time.
That way I can get this:
I can put breakpoints in the driver code to see what happens:
I can set states on simulated GPIOs by shorting them to ground or power (or by using a button):
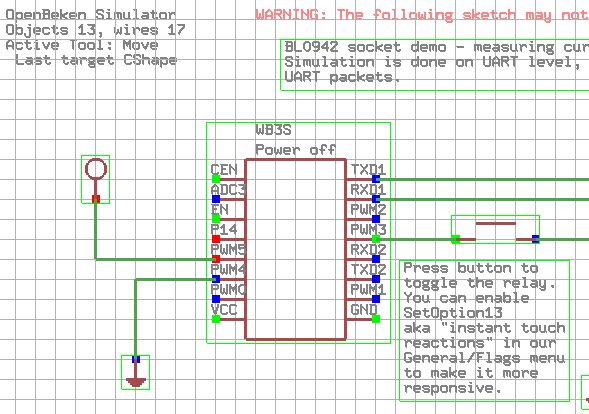
(of course, the schematic is simplified, you should not be attempting to create such circuit in reality).
This may be helpful for testing and playing around, especially since Simulator also supports Home Assistant, but there is still even better solution...
Step 5 - Adding self tests while developing
OpenBeken automatic testing was briefly described here. This mechanism resides in src/selftest directory. For this example, let's consider selftest_pir.c code which we can later call from the main test caller:
Code: C / C++
First, the code above is setting required GPIO and channels configuration and then it starts the driver. Once driver is running, some basic configuration to PIR is done via simulated HTTP packets - this is the same what user browser sends when the HTML form is submit:
Code: C / C++
Finally, the IO state is simulated as well - both ADC (light level) reading and motion state (boolean). Then initial behaviour of PIR driver is tested.
Code: C / C++
PIR driver should enable LED as soon as motion is detected and there is not enough environmental lighting. So, LED_GetEnableAll should return 1. Following test will cause assertion if LED is not behaving as expected.
Then, we simulate continous motion:
Code: C / C++
Just to be sure - before motion goes away:
Code: C / C++
Then, after a simulated wait longer than LED on time, the LED should turn off. This is tested now as well.
Finally, we're testing one more scenario - what if there is a motion, but environment is bright enough that we don't need LED?
Code: C / C++
Light should turn off in this case, and yes, it does as expected.
What would happen if there was an error in a driver?
Now, for the sake of the presentation, let's break our driver logic. I've moved the countdown else inside the "isDark" block, so now time goes down only if there is no light:
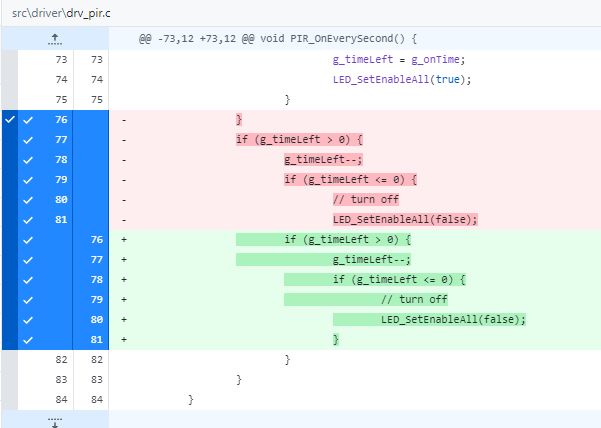
This makes driver behaviour incorrect - the LED will not turn off if it's on when the day starts.
Now I run the self tests, and yes, they have detected the problem;
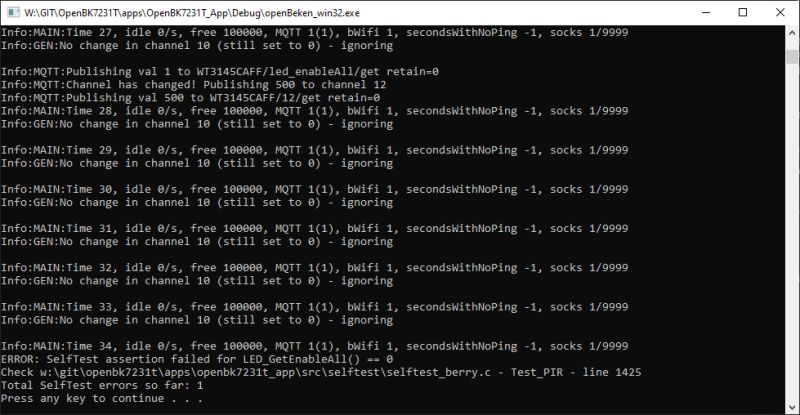
The assertion fails and developer immediatelly knows that something bad happened to the driver. Don't forget the same tests are ran on Github, so even external commits (pull requests) are checked as well.
Summing up, this is how I can develop drivers for OBK quickly and easily. Thanks to Windows port/simulator mechanism, I can:
- quickly run and test features directly on PC
- simulate simple circuits and GPIO states with "schematic editor" tool
- debug OBK behaviour in effective MSVC debugger (put breakpoints, check variable values, inspect memory)
- automatically test OBK behaviour on each commit/run with self tests
- connect OBK to HA without having physical device (Simulator supports MQTT via LWIP)
Of course, this approach is not a full replacement to testing on physical device, as some code is per-platform and device-dependent, but it still provides a great starting point for rapid development and validation of OBK drivers, at least when they are not strongly focused on per-platform mechanism like interrupts or DMA...
PS: PIR driver was already tested by our user on physical device and it's reported to work good, altough probably I will still improve it more in the upcoming days


Comments
#if ENABLE_DRIVER_PIR //drvdetail:{"name":"PIR", //drvdetail:"title":"TODO", //drvdetail:"descr":"PIR", //drvdetail:"requires":""} { "PIR", PIR_Init, PIR_OnEverySecond... [Read more]