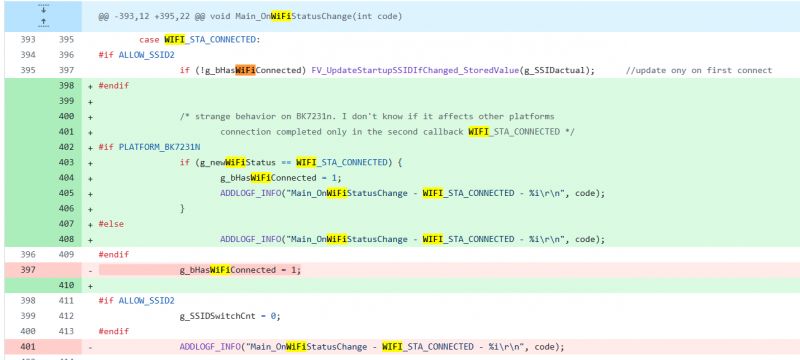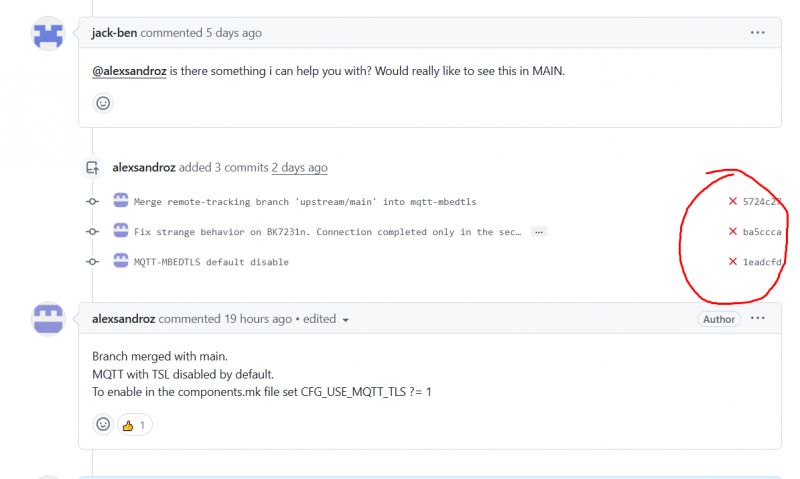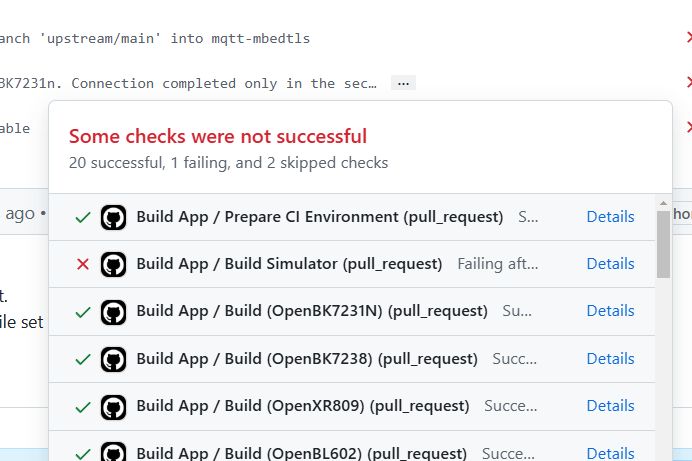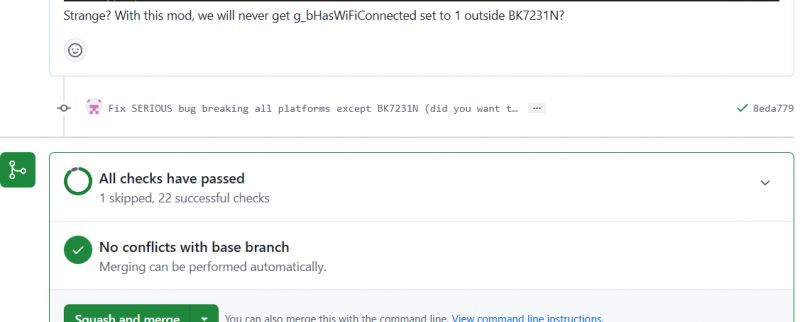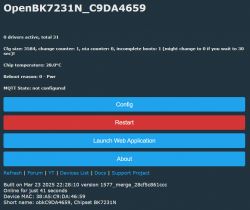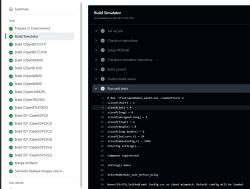
OpenBeken features an automatic self-testing system that checks the firmware for potential bugs and errors with each new commit. Each test simulates a practical use-case scenario, simulates certain inputs and verifies if the outputs are within the expected range. Thanks to this, we are able to quickly identify and fix issues before releasing new firmware versions. This system enhances stability and reliability by catching regressions early, ensuring that new features do not introduce unintended side effects, for example, don't break existing integrations and configs.
Here I will present the self testing implementation details and explain how you can use it while contributing to our firmware.
Two types of automatic testing
Currently there are two types of automatic tests available in OBK.
- simulator-only self tests - they are run in OBK simulator, which is currently compiled on Windows. They are used to verify the main logic flow of OBK itself (app code). You don't need any WiFi module hardware to run them, just a Windows machine
- per-platform tests - they are run on physical OBK device and should be run that way on any supported platform. They are used to check platform-specific things, like memory allocation or basic string processing. This can't be done in OBK Simulator because we are not able currently to compile some of the per-platform SDK-specific code on Windows/Linux, it has to be run on target device.
Simulator tests
Let's start with Simulator tests. Simulator tests are run in OBK Simulator, which, more precisely, is a generic SDL platform port of OpenBeken with a simulated HAL and MQTT support. Those tests are currently run on Windows platform, altough compiling for Linux should be also easily possible.
The Simulator Tests are available in selftests directory:
https://github.com/openshwprojects/OpenBK7231T_App/tree/main/src/selftest
Currently they are run on Github on each build:
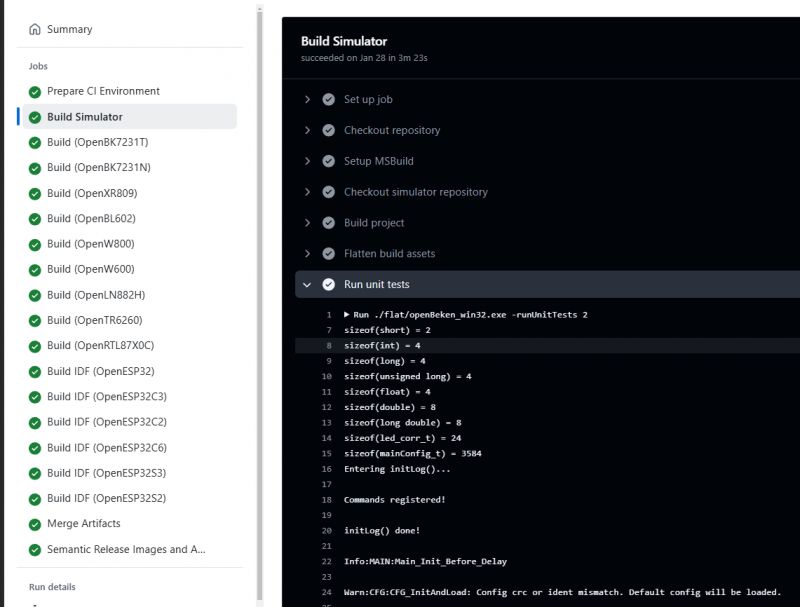
More precisely, OBK Simulator is built for Windows platform on each commit and then it's used to run the tests:
  build2:
    name: Build Simulator
    needs: refs
    runs-on: windows-latest

    steps:
    - name: Checkout repository
      uses: actions/checkout@v4

    - name: Setup MSBuild
      uses: microsoft/setup-msbuild@v2

    - name: Checkout simulator repository
      run: |
        git clone https://github.com/openshwprojects/obkSimulator
        mkdir -p ./libs_for_simulator
        cp -r ./obkSimulator/simulator/libs_for_simulator/* ./libs_for_simulator

    - name: Build project
      run: msbuild openBeken_win32_mvsc2017.vcxproj /p:Configuration=Release /p:PlatformToolset=v143
    - name: Flatten build assets
      run: |
        mkdir -p flat
        cp ./Release/openBeken_win32.exe flat/
        cp ./obkSimulator/simulator/*.dll flat/
        cp ./run_*.bat flat/
        mkdir -p flat/examples
        cp -r ./obkSimulator/examples/* flat/examples/
    - name: Run unit tests
      run: |
        ./flat/openBeken_win32.exe -runUnitTests 2
    - name: Compress build assets
      run: |
        Compress-Archive -Path flat/* -DestinationPath obkSimulator_win32_${{ needs.refs.outputs.version }}.zip
    - name: Copy build assets
      run: |
        mkdir -Force output/${{ needs.refs.outputs.version }}
        cp obkSimulator_win32_${{ needs.refs.outputs.version }}.zip output/${{ needs.refs.outputs.version }}/obkSimulator_${{ needs.refs.outputs.version }}.zip
    - name: Upload build assets
      uses: actions/upload-artifact@v4
      with:
        name: ${{ env.APP_NAME }}_${{ needs.refs.outputs.version }}_sim
        path: output/${{ needs.refs.outputs.version }}/obkSimulator_${{ needs.refs.outputs.version }}.zip
To be more specific, the ./flat/openBeken_win32.exe -runUnitTests 2 line is responsible for starting them on Github machine. Then return value is checked to see whether all tests have succeded.
Those self tests are basically simulating a use case scenario, for example, setting up a LED, and then they check externally is the use case result as expected.
For instance, if we set two PWM pins, we expect CW control to show up and we expect Dimmer command to work. We expect certain things to be published when light state changes, we can test it as well. So, we simulate setting of two PWM pins, then we run some commands, and check if result is as expected (for example, are output PWM values as expected for correct CW control).
Let's see two practical examples of such a mechanism.
Example 1 - if we set channel 1 to 123, is $CH1 constant working in script and expands to 123?
Code: C / C++
If "buffer" is not "123", then SELFTEST_ASSERT_STRING will show error on Github build (red cross instead of green checkmark).
Example 2 - if we set two PWM pins, are they correctly detected as CW light? Is light responding to commands and setting PWMs correctly?
Code: C / C++
This way the full behaviour of CW light is checked. First a virtual device is set up, along with pins and channels:
Code: C / C++
And then many behaviours are simulated and checked.
Let's look deeper at one fragment:
Code: C / C++
This basically says:
- if you have CW light set up, and OBK receives a POWER OFF Tasmota command, the led_enableAll variable should be 0 (false) and both PWMs should be 0
- if you later receive POWER ON Tasmota command, led_enableAll is expected to be 1 (true) and for current configuration (set earlier in code) first PWM should be 100%, second 0% (because we earlier set up temperature 100% cold)
Thanks to this mechanism, as soon as somebody breaks the expected behaviour (for example, adds a change that breaks CW lights), we will know at compile time, because self test will catch it.
How to add new test?
Just follow the samples from selftests directory. Add your separate file, call it, let's say, selftest_sample.c, copy required headers from a file you want to base on (let's say from selftest_cmd_generic.c), and create your function there. Don't forget to add it to selftest_local.h and call it from currently Win_DoUnitTests (subject to change).
Per-platform tests
Per-platform tests are run, well, per platform. They can be compiled into OBK binary just like any feature or a driver, but they are disabled by default.
To enable them, enable the required define in obk_config.h:
#define ENABLE_TEST_COMMANDS 1
For more information obk_config.h and online builds, refer to our guides:
- OpenBeken online building system - compiling firmware for all platforms (BK7231, BL602, W800, etc)
- How to create a custom driver for OpenBeken with online builds (no toolchain required)
The test runner is created as separate driver, so it resides in drv_main.c drivers array and its implementation is here:
https://github.com/openshwprojects/OpenBK7231T_App/blob/main/src/driver/drv_test.c
The test commands are available globally, they can be invoked via console. Thanks to this, you can either run them in batch via test runner, or run a single specific command manually:
https://github.com/openshwprojects/OpenBK7231T_App/blob/main/src/cmnds/cmd_test.c
Per-platform tests should be run on each platform, because their SDKs are separate, they have separate memory management code, etc..
Those tests were introduced because not everything can be tested in Windows simulator.
Some things are per-platform, for example sscanf command, or realloc, etc.
So we have "different" sscanf or sprintf on each platform - different on BK7231, W800, W600...
That's why I added test commands like this one:
Code: C / C++
Of course, this command has to be registered before use, just like I did it in cmd_test.c:
Code: C / C++
This checks IP parsing, and this is required, because it has proven problematic, see implementation:
Code: C / C++
This is not just a theoretical sample - we really had this issue:
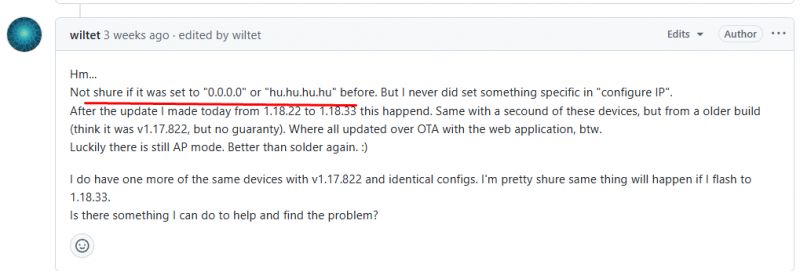
As you can see above, we had a sscanf problem that requires special handling on W600/LN882H/Realtek, and we didn't catch it early.
If we had per-platform device tests back then that cover str to ip, we would have caught it earlier.
It is impossible to catch this problem on WIndows self tests, because it is present only on some platforms with their specific implementation.
Thanks to the per-platform tests, it's now possible to catch it.
If you compile OBK with test commands enabled, and if your platform has str_to_ip broken, then this code:
Code: C / C++
will attempt to parse "192.168.0.123", but it will fail, then "if" will detect it, so it will return CMD_RES_ERROR.
So, later, the drv_test.c will catch it, and it will show error here:
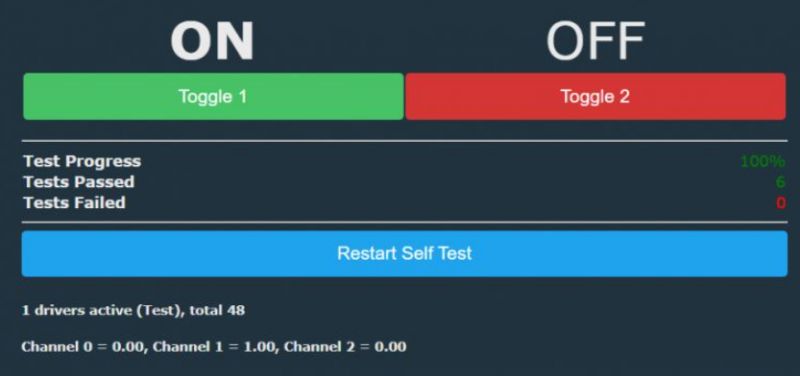
Self tests are very useful, because they can quickly check if all tested features can work as expected. You don't need to setup a CW light to check if PWMs are set correctly - this is done by Windows selftests in SImulator on each Github build. You also don't need now to manually check each page like local ip config on every platform, because per-platform tests will cover it as well....
How to run self tests?
- to run Windows simulator self tests, just trigger online github build, they are ran automatically. Alternatively, if you compile OBK simulator on your machine with MSVC, you can run it with required argument: openBeken_win32.exe -runUnitTests 2
- to run per-platform tests, compile OBK with ENABLE_TEST_COMMANDS , flash it to your device, and run "backlog startDriver Test; StartTest 100;". Alternatively, just execute the desired test command in console. It may be a better approach when one of the tests is crashing the device and you're trying to narrow down the crash cause.
Practical sample where self tests are useful
So now let's make a demonstration. We'll consider a hypothetical scenario where someone breaks some function by accident, for example, the channel set.
I modified CHANNEL_Set_Ex to always set value to 0:
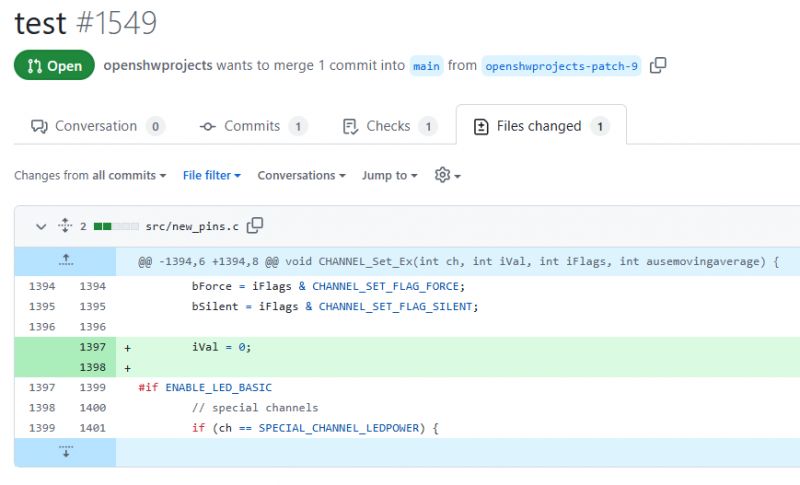
Then I commited changes to Github.
Let's see what happens.
It's building, so we wait a moment...
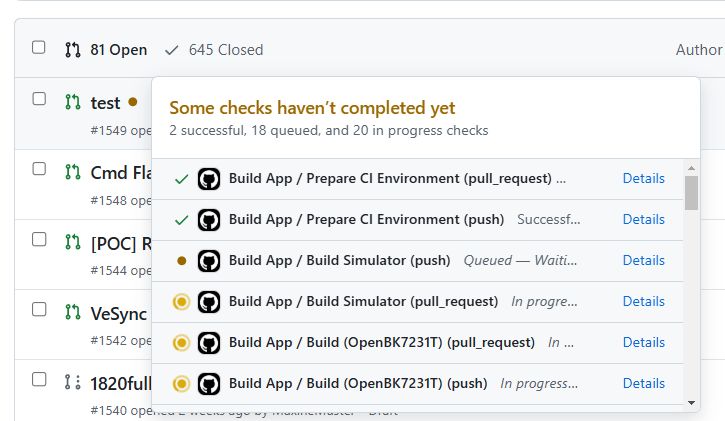
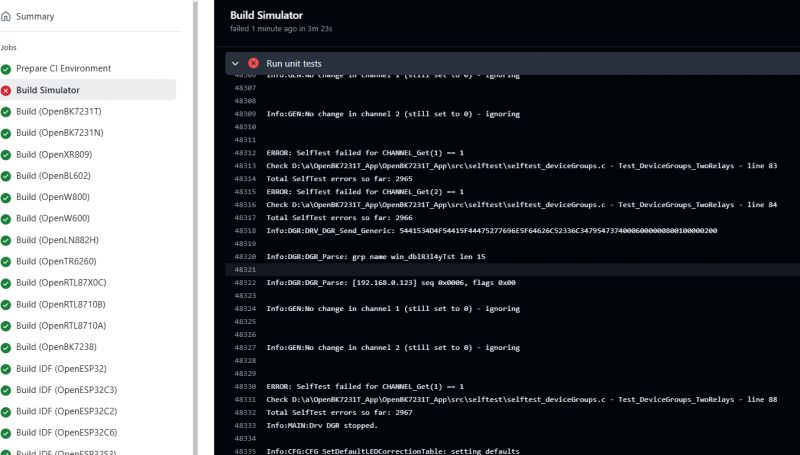
And then we get:
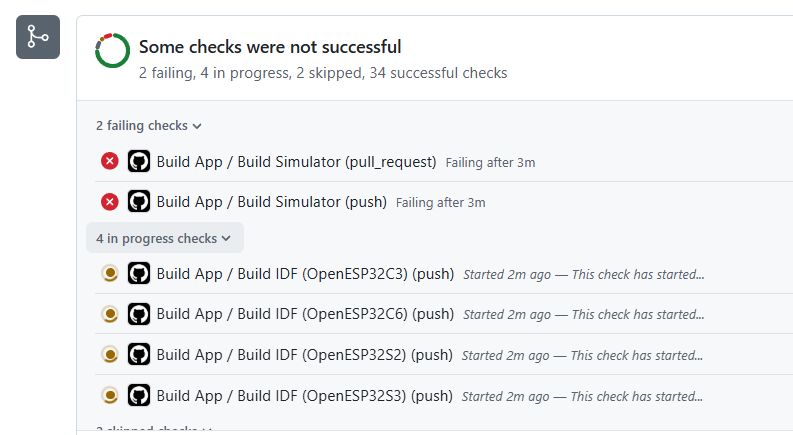
As you can see, many self tests have failed. They expect channels to work, so they recognized that something is wrong:
Summary
Now you've learned the basics of automatic testing in OBK. As you can see, this test system is indeed really useful, especially thanks to the ability to compile and run OBK on Windows. You don't even need an IoT device to test and develop OBK, you can write most of the functionality on Windows, maybe except the platform-specific stuff.
Self tests should be also possible to run on Linux, as there are no required Windows dependencies, but I just haven't attempted it yet.
Let me know if you've found the self-tests useful and if you have any suggestions how to improve it! Currently there may be still some OBK functionality that is not covered by tests, so any help is also welcome...
Cool? Ranking DIY Helpful post? Buy me a coffee.


