





Mini-review: Stazer 14-inch HDR 60 Hz IPS LCD monitor (1920x1200), power consumption test
TL;DR
- Przenośny monitor STAZER PM1402 14 cali sprawdza się jako dodatkowy ekran do laptopa lub Raspberry Pi, łącząc smukłą konstrukcję z panelem IPS 1920×1200.
- Monitor obsługuje obraz przez Mini HDMI albo USB-C, przy czym USB-C może przesyłać jednocześnie wideo i zasilanie; zestaw zawiera komplet odpowiednich przewodów.
- Za około 250 zł oferuje matrycę IPS 60 Hz, jasność 300 cd/m², 100% sRGB, HDR, FreeSync oraz format 16:10.
- Przy maksymalnej jasności STAZER PM1402 pobiera 0,87 A, czyli około 4,46 W, a przy minimalnej akceptowalnej jasności tylko 0,33 A (około 1,68 W).
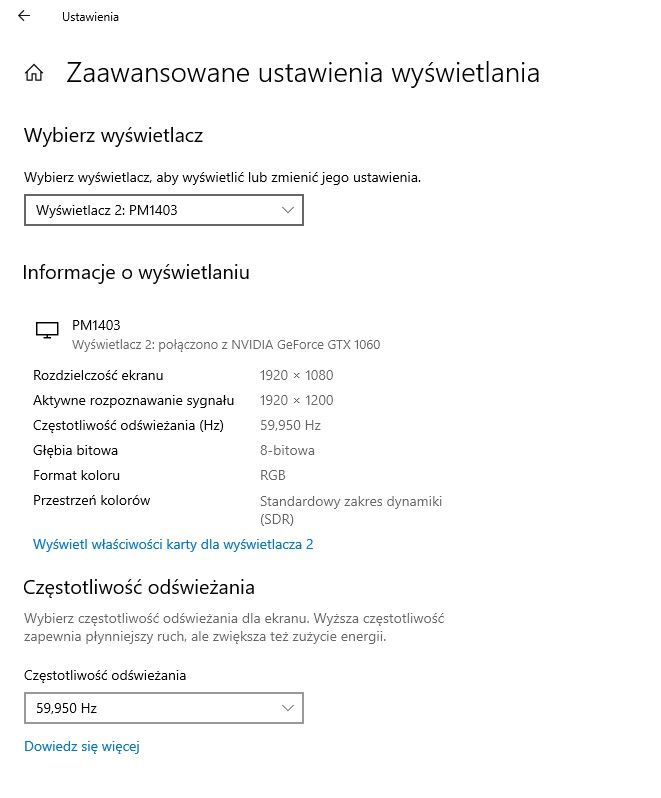
- Windows rozpoznaje ekran jako PM1403 mimo oznaczenia PM1402 na opakowaniu i tabliczce znamionowej, prawdopodobnie przez wspólne oprogramowanie kilku modeli.
AI summary based on the discussion. May contain errors.
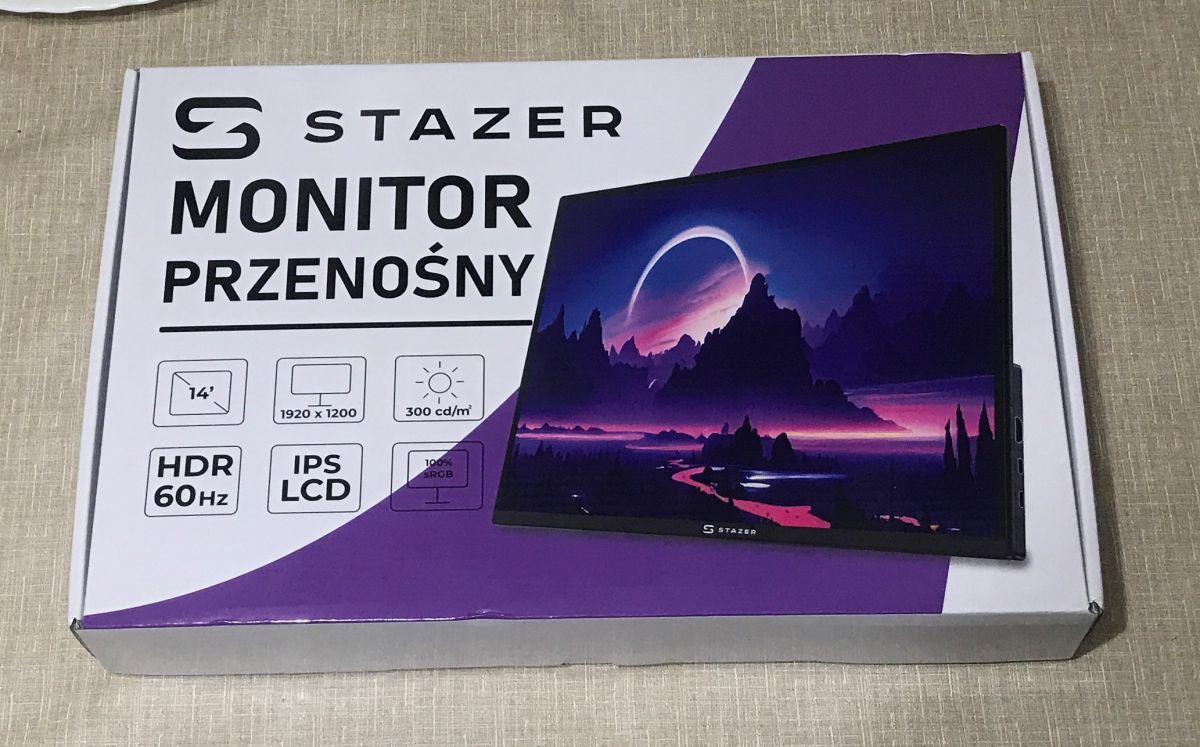
A tiny HDMI monitor for a Raspberry Pi or as an extra screen for a laptop – how much does it cost? How much power does it draw from USB? Today I’m testing a 14-inch STAZER model (PM1402) bought for 250 zł, which offers good viewing angles thanks to its IPS panel with a resolution of 1920x1200 (16:10 aspect ratio). The monitor offers a 60 Hz refresh rate, 300 cd/m² brightness, 100% sRGB colour coverage, and support for HDR and FreeSync.
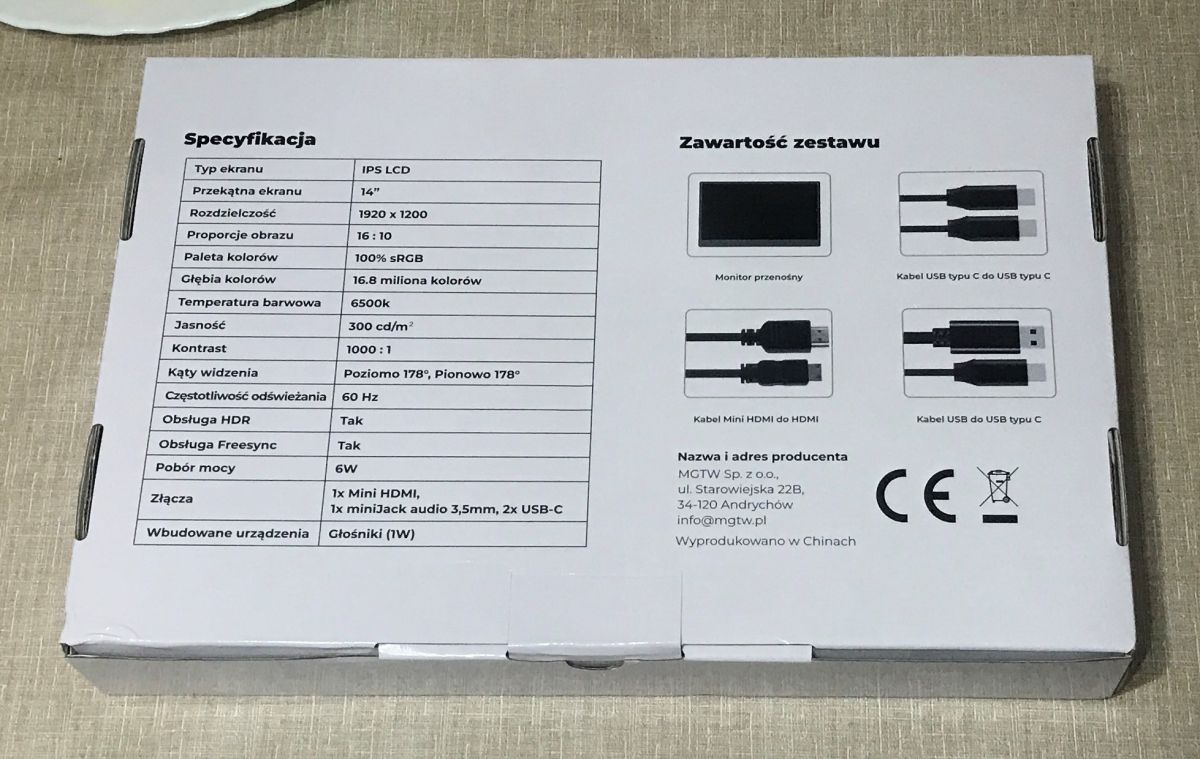
The text on the packaging is in Polish and already contains some useful information, some of which we’ll check out in a moment. So, let’s unpack the set – what’s inside?
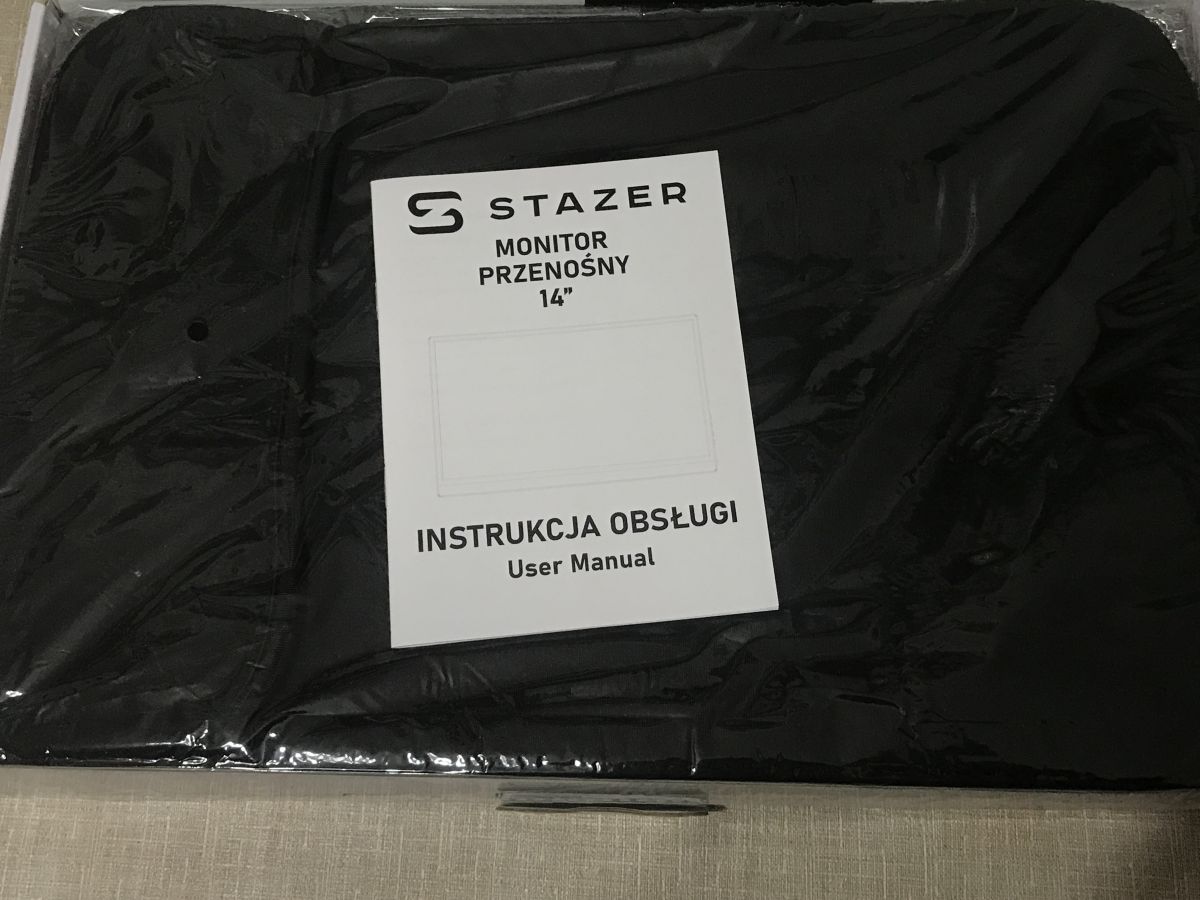
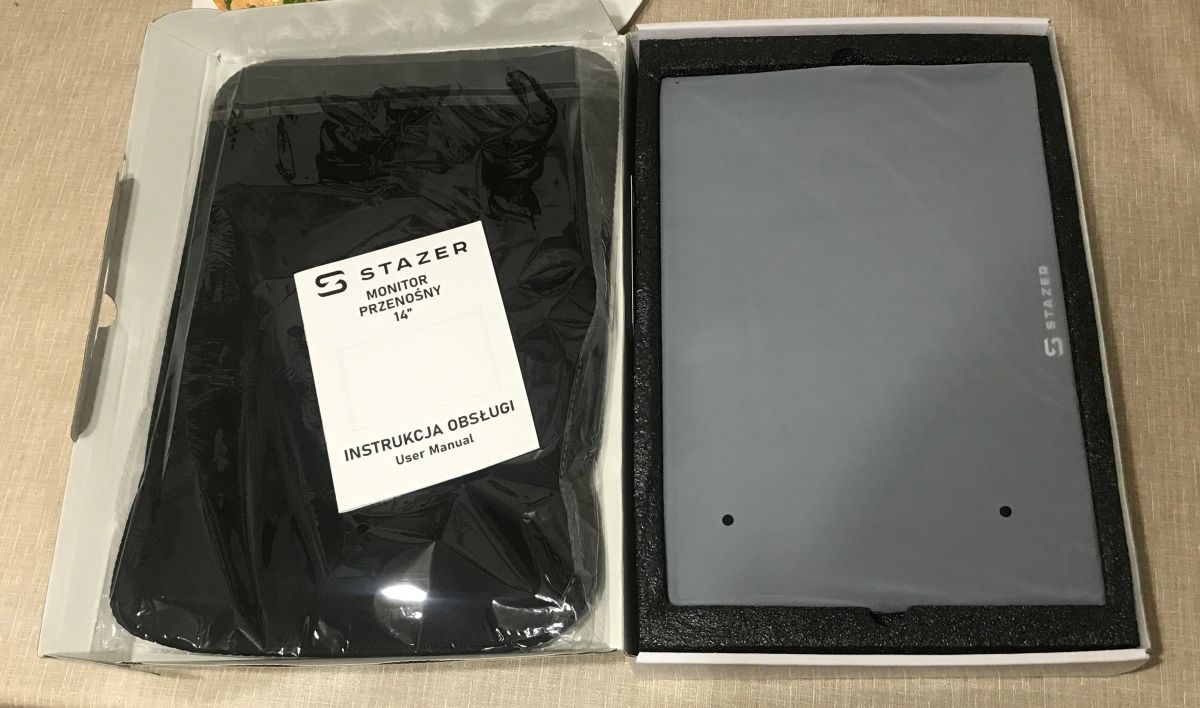
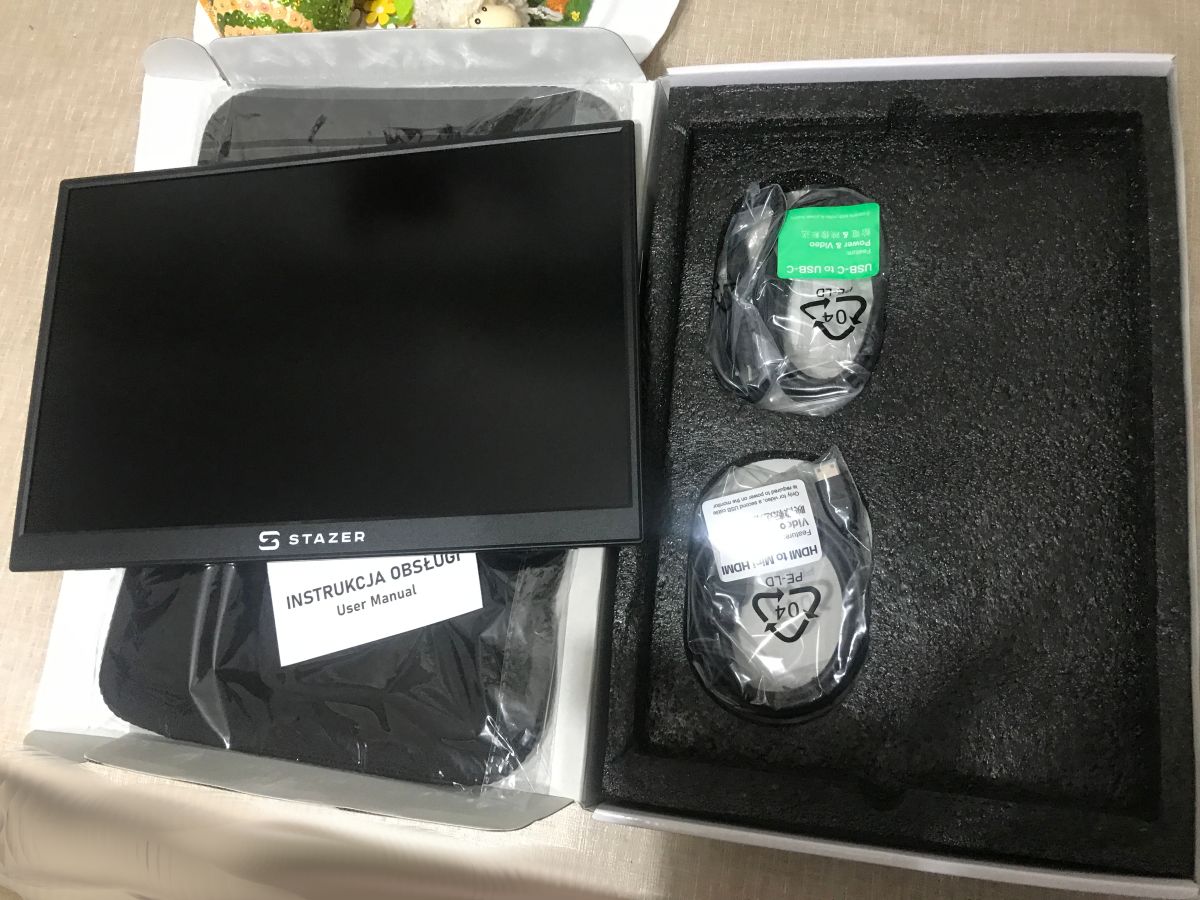
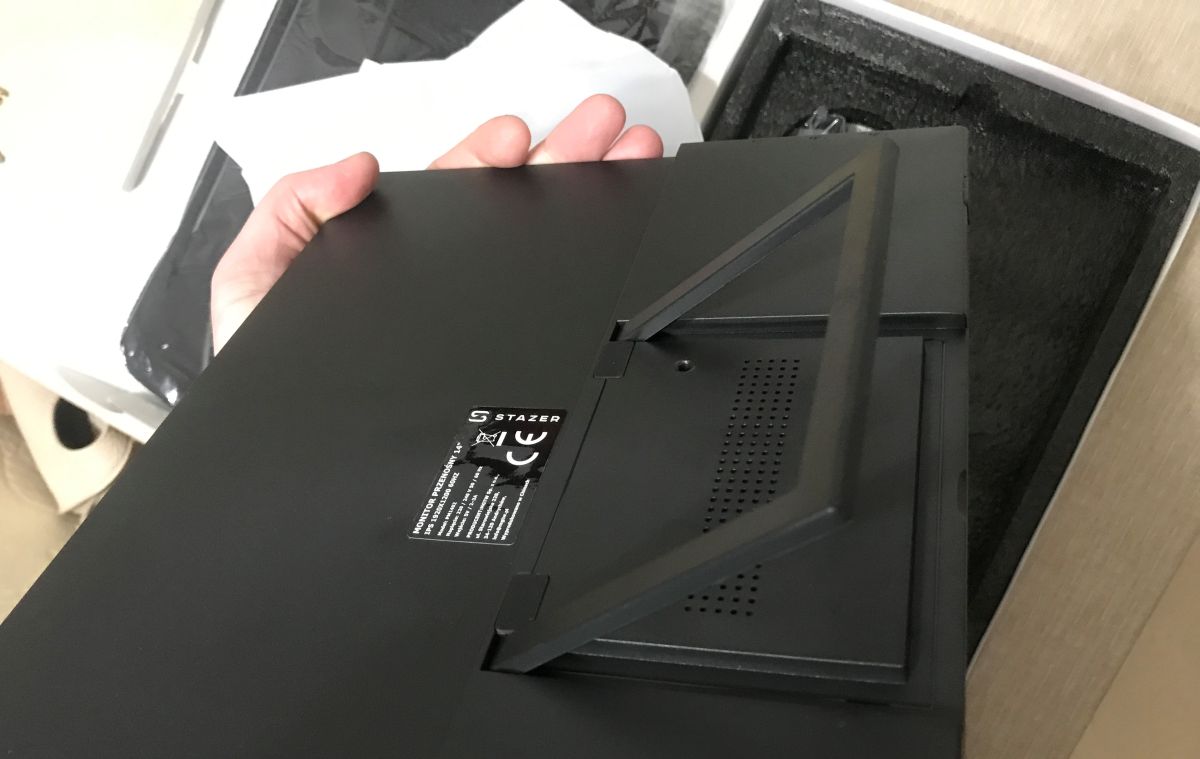
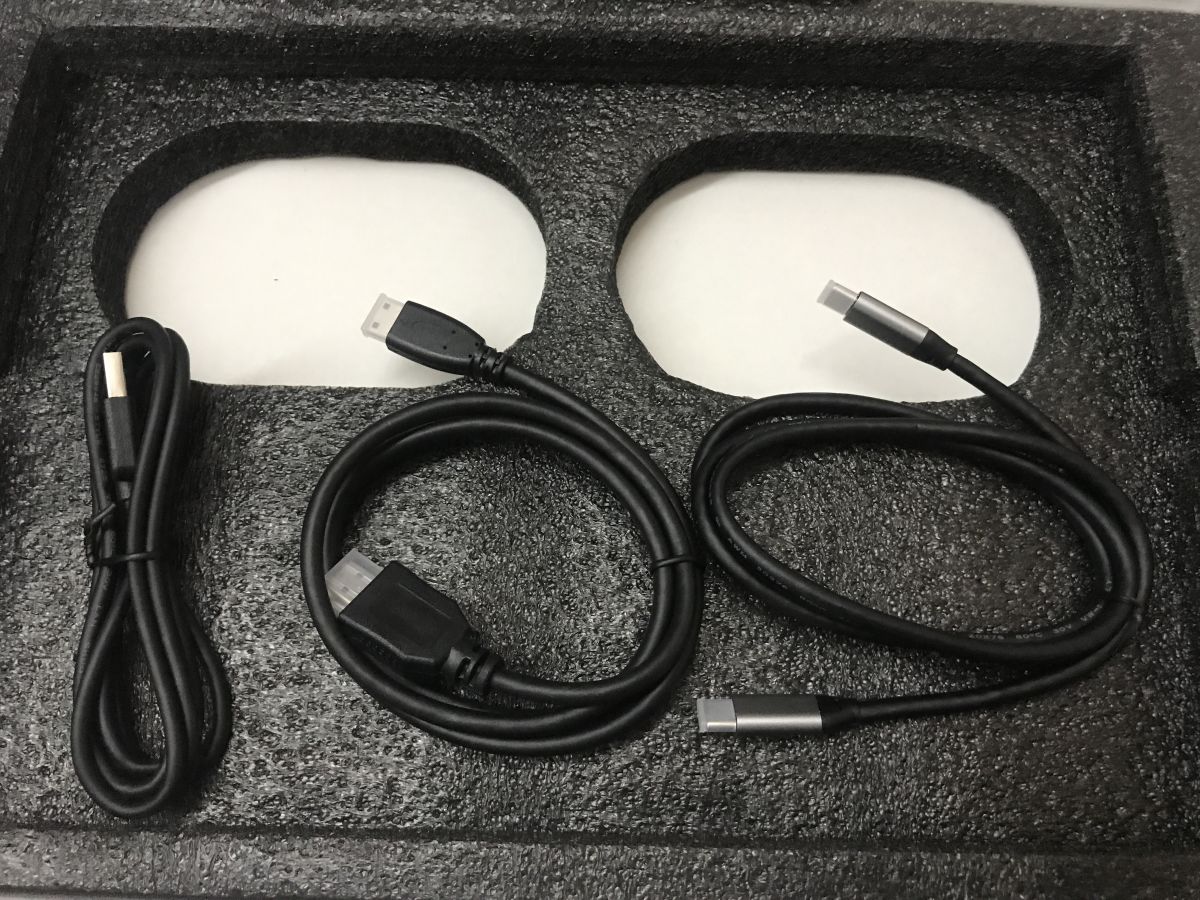
Indeed, the contents are well protected and packed, and the monitor feels very light and slim. It has a comfortable and sturdy stand. It isn’t made of the typical cheap plastic found in some products, though it isn’t made of metal either. The pack also includes a full set of cables: a USB-C to USB-C cable (for video and power via a single cable), an HDMI to Mini HDMI cable, and a standard USB-A to USB-C cable (for power only).
Instructions:
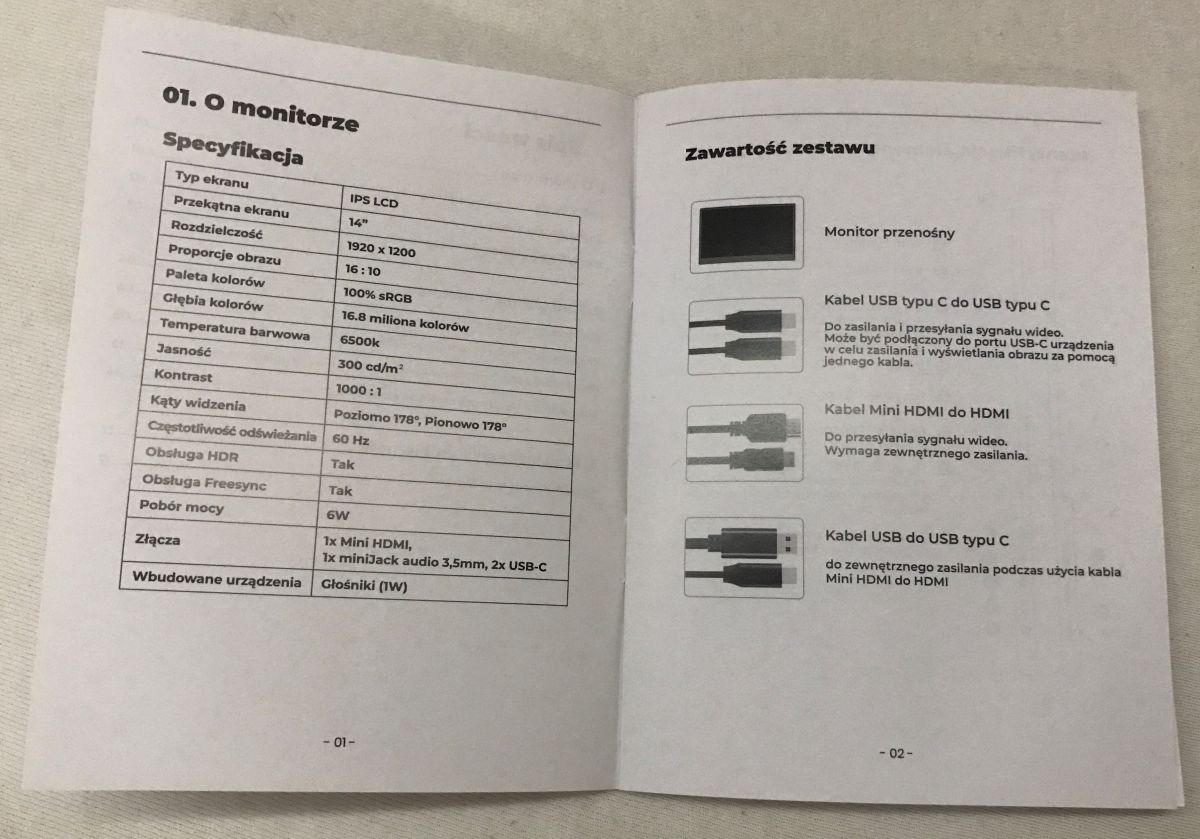
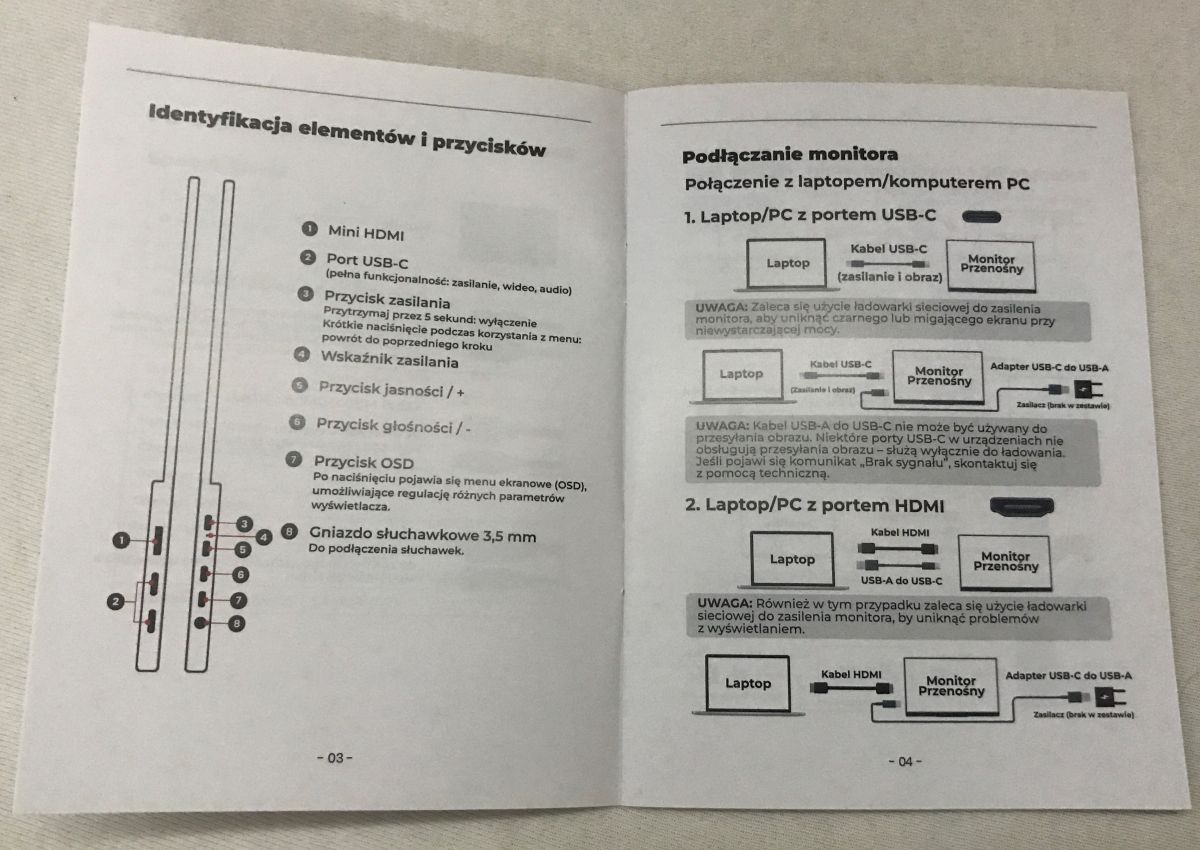
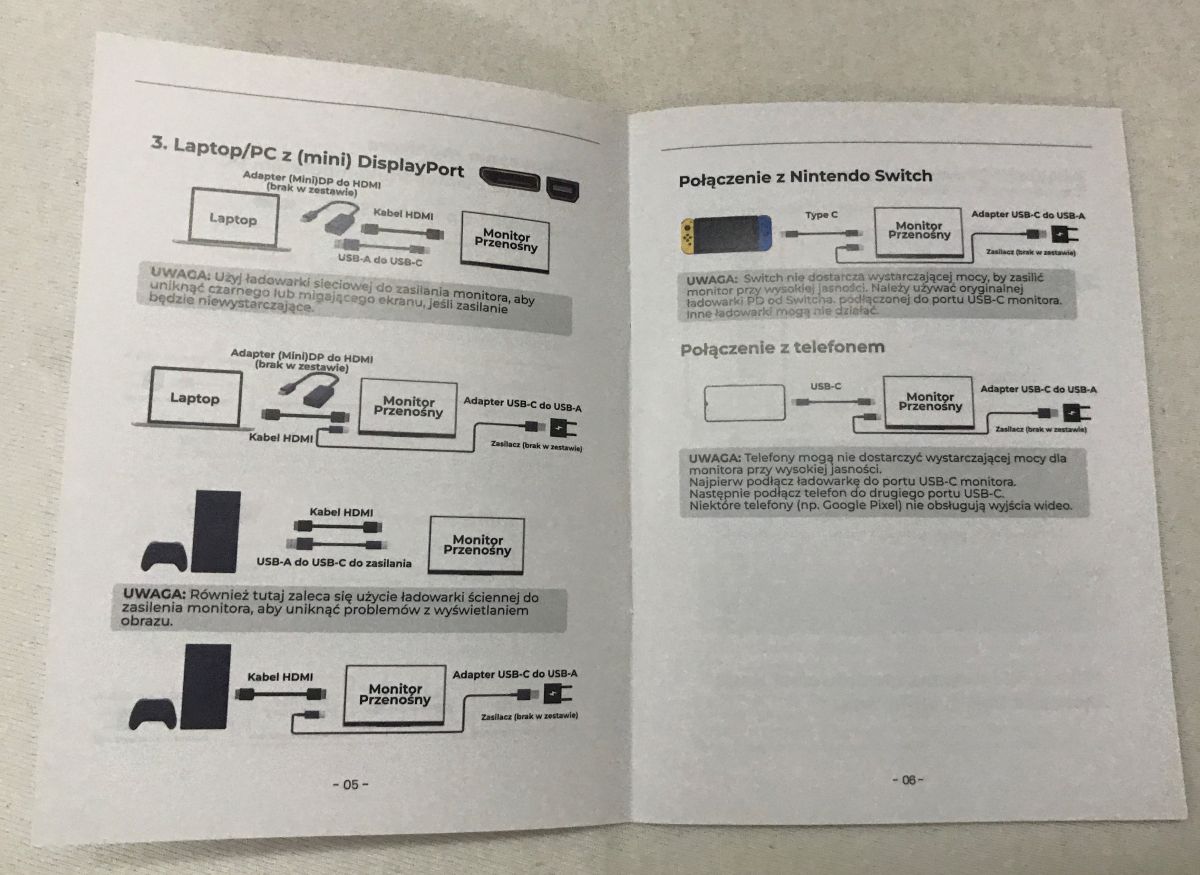
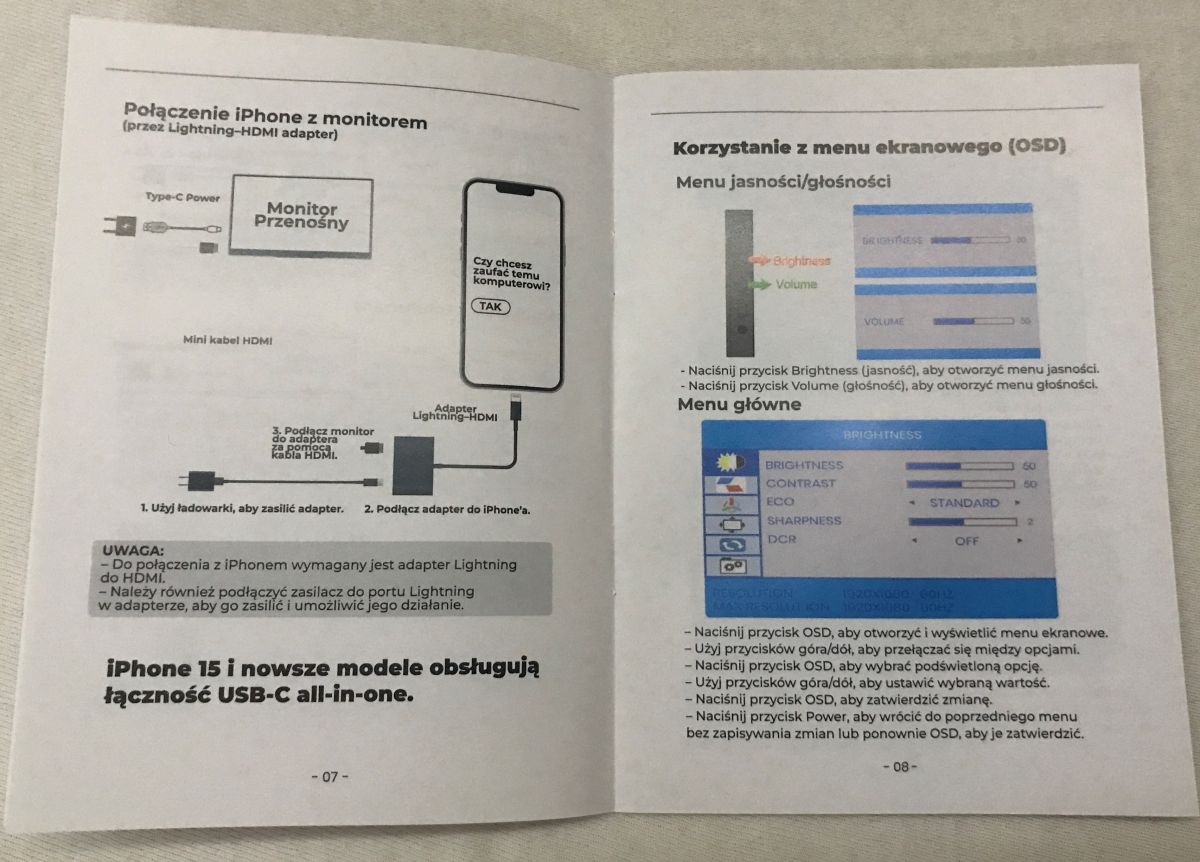
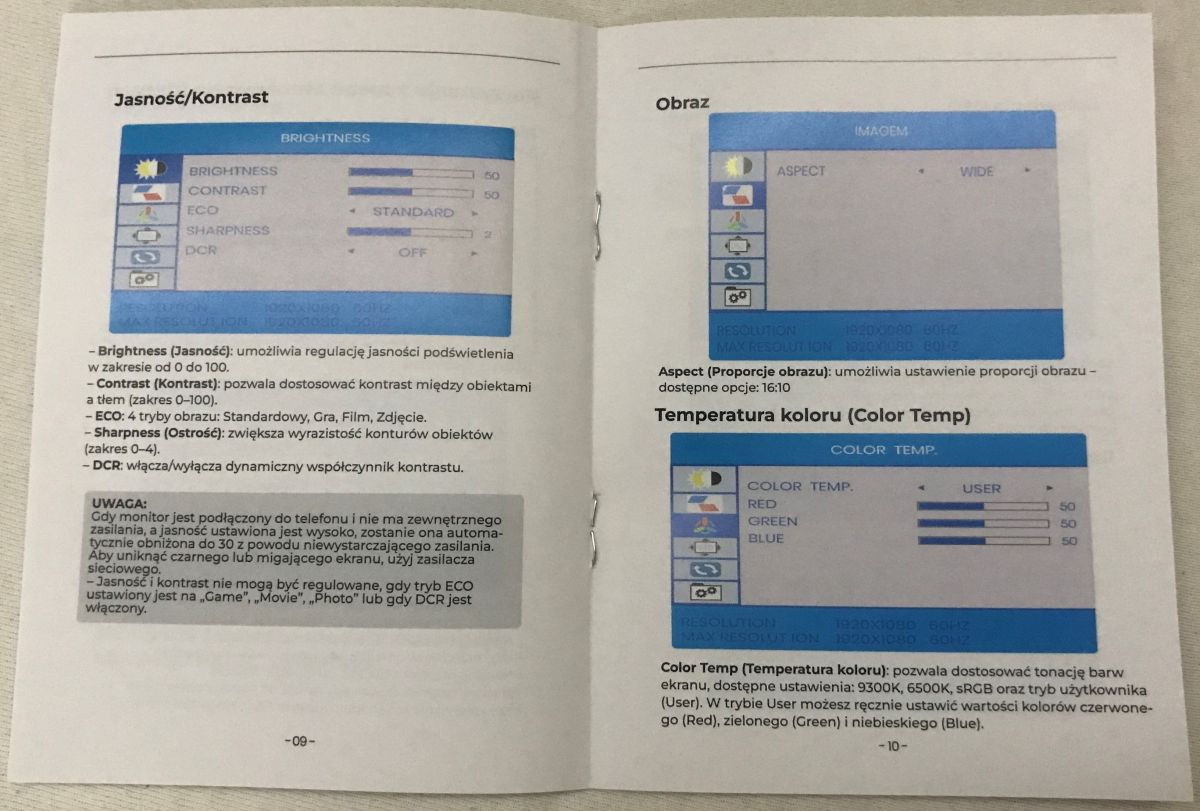
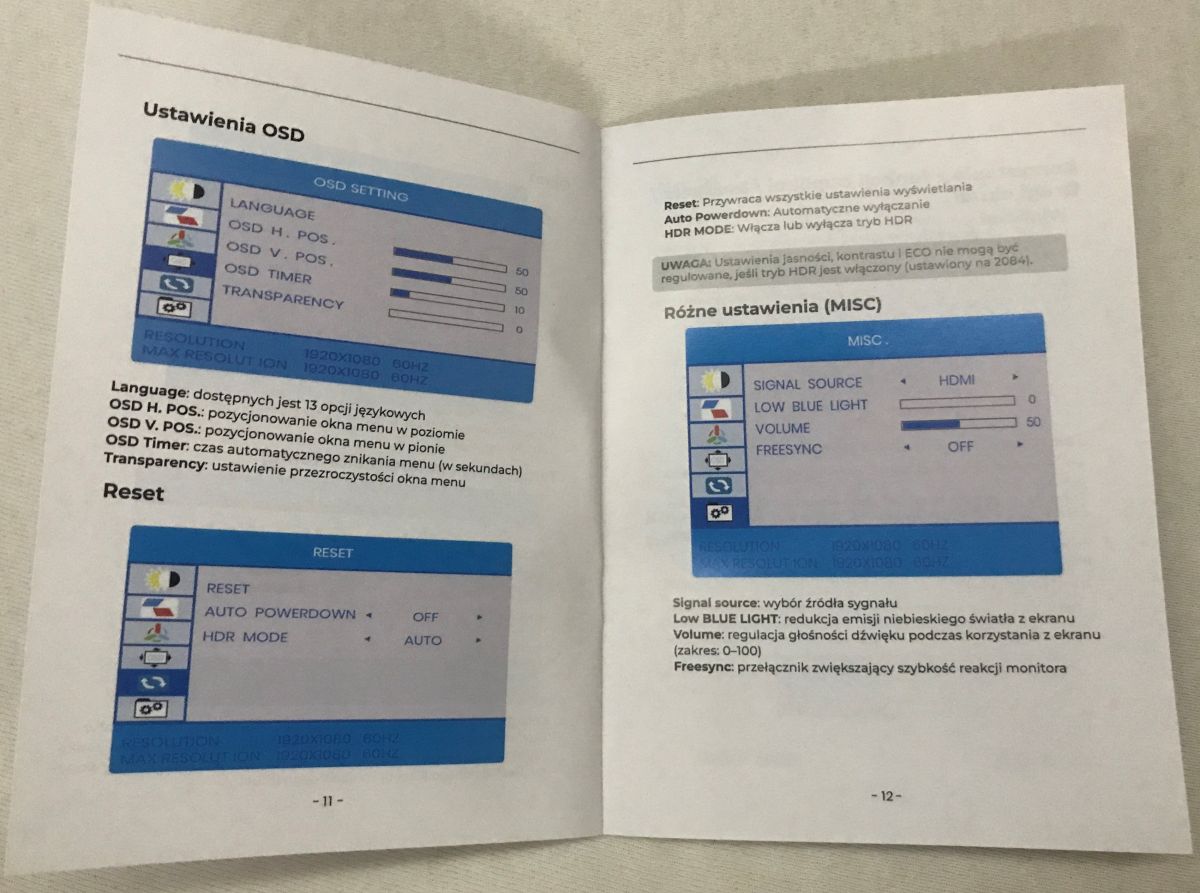
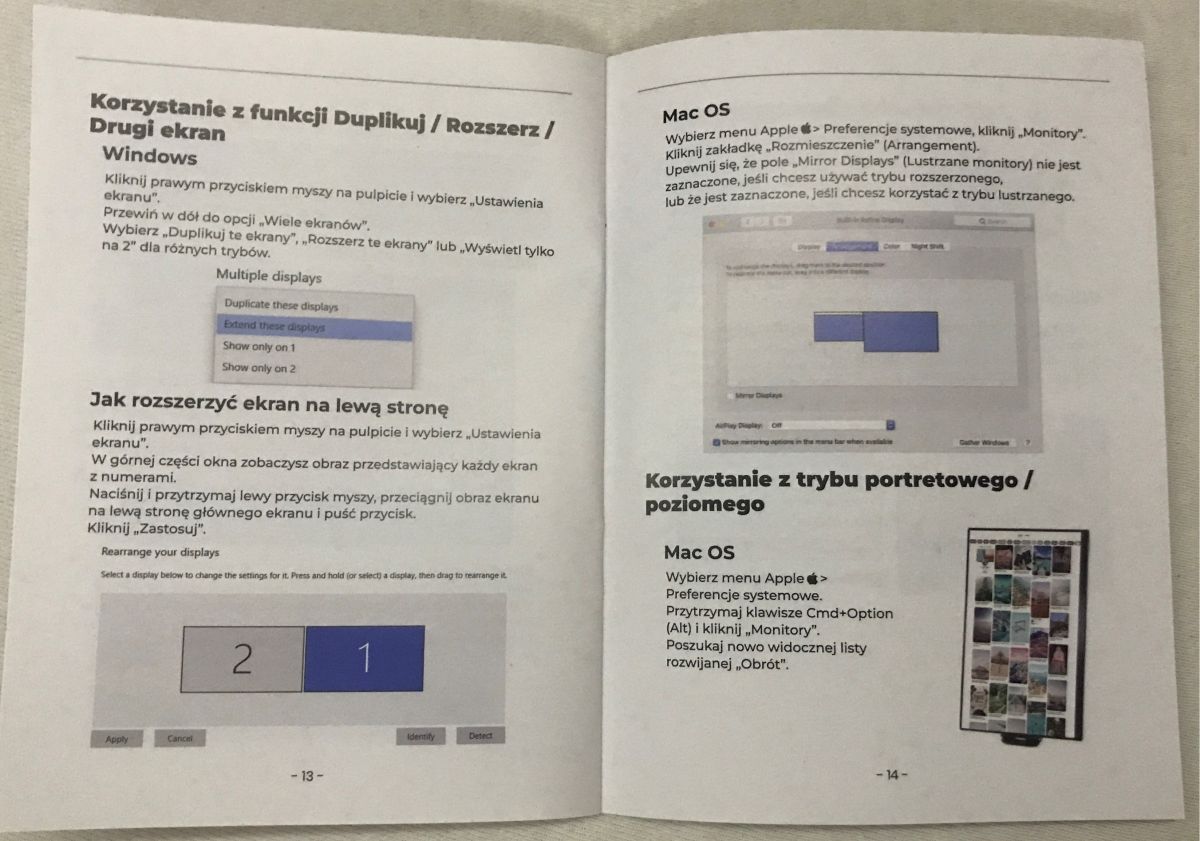
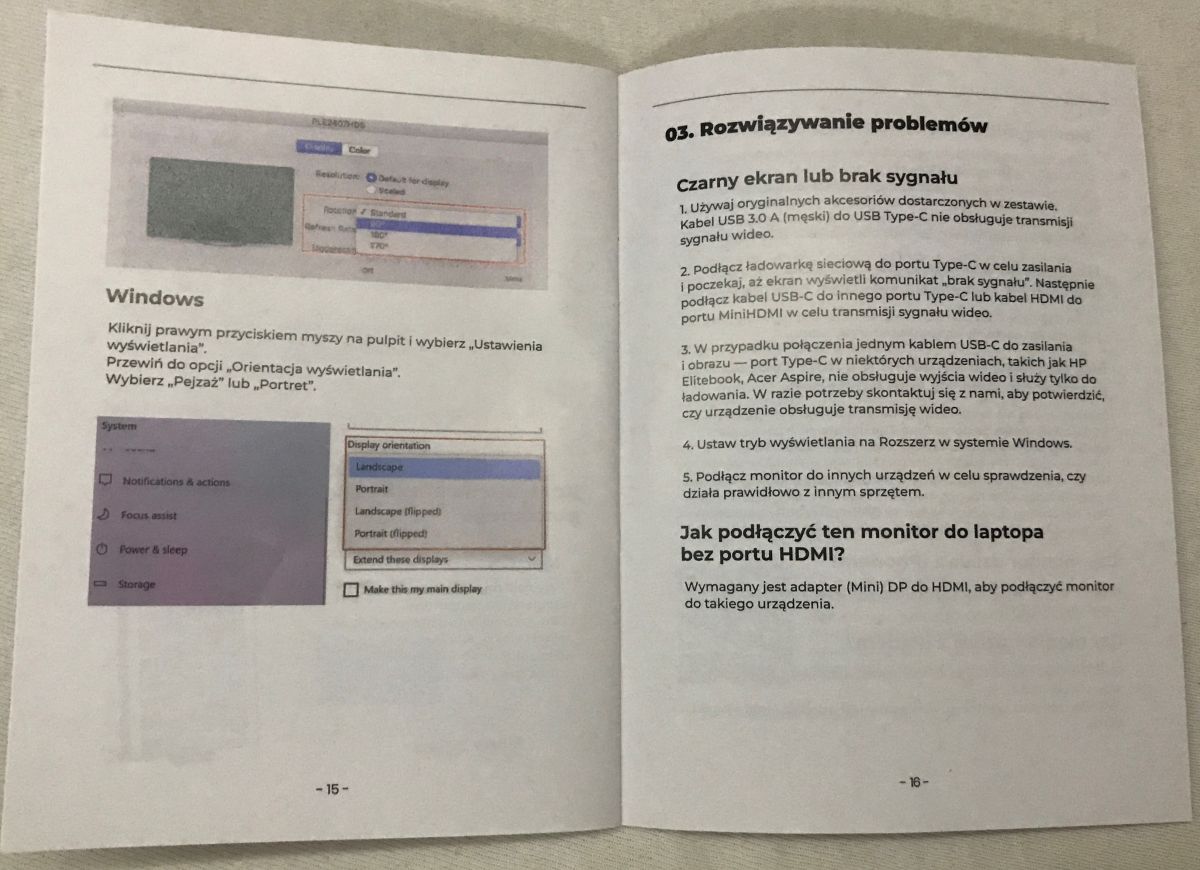
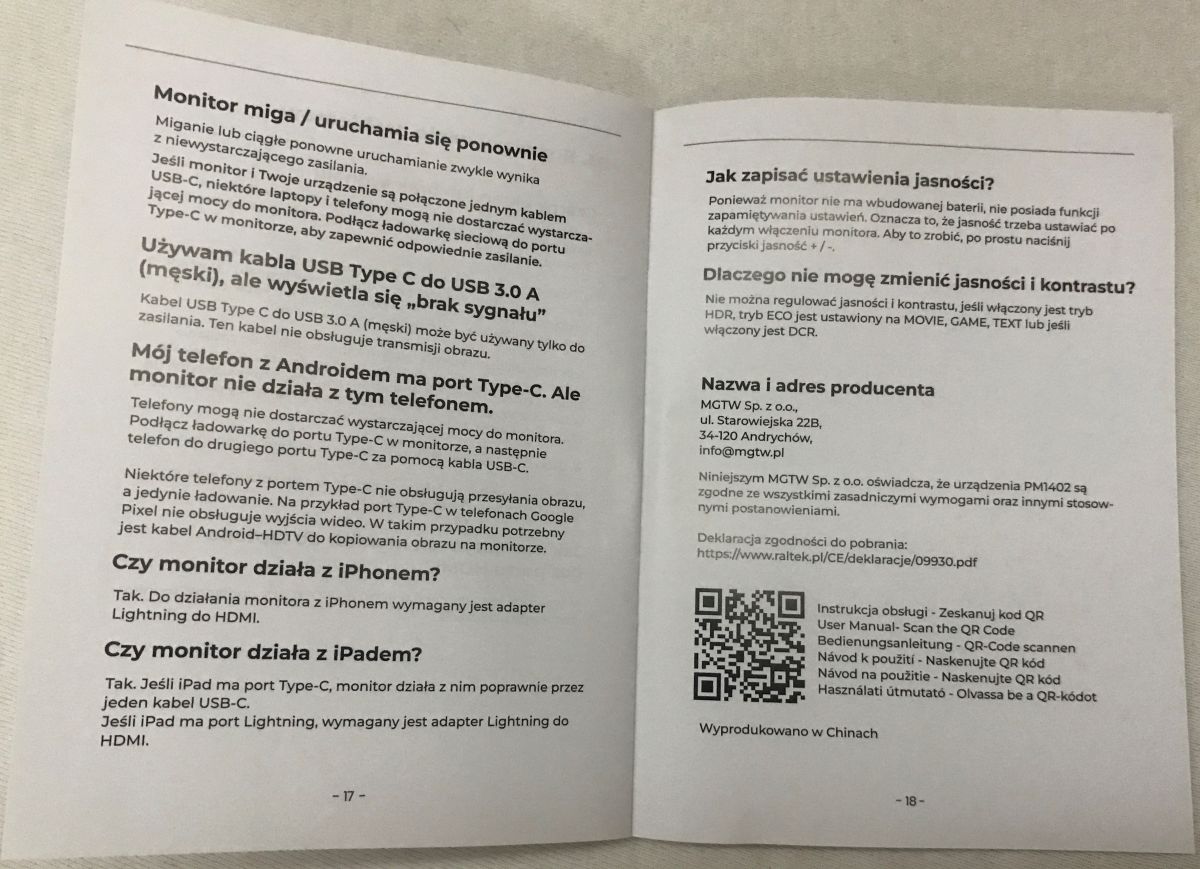
The manual includes a summary of the technical specifications, connection diagrams for laptops, consoles (e.g. Nintendo Switch) and mobile phones (via USB-C or Mini HDMI cables), as well as a detailed description of the ports and function buttons on the casing (including a dedicated button to bring up the OSD menu and buttons for adjusting brightness and volume).
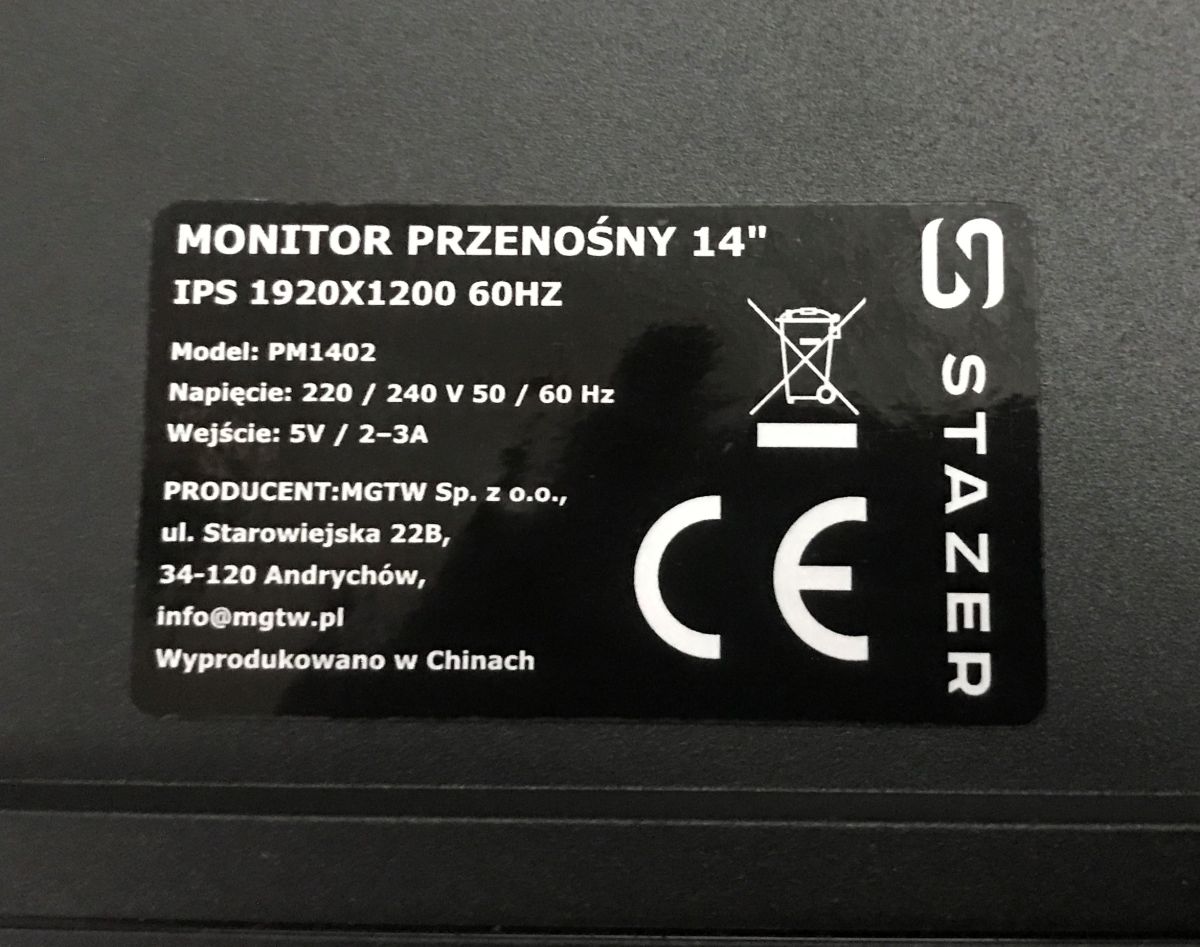
The rating plate in the photo above indicates that this is the PM1402 model from the importer MGTW Sp. z o.o. The required power input is 5V / 2–3A, and the device itself was manufactured in China.
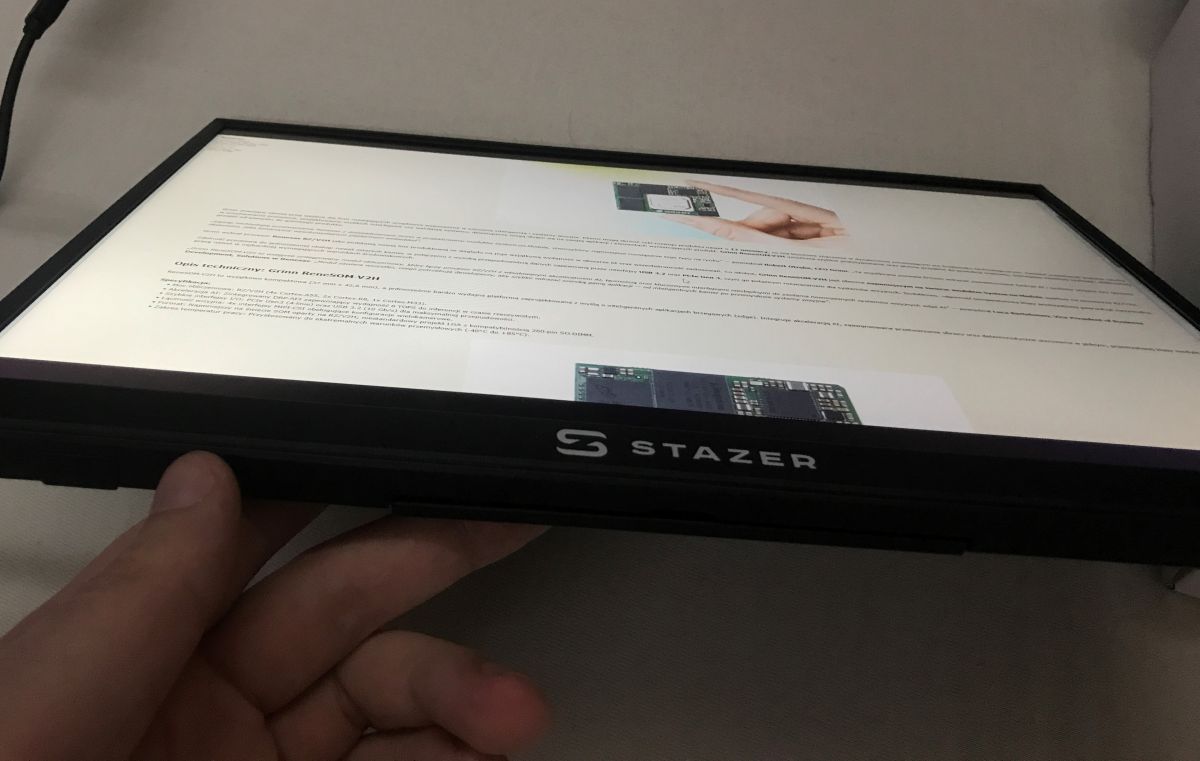
Right, let’s get started. Perhaps we’ll begin with this viewing angle. There’s no need to mention the initial setup, as the whole thing simply works. Indeed, the picture looks good from this angle too.
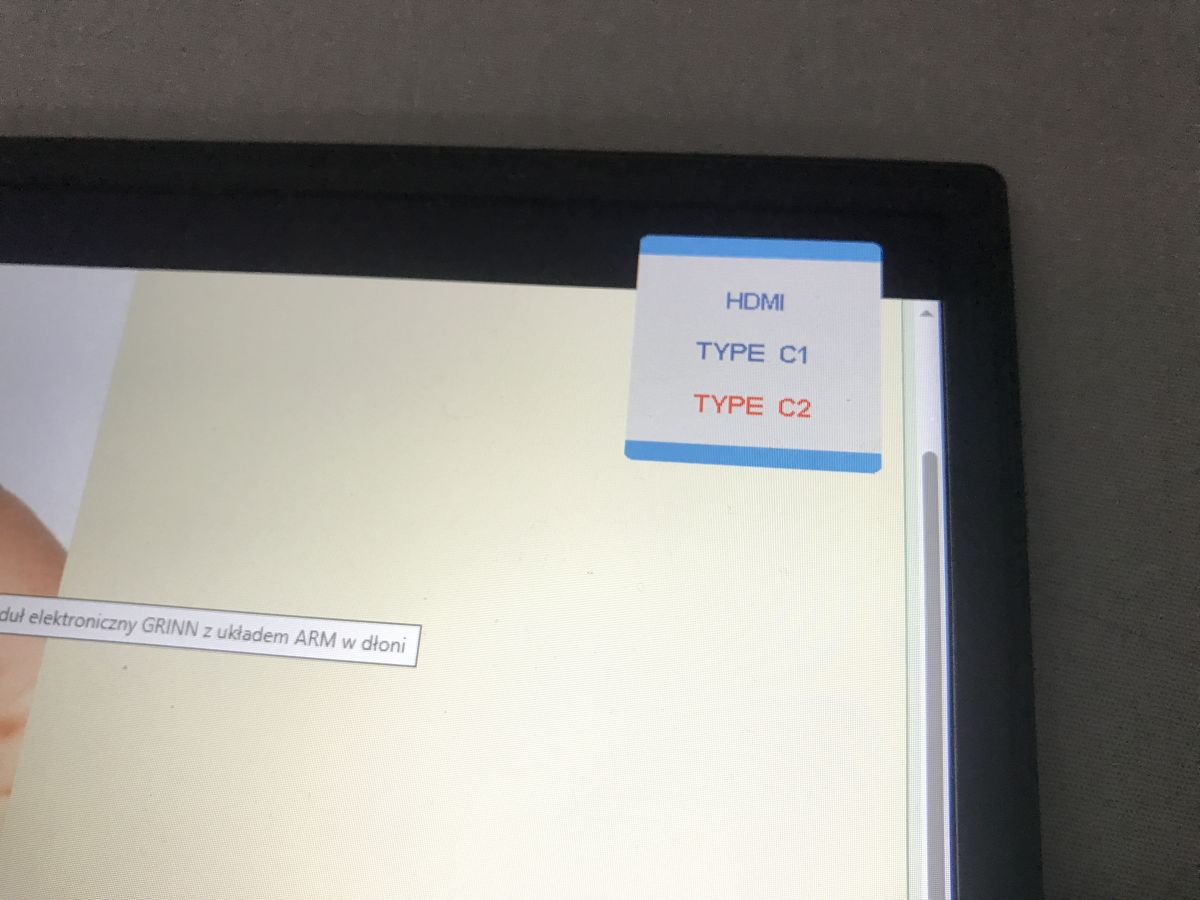
Now, switching between sources – there are three options given the ports available on the casing: signal input via Mini HDMI and video support via USB-C connectors.
Response time? It looks fine. I once had a TV that was so sluggish that the mouse had a delay noticeable to the naked eye...
Now let’s have a look at the OSD menu:
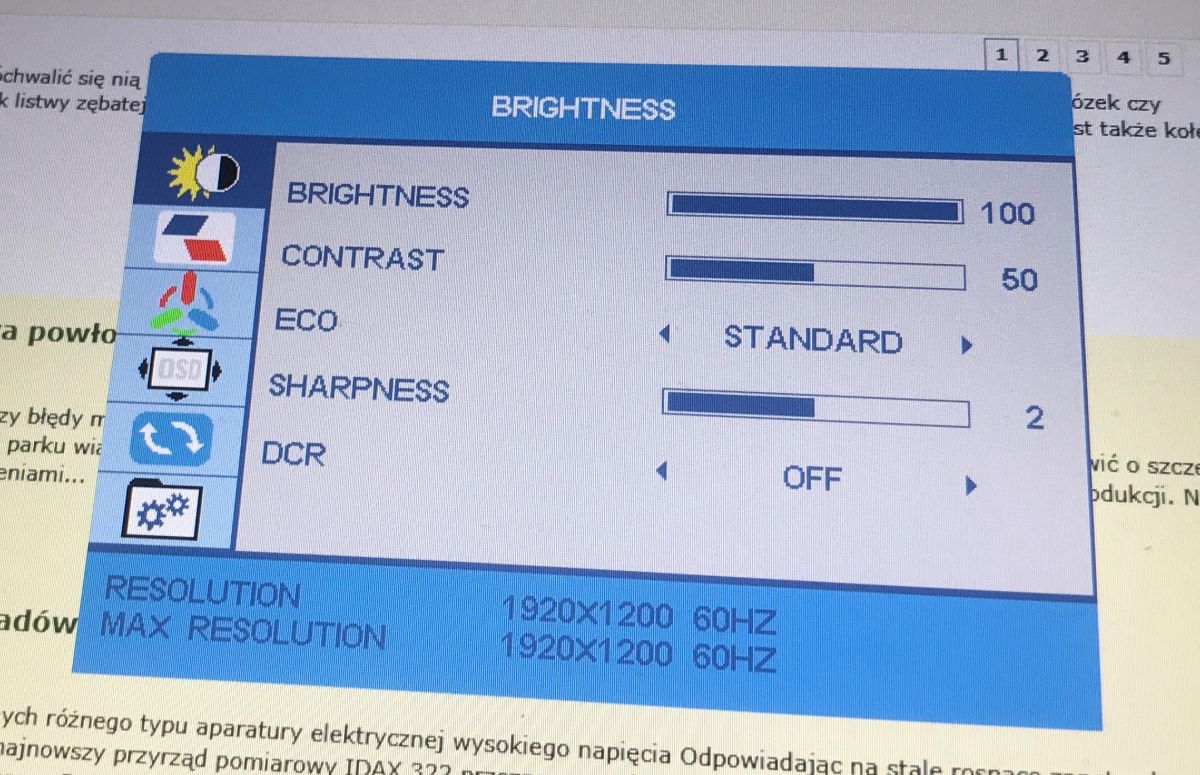
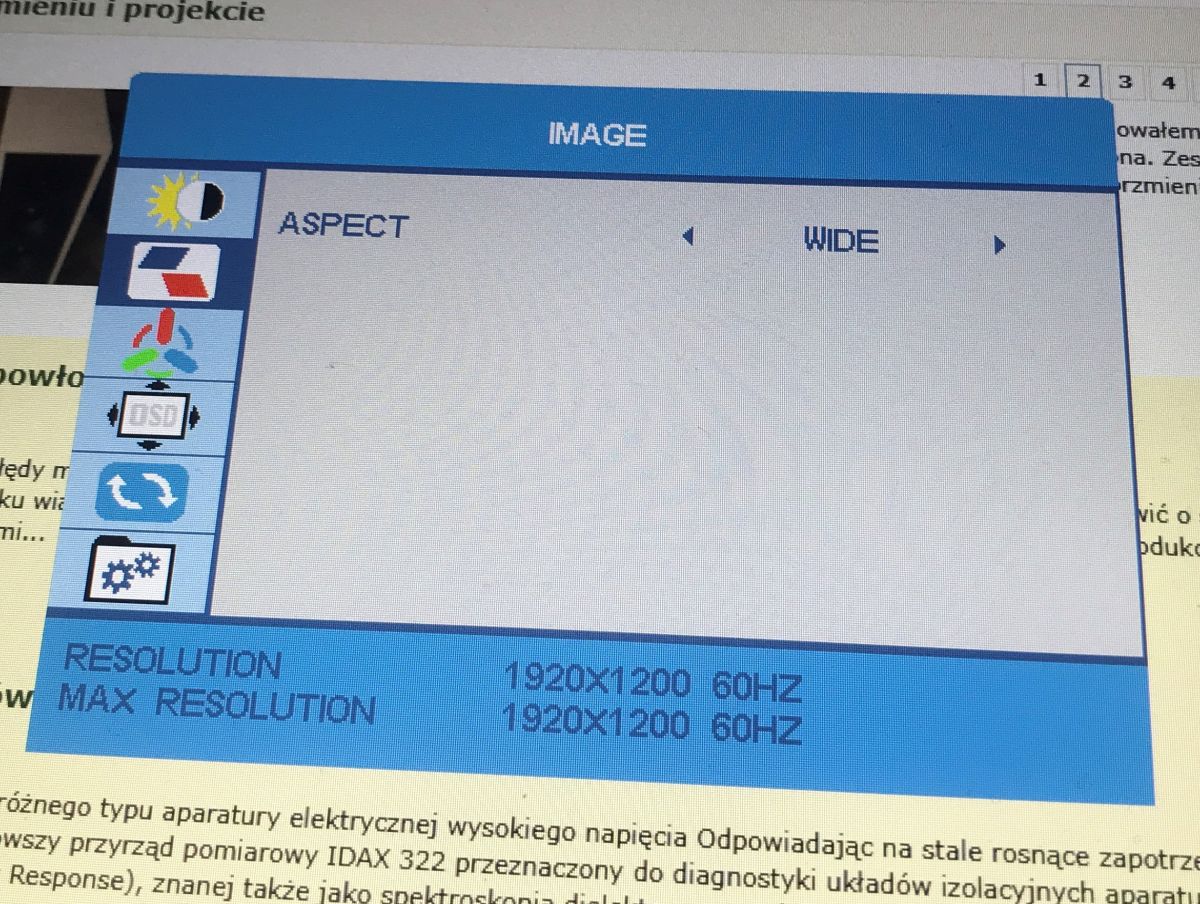
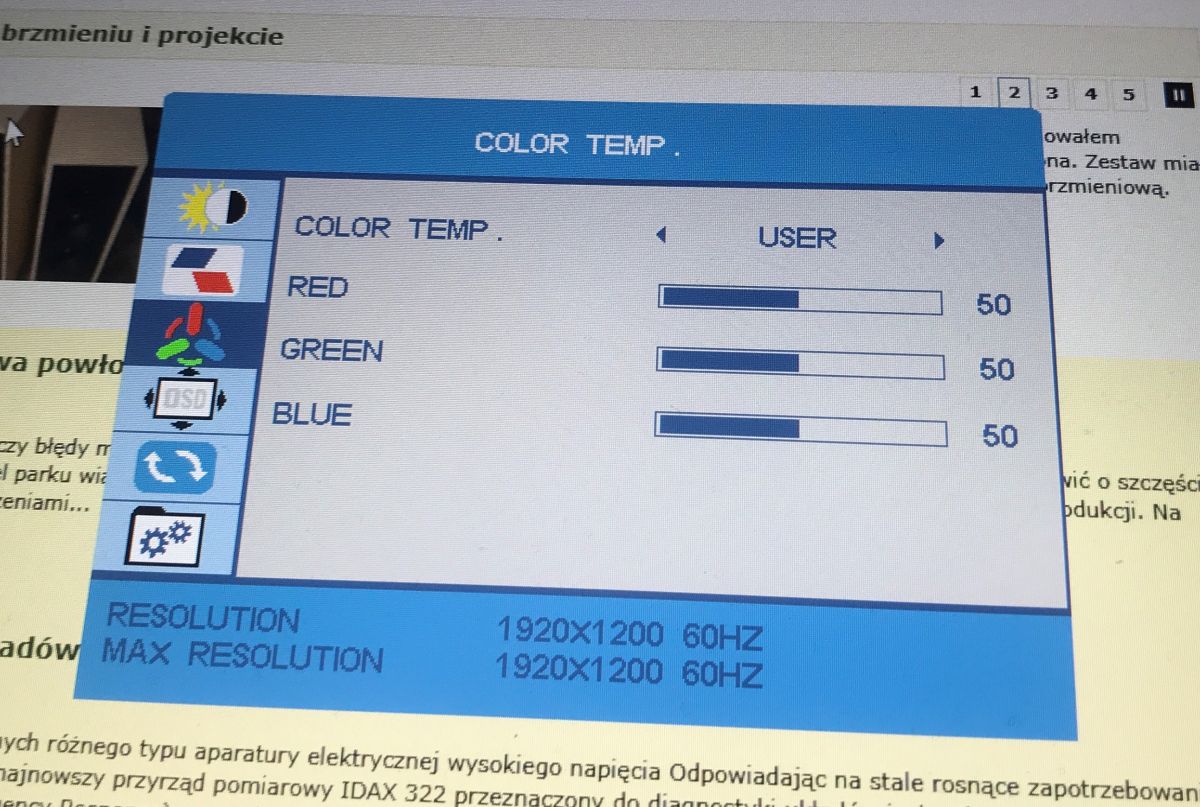
Among other things, there are tabs for image settings: standard brightness and contrast adjustment (BRIGHTNESS), changing the aspect ratio (IMAGE) and colour temperature with independent adjustment of the RGB components (COLOR TEMP.).
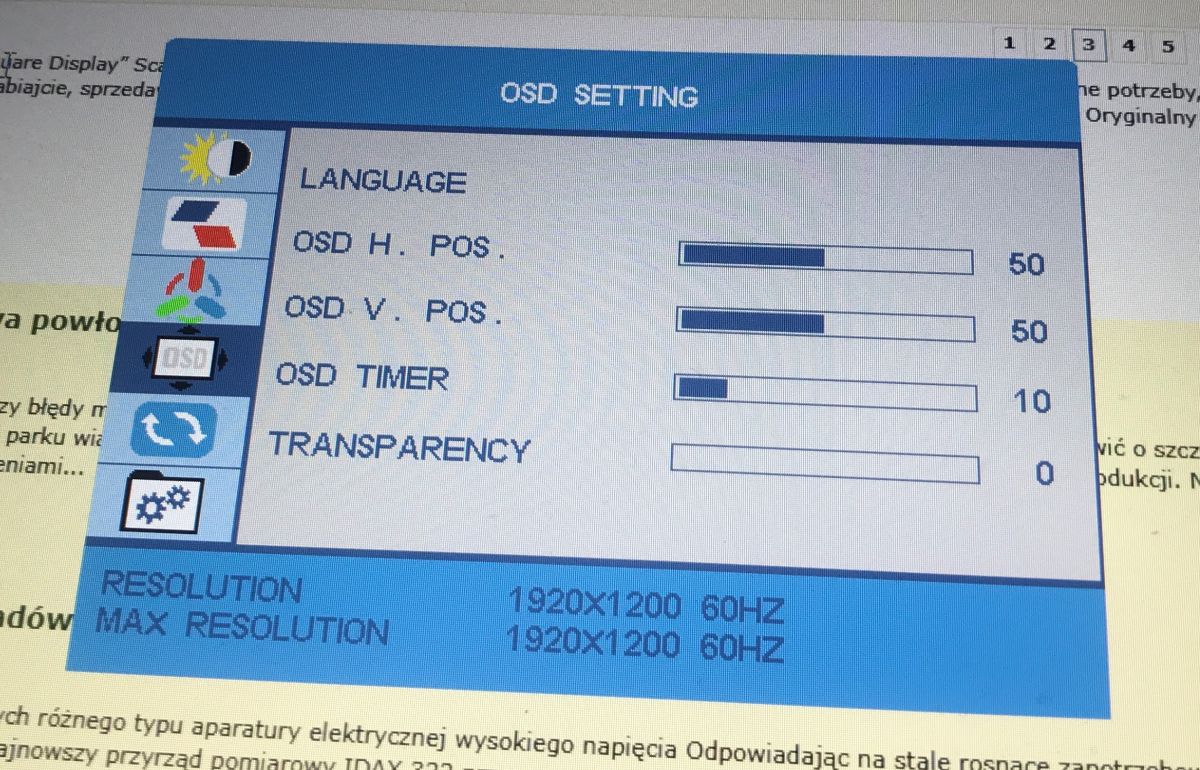
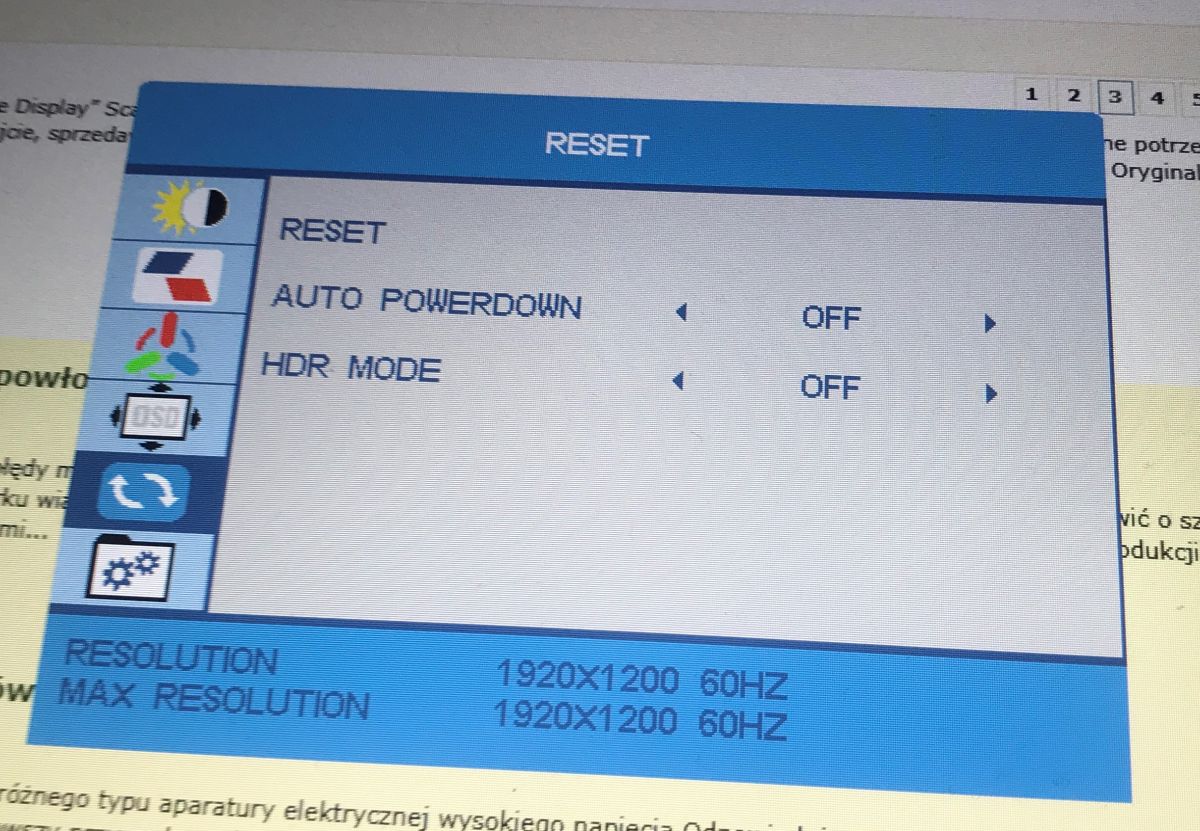
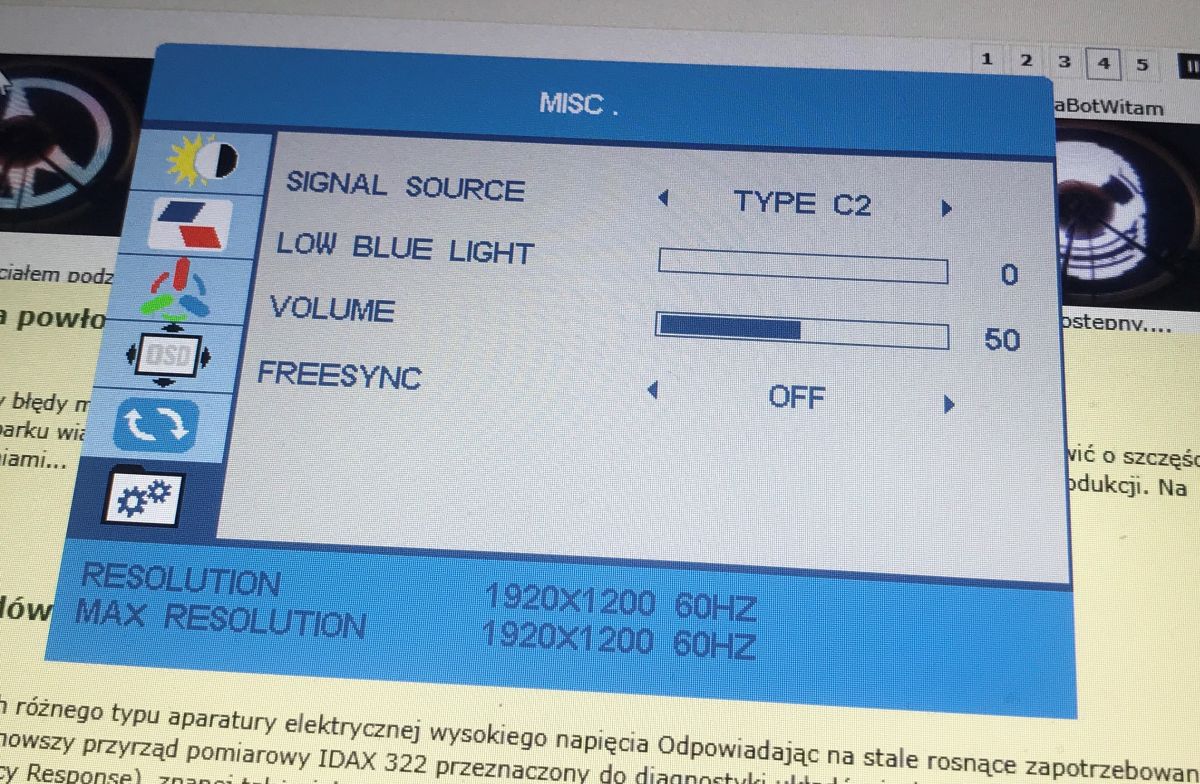
Next comes the OSD settings menu (position, display time, transparency), power and HDR options (the RESET tab) and the important MISC. category, from which you can select the signal source, enable FreeSync and Low Blue Light mode, and adjust the volume.
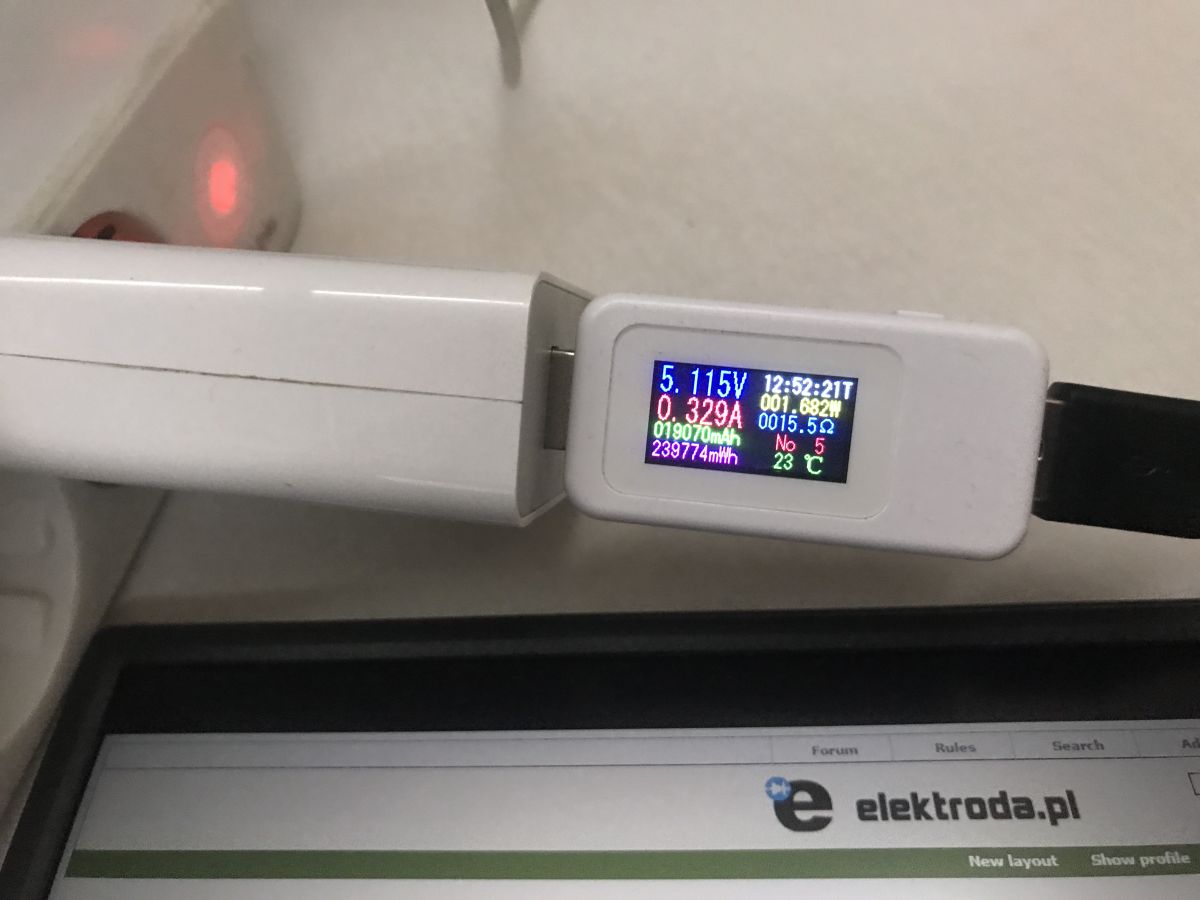
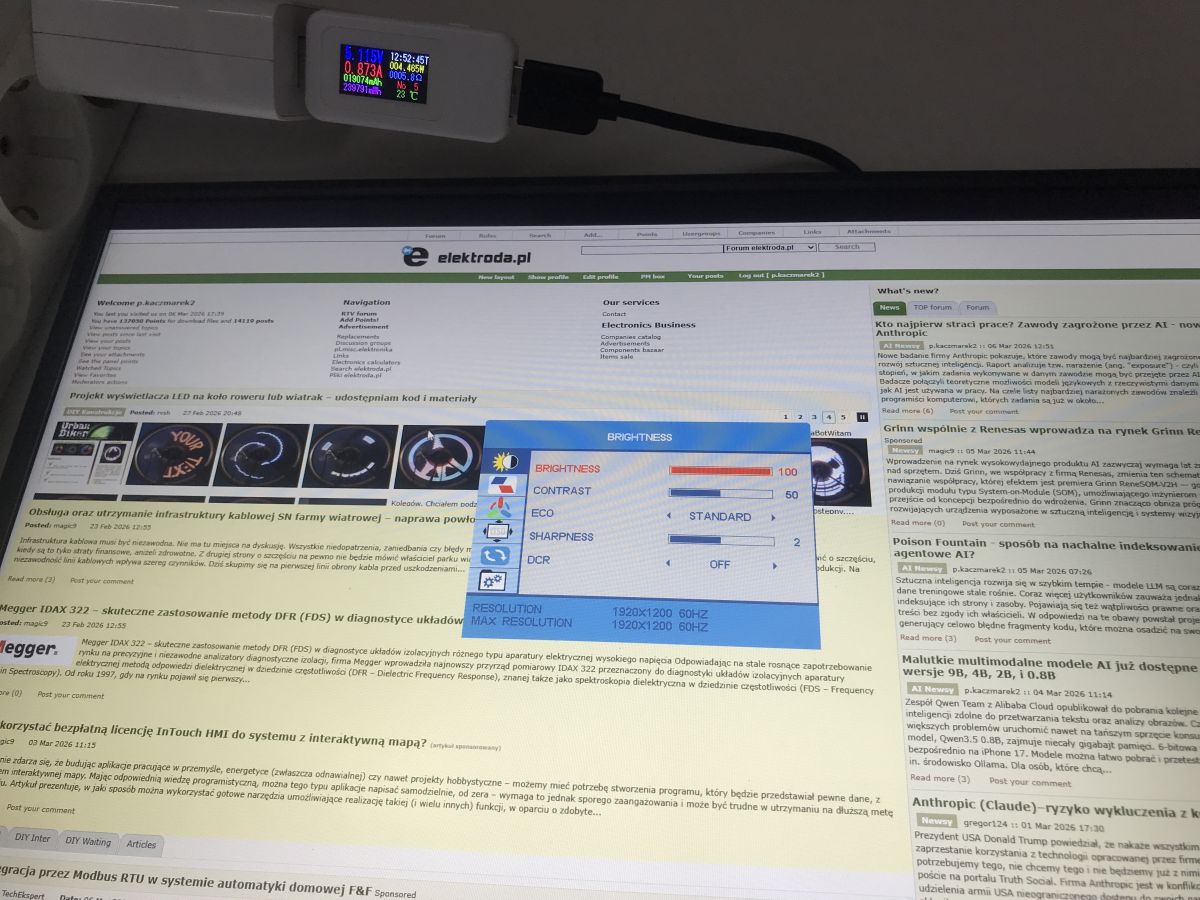
There’s still the current consumption test to do – at full brightness, the current draw is 0.87 A (approx. 4.46 W), whereas when I reduce the brightness to the minimum acceptable level (by eye), the current draw is just 0.33 A (approx. 1.68 W).
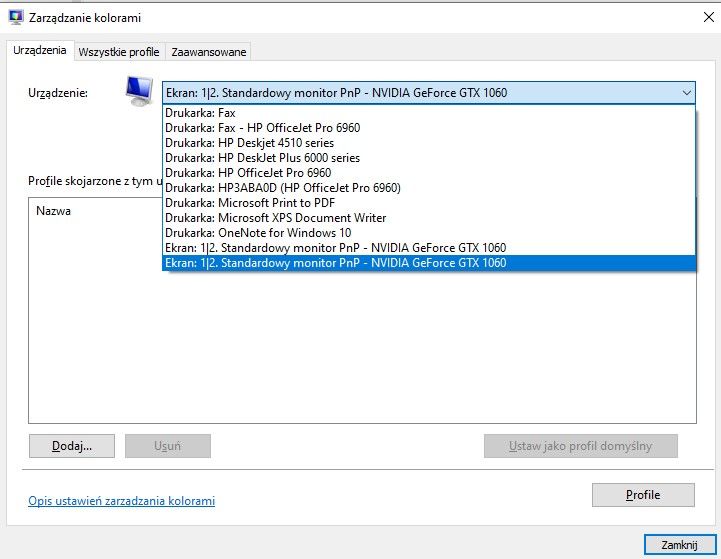
I’ll also show you how the computer recognises the display. As a point of interest, I’ll add that Windows identifies this screen as model PM1403, whilst the packaging and the nameplate clearly indicate PM1402. The manufacturer has probably used the same firmware build for several related models.
To sum up, for around 250 zł, you get a crisp, high-resolution IPS screen that’s highly portable and draws very little power. It works well as an additional monitor for a laptop or as a handy service display for smaller systems, such as the Raspberry Pi. The whole unit runs on 5 V and can be powered directly from a USB port; those few watts won’t significantly reduce your laptop’s battery life, so you’ll be able to use it even whilst running on battery power.
Do you use this type of external, portable monitor? Does a portable laptop monitor make sense?

p.kaczmarek2 wrote 14753 posts with
rating 12875 , helped 659 times.
Been with us since 2014 year.
Comments