Hello
I am a user of the Integra 64 based alarm system for several years. I have several home security zones, which is why I decided to create macro commands. I decided to connect to the Integra 64 computer. Below are the steps I took.
1. Enter on the keypad / keypad:
a) administrator password and press *
b) Select "Change options"
c) Select 'Permanent access' Cheese." and enter "T"
d) Exit
2. Enter the service code on the keypad / keypad and press *
a) Select "Service mode". The service mode will start and the key LED icon will flash. If the menu goes out, the key continues to flash, re-enter the service password.
b) Select "Take over TS"
c) Select "Ident. INTEGRA "and save the ID
d) Select "Ident. DloadX "and save the ID
3. Run the "Check PL-23-3 chip version v1006" program
a) Check the active COM port
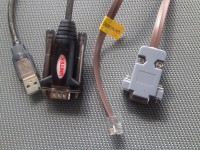
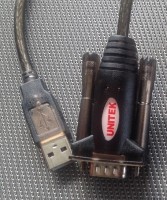
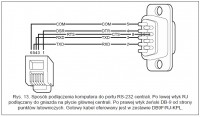
4. Connect the cables: USB + RS-232 (DB9FC / rj-KPL) and connect the computer cable (USB port) with Integra64 (RJ port).
5. Start the "DLOADX" program
a) Enter the password "1234"
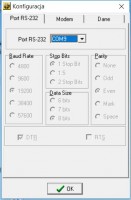
b) Select "Connection / Configuration" and select the COM number which has been identified by the "Check PL-23-3 chip version v1006" program
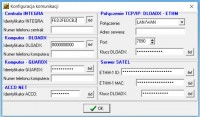
c) Select from the "Communication / Communication configuration" menu and enter the INTEGRA and DloadX identifiers (in the attachment window for entering)
Despite the steps described, I can't connect to Integra 64.
I am aware that the topic is trivial, but each of the advanced users used to start their adventure with Integra centers and learned the basics as I do now.
Please help. What else should I do or what activities have I missed.
I am asking for your understanding and a detailed description of the solution.


