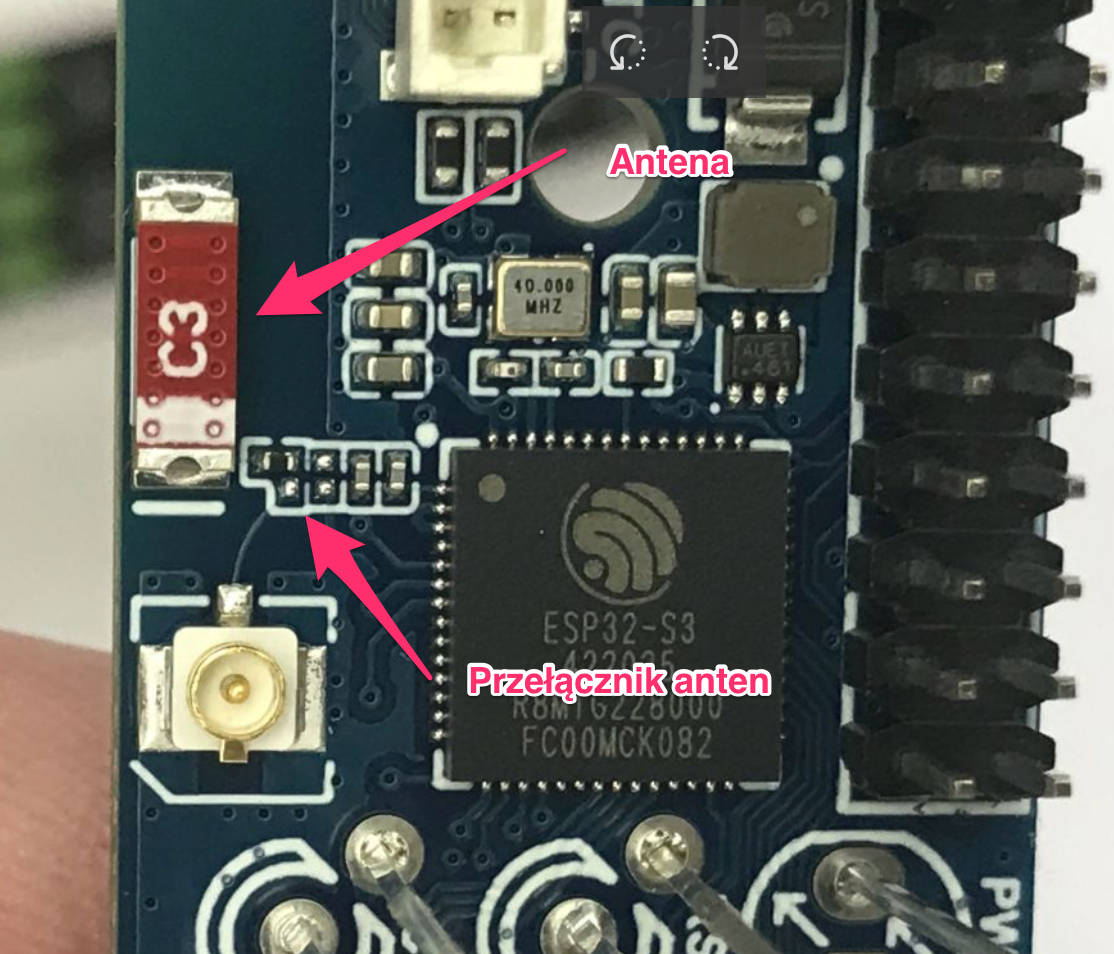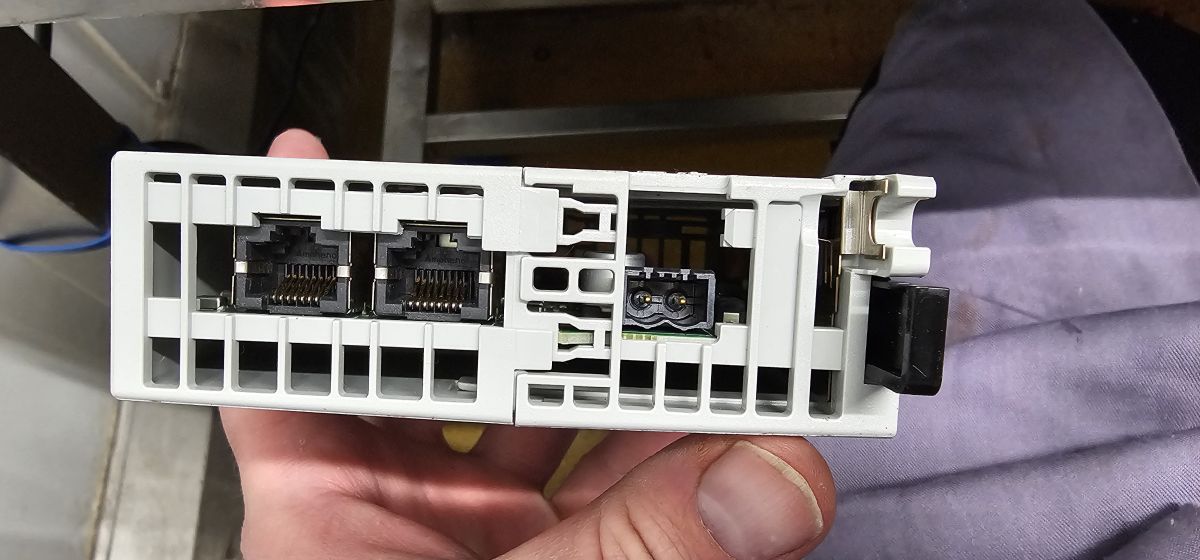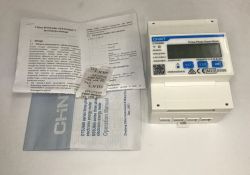


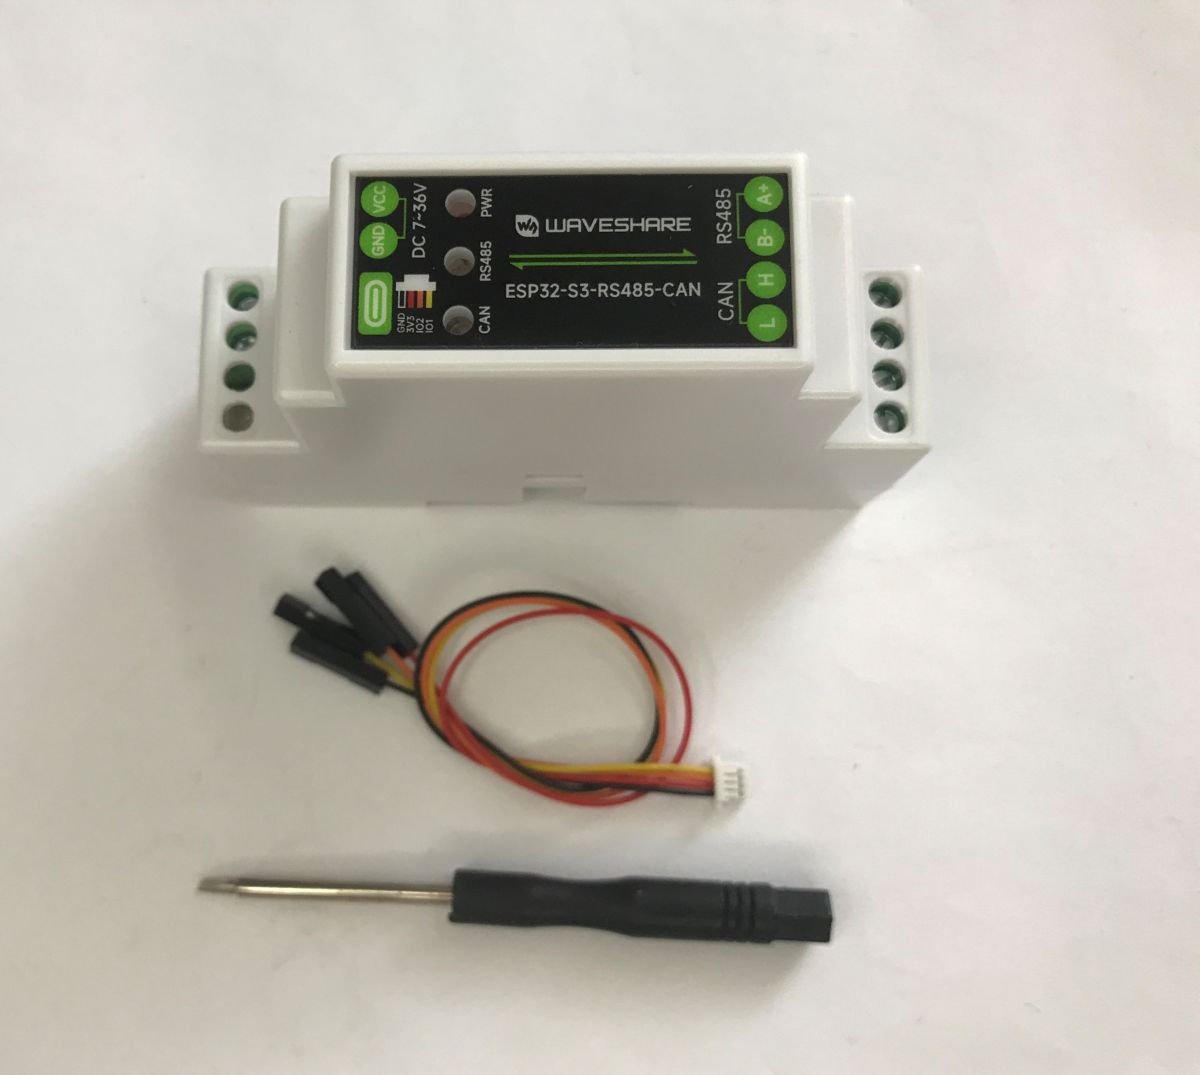
ESP32-S3-RS485-CAN is an industrial module equipped with Wi-Fi and BT communication (thanks to ESP-S3) and isolated RS485 and CAN. It is designed for DIN rail mounting. It operates on voltages up to 36 V DC. Also on board is a PCF85063 RTC to keep time, along with a connector for a battery, an antenna connector and a 20-pin connector. You can buy this module for around £80.
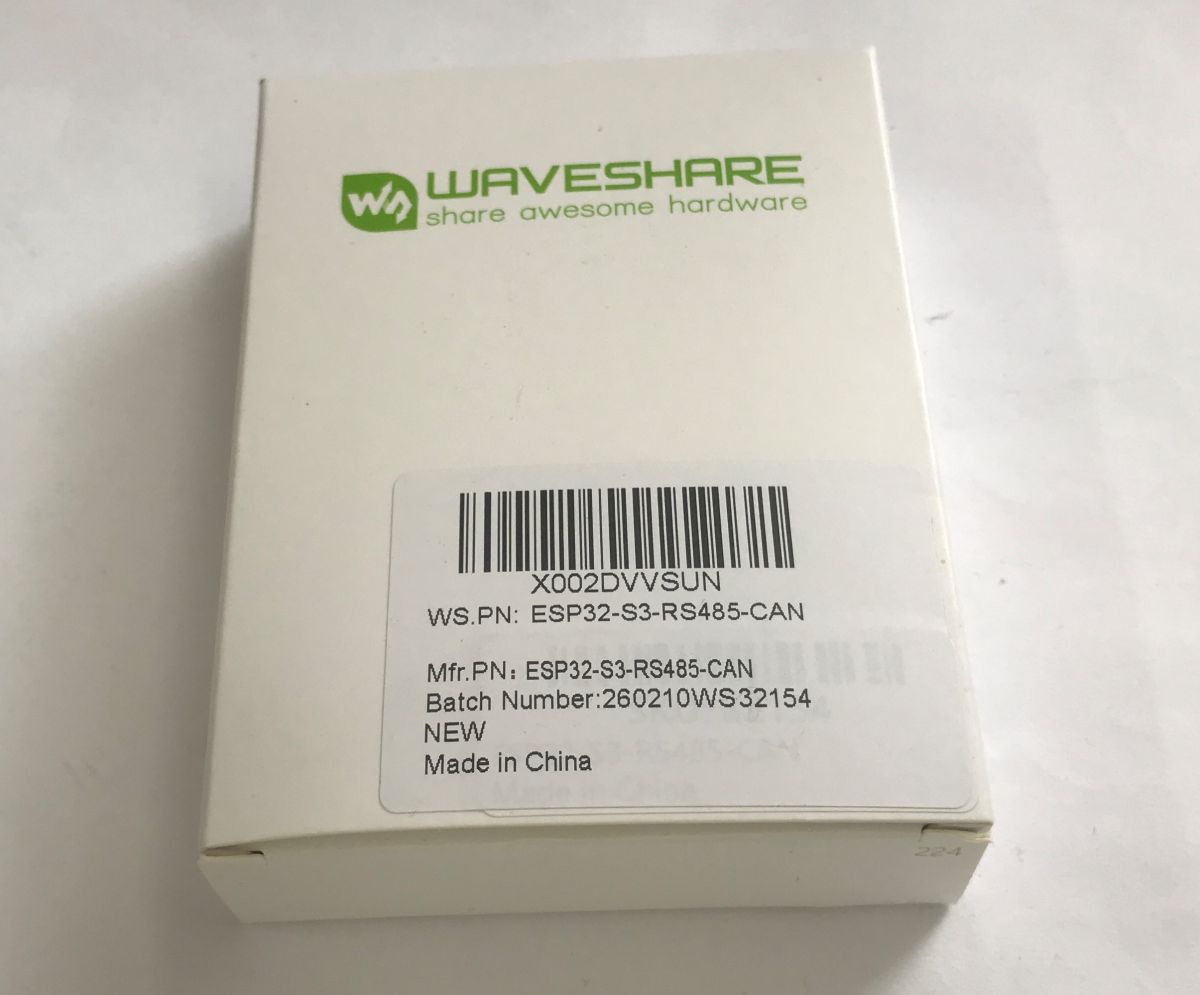
In the kit, we get cables with a connector compatible with the SH1.0 connector, on which 3.3 V, ground, GPIO1 and GPIO2 from the ESP are brought out. In addition, we also get a small screwdriver.
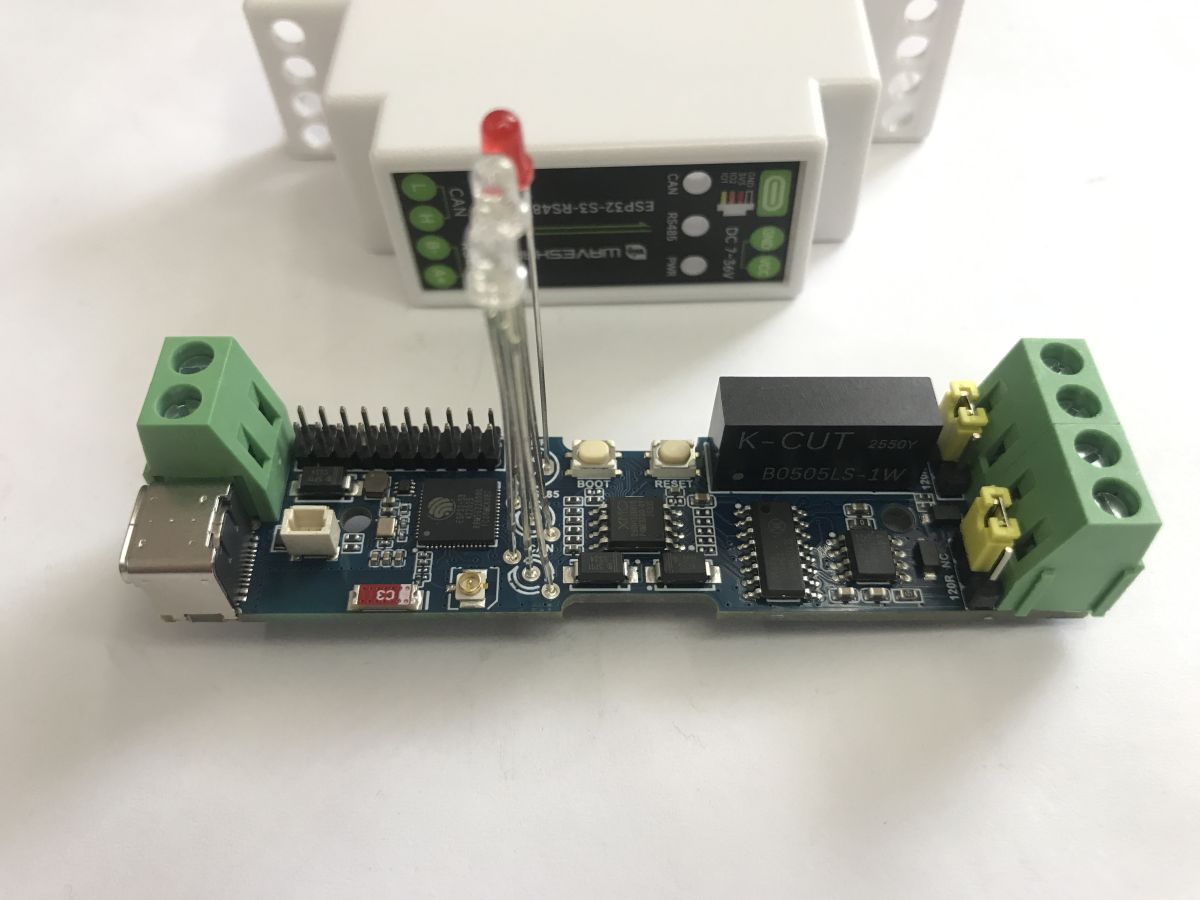
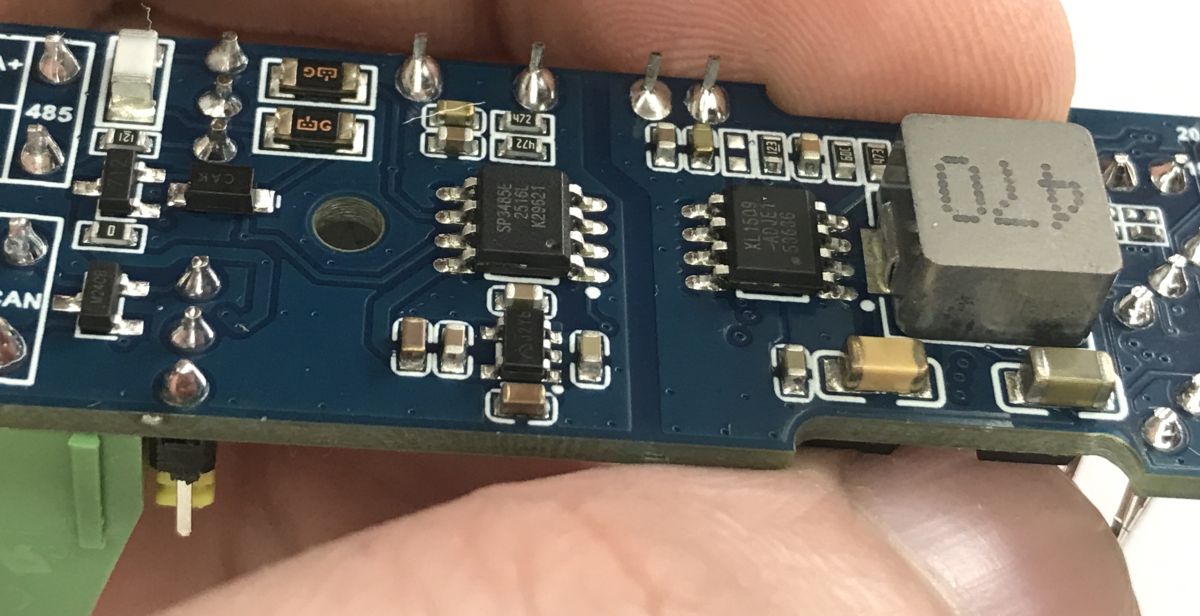
Photos from inside:
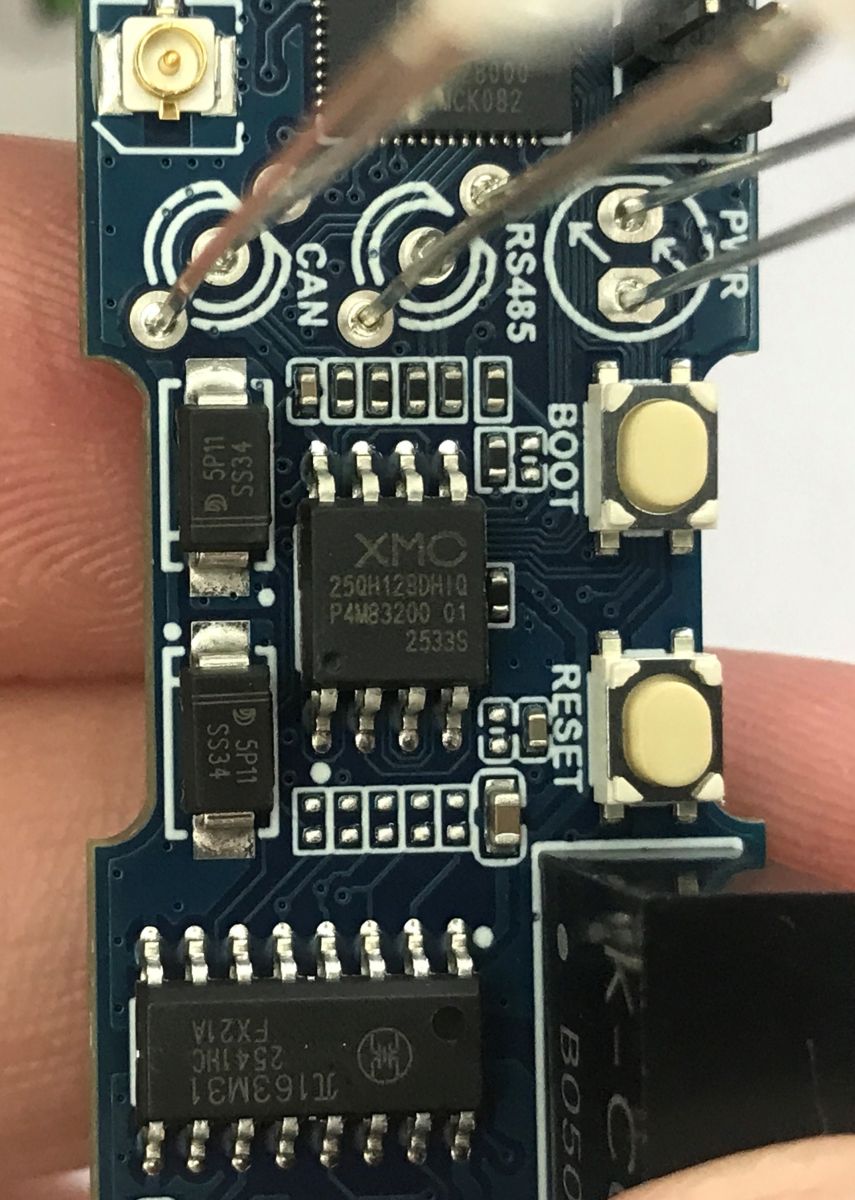
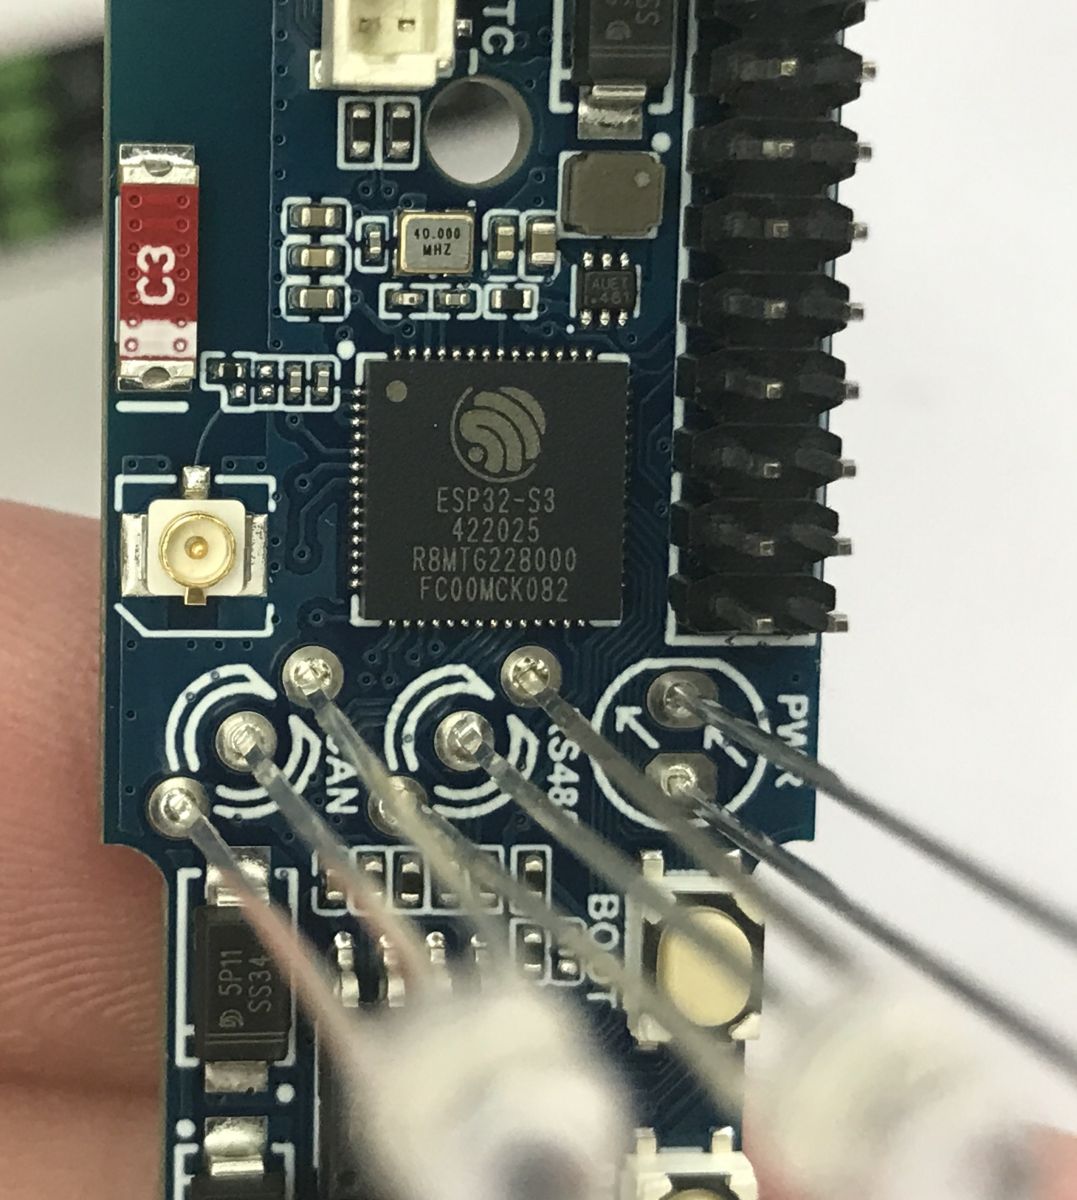
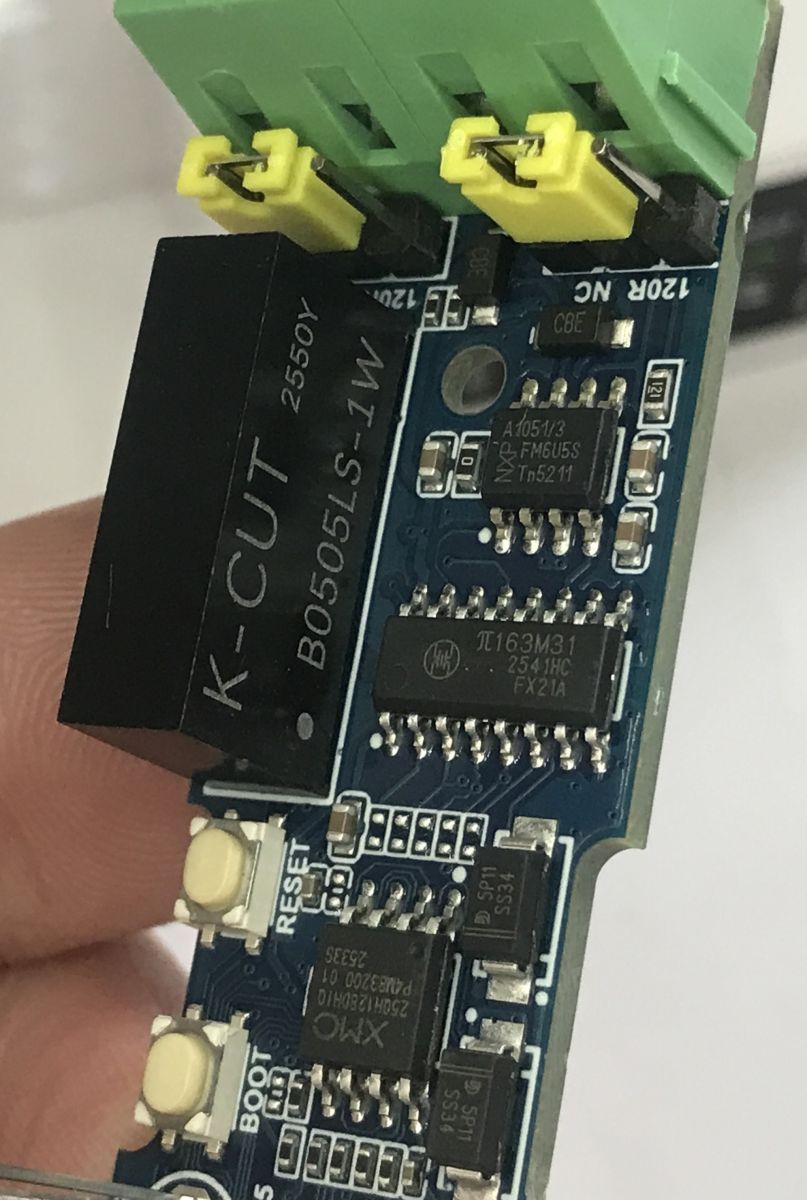
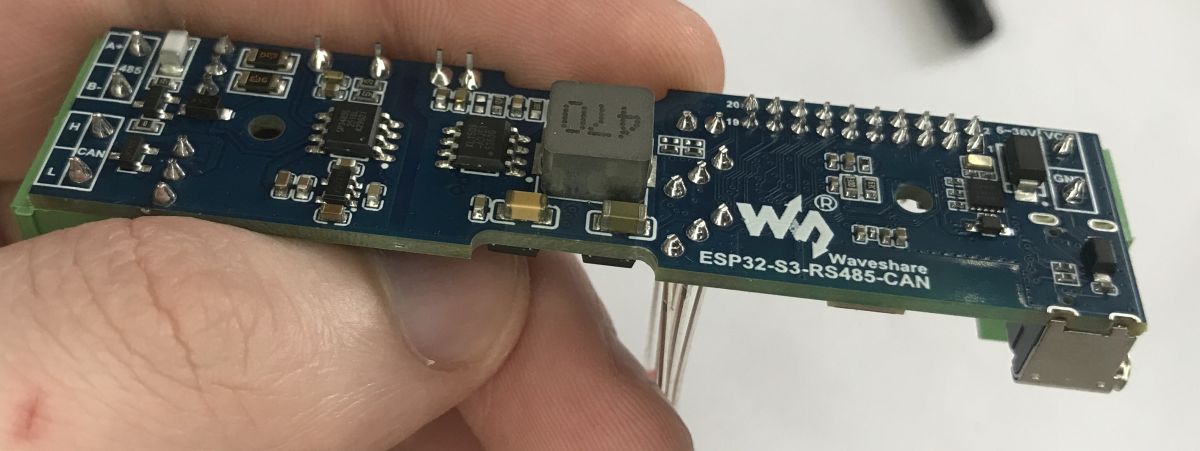
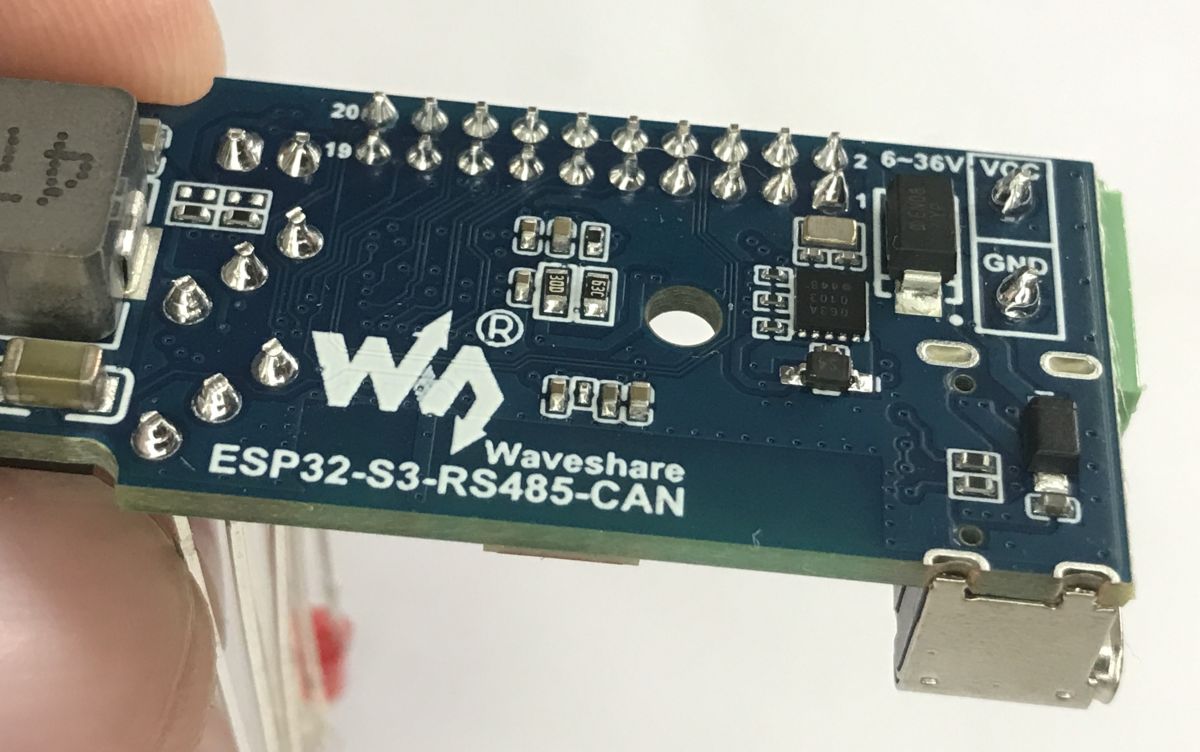
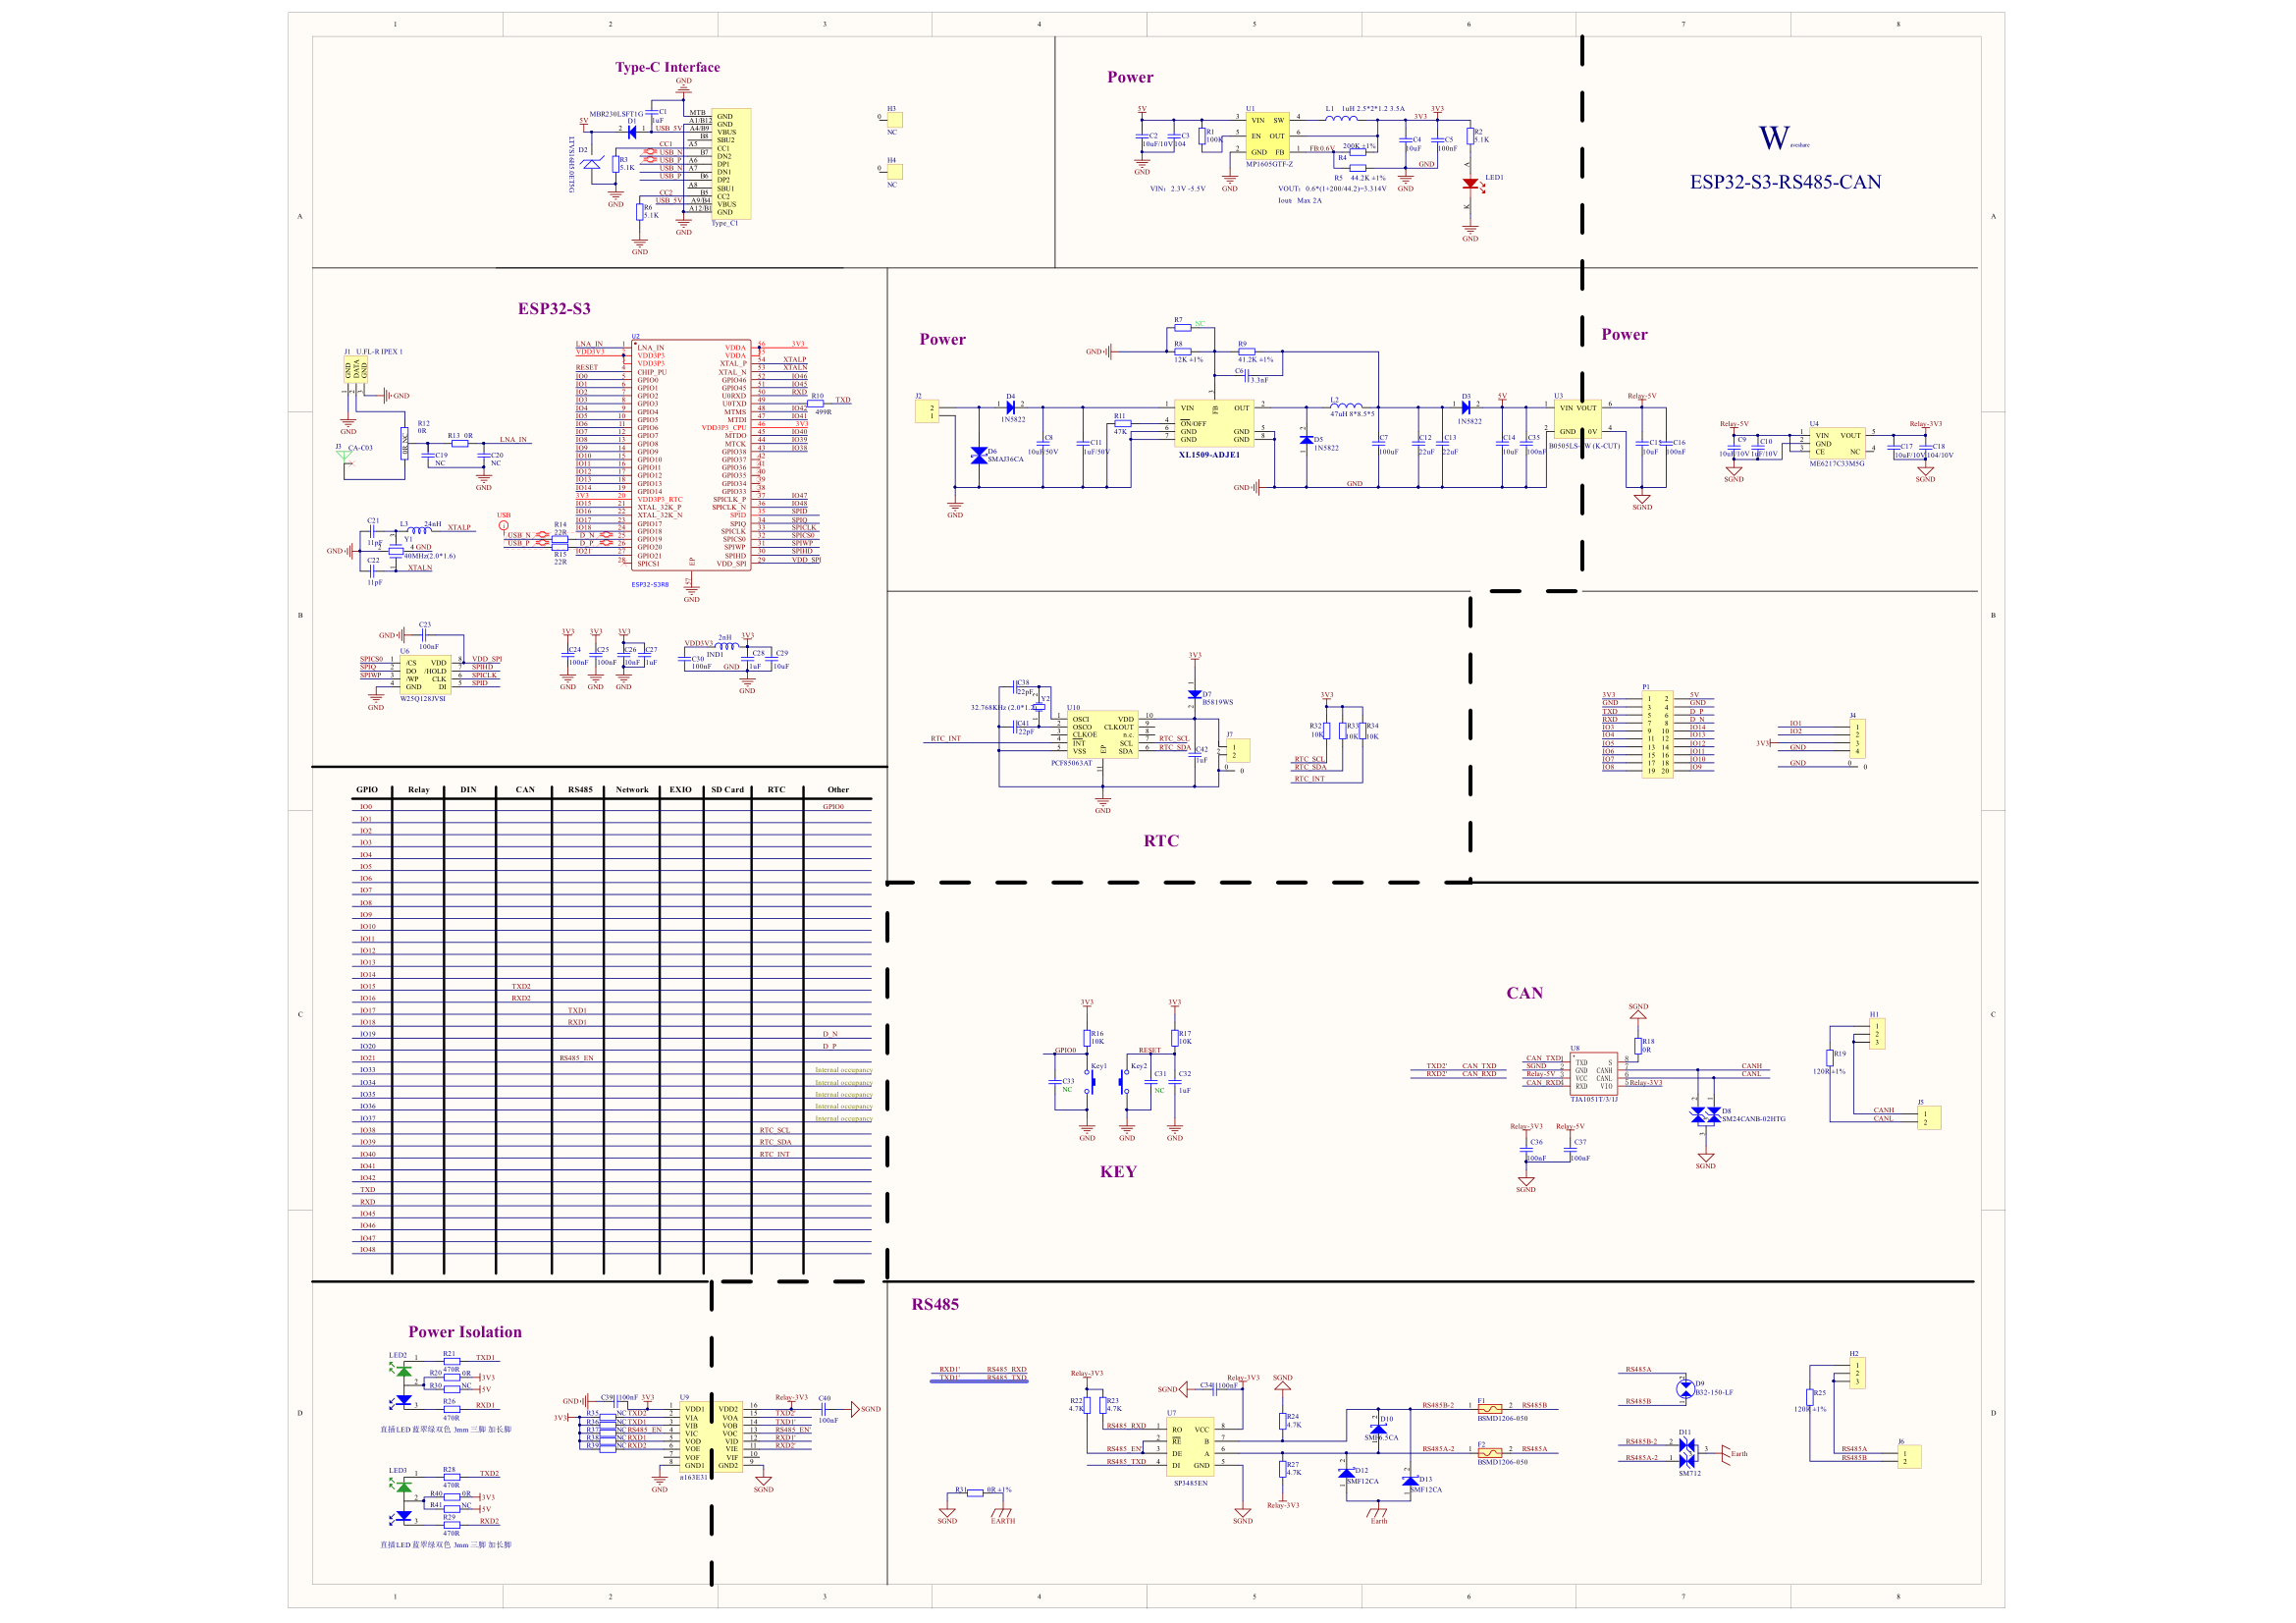
Scheme:
Now we can move on to the actual part of the presentation, which is to show how a beginner can get started with this board in the free PlatformIO environment (Visual Code extension).
Hello World (LED flashing)
You need to start with the configuration for the platformio. You can base it on the esp32-s3-devkitc-1 board, but you need to set a few things, including the Flash size and framework.
Code: Ini
It is important to enable CDC mode in build_flags. Otherwise we will not get Serial.printf messages. The board shown does not have a USB to UART converter, but connects directly to USB. The ESP32-S3 supports this in hardware.
Now the actual code of the demo. The whole thing is very simple, it just manually switches the TX/RX pins on and off from both buses. This gets the LEDs to blink.
Code: C / C++
Start RS485 communication
Three pins are required - RX, TX and Enable. Their indexes are marked on the diagram. RS485 is the physical layer of the UART, so a HardwareSerial is sufficient on the ESP. Set the baud, parity bits and pins.
Code: C / C++
The above demo sends a sample write over RS485 and then sends over USB the data received there. In practical RS485 installations, be sure to have termination resistors (typically 120 Ω) at both ends of the bus. Without this, communication errors can occur.
Starting CAN communication
You can use the TWAI library. Here there is no EN pin for CAN, so the matter is further simplified. The rest according to the CAN material:
How to establish a CAN connection between two ESP32s using the LilyGO T-CAN485 example?
As with RS485, the CAN bus should be terminated with 120 Ω terminating resistors at both ends of the CANH/CANL line.
RTC activation
The board uses a PCF85063AT real-time clock connected to pins IO38 (SCL), IO39 (SDA), IO40 (INT). It is a simple RTC communicating over the I2C bus, so you only need the standard Wire library to operate it. The package structure is simple enough that a separate library for PCF is not needed. Only auxiliary functions for the BCD encoding standard are needed.
Code: C / C++
Result:
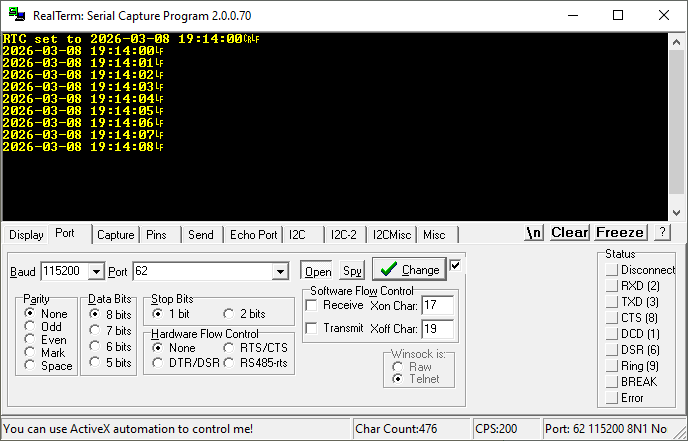
In a practical situation, the current time is set once and the RTC maintains it thanks to the battery even when the main power supply is disconnected.
Summary
This industrial module is not only distinguished by its combination of wireless (Wi-Fi and Bluetooth) and wired (RS485, CAN and UART) communications, but also by its affordable housing. Many DIY designs suffer from a lack of good mounting options and implementation is problematic. Here, this problem does not exist, we immediately get a compact DIN rail mountable housing.
An additional plus of this module is the RTC clock - this means that preloaded schedules and automations can work even when Wi-Fi and Bluetooth fail and there is no way to download time from the internet via NTP. This also makes it possible to use the module in places without a permanent Internet connection by programming the time once at installation (e.g. via Bluetooth), as afterwards the time will be kept by the RTC with the battery.
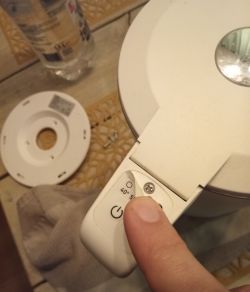
On the other hand, I see one big disadvantage, however, from the mere addition of the housing, namely that the buttons are not extended outwards and there is no way to simply reset the board once it is mounted on the DIN rail.
Cool? Ranking DIY Helpful post? Buy me a coffee.