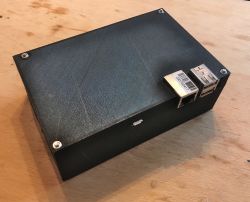
I would like to present the first version of the enclosure for my low-power, noiseless mini-server based on a 480GB SSD and a Banana PI M1+ minicomputer. I designed the enclosure in Blender and printed it on my Ender 3 Pro 3D printer using PLA filament. At the end of the topic I will give its sources for download.
Description of the server itself
A description of the server itself can be found in a separate topic
Silent, low-power 480GB file server on Banana Pi - OpenMediaVault :
https://www.elektroda.pl/rtvforum/topic3708276.html
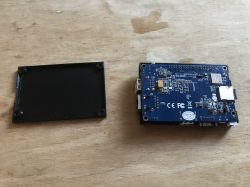
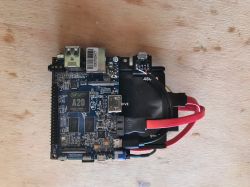
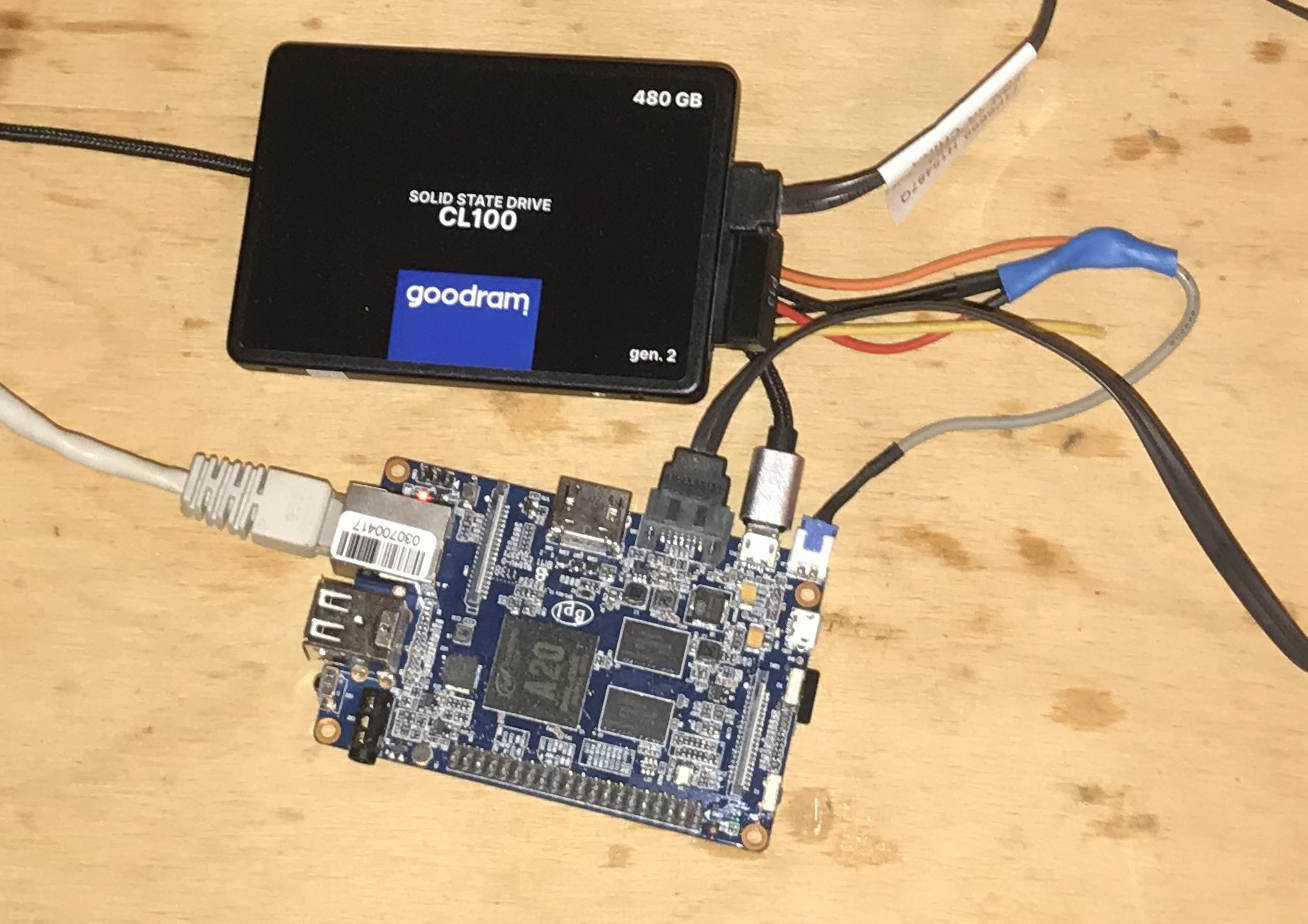
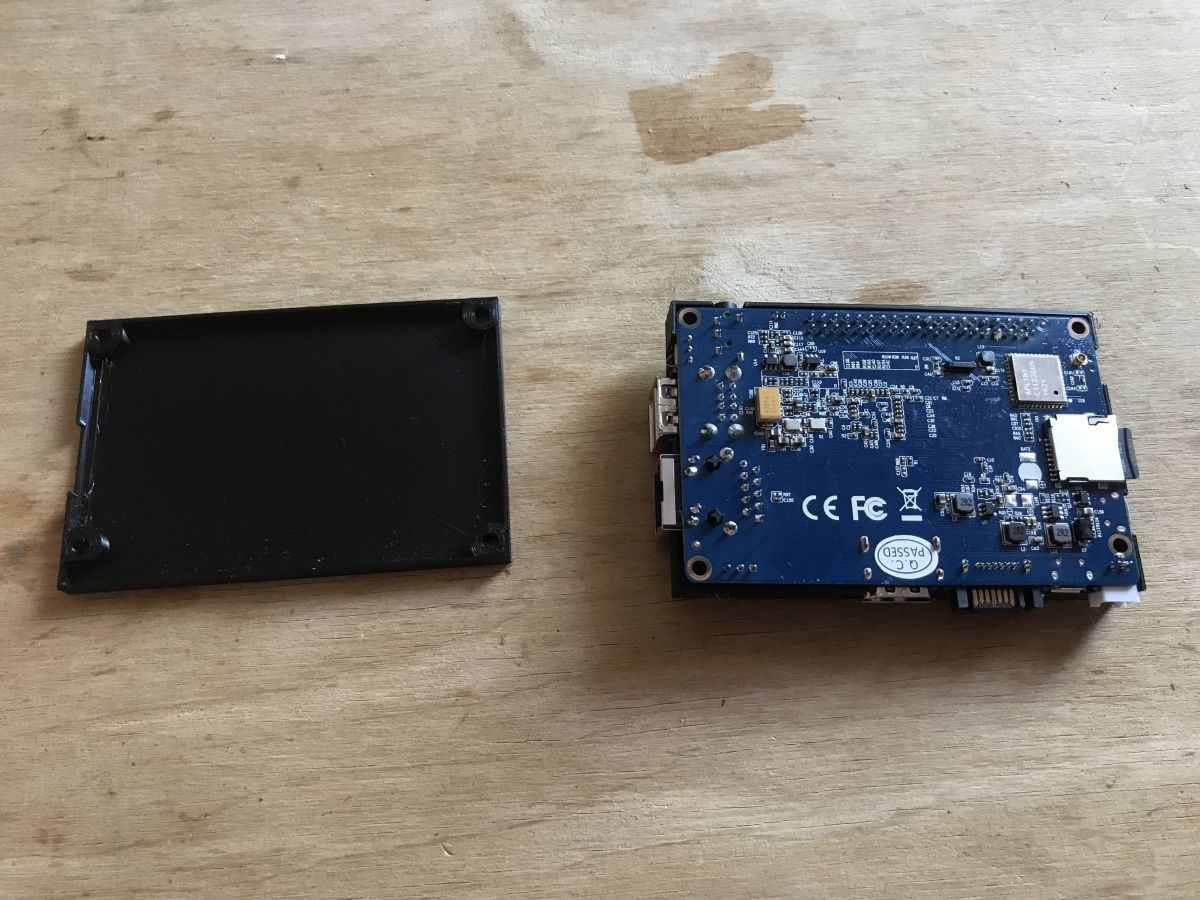
A 'tabletop' server, without an enclosure:

This server is meant to serve me until it breaks down, so it couldn't be left as is. I had to design some sort of enclosure for it.
Used models from Thingiverse
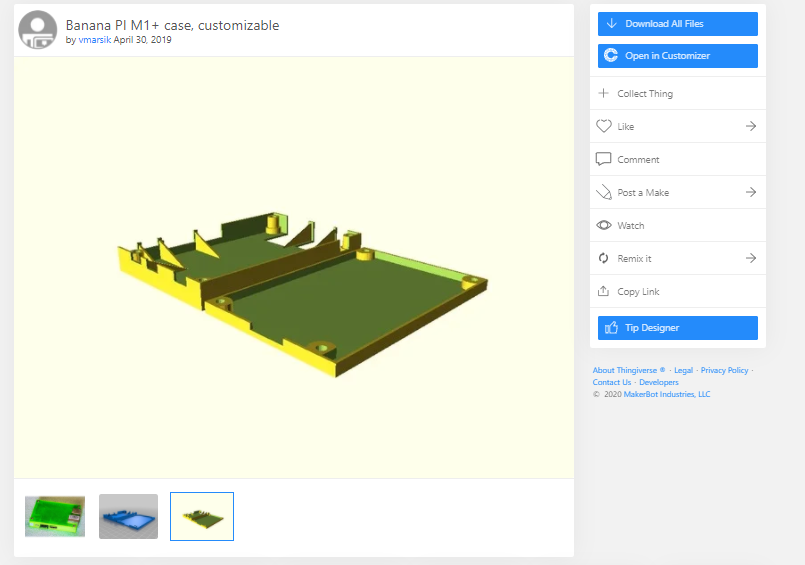
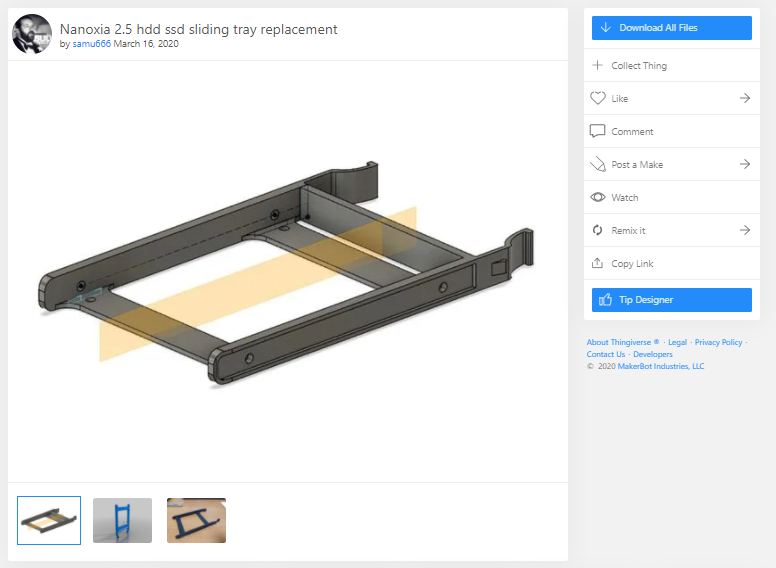
I designed my enclosure based on two off-the-shelf models from Thingiverse. I used these to save myself time, thanks to these models I didn't have to manually apply positions and dimensions to the holes in the enclosure for the Banana Pi outputs/inputs and 2.5" drive mounts.
Banana PI M1+ case, customizable by vmarsik April 30, 2019
https://www.thingiverse.com/thing:3597730
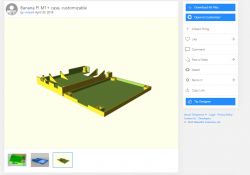
(Licence - Creative Commons NC)
Nanoxia 2.5 hdd ssd sliding tray replacement by samu666 March 16, 2020
https://www.thingiverse.com/thing:4225356
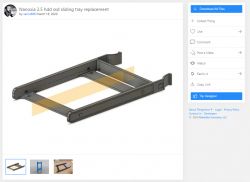
(Licence - Creative Commons)
Checking models from Thingiverse
To start with, I printed out the aforementioned models from Thingiverse, just to check that their dimensions were OK and to be able to get a better idea of the enclosure concept.
A simple enclosure for a Banana Pi:
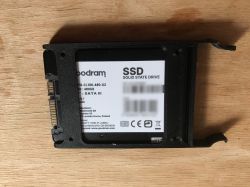
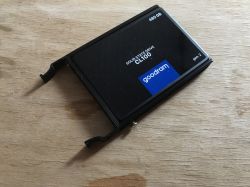
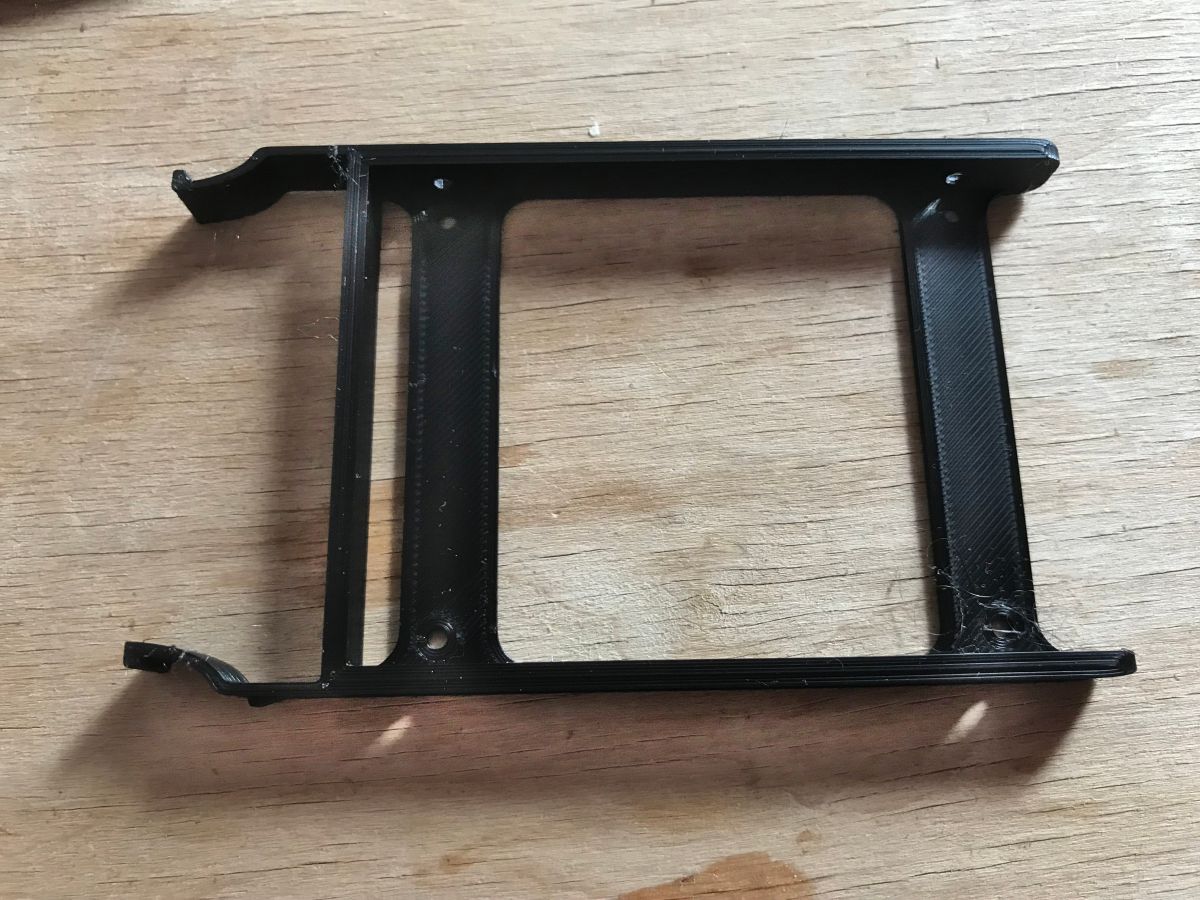
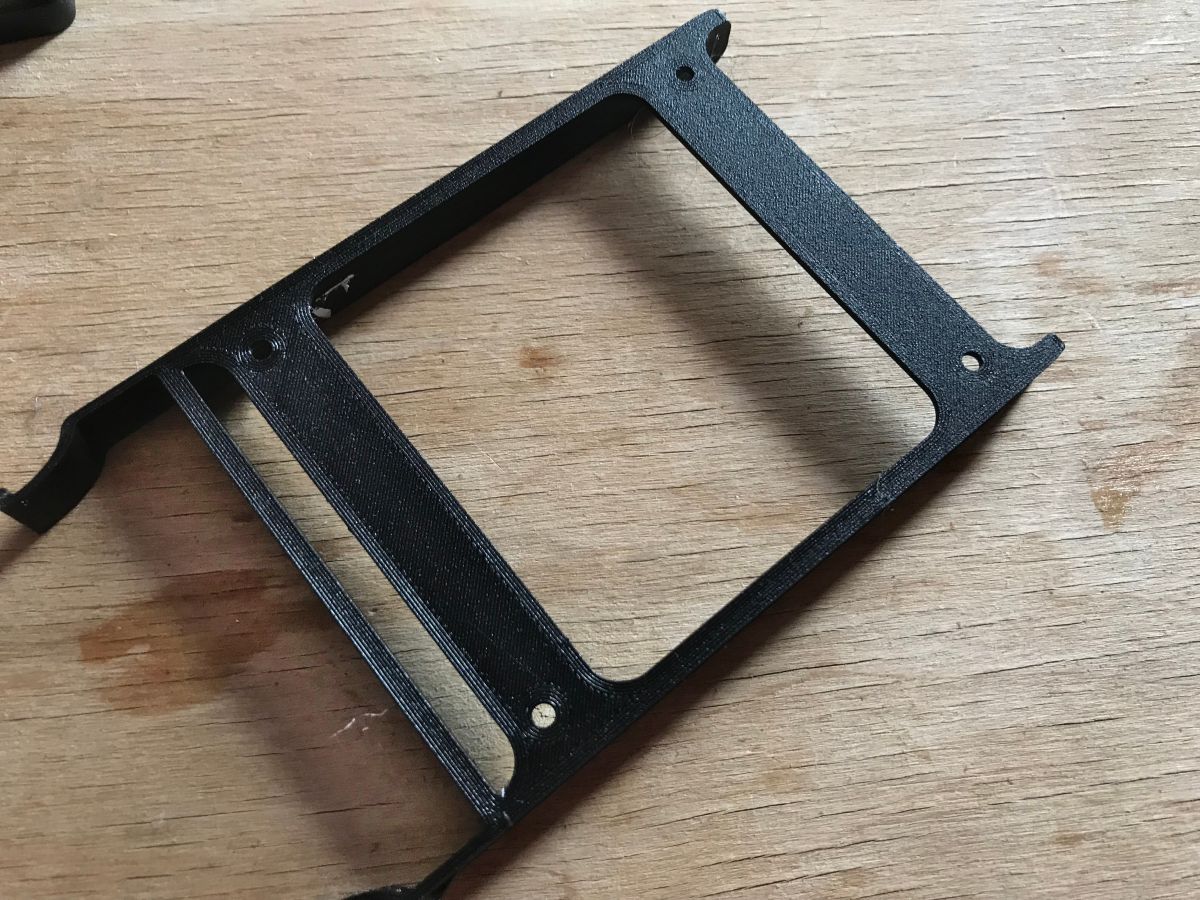
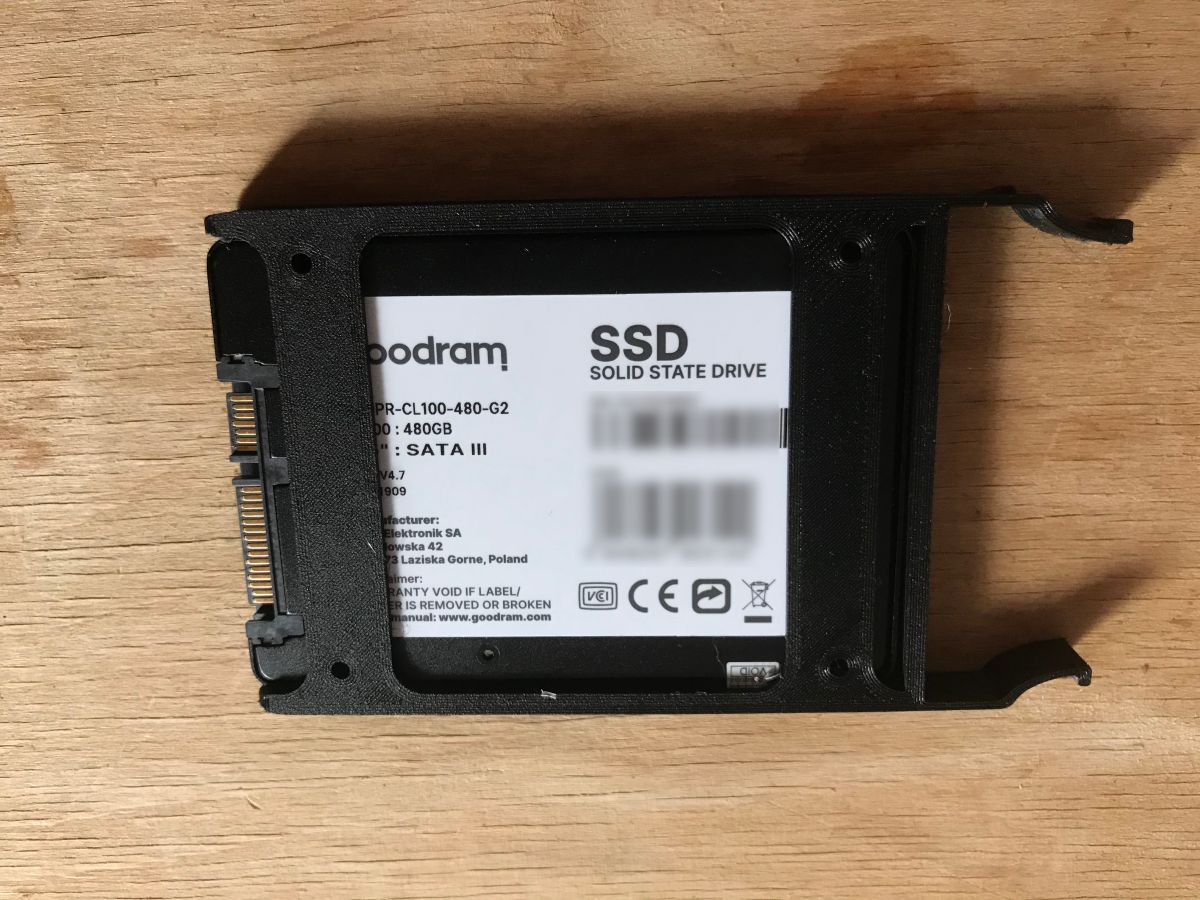
2.5" drive mount:
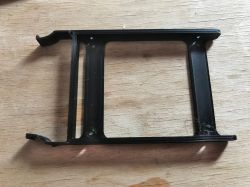


With the drive - it is worth noting that this mount has four holes on the bottom and two holes each on the sides, which is all you need to tighten a 2.5" drive:
Then I have already moved on to the design of the enclosure.
Modelling the case
I designed the enclosure in Blender 2.79 based on the models mentioned above. I decided that the Banana Pi would be mounted above the drive, and that the whole enclosure would consist of three parts:
- an internal mount (one piece common to the Banana Pi and the disk)
- the top cover
- a lower base
The case will be bolted together with long M3 screws and nuts, as this is a much more robust solution than screwing the screws into the filament itself.
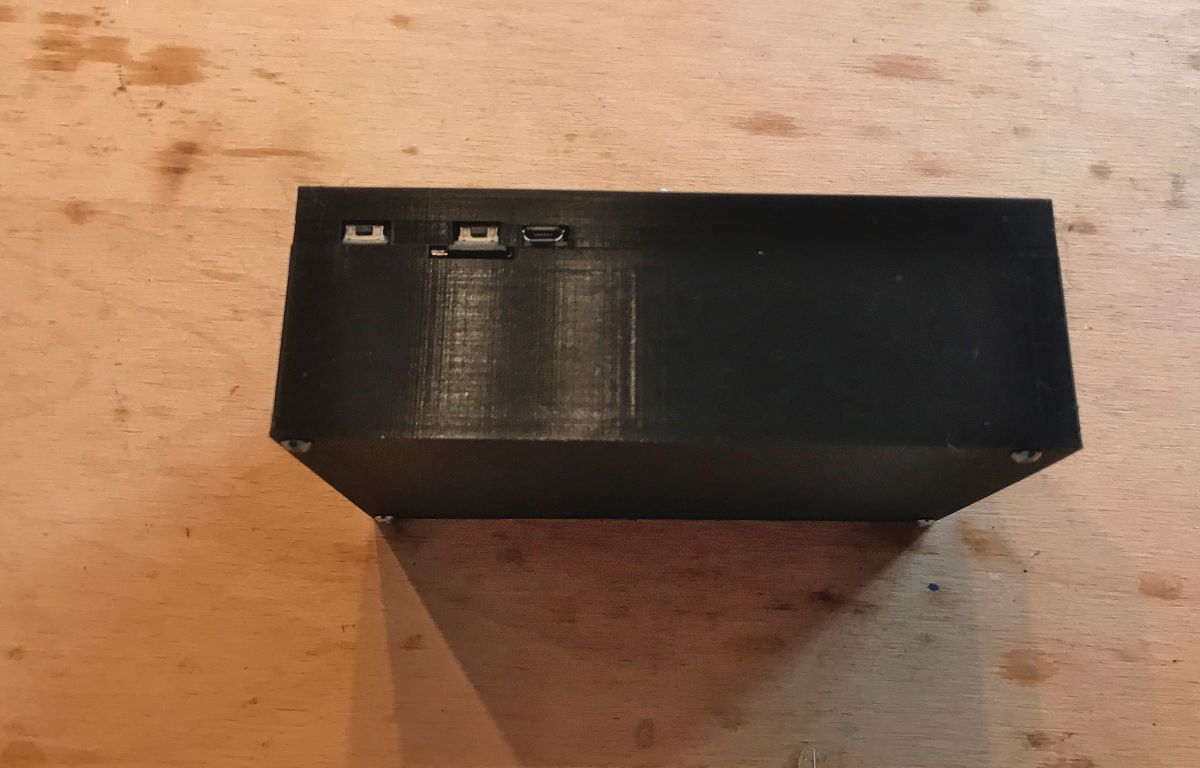
The case will be oriented so that the buttons are brought out on its walls, as well as the Ethernet connector and the SD card slot.
The micro-USB connector from the power supply will not be able to be brought straight out onto the wall, so I will simply make an extension and position it myself in a convenient place.
The SATA connector from the drive will be fully inside the case.
The case will be bolted together with six screws - 4 in the corners with nuts will compress the whole thing, there will be two more in the middle screwed into the filament.
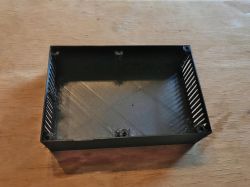
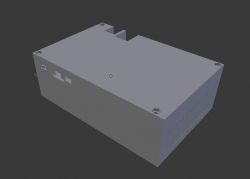
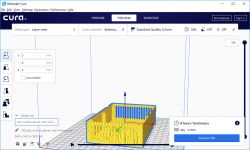
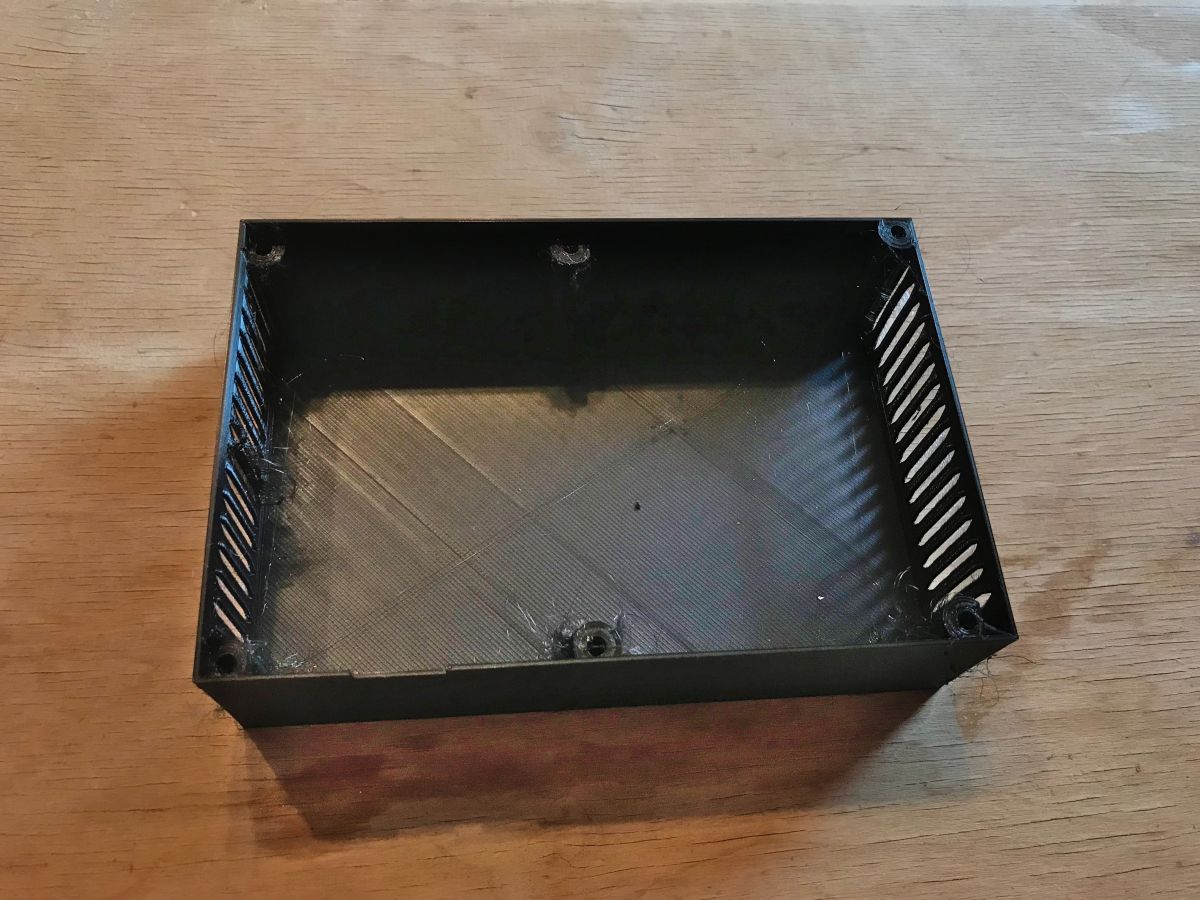
In the end I came up with this base including the walls:
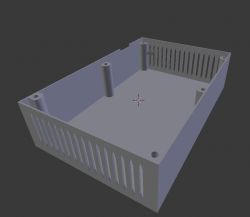
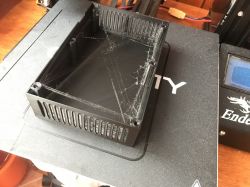
Printout (there was a bit of stringing because I was printing from a rather old spool of filament):
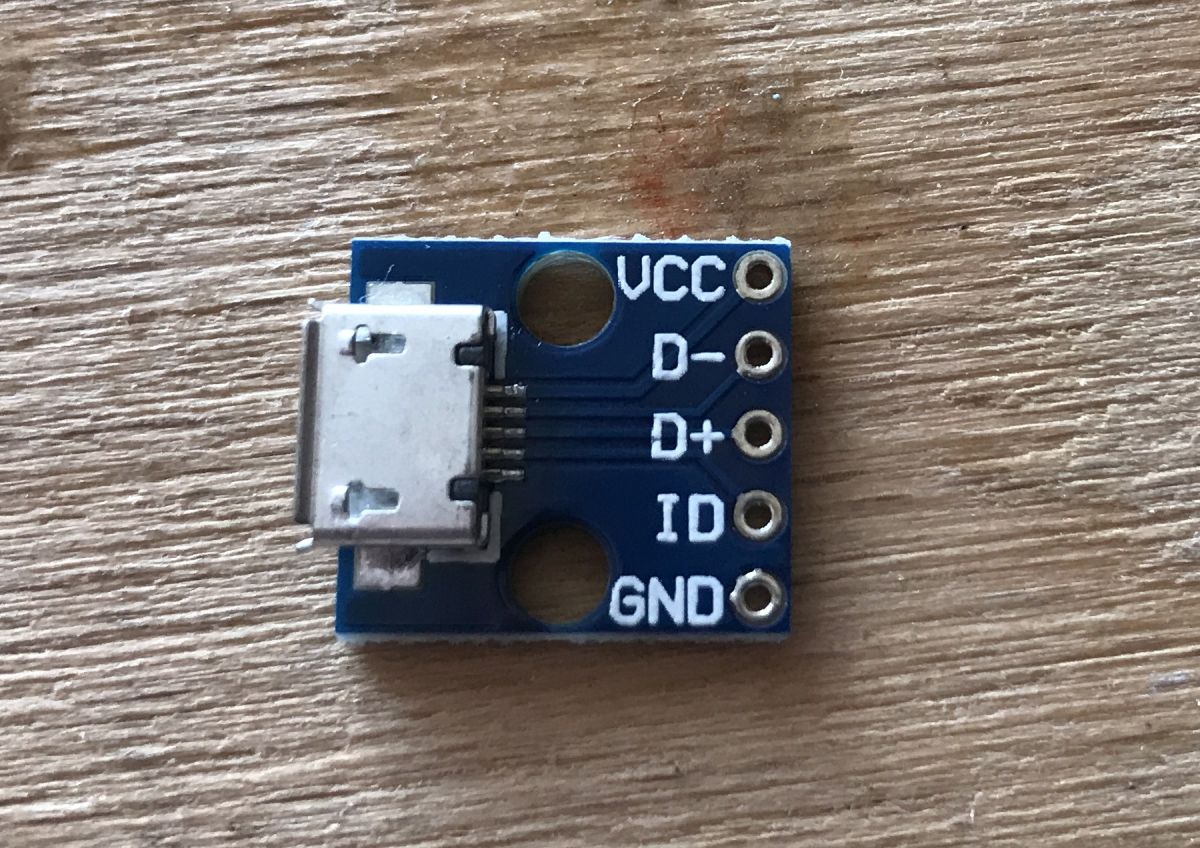
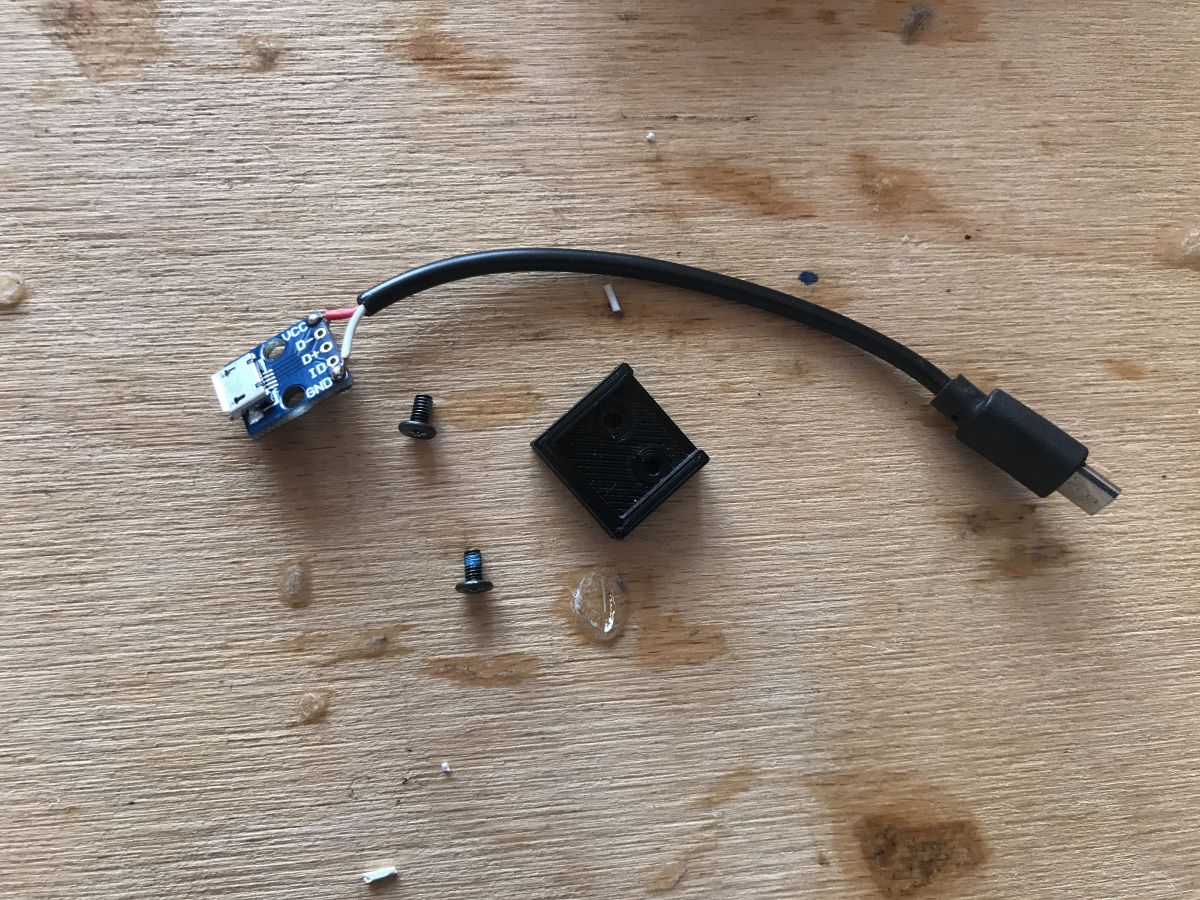
Used USB breakout module to relocate connector from power supply to a convenient location:
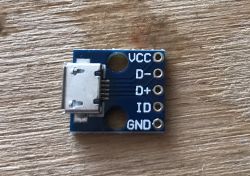
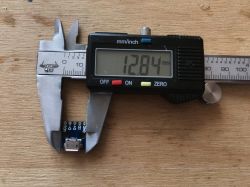
Printed out the plastic connector for the USB connector and the short USB extender that will be inside the case (I just used an old USB cable and soldered it to the connector board):

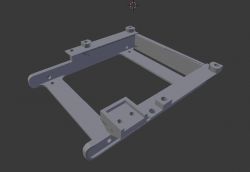
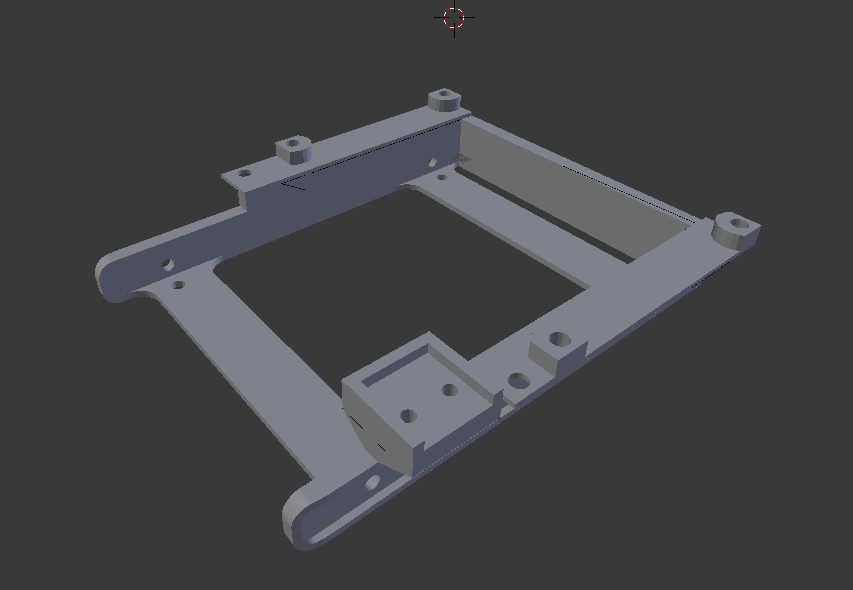
The design of the mounting element for the inside of the case. The 2.5" drive, Banana Pi and the USB connector shown above will be mounted on this piece:
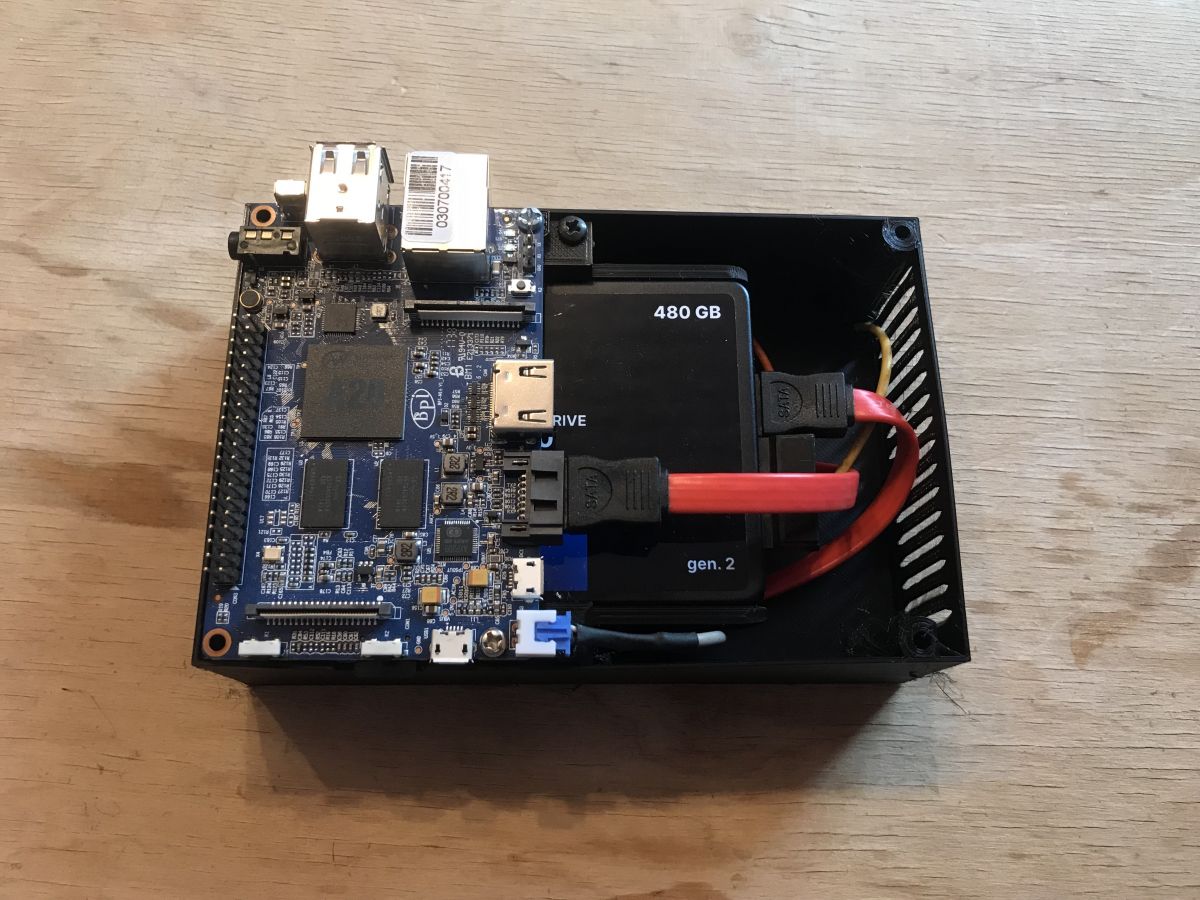
All already fitted in the component shown above:
Initial fitting from the chassis (actually from the previous version without the derived USB):

The SATA cable here is quite long, but once it's wrapped it's not a problem. That's what I had in the drawer and that's what I used.
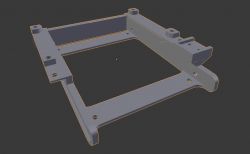
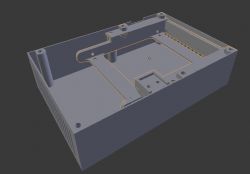
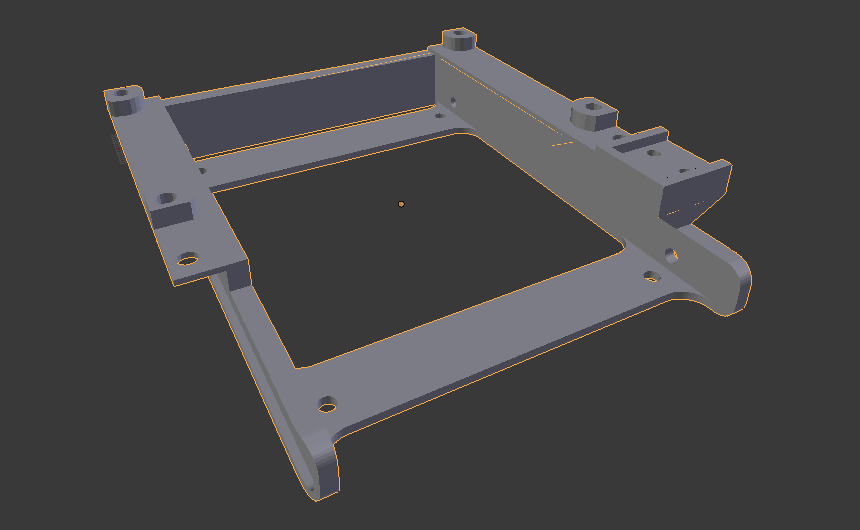
The final version in Blender:
Same without the top cover:
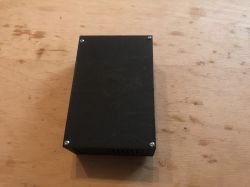
I used four torx screws to screw the final version together:

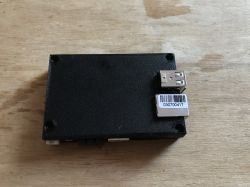
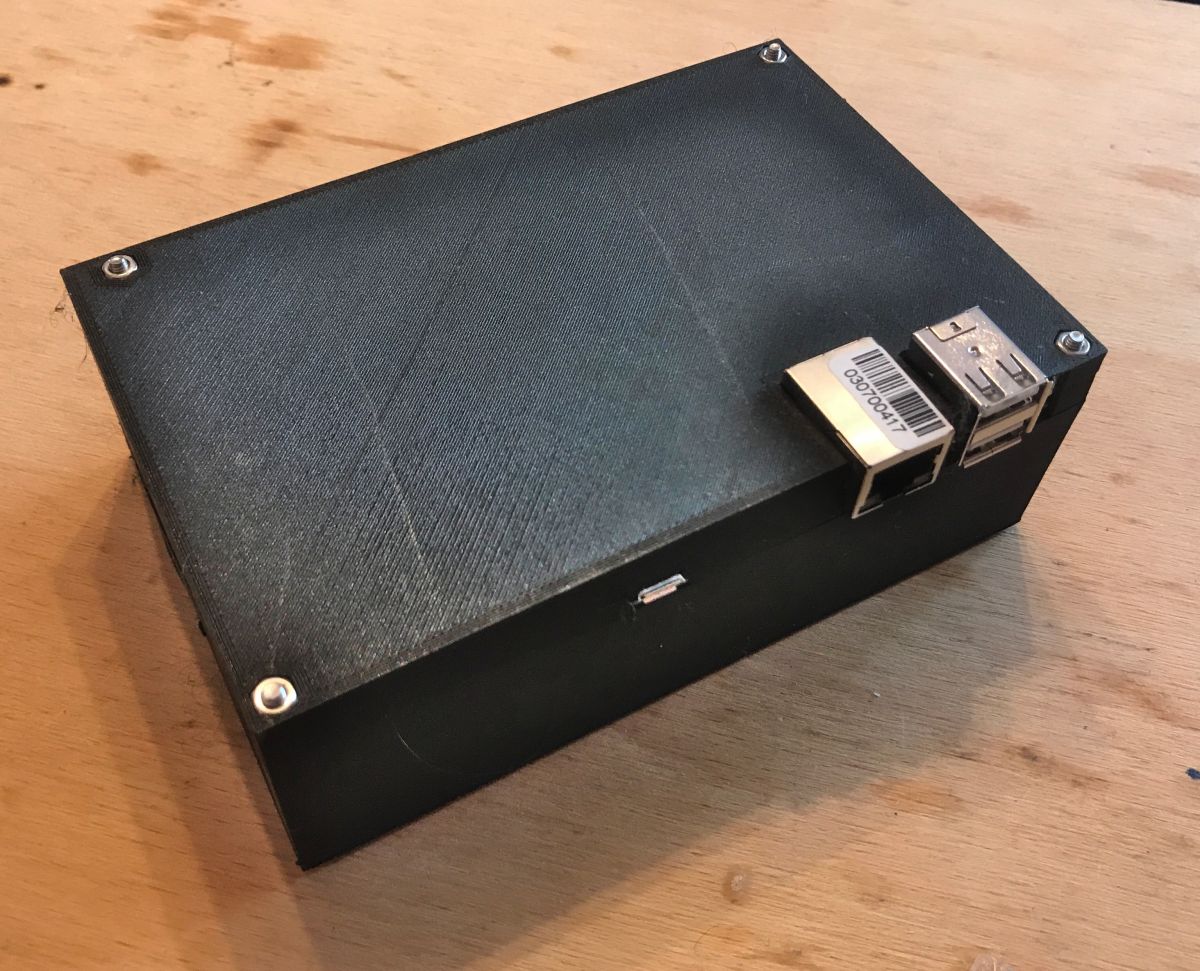
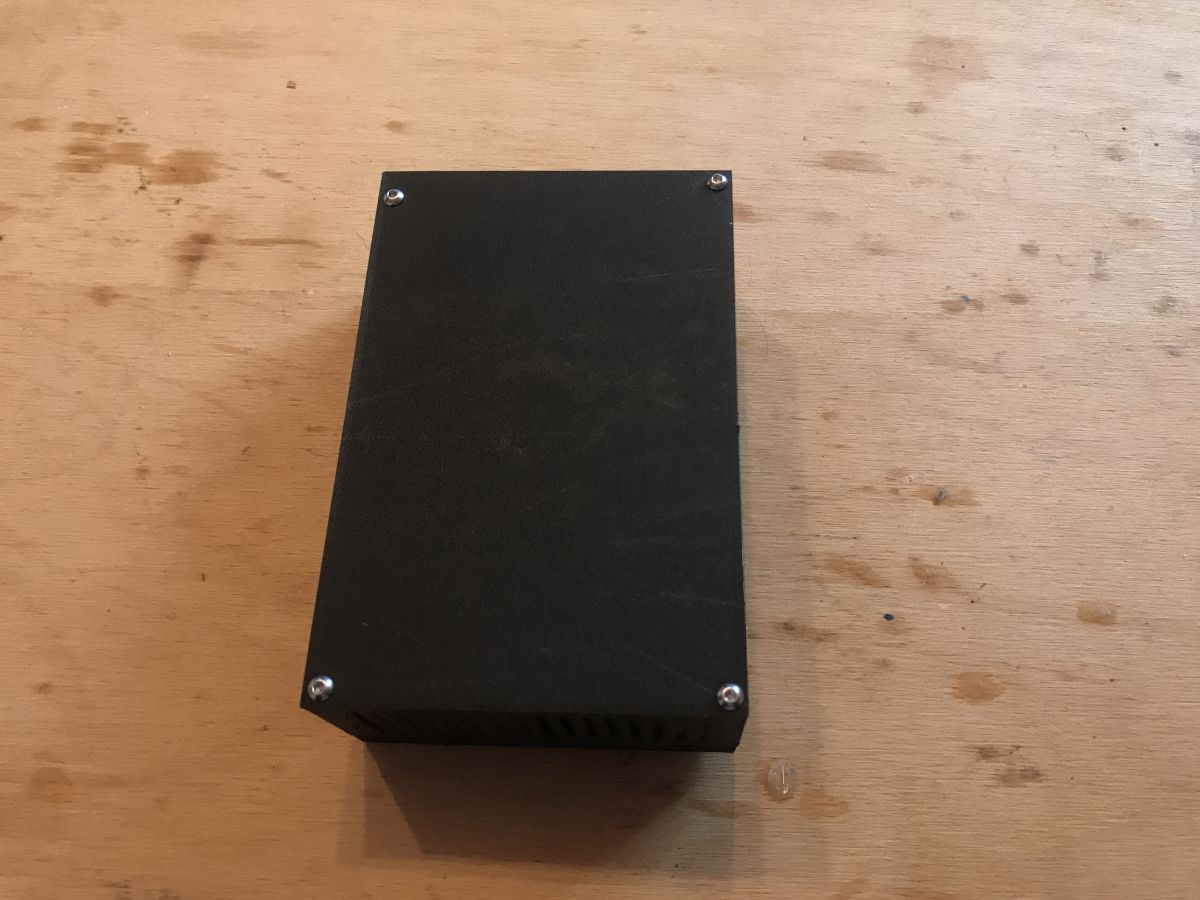
The final version after printing and assembling:
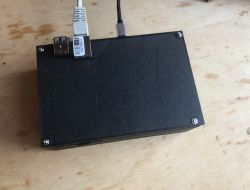
The audio jack connector is also out:

Buttons too, of course:
 20-day case test
Initially I wanted to check that the Banana Pi in my enclosure would not heat excessively. After setting up the case, I monitored its temperatures from time to time while it was running.
The server was loaded with downloading (and sometimes uploading) ISO images of various free tools (Linux, Hirens Boot, etc.) via the P2P network.
I did not observe any significant increase in temperature.
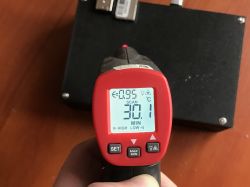
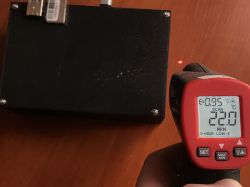
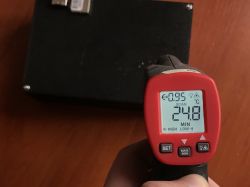
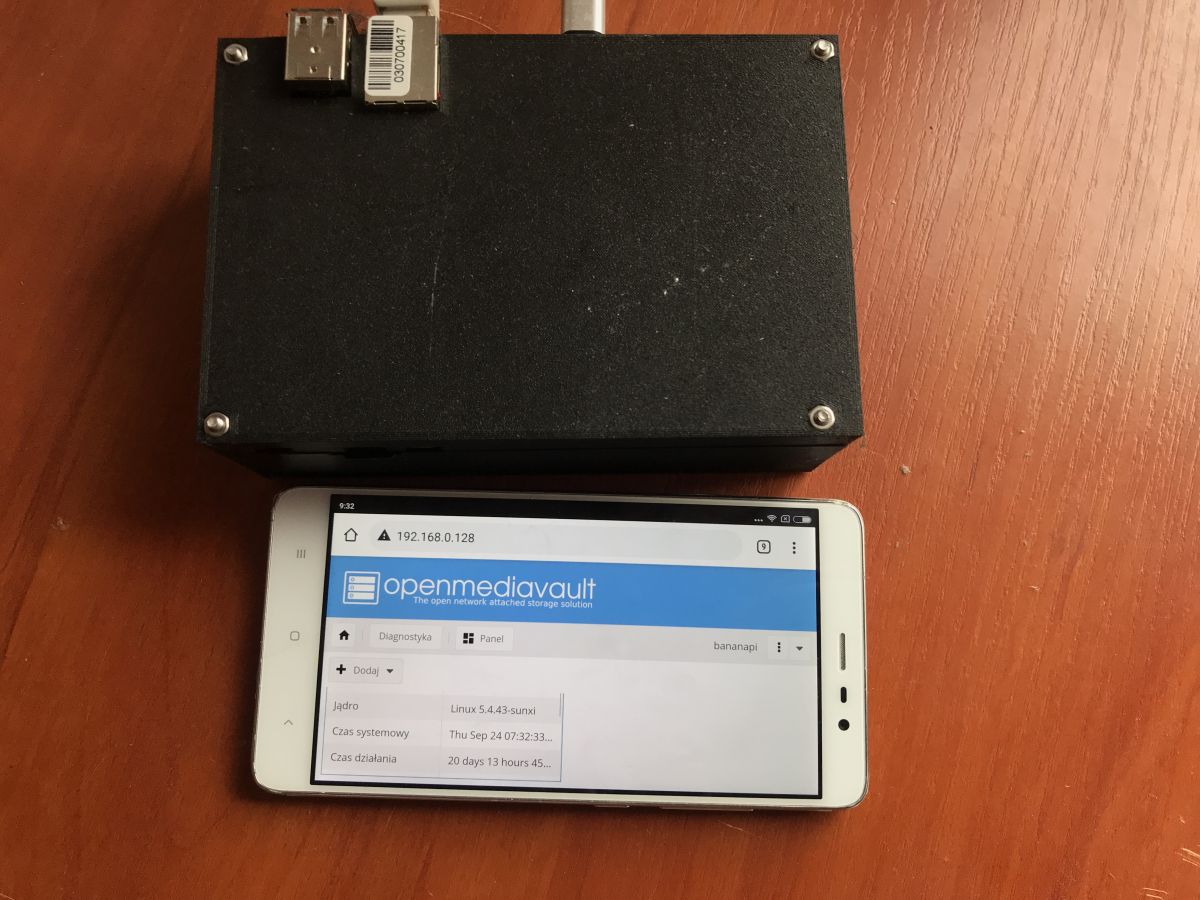
At this point, the server has gone 20 days without overheating and even without a reset - a photo documenting this is shown below:

I also took measurements with a pyrometer at the time. The ambient temperature is around 22°C, the temperature at the area of the case most exposed to heating is 30°C:
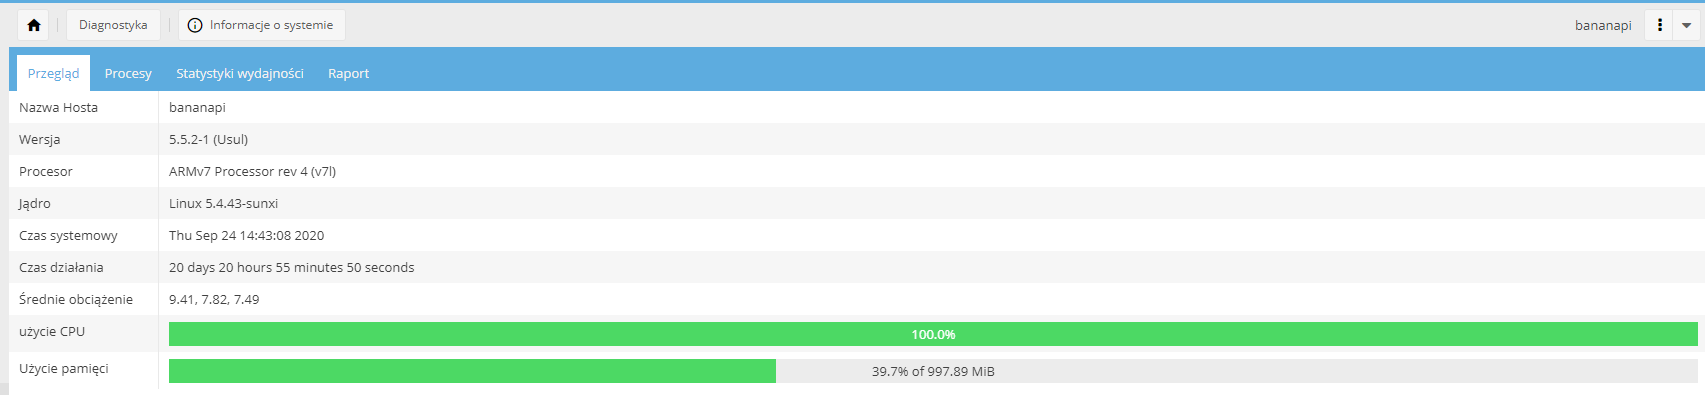
By the way, below is a screenshot also with CPU and RAM usage information - the CPU is loaded with network operations, but RAM free is plenty:
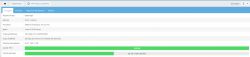
You can see that the OpenMediaVault used is written at least to some extent well. You don't need to reboot every few days.
Case cost
It is worth mentioning here how much such an enclosure costs.
I'm assuming here a price of 50 PLN for 1 kilogram of PLA 1.75mm filament, as this is the price at which I buy it (I'll also add 10 PLN for shipping, as I usually buy several spools at once).
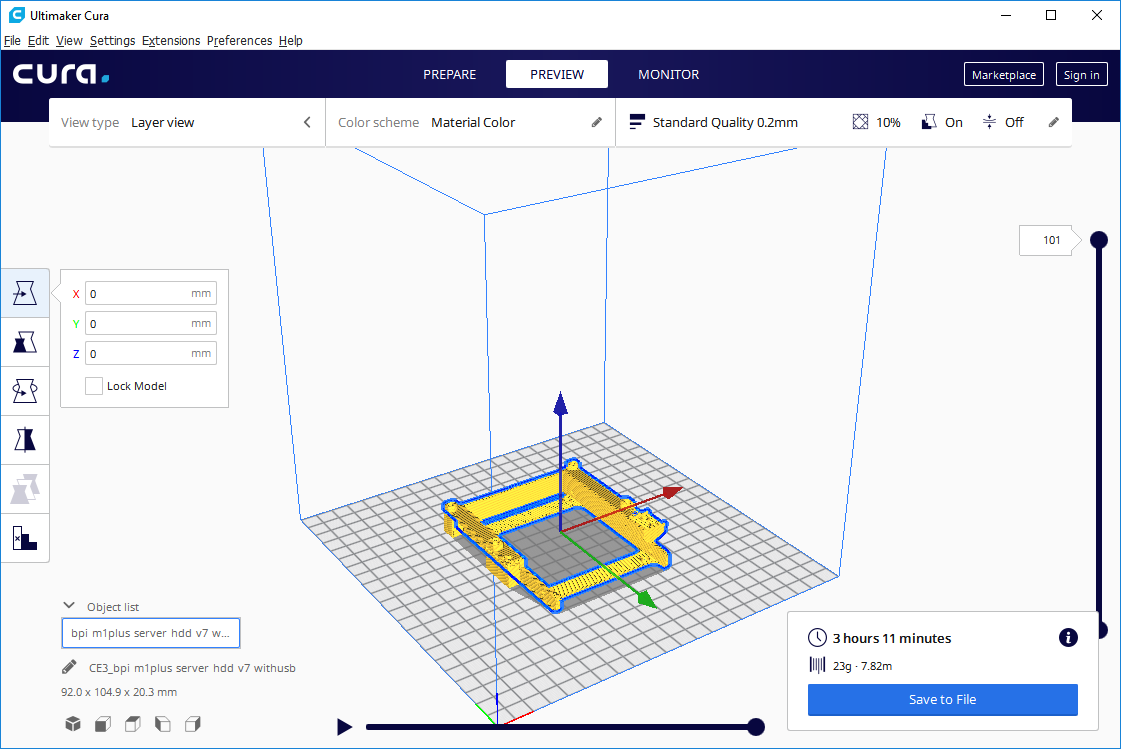
Interior - 23g, 3h 11m:

This item is the only one that requires support.
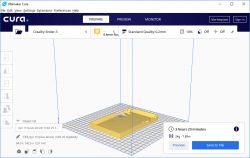
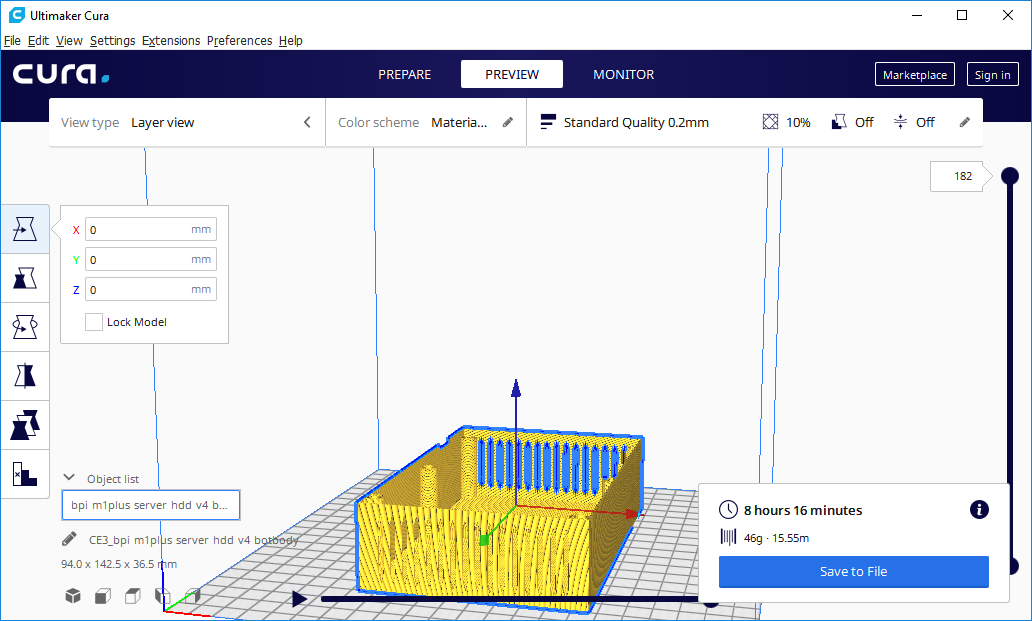
Base - 46g, 8h 16m:
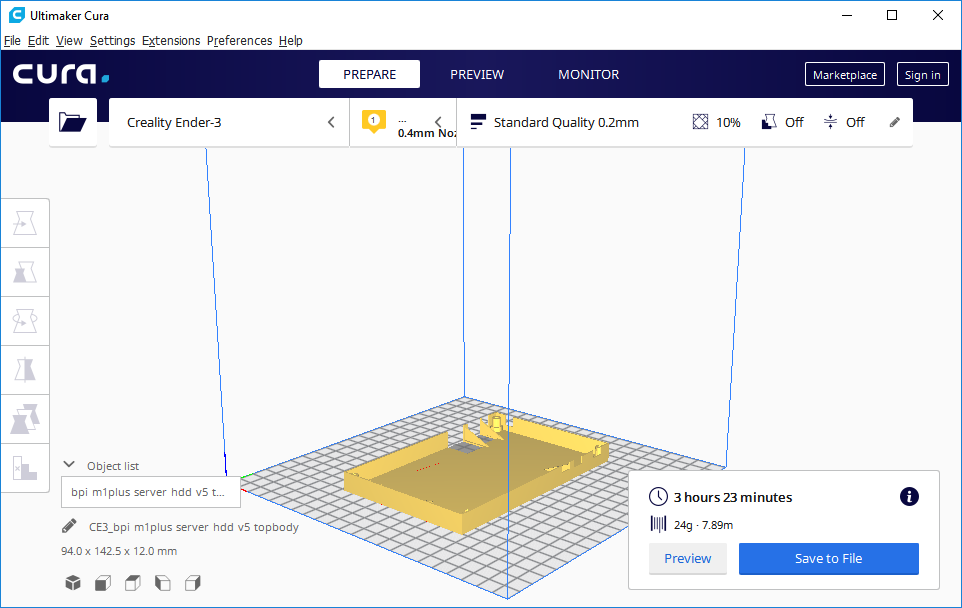
Cover - 24g, 3h 23m:
Calculating (0.023+0.046+0.024)*60 PLN = 5.58 PLN , just under 6 PLN in filament.
Plus, of course, the electricity, four long screws with nuts and two smaller ones.
And then there's the USB breakout board used to bring the power cable out to the case. One piece of it from China costs about 0.25 PLN.
That is, I can say that such an enclosure costs a total of about 10 PLN.
What could be done better?
The case meets all my objectives, but it could still be improved. You could:
- bring the HDMI connector outside (as it is now not available)
- reduce the size of the case (by replacing the SATA cable with a shorter one; but the cost of the SATA cable would probably be half of the case cost or more)
- bring the connector from the UART outside
- you could consider moving the airflow holes in the case e.g. above the Banana Pi board itself, which heats up, but I don't see the need for that
Attachment
Below I've included a .zip package in which there is a .blend file of the final version of my enclosure and three STLe of its individual parts:
bpi-m1plus...hdd-v7.zip (312.2 kB)You must be logged in to download this attachment.
Separately, I give the associated materials on which I relied:
Nanoxia 2....nt (1).zip (345.78 kB)You must be logged in to download this attachment.
Banana PI ...mizabl.zip (20.6 kB)You must be logged in to download this attachment.
Summary
I am very satisfied with the case presented here. I'm sure I'll be using it for a long time, the server itself from here goes 24 hours a day at my place (and that's how much it's supposed to go - by the way, it's energy efficient, drawing up to 3W from the mains, and on top of that it's silent thanks to the use of an SSD). The chassis itself could be a little smaller if I had a shorter SATA cable to hand, but I don't see this as a problem. The server will eventually stand in such a place that an extra couple of cm in thickness won't make any difference.
The cost of the case (less than 10PLN) is also very encouraging. I am impressed by how much 3D printing allows.
If anyone would also like to make such an enclosure, I have provided everything needed in the attachments.


Comments
Nice server. You'd better print the enclosure from PETG or ABS right away, because PLA is very weak where you have temeratures above 30-40C and probably sometimes it will be like that. It will soften and... [Read more]
I wonder what temperatures OMV shows in SMART, and on the processor core, because with this pyrometer it varies. I have a similar case only that, to increase the distance between the disk and the board... [Read more]
Here you have a screenshot of the SMART: https://obrazki.elektroda.pl/8613758600_1601036759_thumb.jpg I'll check in a while to see if there are any marks on the chassis from overheating, but I... [Read more]
What vents there were: https://www.thingiverse.com/thing:2768875 Before drilling it was reaching 57C, after enlarging and drilling 45 max. https://obrazki.elektroda.pl/5327003800_1601208809_thumb.jpg... [Read more]