SMART06B firmware change - how to connect an electric kettle with Wi-Fi to Home Assistant?
 .
.
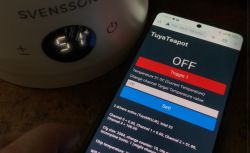
The Svensson SMART06B is a remote-controlled electric kettle compatible with the Tuya app. It offers control over temperature and heating time. Here I will show how its firmware can be changed to make it compatible with Home Assistant. This will also result in it being cut off from the cloud, i.e. we will gain privacy and security.
In a previous topic I showed this kettle with the manufacturer's app. I invite you to take a look: Why Wi-Fi connectivity in an electric kettle? Svensson Tuya SMART06B test .
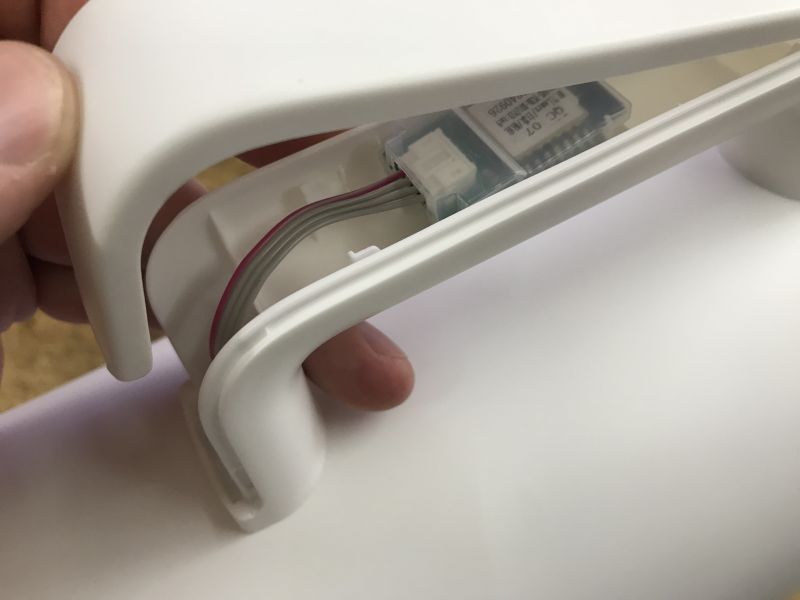
The WBR3 Wi-Fi module is hidden in the handle:
 .
.
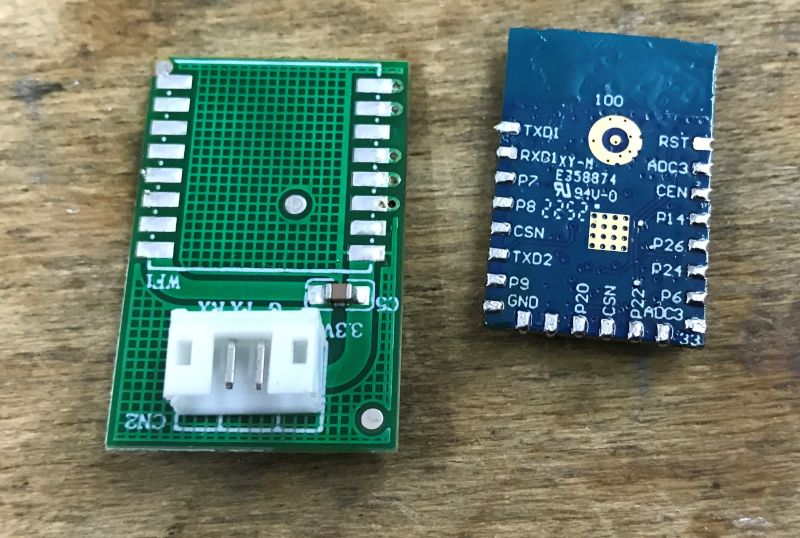
It needs to be unsoldered from the base, as the programming pads are on its underside:
 .
.
Programming by topic: WBR2, WBR3, WBRU, W701-VA2-CG pinout, datasheet, flashing for Home Assistant .
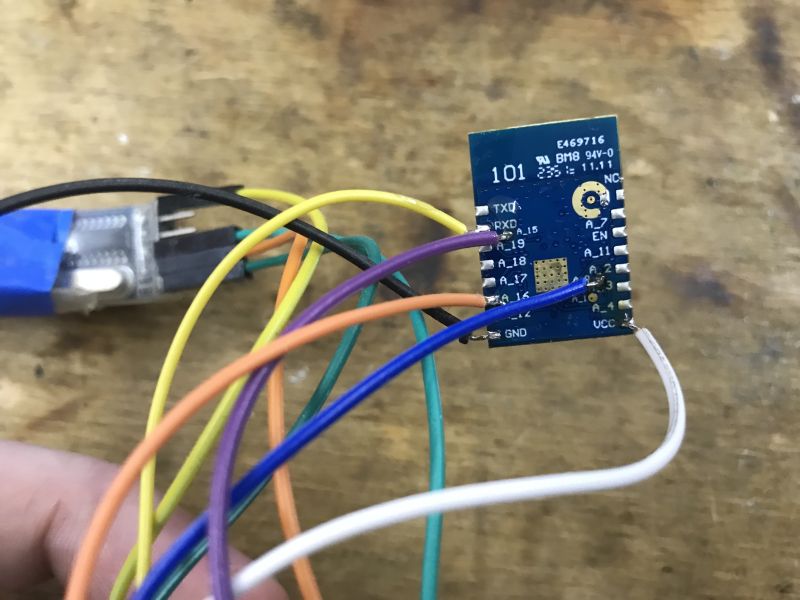
Upload the OBK - even if there is a different Wi-Fi module inside, everything should already be supported: https://github.com/openshwprojects/OpenBK7231T_App
 .
.
The whole thing of course needs to be properly powered - I use an external 3.3V LDO:
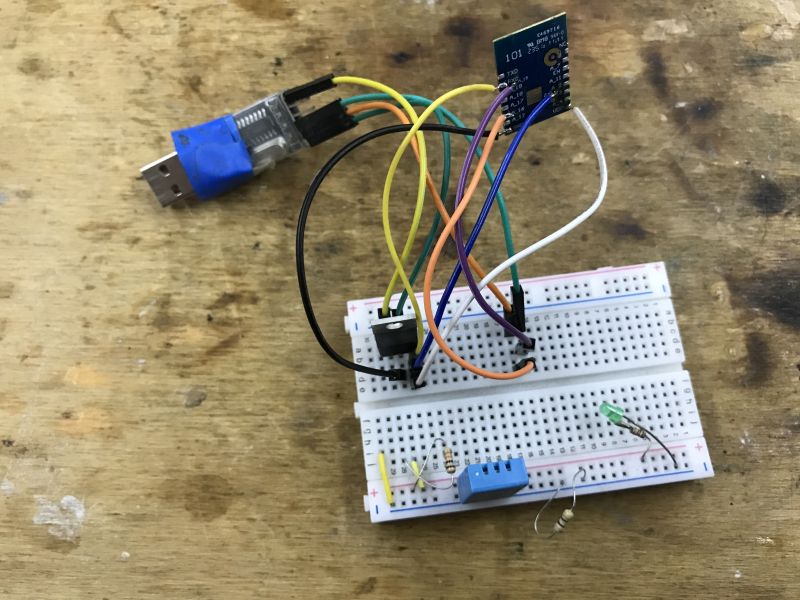 .
.
NOTE - for convenience the further part is realised on my board with CB3S, but programmatically it comes out the same - both modules are supported by OBK.
Now you can get into the configuration. The device inside is based on an additional MCU, you should familiarise yourself with the subject:
TuyaMCU protocol - communication between microcontroller and WiFi module .
We now follow the TuyaMCU guide:
TuyaMCU flashing, installation and configuration guide - configure dpID for Home Assistant .
I personally took the method of "guessing" the dpID after flashing, so I'll describe it here. .
I started by enabling the variable save flags and a simple autoexec.bat starting the driver:
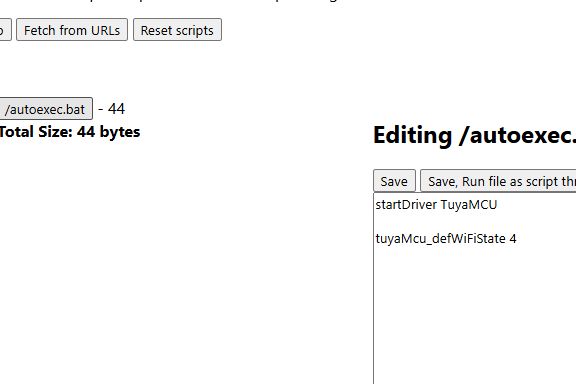
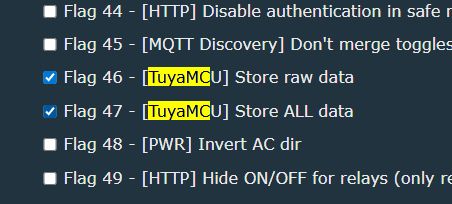 .
.
After the reboot, the packets have already started to appear in the log:
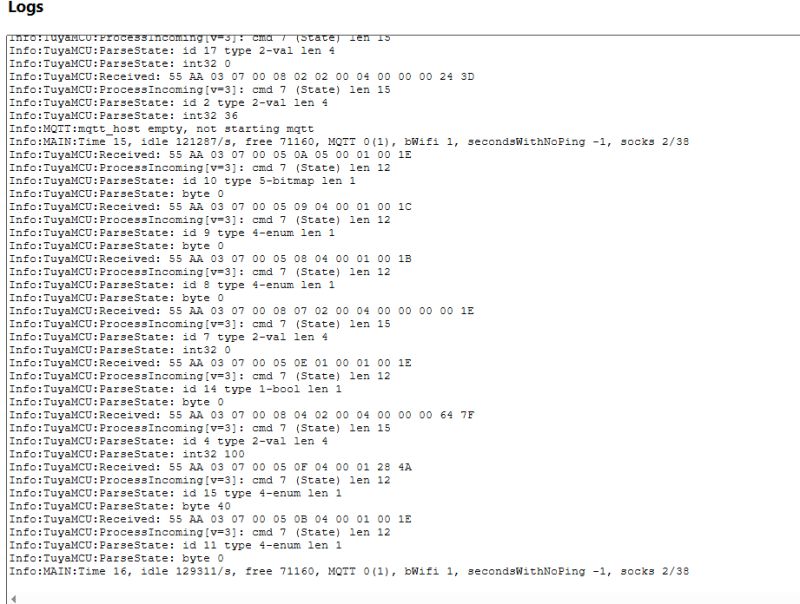 .
.
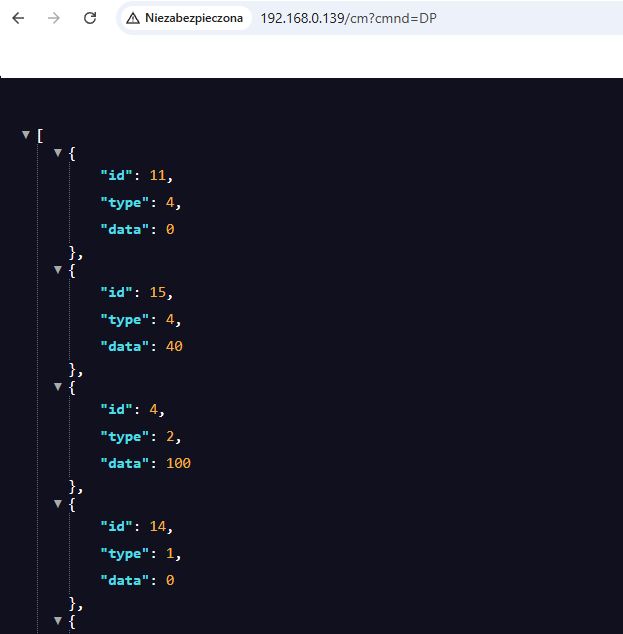
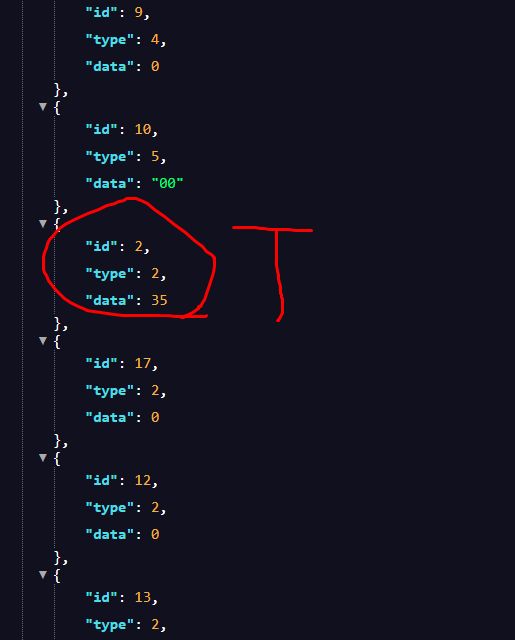
DP command correctly returned their values in JSON format:
 .
.
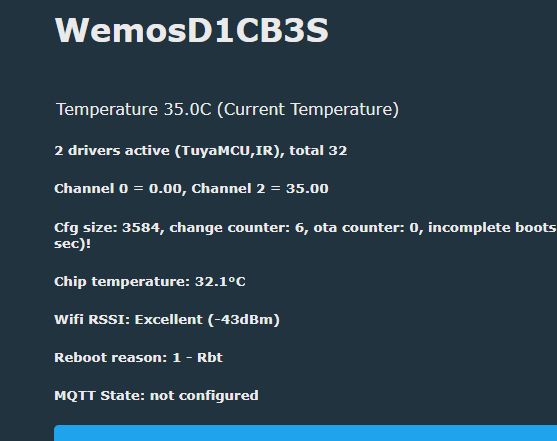
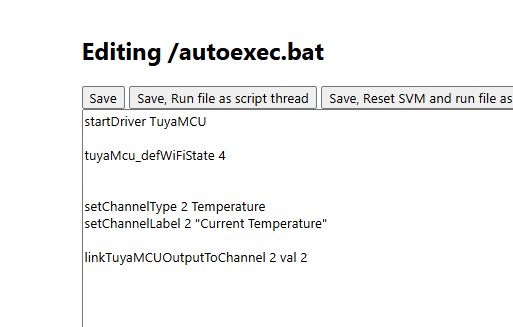
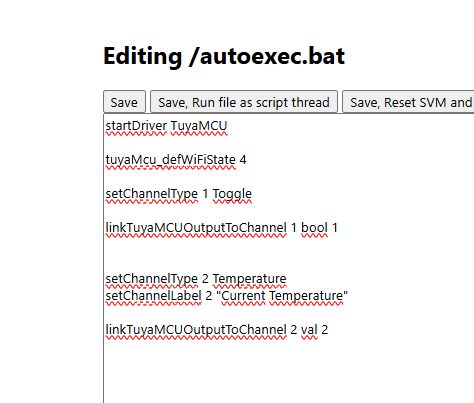
I managed to find the current temperature there (read-only) - this is the same value as on the screen.
I therefore entered its mapping into the configuration:
 .
.
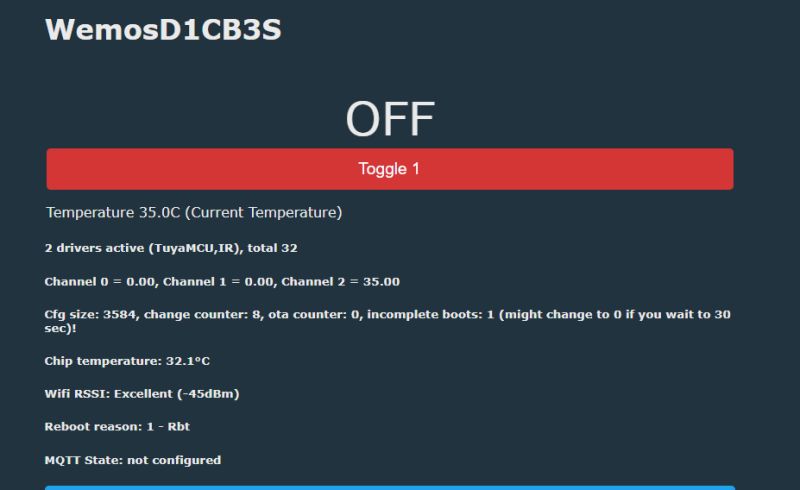
In a similar way I found the relay state - this also gives us control, it is not a read-only variable. The type of the variable is boolean - zero or one.
 .
.
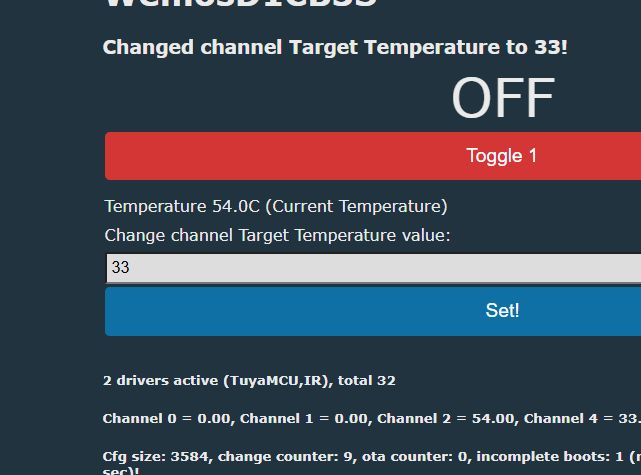
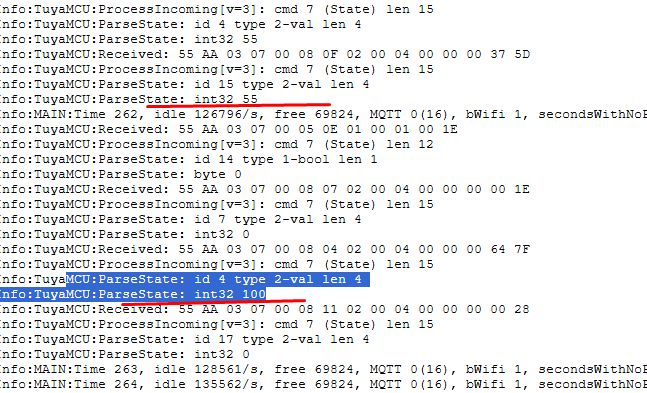
I found the target temperature in the same way - for it I chose the form of the entry field.
 .
.
The whole thing appears to be working:
Final autoexec.bat:
startDriver TuyaMCU

tuyaMcu_defWiFiState 4

setChannelType 1 Toggle

linkTuyaMCUOutputToChannel 1 bool 1


setChannelType 2 Temperature
setChannelLabel 2 "Current Temperature"

linkTuyaMCUOutputToChannel 2 val 2


setChannelType 4 TextField
setChannelLabel 4 "Target Temperature"

linkTuyaMCUOutputToChannel 4 val 4
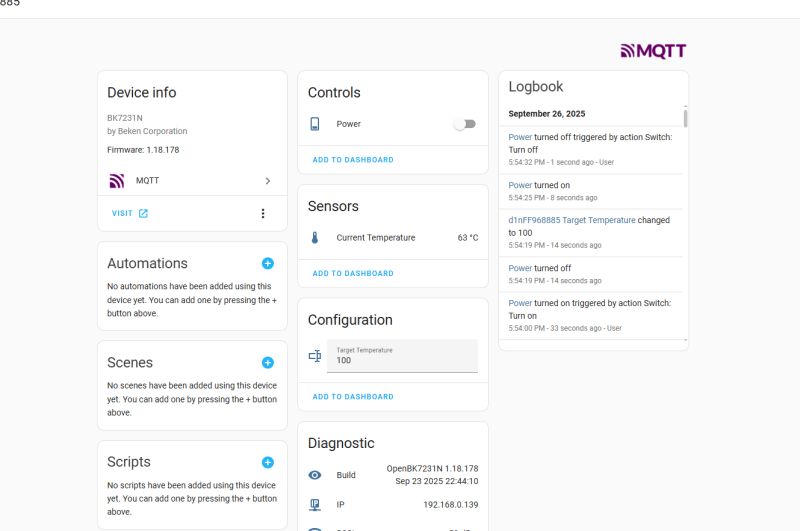
You can now pair with the Home Assistant:
HA panel:
 .
.
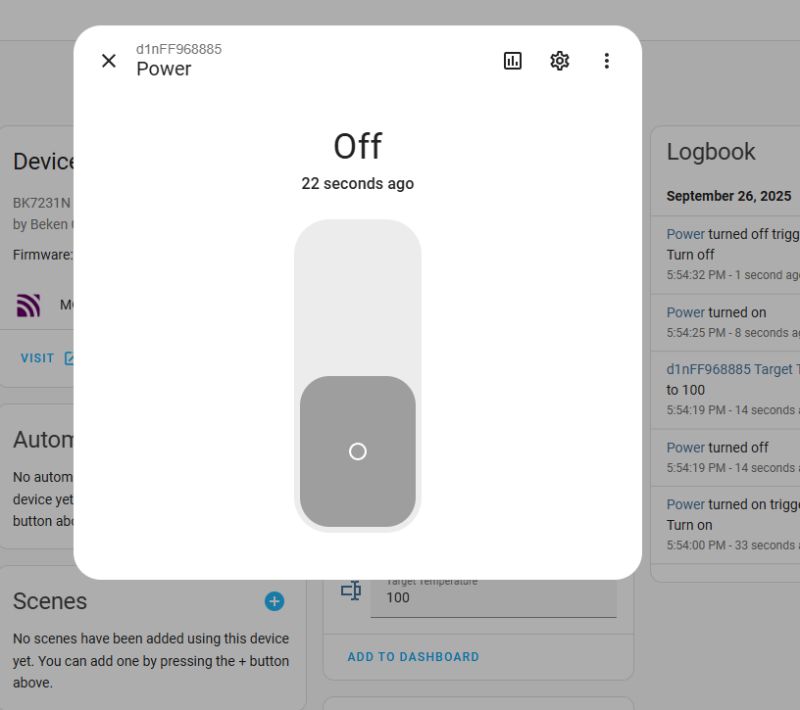
Relay control available:
 .
.
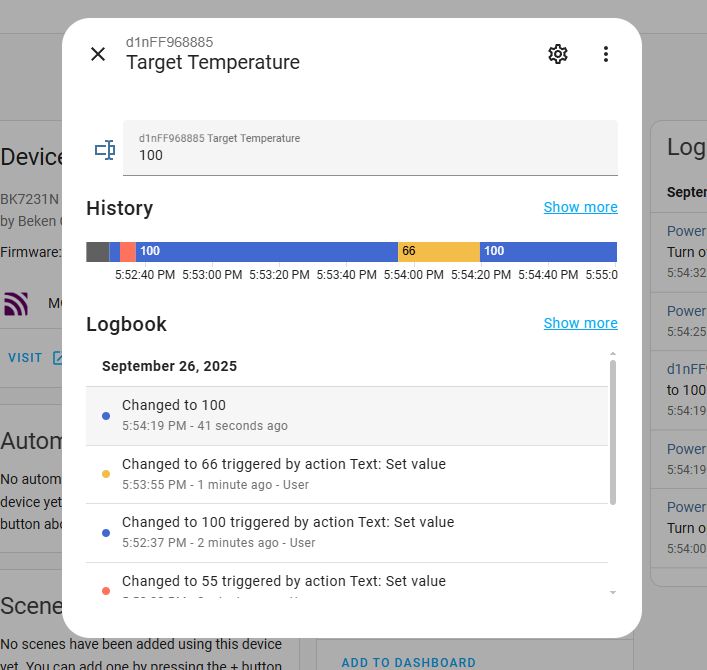
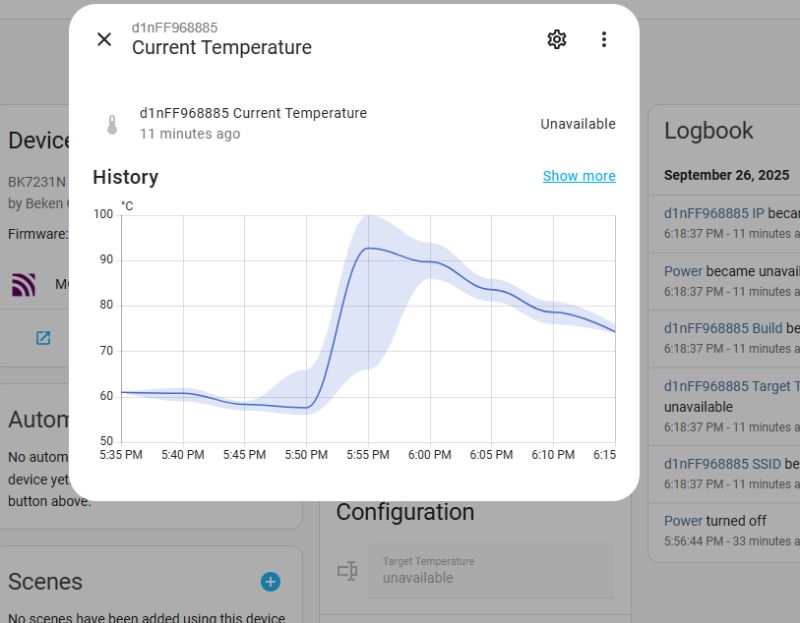
We also have a temperature history (current and target):
 .
.
Basically all the basic functions work - and now the more advanced ones can be realised on automations with Home Assistant.
Summing up , it was a pairing of the electric kettle with Home Assistant. I was able to run all its basic functions here. The more advanced stuff sewn into the TuyaMCU dpID I didn't decode, because I think that, for example, such temperature maintenance in our absence can already be realised in the HA itself.
The biggest difficulty was the WBR3 soldering - unfortunately this module has programming pads on the bottom, so hot air is needed. It would be better to get a version with CB3S or TYWE3S etc, then programming is easier.
Do you see a use for this type of gadget, or was it just educational fun without being reflected in practice though? .
Whatever the intended use, the devices now operate 100% locally, no cloud, no manufacturer servers.


Comments
But I am old. In my life I never thought someone would break into a kettle. ;) On the one hand, I support - if you have a smart device, it's already in a digestible version, compatible with one system... [Read more]