Welcome!
This post is an advice on how to clean the nozzles of the Jura ENA 5 at home, it saves PLN 400 for a maintenance service with an authorized service.
My coffee machine - 8 years old - gradually clogged, i.e. the nozzles, first the left, then less and less coffee flowed from the right. I was browsing the net - only complicated tips and diagrams, inconclusive. Meanwhile, the thing is very simple and does not require any service keys or removing the housing.
You will need a paper clip (almost completely straightened, it must be a long wire, not necessarily straight) and a chopstick (as for Asian food).
1. It's best to move the coffee maker close to the sink - there will be a lot of dirt.
2. Pull out the tray etc.
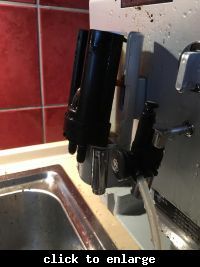
3. Pull off the spout casing: that is, firmly squeeze the two side places with small projections and gently but firmly pull it outwards and then upwards.
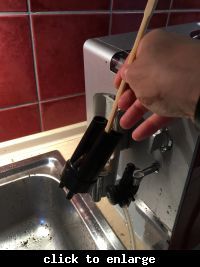
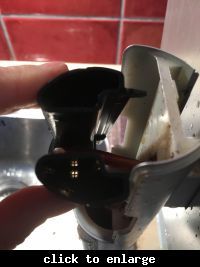
4. Pull out the main black, plastic part consisting of two chimneys connected to the tube through which coffee flows from the brewing unit. Attention, the chimneys will be cluttered with coffee residues, you need to dig them out mechanically from above with a chopstick, then from the bottom with a paperclip, rinse with hot water by pouring it from above into both chimneys. Repeat these steps until you can see clean holes with a cross in the center when looking down into both chimneys, as shown in the photos.
5. Clean everything up, put it back together, and the coffee maker is like new.
6. PLN 400 is left in the pocket - we take the family to the cinema for half, and we donate the other half to refugees from Syria.
Greetings!
at the click


