The exchange ended with success and underneath I put instructions which I did not have because I could not find any and maybe be useful to someone
1. set the wheels straight ahead and remove the ignition key from the ignition switch to make the steering wheel lock (you know why the cushion tape)
2. unscrew the nut on the 13th key on the pedals from the steering column, pull out the bolt and slide off the steering column
3. take out the air filter housing and unclip the two blue and black electric bands, these are the wires reaching the mangle and release the wires from the bands (they should hang loosely)
4.When it has a column lift it is the car to take off the wheels, unscrew the steering tips from the switches
5. under the so-called trolley, unscrew two nuts I do not remember but probably 19 wrench the only fixing of the maglok to the trolley
6 unscrew the trolley, there are 4 screws on the torks, probably 16 (two rear ones without any problems in my car, but the front one has broken off because the very long thread is rusty and access to it is a hole in the body in which only the 22-ring wrench comes in.)
7. unscrew the silencer to lower the trolley lower and unscrew the lower leg connecting the motor with the trolley
8, leave the cart enough to pull out the magenches
9, remove the rubber covers and unscrew the steering rods from the maglownica without unscrewing the terminals
10 It is very important to mark the positions on the spindle on which the steering column is mounted, because it is the TORSO SENSOR and how it will be changed without a computer it will not work
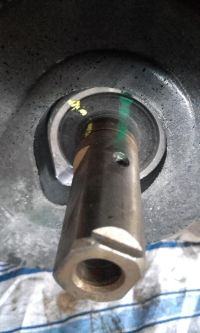
11. measure the caliper which is the position of the slat in the center of the magnet against the housing (I recommend to write a very important one)
12.Unscrew the setscrew which is from adjusting the clearance between the bar and the shaft (head) and remove the spring
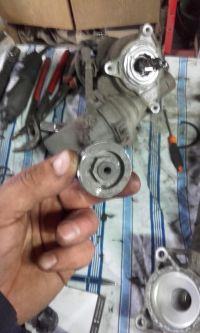
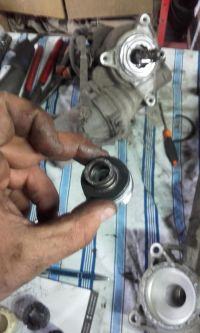
13 unscrew the heads three torx screws and carefully pull out gently tap the hammer and come out
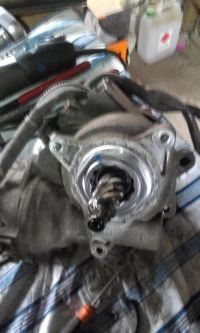
14 remove the toothed rack from the center of the magnet
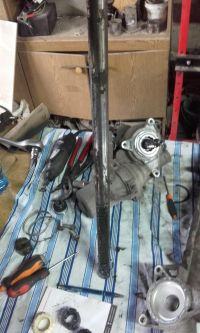
15 carefully remove the plastic white (yellow such a little) sleeves and then the black I broke it using a toothed bar will break a little because it is snaps but we have a new one
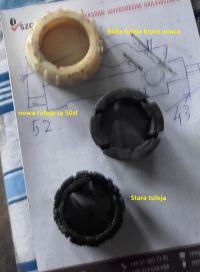
16 wash everything nicely and fold .... the new sleeve is completely different but fits only you need to lubricate everything
17 to put on a new bushing instead of an old one, it must be fastened because the rail will not come in
18 put a strip on one side has such podebra and this side you have to put in order not to damage the new sleeve
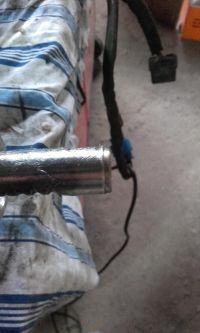
and see what the slip is doing by pressing the toothed bar to the roller in the head
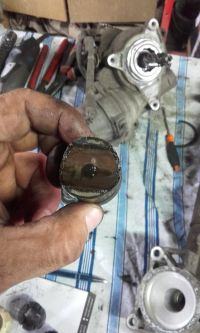
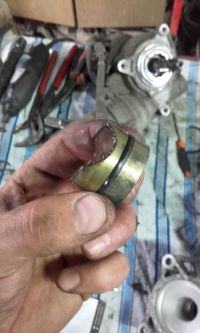
19 the rest consists in the reverse order
20 at the time of inserting the head need to hit the right tooth on the strip and measure with a caliper if there is the same measurement as before undressing and whether the signs overlap Important how everything will be like before replacing the bushing after mounting the maglownik fires the car and everything dray without a problem and without setting the swivel account sensor.
You can drive to check for convergence
This is what the old sleeve looks like
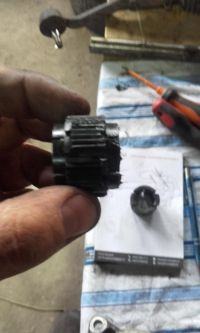
It looks like thatnew sleeve
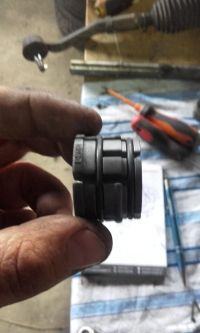
conclusions
the construction of the magnet in the Citroen C2 is simple and if someone knocks on the right side in the mangle it exchanges the sleeves and there is silence, provided that the strip was not damaged, it was faded or rusted due to the broken cover.
cost PLN 50 plus shipping and a little willingness and of course there is nothing to hurry everything to do exactly
This instruction I know is not perfect but I hope that someone will help.
Good luck


