






433 MHz radio-controlled and Wi-Fi-controlled relay module – how do I pair the remote control? Firmw
TL;DR
- The eWeLink relay module is a voltage-free 433 MHz/Wi‑Fi controller with common, normally open, and normally closed contacts, plus USB 5 V power.
- Pairing a standard 433 MHz remote means holding the RF button over 3 seconds, then pressing the remote button for 2 seconds; deleting uses 15 seconds.
- The board uses a CB3S module with BK7231N, an SRD-05VDC-SL-C relay rated 10 A at 250 VAC, and it was bought for about 70 zł.
- Teardown shows a WL520 RF receiver plus a separate RFE274DW microcontroller that stores codes and 'presses' the Wi‑Fi button pin, so RF survives flashing OpenBeken.
- The packaging claims operation up to 32 V, but the screw terminal starts at 7 V and the USB input is the standard 5 V.
Summary generated by AI based on the discussion content.
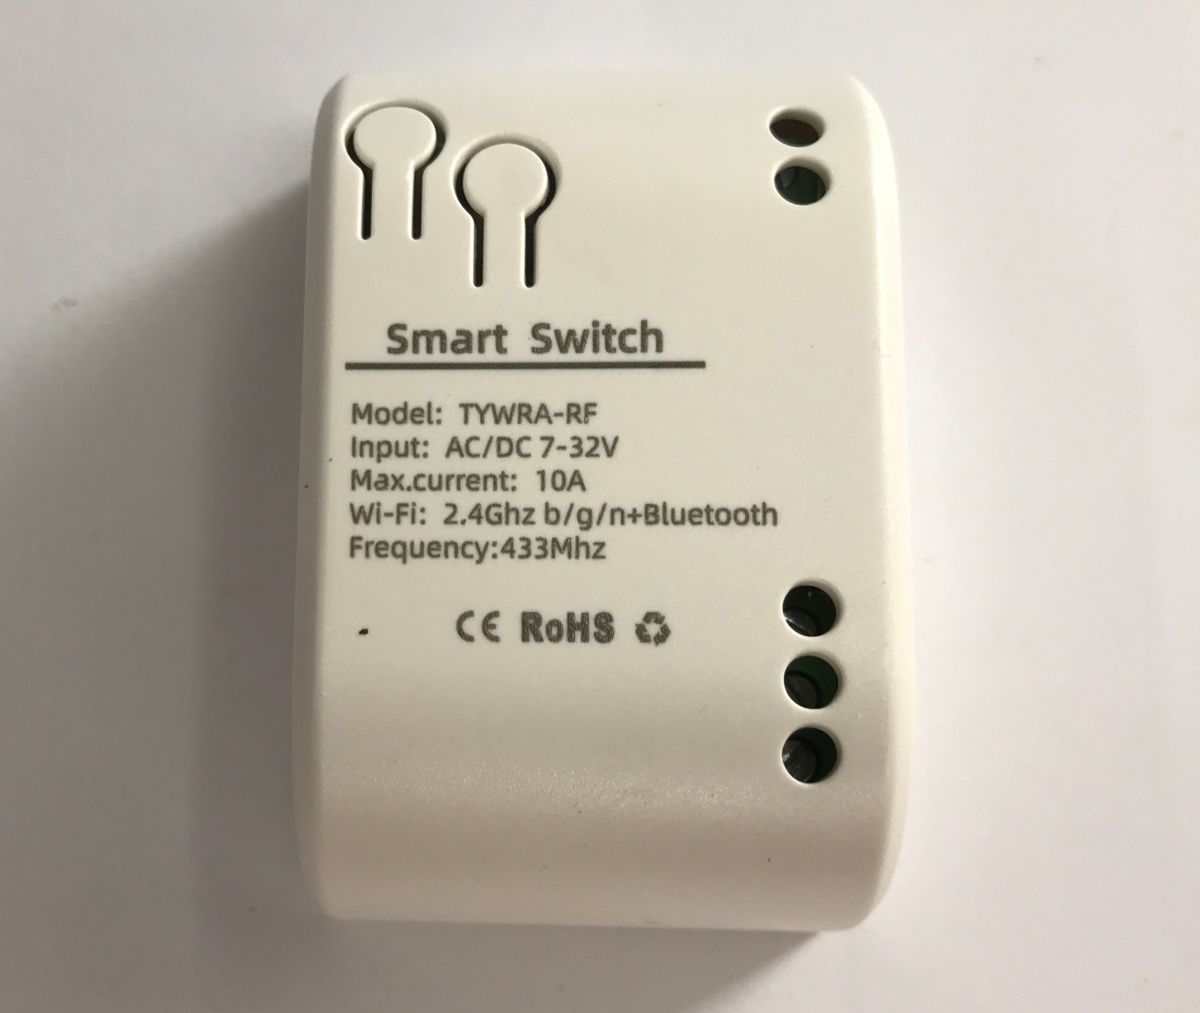
Which relay controller should I use for a 5 V safety voltage supply, with a USB connector as well? How do I pair the RF remote control with the relay module? Here I’ll be presenting a voltage-free module from eWeLink, which stands out thanks to its three terminals – a common contact, a normally open contact and a normally closed contact. I’ll show you its internal components and how to update the firmware so that it can be connected to Home Assistant.
I received the device from a reader so that I could update its firmware. I know it was bought from a Polish importer for around 70 zł. It will certainly be cheaper if purchased from China.
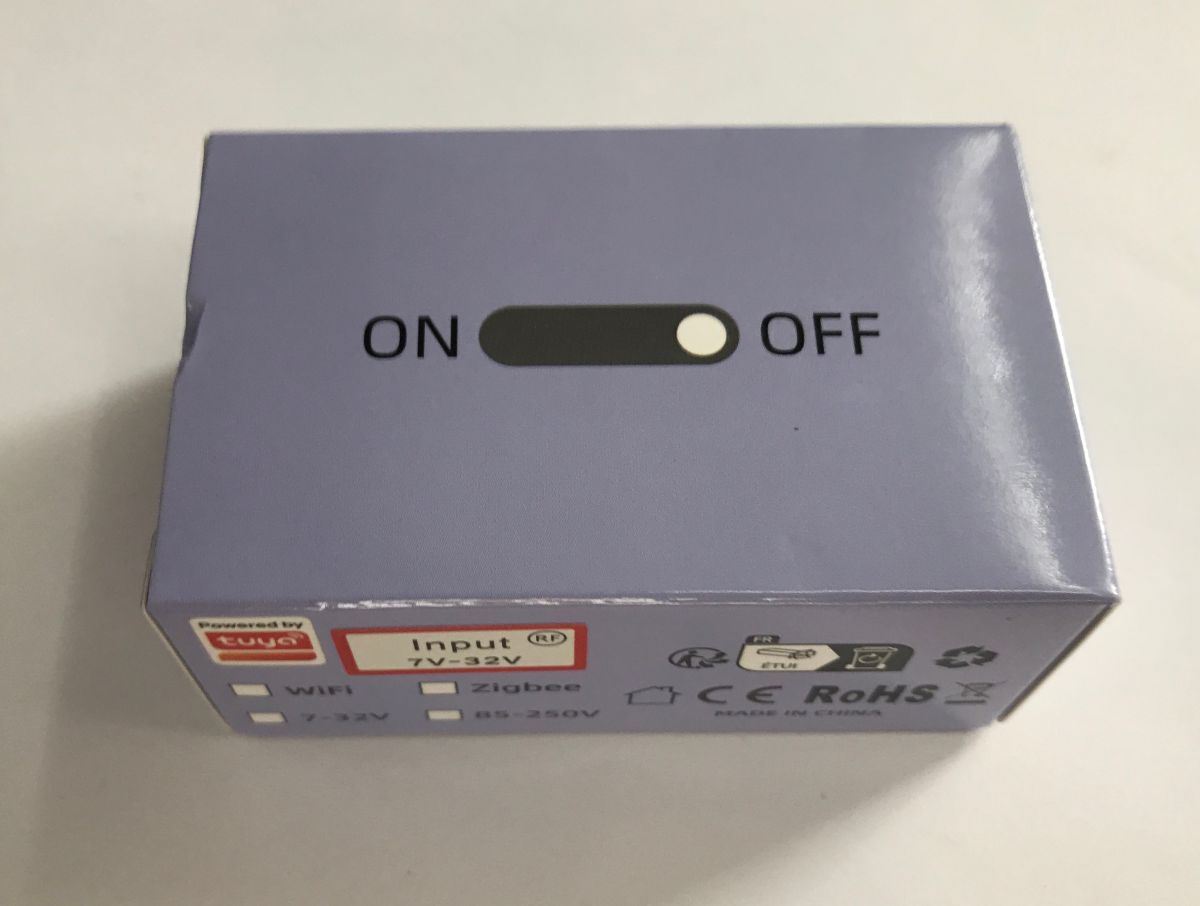
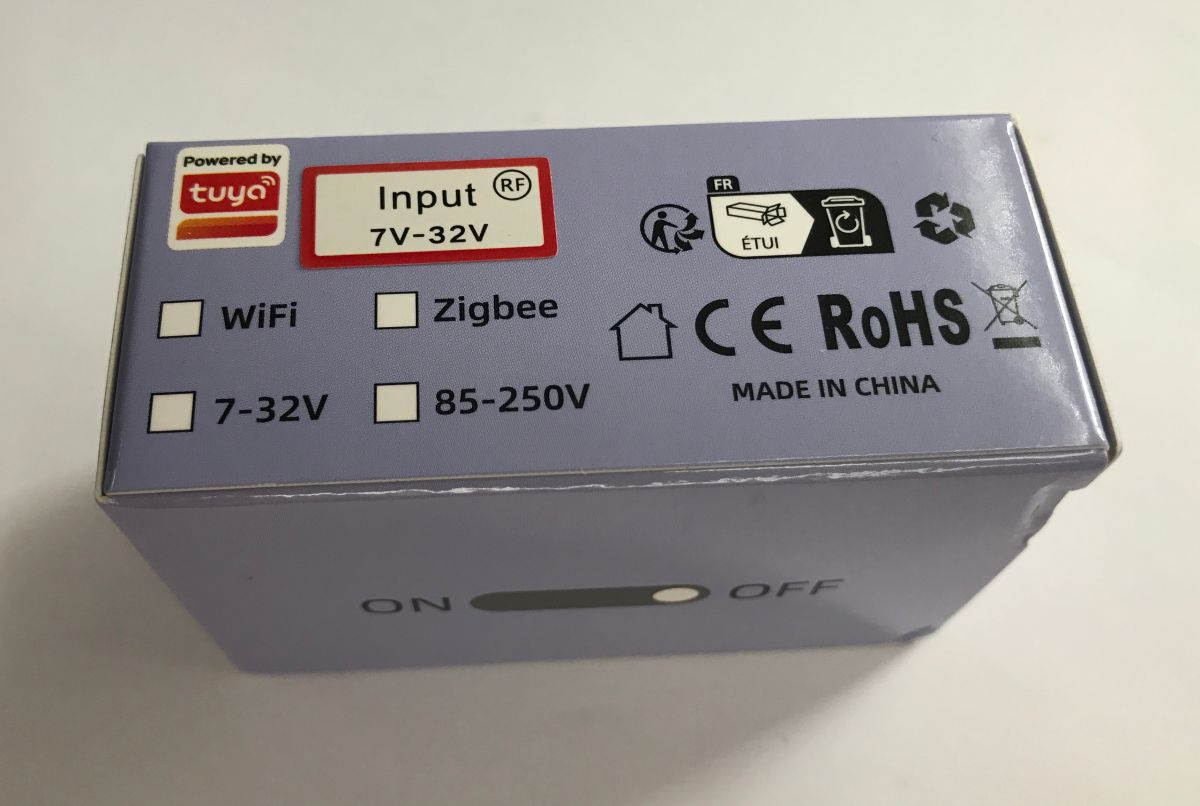
The packaging states that the device operates at a voltage of up to 32 V. The information that the operating voltage starts at 7 V refers to the screw terminal; there is also a USB option, which is the standard 5 V. Additionally, it’s clear that the same product is also available in a Zigbee version, which I won’t be covering here.
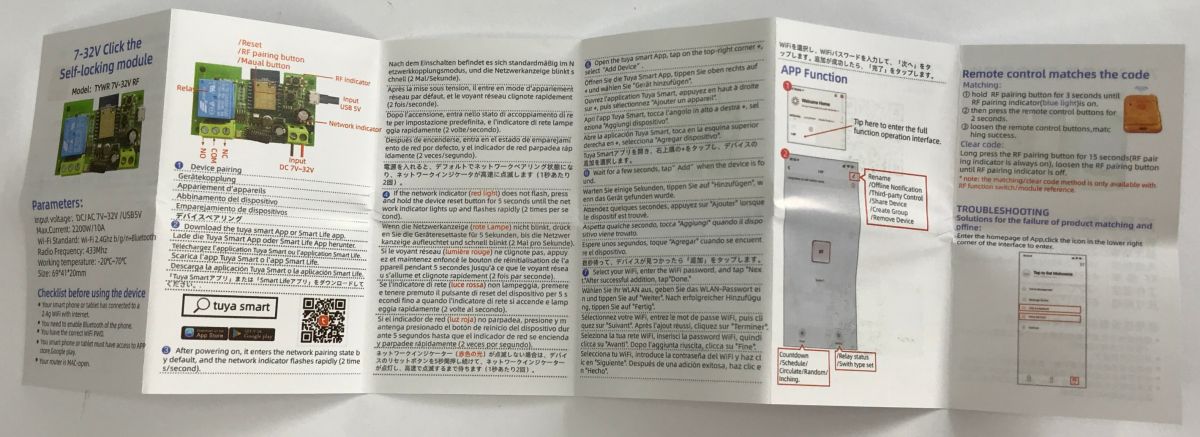
The manual explains how to pair the device with the app and also describes how to pair it with a remote control. A remote control is not included in the set, but a standard 433 MHz remote will work. Pairing works by teaching the device the remote’s code. Press the device’s RF button and hold it down for more than 3 seconds. The RF LED will start to flash. Then press the remote control button for 2 seconds, then release it. The controller will then remember that remote control and respond to it. The code can also be deleted – to do this, press and hold the pairing button for more than 15 seconds.
Everything works, and one of the conclusions that emerges from the test is that this method allows you to pair a single remote control with several devices. This is very useful and convenient.
I started by pairing it with Tuya. I often skip this step, but for a change, it’s worth showing it sometimes. You’ll need the free app, and you’ll also need to grant it access to your location and Bluetooth. Interestingly, you don’t need to create an account – you can test it without one:
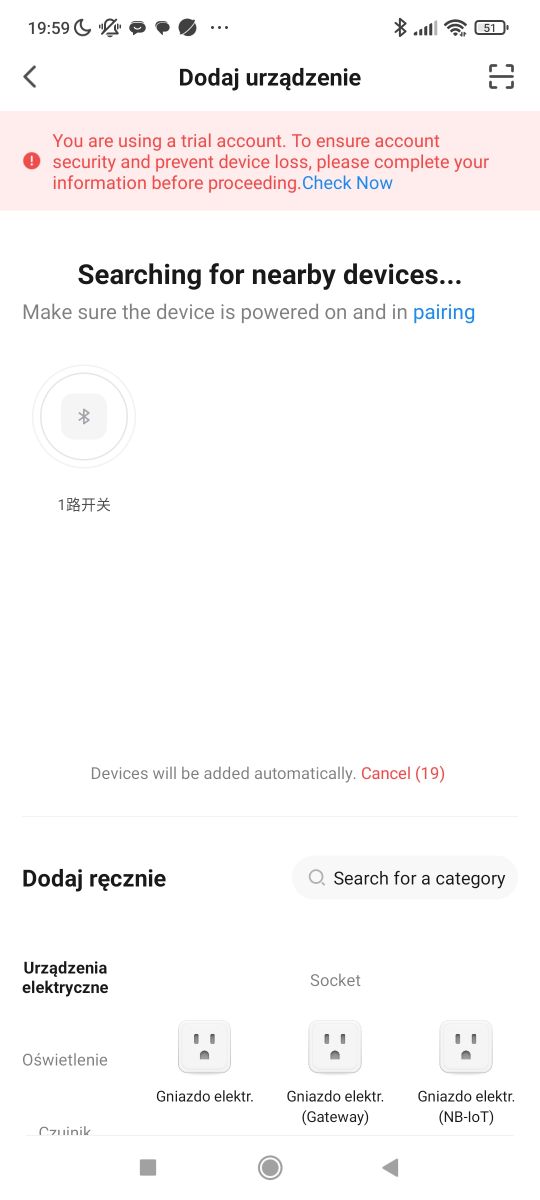
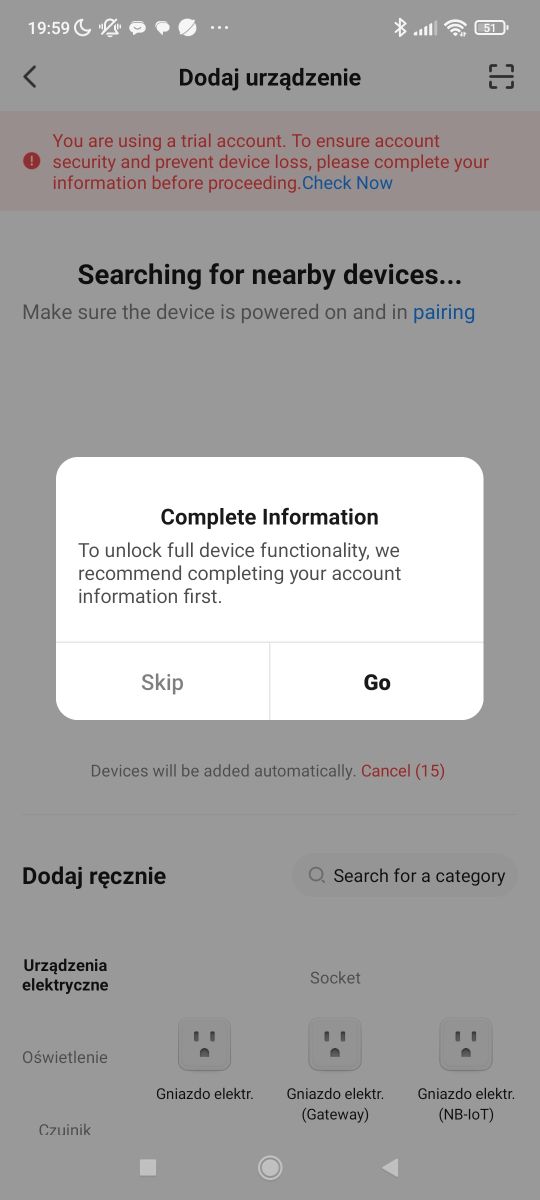

There aren’t really any major surprises. Remote control, on/off mode, timer, schedule. Notifications when the device is offline.
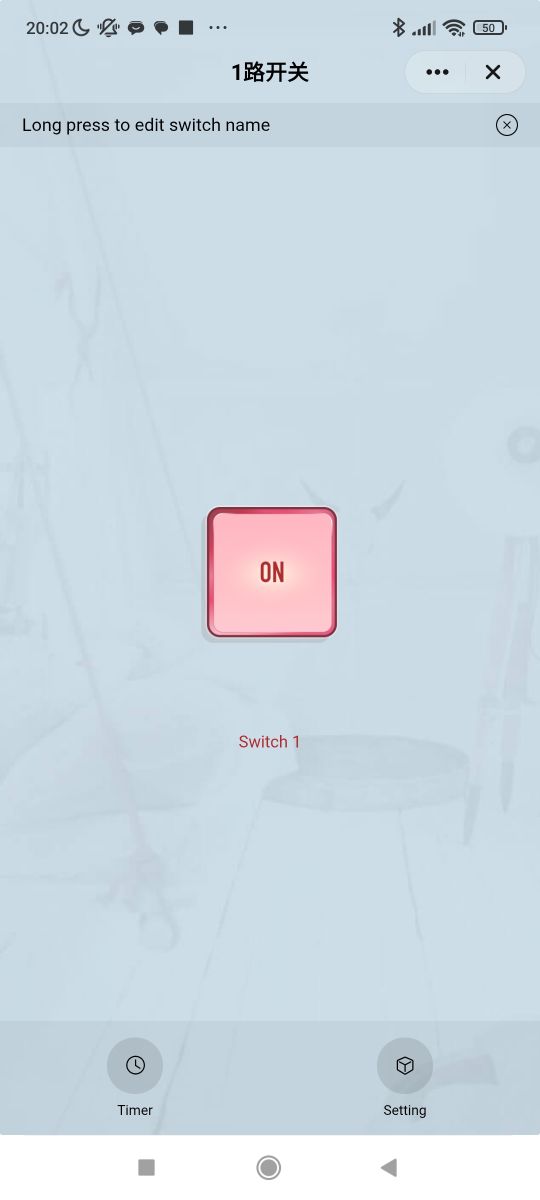
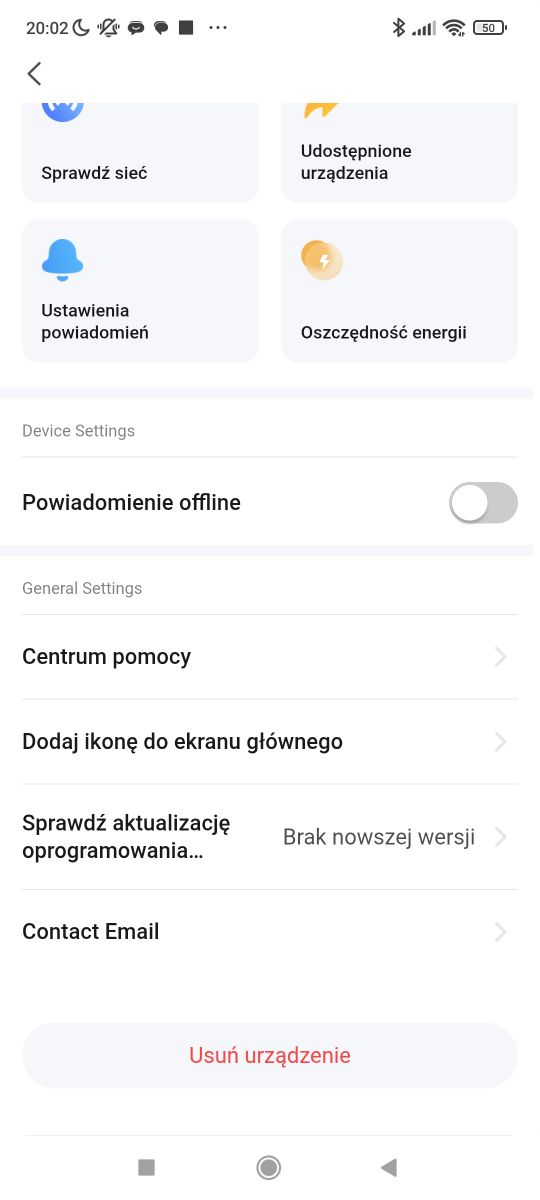
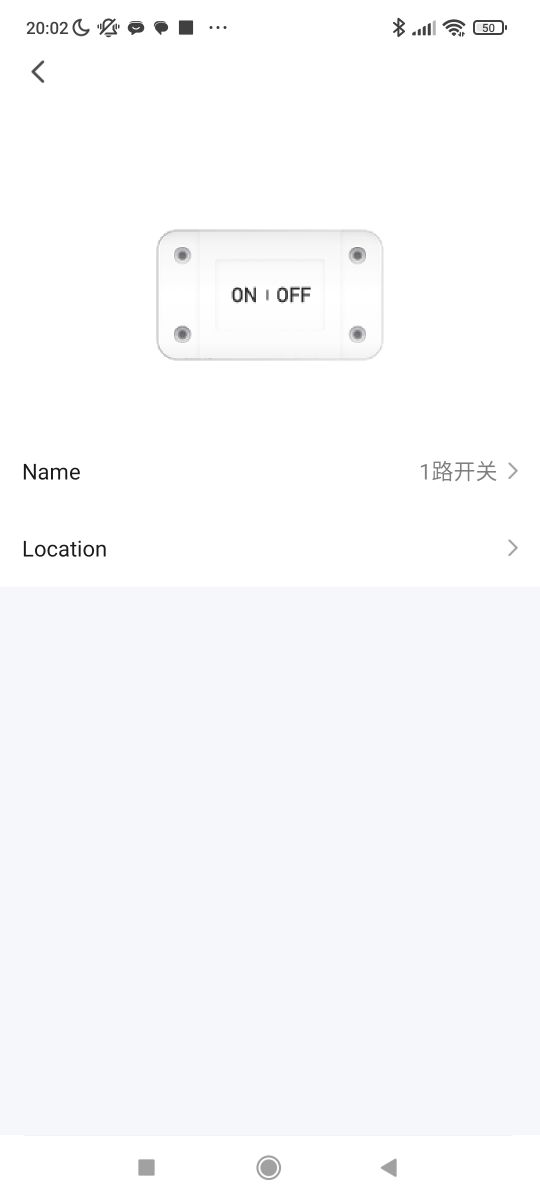
However, not everyone wants to rely on the manufacturer’s cloud service; for this reason, at the owner’s request, I uploaded OpenBeken . This also allows for flexible development and scripting, and even, for example, connecting additional sensors such as the DHT11 or DS18B20. Let’s start by removing the casing:
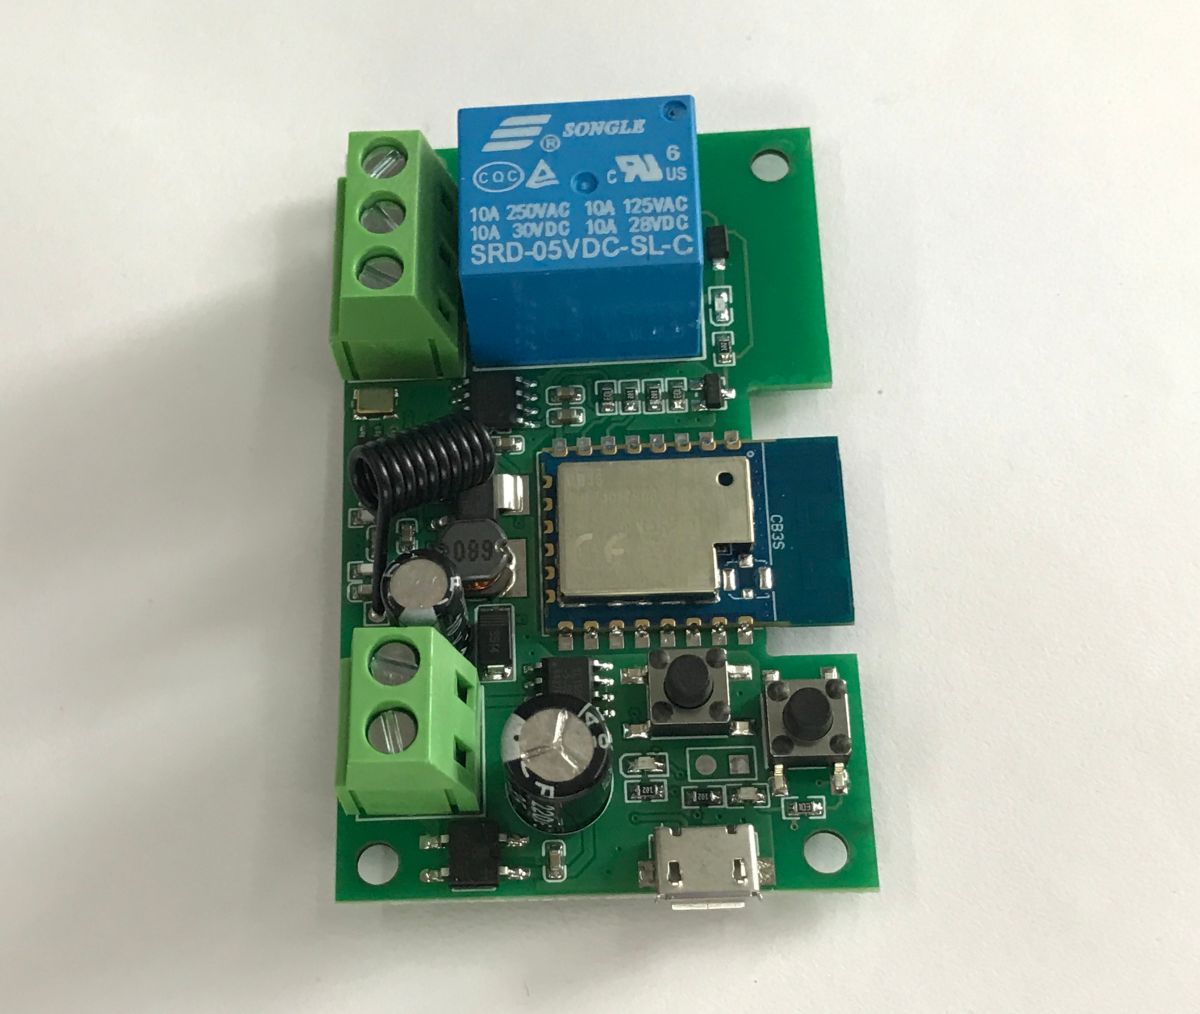
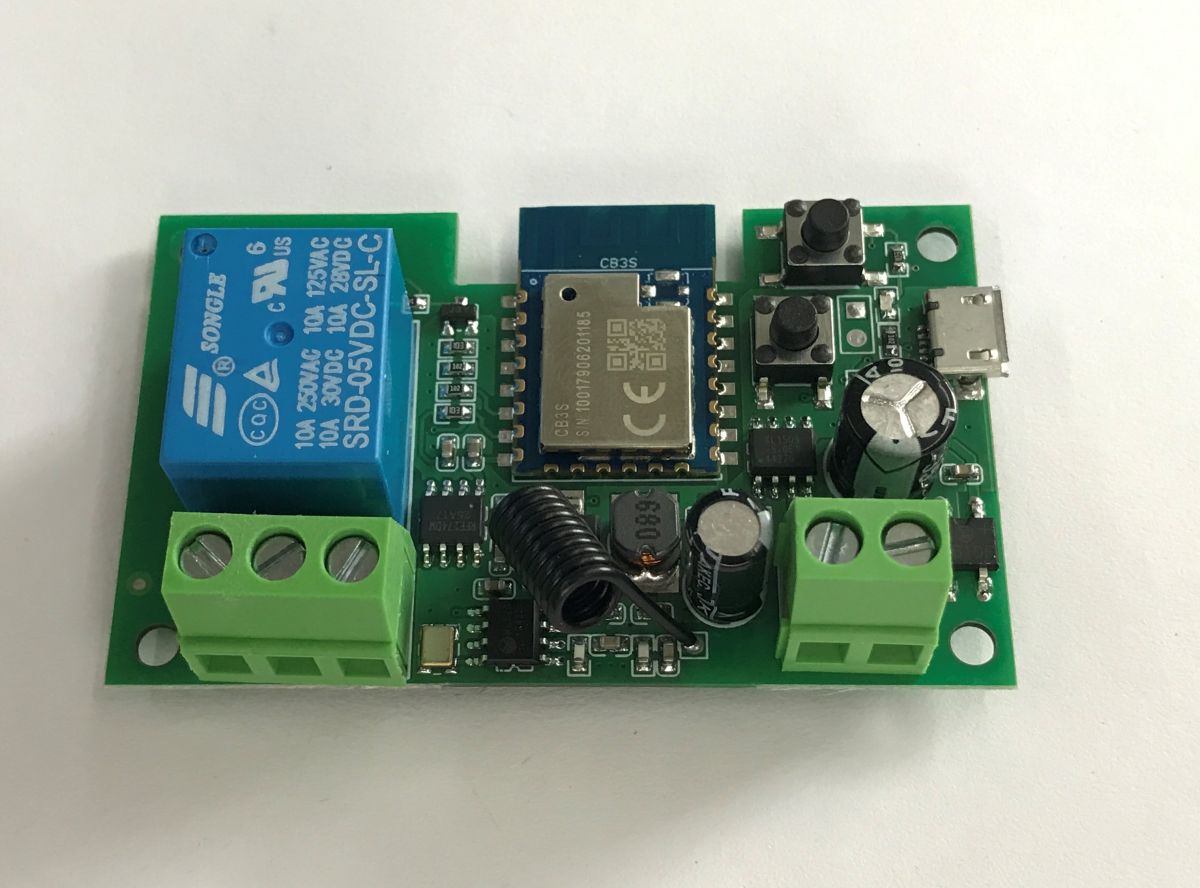
The first thing we might be interested in is the relay – what its actual specifications are. I have no way of checking the actual specifications directly, but according to the casing, this is an SRD-05VDC-SL-C, designed to operate at 10A at up to 250VAC.
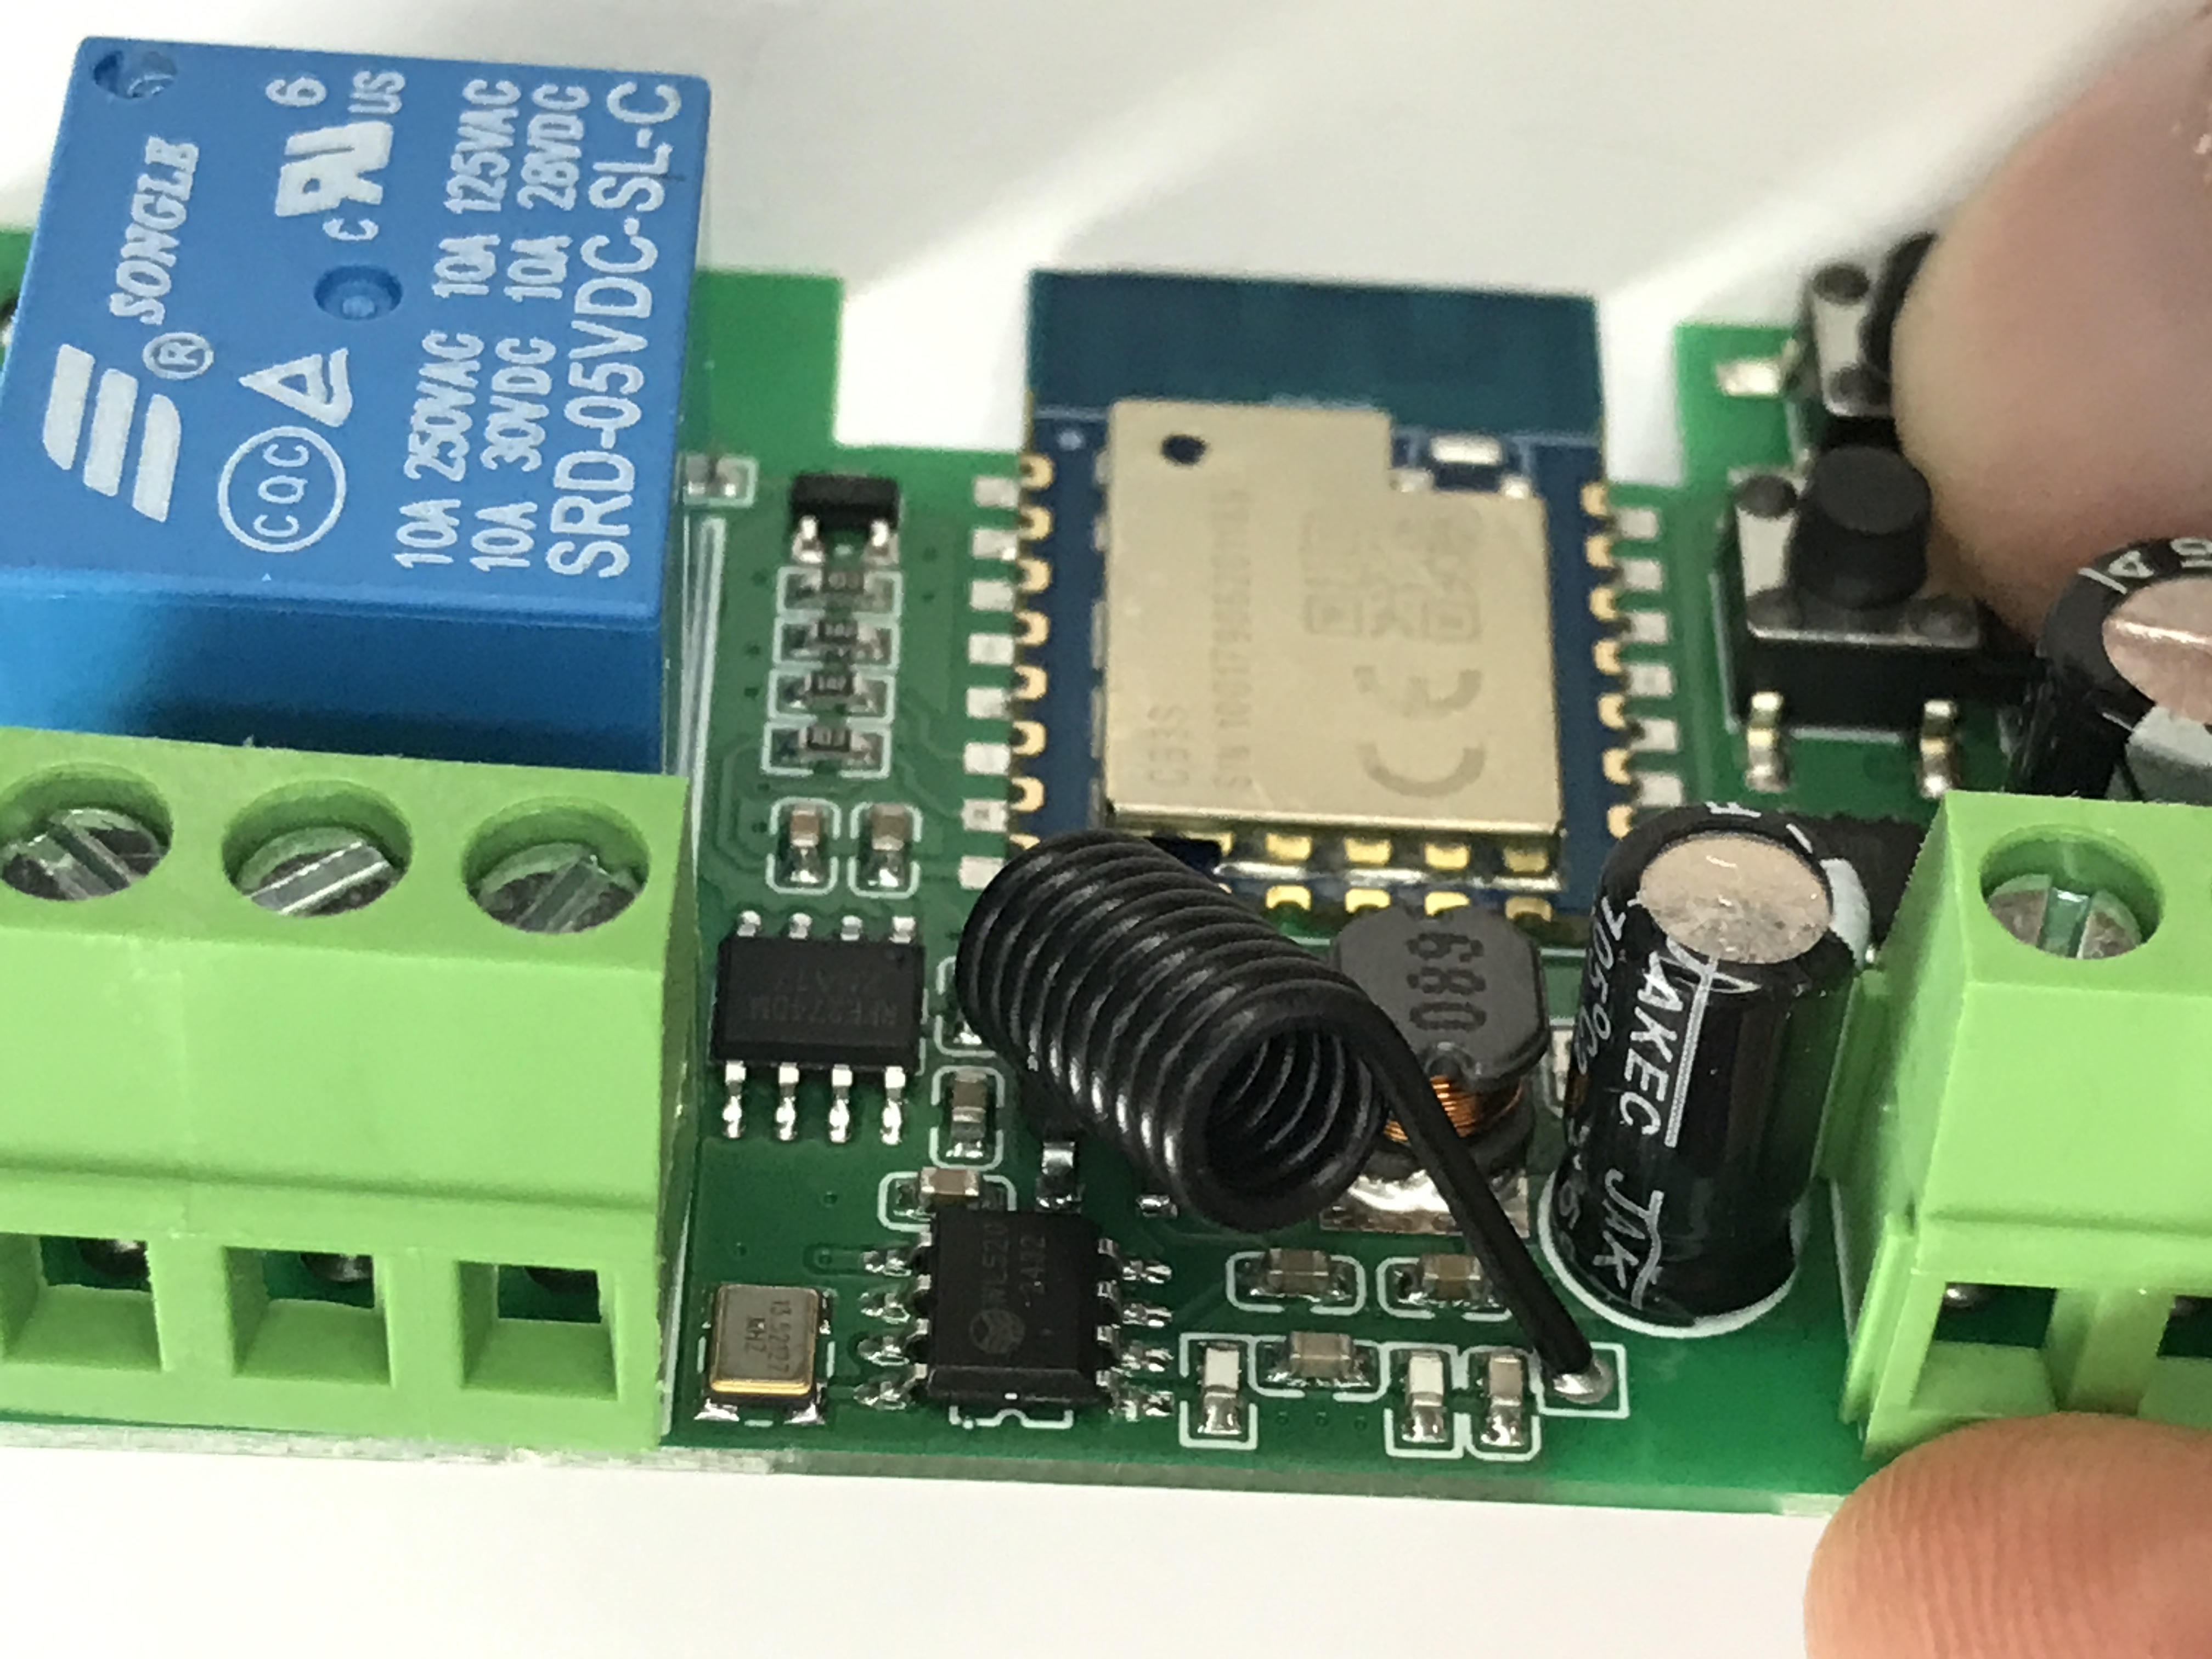
What’s more, it’s quite densely packed in here. As many as two integrated circuits? The antenna and oscillator suggest that this is the RF section.
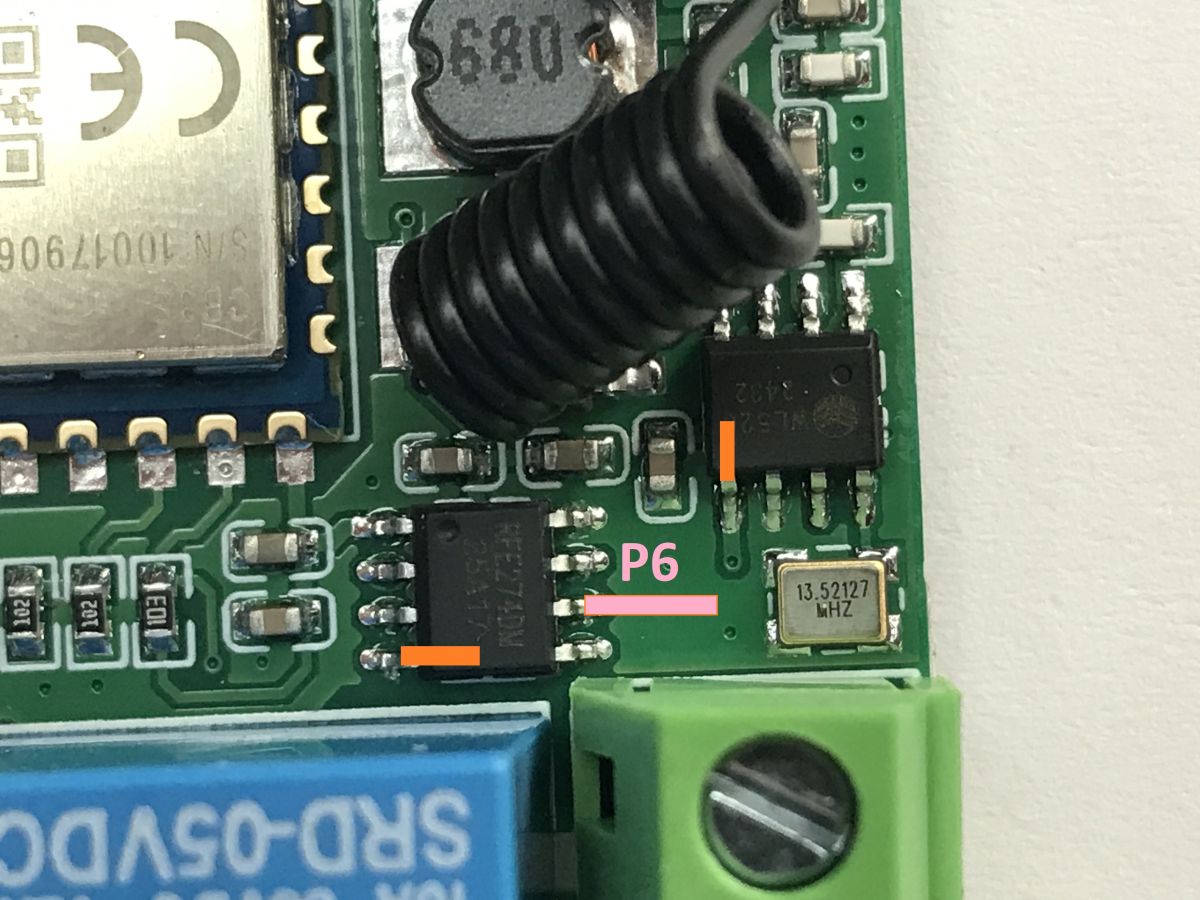
An analysis of the circuit traces shows that the chip next to the antenna is an RF receiver, the WL520, similar to the SYN480R; the second chip appears to be a microcontroller, the RFE274DW. It is connected to the same pins on the Wi-Fi module as the buttons...
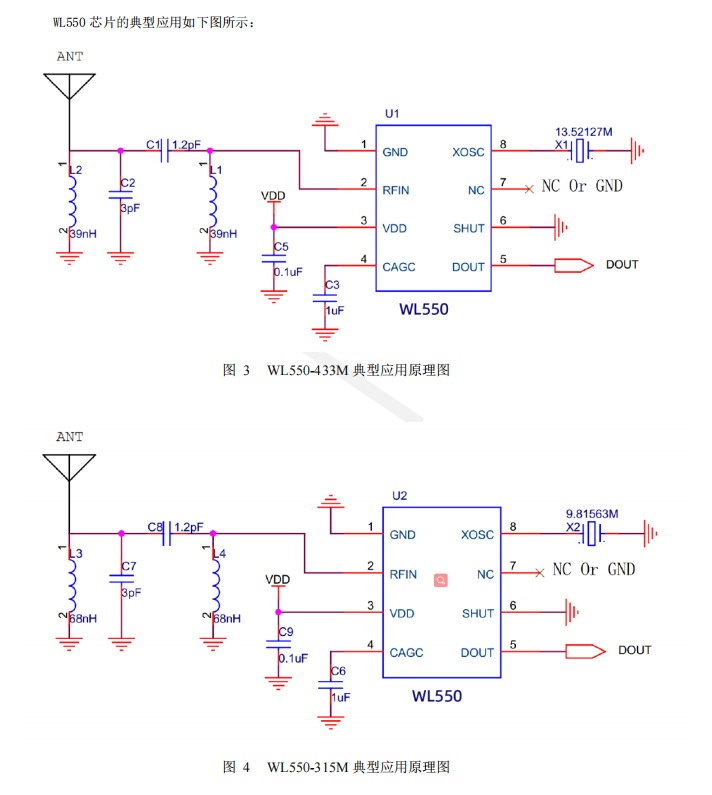
That’s all This suggests a mechanism I’m already quite familiar with, where the Wi-Fi module ‘is unaware’ of the RF receiver – this additional microcontroller stores and decodes the remote control codes, and when it receives a matching code, it simply ‘presses the button’, or, to be more precise, it shorts the GPIO pin on the Wi-Fi module where the button is located to ground. Thanks to this, the Wi-Fi module does not need to handle RF in any way, and the RF will still work after the firmware update . It’s the perfect candidate for modification!
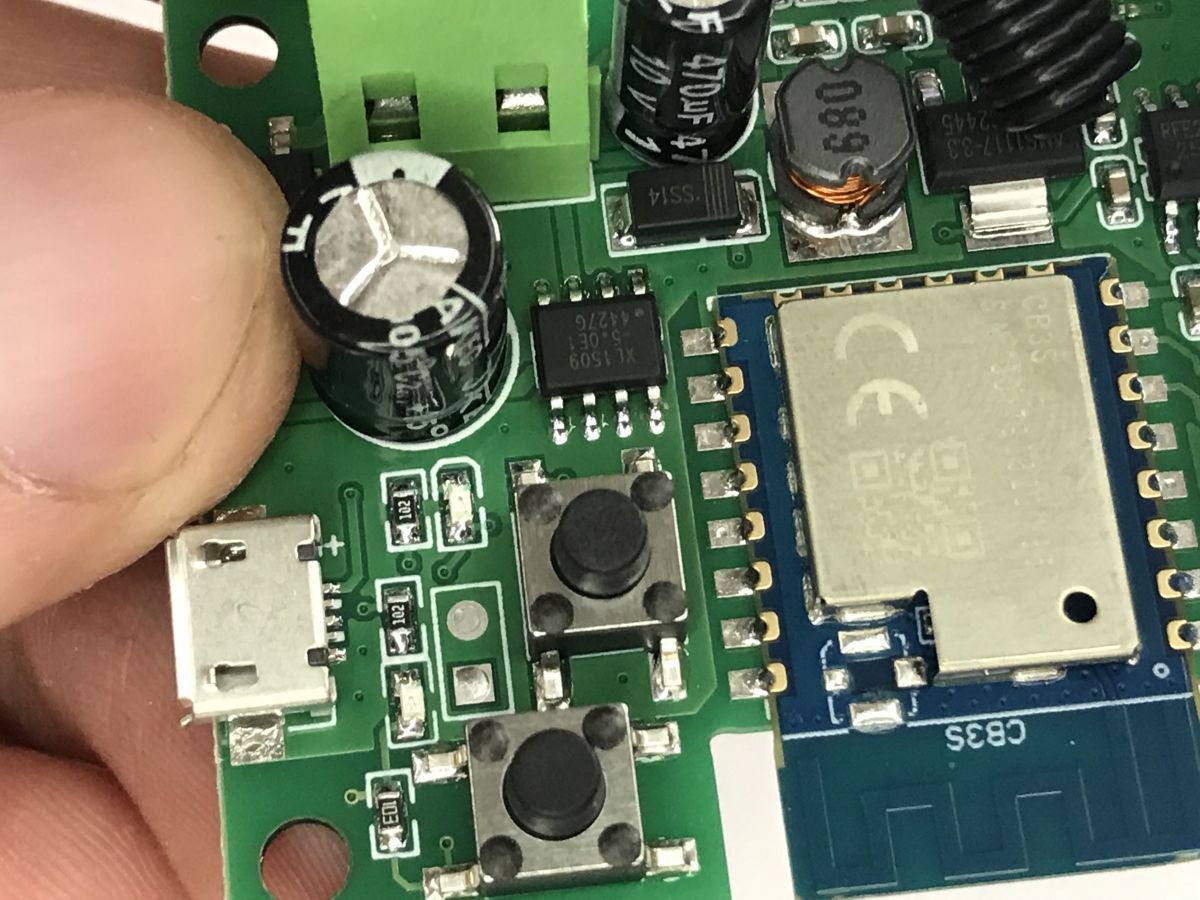
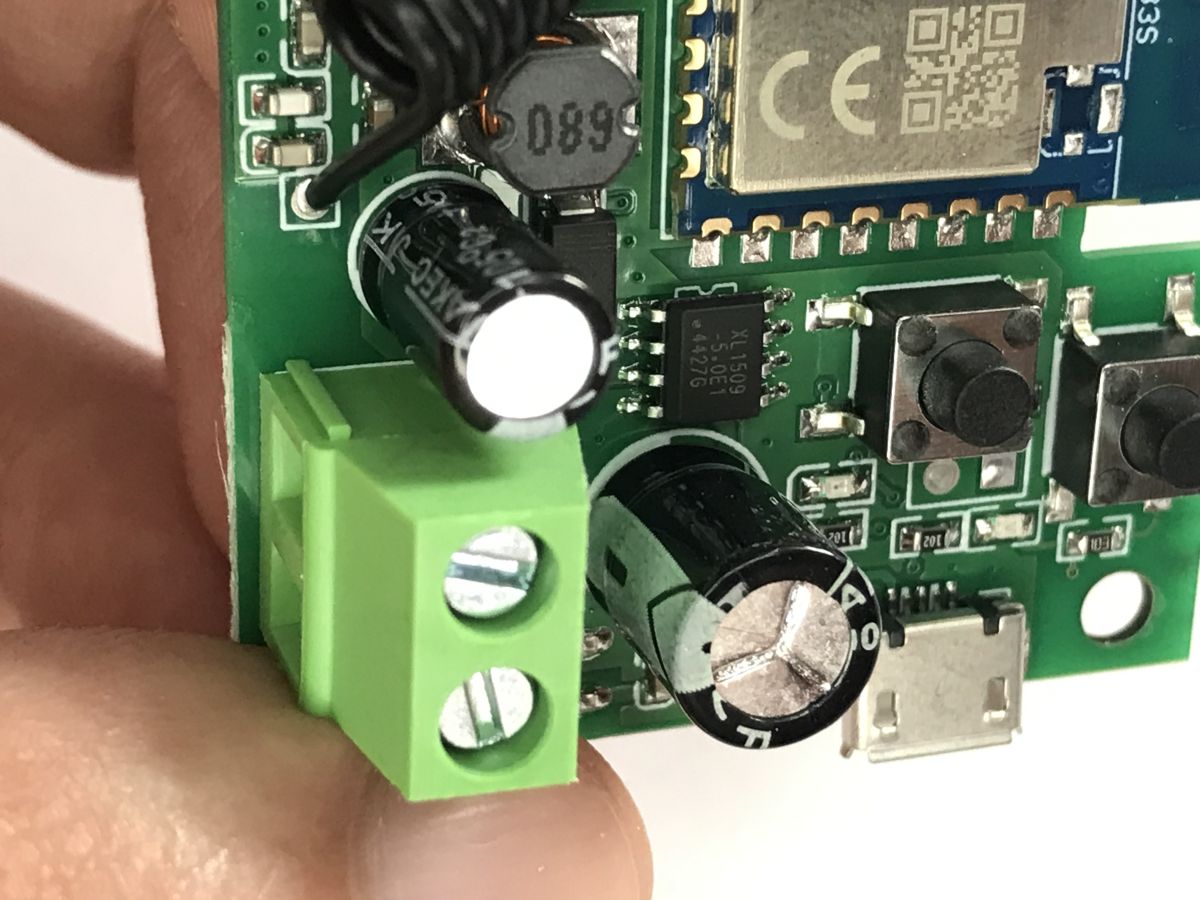
There’s still the power supply section left – there’s a third chip in an SOIC8 or similar package, a step-down converter controller. A standard AMS1117-3.3 LDO or similar wouldn’t be able to cope with such high input voltages as the seller claims.
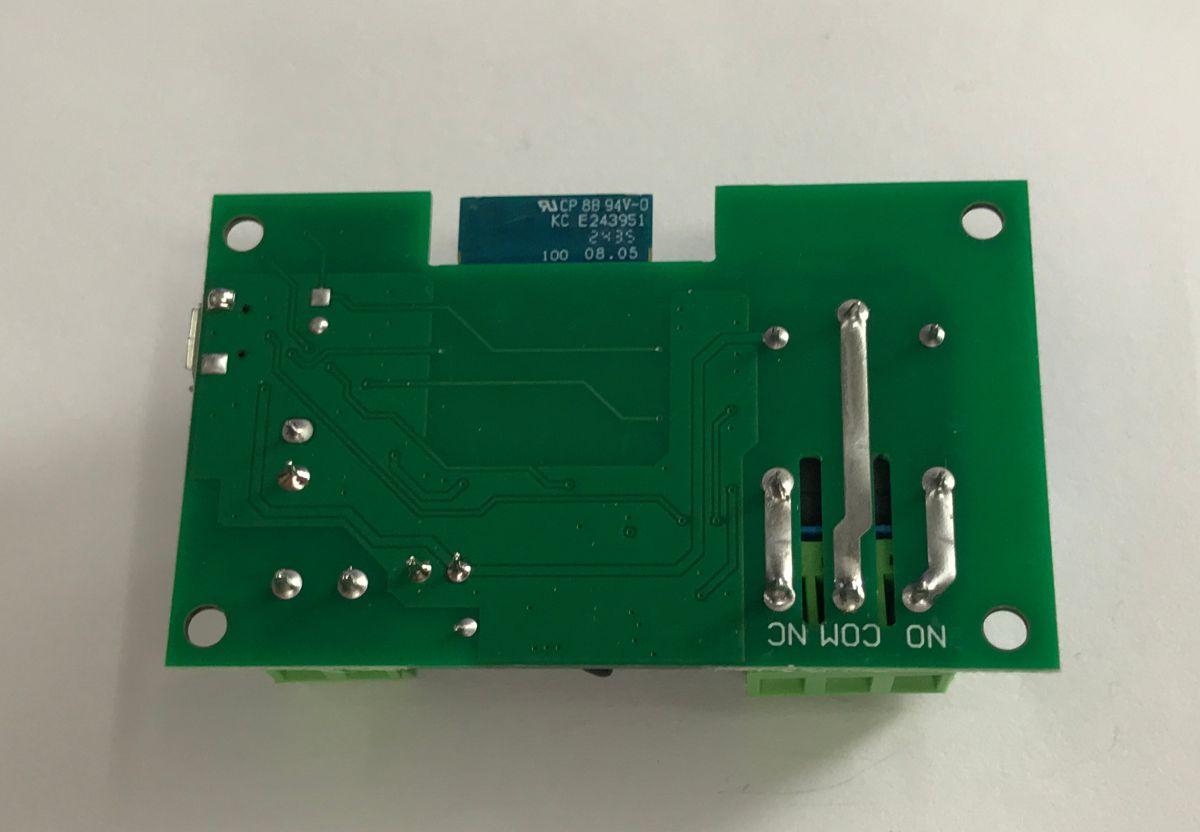
There are no components on the underside of the board. The current paths are thickened. The distance between them and the low-voltage ground is acceptable, but could be greater – I can’t see any reason why not; it’s odd that they didn’t increase it.
We flash the firmware via UART. First, we make a copy of the batch, then we flash the OBK. We recommend using this tool:
https://github.com/openshwprojects/BK7231GUIFlashTool
The flasher detects the Tuya configuration:
Code: JSON
Verbal interpretation:
Device seems to be using CB3S module, which is BK7231N chip.
- Relay (channel 1) on P24
- WiFi LED on P8
- LED (channel 1) on P9
- TglChannelToggle (channel 1) on P14
- Pair/Toggle All Pin on P6
The lack of RF information in the Tuya configuration confirms my suspicion regarding how the device operates.
OBK template:
Code: JSON
And that’s basically it – you can now pair the device with Home Assistant or add additional sensors, just as we demonstrated on our channel:
https://www.youtube.com/@elektrodacom
To sum up , what we have here is a 10 A voltage-free relay, capable of operating at voltages from 5 V to around 30 V, with radio control as an added bonus. There’s no problem pairing it with the app or the remote control. You can also change the configuration – there’s not even an issue with RF support in the firmware, as it works on its own – it’s simply an additional tiny microcontroller that ‘presses the button’. It’s just that these days, our OpenBeken and anyway RF is supported by ... Of course, we then lose remote control entirely (outside the LAN), but in that case you can set up Home Assistant and expose HA itself to the Internet.
What uses can you see for this type of relay? 5 V + voltage-free + Wi-Fi + RF (support for multiple remote controls)?

p.kaczmarek2 wrote 14696 posts with
rating 12734 , helped 656 times.
Been with us since 2014 year.
Comments