logo elektroda
logo elektroda
X
logo elektroda

The inner workings and repair of the DeWalt DCR019 radio: a device for which spare parts are availab

p.kaczmarek2 942 7

TL;DR LABEL_AI_GENERATED

  • A DeWalt DCR019 rugged radio with a working display but no audio was traced to a failed main speaker rather than its amplifier or control electronics.
  • Internal inspection reveals a traditional mains transformer alongside SMD circuit boards, an ST TDA7317 audio processor, a heatsink-mounted component, and a substantial single speaker.
  • The radio accepts DeWalt XR 10.8 V, 14.4 V, and 18 V batteries; a DCB184 18 V 5.0 Ah battery reportedly provides 8–12 hours of playback.
  • Replacing the MSS408153-N25 8 Ω, 10 W speaker restored sound, making the repair simple provided the speaker connector is handled carefully.
  • The original replacement speaker costs 70 zł, though available spare parts avoid scrapping the radio or hunting for donor components.
AI summary based on the discussion. May contain errors.
ADVERTISEMENT
This content has been translated flag-pl » flag-en View the original version here
Listen:
  • The inner workings and repair of the DeWalt DCR019 radio: a device for which spare parts are availab
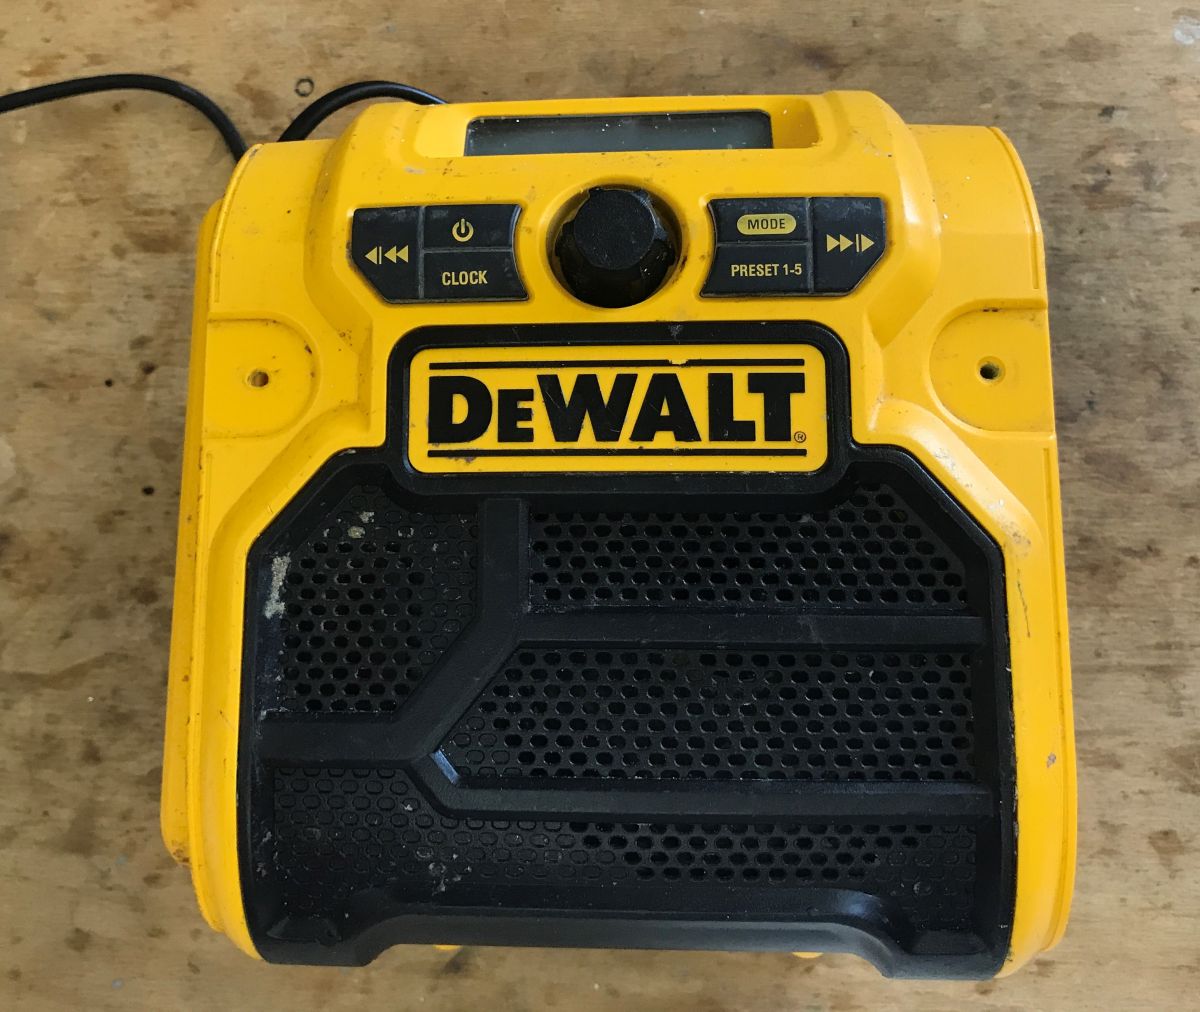
    This time, I’ve got my hands on a DeWalt DCR019 rugged radio, which is presenting a rather interesting fault – the display works, but there’s no sound. In this post, I’ll walk you through a brief diagnosis of the problem, share a few photos of the interior, and highlight what sets this radio apart from typical mass-produced Chinese models: the availability of spare parts.

    This radio offers versatile power options (230V mains or DeWalt XR Li-Ion 10.8V, 14.4V, 18V), FM/AM reception with the ability to store 10 FM and 5 AM stations, a 3.5 mm AUX socket for connecting external devices, and a highly durable cage-style housing that protects the unit in harsh workshop and construction environments. An additional advantage is the 1.8 m power cable, which can be conveniently wound around the built-in side hooks. The unit is fairly compact (240 x 245 mm) and weighs 2.8 kg. It is also worth noting that this radio is sold as a ‘body-only’ version as standard, meaning it does not come with a charger or battery included.
    The inner workings and repair of the DeWalt DCR019 radio: a device for which spare parts are availab The inner workings and repair of the DeWalt DCR019 radio: a device for which spare parts are availab The inner workings and repair of the DeWalt DCR019 radio: a device for which spare parts are availab
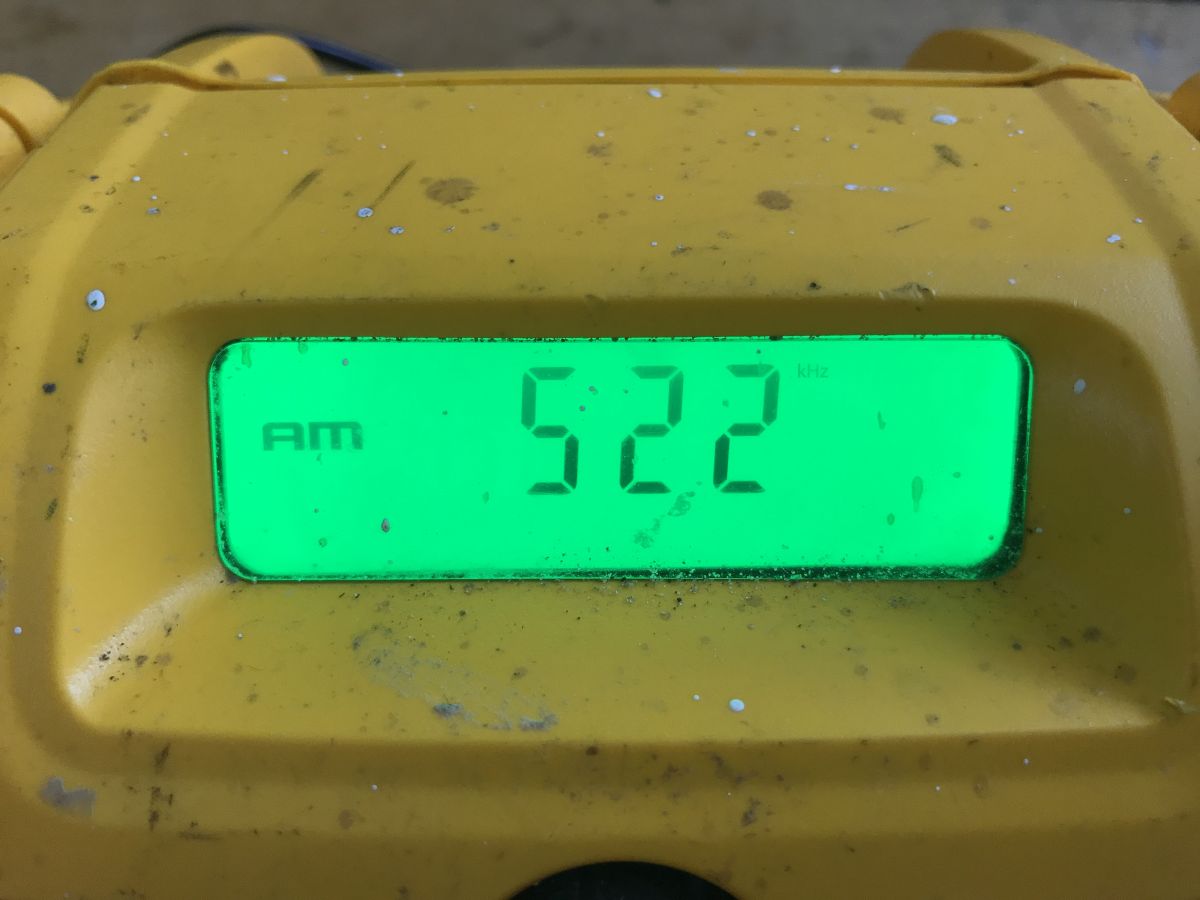
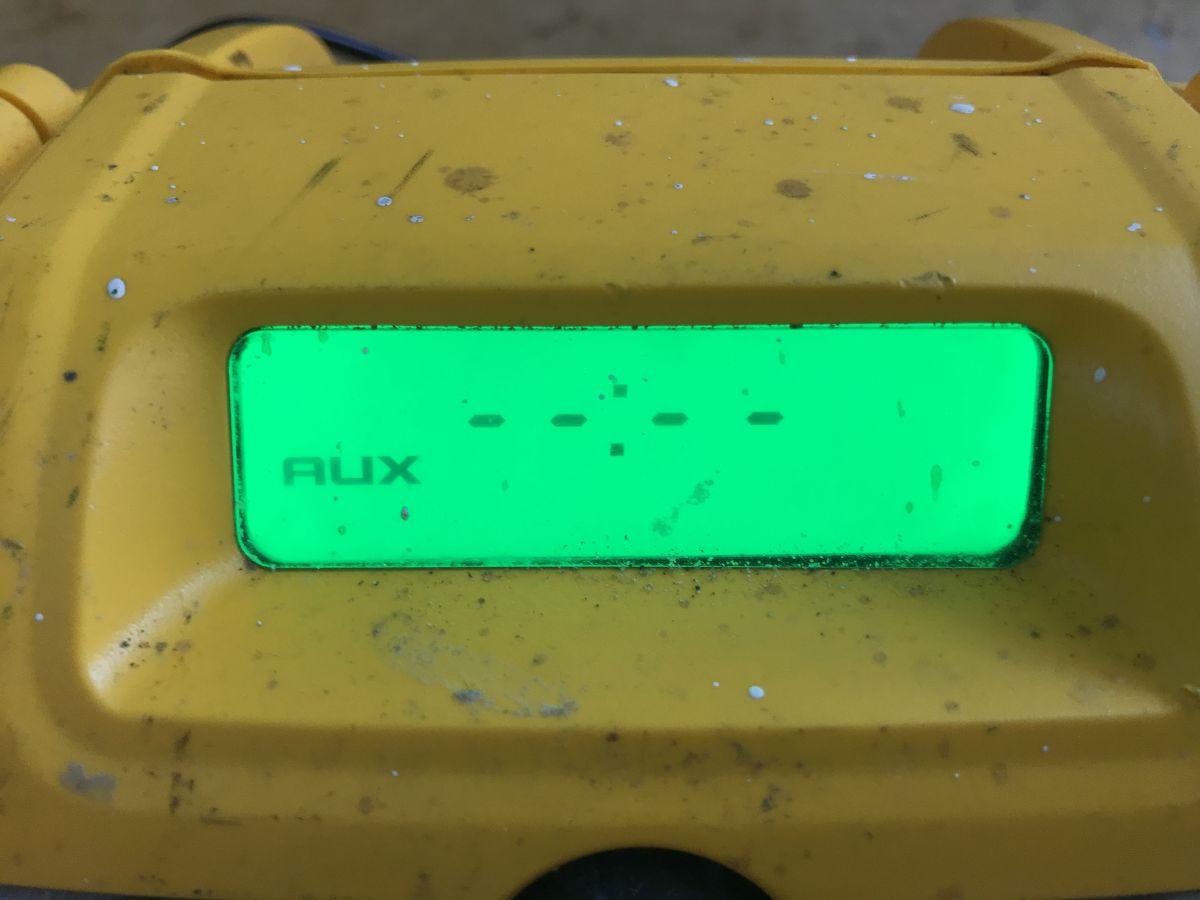
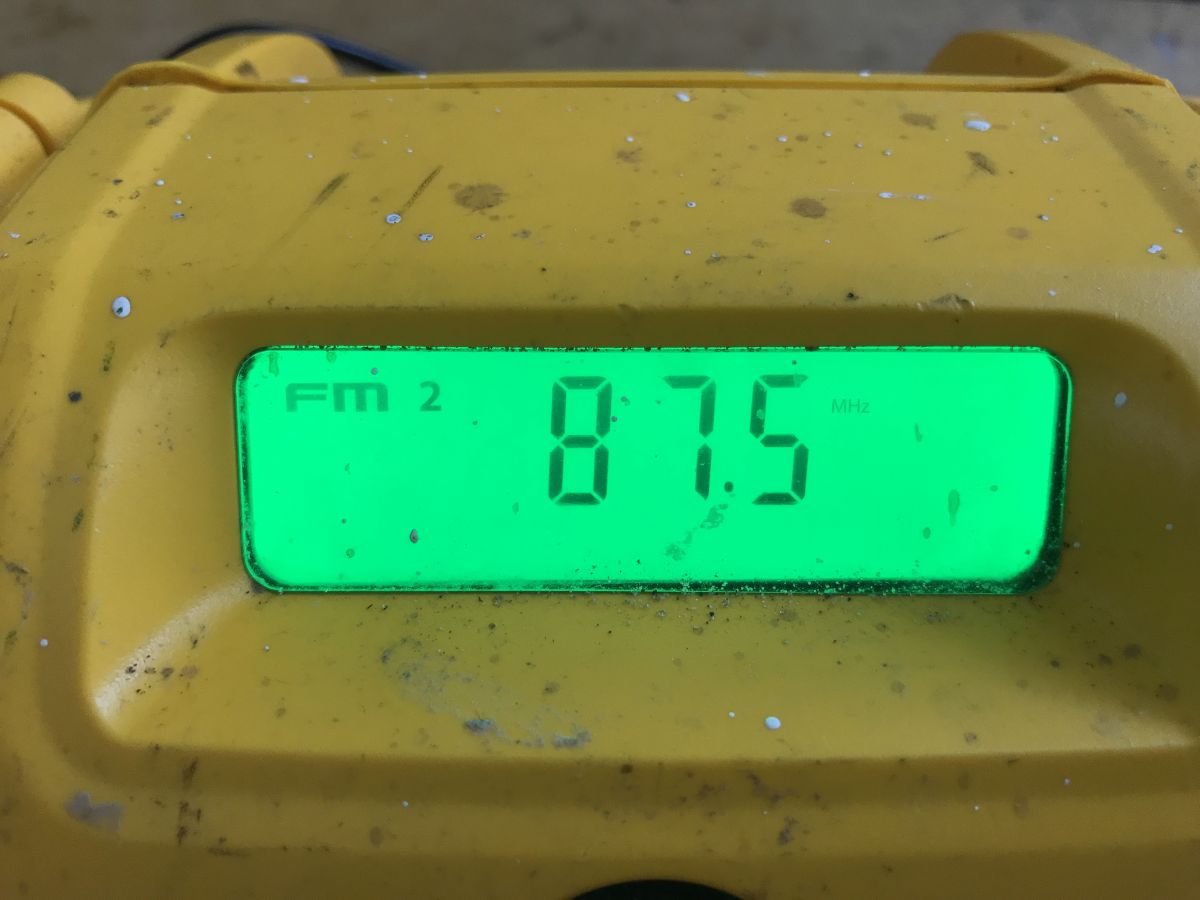
    I began the diagnosis by quickly cycling through the operating modes, including an AUX test. The radio remains completely silent – could it be the amplifier or something simple?
    The inner workings and repair of the DeWalt DCR019 radio: a device for which spare parts are availab
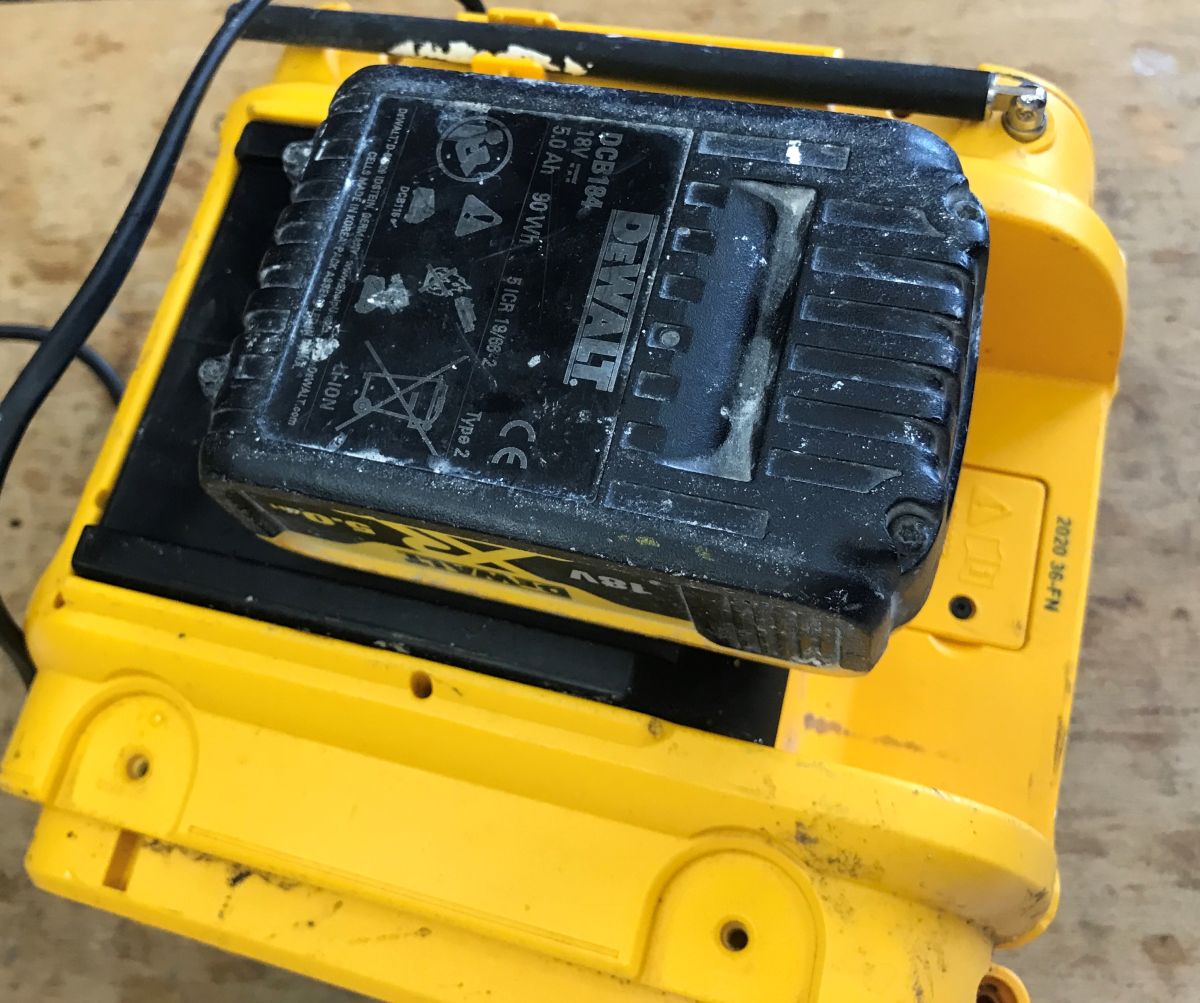
    The unit stands out for its robust build quality and its ability to run on a DCB184 battery (18V, 5.0 Ah, 90Wh). This allows for around 8–12 hours of continuous music playback (depending on the volume setting), which is easily enough for a full day’s work on a building site.
    The inner workings and repair of the DeWalt DCR019 radio: a device for which spare parts are availab
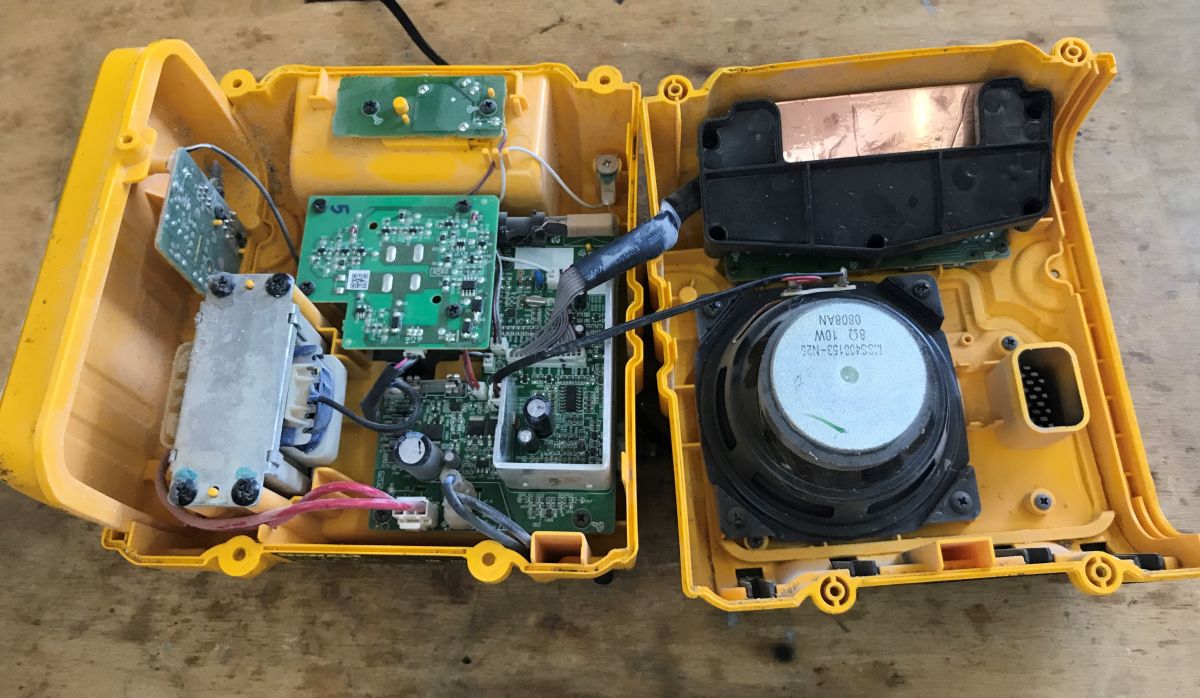
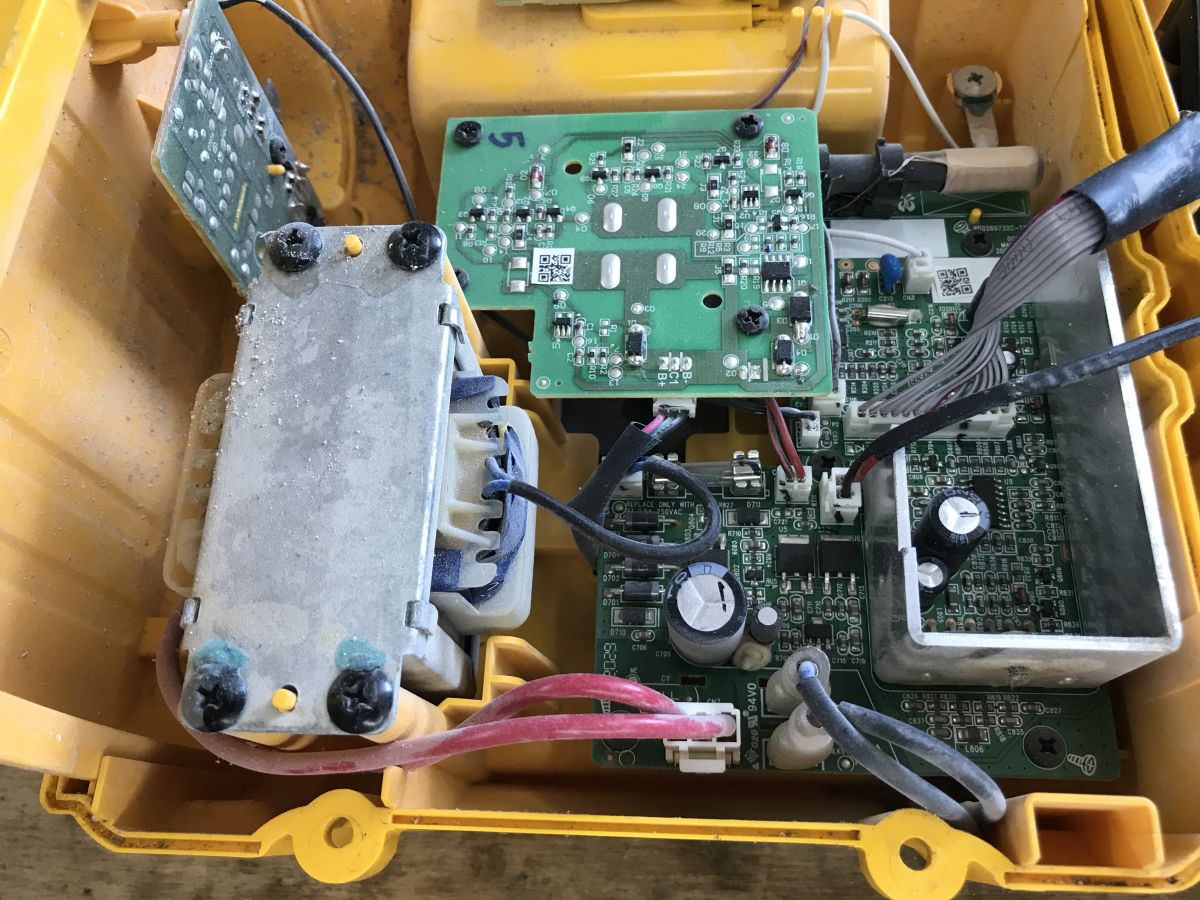
    Let’s take a look inside. The interior surprised me a little. The transformer inside is a classic mains-type unit; there’s no switching power supply. They certainly didn’t skimp on this. At the same time, right next to it we have quite modern circuit boards, surface-mount components, and tightly packed parts. The speaker, although a single unit, is also quite substantial.
    The inner workings and repair of the DeWalt DCR019 radio: a device for which spare parts are availab
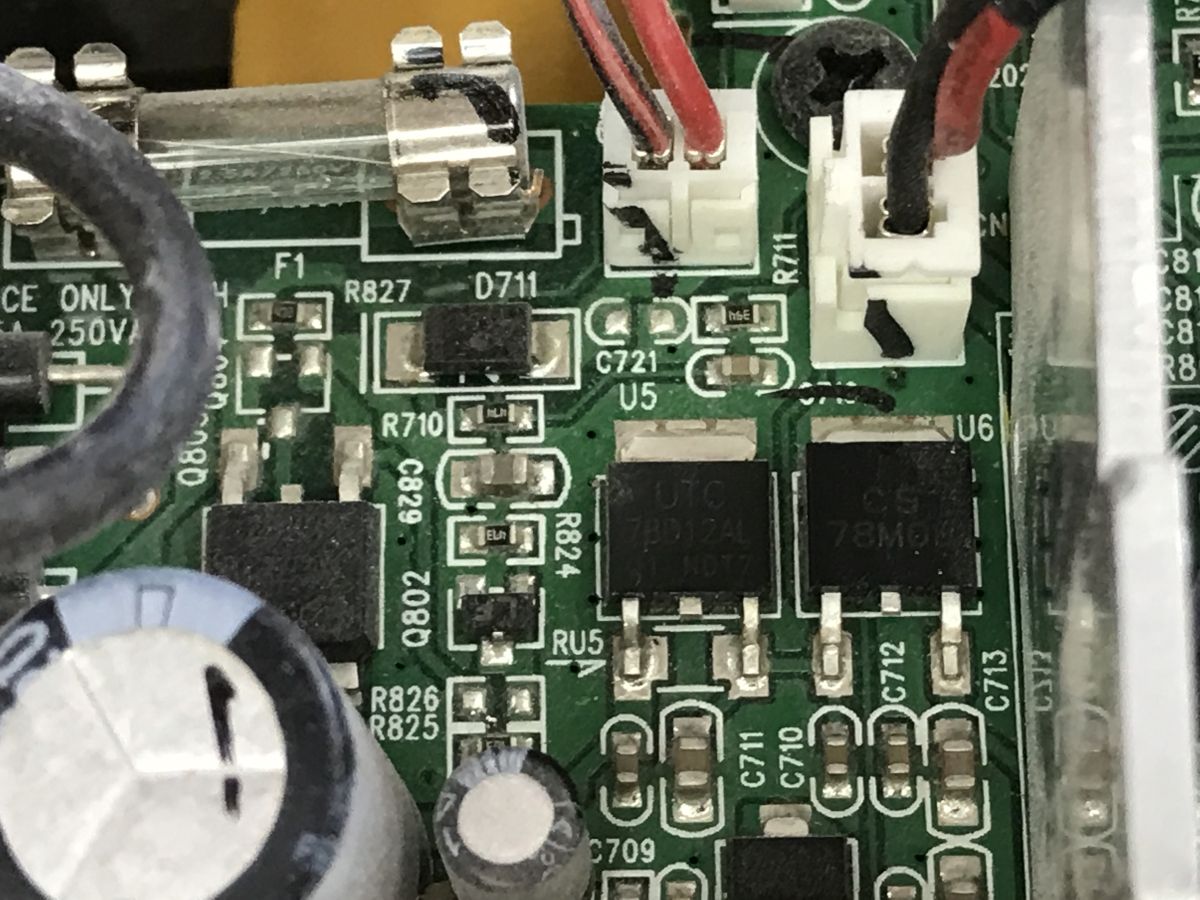
    All in all, it’s hardly surprising – there’s bound to be a battery charging circuit inside, for a start. I can also see a fuse; someone has thought about serviceability, but to what extent?
    The inner workings and repair of the DeWalt DCR019 radio: a device for which spare parts are availab The inner workings and repair of the DeWalt DCR019 radio: a device for which spare parts are availab The inner workings and repair of the DeWalt DCR019 radio: a device for which spare parts are availab
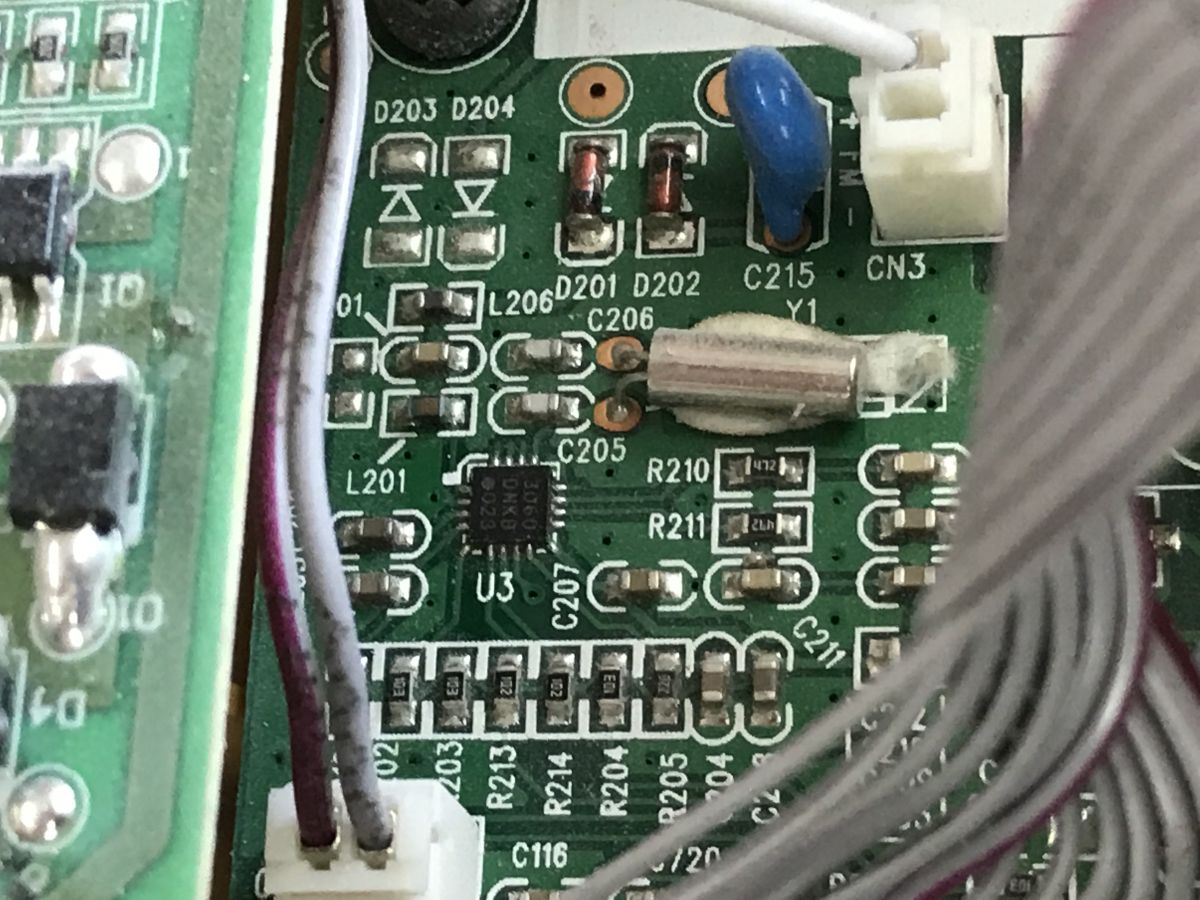
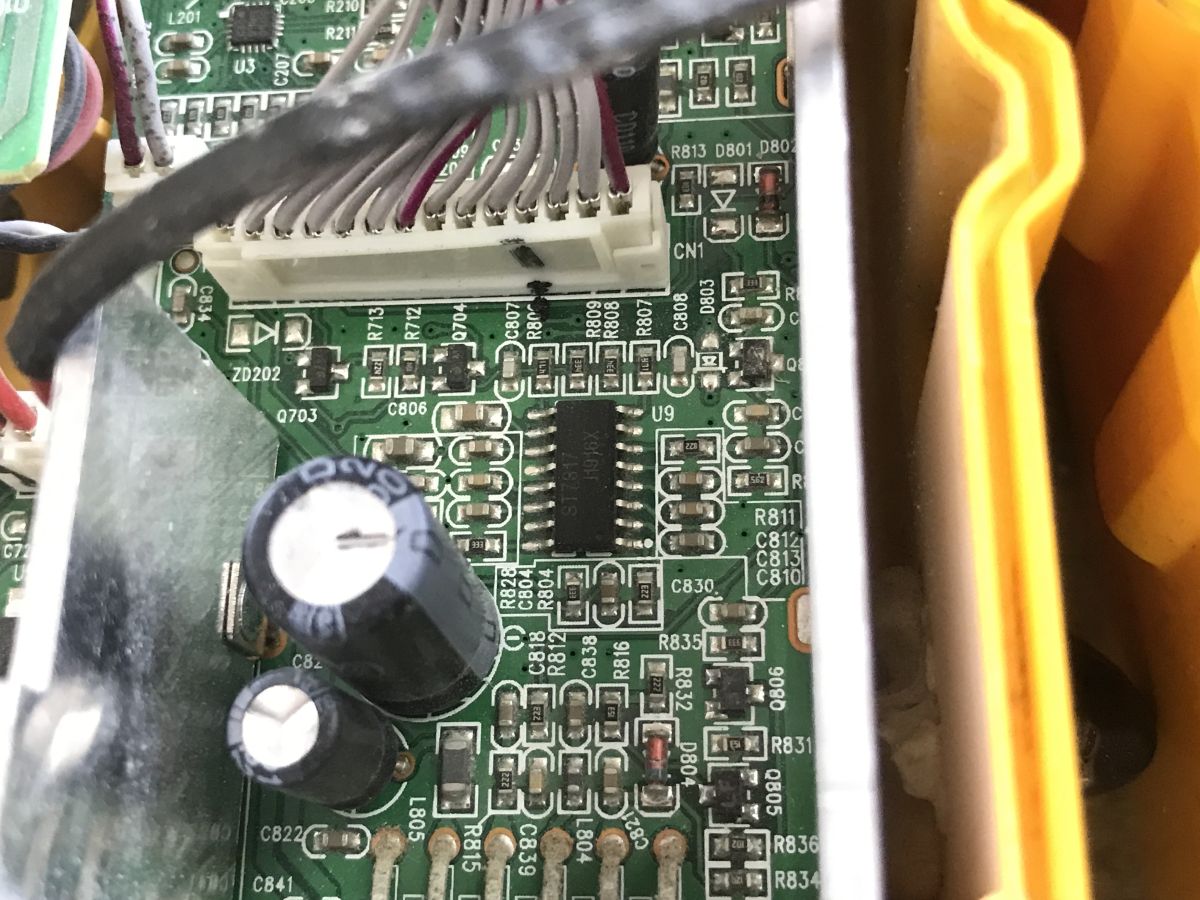
    Several components also catch the eye, such as the digitally controlled ST TDA7317 audio processor (responsible for volume and equalisation), a component mounted on a large aluminium heat sink (presumably a power amplifier or the main voltage regulator), numerous electrolytic capacitors (e.g. 220µF 16V) and a large number of SMD transistors. The power supply and control electronics have been sensibly laid out on printed circuit boards connected by wires.
    The inner workings and repair of the DeWalt DCR019 radio: a device for which spare parts are availab
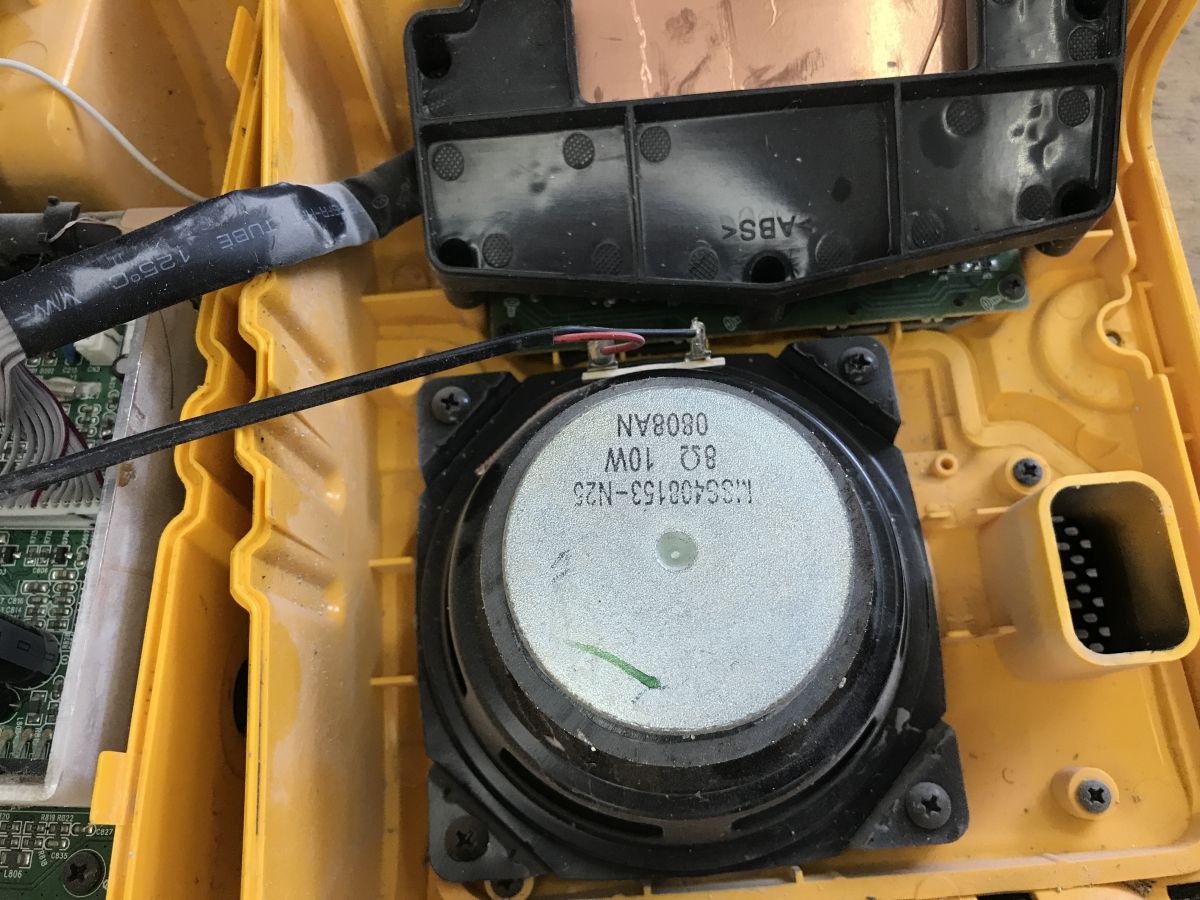
    But let’s move on to the actual repair. The speaker is described as MSS408153-N25, 8Ω, 10W. Could there be something wrong with it?
    The inner workings and repair of the DeWalt DCR019 radio: a device for which spare parts are availab
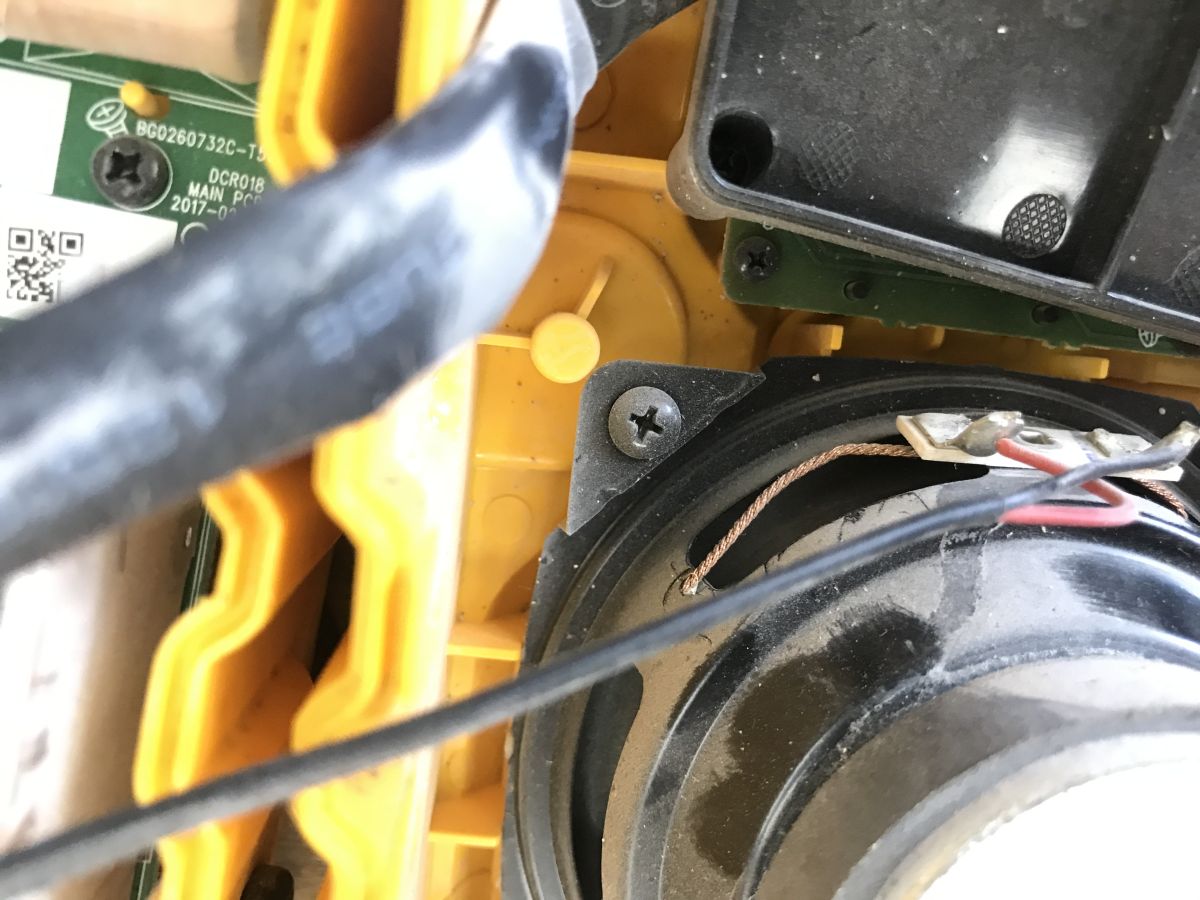
    It turns out that the fault was simply in the main speaker itself, perhaps as a result of a fall. The wire had come loose from the diaphragm. I’m not likely to be able to solder that back on.
    The inner workings and repair of the DeWalt DCR019 radio: a device for which spare parts are availab
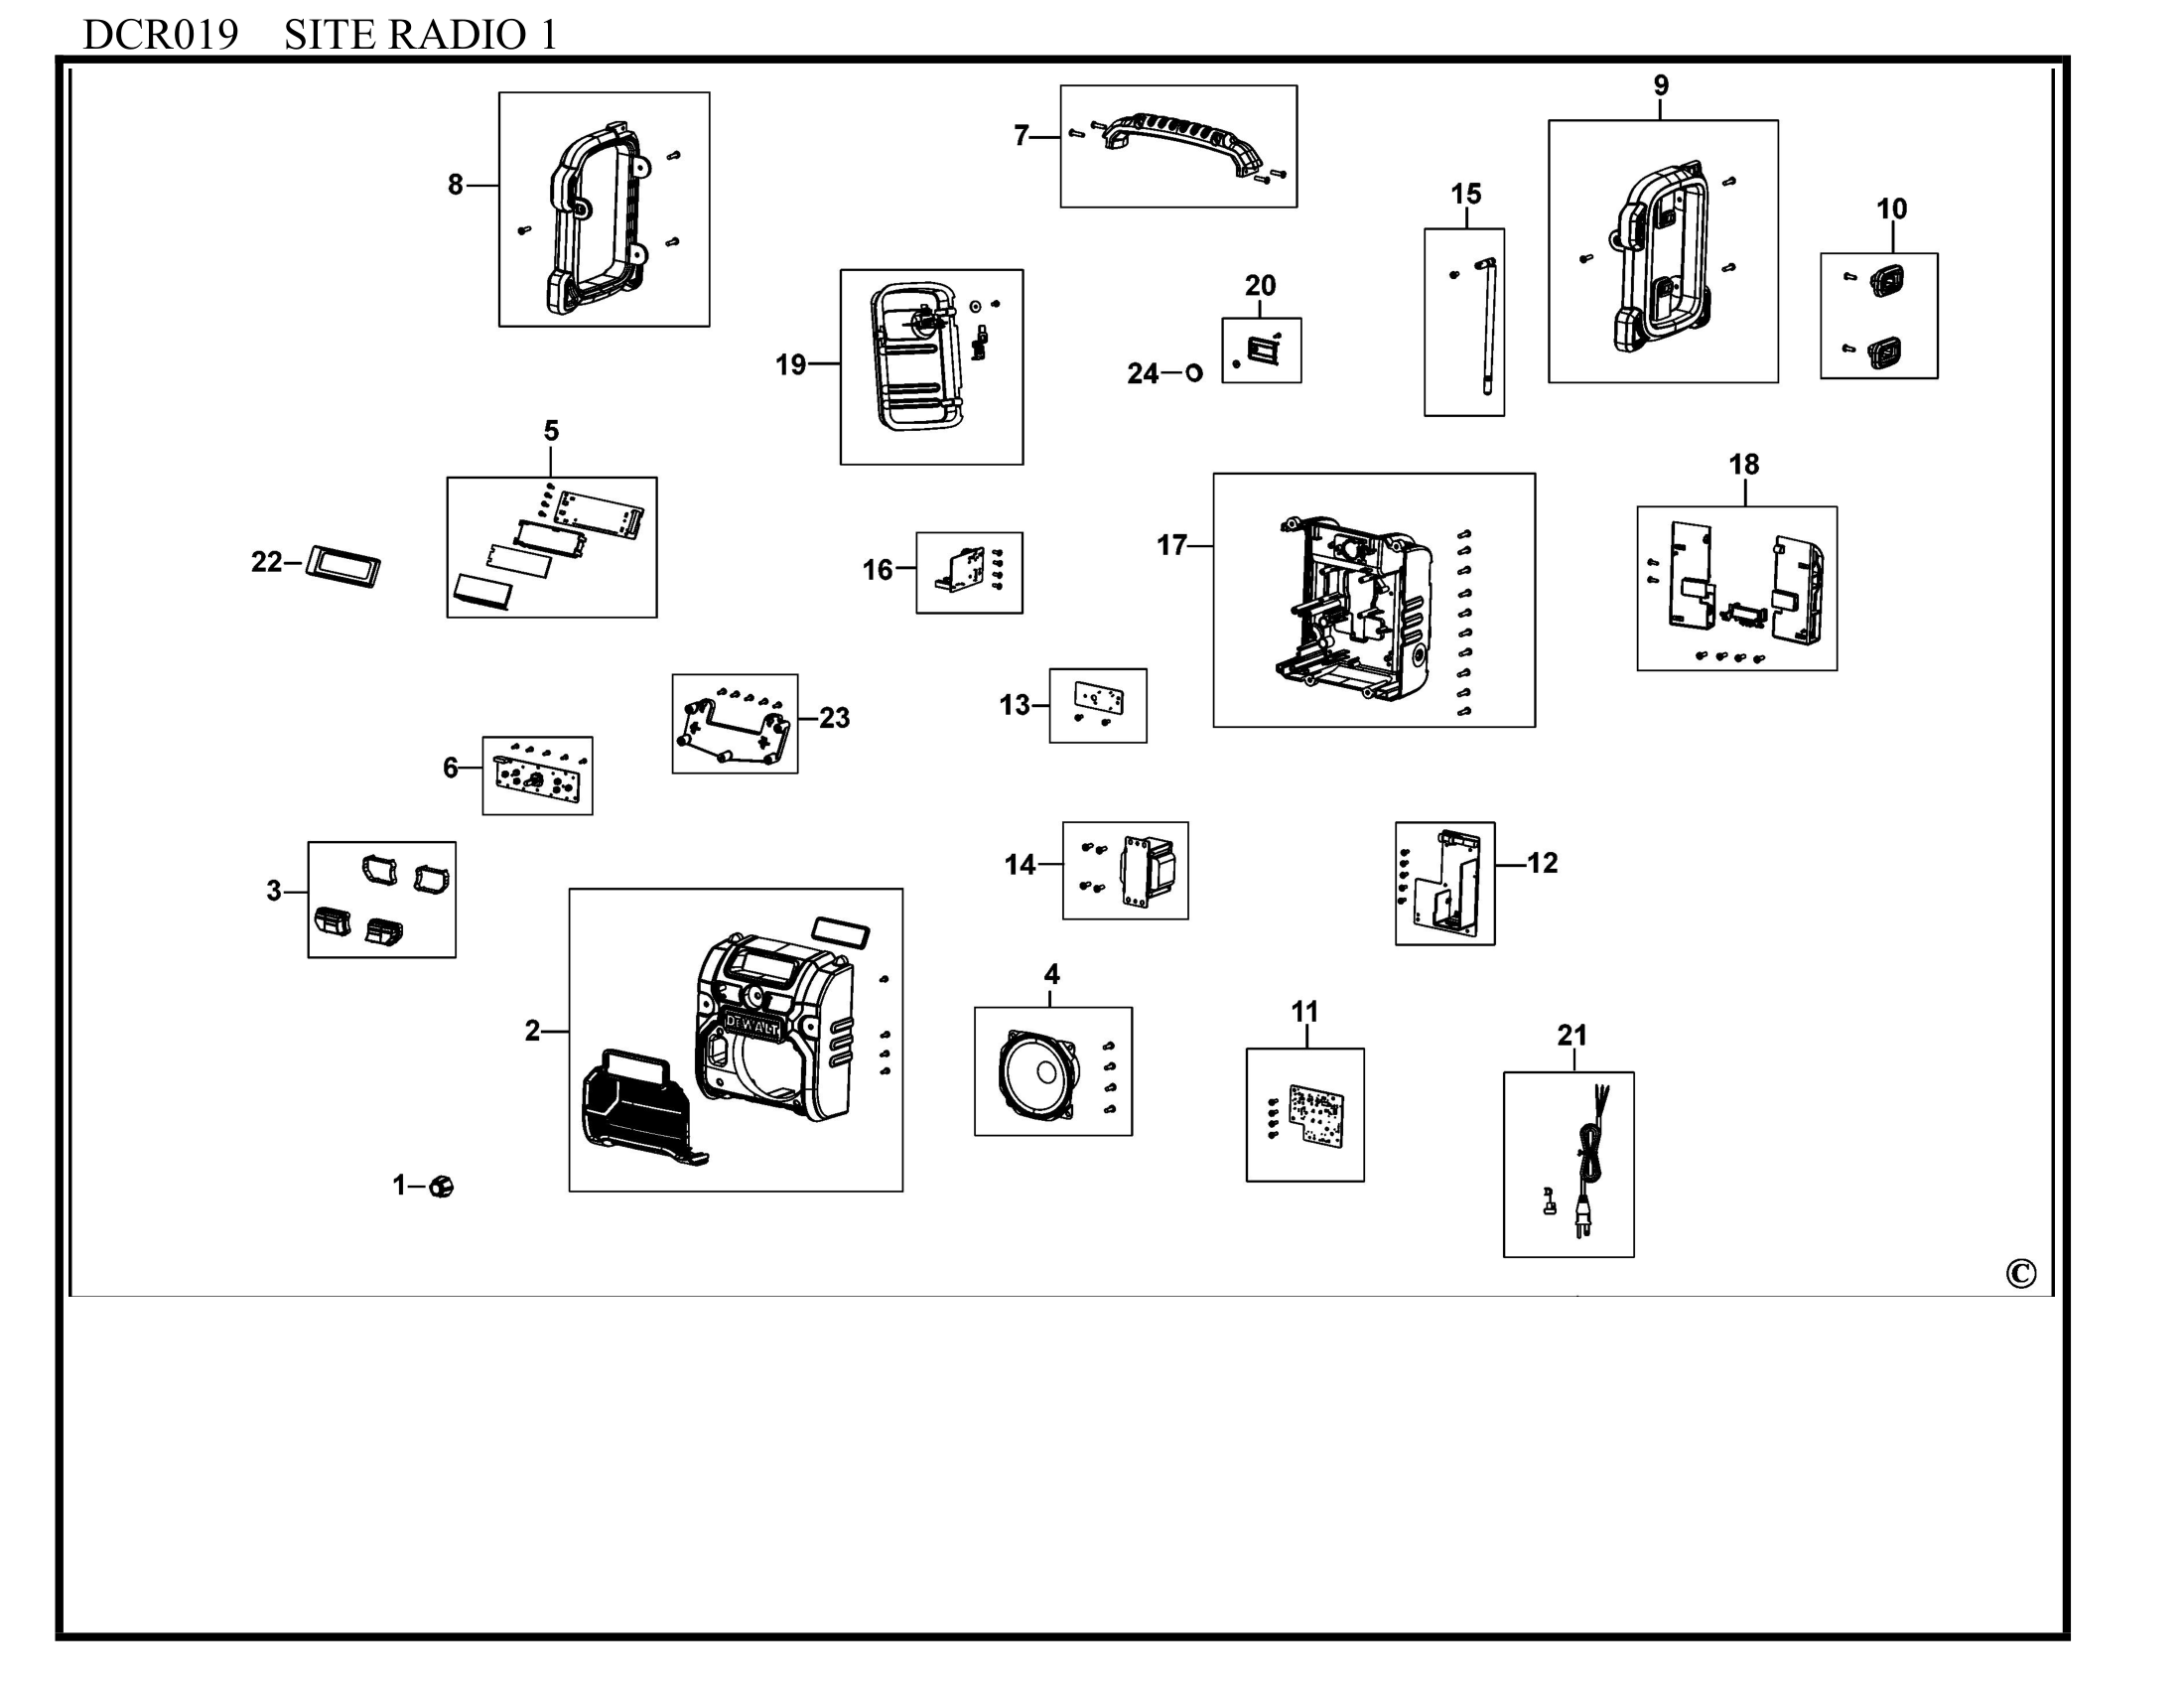
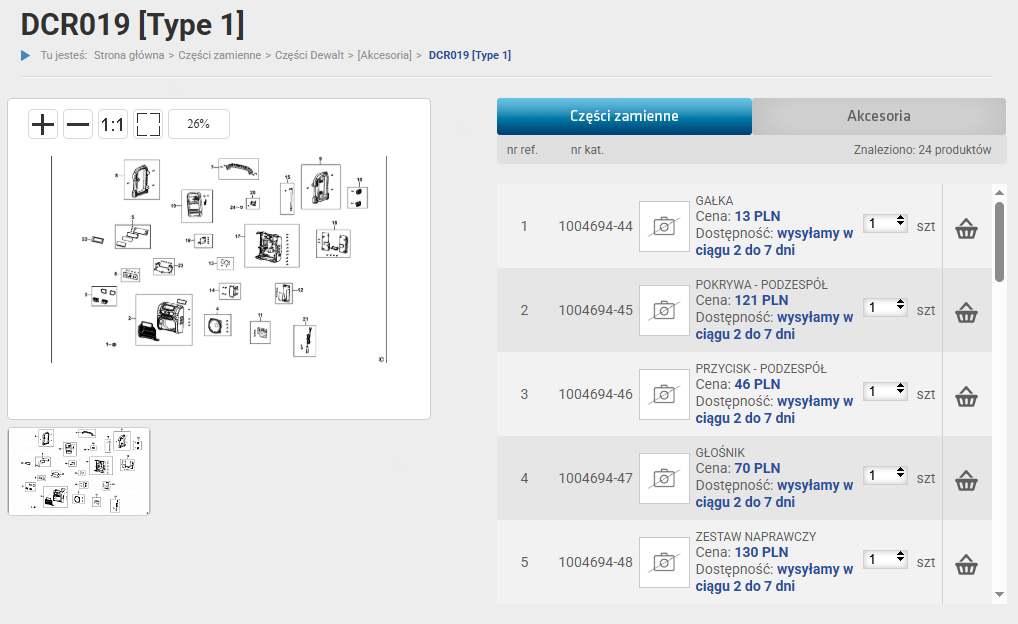
    The speaker costs 70 zł – it’s expensive, but given that the radio itself costs several hundred zł… well, if worse comes to worst, you can always make a bit of a ‘modification’ and force a speaker of similar dimensions and compatible specifications into the space.
    The inner workings and repair of the DeWalt DCR019 radio: a device for which spare parts are availab The inner workings and repair of the DeWalt DCR019 radio: a device for which spare parts are availab
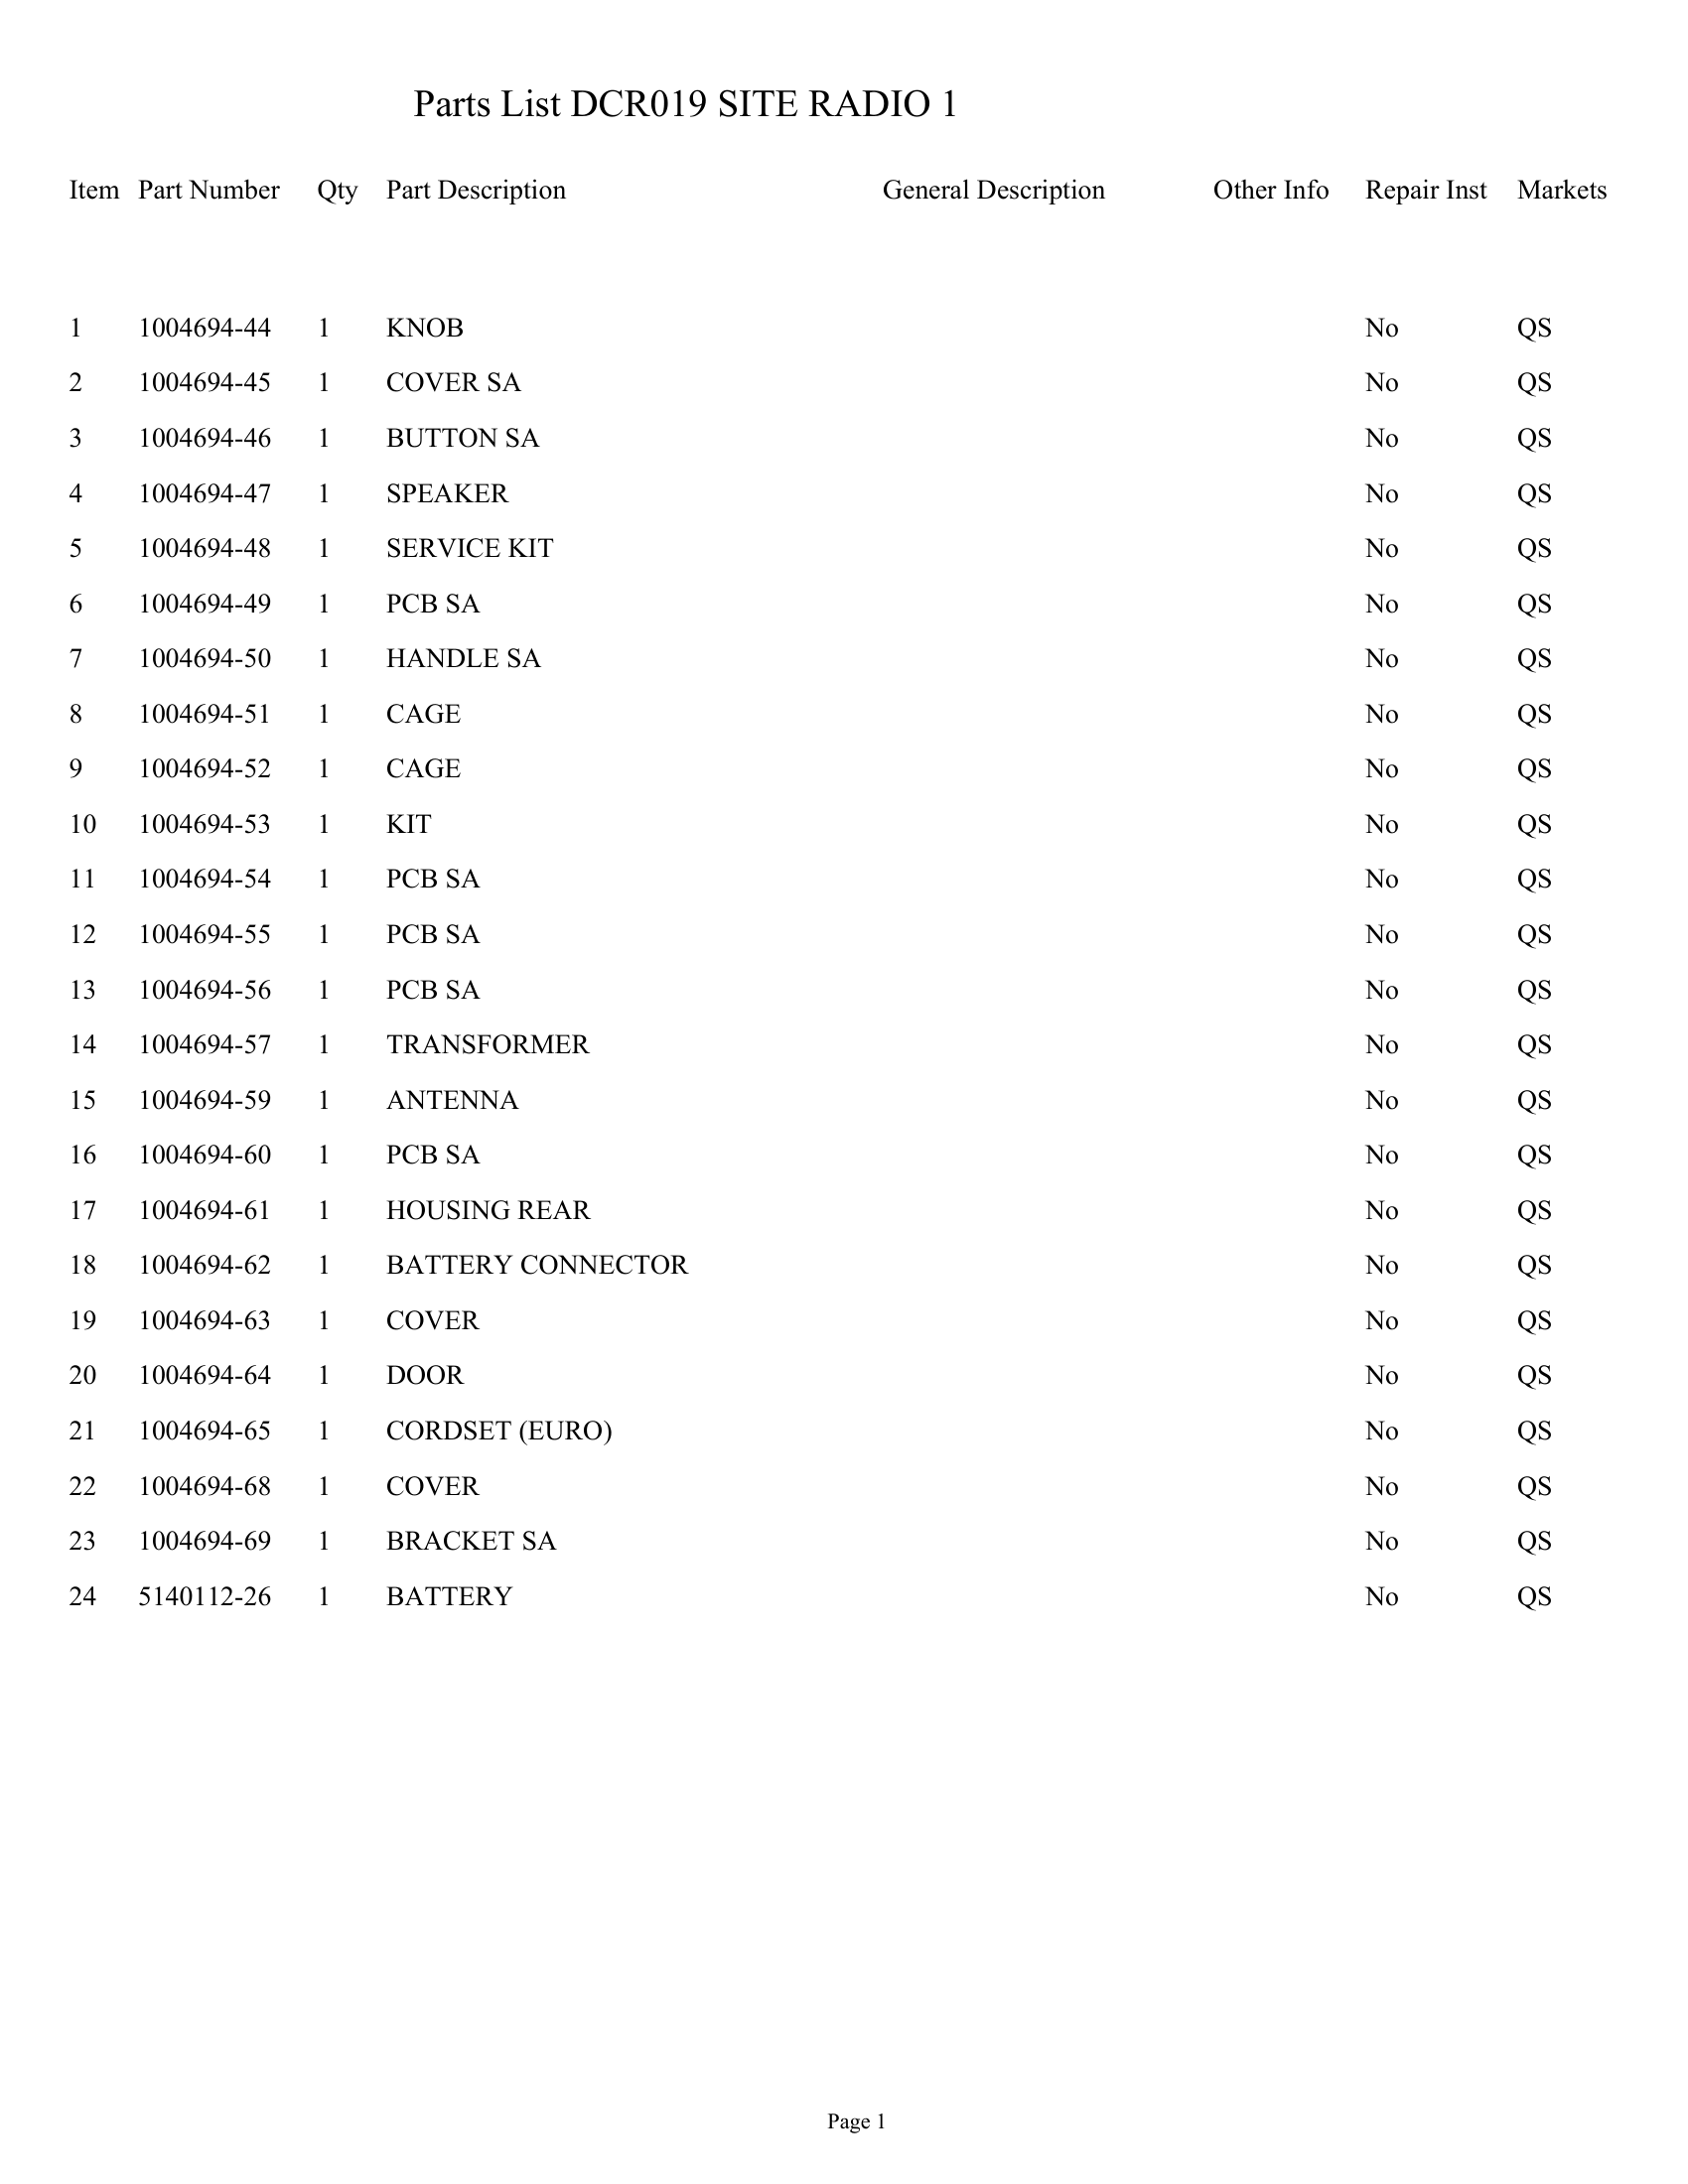
    This clearly illustrates that, generally speaking, you can buy spare parts for this radio; there’s no need to chuck the whole thing on the scrap heap or waste time painstakingly searching for non-original ‘donor’ parts.

    To sum up, I bought a new speaker and the radio started working again. It was an interesting change from those purely consumer-oriented, cheapest solutions, where you can’t really find a suitable replacement online and have to make do with what’s available. The whole repair was really very, very simple. Any beginner, or even someone with no background in electronics, could carry it out; you just need to be careful not to pull the connector out. That said, it’s a nice little find, and the availability of spare parts is something I often praise, hence this whole thread.
    What do you think about the durability of this type of radio? Does it make sense to buy spare parts at such potentially high prices?

    Cool? Ranking DIY
    Helpful post? Buy me a coffee.

    About Author
    p.kaczmarek2
    Moderator Smart Home
    Offline 
    p.kaczmarek2 wrote 14803 posts with rating 12965, helped 659 times. Been with us since 2014 year.
  • ADVERTISEMENT
  • #2 21950567
    skywalker2
    Level 15  
    Posts: 110
    Help: 1
    Rate: 59
    You can’t see it very clearly, but I reckon you should be able to solder it on once you’ve unscrewed the speaker.
  • ADVERTISEMENT
  • #3 21950603
    p.kaczmarek2
    Moderator Smart Home
    Posts: 14803
    Help: 659
    Rate: 12965
    You know what, I might even have a look at it – I think I’ve still got that broken speaker in a box to be scrapped, though that particular radio was only with me for a short while and I wouldn’t want to pass on a bit of junk like that to anyone. It’d be a different matter if it were 100% for me or for someone close by – then you could have a go at tinkering with it.
    Helpful post? Buy me a coffee.
  • ADVERTISEMENT
  • #4 21950606
    skywalker2
    Level 15  
    Posts: 110
    Help: 1
    Rate: 59
    It’ll work; I’ve successfully repaired plenty of speakers with this sort of damage. You just need to glue the wire to the diaphragm – with butaprene, for example – as well as soldering it. Anyway, it came loose due to the vibrations because it was probably not properly secured with glue.
  • Scrape, solder, and glue the diaphragm wire

    #5 21950670
    2N4427
    Level 21  
    Posts: 395
    Help: 42
    Rate: 165
    Not many, but one. It worked exactly as @skywalker2 described – you had to pull away slightly the enamelled wire running along the diaphragm towards the coil, scrape off the enamel at the tip, solder it gently, and then reattach the wire and the solder joint (a solidified drop of tin – not too big, but providing a secure connection) to the diaphragm near the hole (through which the connecting cable passes from the terminal side) and don’t skimp on the adhesive, so that it doesn’t come loose during operation due to vibrations or if it gets accidentally snagged.
  • ADVERTISEMENT
  • #6 21950830
    Andrzej Ch.
    Level 33  
    Posts: 2246
    Help: 223
    Rate: 394
    Speakers like these were often repaired in this very way, especially 20–30 years ago when the range of spare parts available was very limited
  • Complete parts replacement costs more than the radio

    #7 21950899
    2N4427
    Level 21  
    Posts: 395
    Help: 42
    Rate: 165
    p.kaczmarek2 wrote:
    What do you think about the durability of this type of radio? Does it make sense to buy spare parts at such – potentially quite high – prices?

    I can’t comment on durability, as I’m not familiar with this radio. The inclusion of a classic, heavy mains transformer instead of a lightweight switching power supply might be deliberate – is it intended to act as a counterweight to prevent the unit from tipping over?

    I visited the same parts website. I added all 24 components to my basket – the total came to 1,407 zł, compared to the radio’s market price of 510–600 zł. I suppose that answers the question of whether it makes sense. A power cable for 37 zł – you can buy something much cheaper (I don’t know the length, but I’d aim for 10 zł). An 8 Ω/10 W full-range speaker – I tried to look for something, but my friend didn’t give the dimensions, so I only came across a price range for speakers with those specifications of 20–150 zł – I don’t know how much a good equivalent would cost, but 70 zł doesn’t seem quite as exorbitant as the price of the cable.

    You can have a go at it yourself, as you’re not paying for a repair service. If there were any mechanical damage to the casing (hopefully not the whole thing! – the total cost of the casing parts is 557 zł!), I’d repair it with original parts, provided their price didn’t exceed half the price of the radio and I was particularly attached to it. But when it comes to what’s inside the casing – the bits you can’t see from the outside – I’d either look for faults on the circuit board, repair the speaker using the method described above, or fit reasonably priced replacements.

    My favourite example of a spare part is the switch circuit board from a vacuum cleaner:

    The inner workings and repair of the DeWalt DCR019 radio: a device for which spare parts are availab

    The only thing on it that can break (or wear out) is the momentary microswitch. One costs 1–2 zł in a shop. But the circuit board is sold for 60–90 zł. That’s why, in my opinion, it’s generally better to repair rather than replace where standard or compatible components can be used.
  • Mains transformer prevents AM-band converter interference

    #8 21954205
    Preskaler
    Level 40  
    Posts: 6438
    Help: 493
    Rate: 1059
    p.kaczmarek2 wrote:

    The transformer inside is a standard mains transformer; there’s no switching power supply. Someone hasn’t been skimping on costs.


    This isn’t a cost-saving measure but a necessity. A radio with an AM band would suffer severe interference in that band from the converter. The AM band is cluttered even by converters operating far away from the radio, and to use it without significant interference, you need to switch off all devices with converters in your flat as well as, if necessary, at your neighbours’. By the way – who in Poland actually needs the medium-wave band?
Listen:
ADVERTISEMENT