 Hello my dears
Today I will describe one of my first projects completed with the help of a 3D printer (
Ender Creality Pro 3 ). This is the attachment piece for the roller shutter
Gardinia , according to my own design. This roller blind as I found it is designed to be fixed "on the door" (no drilling, no screwing), so without my piece fixing it to the wall is problematic.
I don't know if there are other/better blinds to mount, as I was put to the task of mounting this blind that someone had already bought. The piece I designed fits well with the mounting of this blind and has a suitable screw hole.
The design came about entirely out of practical need, I was helping someone install this roller shutter and this was my solution. Finally, I will post the CAD files of the developed model, so anyone interested can benefit.
Design of 3D model
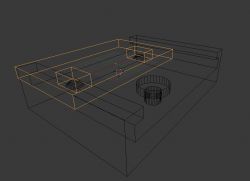
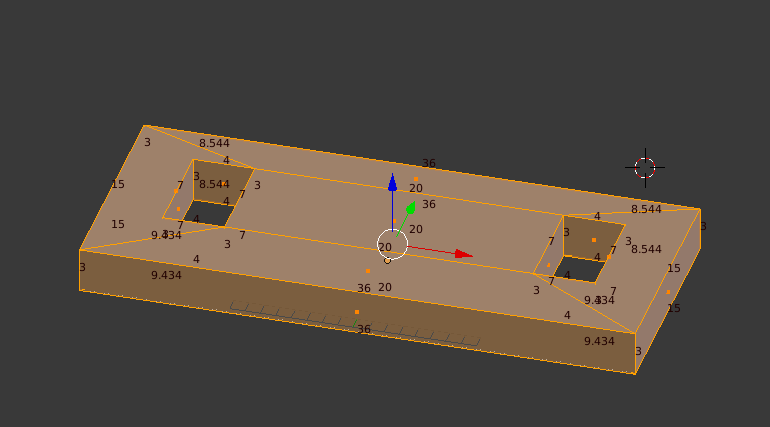
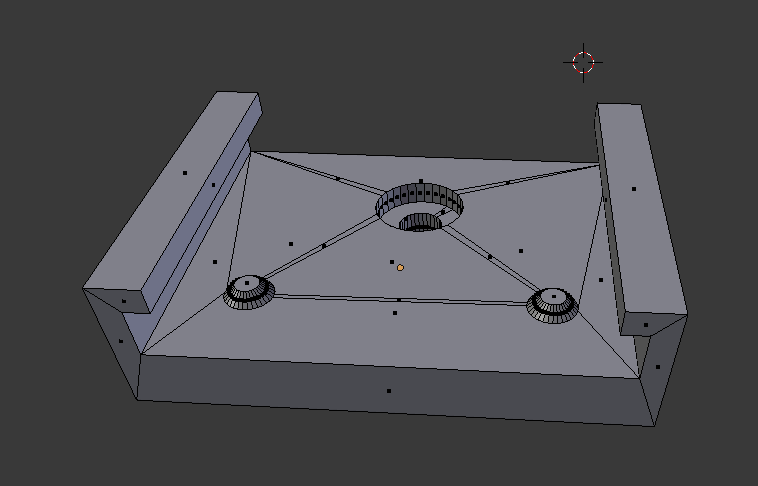
I started by modelling the object that would be attached to my element. I had no intention of printing it. I intended to use it to fit my fixture to existing parts (i.e. as a reference):
I then prepared an already targeted element around it. The screenshot shows both elements and their matching:
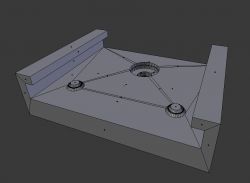
And this is how the final designed element looked like:
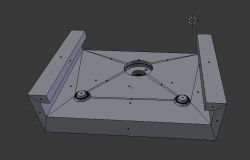
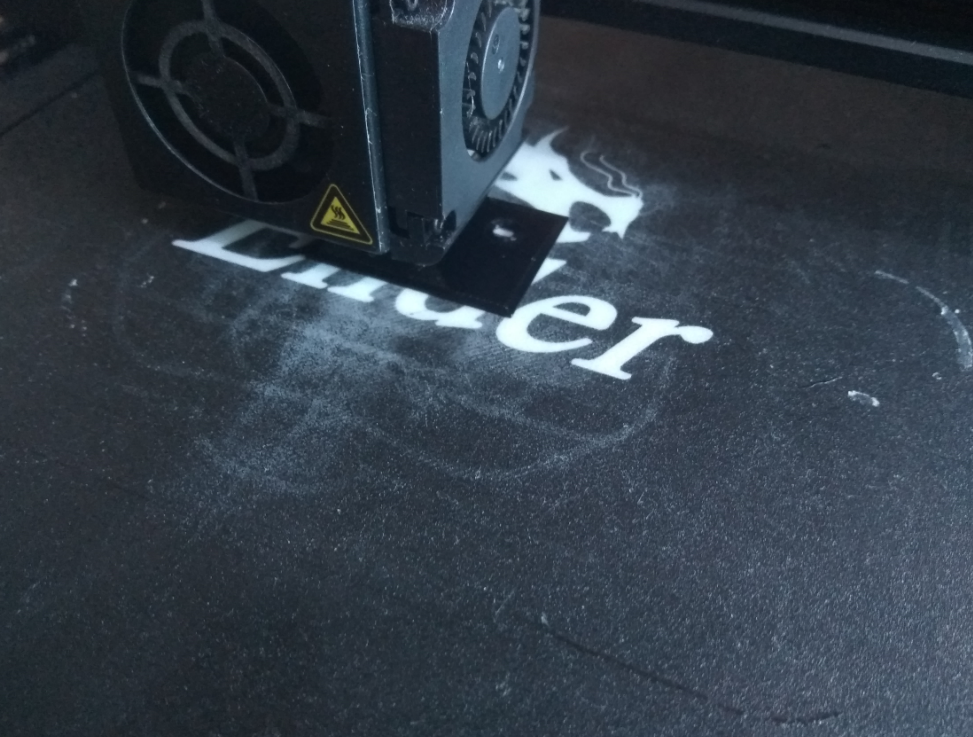
And this is the element I have already printed.
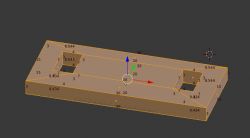
Printing the part on 3D printer
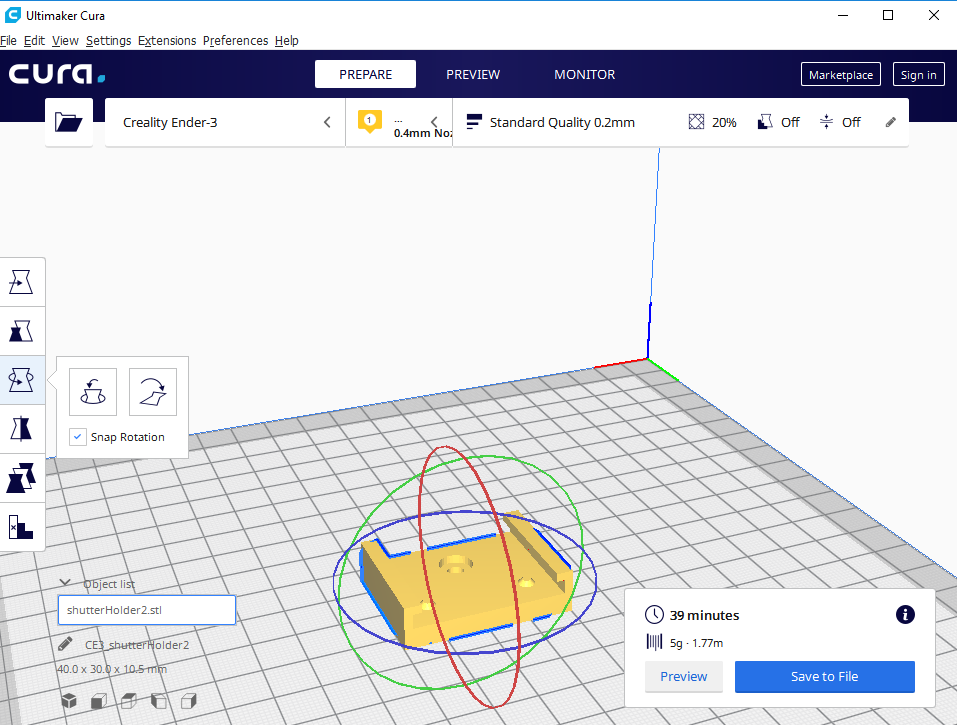
I decided to print the project in Standard Quality mode. The print time was estimated at 39 minutes and the weight at 5 grams.
 NOTE:
NOTE: To print an item without the so-called
supports (supports) you need to rotate it 90 degrees from how it is shown in the screenshot above. I printed it this way and that way, compared both options and decided that it was better to rotate it and print without
supports , than to leave it as it is and print with
supports .
It came out reasonably well, although I found that the size of the mounting tabs (the two sticking out slightly) was a bit too big and I had to file them down slightly with a file. Nonetheless, the whole thing held together well as it went in tight.

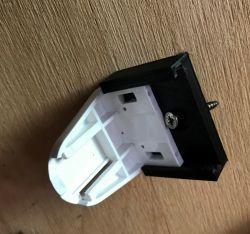
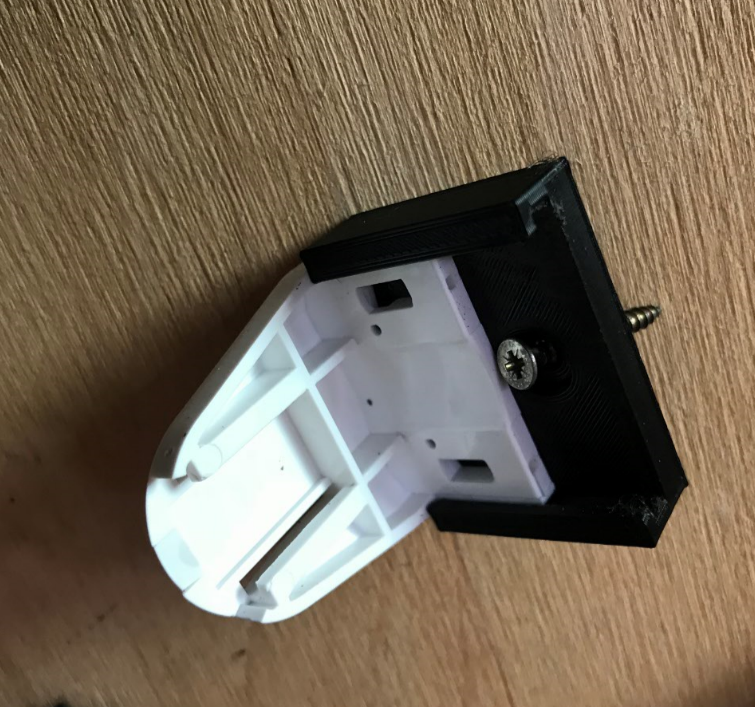
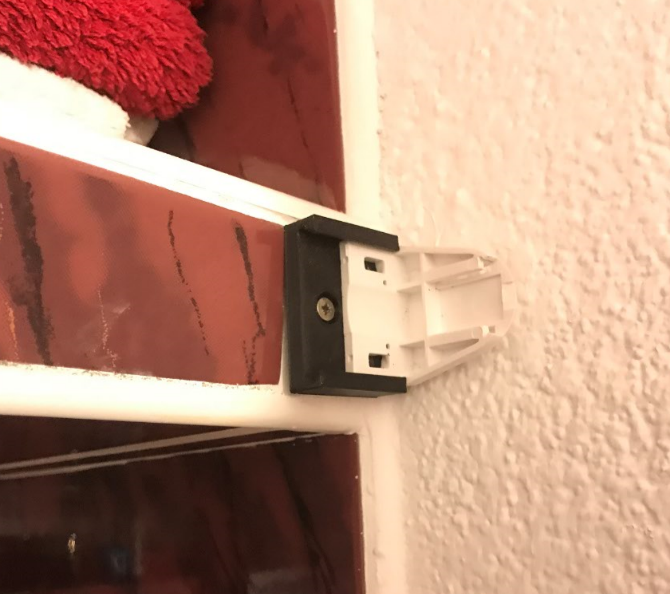
Final fitting (the white piece from the blind inserted into my 3D printed black mount):
 End fixation blinds
I'm not going to judge here the point of fixing the roller shutter where it was fixed. I did what I was asked to do. I just want to show
how it was fixed.
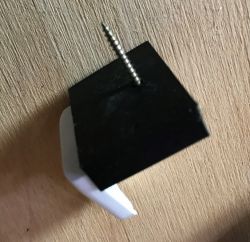
I drilled two dowel holes in the wall and then tightened my fixings to it with screws.
Left mount:

Right mount:
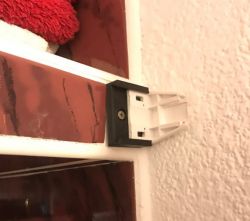
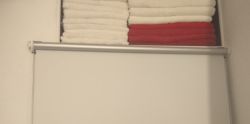
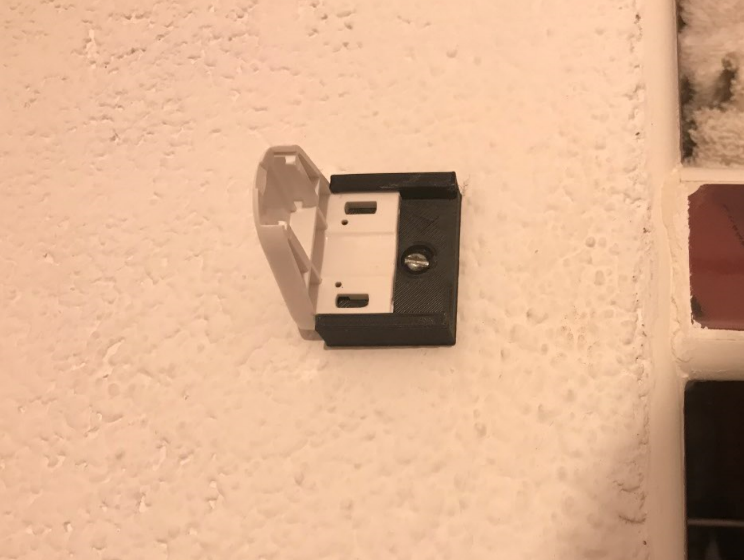
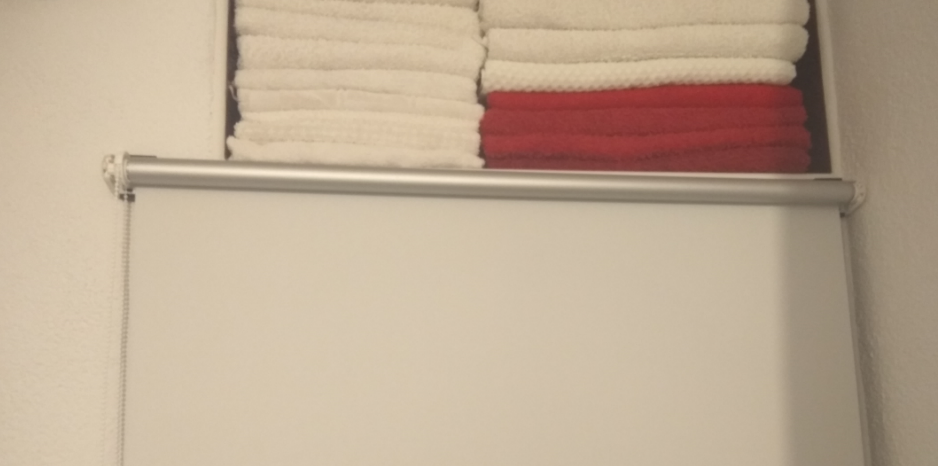
Then I have already placed the roller blind in them. The whole thing holds solidly and does its job well:
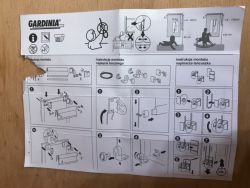
 Additional - leaflet of the roller blind used
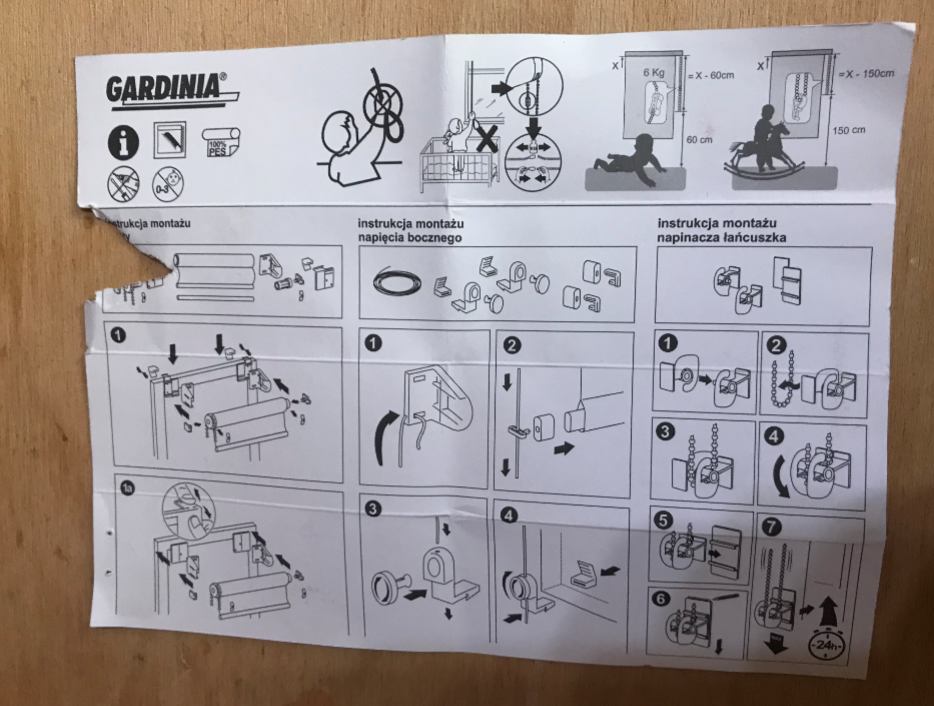
For those who are interested, I am posting pictures of the leaflet of the roller shutter for which my bracket was designed. It shows how this roller blind is normally mounted, for example on a door. This roller blind is thoughtfully designed so that it can normally be fixed without tools (even on the instructions there is a crossed out picture of a screwdriver and a screwdriver).
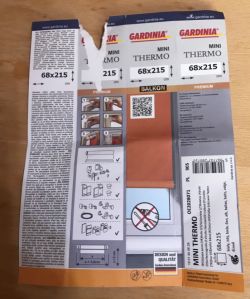
The original way of attaching the blind is quite ingenious, but in my case it didn't work and so I had to come up with something myself.
Summary
The roller blind is holding up solidly and does not promise to have any problems.
The weight and printing time of the component make its cost
nearly zero and its usability high (fitting it does not interfere with the other parts of the blind and allows it to be moved to another location later).
Using a 3D printer means that the component can be
alternately modified , e.g. if necessary, move the hole slightly upwards by several mm when you want to make adjustments to the mount.
In the future when I have white filament I may re-print this part, but I don't think that will necessarily be the case as so far none of the blind users have paid any attention to the colour of the mount.
I hope that my tiny design described here will motivate someone to take an interest in
3D printing and show that this new trend really can solve a lot of everyday problems.
I am posting the source files of my mount:
shutterHol...191021.zip (86.06 kB)You must be logged in to download this attachment.
Additionally; the same in STL format:
shutterHol...191021.zip (6.28 kB)You must be logged in to download this attachment.
NOTE: After printing, check that the catch from the roller shutter holds well in my mount. It should go in tight.


Comments
And that's what a 3d printer is useful for, which is what I've tried to make clear in your other topics :) You have a plus for this. A trinket you won't buy at the shop around the corner, and making... [Read more]
It seems to me that publishing such a project on the Internet is a bit too much. More time writing about the topic than the work put into the design of a small model. As for the printing itself, the rotated... [Read more]
If this is the case, perhaps the forum administrators should think about adding a 3d tab in the diy section. I myself use a 3d printer and would love to look at such solutions. Congratulations on your... [Read more]
I think I'm going to start publishing my designs and 3D prints, I have at least a couple of hundred of them. Greetings [Read more]
I think everyone has a few hundred 3D prints, if they have such a printer. Is every one worth bragging about? Certainly not. The colleague who created the post selects those that may be useful to someone... [Read more]
Just as useful as the "Gardinia roller shutter mount". Greetings [Read more]
Only that this and other roller blinds are available for sale, and there are many, many more phones to choose from. That's the difference. You don't want it don't print it, unless you want it download... [Read more]
It's all beautiful and even works, I hope it doesn't break after a few exposures of the blind. One question that bothers me is WHY? I see two rectangular holes in the factory roller shutter bracket,... [Read more]
Wasted time would be looking for pre-made figures and blindly printing without a clue. A colleague designed it himself, so no time was wasted. In the same way, it is a waste of time and money to buy an... [Read more]
No hard feelings. I just think it's quicker to drill two, three or even four holes in the wall and then simply screw on the factory mount, rather than designing and printing a mount and then drilling... [Read more]
I don't think you understood the sarcasm ;) [Read more]
One thing I don't understand, why mess around for 8 hours when the roller shutter brackets have 2 holes for fixing.... [Read more]
Didn't I write the same thing a little above? [Read more]
This can be done in various ways but this is probably not the place to publish such designs. Firstly, there are plenty of places where you can post your 3d designs and usually people there are looking... [Read more]
Can you give a more detailed account of what you did? I see from the photos that you modelled the handle in Blender. What did you do next? I just didn't know that Blender was suitable for creating objects... [Read more]
Yes, there are apparently two holes in the finished part, but these are holes for the striker from the door cap, not for the screws. They're not the right shape, they're rectangular, and on top of that... [Read more]
Actually, it is not suitable. Just creating simple assemblies is an ordeal, let alone dimensioning. It's a great program for creating 3D graphics and it's free. When it comes to modelling parts for 3D... [Read more]