First 3D printer purchase - Creality Ender 3 Pro - My impression, review
TL;DR
- Creality Ender 3 Pro review covers a first-time 3D printer purchase, assembly, setup, and real-world printing experience with a budget FDM machine.
- The key setup step is manual bed leveling, using the four underside nuts and a paper gap check before printing STL files through Cura.
- The kit included only 20 metres of sample filament, and replacement filament was found at about 40 PLN per kilogram in Poland.
- Simple models print very well, but stringing, supports, nozzle clogs, bed wear, and a failing plastic extruder feeder can affect reliability.
- Pause mode is awkward because hot nozzle ooze can fuse to the model, while Cura can also block COM ports during other serial tasks.
Generated by the language model.

Hello my dears
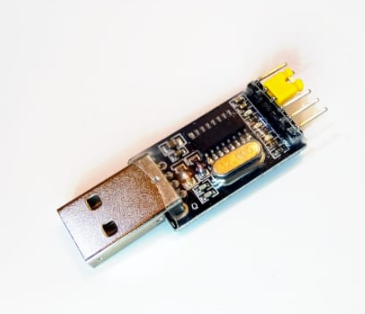
Here I will describe my experience with the printer Creality3D Ender 3 Pro . In the topic I will try to include useful and interesting information for anyone considering buying one or starting out with a 3D printer.
In the topic I will not describe the obvious such as the assembly of the printer itself (for this there is a manual included and there is a lot of material on the web), I will focus more on just my observations on the use of the printer and the prints themselves.
Introduction
I'm not going to elaborate here on what 3D printing is, nor am I going to describe what types of filaments are commercially available. That's all already on the web. This topic will be a description of my experience with the Ender Pro 3D printer .
I purchased my 3D printer in mid-2019. Initially, I considered buying one of three models: Ender 3 , Ender 3 Pro and Anet A8 .
I initially rejected the choice of printer Anet A8 , as it has a much smaller footprint than Endery 3 .
For the longest time I couldn't decide between Ender 3 and Ender 3 Pro , but over time I read that Ender 3 the Pro version has:
- improved Y axis relative to Ender 3
- new, more precise extruder for the filament
- a magnetic pad for the base of the print (so-called bed)
and I finally decided on a printer Ender 3 Pro .
It is difficult for me to judge how much the Pro version of the Ender printer is actually better than the regular one, but I do know that I am happy with my Ender Pro.
Package contents and printer assembly
The printer is received in parts and you have to assemble it yourself. The contents of my package upon receipt looked like this:
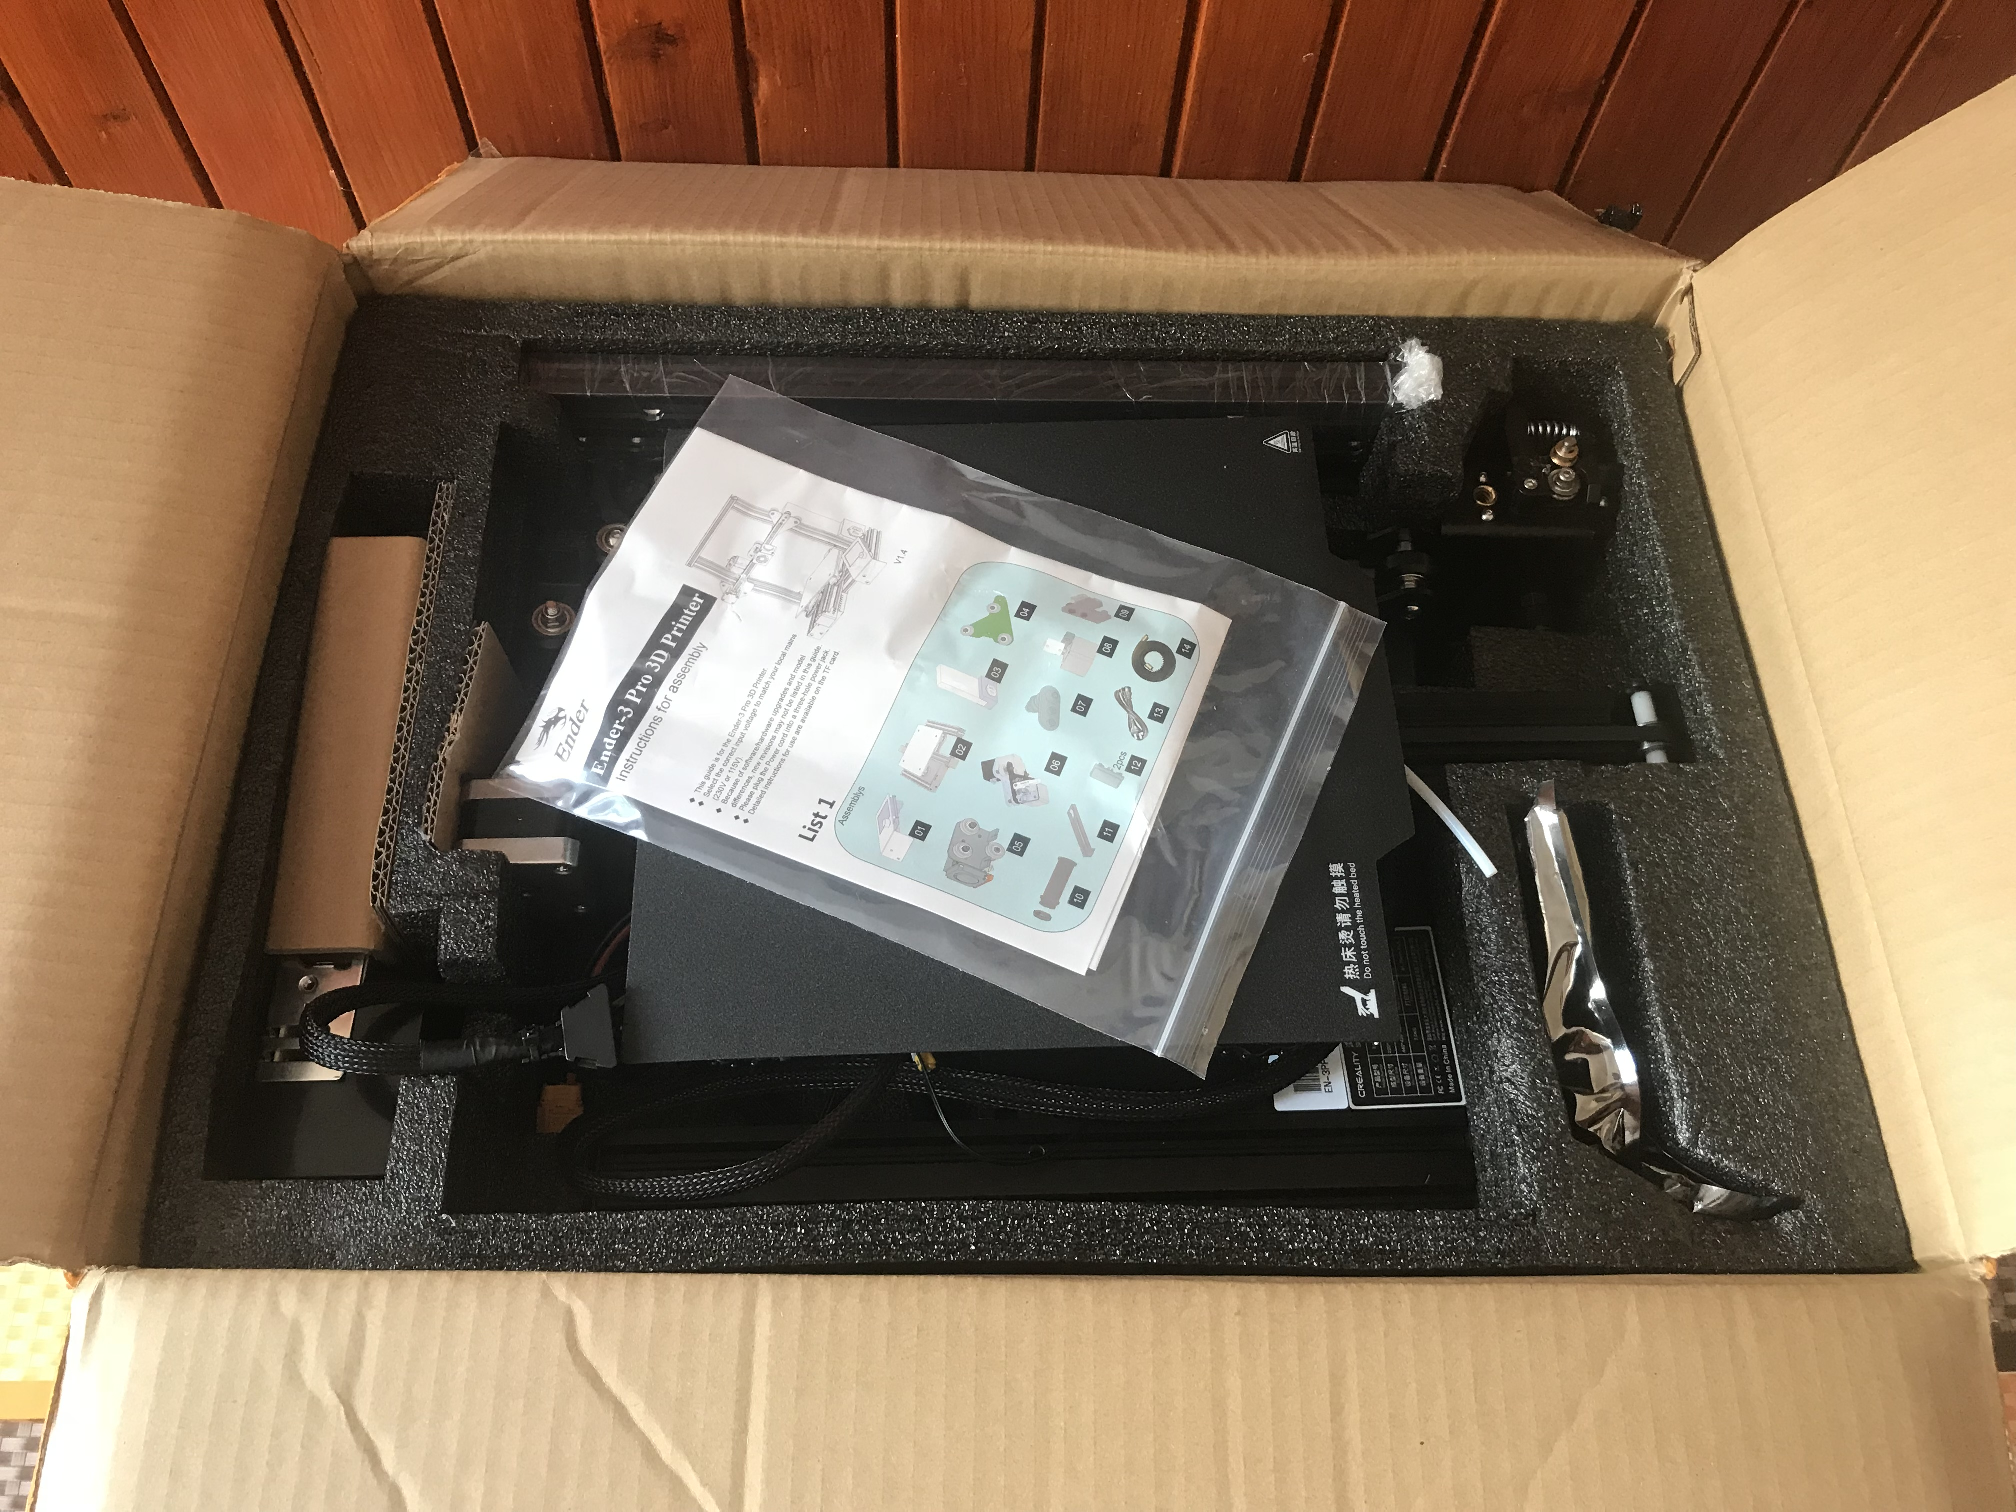
Included in the package is:
- a complete set of parts to assemble the printer (frame, stepper motors, display, power supply, main driver board, small things)
- 8GB SD card with recorded documentation and sample GCode files (to be able to print something right away)
- uSB SD card reader
- sample of white filament
- all the necessary tools to assemble the printer, including spanners, inbus and cutting pliers
- a skewer to push through the printer nozzle
- tool to lift/remove printouts from the base
- spare nozzles
- power cable
- instruction manual with pictures
So you are unlikely to need your tools to assemble the printer.
The assembly of the printer itself is simple and convenient , it can be done according to the included instructions or viewed e.g. on Youtube materials on this subject, and there are plenty of them.
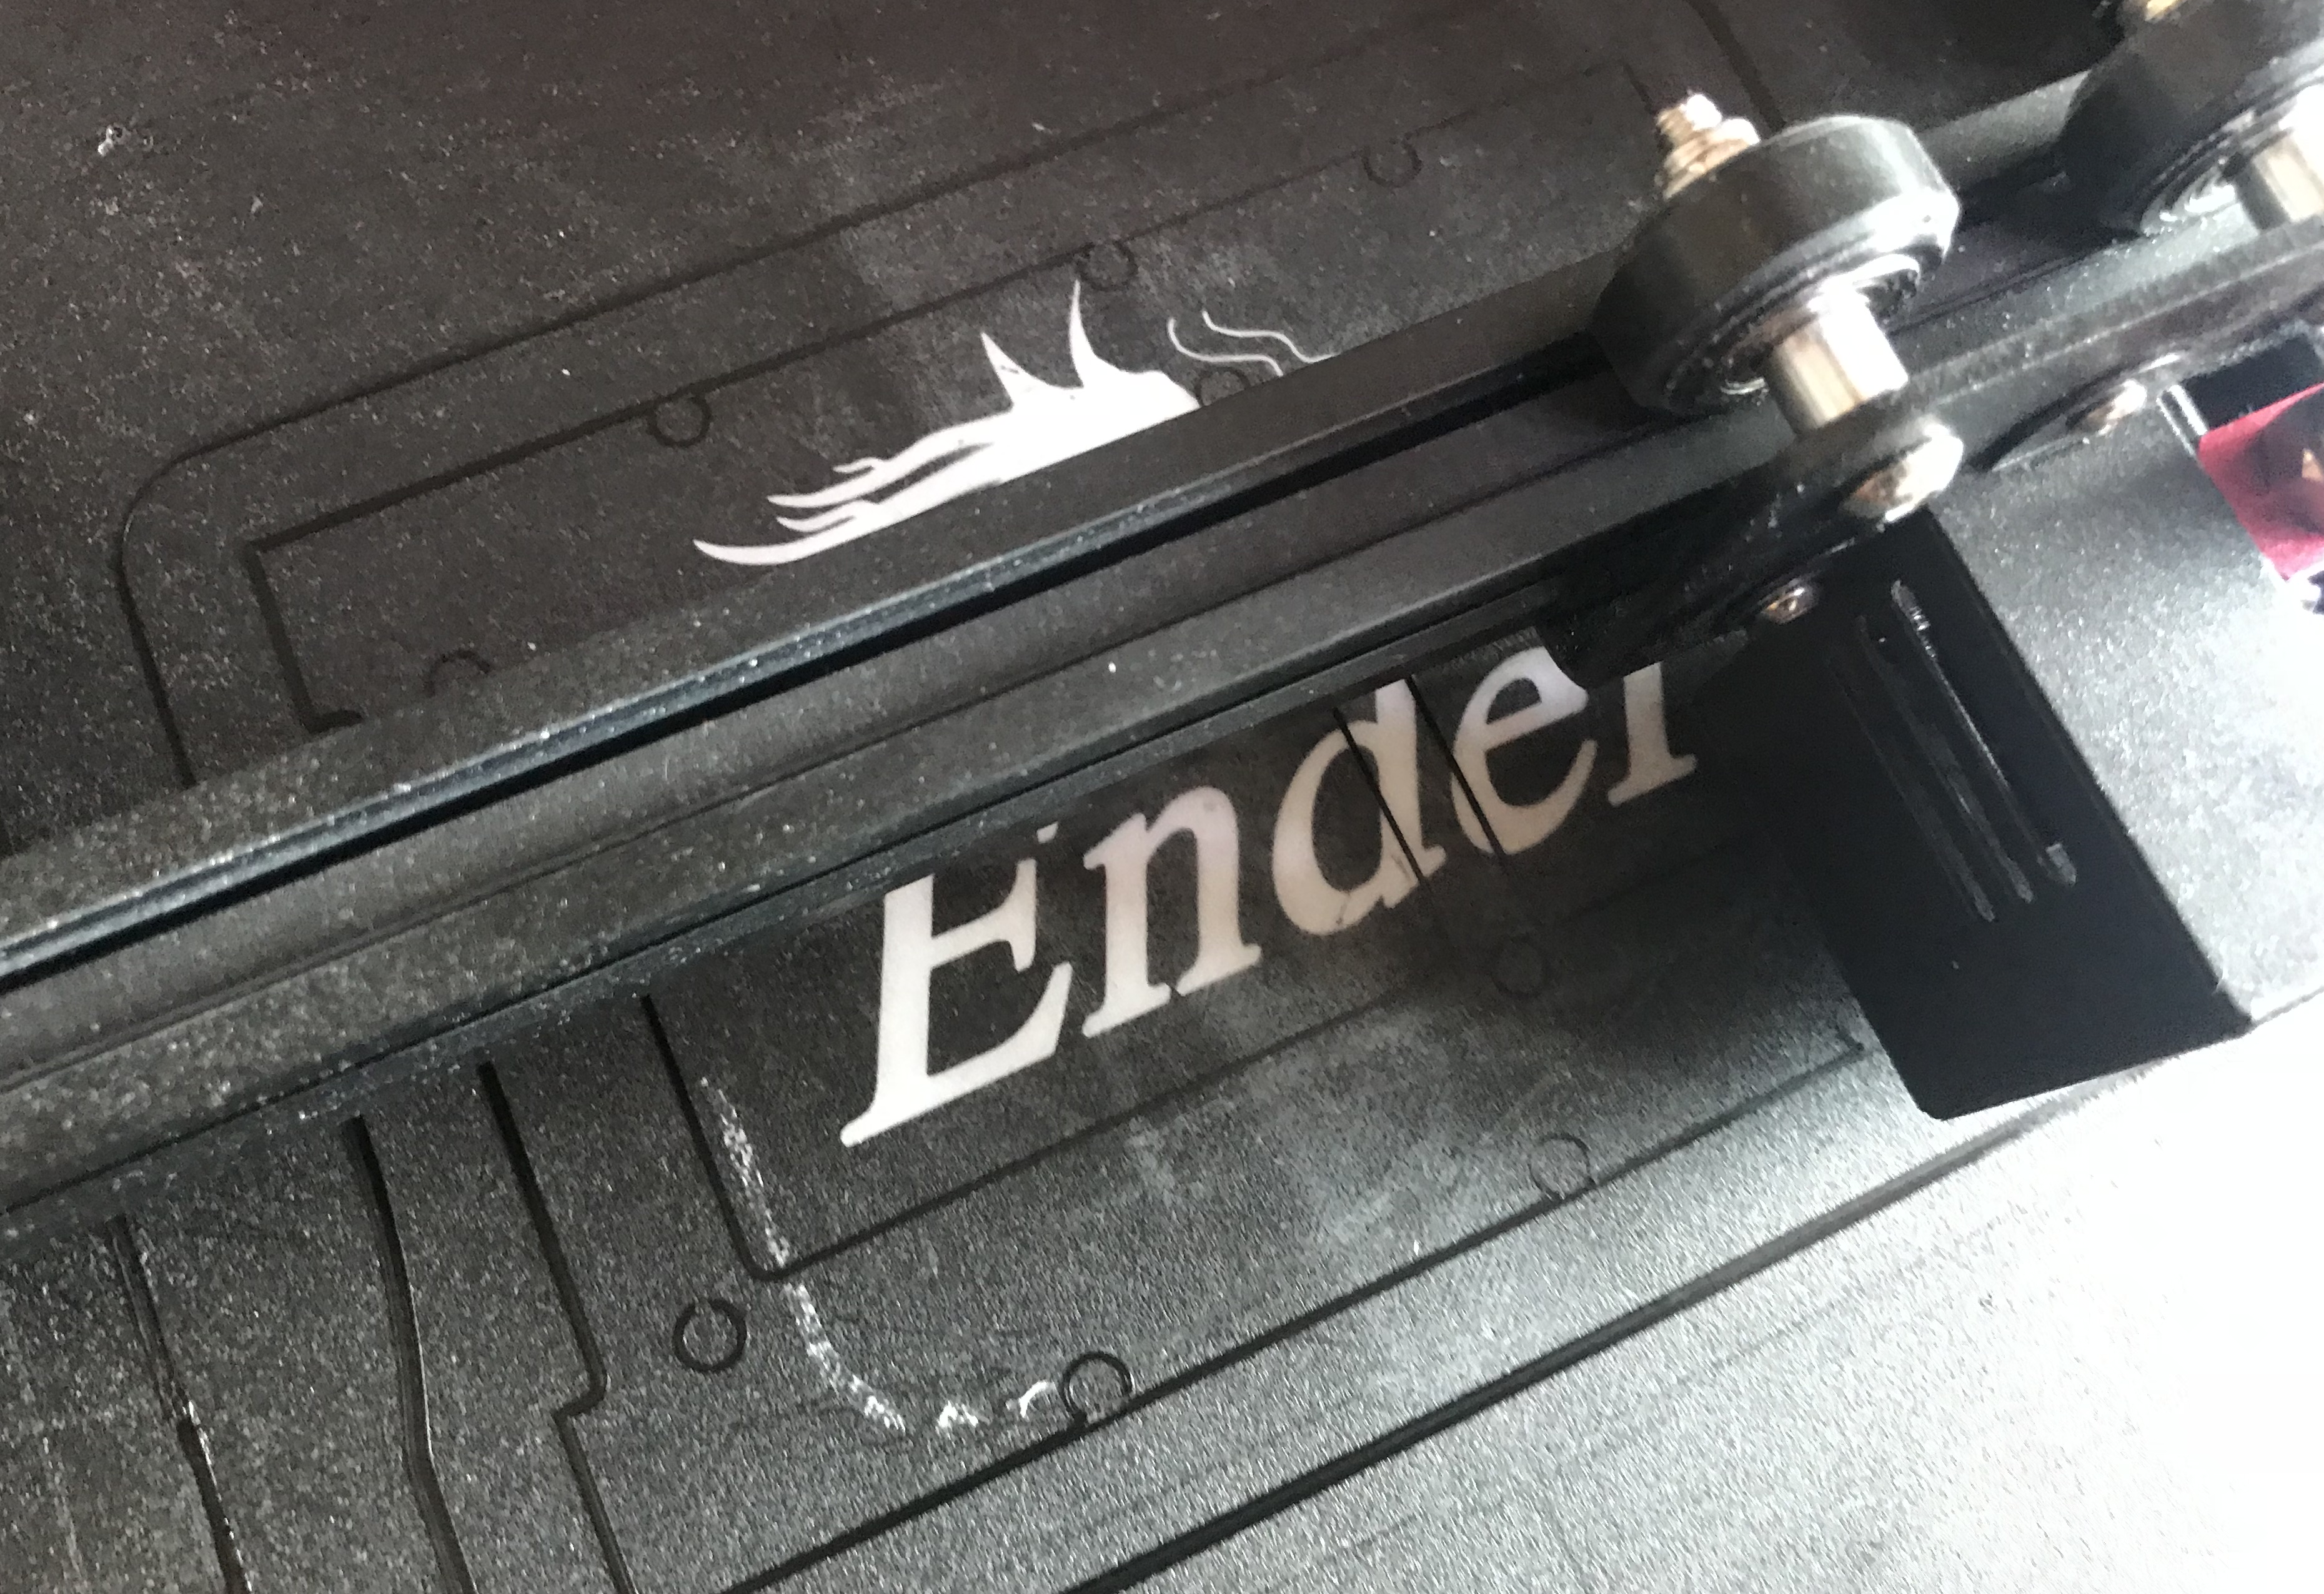
The assembled printer (more precisely, after some time of use already) at my place looks like this:
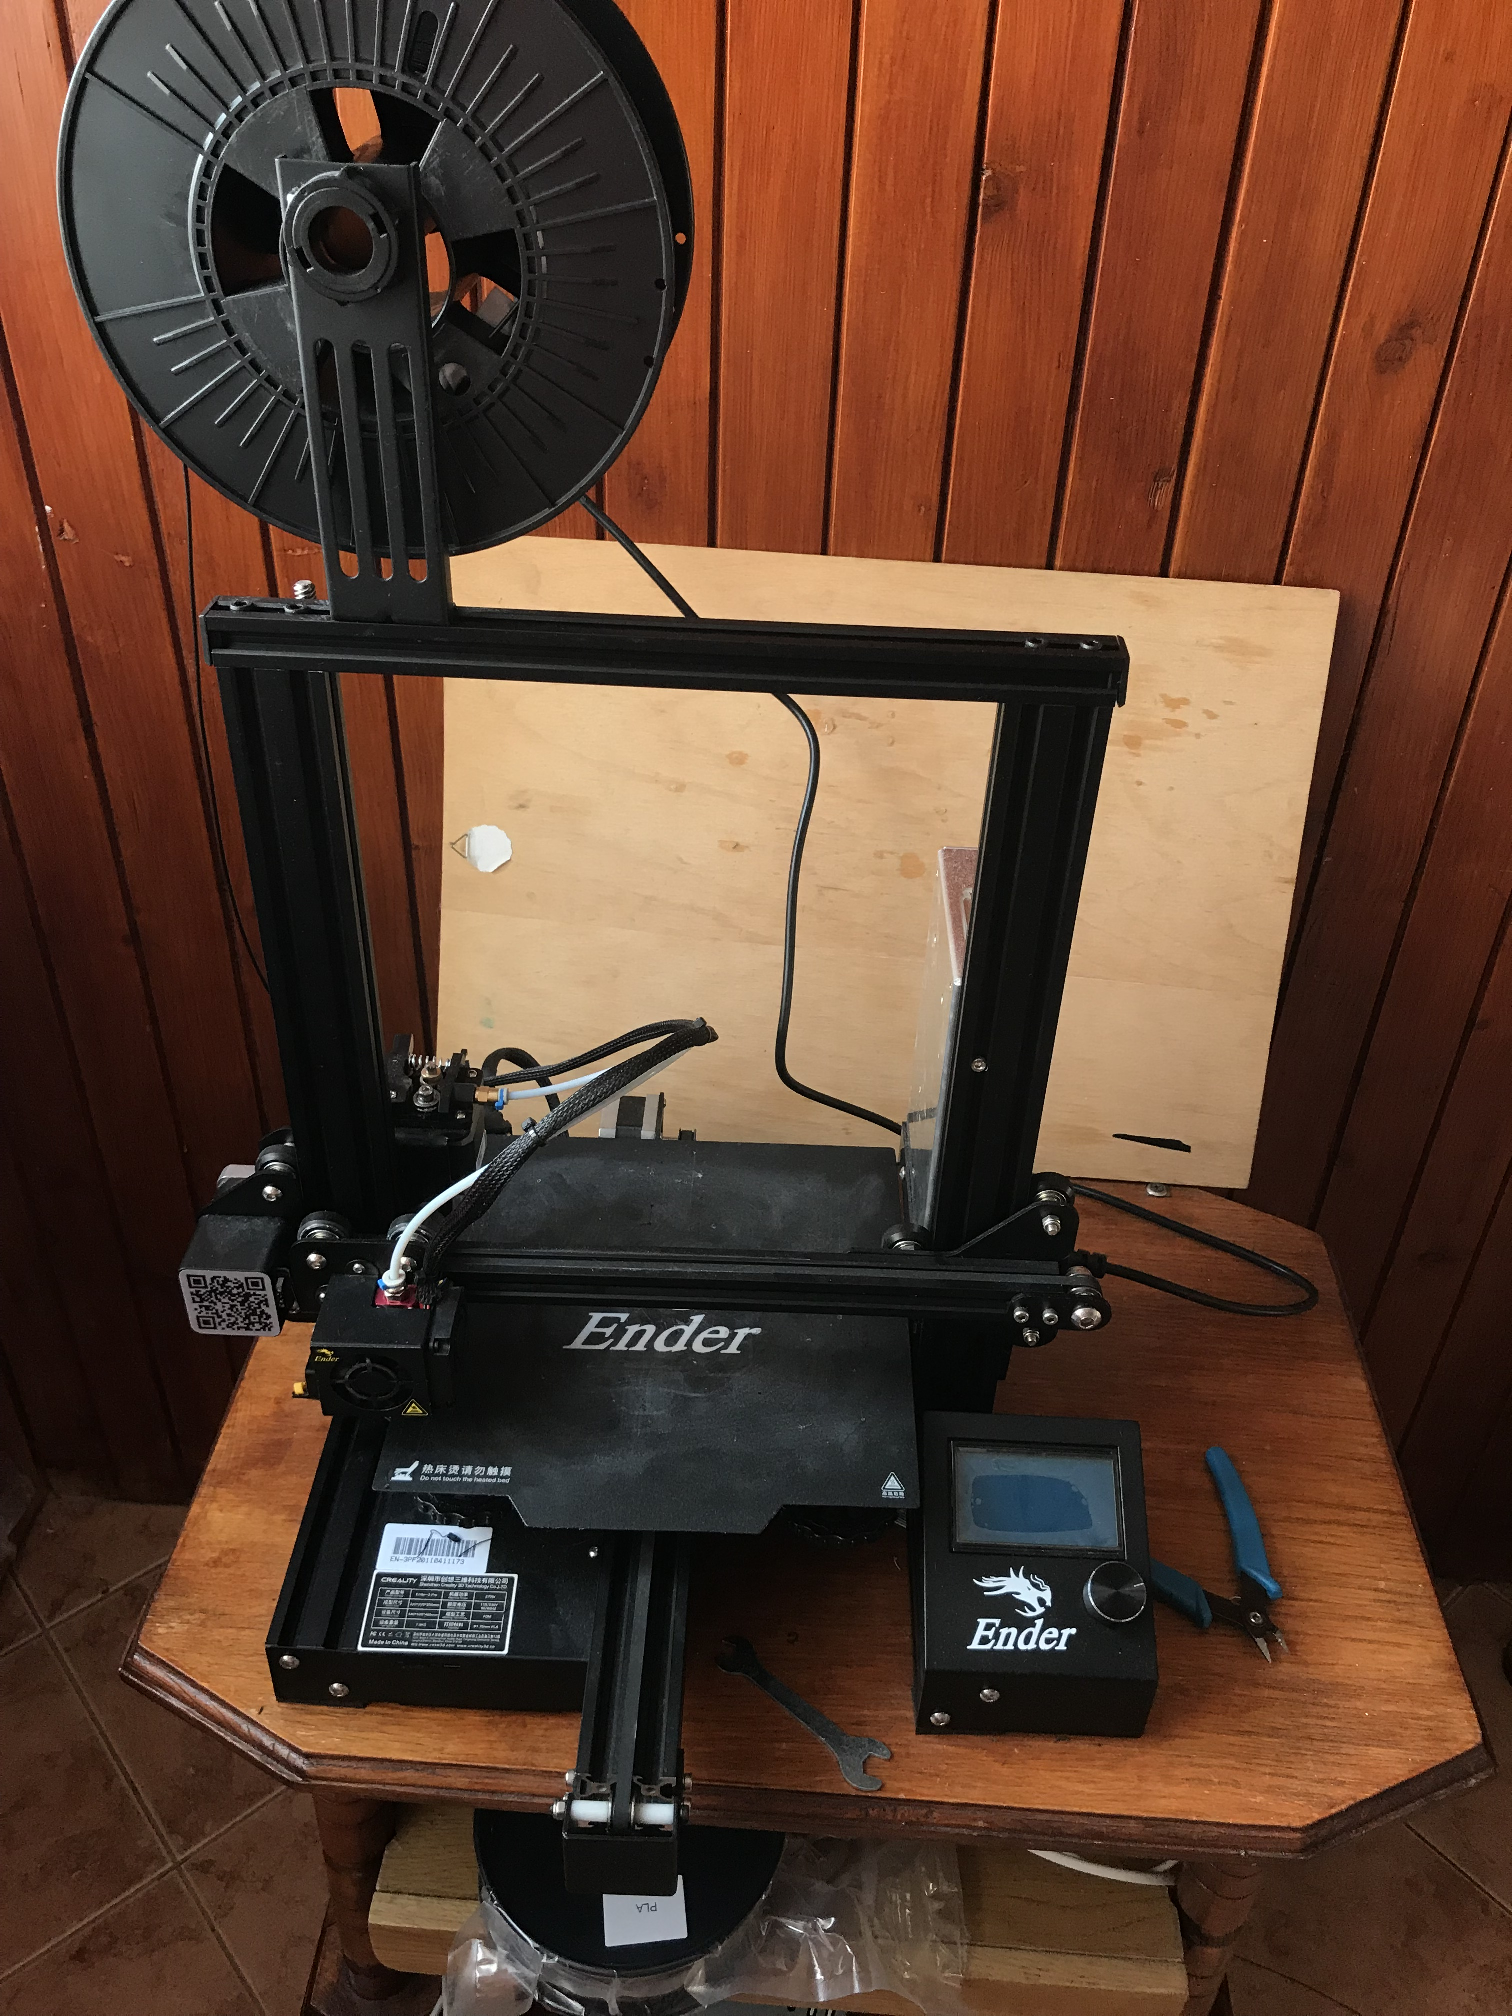
The largest traces of use can be seen on the print pad, it is possible that I will replace it with a new one in the future.
Additional purchases - what will definitely be useful?
For the printer itself, it is worth buying a few things at the very beginning.
First and foremost - the filament.
It is probably best to buy it in our country. It is cheaper here than abroad.
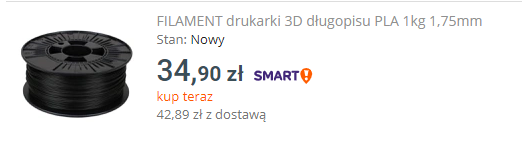
Abroad I have seen prices of the order of (after currency conversion) 80 zloty per kilogram, and here it is almost twice as much.
The included sample of filament in the Ender printer kit really doesn't last for much. There is only 20 metres of it.
Of the cheaper stuff - spare nozzles. Cheapest from China, with free shipping. There are not a lot of them in the Ender kit, and certainly new ones will come in handy sooner or later:
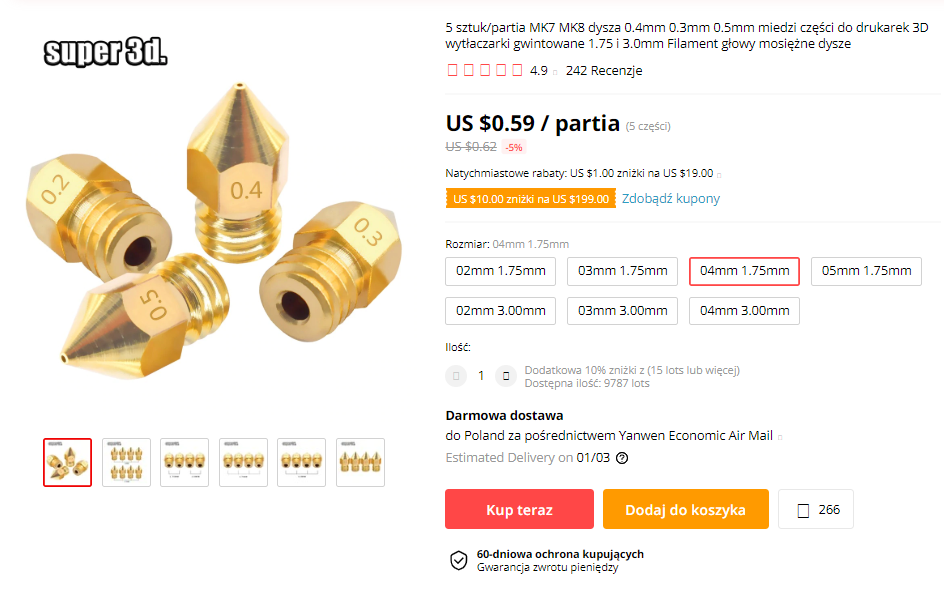
If you buy a set of five, it comes out to less than a zloty for one. Definitely worth it. Nozzles wear out over time and it's not worth wasting time cleaning the old one when you can have a new one for a zloty.
Of the more expensive items - a spare magnetic print pad. A good and clean pad is one of the important factors that translates into a successful print, so there is no point in saving on it:
Sure, the pad can and should be cleaned regularly, but it's still worth replacing it with a new one sometimes.
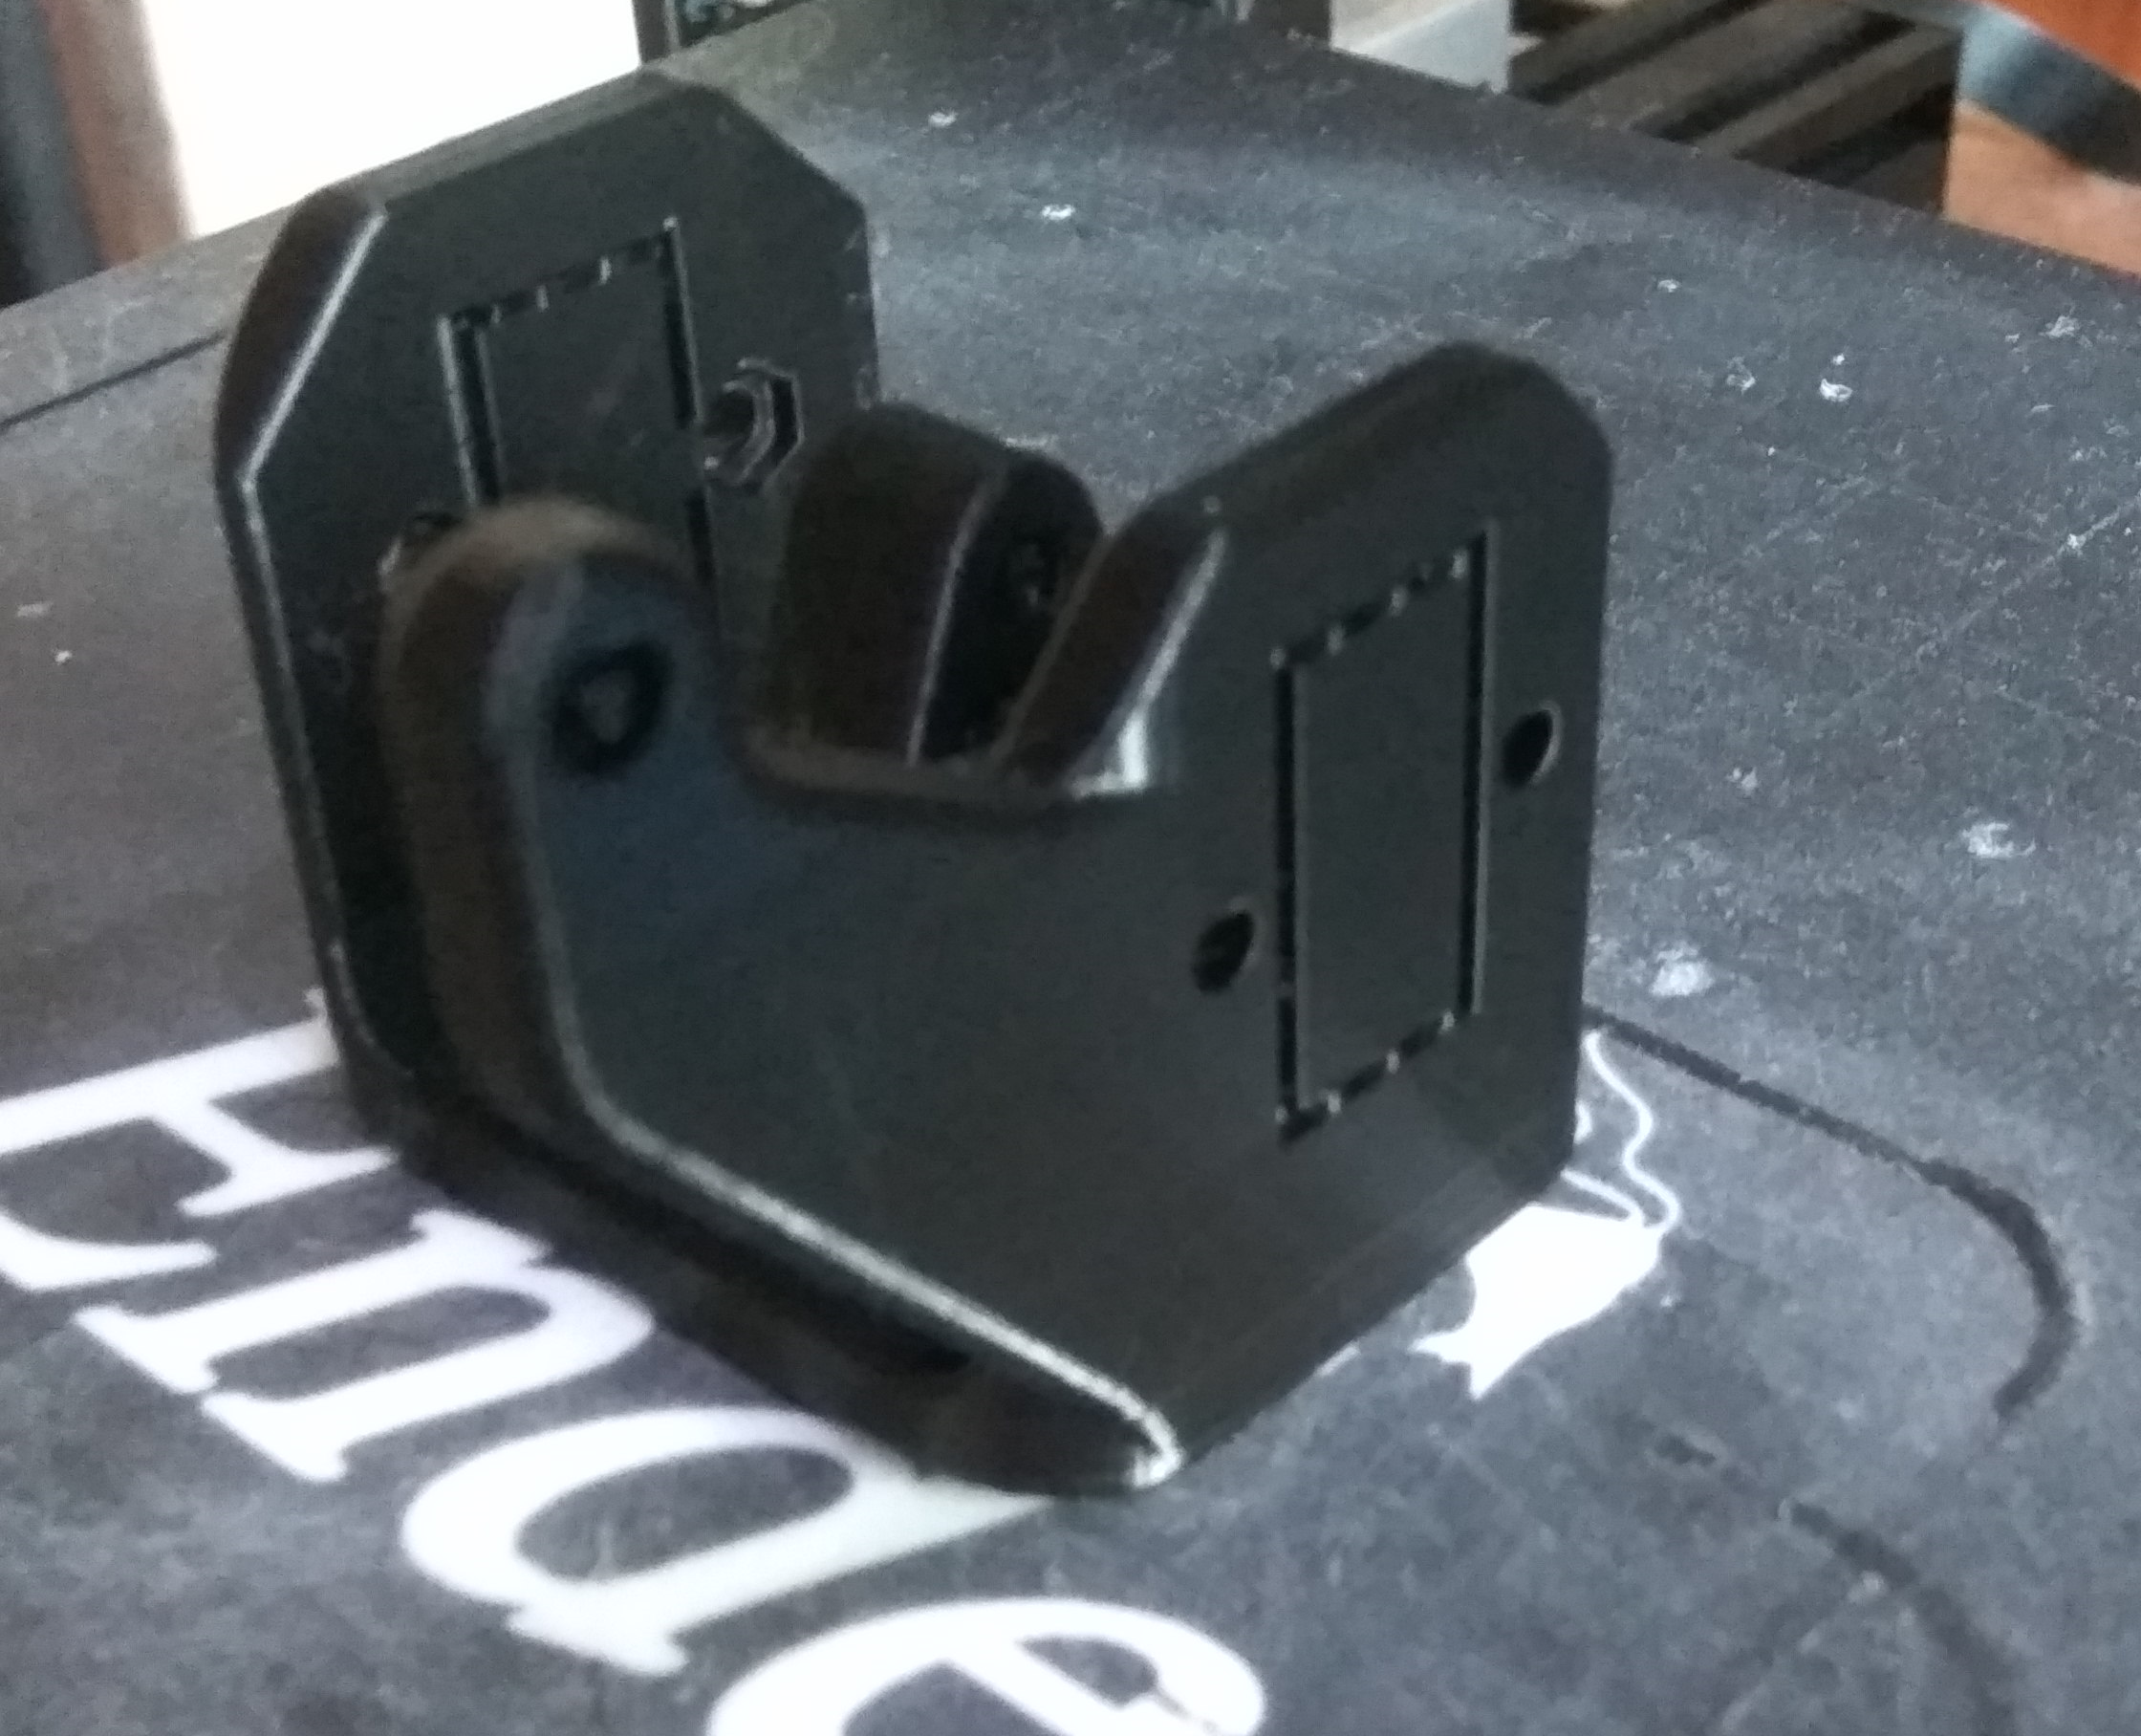
Additionally - metal extruder feeder to be replaced. For example, one like the one here:
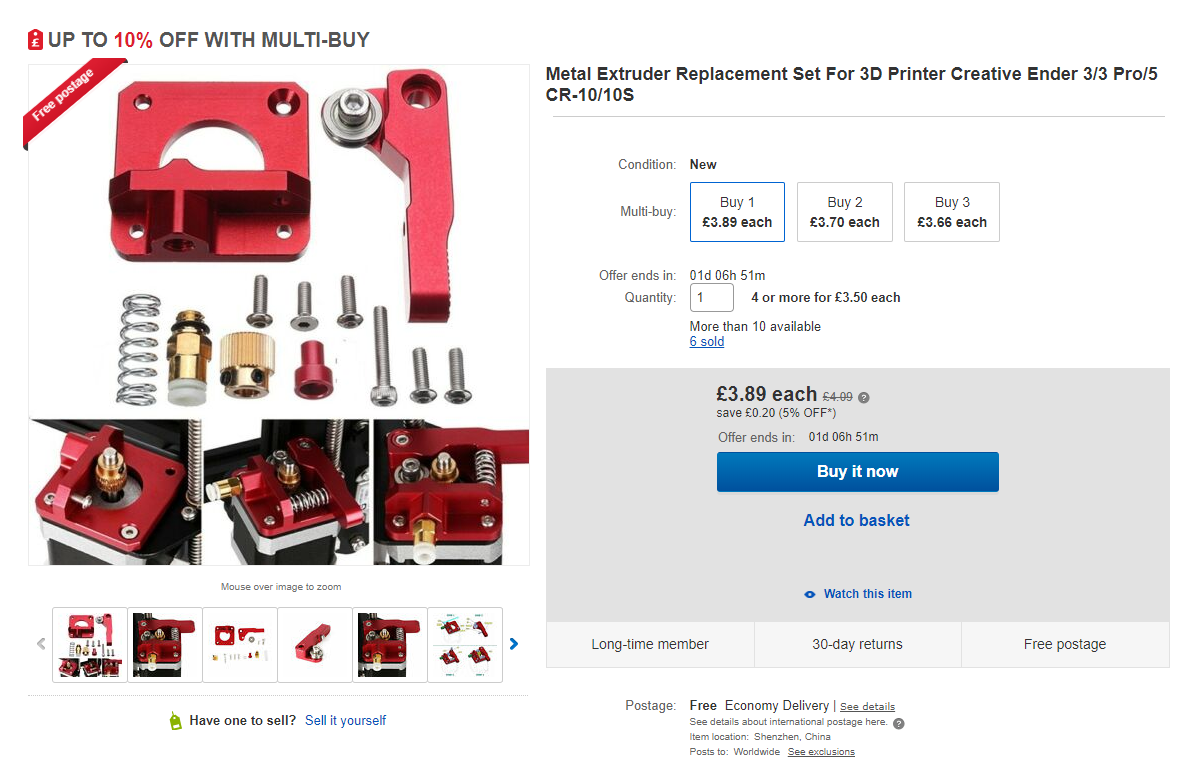
I don't know if it's a matter of luck or perhaps bad use, but with me after six months of intensive printing the original plastic extruder feeder just fell apart :
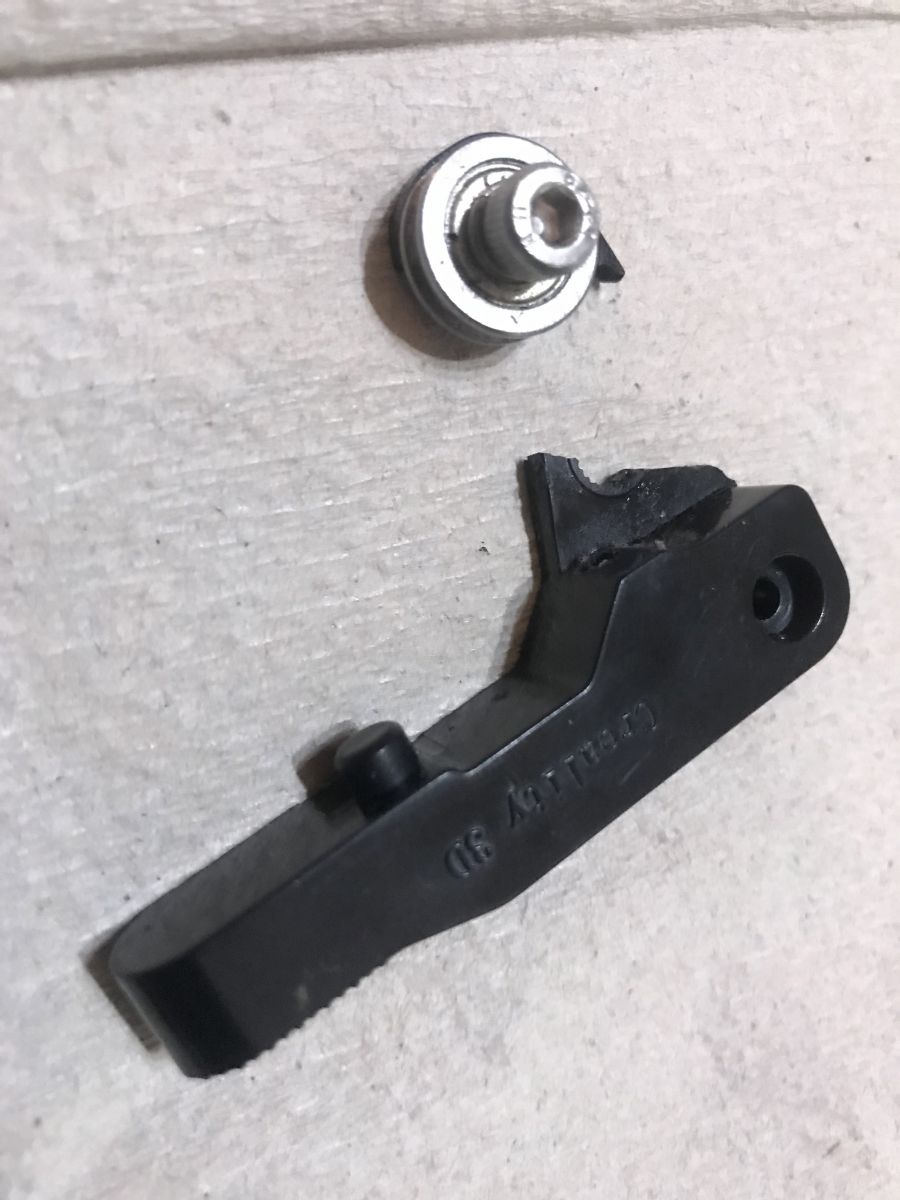
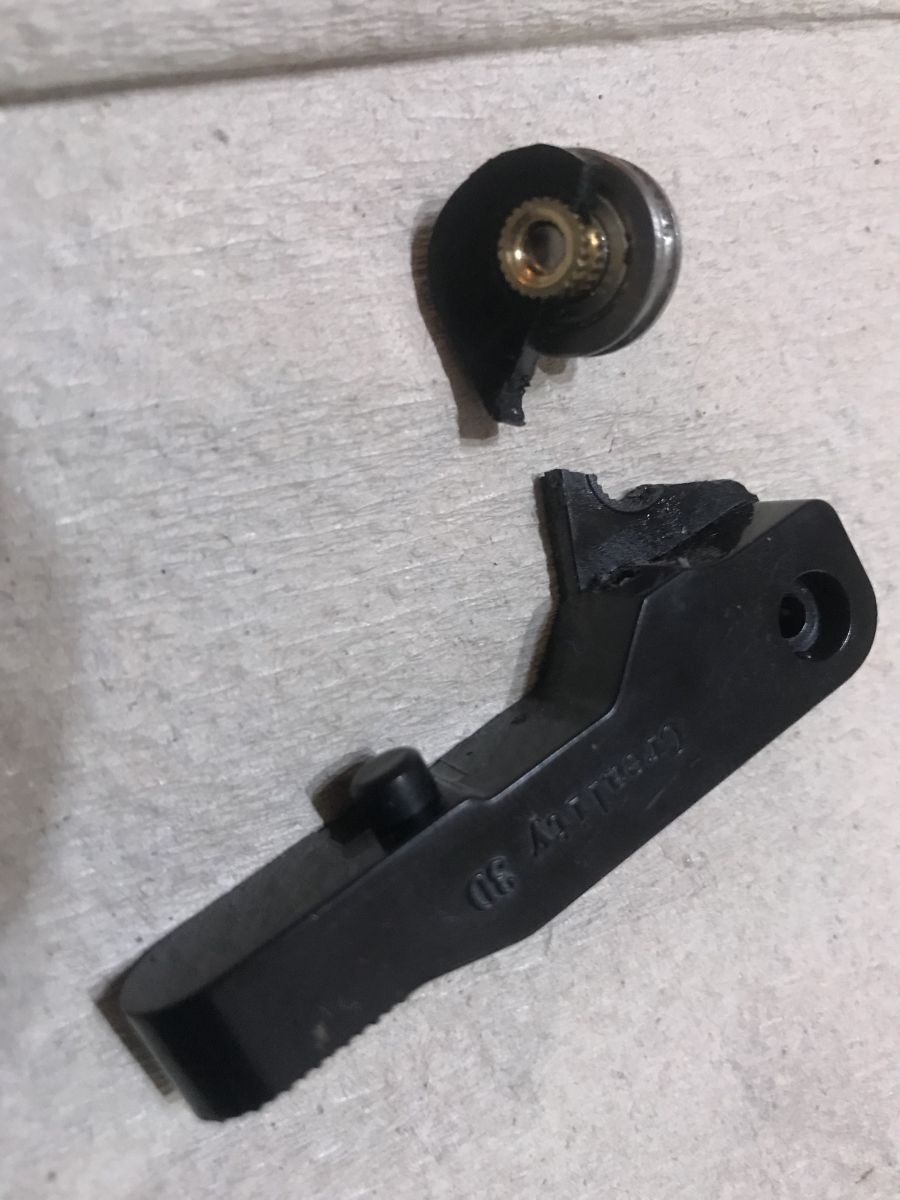
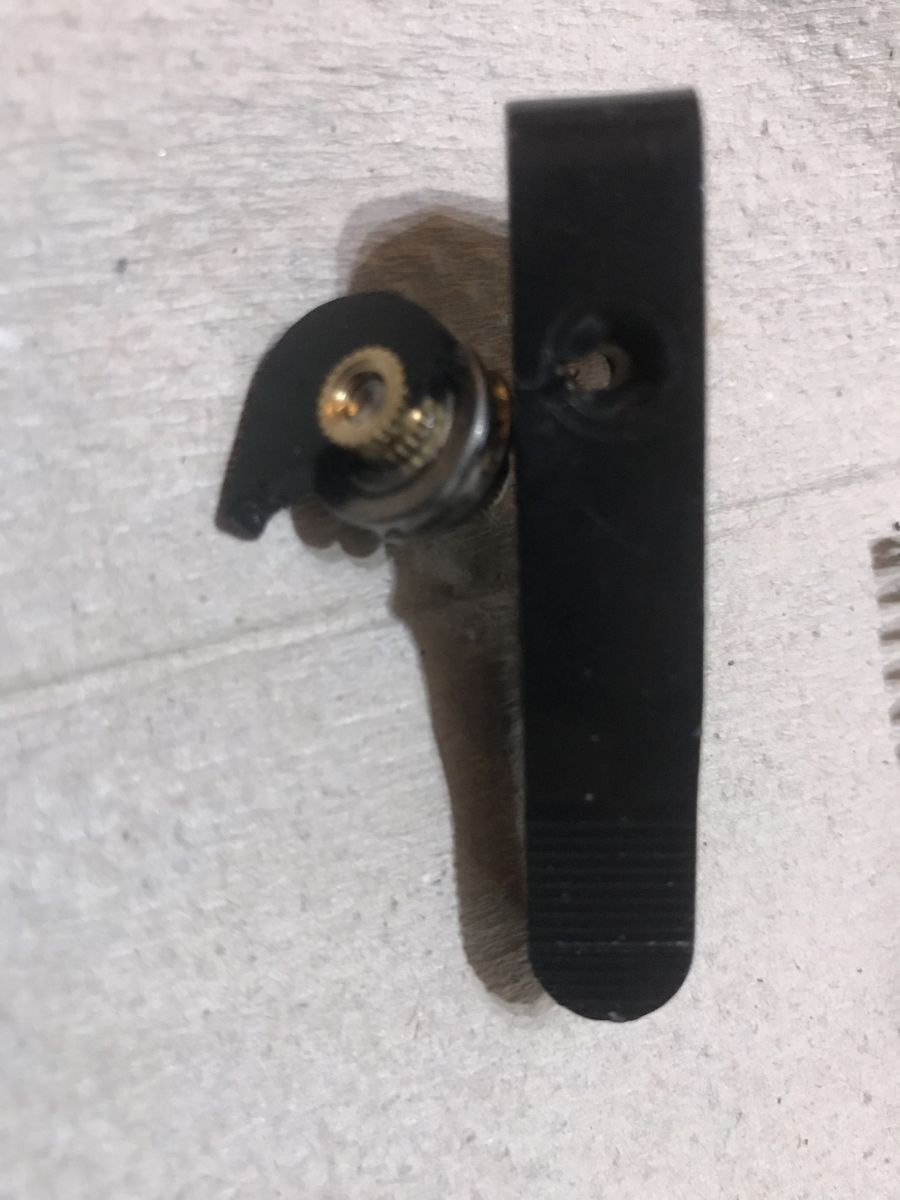
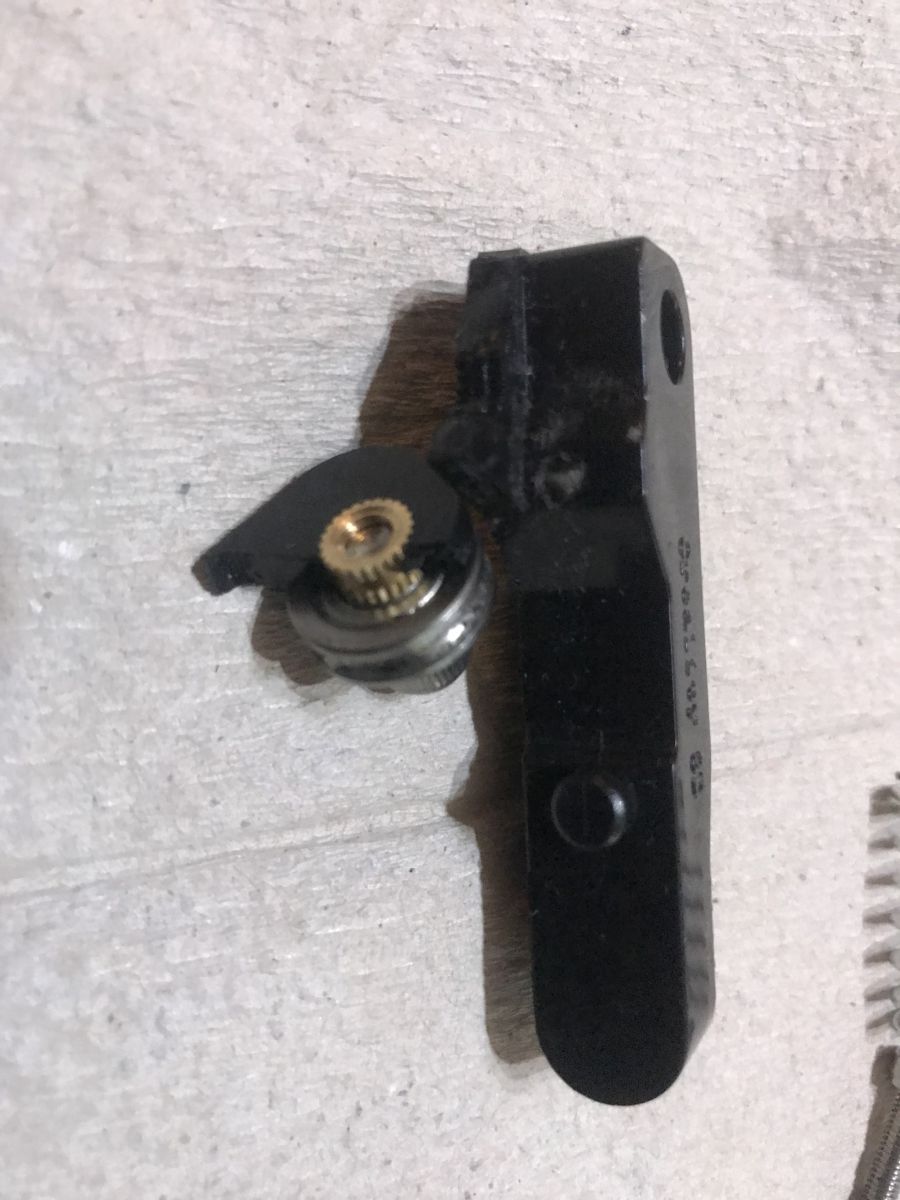
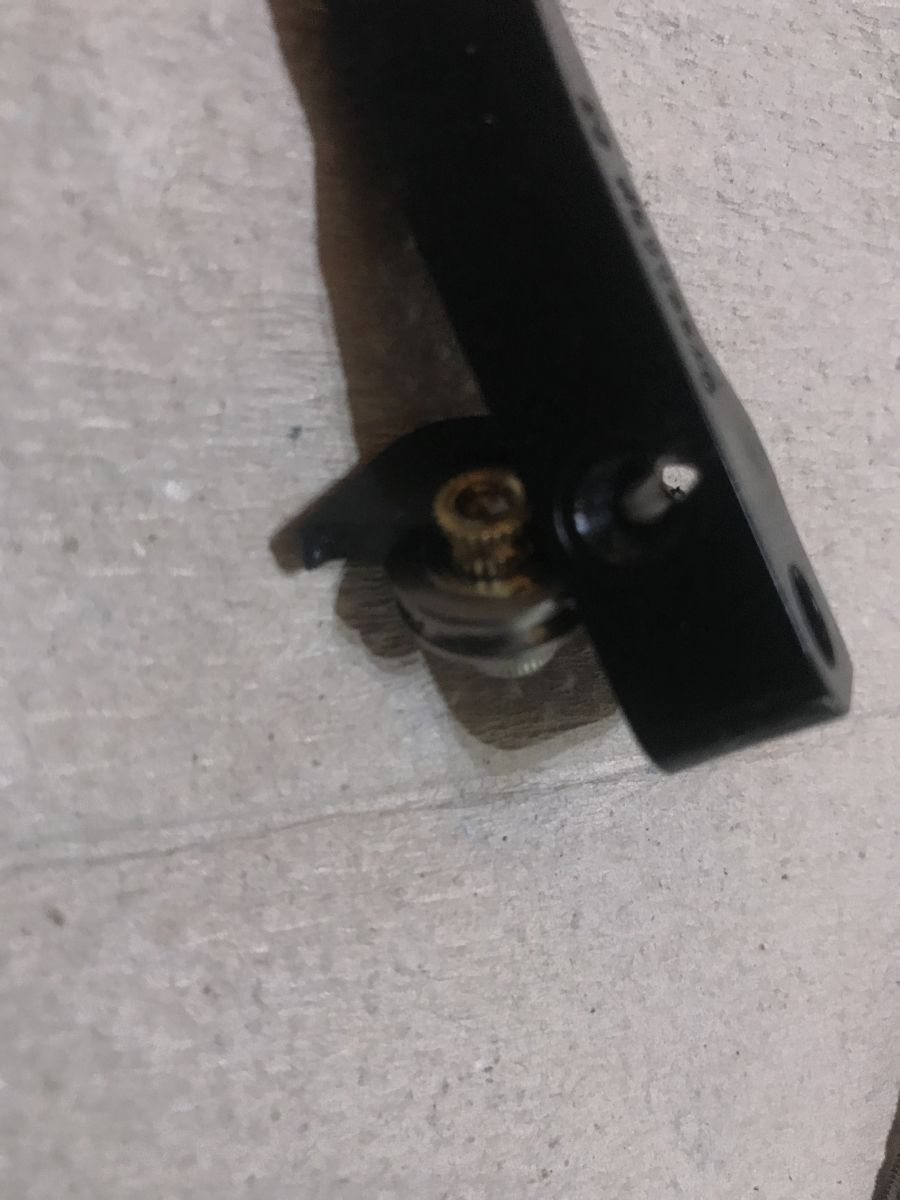
In addition (you can see it in the pictures too) the constant friction of the filament line against the feeder plastic simply rubbed it in some places, so that the filament itself started to be fed at a slight slant.
I tried gluing it down, but this only helped temporarily. And its metal replacement costs only about 20 zl, so it's definitely worth buying .
In addition to this for my printer Creality Ender Pro 3D nothing else I bought, but I know there are printer extensions available for sale, such as:
- new motherboard, supporting WiFi print reception
- automatic bed leveling system (print bed leveling, normally performed this by hand)
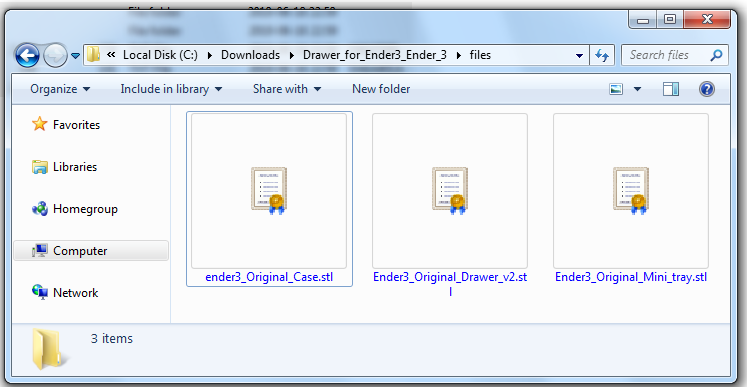
In addition, there are ready-made 3D model files of printer add-ons such as drawers or tool holders on the web, but in my opinion these are not as essential as what I have described.
First steps after purchase
Once the printer is assembled, it is essential that the platform on which it is printed is properly levelled. Without this, the filament will not stick to the substrate and it will not be possible to print anything.
This process is called " bed leveling ".
The platform is levelled with using the four nuts on the bottom of the platform .
The nozzle should be at a distance 0.1mm from the base.
For bed leveling there are various ways, but I will highlight two here:
- the sheet of paper method (without turning on the printer) - involves taking an ordinary sheet of paper, positioning it on the base of the printout and adjusting its height with the help of four nuts so that the nozzle even seems to touch the paper but at the same time can walk without friction
- trial-and-error method/sequential prints - consists in taking some simple object (or even a specially dedicated bed leveling model, e.g. from here: https://www.thingiverse.com/thing:3235018 ) and repeatedly start the print, each time observing and correcting the distance of the nozzle to the base so as to achieve the desired effect.

Bed leveling was the only process necessary for me to get the printer up and running and make the first correct print. In addition to this, extruder calibration is sometimes done (i.e. measuring how much filament a given number of steps of the stepper motor ejected from the filament feeder), but in my case this was not essential. However, if you want really good print quality then it is worth doing this as well.
Inadequate bed levelling generally results in the filament not sticking to the substrate at all (or not coming out of the nozzle at all), but sometimes it can also result in something like this:
This photo is one of my first prints. The print substrate was not fully levelled at the time so it was slightly higher on one side and lower on the other, which clearly translated into an unacceptable deformation of the model.
Poor levelling can also be seen from the model surround - on one side it is not even there and on the other it is not glued to the substrate.
In contrast, this photo was taken later, with a much more level base:
You can clearly see that it is better.
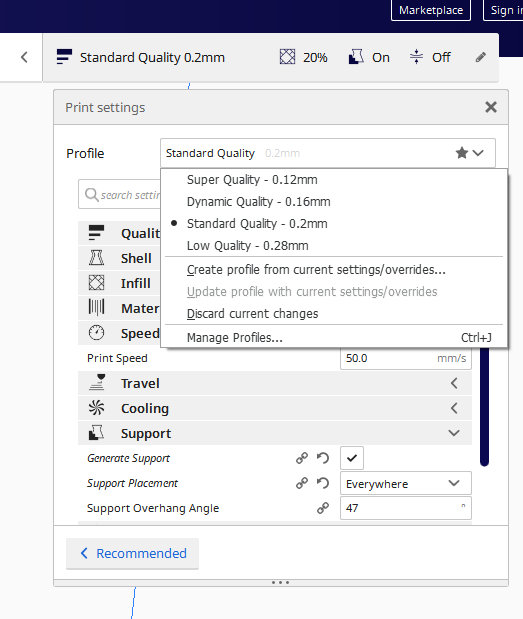
Unnecessary software - Ultimaker Cura
Ultimaker Cura is a so-called slicer , which is a program that allows you to swap files .STL containing 3D objects into .gcode files, a printer-specific friendly format.
Source files .STL can be generated in a 3D object creation program or downloaded from the web, e.g. from Thingiverse .
The generated files .gcode are uploaded to an SD card, which is then inserted into a 3D printer and printed from it.
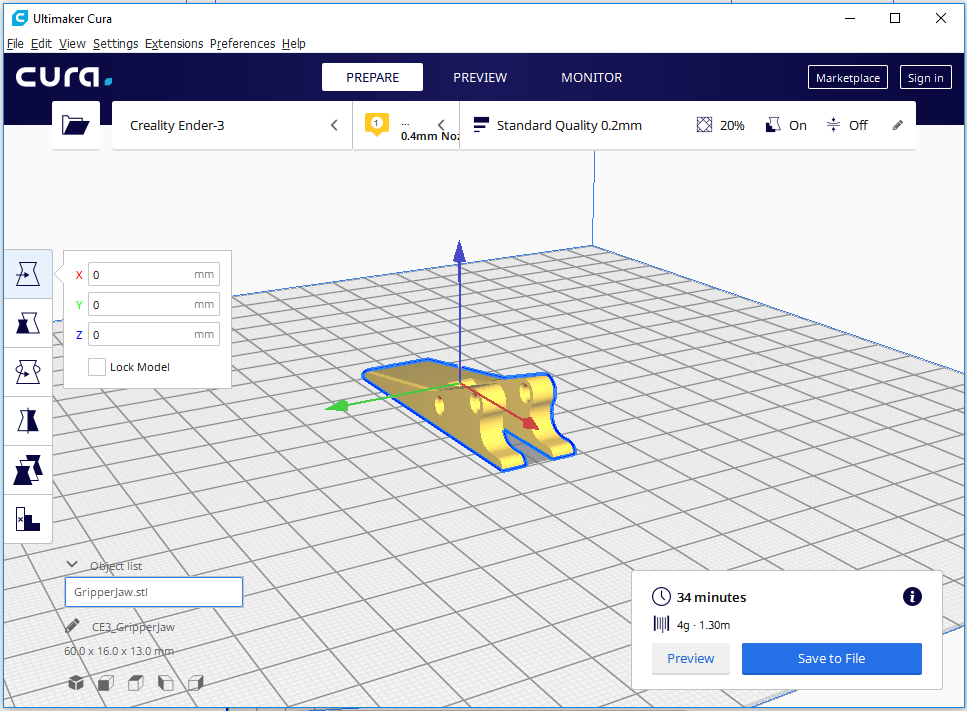
We configure the entire 3D print in this software. Among other things, you can:
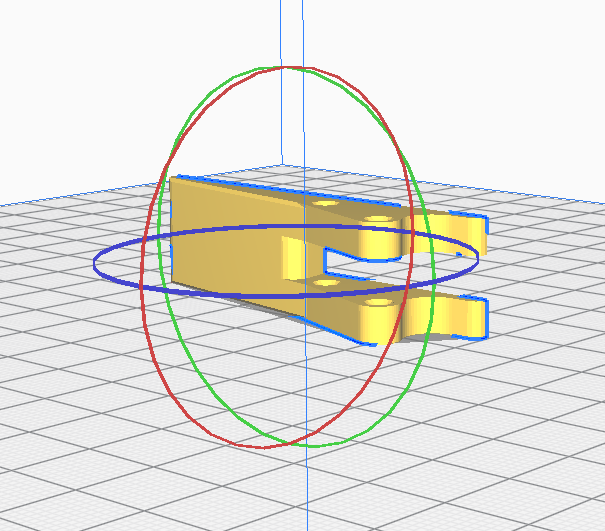
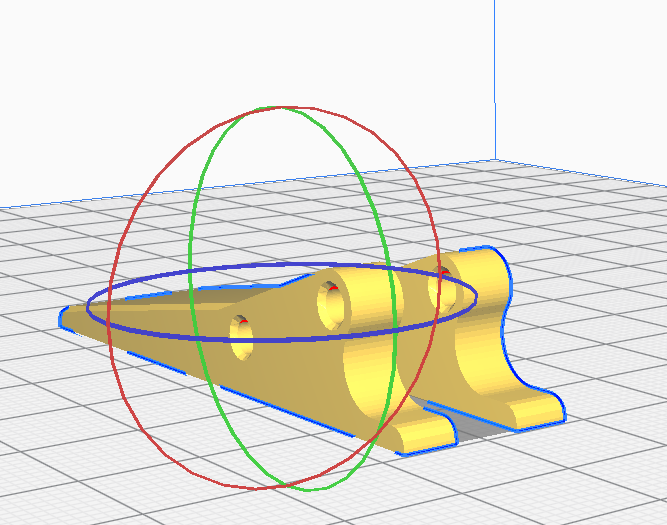
- rotate, reposition the model before printing (good model positioning is essential for a good print):
- you can place several objects next to each other and print them at once:
- you can select the thickness of the print layer (which significantly affects print quality and printing time):
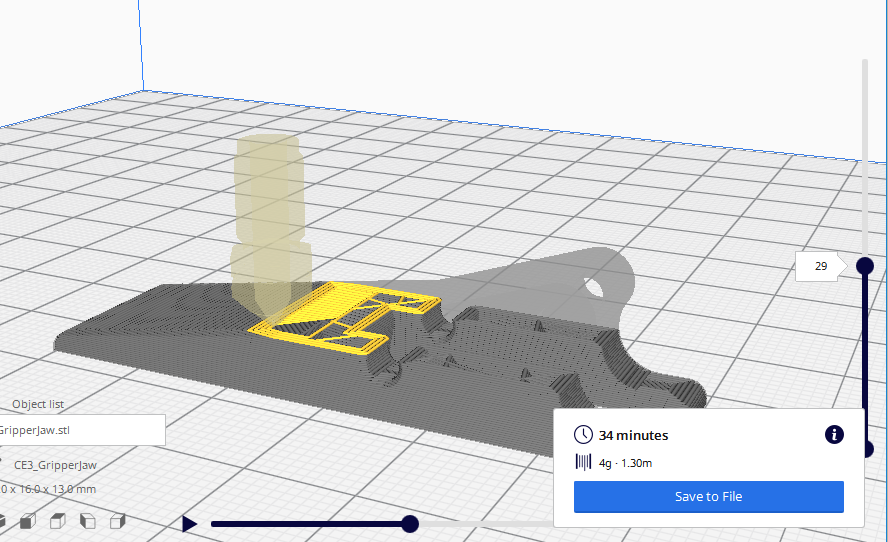
- you can preview how the printer will print the item (separately each layer, exactly each movement of the extruder):
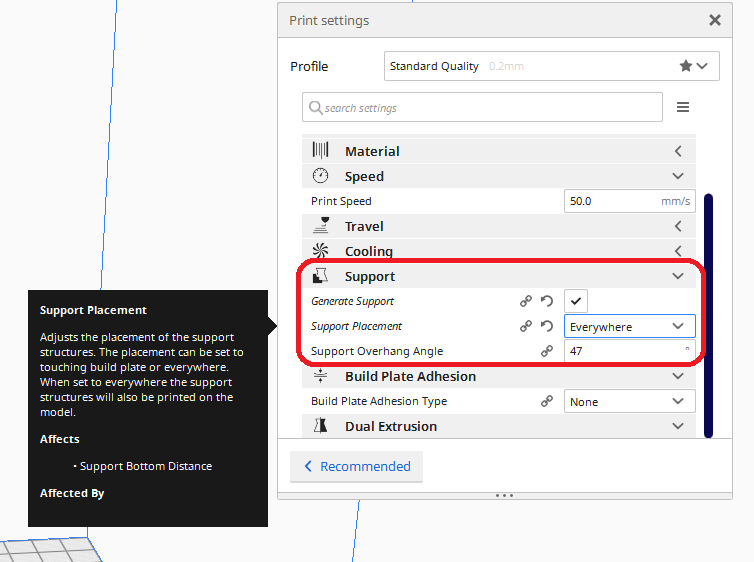
- you can configure the use of supports (supports) for more complex models:
Of course there are other slicers than Cura but so far I have used this one and it meets my expectations.
The only drawback Cura is the rather slow performance, especially when opening files .STL and generating gcode (after clicking Slice).
Slight warning - Cura occupies COM (Serial) ports!
I really didn't think I'd be writing about this here, but this problem has wasted my time a bit. The program Cura is able to block virtual (and probably also physical) ports COM connected to the computer.
I myself sometimes use such adapters (for non 3D printing projects):
And some time ago I realised, that when I have Cura enabled, I cannot use the port COM in RealTerm !
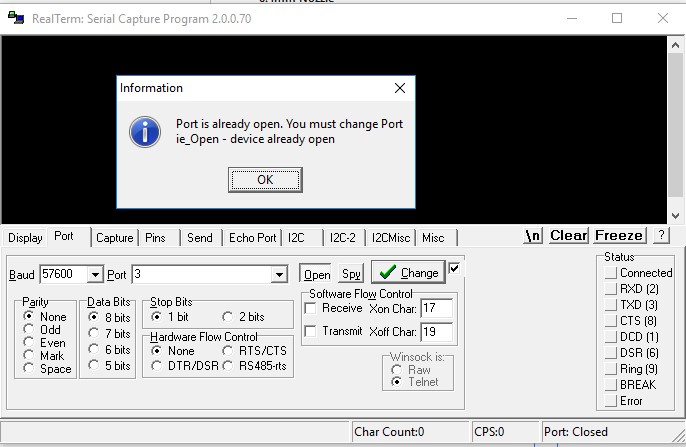
The whole situation is well illustrated by a screenshot from Process Explorer :

This probably comes from the fact that Cura also supports printing via USB , but I am really surprised that it occupies this port COM even when not using it. This is hardly how it should be. It caused me a bit of trouble, which is why I am warning against it in this topic.
Useful soft - Marlin 3D STL Tool - preview .stl files in Windows Explorer
I found this programme some time ago and I am really pleased with it. It has saved me a lot of time, especially since the above described Cura opens very slowly. It does not perform well as a tool to quickly check the contents of a STL file.
Before installing it, the file preview simply displays the icon of the file:
Once the Marlin tool is installed then we can run the configuration tool Marlin3DprinterToolStlConfiguration.exe which offers this menu:
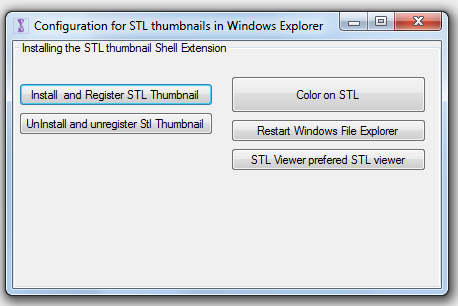
After clicking " Install and Register STL Thumbnail " we get several messages about successful installation and from then on the files STL have a preview in Windows Explorer:

Very convenient, especially when we print a larger number of files or want to have a quick overview of our prototypes.
Download page for this programme:
https://marlin3dprintertool.se/
The whole toolkit is downloaded from there, but we are rather interested only in Marlin3DprinterToolStlConfiguration . The others I did not check - there was no need to do so.
Note: One of the versions of Marlin 3D available on the web has a bug which on Windows 10 results in the program shutting down with the message " Program has stopped running ". This can be solved very easily - just download a newer version of the installer from the official website.
Filament pricing
The price of the filament is one of the key elements determining the cost of any print. Of course, the price of the electricity used and the operation of the printer itself must also be added to the cost of the print, but it is the choice of filament that has the greatest influence.
At the time of writing this article (November 2019), I found the cheapest filament in Poland:
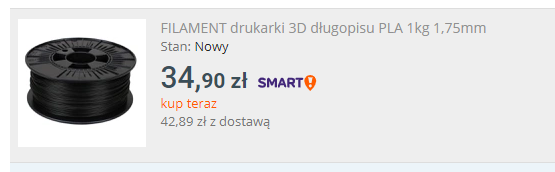
About 40 PLN (already with shipping costs) for 1 kilogram.
I also checked the offers abroad (mainly in China), but unfortunately it is much more expensive there:

Of course the filament should be of the right quality (it must not be brittle, must be stored properly, should have the right diameter along its length, etc.), but I myself have already printed with filaments from four different manufacturers (also the cheaper ones) and have not encountered any major problems related to this. If anyone has cut themselves and found a poor quality filament, feel free to speak up. I can not say a bad word about the manufacturers of filaments.
Print pause
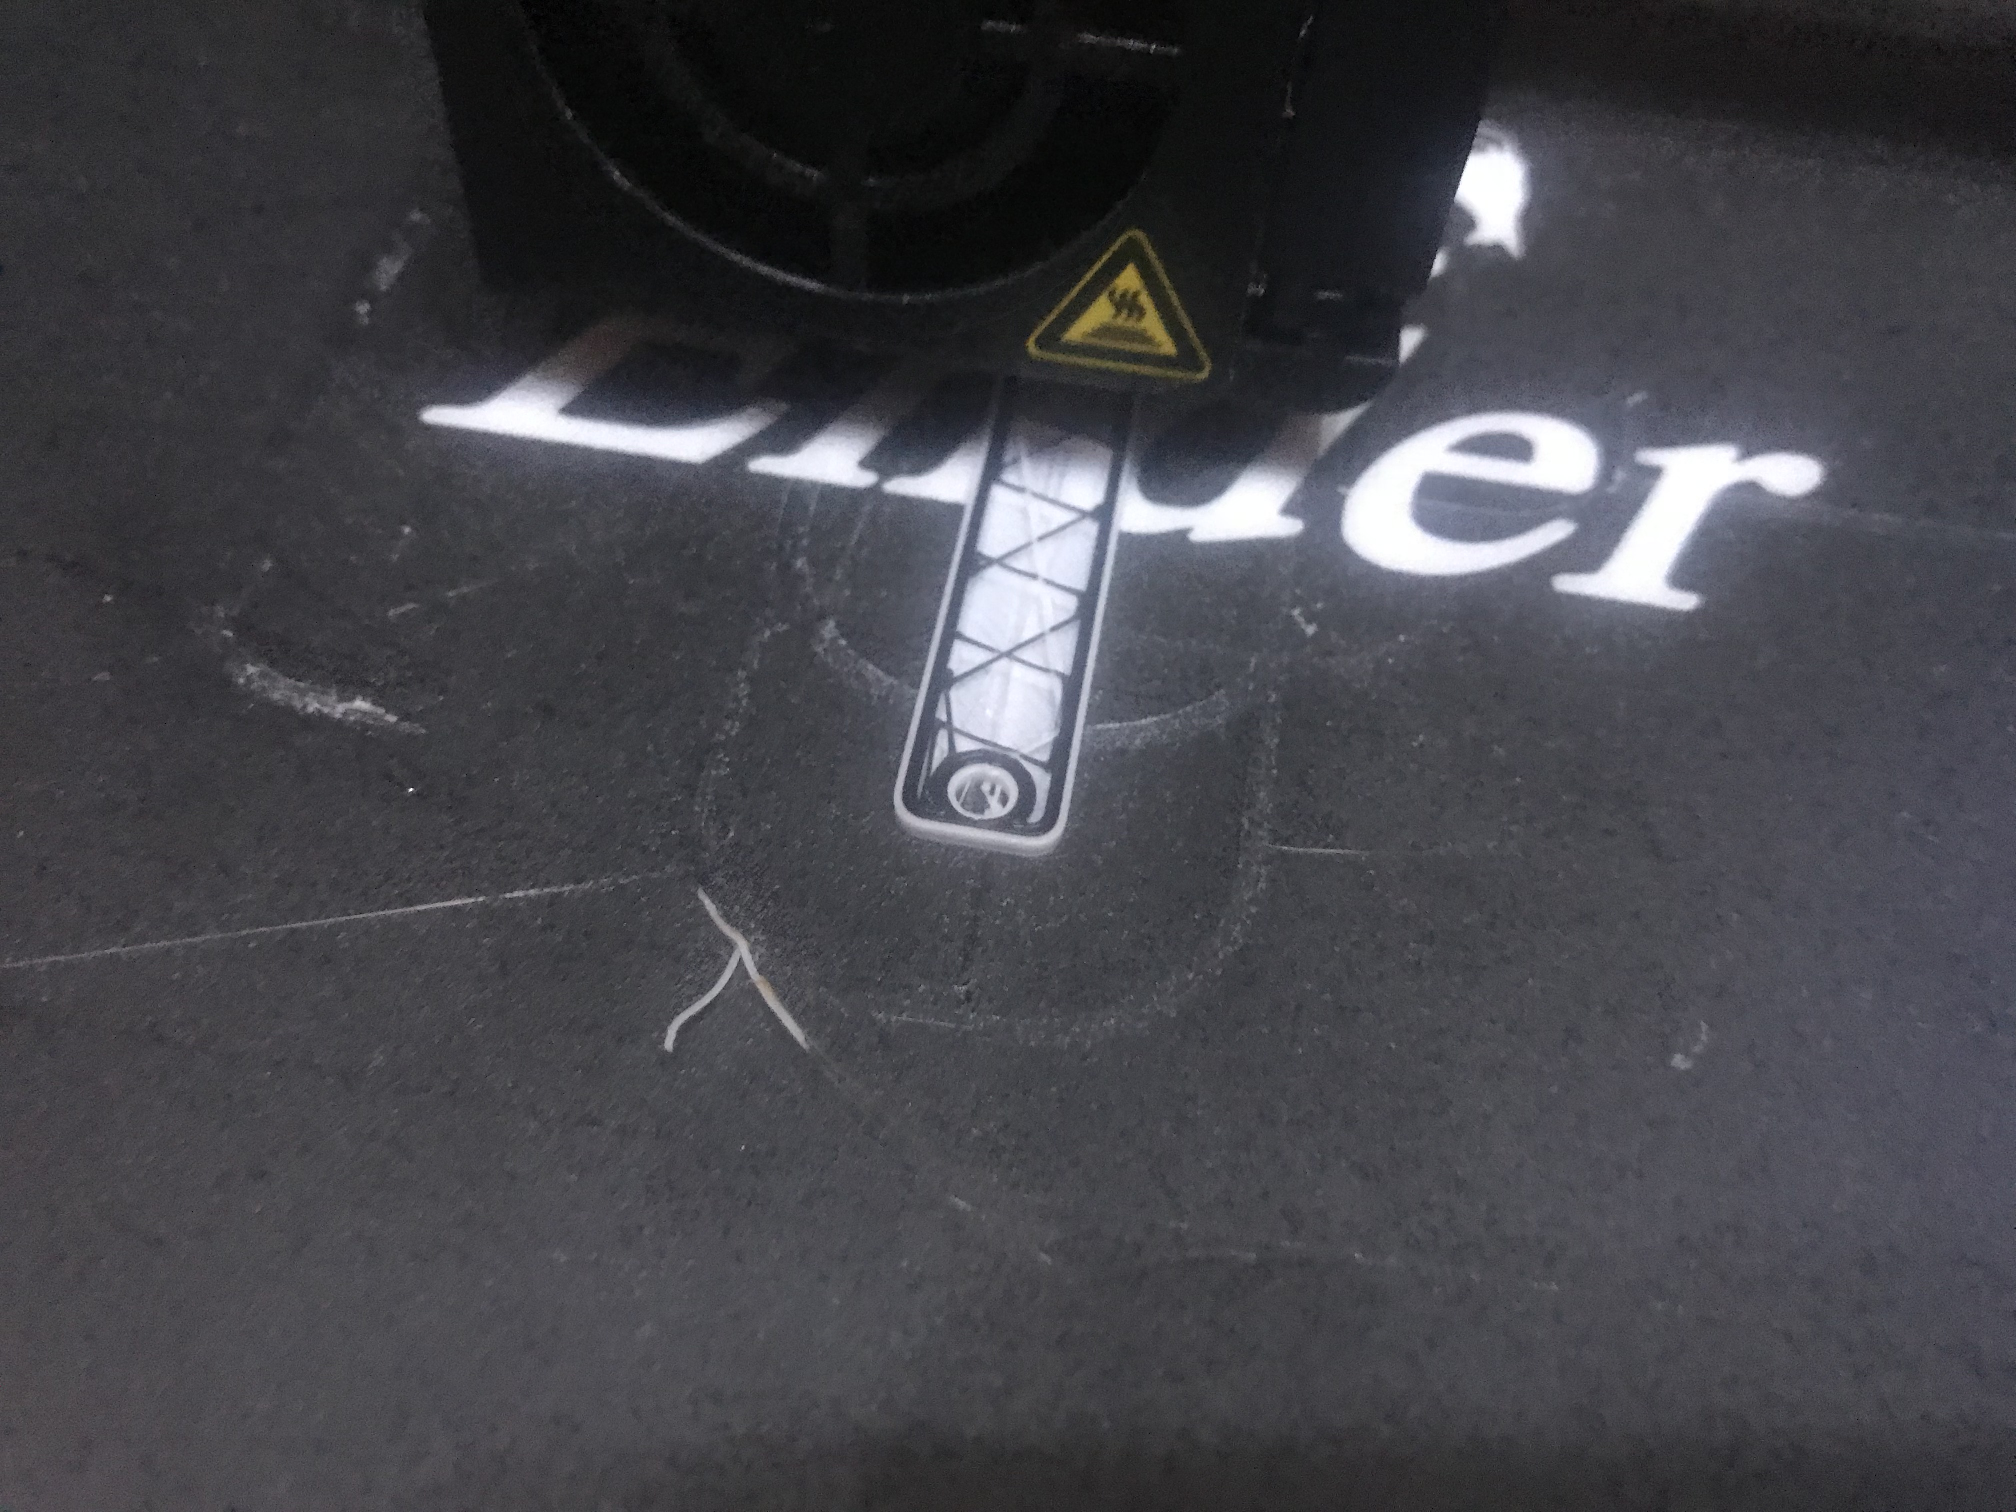
The Creality Ender Pro 3 printer offers the ability to pause the print, but in my experience this is quite problematic. Enabling the pause results in the nozzle stopping movement, but inevitably the nozzle is still hot and some filament still runs off it, resulting in the formation of a filament spot as shown in the photo:

In theory you should be able to remove it easily and resume printing, but in my case it stuck so tightly to the rest of the model that nothing could be done. The only thing that can be done about this is to keep an eye on the nozzle as soon as the pause is turned on, and keep removing the excess flowing filament until the extruder has cooled down. If this is done, then the interrupted print can be continued.
The photo above is from my first test print which was the famous "Ender 3 Dog" figure:
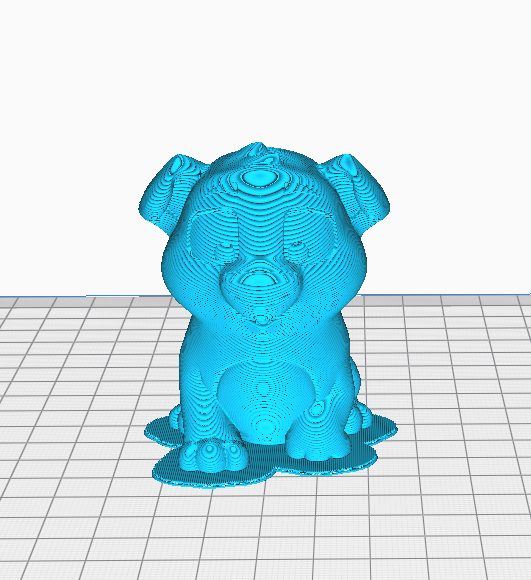
In the end, however, I didn't even have time to print it in full.
Changing the filament during printing
Changing the filament during printing is as possible and even very easy . You simply have to keep an eye on the printer and plug in the new filament when the old spool runs out and the filament line is fully pulled into the feeder.
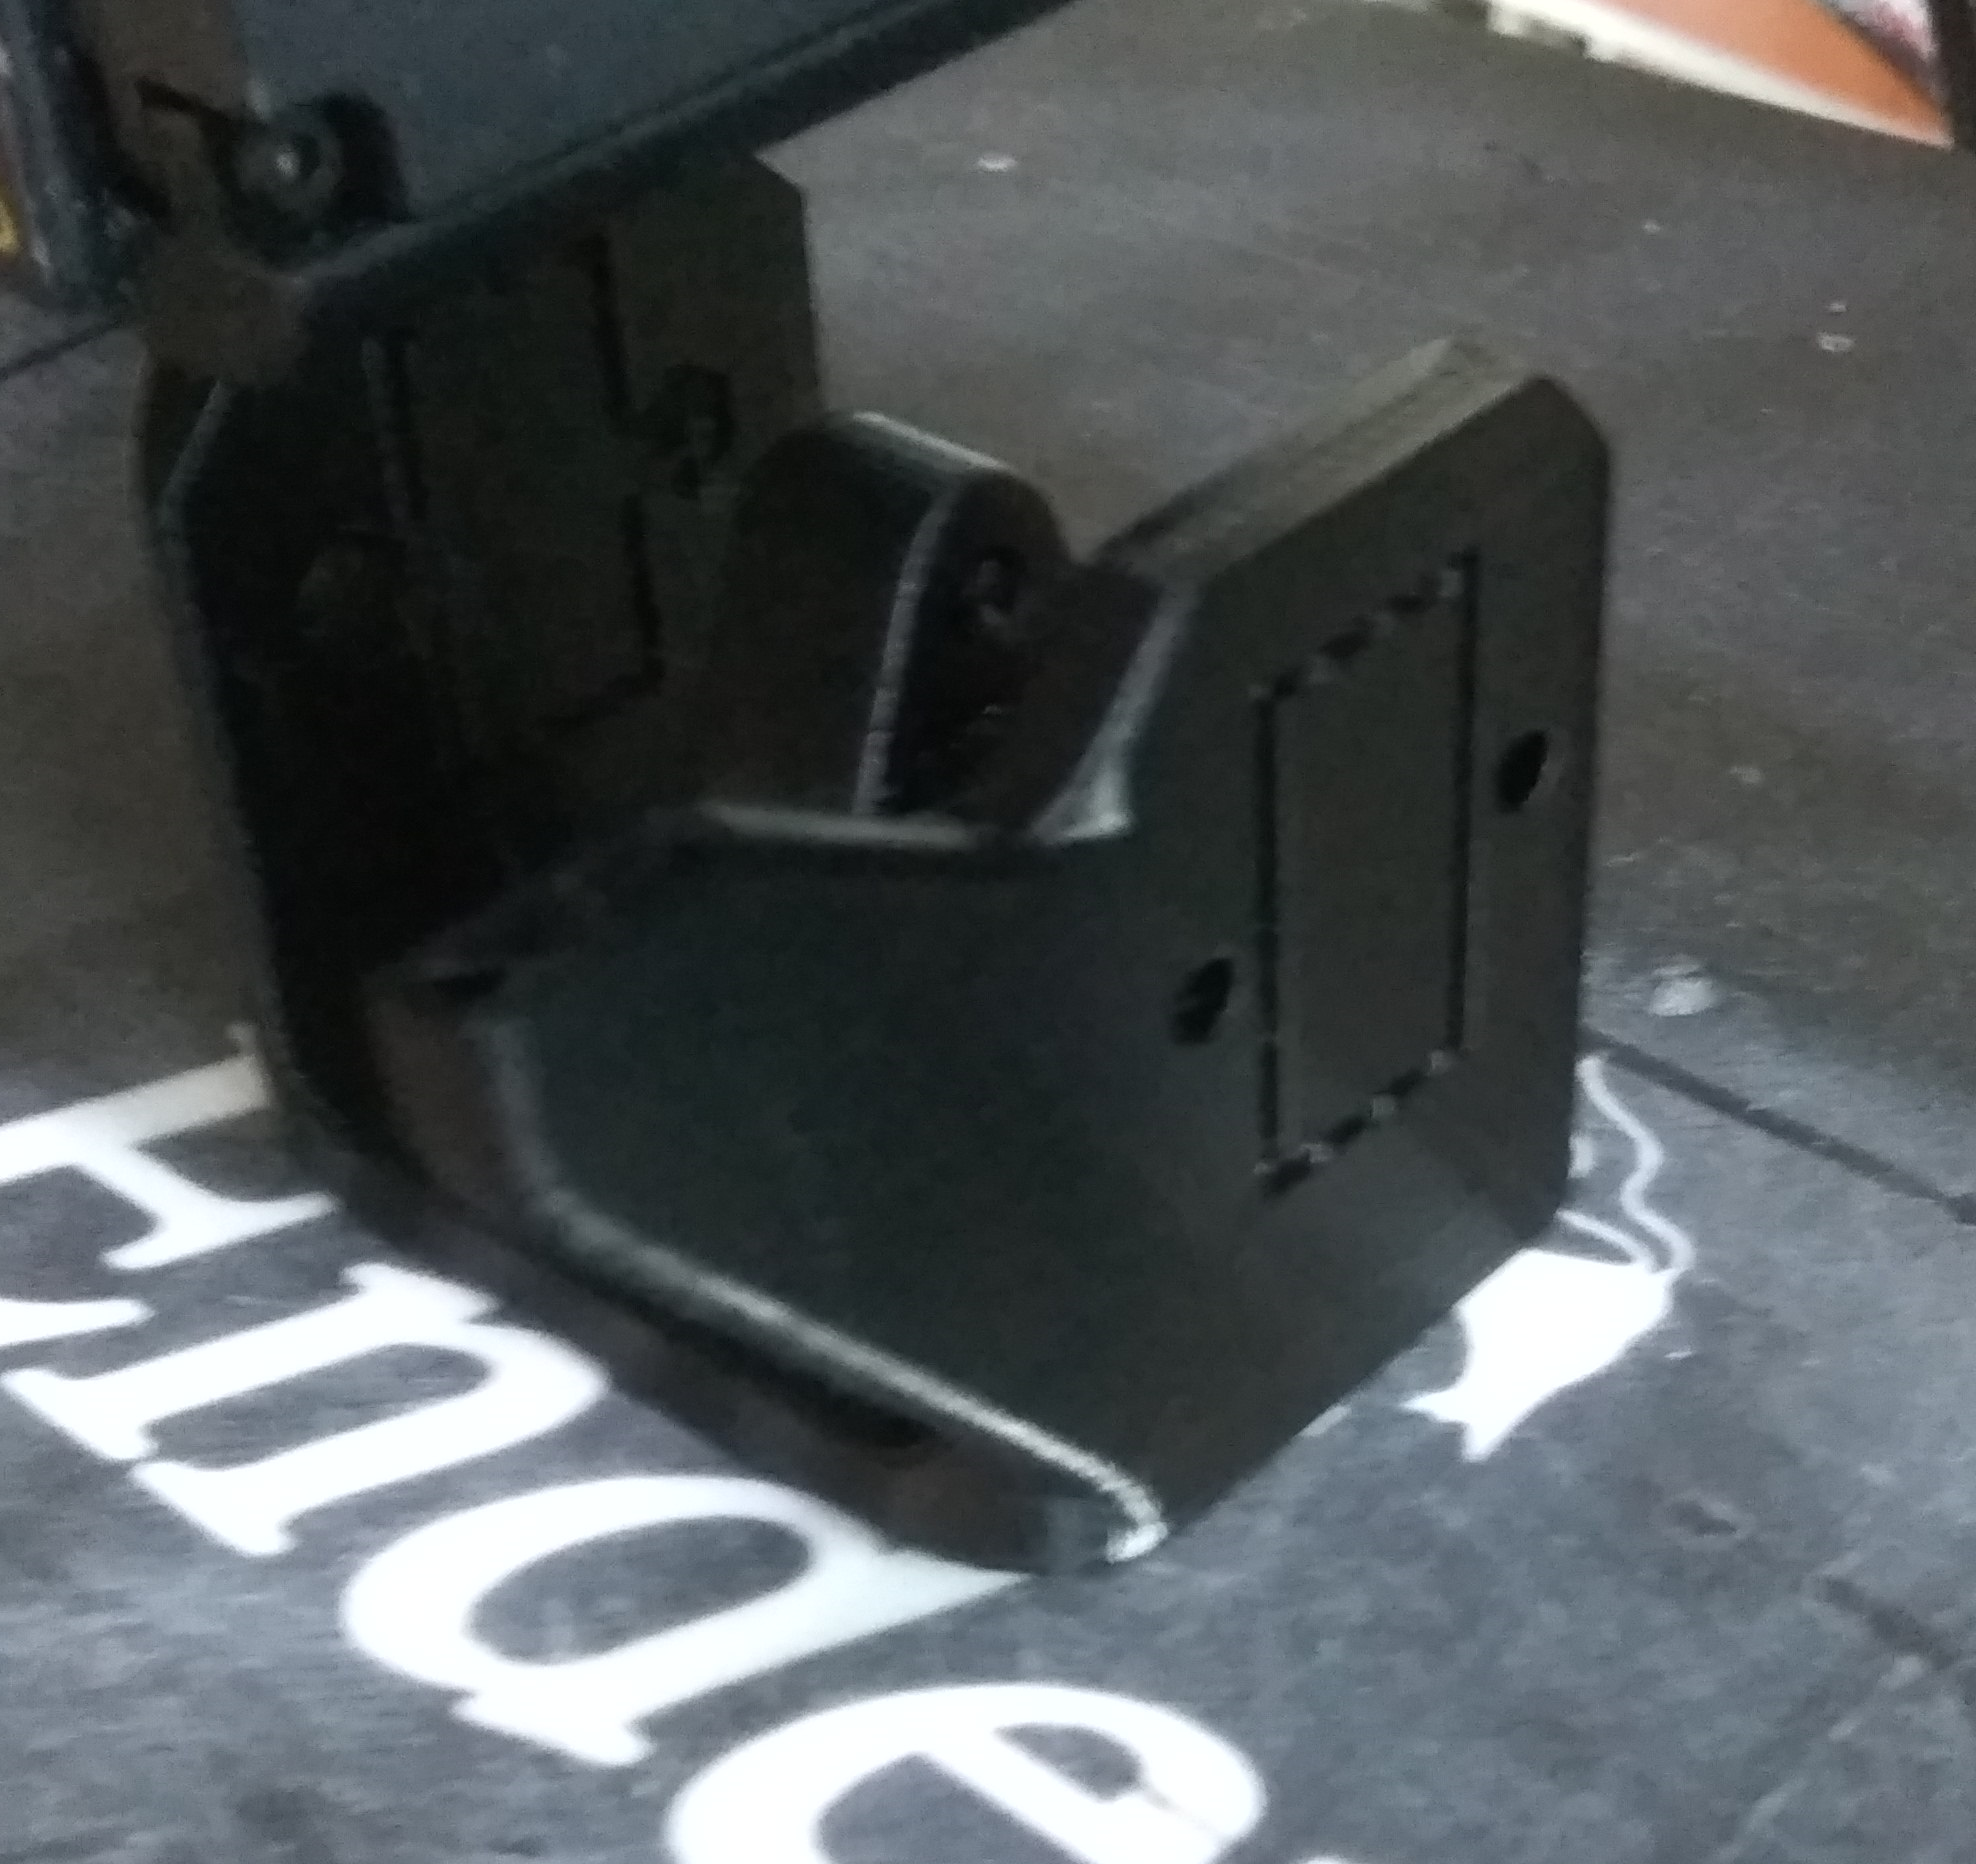
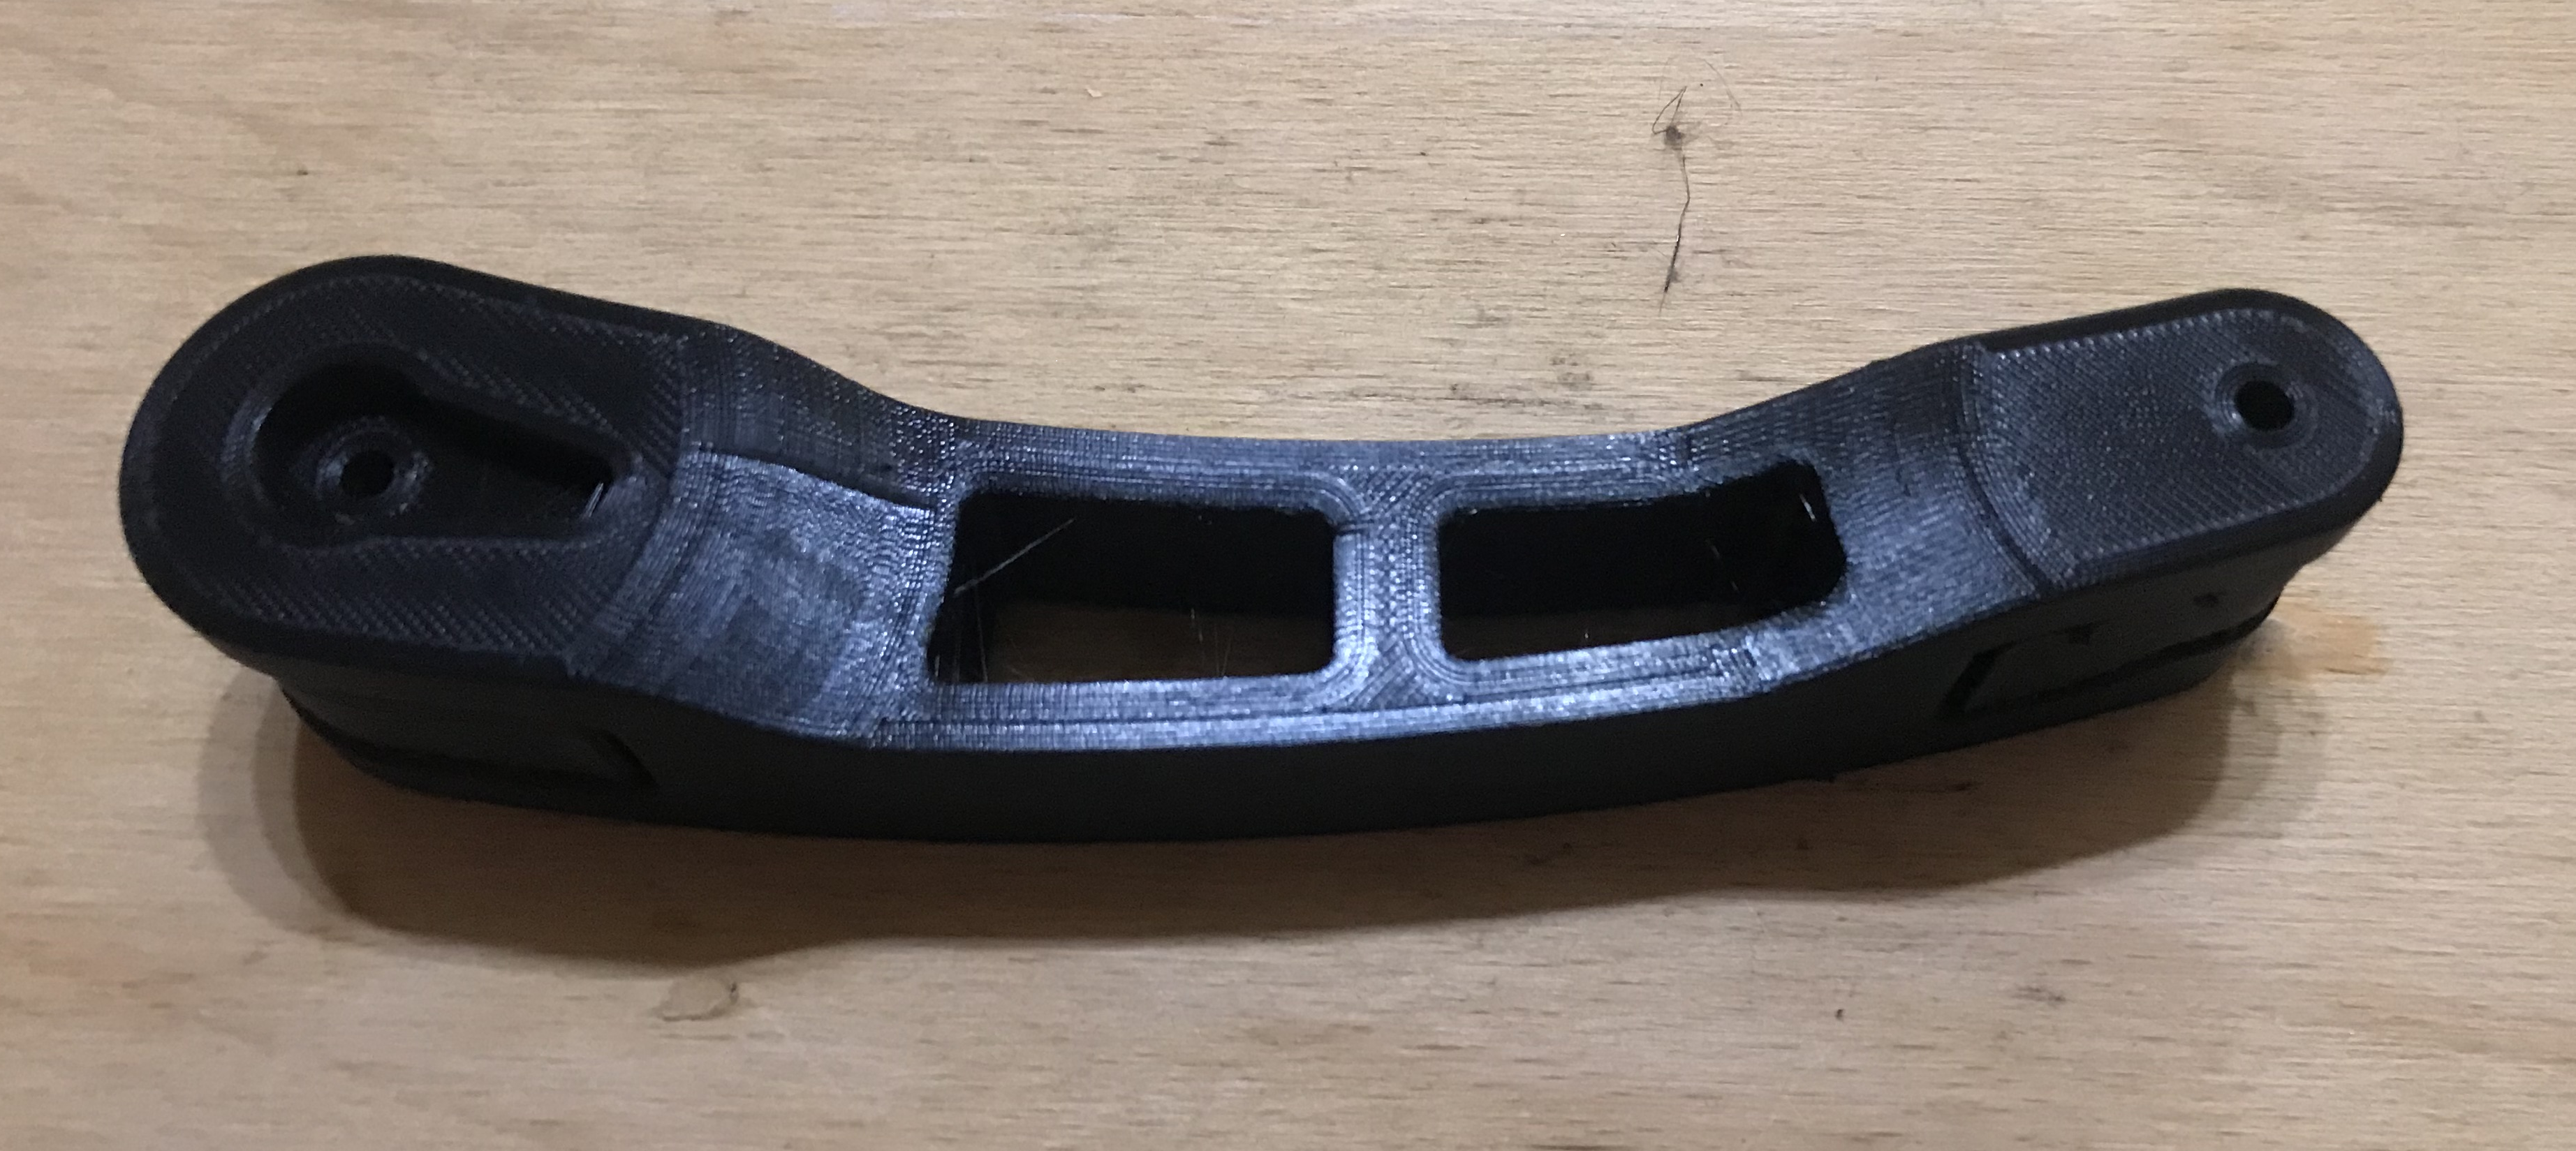
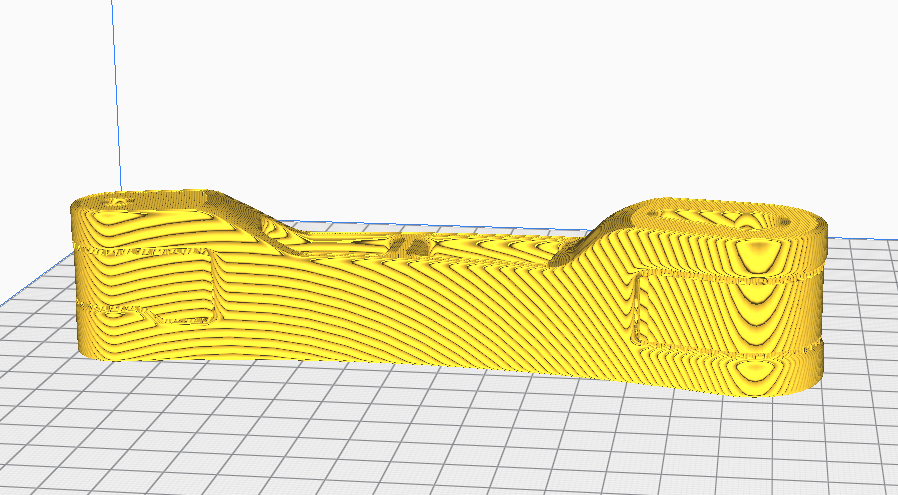
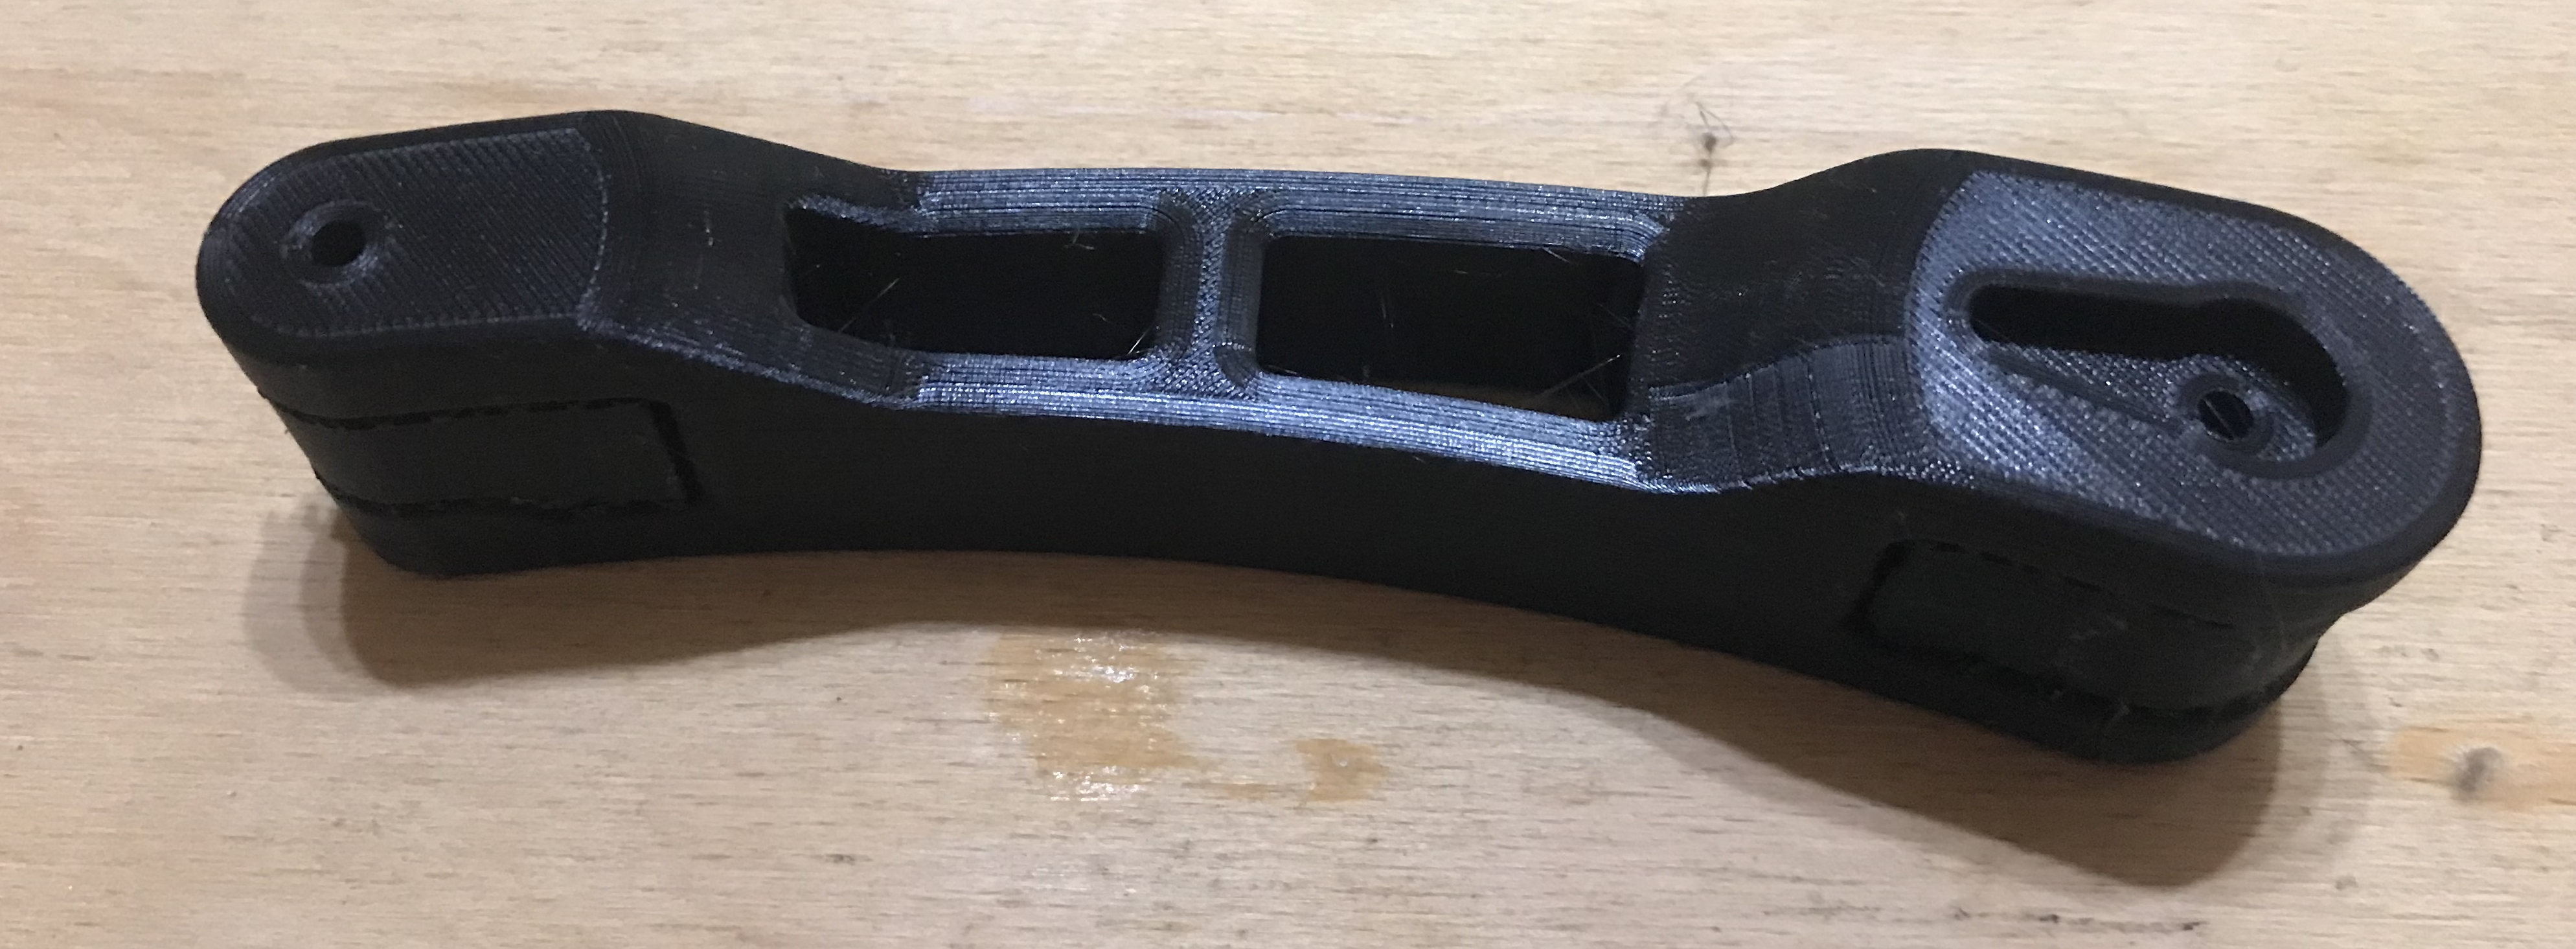
I've done this once, it was to change from white to black filament when printing a fixture part:
During printing, you can see how the new layers of black filament overlap the previous white layers:

The finished print:

And after removal from the base:


Printer base (magnetic bed) life extension
The magnetic print pad is the second (just after the nozzles) fastest wearing part of the printer. After a while it is really difficult to bring it up to scratch, and subsequent prints come out worse and worse due to the fact that its surface is not perfectly flat. But there is one way that allows you to use a single, already heavily worn base for a really long time.
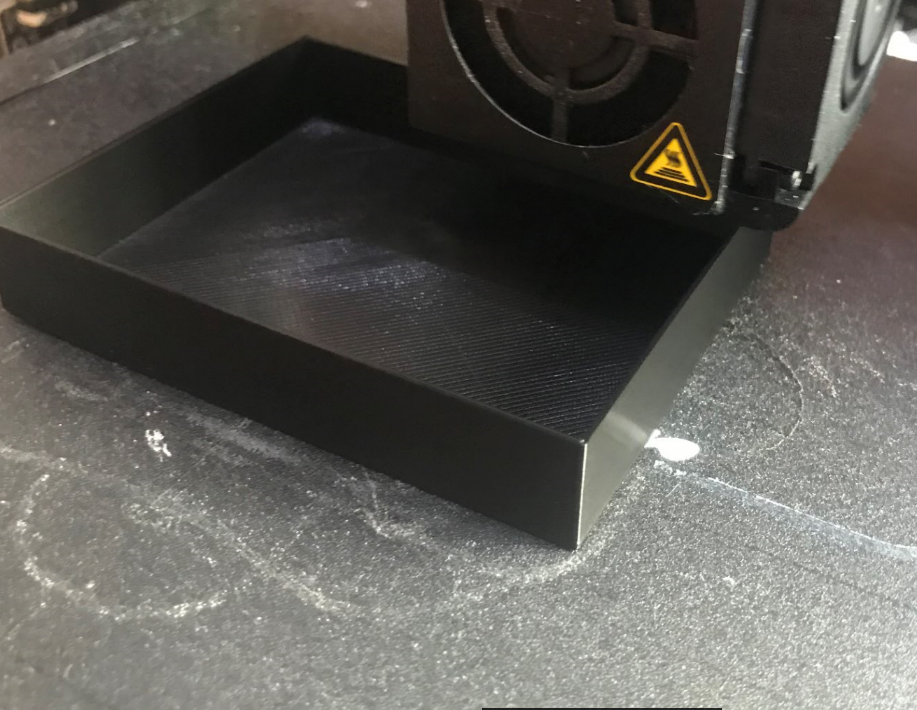
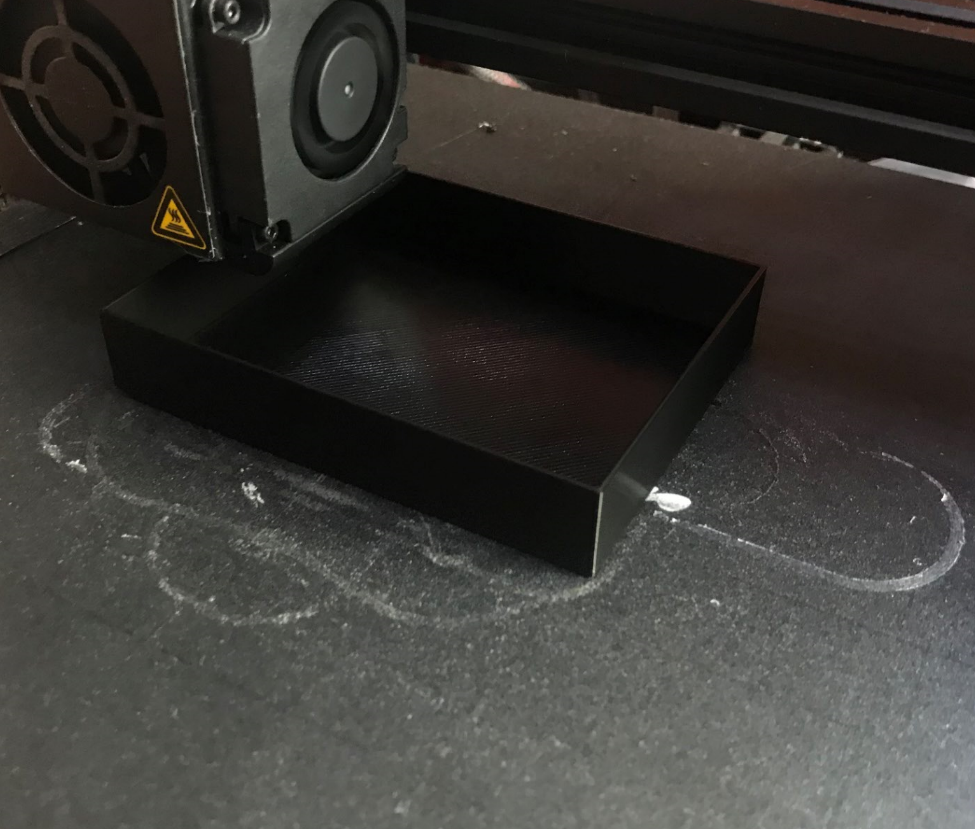
If you print a lot of small parts like this:
then it is possible that our magnetic pad will be worn down primarily in the centre.
Therefore, it is sometimes worth considering changing the centre of the print so that it is closer to one corner of the mat:
It's not a big change, and it really helped me with my prints when my magnetic mat was wearing out and a new one was still on its way.
Print quality, printer capabilities
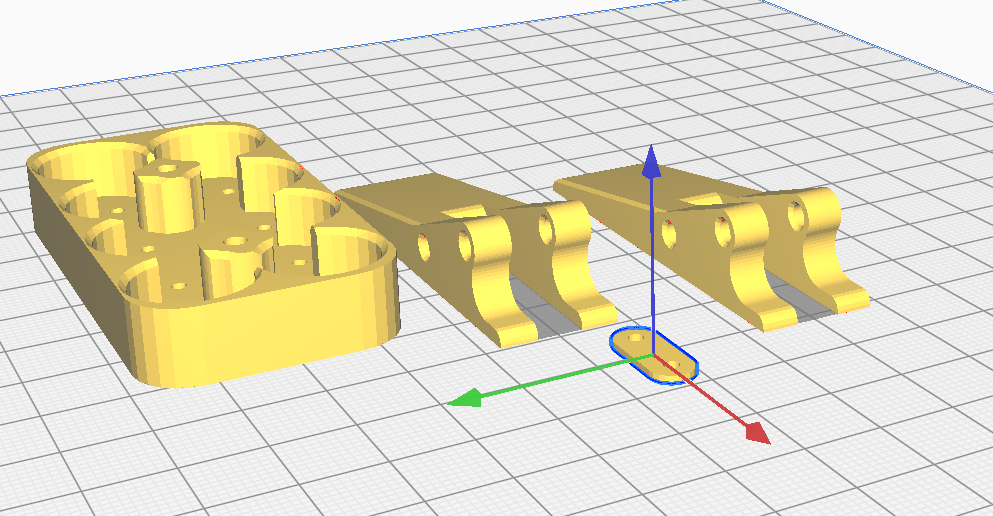
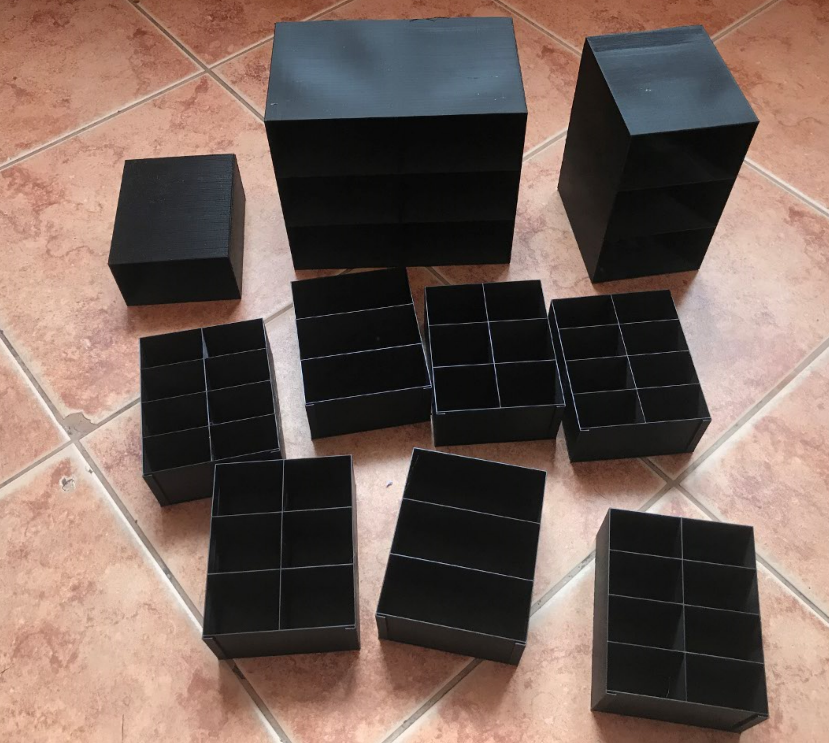
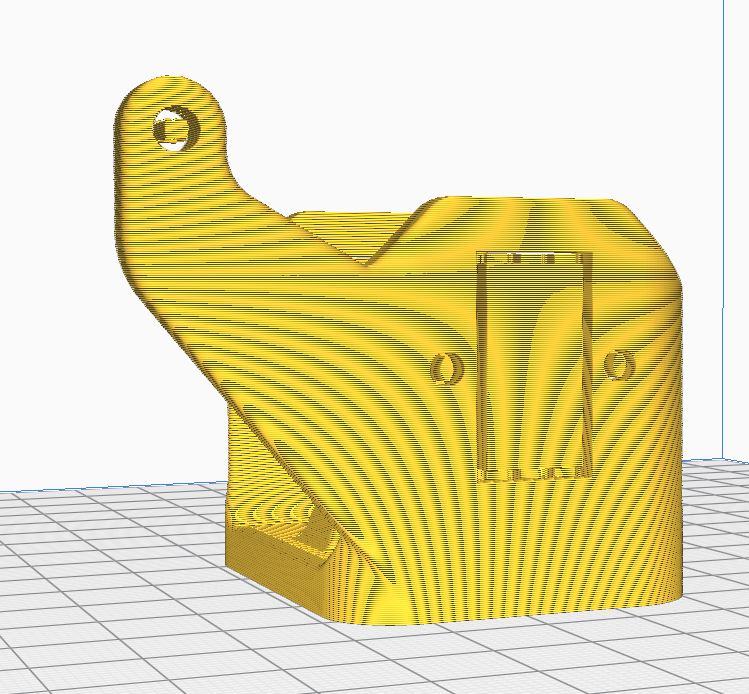
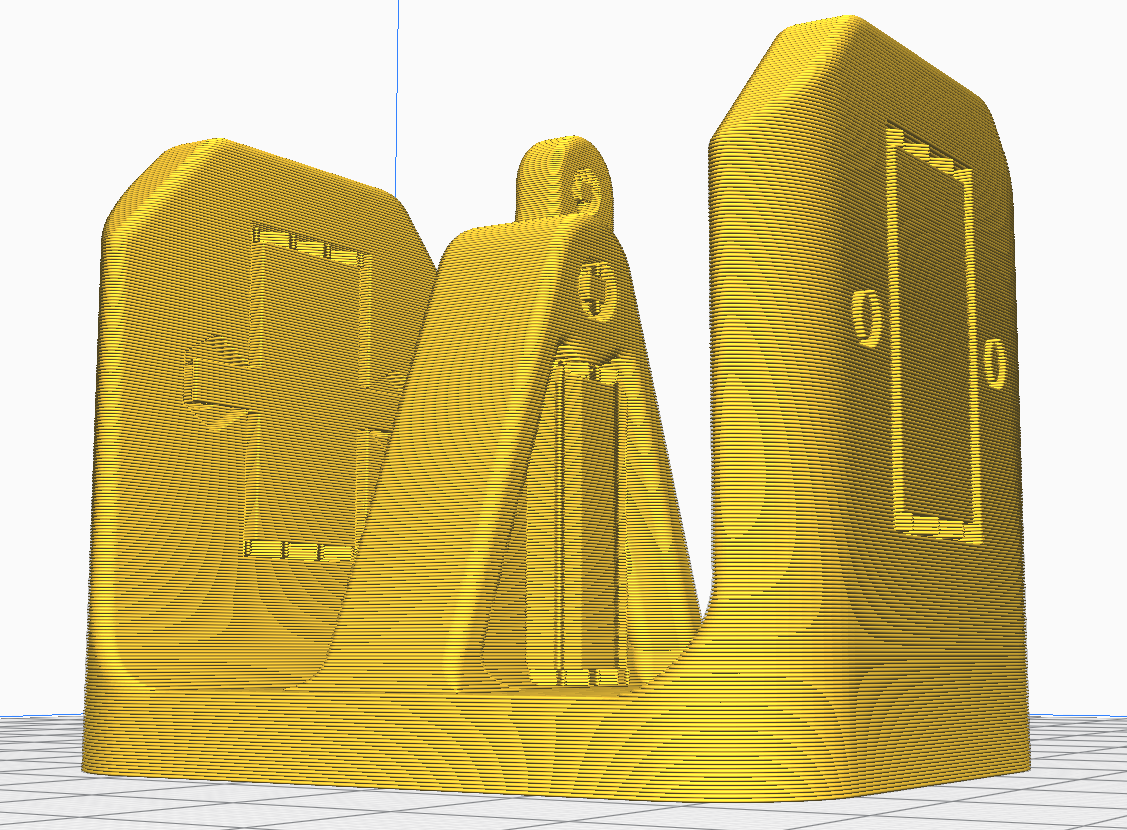
Simple models from the printer come out really very good quality and do not need to be processed at all. My drawers are an example:
With slightly more complex models, the so-called stringing may appear, i.e. thin filament threads connecting parts that should not be connected. They originate from the fact that the printer is not able to cut off the plastic supply perfectly when moving the nozzle from one point to another, and a little of this filament then comes out anyway.
Example of so-called stringing :
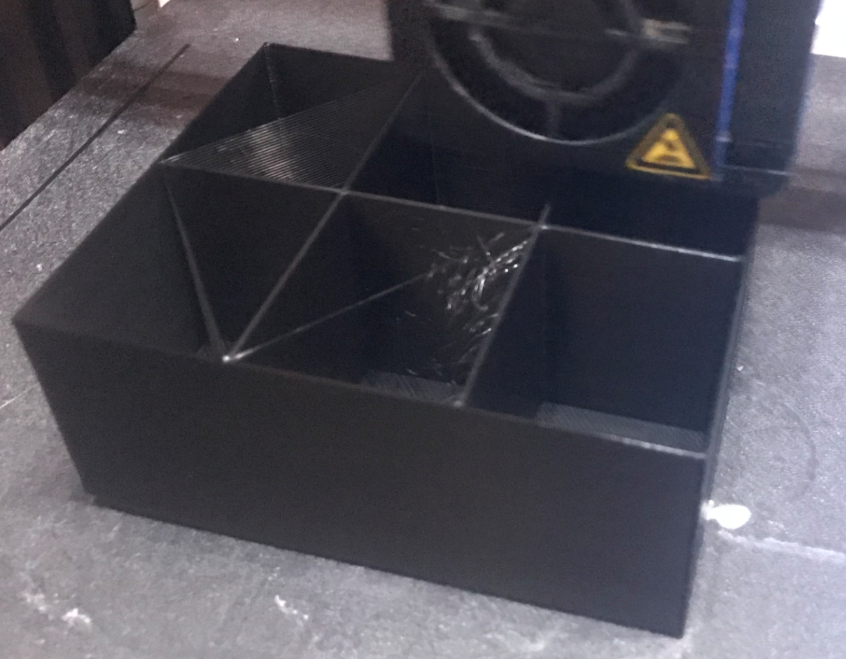
In the photo above you can clearly see stringing in the top left drawer compartment. Torn strands of filament are also visible in the middle chamber, the one closer to the camera.
Such artefacts, however, are not harmful and can be easily removed by hand and then the surface of the model polished.
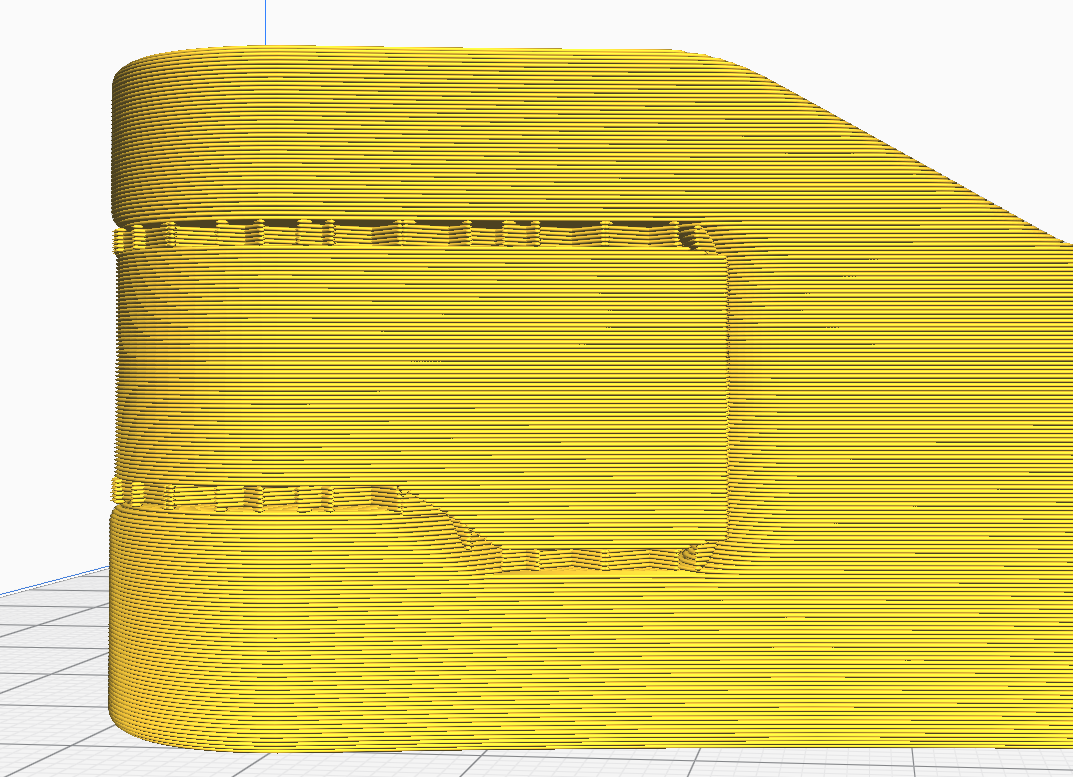
Very important for the quality of the print (and for its feasibility) is also the issue of supports , i.e. supports allowing to print more complex elements. Their use opens up a wide range of possibilities.
An example of an object requiring supports:

Preview of support automatically generated by Cura:
And all in the process of being printed:

Item already removed from printer.
Supports not yet removed in this photo:
In the photo below you can see small imperfections, so-called 'stringing', small hairs of the filament:
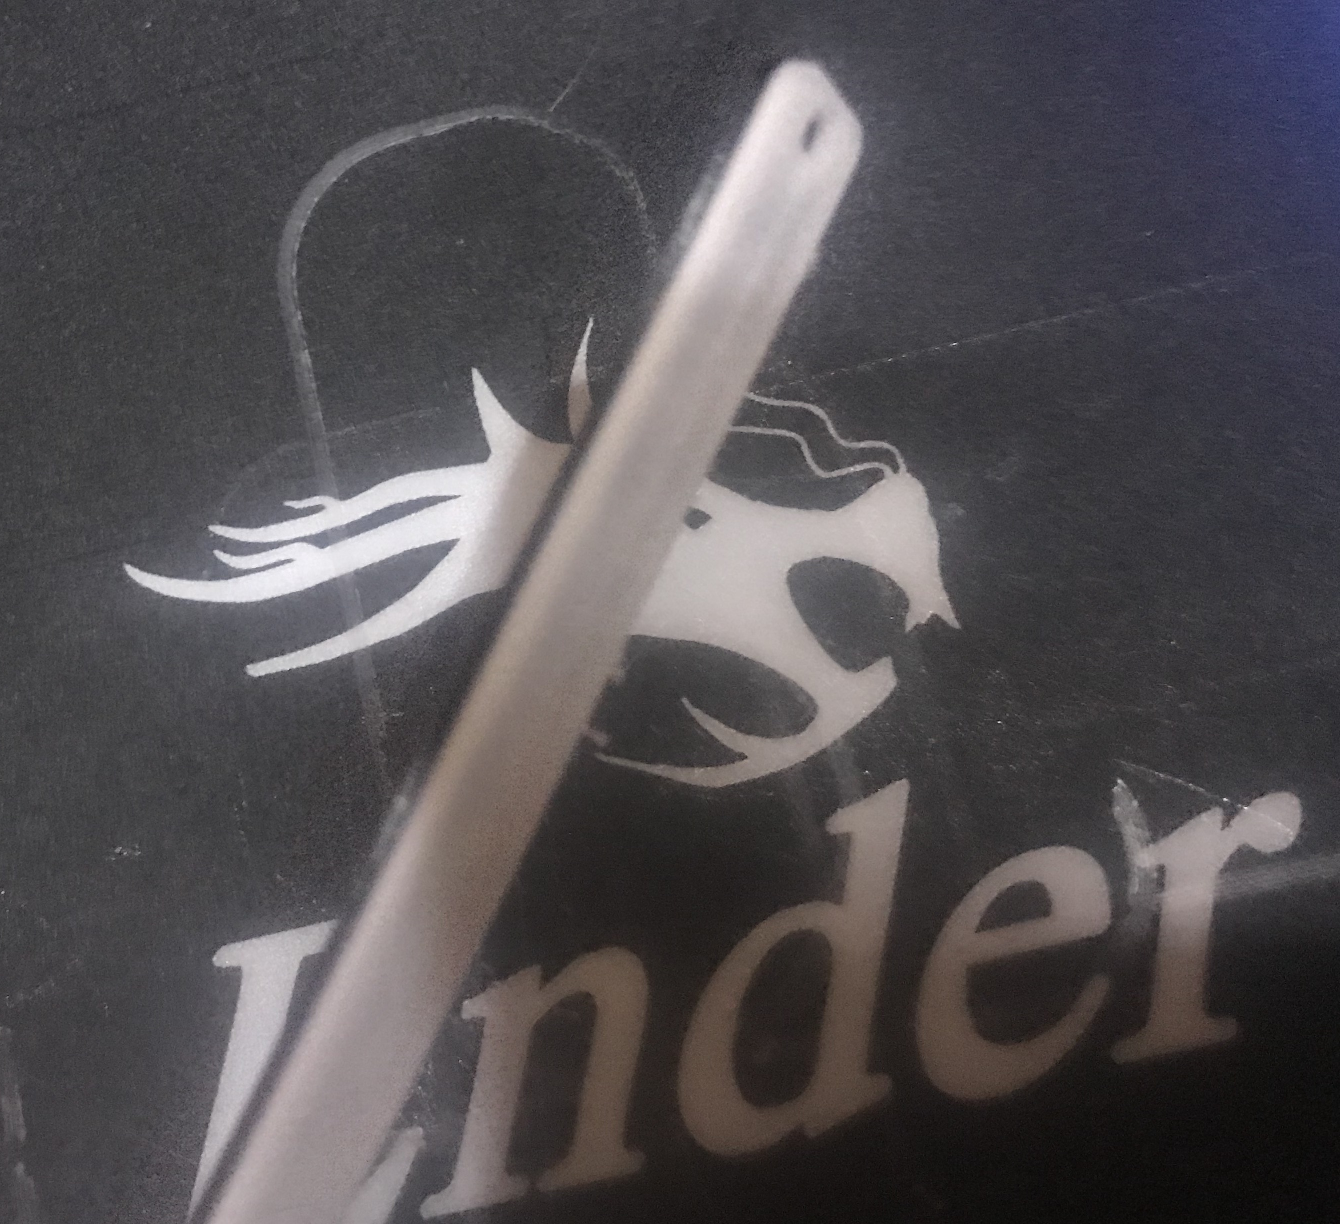
Support removal with a screwdriver:
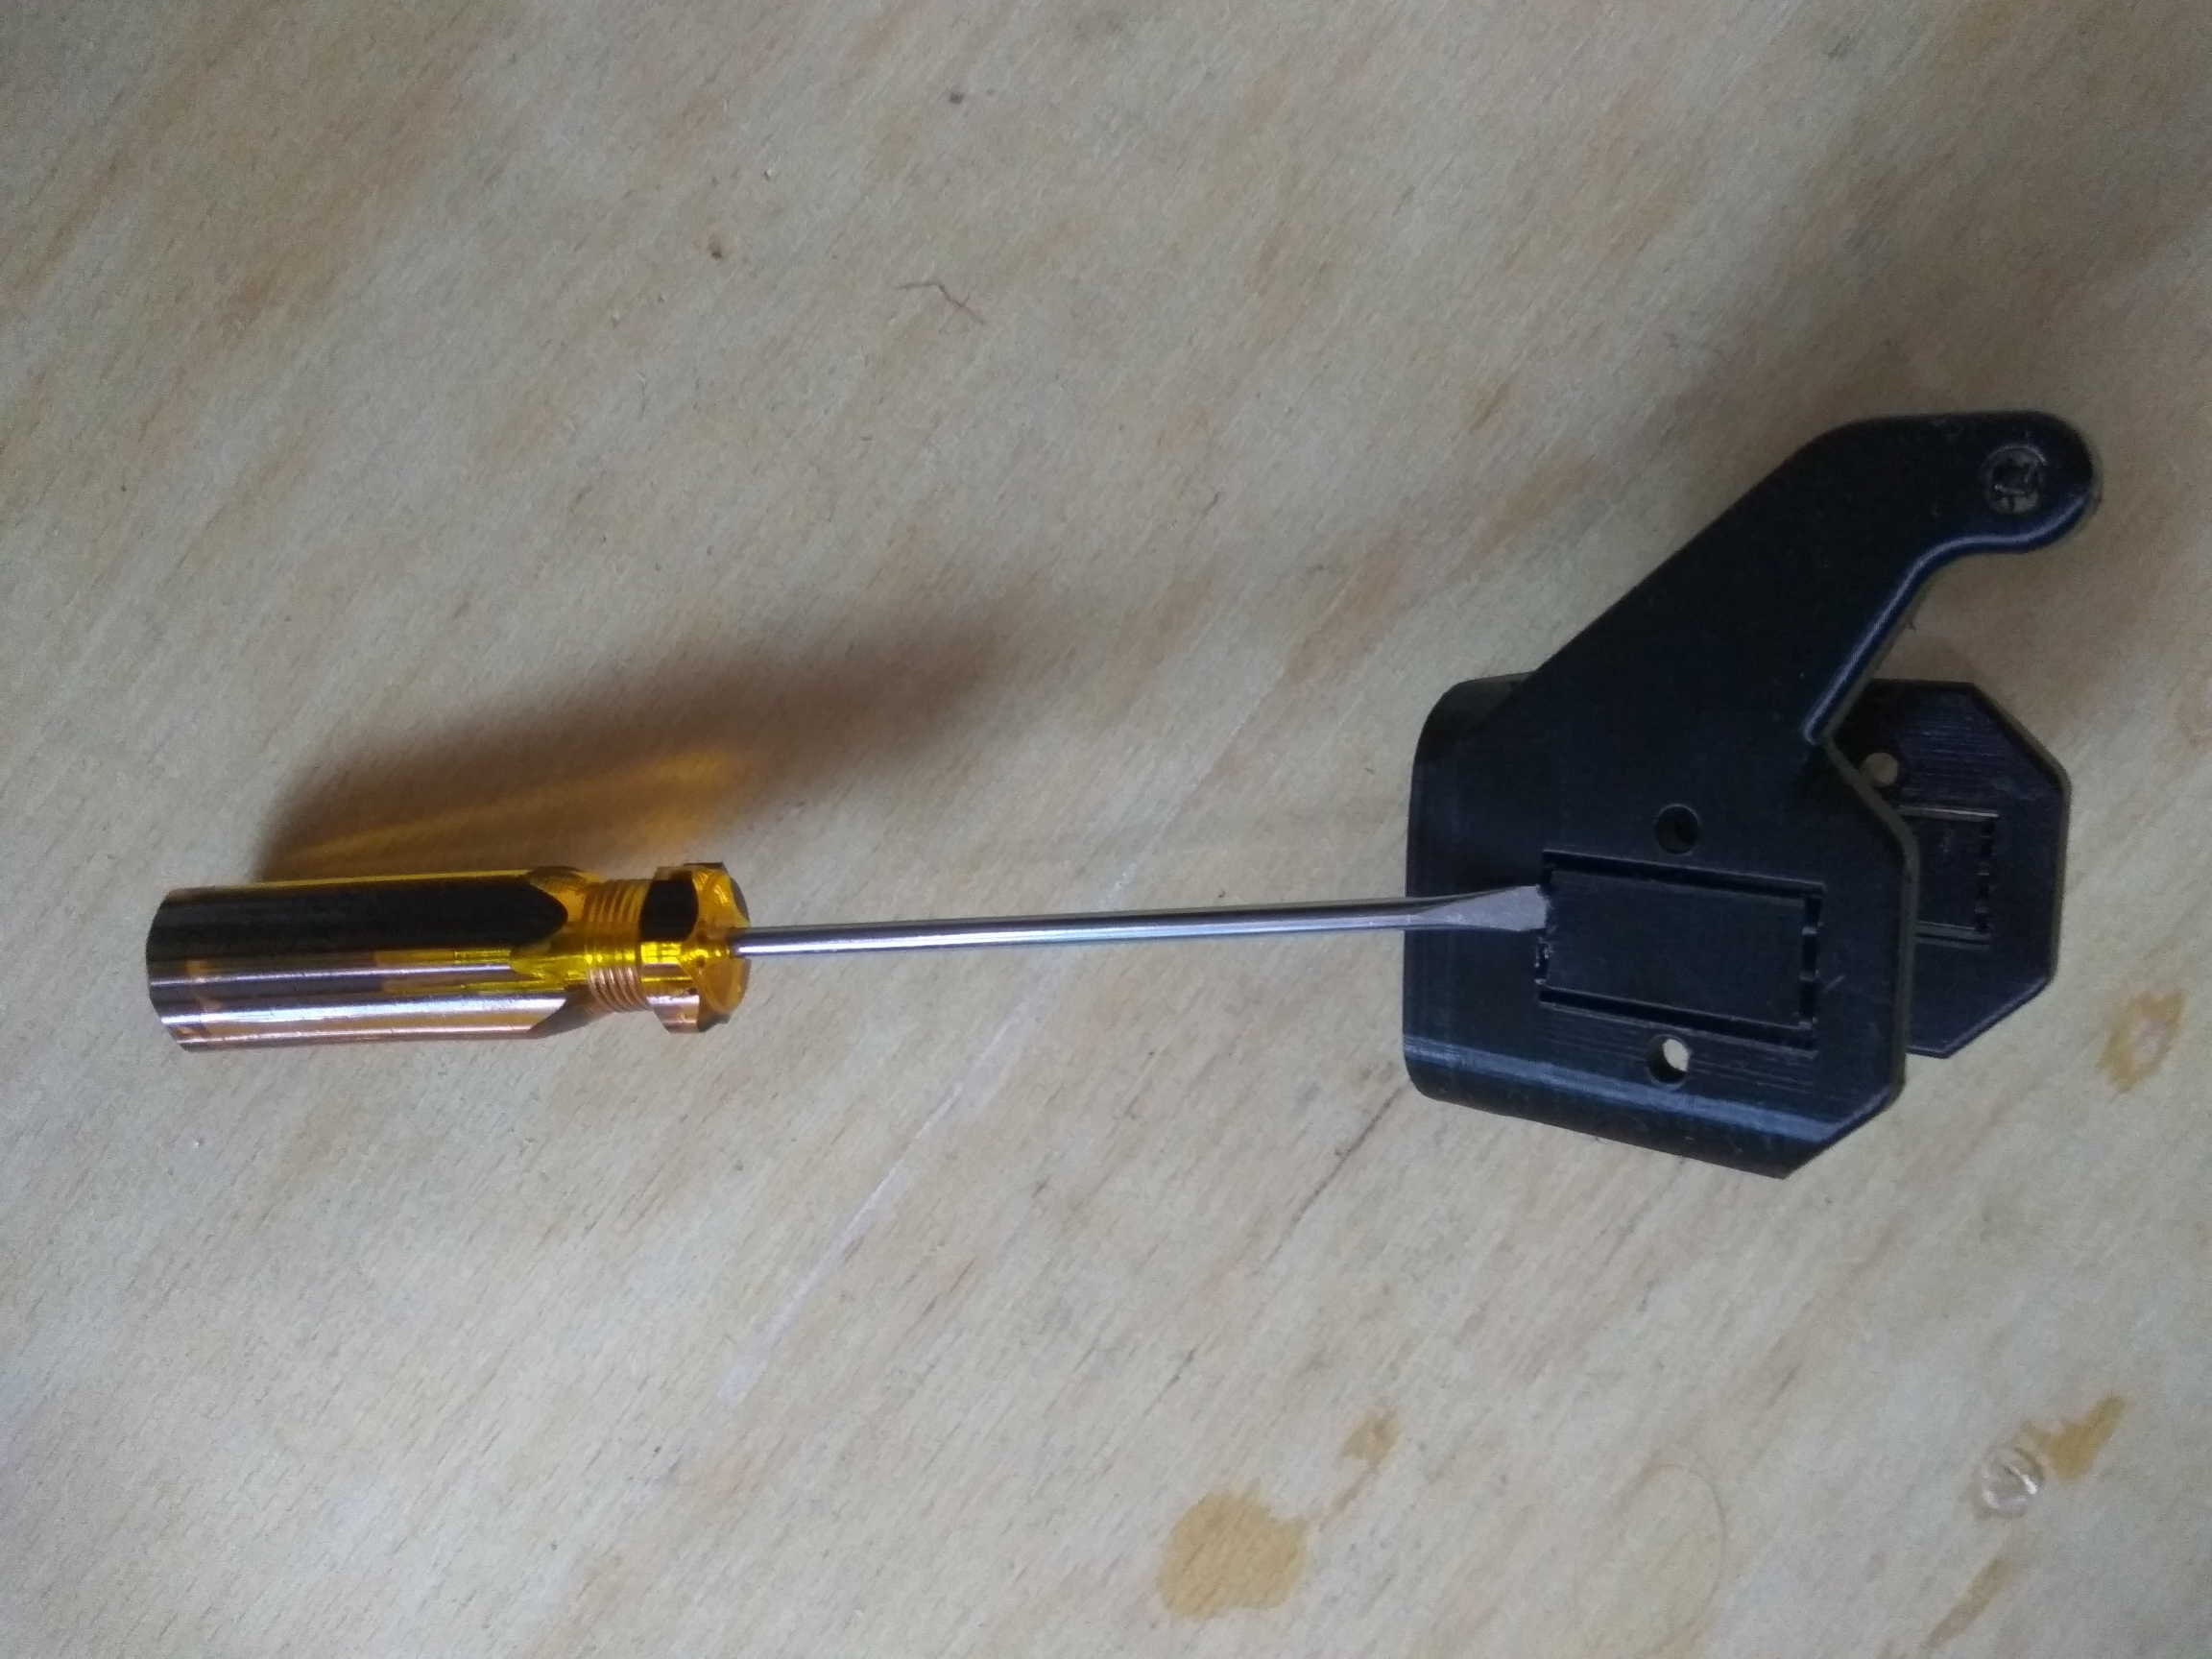
Depending on the model, the supports are more or less difficult to remove. Sometimes they have to be cut out/picked up with a pair of pliers, and sometimes it is just enough to lever them up.
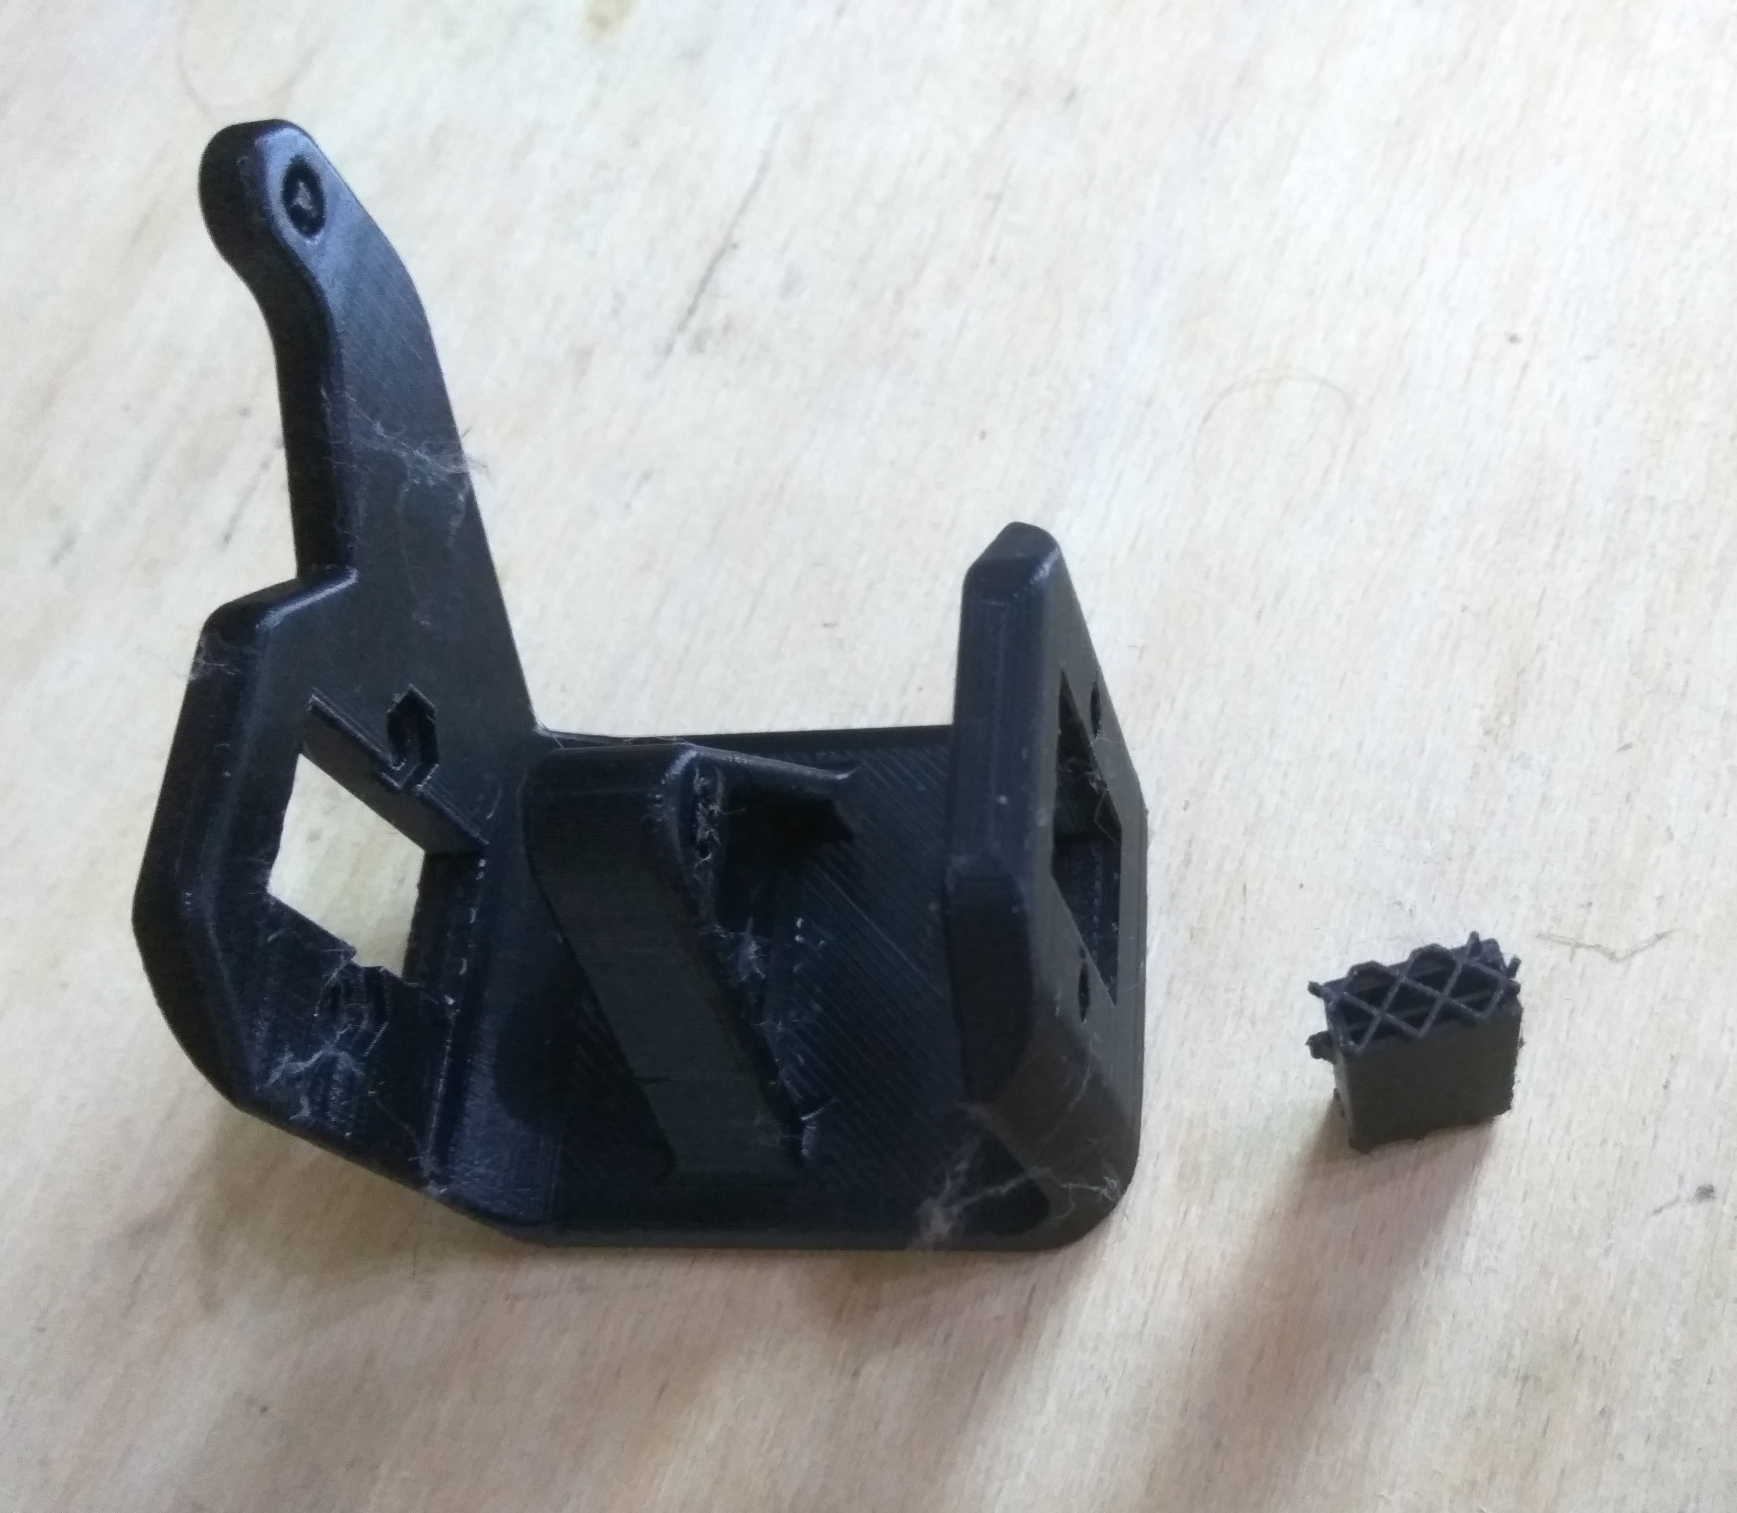
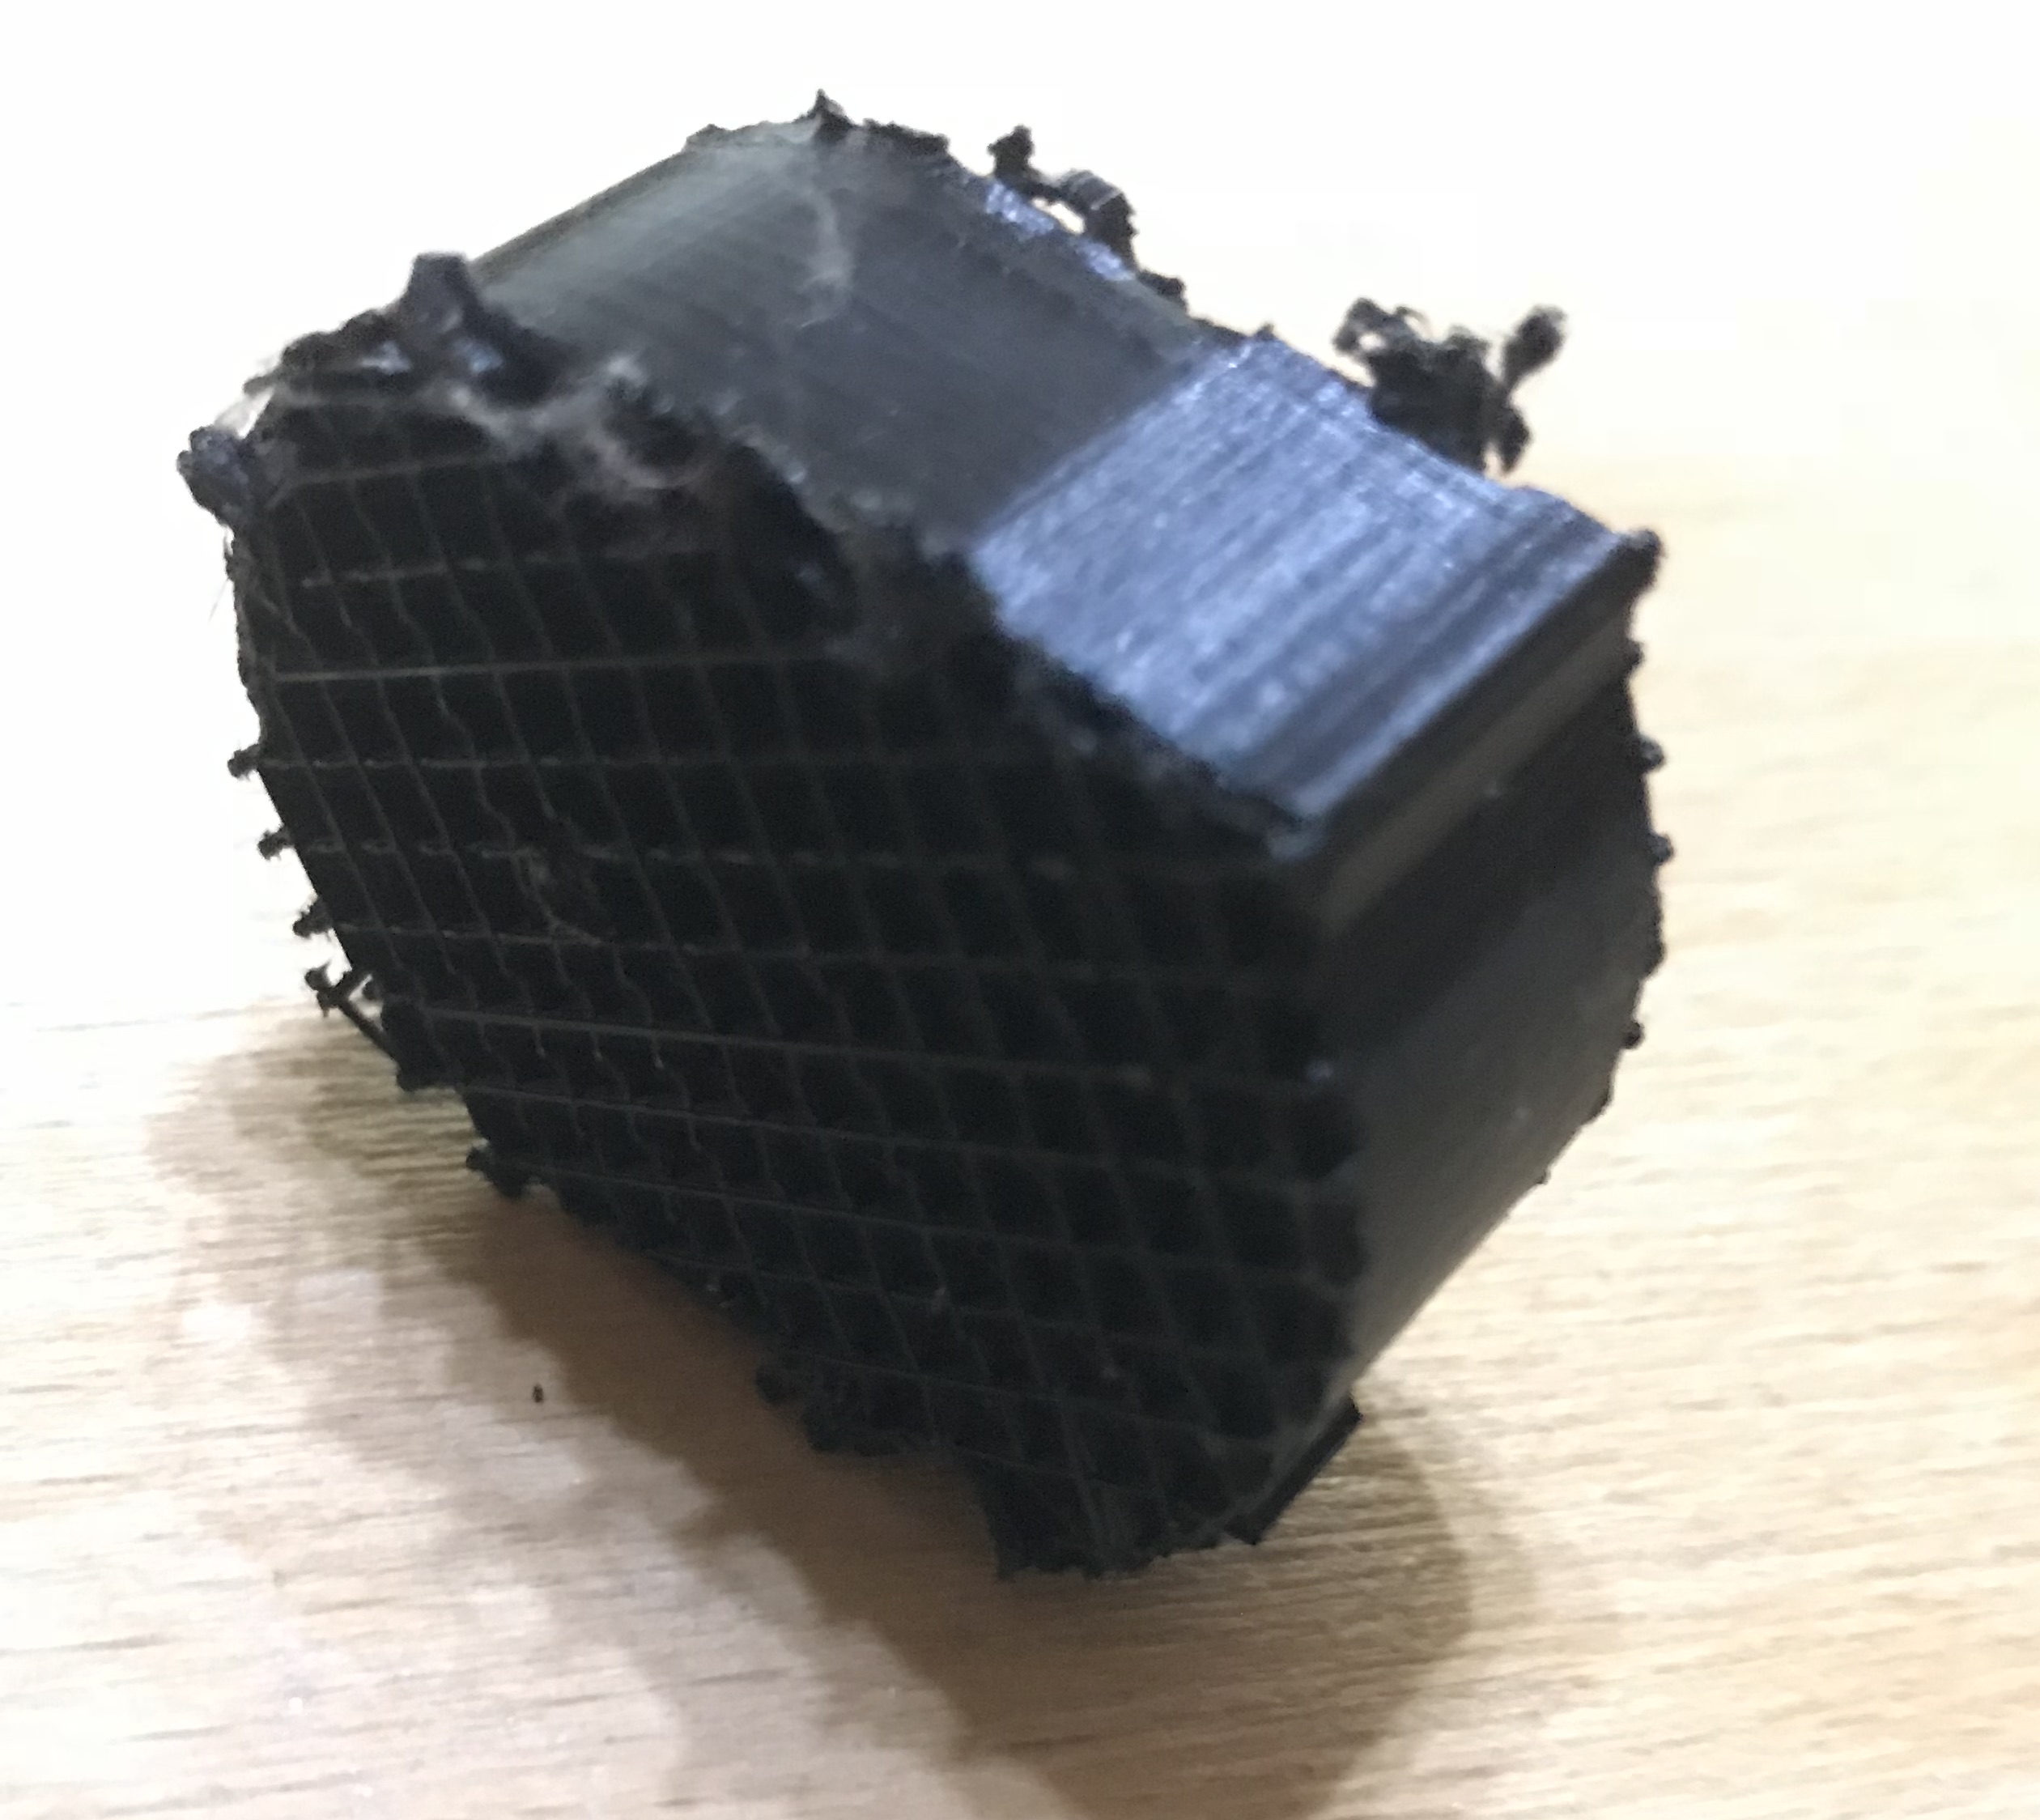
After removing the supports - next to the printed object you can see the support, you can see its structure, it is made of mesh:
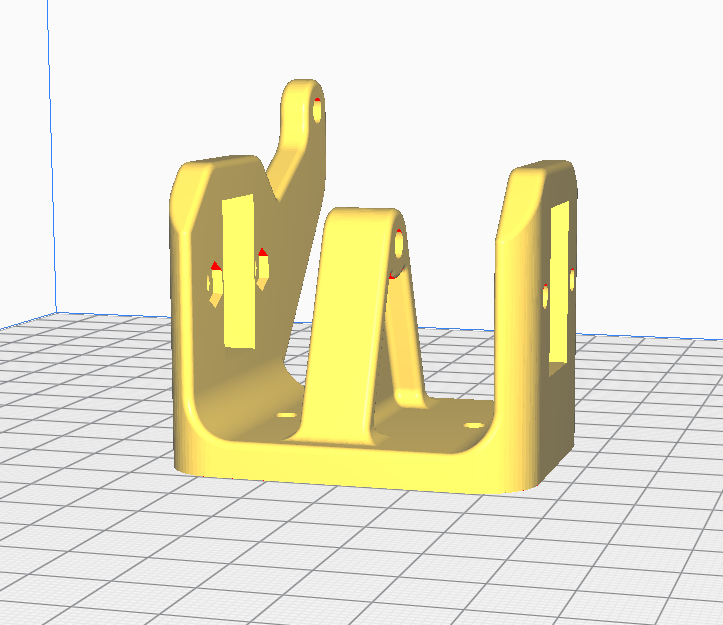
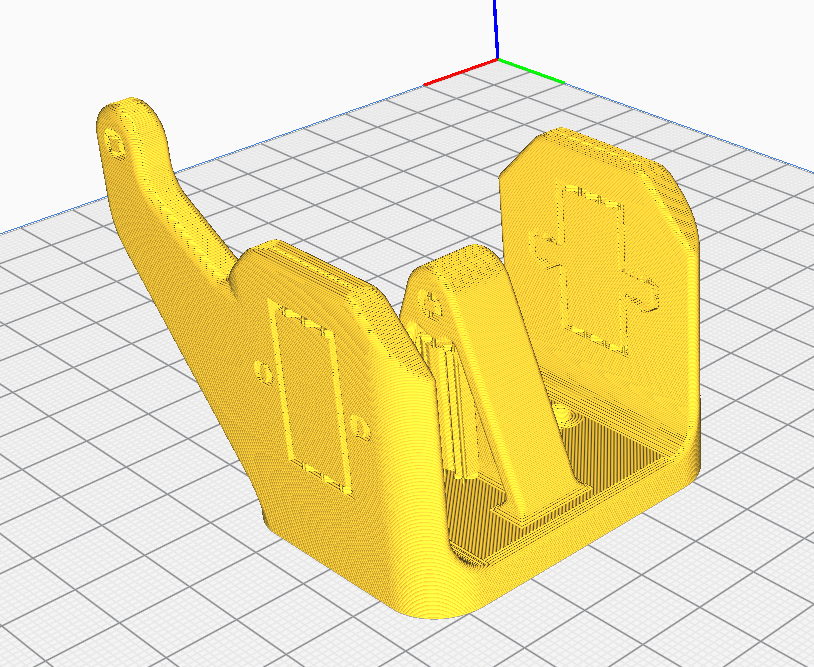
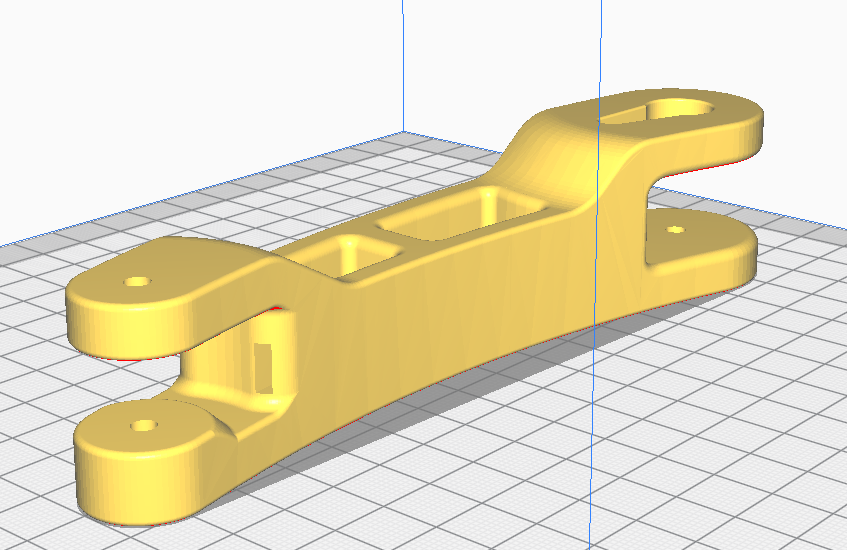
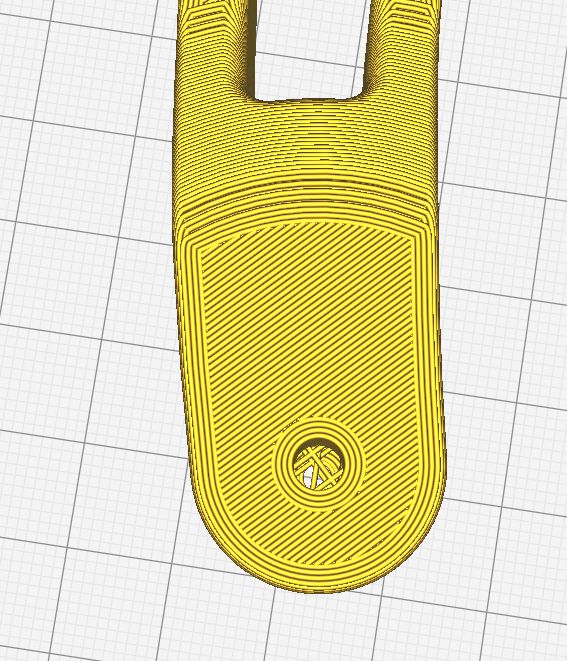
Here is one of the prints that impressed me the most:
Its source model itself looks like this:
Here it should be noted that this model has a free space through its very centre for inserting a cable:
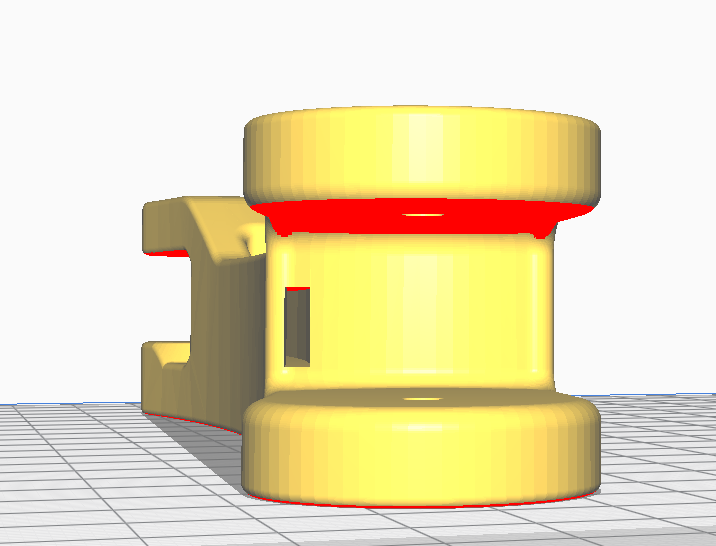
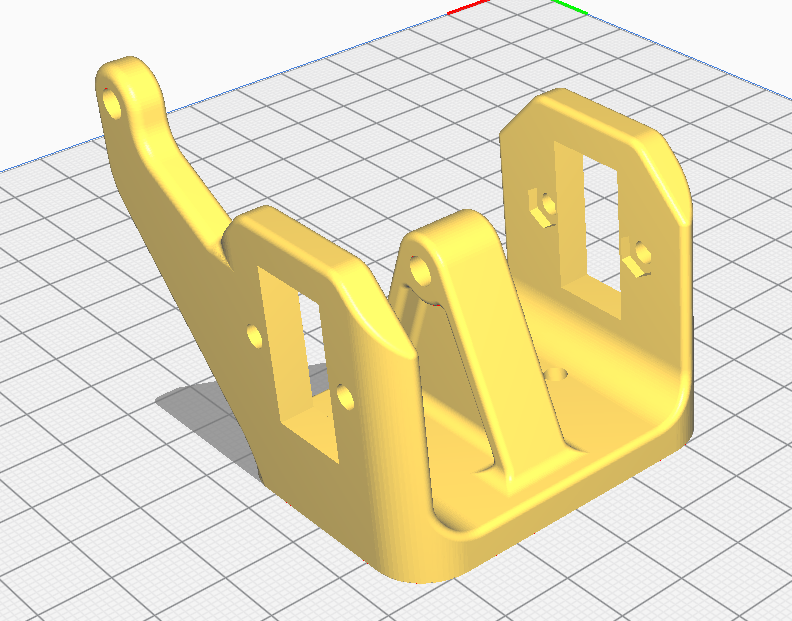
The same object but already with the generated supports looks like this:
Just after printing:
Here still before the supports were removed (a little harder to remove this time):

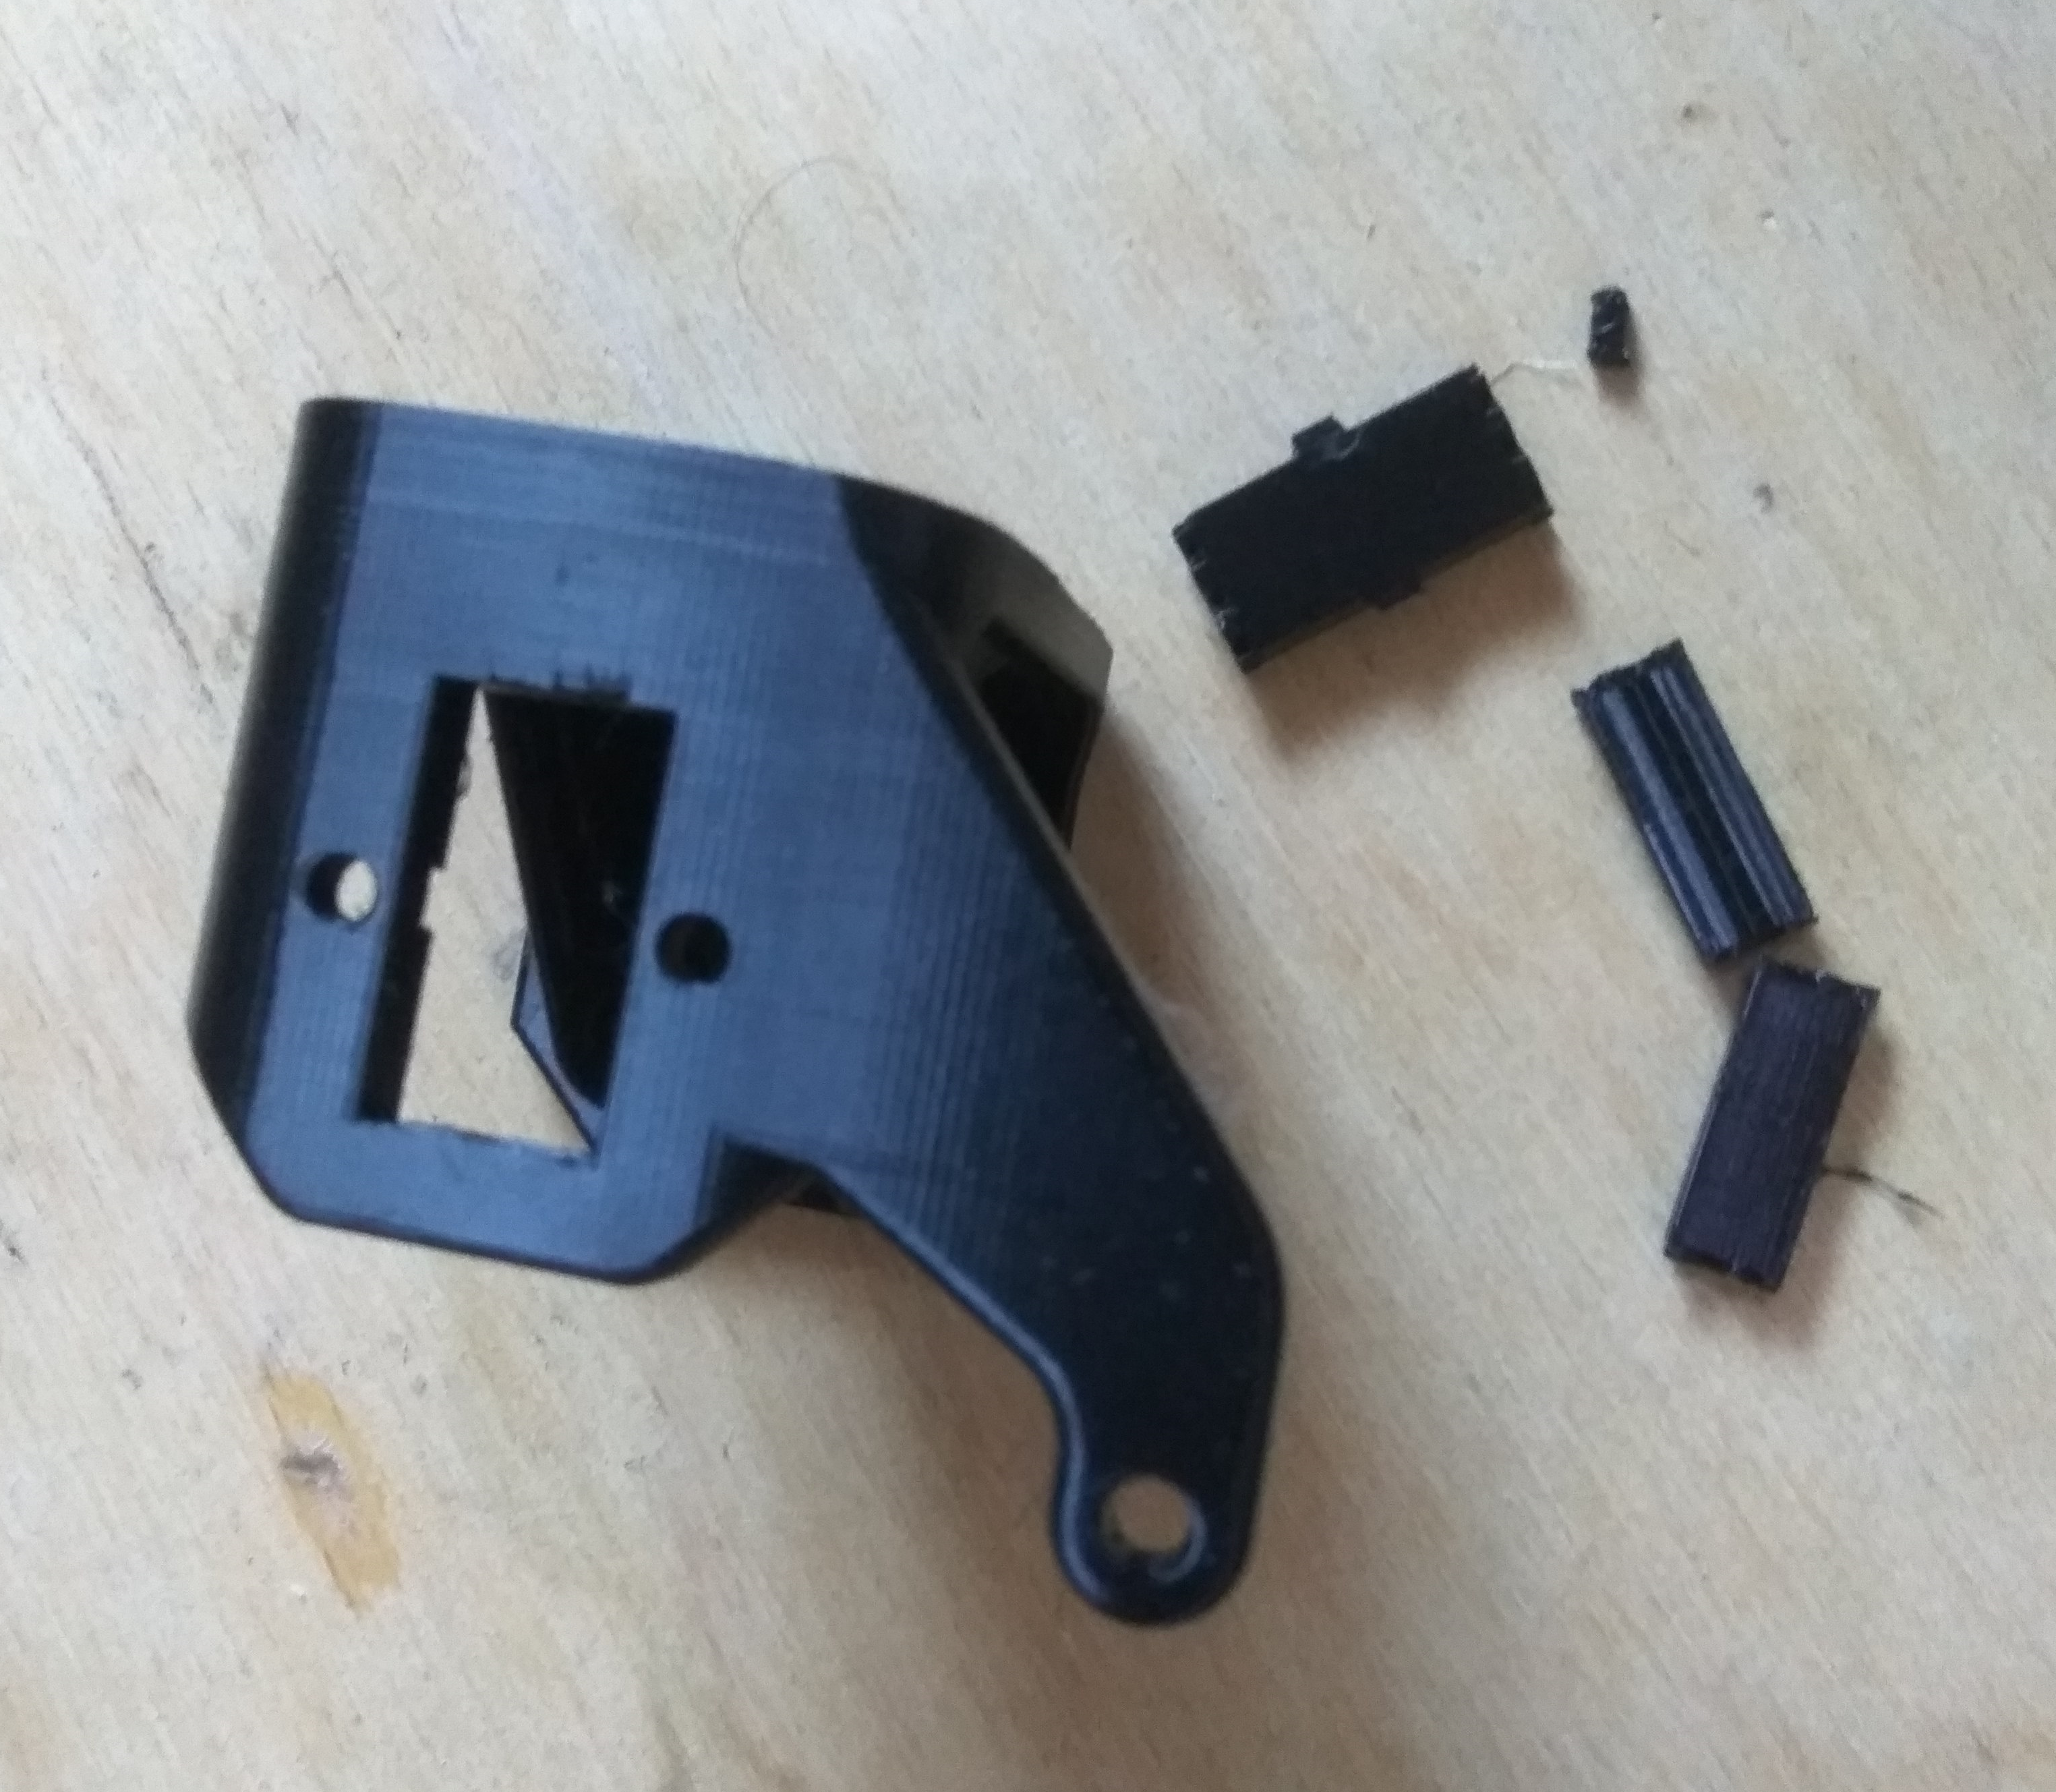
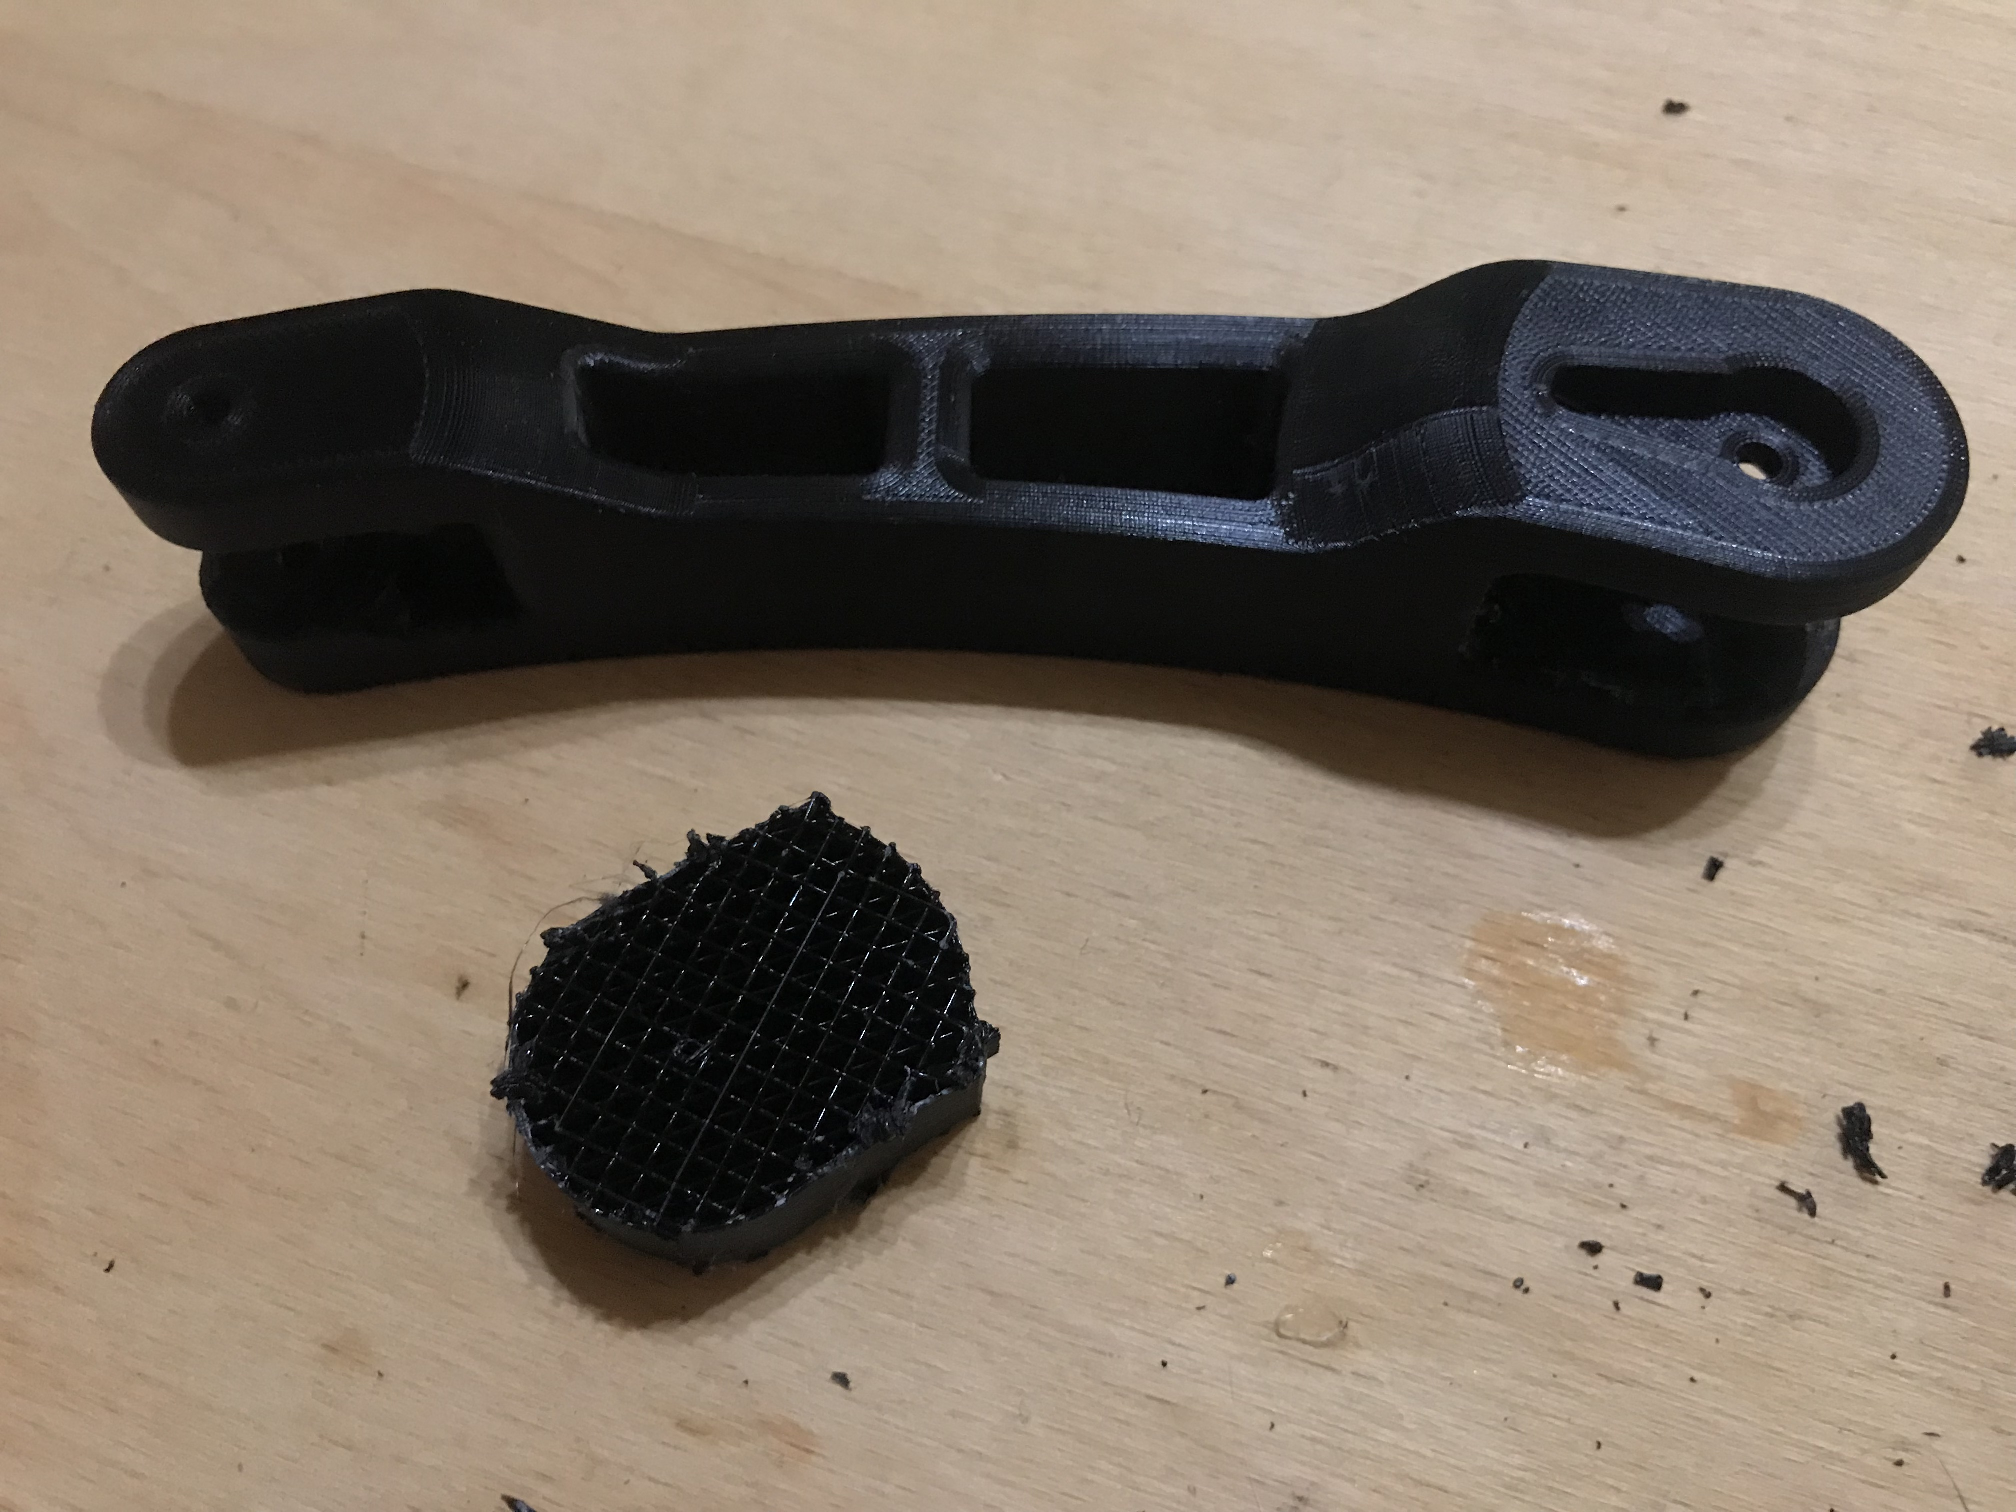
Support structure after removing it from the model:

Support and printed object:
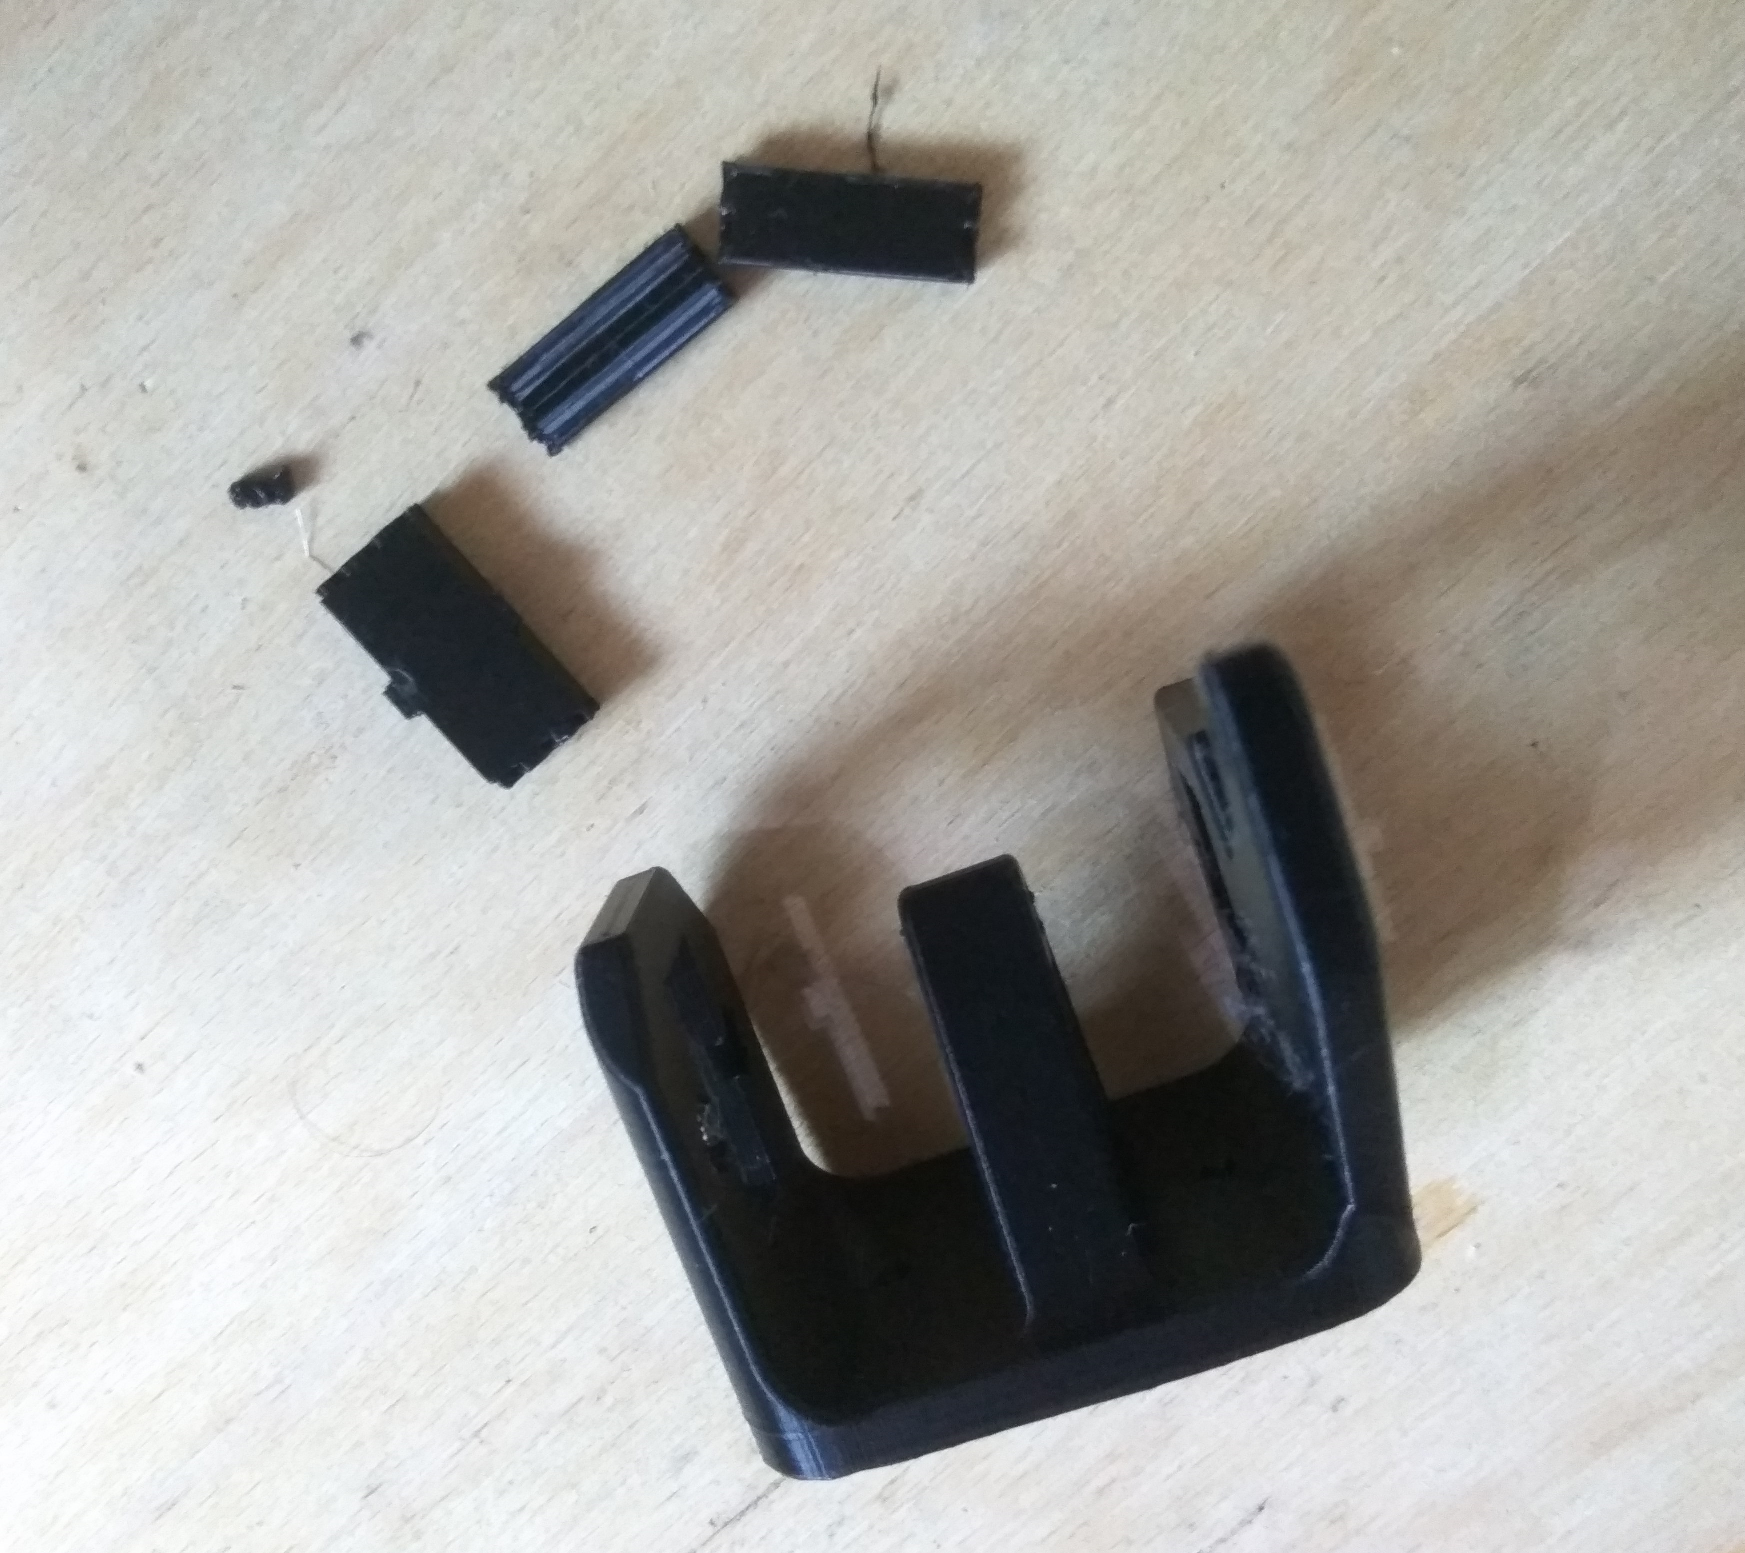
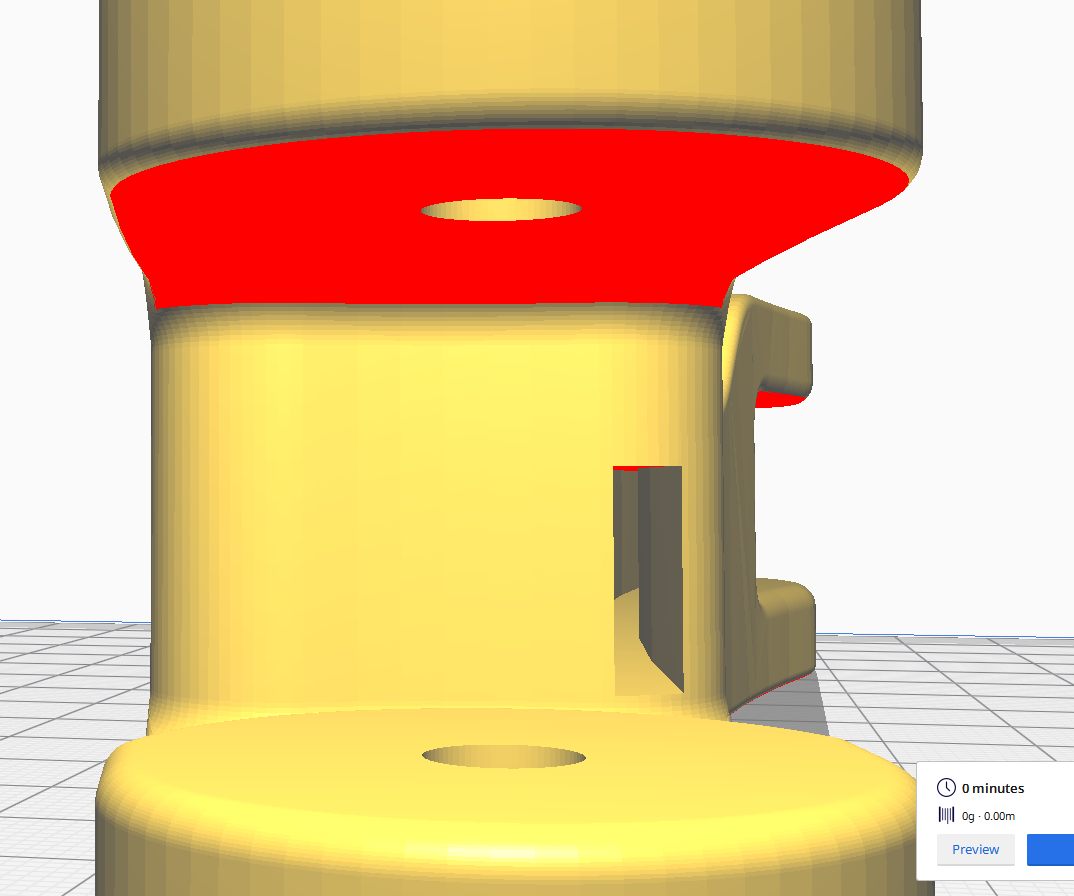
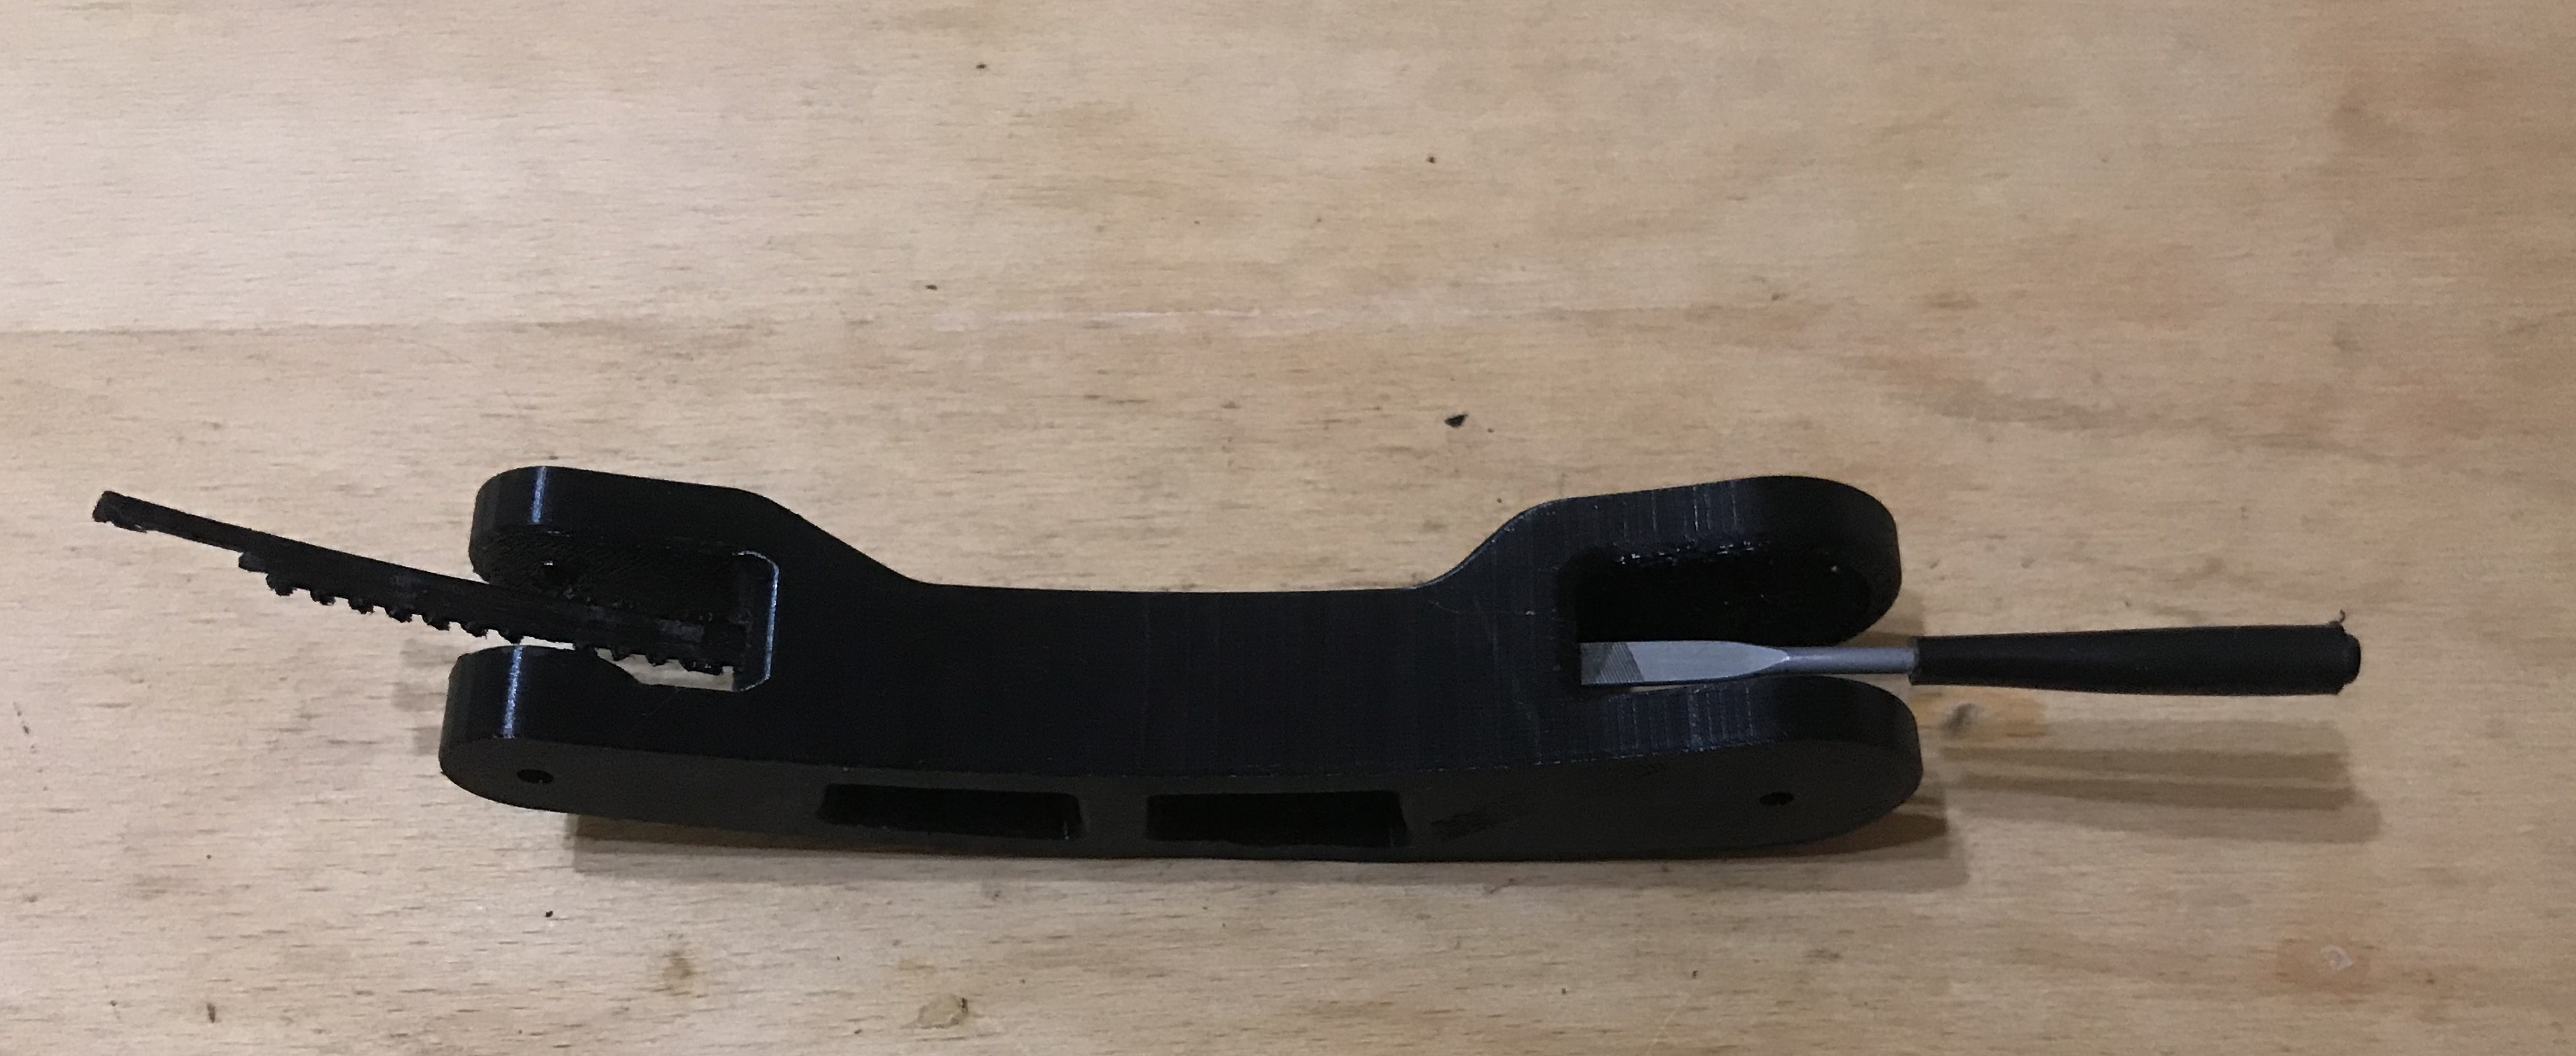
Except that this object still had support in its centre, in that gap for the wire which you can also see in the screenshots from Cura. This support was quite difficult to remove, but I managed to push it out with a file:
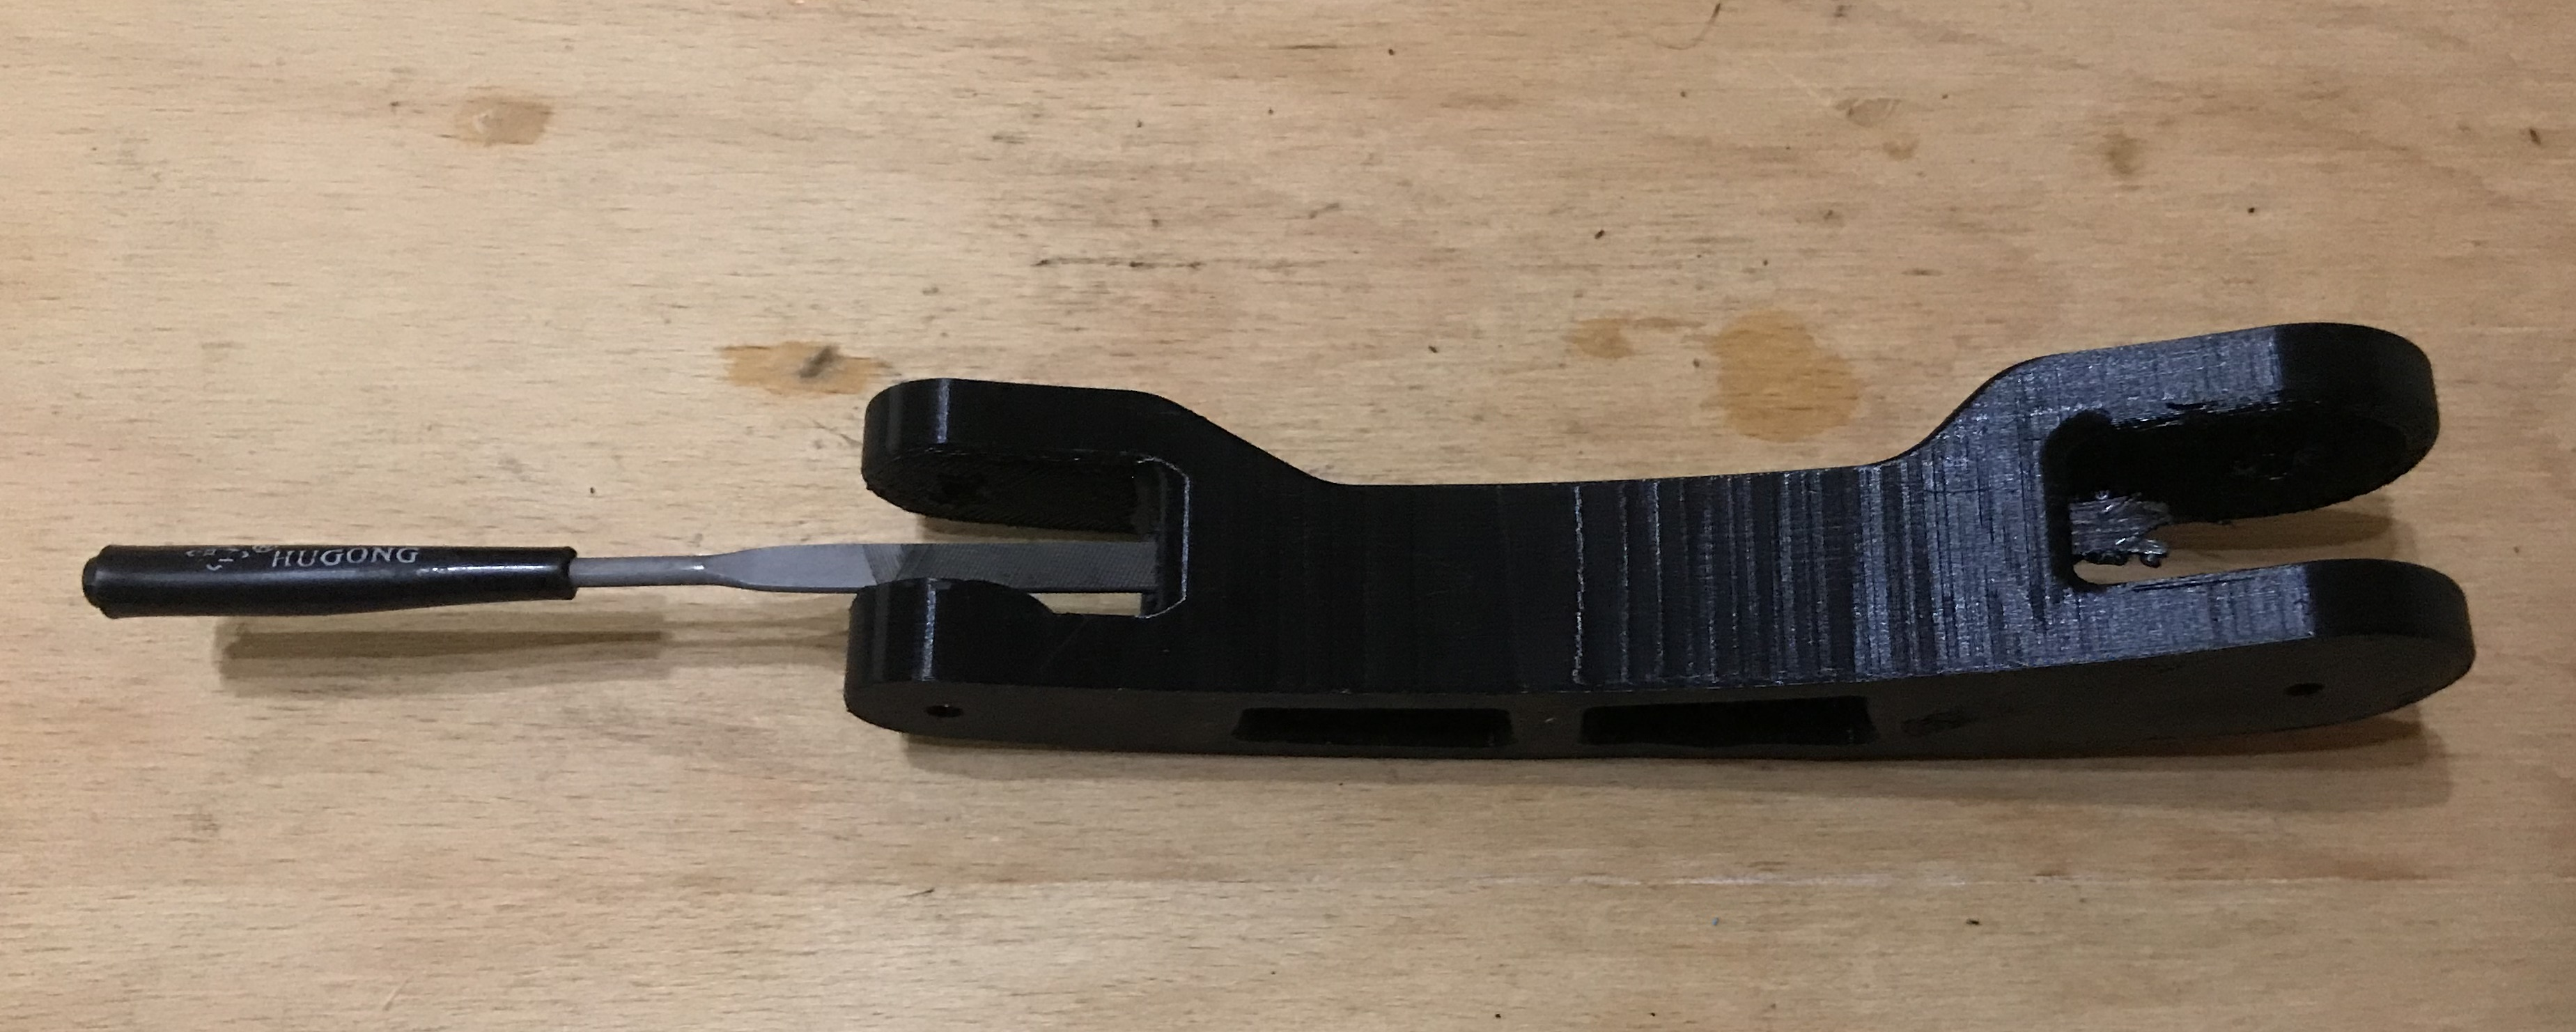
A bit of work and pushing on:
Printer maintenance
I have been using the printer for a while now, so I can write here from my own experience what is required every so often to keep it in good condition without losing print quality.
- releveling the platform (re- bed leveling ) - required can be quite frequent, especially if we move the printer to another place, to another table, or if we somehow wrestle the platform harder and inadvertently move it. For this reason, it is better not to remove the magnetic cap from the platform, but to lift the printout and remove it anyway
- cleaning the printer (and its surroundings) of dust - dust particles really harm the printer, especially on the filament. If too much of it gets into the nozzle, clogging is possible, so the room where the printer is and the printer itself should be kept clean.
- replacing/cleaning the nozzle - once in a while (the more dust around the printer the more often) the nozzle will become clogged. It can be unclogged, but it is best to replace it with a new one, as such a nozzle costs less than a zloty.
- cleaning the print platform - cleaning the so-called magnetic pad with heated bed , contrary to appearances, is important and required from time to time. A dirty, greasy bed means that the filament simply does not stick to it when the first layer is printed. I have tried various cleaning methods (both with dishwashing liquid and solvent) and each has worked well. It is also a good idea to avoid touching the base with your hands and to clean it regularly of dust.
- cleaning the SD card - yes, this is very important! The more files on the SD card, the slower the Ender Pro 3D printer menu works. After a while, it even comes to a ridiculous situation where the display is quite unresponsive and only responds to our control after more than a second. Then we end up in a situation where we inadvertently select the wrong file when switching on printing and have to abort the print. The solution to this is simple: reformat the SD card you are using from time to time and put too many files on it.
Summary
With my printer Ender Pro 3 I am satisfied. I think it was a good purchase and rather if I had to choose again I would choose the same model again. In the future I only intend to think about some sort of enclosure/cage for an entire printer made of transparent plastic to reduce dirt and noise as these are basically the two biggest problems I face.
And what experiences do you guys have with 3D printers and what models do you use? Feel free to discuss.
PS: Of course, the advice presented here is only my opinion, I am the same user of a 3D printer as many of you, so I can not guarantee that they are 100% correct and I do not take responsibility for the fact that someone as a result of reading my topic will spoil something.

p.kaczmarek2 wrote 14406 posts with
rating 12345 , helped 650 times.
Been with us since 2014 year.
Comments
Cool description, lots of writing. When writing about the prices of the extras, the cost of the device itself was missing. It would have been useful to mention the control element of the whole kit. In... [Read more]
I see a lot of mistakes in the text. Something more about some things would be useful (a few sentences with such a long text is probably not a problem). Mentioning some things is a cry to heaven... Will... [Read more]
This is a rather controversial issue, as you can either buy from your compatriots (supporting the economy of your homeland), or import from China a few hundred cheaper. Of course, you have to bear in mind... [Read more]
Seemingly a cool description, but something is missing here. You could have described, for example, the main board of the printer and what is in it. Because unfortunately we have poor stepper motor drivers... [Read more]
This replacement is yet to come for me, but thanks for the information. I will consider it, although it probably isn't that necessary for the printer to function properly. I have seen this possibility,... [Read more]
Creality3D Ender 3 Pro, duplicate error. This is not the important thing, you should pay attention first and foremost to the quality of the filament you buy. This is not necessary, you might... [Read more]
I can see that some of the comments are substantive and some are a bit on the forceful side. Some of your comments are explained in the text, such as about the quality of the filaments (I printed with... [Read more]
I set mine to 0.04 mm with a slit gauge and somehow have nothing to complain about, besides, there are quite a few sources and more often a receipt than a piece of paper. The internet is the internet,... [Read more]
Once the component has cooled down, it can be removed by hand without the use of force. Fire glass "heat resistant glass" is best suited for this. I had mine cut at a glassmaker's. [Read more]
When it comes to removing an element from the glass, it depends on the type of element. Some of them come off by themselves after a slight movement, others, e.g. large blocks with a wide base, you have... [Read more]
Hello. I have no complaints about the quality. My version is based on Marlin firmware. The software to prepare the gcode is Repetier-Host and Cura. https://obrazki.elektroda.pl/5676568500_1575916416_thumb.jpg... [Read more]
My brother also has an ender and he appreciates it. Of course, to get better quality prints he had to modify it a bit. [Read more]
Czech, I would still be wary of the cheapest nozzles. They can have a porous structure inside or the hole declared in the description can differ, which can affect the quality of the print. [Read more]
I'm an Ender 3 user and I'll add my three cents ;) Ender is "famous" for its poor quality tables - in my case levelling did nothing - the table concave in the middle. I considered using glass, but in... [Read more]
The glass in my case (a piece of mirror to be exact) solved any problems with levelling, first layer coming off etc. [Read more]
Also I have an Enderk it's a good printer but to change at the outset: - Blow - Purchase Hegron gel spray - so I print from petg on a cold table (energy saving). To buy at Rosmann. On the web they sell... [Read more]
Just see, hegron can take glass behind it and printing formulations have no such problems. However, it is worth paying extra for them.... It's not the same. And by the way, combining with the speed doesn't... [Read more]
Well the printer-skeleton design in an inverted T is cheap and unstable. Added after 7 [minutes]: What 1200 ? i do not know such a parameter/ I for example have the acceleration. acceleration... [Read more]
I have exactly the same model as the author of the article. Generally it's not too bad, but it all depends on the slicer and that to me is a very important problem. First of all I replaced the flexible... [Read more]