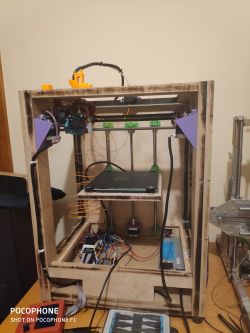
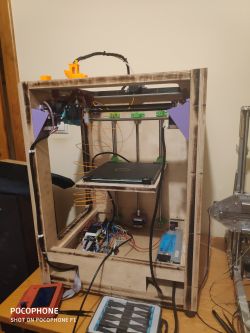
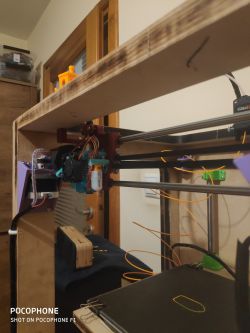
Howdy! I present to you another 3D printer project that I made at home at little cost, as I had most of the components at home. This time the CoreXY
My first printer:
Link
By using printed components, the cost of the printer is definitely reduced.
The example I have built now is still in the process of configuration and customisation of the software settings (currently Marlin 1.1.9)

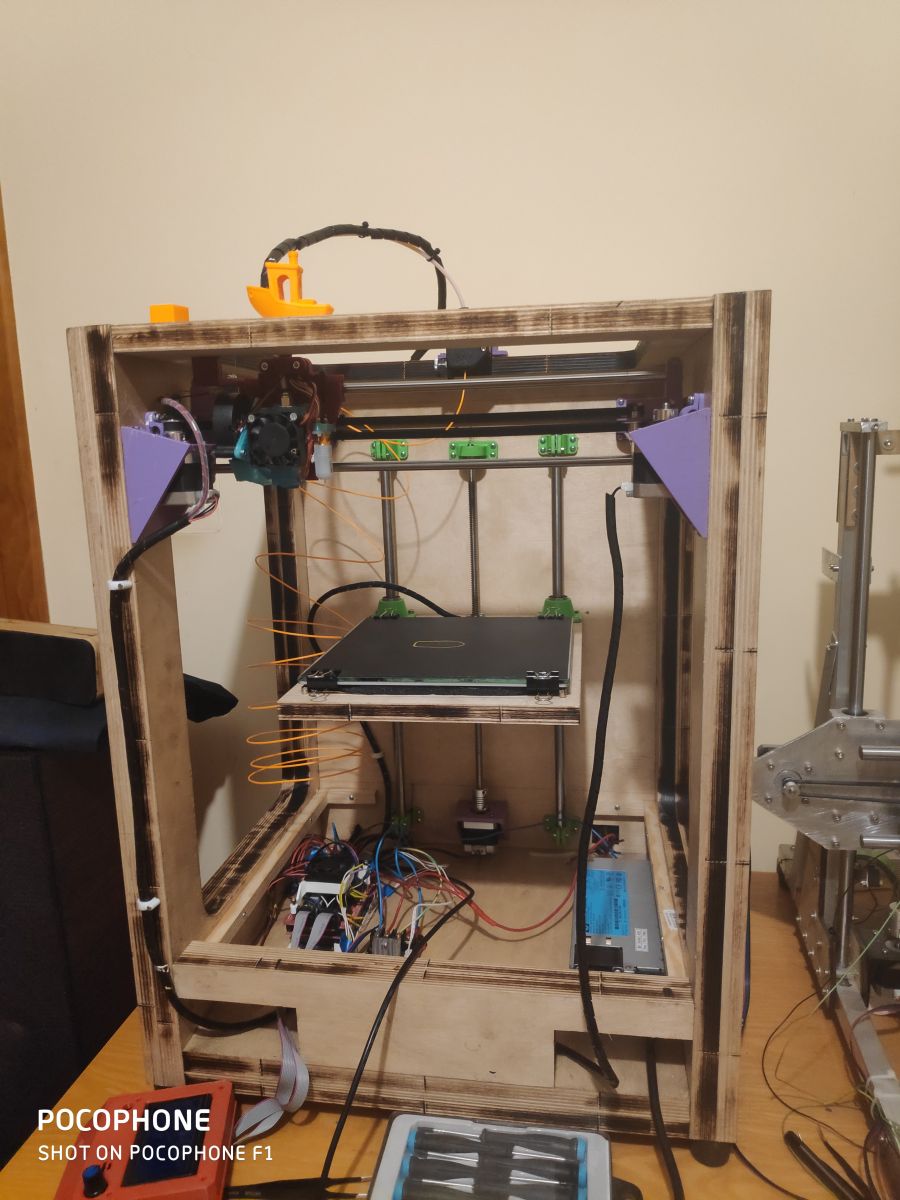
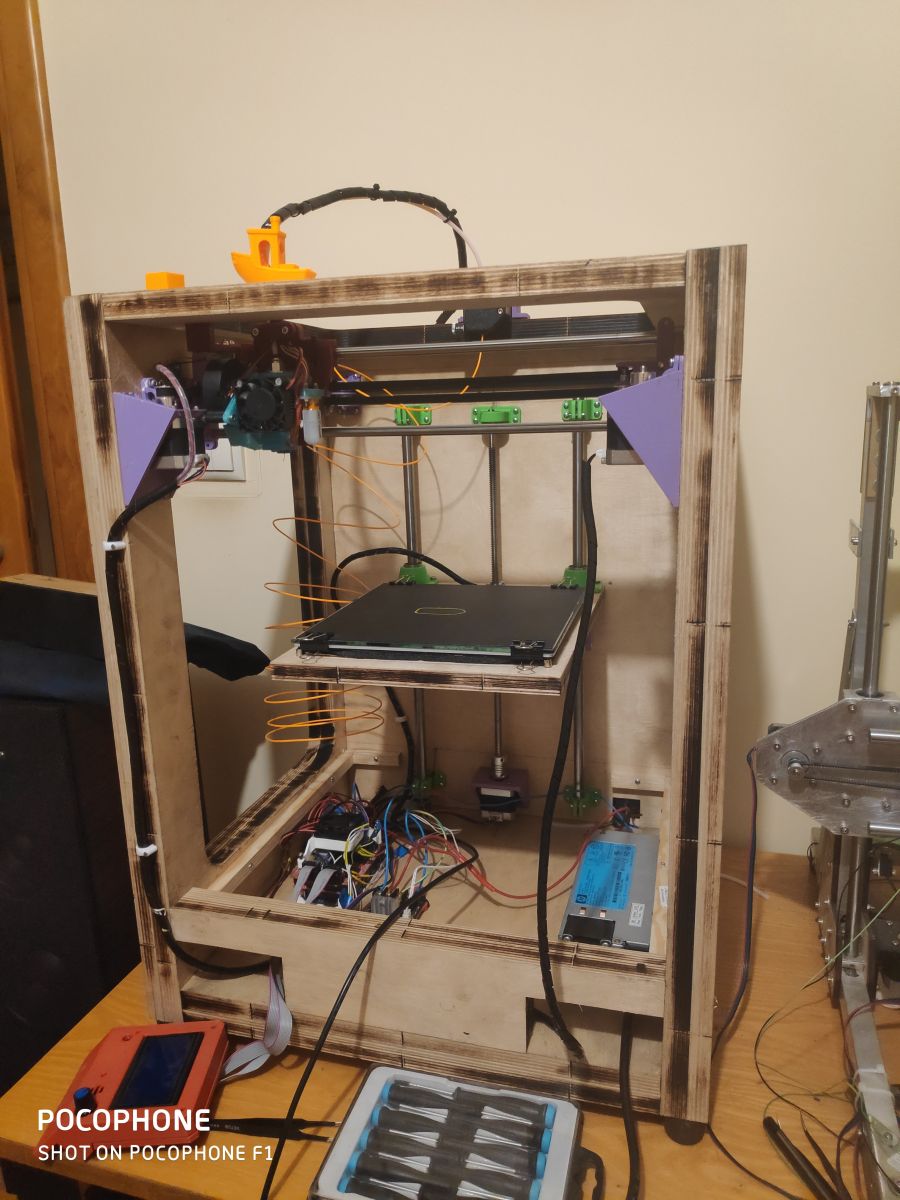
Housing made from 33mm (18+15mm plywood) and 18mm plywood. The enclosure was drawn in Autocad Inventor and burned on a laser I have access to for free (I don't count the price of the plywood or the laser work towards the construction costs). The case panels are screwed together with screws. The weight of the printer is about 15kg, fortunately I don't have to carry it anywhere.
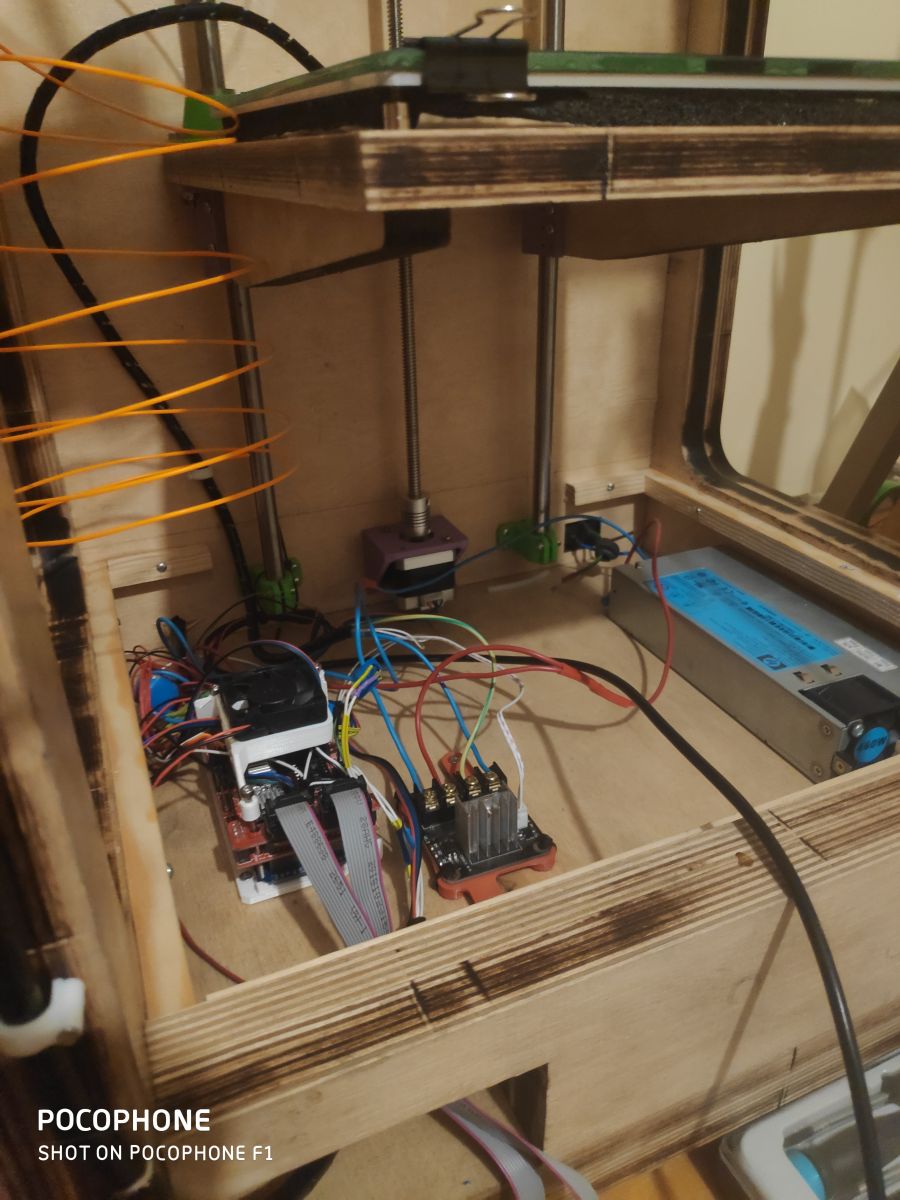
Electronics at the moment are Arduino Mega2560 + Ramps 1.4 + DRV8825, server power supply (12v 40A) from my dad at work

))
Ultimately I am changing the electronics to a Duet 2 WiFi which is already waiting to be fitted.

)
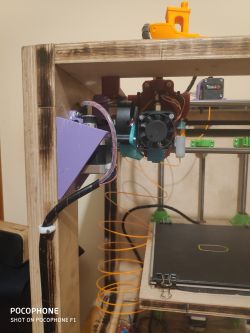
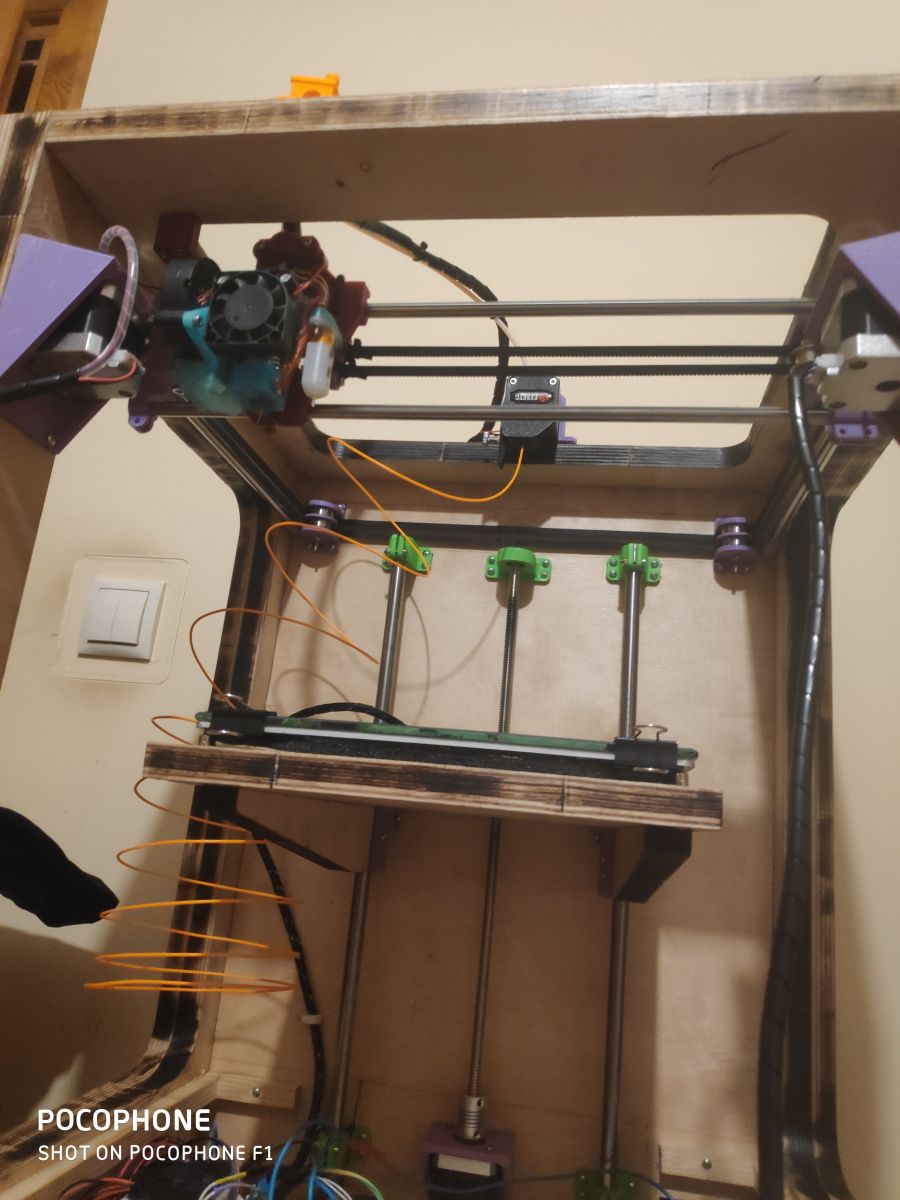
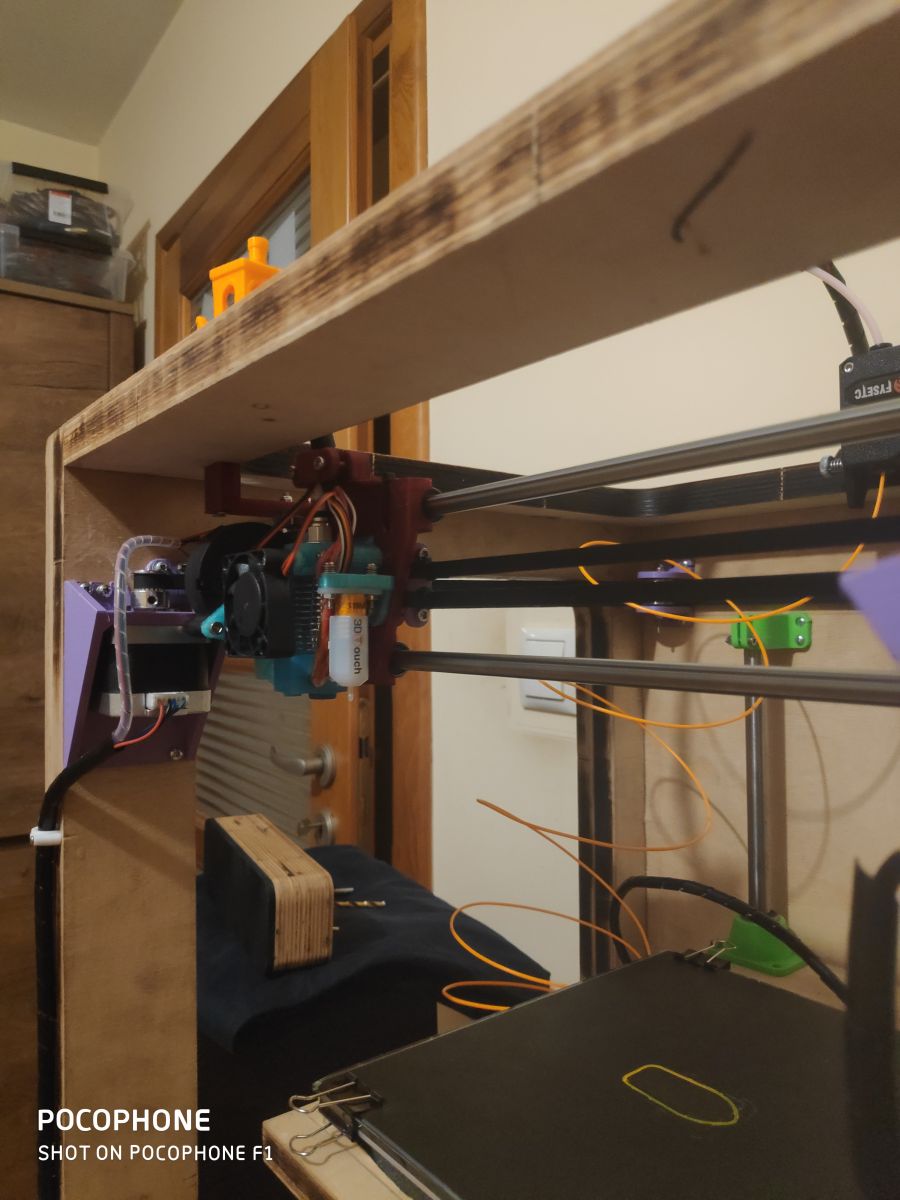
Engines are the usual nema 17 (200kph per revolution), head is an e3d V6 clone, extruder is a bondtech clone from fystec, BLTouch from Trianglelab (the auto-leveling thing is wonderful)

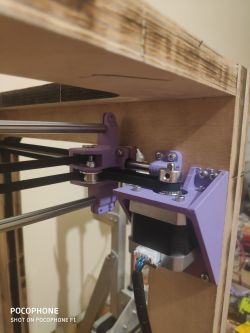
With the chassis drawn in inventor, I also laser burned all the mounting locations for the motor mounts, shafts, T8 screw into the plywood so the assembly was instantaneous. (I am referring here to the laser marking of the places where the screws should be)

The parts are printed from petG or PLA, all parts were printed on my earlier printer to which the link is at the beginning of the post.
The head is attached to a chuck which rides on 8mm rollers on lm8uu bearings, the table is on a T8 screw and 12mm rollers on lm12uu bearings
After the initial setup of the Marlin, I ran some test prints at speeds from 45mm/s to 120mm/s including the first layer at 30mm/s and the outer walls at 45mm/s. The quality is satisfactory, although I am still struggling with the extruder which feeds too much filament (despite proper calibrations)
I do not know what more to say, the assembly thanks to the previous model in inventor was child's play and the price for such a device is not great. The total cost of this equipment is about 200zl, because I had motors, heads, belts, zebatki, electronics and some other things at home. I will calculate how much such equipment costs for a person who does not own anything. Most of the prices will be given taking into account purchases from the Chinese
Engines 4 pcs - 100zl
Maple head - 20zl
BlTouch - 50zl
Bondtech clone extruder - 90zl
T8 screw - 15zl
Shafts 8mmx500mm 4pcs - 40zl
Shafts 12mmx500mm 2pcs - 20zl
Bearings lm8uu 5pcs - 10zl
Bearings lm12uu 4pcs - 12zl
Gears gt2 - 15zl
Belts gt2 - 10zl
Skr v1.3 + TMC2208 - 130zl (I don't include ramps with Arduino because unfortunately it's not worth to take this kit anymore, but skr v1.3 board is still worth attention)
Heatebed MK3 - 45zl
Which gives us a total of about 550zl, of course I might have forgotten something (I'm not including the price of the plywood/burnings, the price of the power supply and the cost of the material from which I printed the handles)
For this money really very cool equipment, but above all learning what and how it works, great fun and satisfaction.
I still have some work ahead of me on this equipment to if you have any questions, please do not hesitate to ask, if you think I have done something wrong or if there is something I can improve, please write! Greetings and good night !
I will upload the test prints in a few days, here are some more photos !


Comments
Z-axis supported on one side only does not result in crooked prints? [Read more]
I checked the level of the table while the printer was still being built and it is indeed slightly angled, but I knew I would have BLTouch so that the Z-axis motor makes subtle corrections during the printing... [Read more]
Print yourself a chimney of about 10cm and see if it looks like a tower in Pisa. I don't like the location of the motor for feeding the filament. The input is at the table support. What kind of... [Read more]
And the table doesn't wobble when the table has a quick down and up departure on retraction ? I have mixed feelings about this. [Read more]
Retraction is done with an extruder. [Read more]
With retraction, you can set the Z-axis stroke, which I have disabled because I find it unnecessary. [Read more]
Not only as you can see. And you can turn it on and see the effect ? I basically only have with the stroke because I was getting the best results, and basically zero threads. [Read more]
It is easier and safer to withdraw the filament from the nozzle than to move the table. That's why there are mostly such solutions. [Read more]
When bouncing the filament is withdrawn from the nozzle in the same way, it's a technique where you do both at once, and as I say, it was only with this setting that the threads disappeared - there's a... [Read more]
I will be printing a benchmark tower soon. The extruder will eventually be moved from the side Working area 200x200x300mm What do you mean did I manage to change the displayed values? I am displaying... [Read more]
I'm building a new version of the printer based on Marlin and with me it doesn't want to show as in the original Prusa. Instead of 000.0 I have 000, without decimal values. This makes it impossible to... [Read more]
In my opinion BLtoutch will not solve your problem with a crooked table. Yes, the correction will be made in the first stage of printing , but note that with more layers the weight of the print increases... [Read more]
This would have to be a very weak table, or an extremely heavy print (for a print). I myself have the table propped up on one side and no strange problems, the surface doesn't change alignment even after... [Read more]
Chickens, I didn't know prints were so heavy :D Mostly the biggest ones are 50-80g, but to bend the table that much ? :D [Read more]
Oh you cling :D that was just my impression. :) Looking at a table with dimensions of at least Anteta 220x220, and seeing the fixing only in one side I have the irresistible impression that with a larger... [Read more]
I'm going to give the table at my place three supports, but I'm aiming for a 300x300 or 350x350 table in general ;) So a single NEMA motor is unlikely to cope :) [Read more]
You say? Because I have a 320x320 on a single nema17 motor and ball screw. But if you are short of nema17, you can always use nema42. :D [Read more]
The printer is slowly undergoing further modifications. I am finally changing the electronics to SKR v1.3 with TMC2208 (Duet 2 WiFi remains in the other printer), the bearings will be changed to igusy... [Read more]
Hi. Which endstops/contactors did you use? NO or NC? [Read more]