 Hello my dears
I'd like to share here
share an idea for a practical 3D print for the home and kitchen that has already appealed to several people and allowed us to get our cupboards in order. The idea is a simple organiser/handle/hanger for pot lids. I designed the whole thing from 0 and at the end of the topic I will give the 3D printable model files for download.
Introduction
The idea is trivial but very practical. Instead of keeping the pot lids together with the pots (which makes them difficult to pull out), you can keep them hung vertically from the inside of the cupboard doors. This saves space in the cupboards and makes it easier to access the lids themselves.
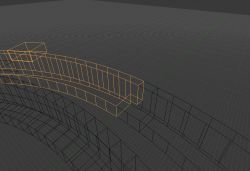
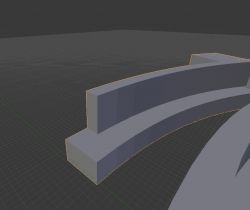
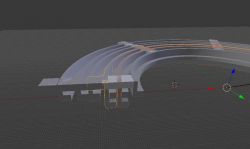
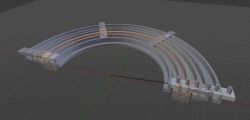
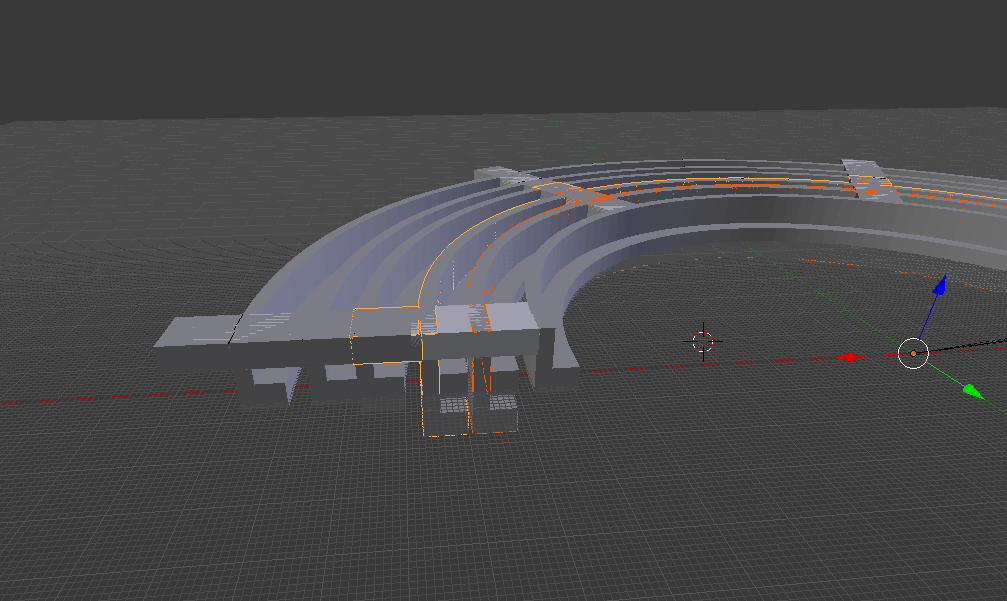
It was for the purpose of storing the pot lids in this way that I designed a suitable holder - I made the 3D model itself in the program
Blender , whereas I printed it out of
PLA on a
Creality Ender 3 Pro printer.
Beginning of the project
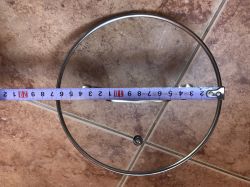
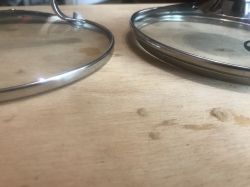
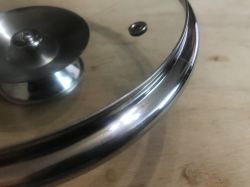
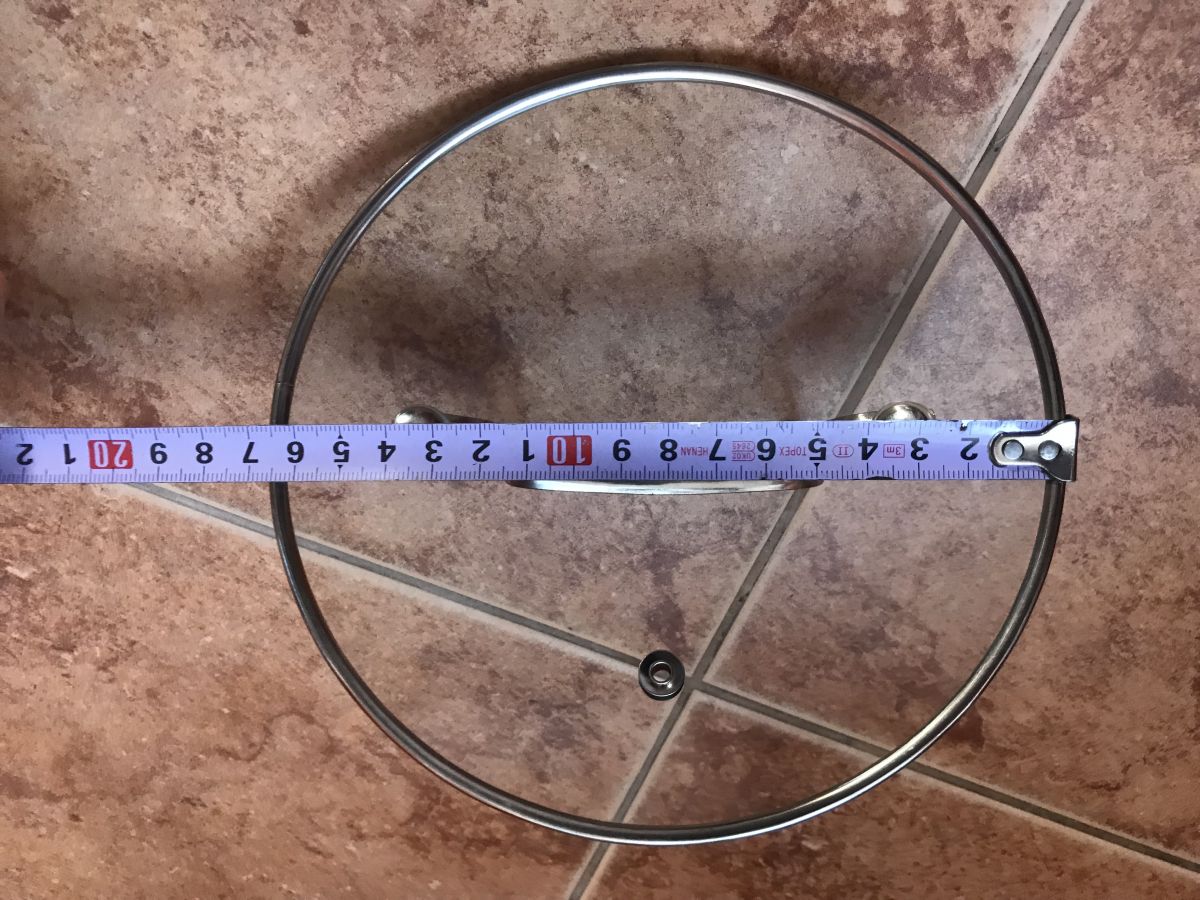
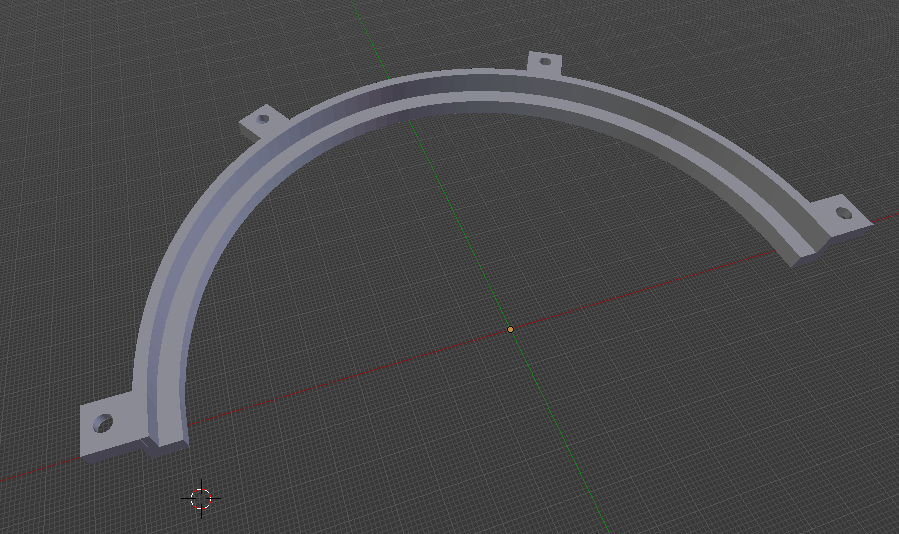
I started the project by sizing the smallest of the lids:
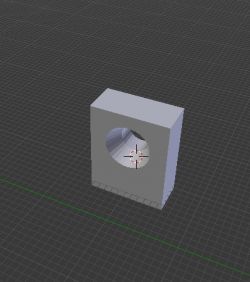
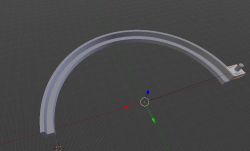
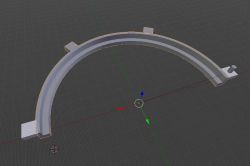
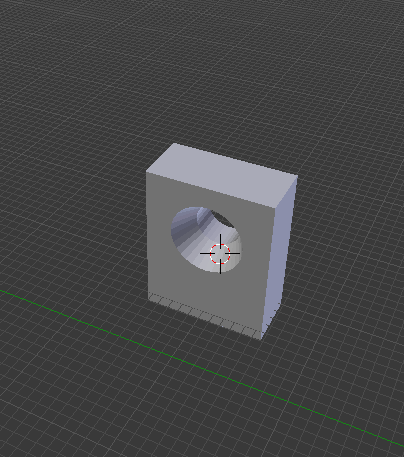
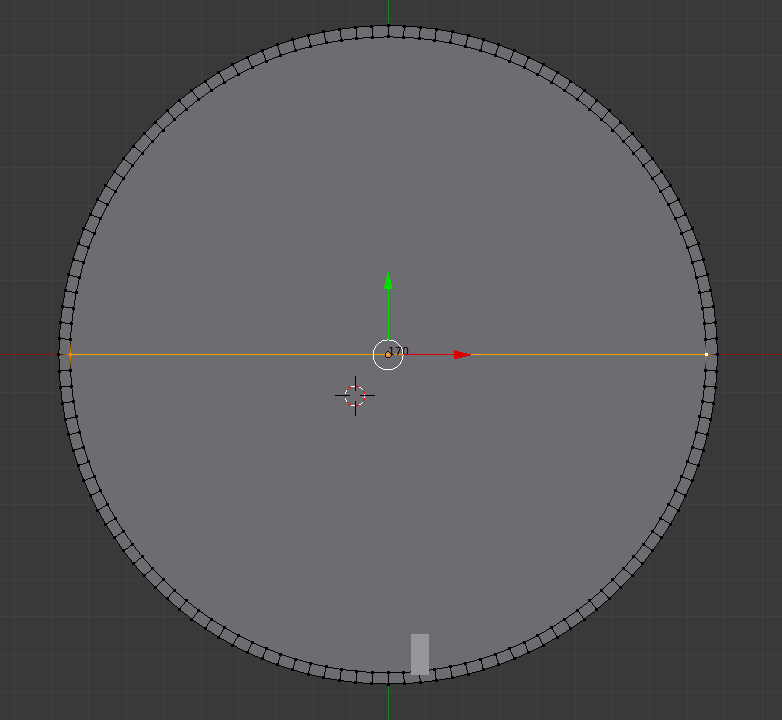
I designed the whole piece. There could have been fewer fixing holes, but I assumed that the whole thing should last quite a long time and, moreover, I already knew that for larger lid diameters I would print the parts divided into two halves:
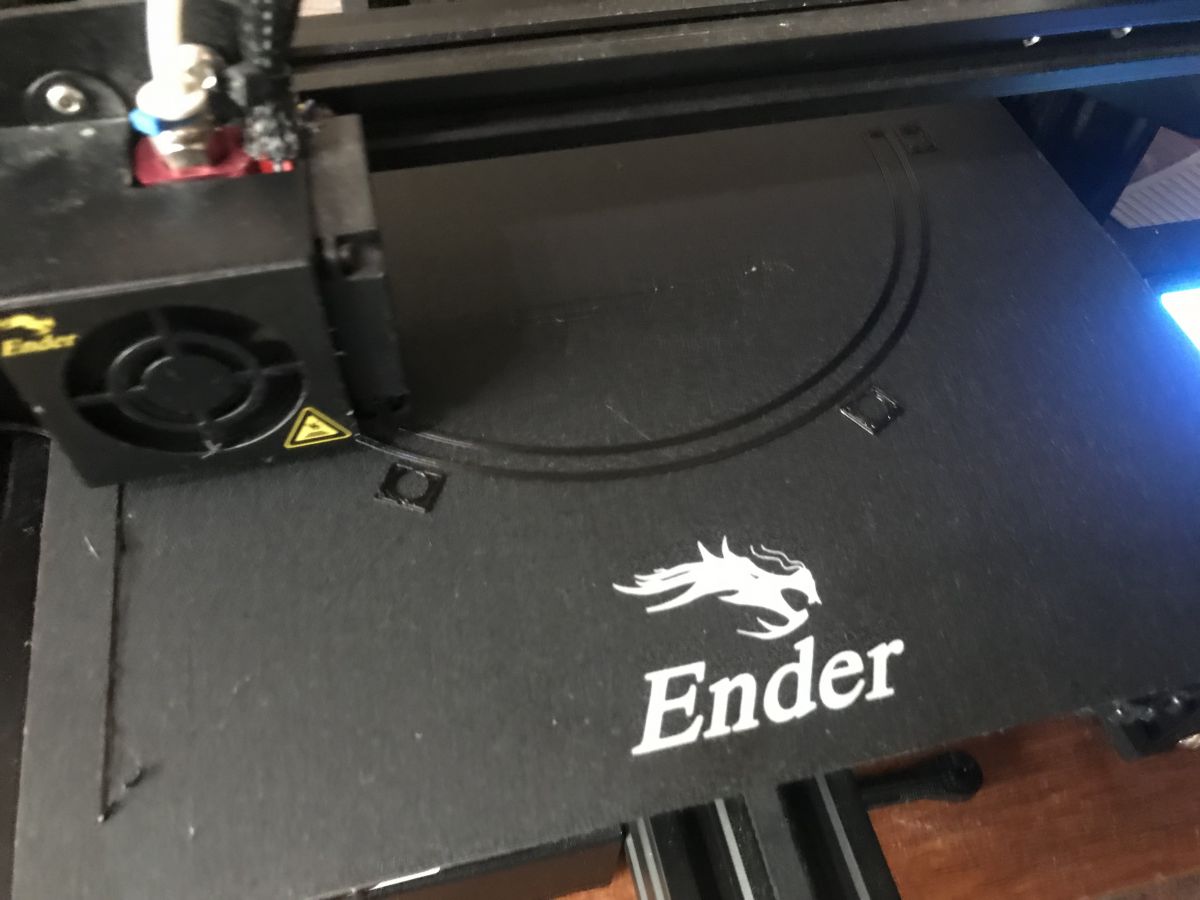
I have enabled support (supports) in the print configuration in Cura:
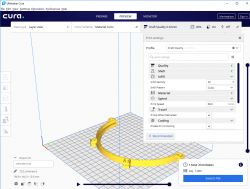
I selected the smallest print quality - Draft - that was sufficient.
I then started printing. I was then still using the nozzle
0.6mm and not as is usually the case
0.4mm , so it went quite quickly, about an hour and a half:

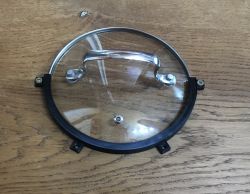
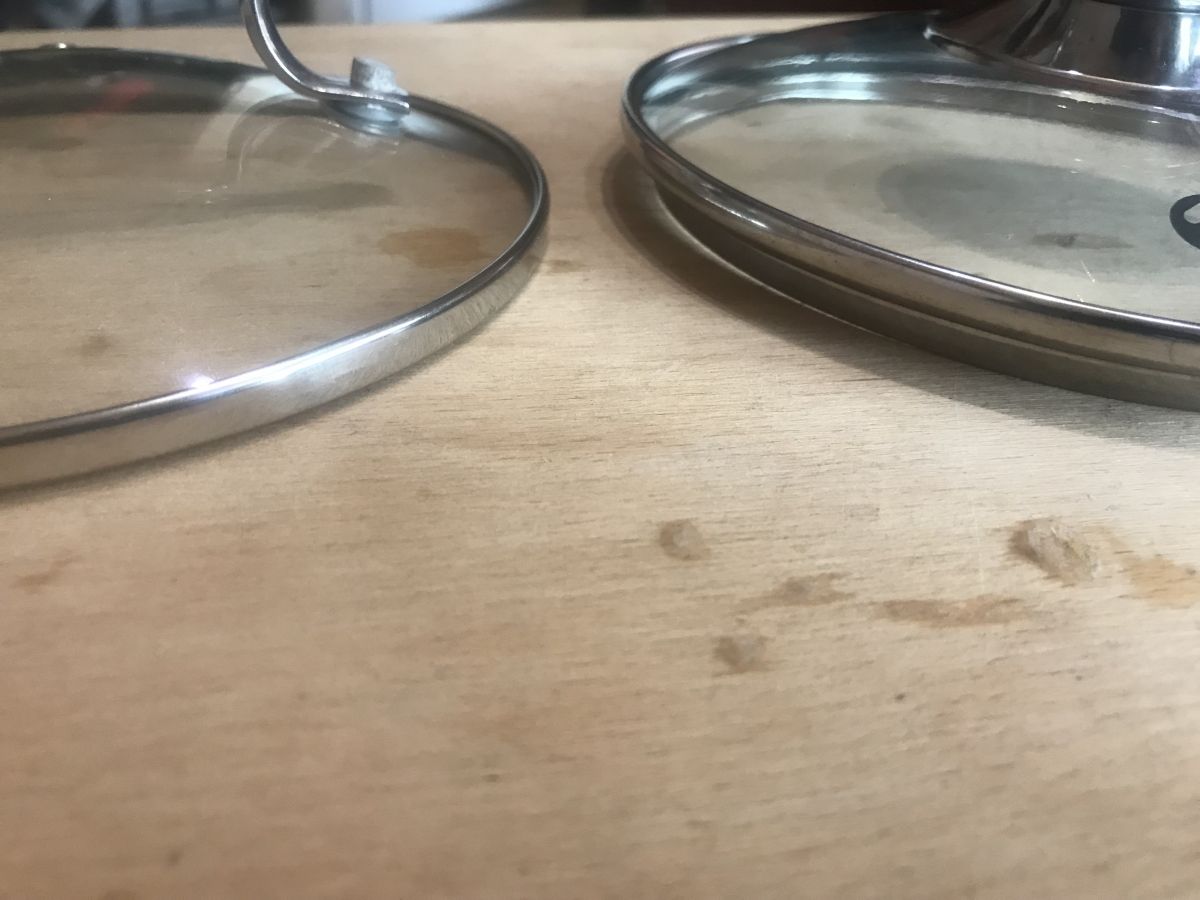
First test of the printed piece with the lid:
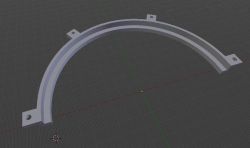
Everything came out reasonably well on the first try:
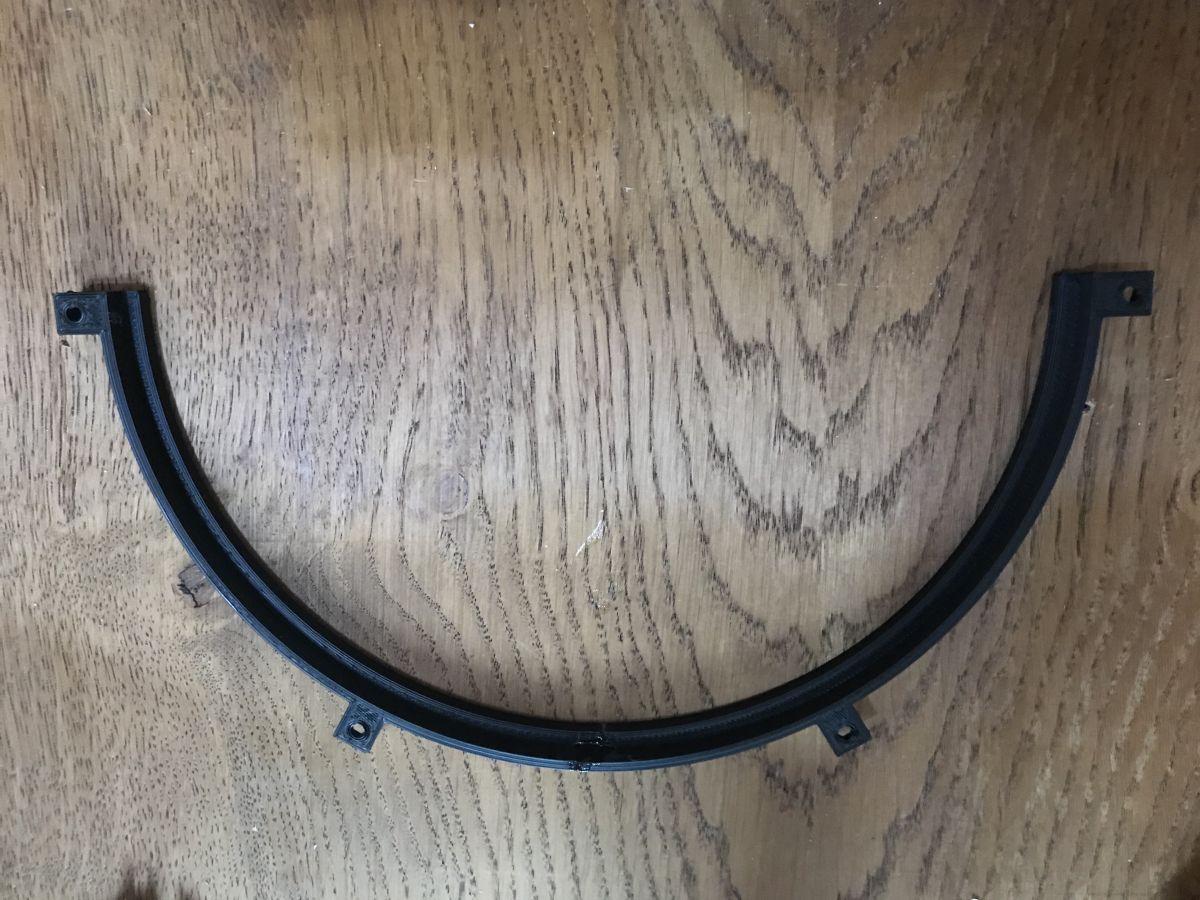
The only change I made to the overall mounting scheme after the first print was to make it 1 mm deeper to make it more convenient to insert/remove the lid.
Two-piece mounts
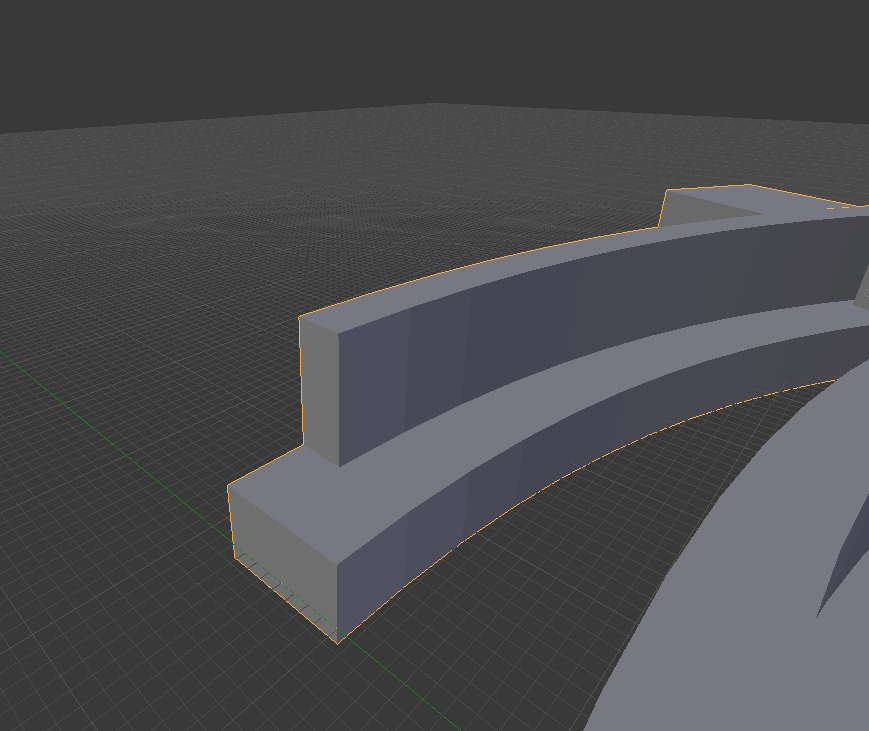
The printer
3D that I use (
Creality Ender 3 PRO ) can print items with a maximum base of
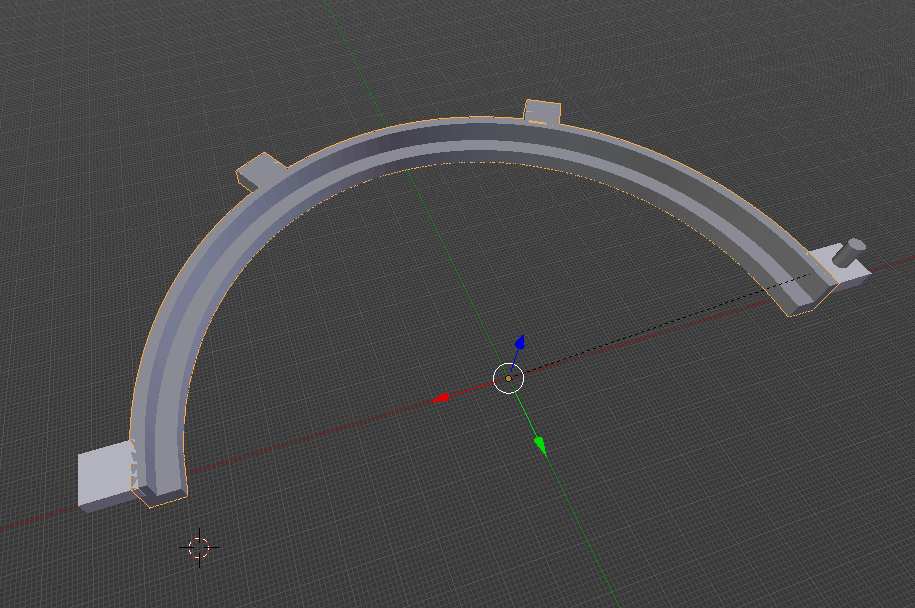
220mm x 220mm . Larger ones simply do not fit. To this end, most holders i had to divide it into two pieces before printing so that it could be glued together easily afterwards:
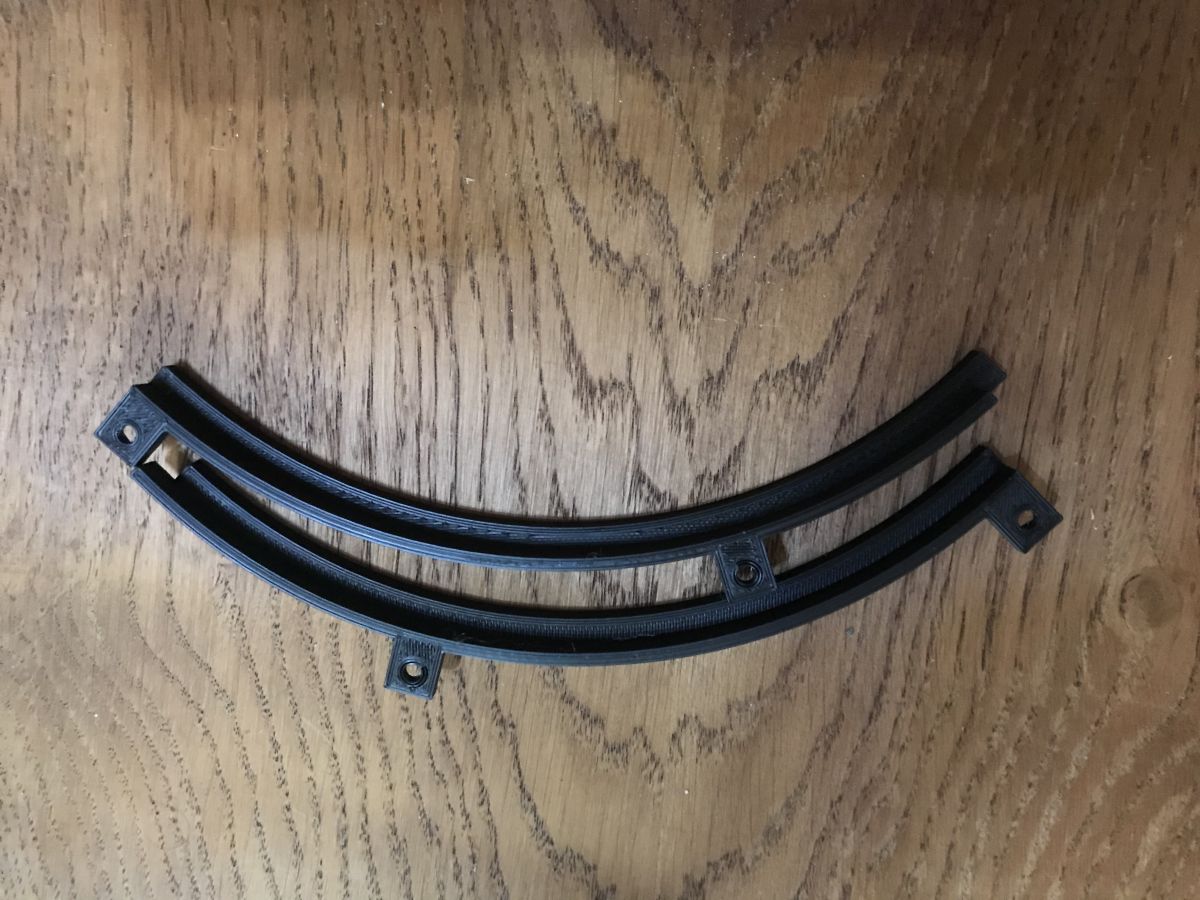
After printing, they presented as follows:
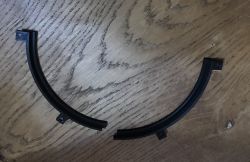
I used an all-purpose, strong drop/superglue to glue it together.
Gluing the printed parts is very easy, you just need to hold them together a little to allow the glue to catch.
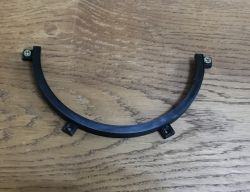
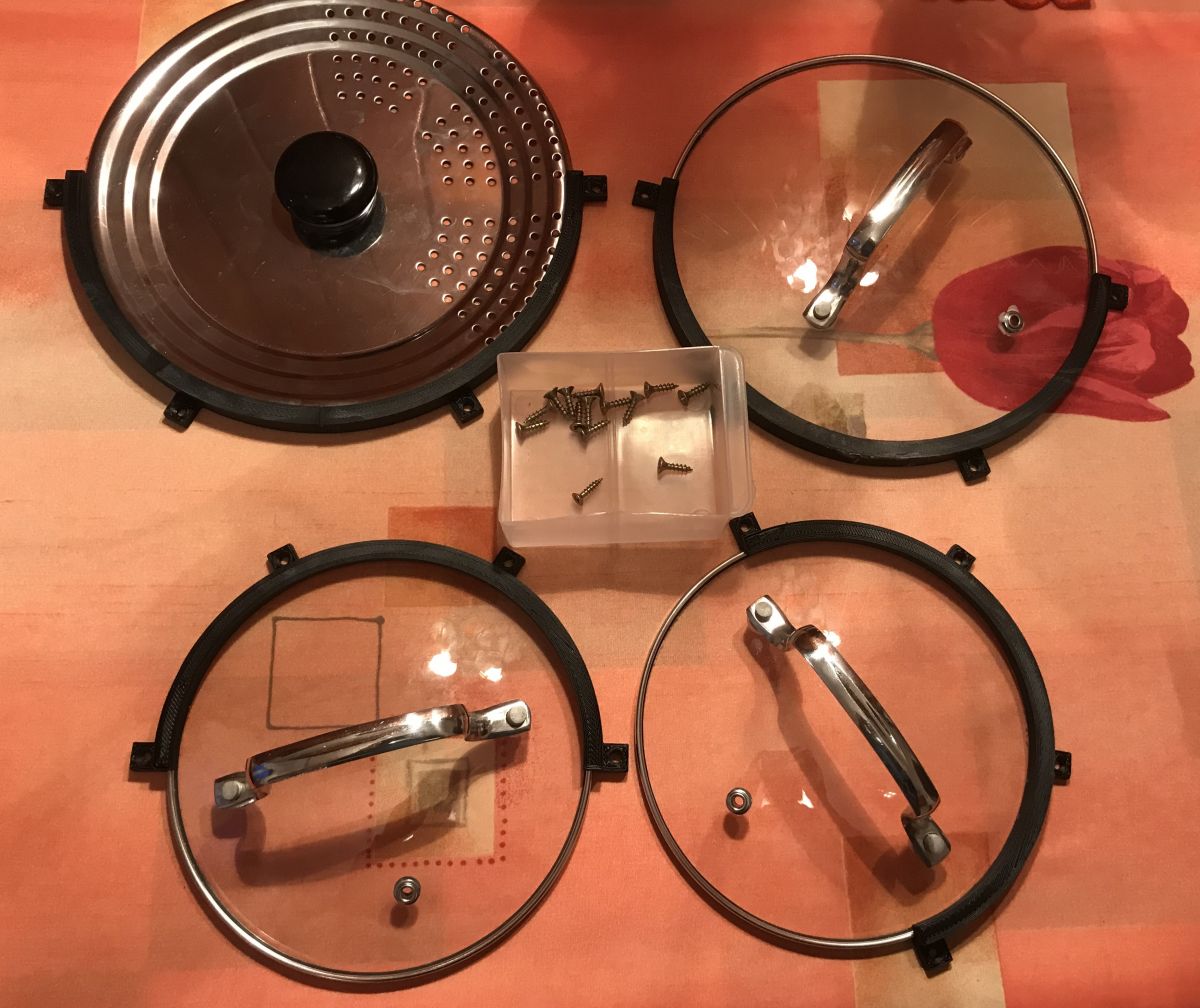
Finished fixing:
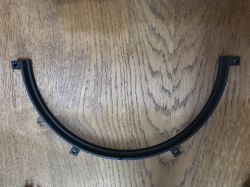
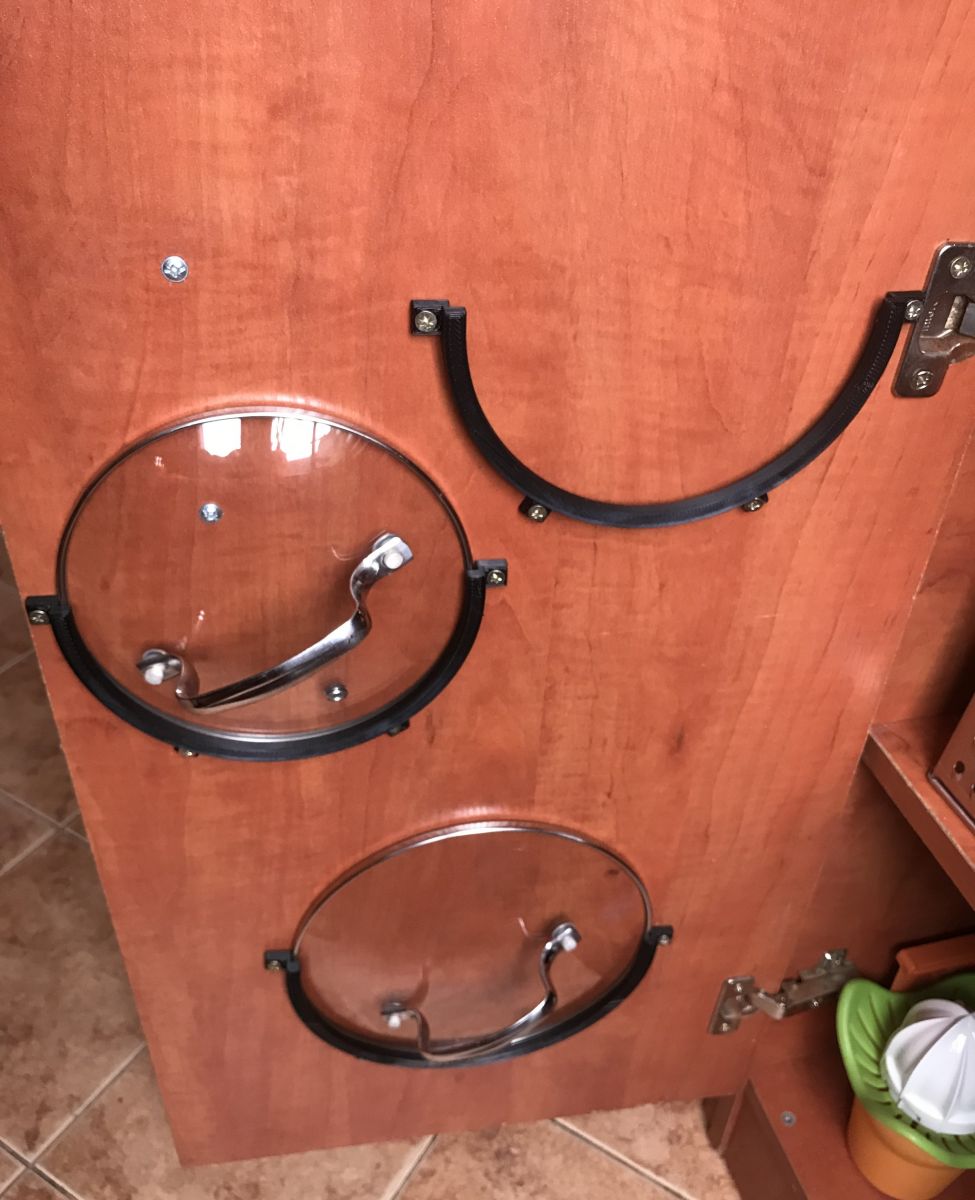
Finished kit for the first cabinet:

Final result (I did not choose the mounting location):
The solution seen in the photo above has been in place for a month now and works very well.
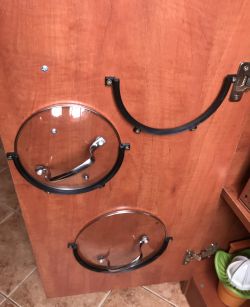
Fixes for a second set of pots
A few weeks later I received another set of pots (actually lids) from another kitchen, also to prepare the handles.
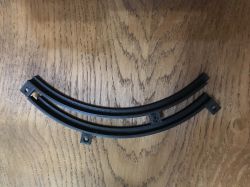
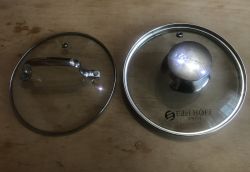
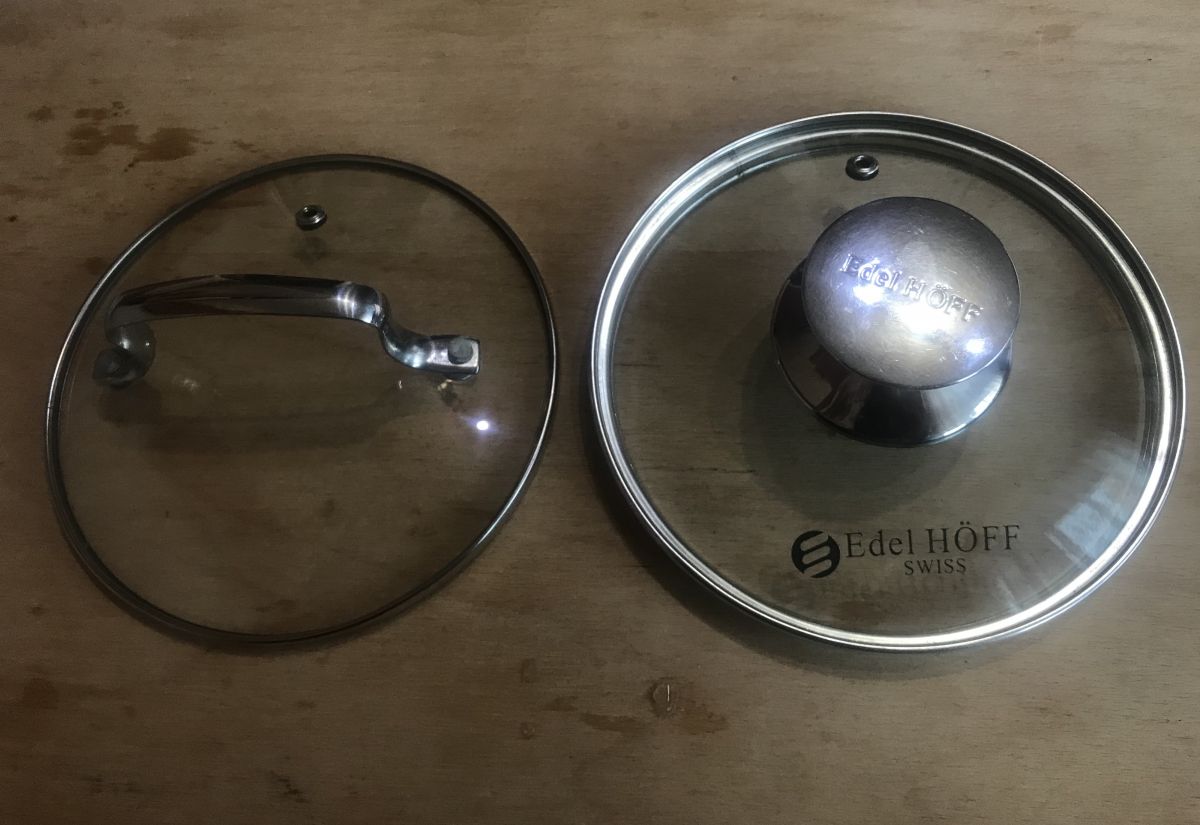
It was immediately apparent that the dimensions of some of the lids were different, on top of which the lids were more deep (deep on the right, shallow on the left):
An additional collar must be included in the model
3D :
I have thus enriched my collection of
3D handles with further versions, including two 'deep' versions:
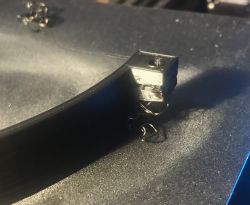
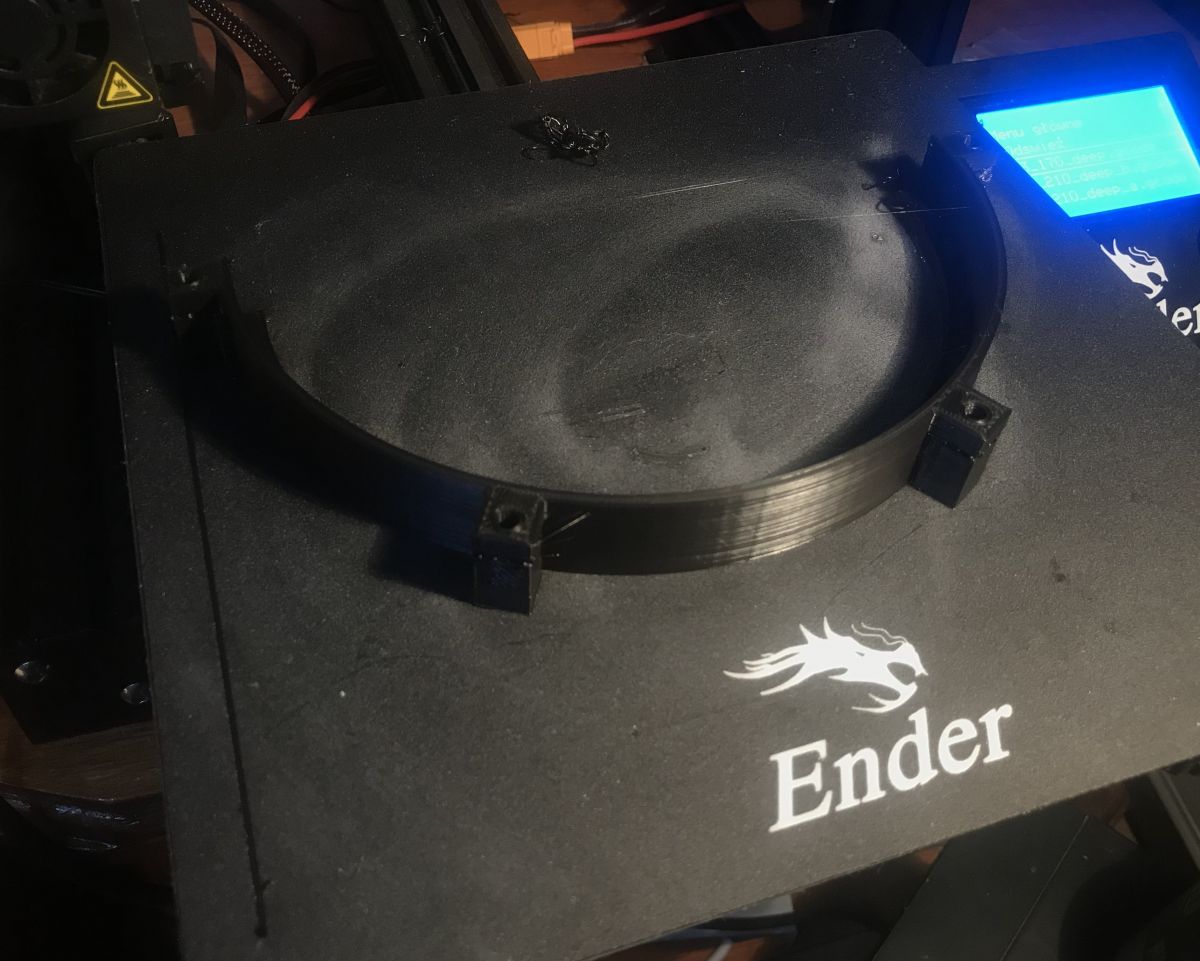
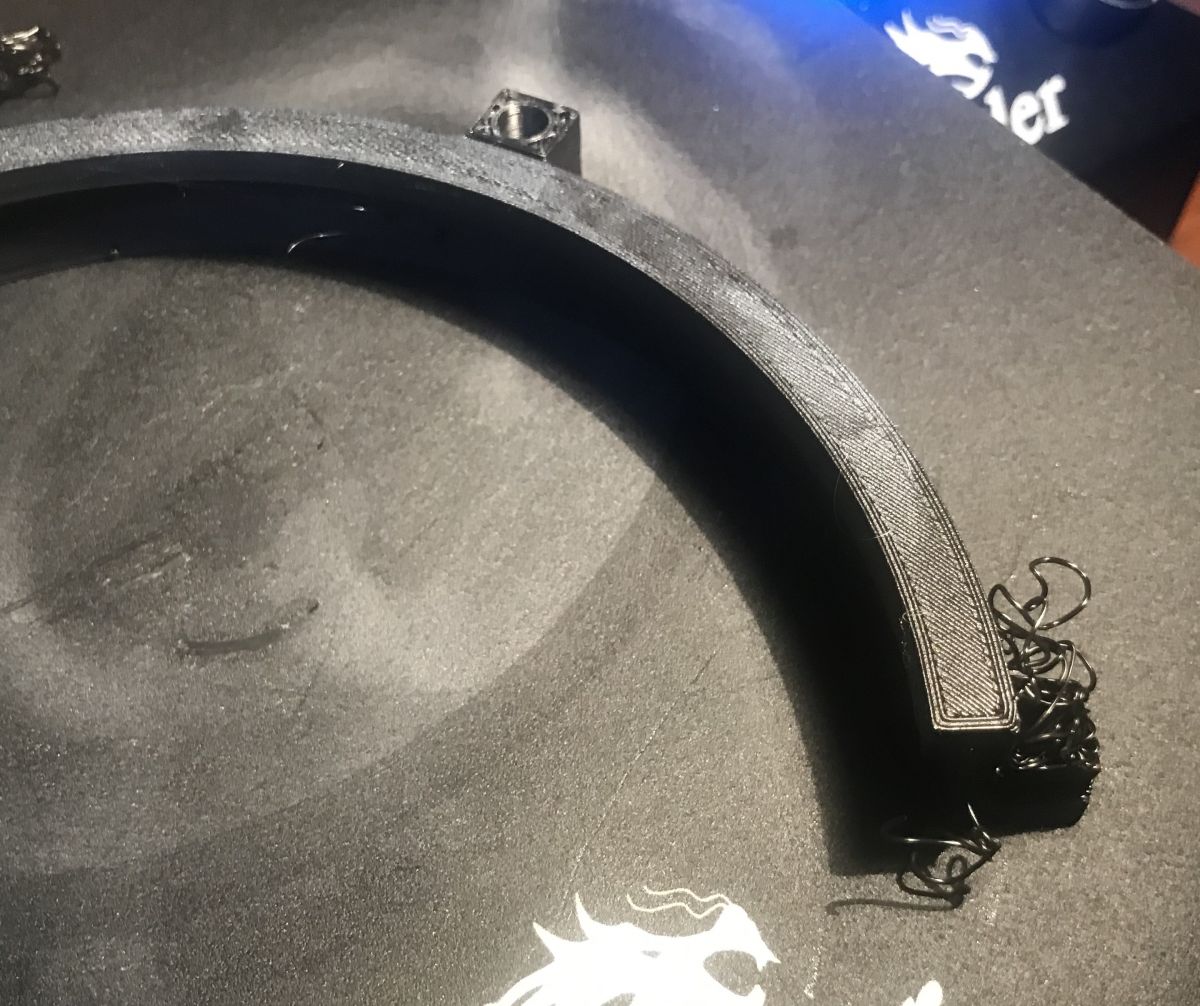
When printing one of the mounts for the new lids, a minor problem occurred - the support (prop) of one of the mounts did not start to print correctly; a so-called 'spaghetti' of filament was created. However, in the end, by some miracle the mount itself printed correctly and the piece came out 100% correct. You can see the whole thing in the pictures:


Close-up of the whole:
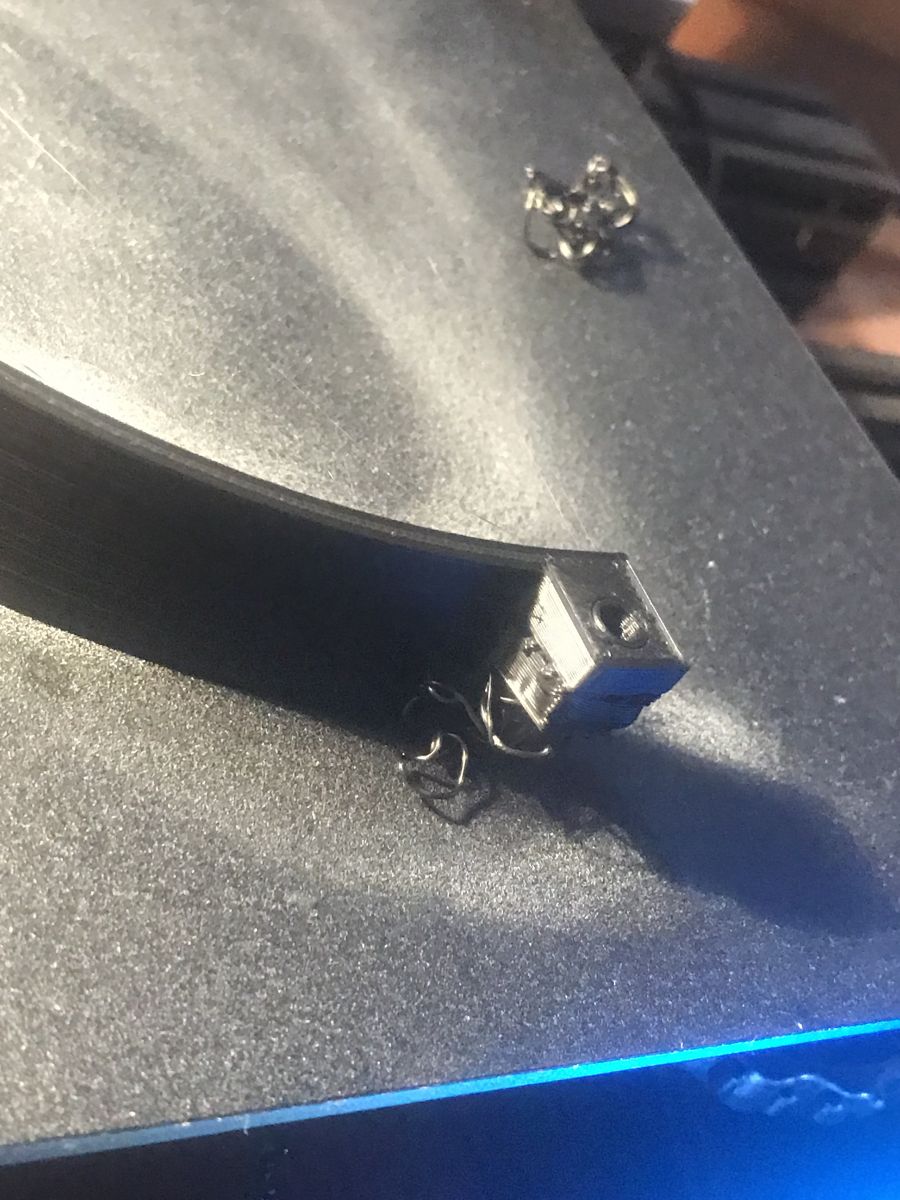
When removed and inverted:
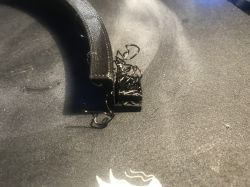
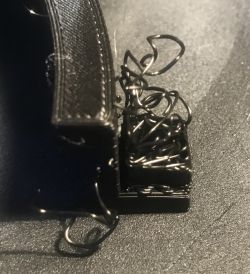
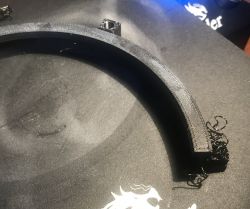
But only the support element printed incorrectly here, not the handle itself, so after removing the support everything was ok.
The second set of handles was also fully printed and fitted in the second kitchen, and was also well received by the householders.
Attachment
I place here
the .blend source file with all the mounts I printed.
There are separate objects in it:
-
mounting_diam188 - 188mm diameter mount
-
mounting_diam170 - mount with a diameter of 170mm
-
mounting_diam210_a - 210mm diameter mount - half one
-
mounting_diam210_b - 210mm diameter mount - half two
-
itp. etc.
The naming of the objects indicates their size, so that it would be easy to find what we are looking for.
They should be exported to
STL so that they can then be opened in Cura or another slicer.
Of course, we export each object separately - only the one that interests us at the moment.
Attachment:
lidHolde..2.zip (228.31 kB)You must be logged in to download this attachment.
Summary
The design has worked well for us, and I have done it for three different kitchens already. I'm sharing the design with the idea that maybe someone will like it too and it will help to make the kitchen tidy. If anyone is interested, everything is downloadable in the appendix. The individual objects in the .blend file are also properly signed and have dimensions in mm. If anyone needs a particular STL or a handle modelled to a particular dimension, please let me know, I'd be happy to help.


Comments
The idea is interesting and practical, and the workmanship also deserves praise. However, I would like to point out that the filaments are not approved for food contact and - although in this case the... [Read more]
Neither are the hands, the pipes from which the water flows the same, and we boil soups. So yes, you are oversensitive :) I'm leaving aside the fact that the pot also touches a cupboard which has no... [Read more]
Ty-grit , read: Link [Read more]
Thanks, that's what I missed. The price is high, but not prohibitive. I wonder if and when it will be available in Poland. [Read more]
A cool project and quite useful in real life. I've been looking for similar components from our brothers in Asia, but they don't have any. Pity. [Read more]
It is the filament that will be allowed, but what about the printer nozzle, the Teflon tube or the table on which we print ? It becomes one dog whether we print with PETG without certificate or with c... [Read more]
3 such mounts per lid are sufficient https://allegro.pl/oferta/zacisk-uchwyt-mocowanie-lustra-szkla-szyby-calv-6889756448 [Read more]
I printed such mounts for myself because 4 out of 8 had crumbled and were holding the glass. The design and printing time was a mere hour, and if anything happens the file is lying around as if another... [Read more]
As someone already said - food contact material. Typical filaments are not suitable but there are special ones. Of course for the right printer, with a regular daVincim you won't do it. Bad idea. Why... [Read more]
The idea is a cool one, and what counts is designing and making it yourself. If someone wants a ready-made one, for example, there are these: https://m.ceneo.pl/90559013;pla?se=YxWbm1iqQxdyrhZALD2q0_UL_WUc7rQs&gclid=Cj0KCQiAm4TyBRDgARIsAOU75spJdZLaYqfnJKiVpj7WFulWyyelWHCilir_BkHzYpcTlBH32Kl39oAaAqqFEALw_wcB#tab=click&shop=147428024 The... [Read more]
Then why haven't you presented any of these things until today ? Or are you also advocating to buy a printer and print the much needed figures from the thingiverse ? [Read more]
@lubik00 these handles shown by the topic founder are cooler. [Read more]
It's a matter of taste. [Read more]
Very cool idea. I, due to the lack of a printer, managed it like this. https://obrazki.elektroda.pl/8247797500_1581444822_thumb.jpg [Read more]
Filament certified for food contact is only part of the problem, even assuming that the printer also has such a certificate. The problem here is reportedly the porous structure of the print which encourages... [Read more]
I don't know how to design shapes. No, and the Thingverse is not only useless figures, there are also a lot of necessary things e.g. spare parts for various devices. Yes, although there are probably... [Read more]
That's a mate flying a bit... It's not a question of whether or not someone prints lid holders for themselves at home, it's just that these types of "projects" are posted on the electrode - right next... [Read more]
Do you think you are wrong? [Read more]
Hi, handles quite nice, but why waste so much filament. A few hooks would suffice. E.g.: https://www.thingiverse.com/thing:3137982 [Read more]