 Hello my dears
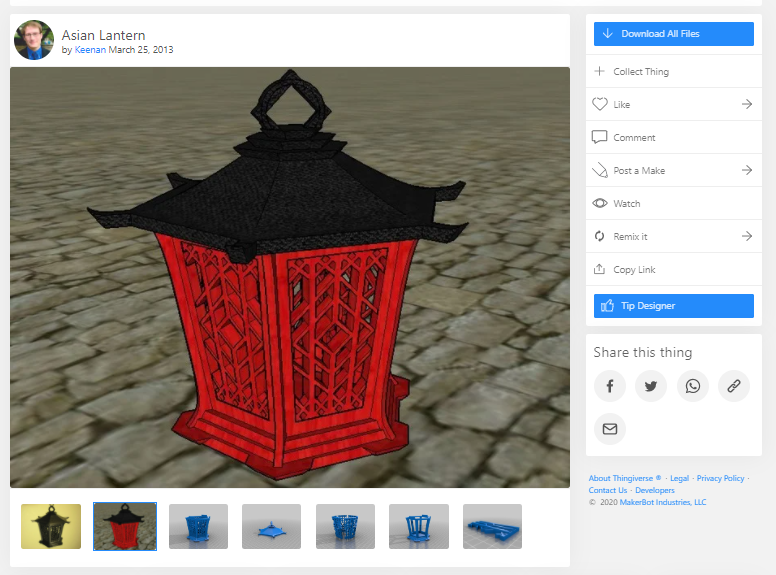
To celebrate the upcoming holidays, I would now like to present a slightly looser project. This will be a 3D printed lantern based on a 3D model available under a CC licence and my various improvements.
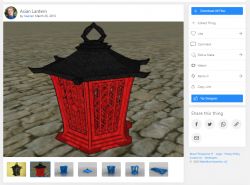
Used 3D model
The design is based on the 'asian lantern' model by Keenan from Thingiverse, from here:
https://www.thingiverse.com/thing:65837
This model is available for free under a Creative Commons licence:
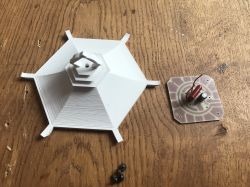
This model consists of two parts - a canopy and a base. The canopy attaches to the hooks, with a press fit.
But just printing it out is only the beginning, so below I will describe in detail the whole process of making my lamp.
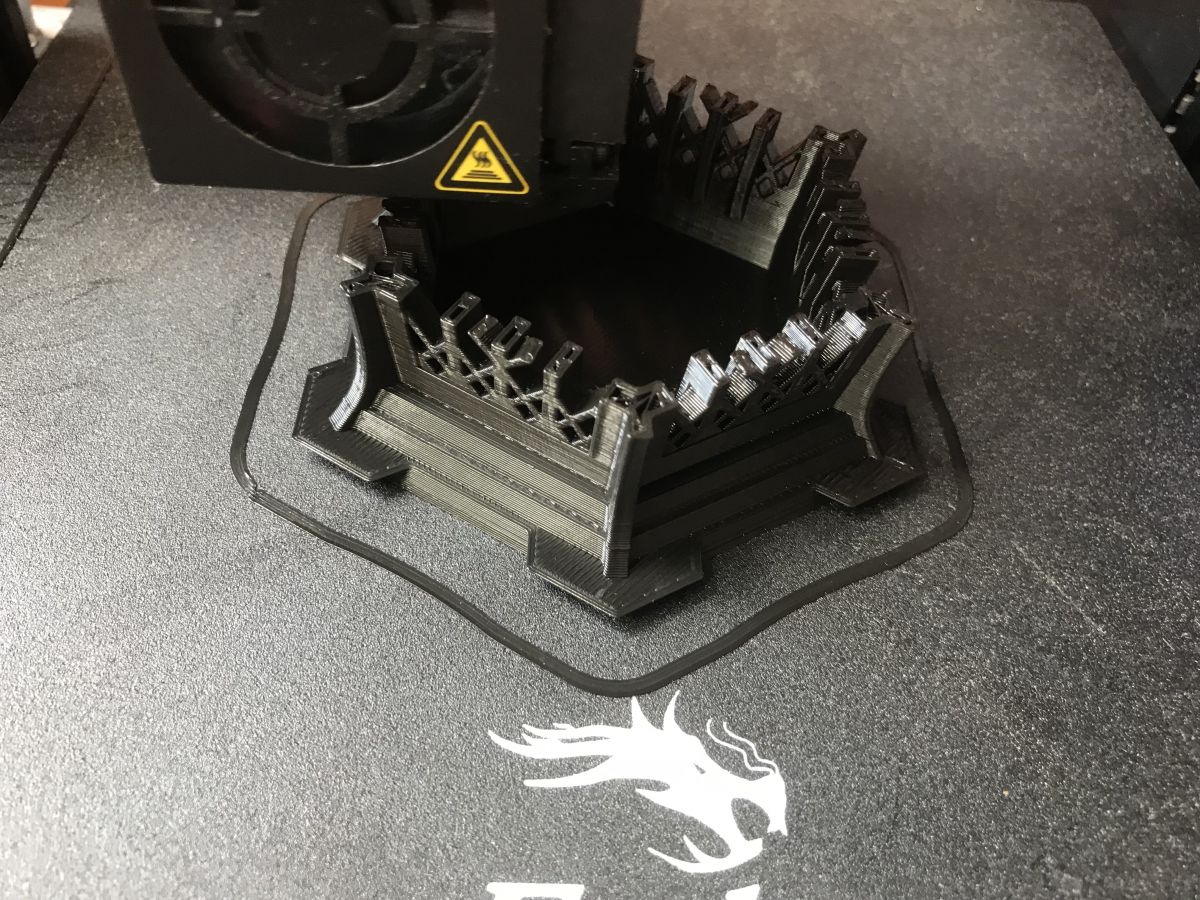
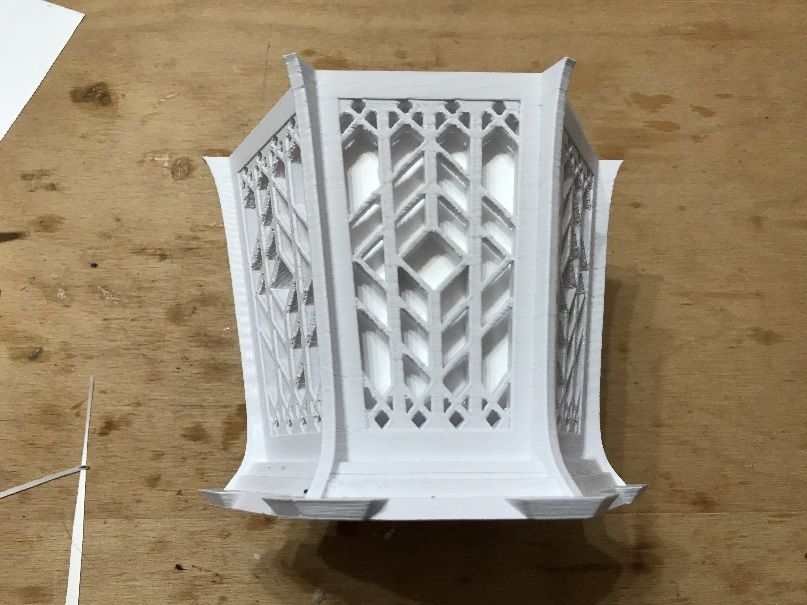
First printout
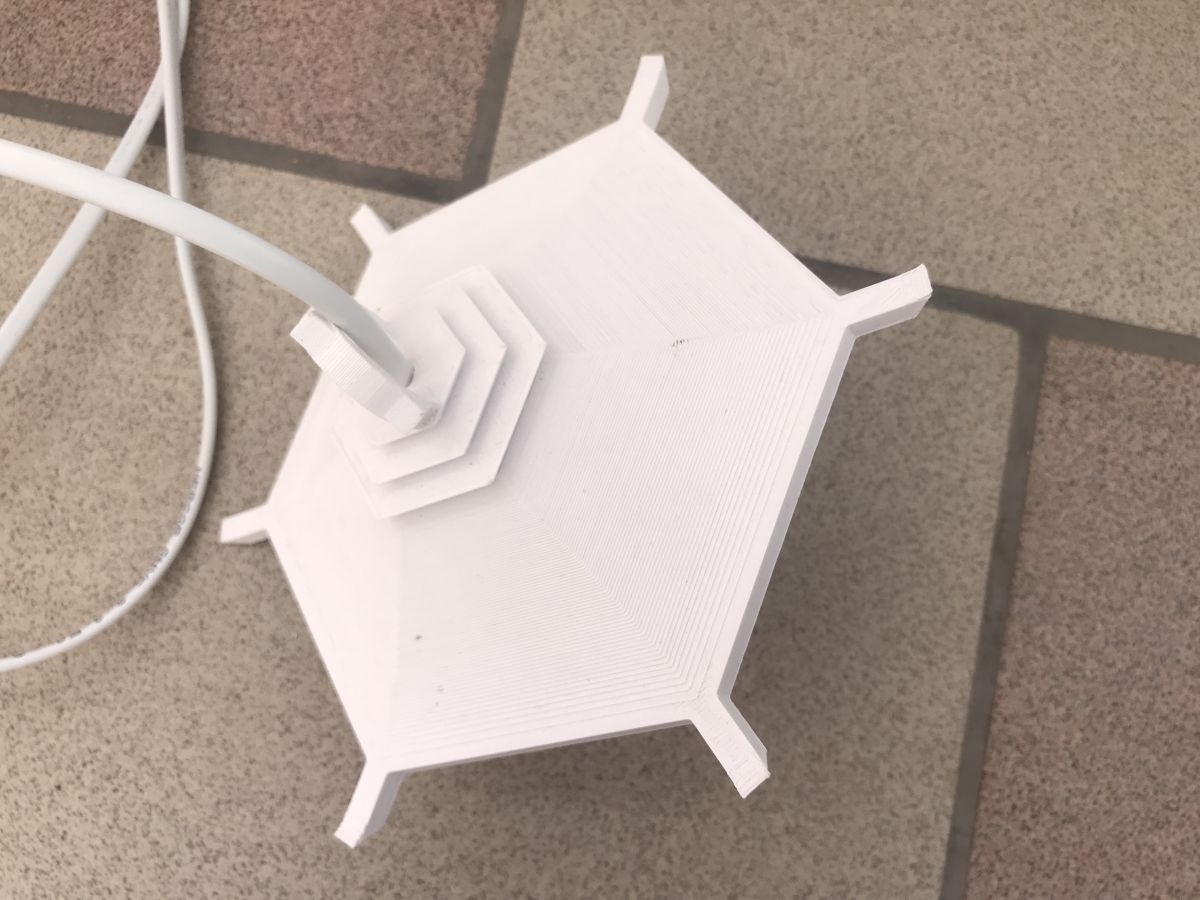
I made the first print still using black PLA filament, then switched to white. The object does not require any support:

Print of white, larger:

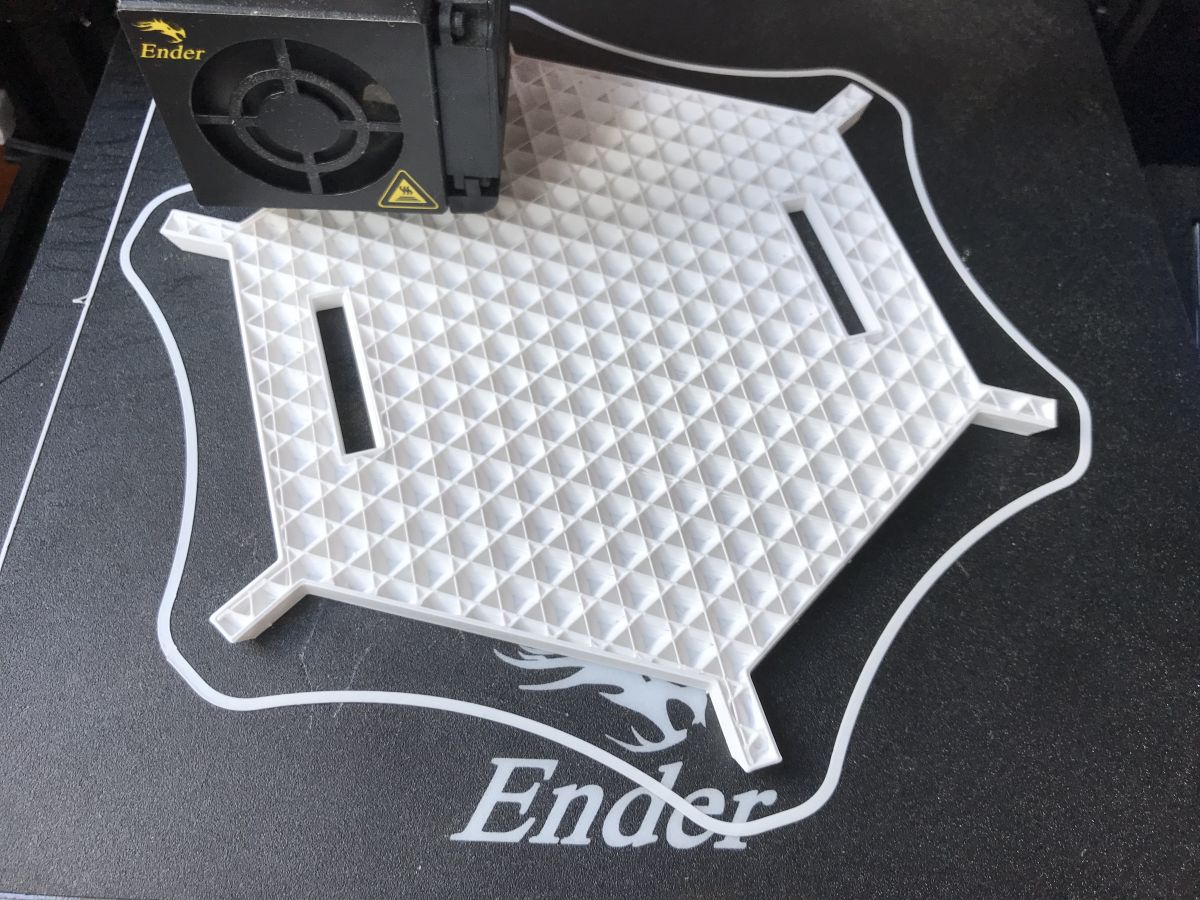
At first, I printed the objects with the default fill value (infill):
but you don't need that much of it, even at 5% it holds everything solidly.
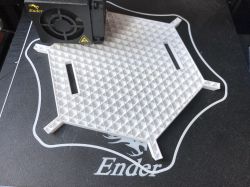
I printed everything on my 3D printer Ender 3 Pro.
Connecting the lighting - the easiest way
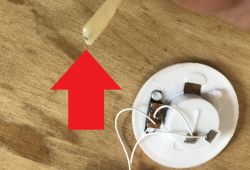
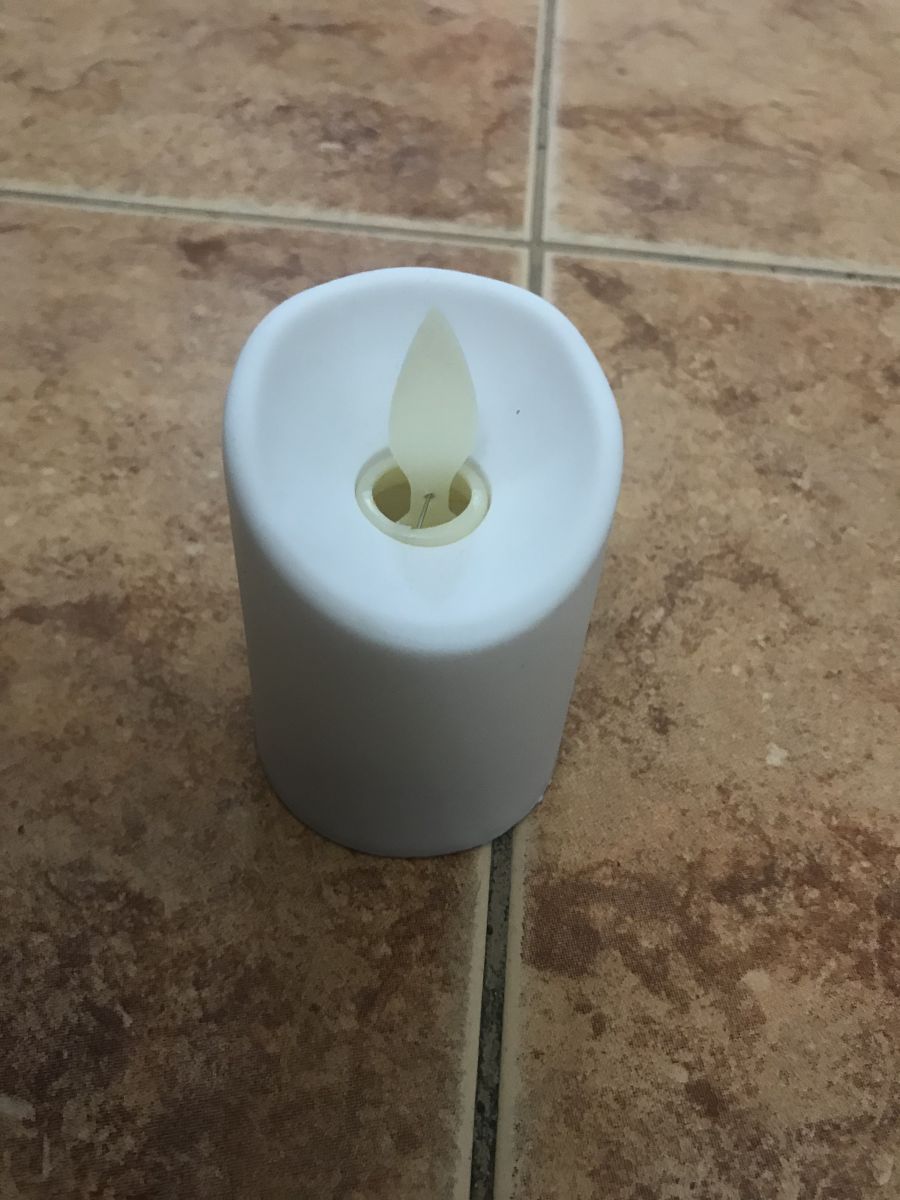
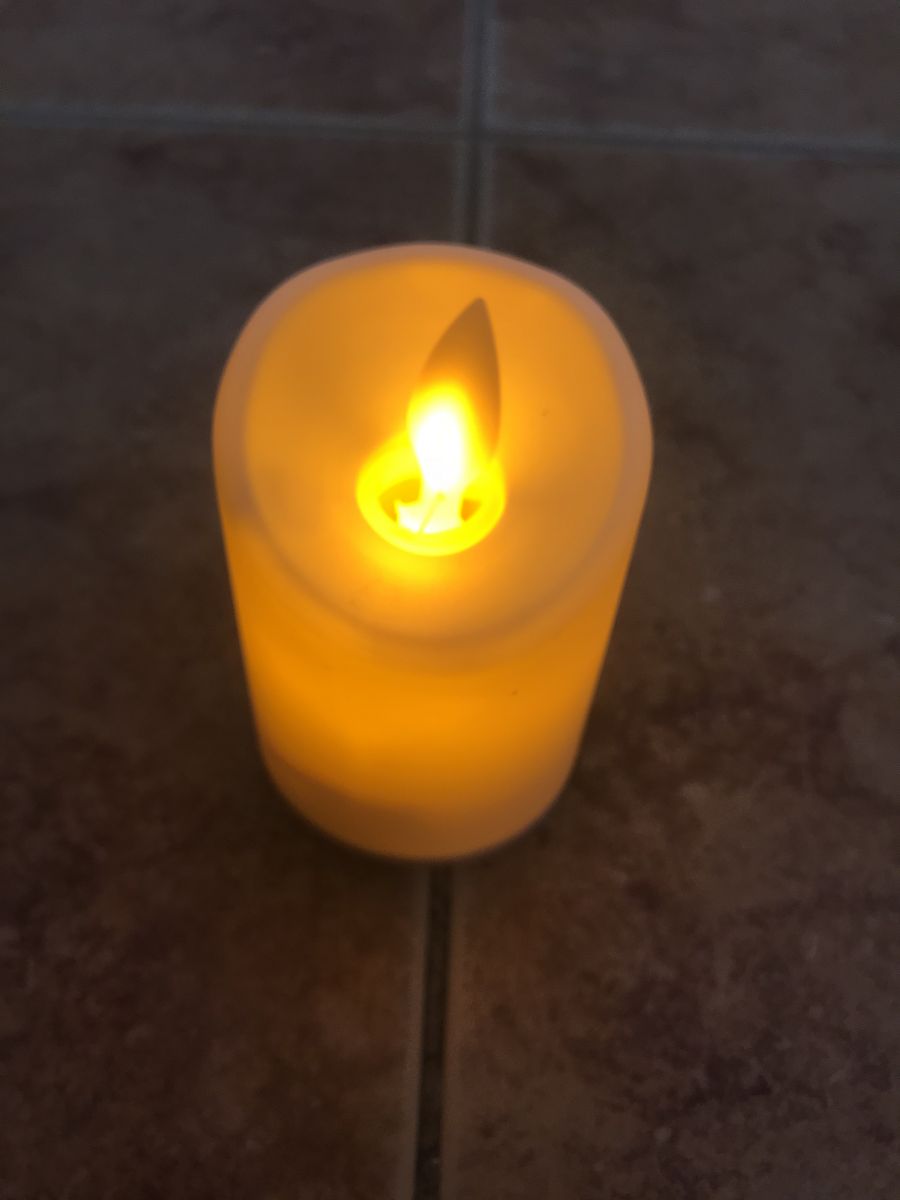
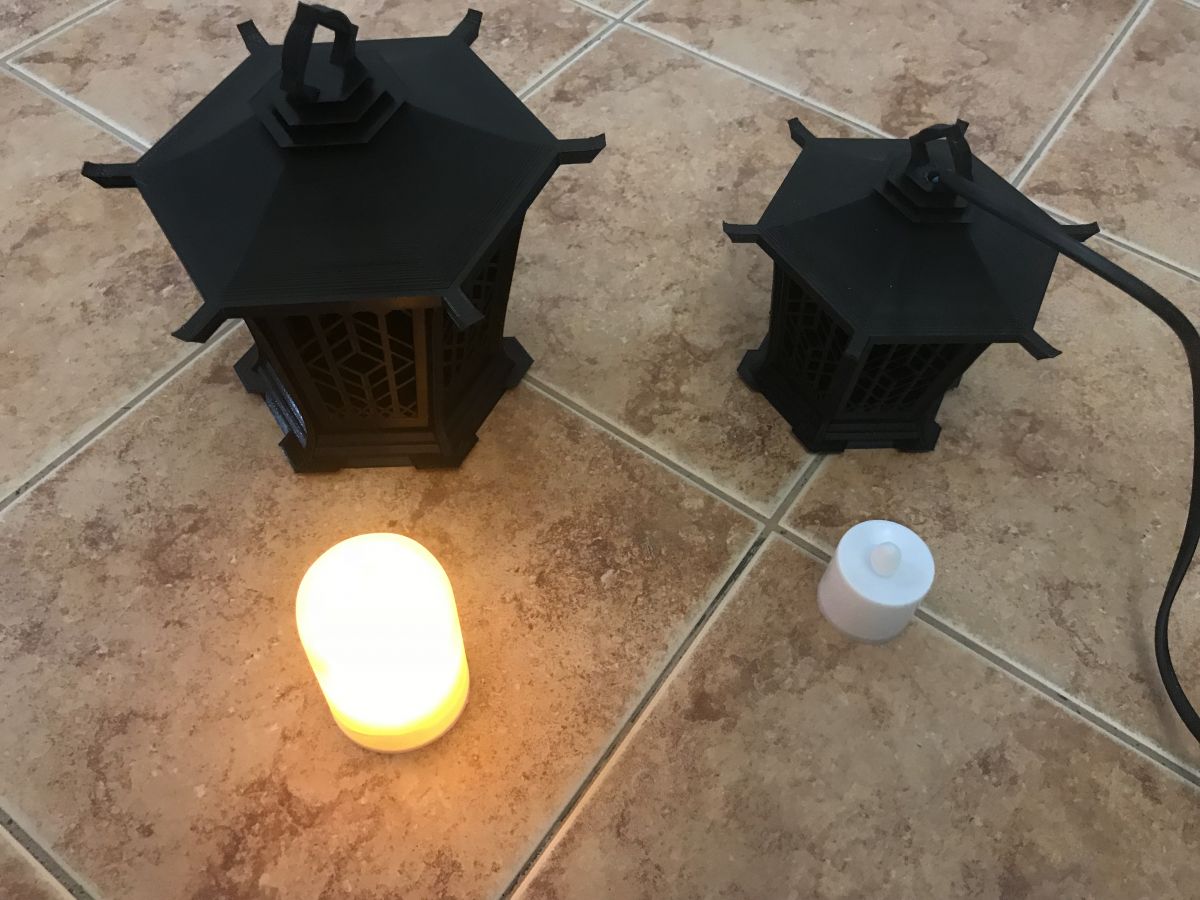
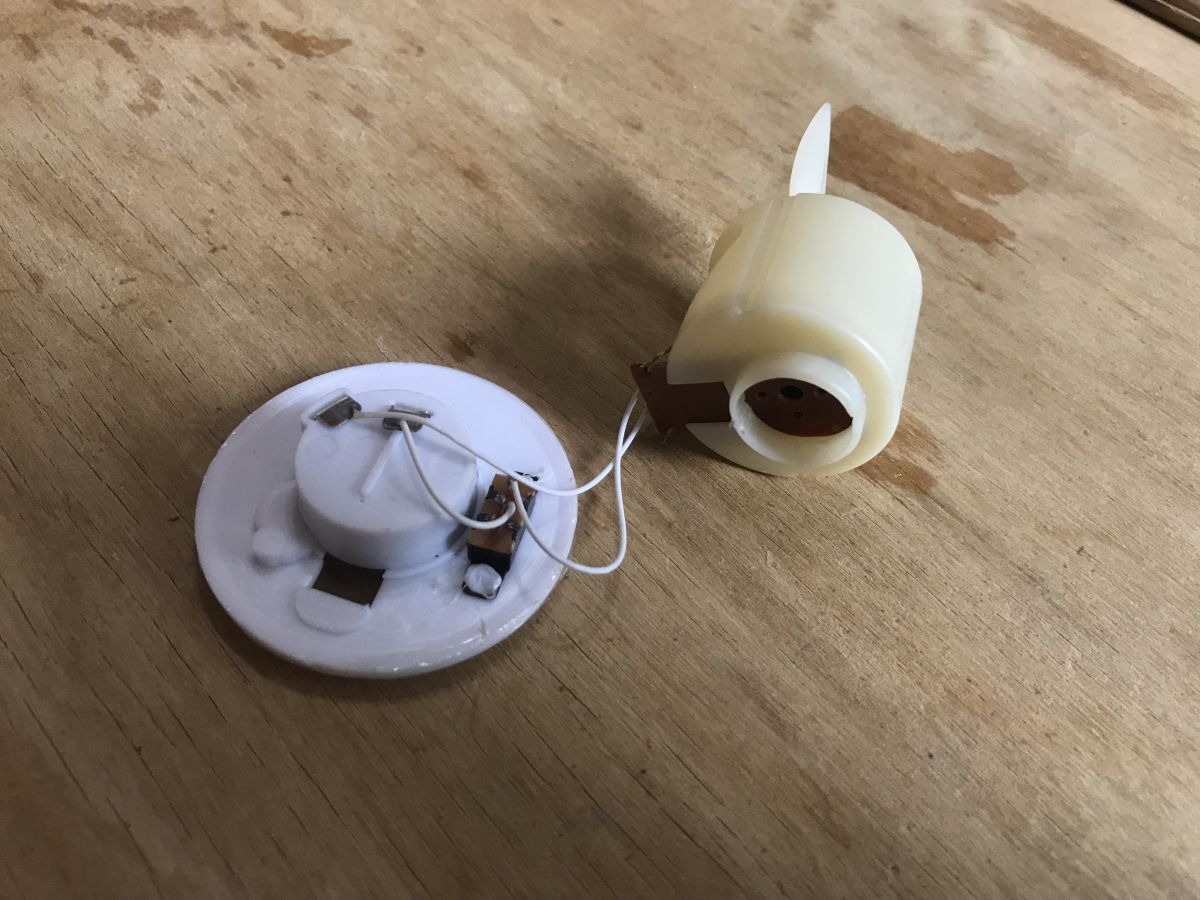
The easiest (and safest!) is to use a simple, decorative battery-powered 'candle':

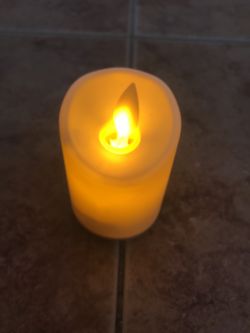
Such lights can be purchased in various sizes and look quite good with printed lanterns:

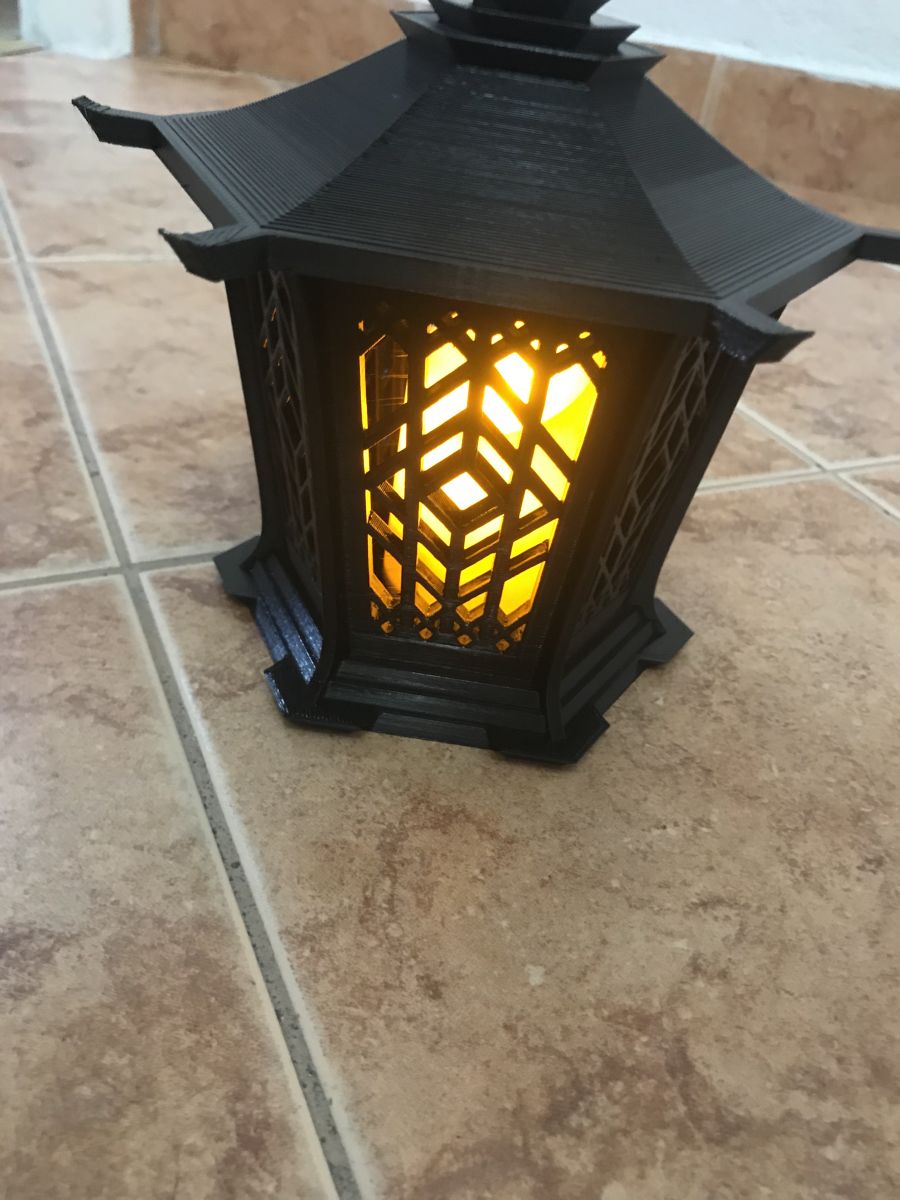
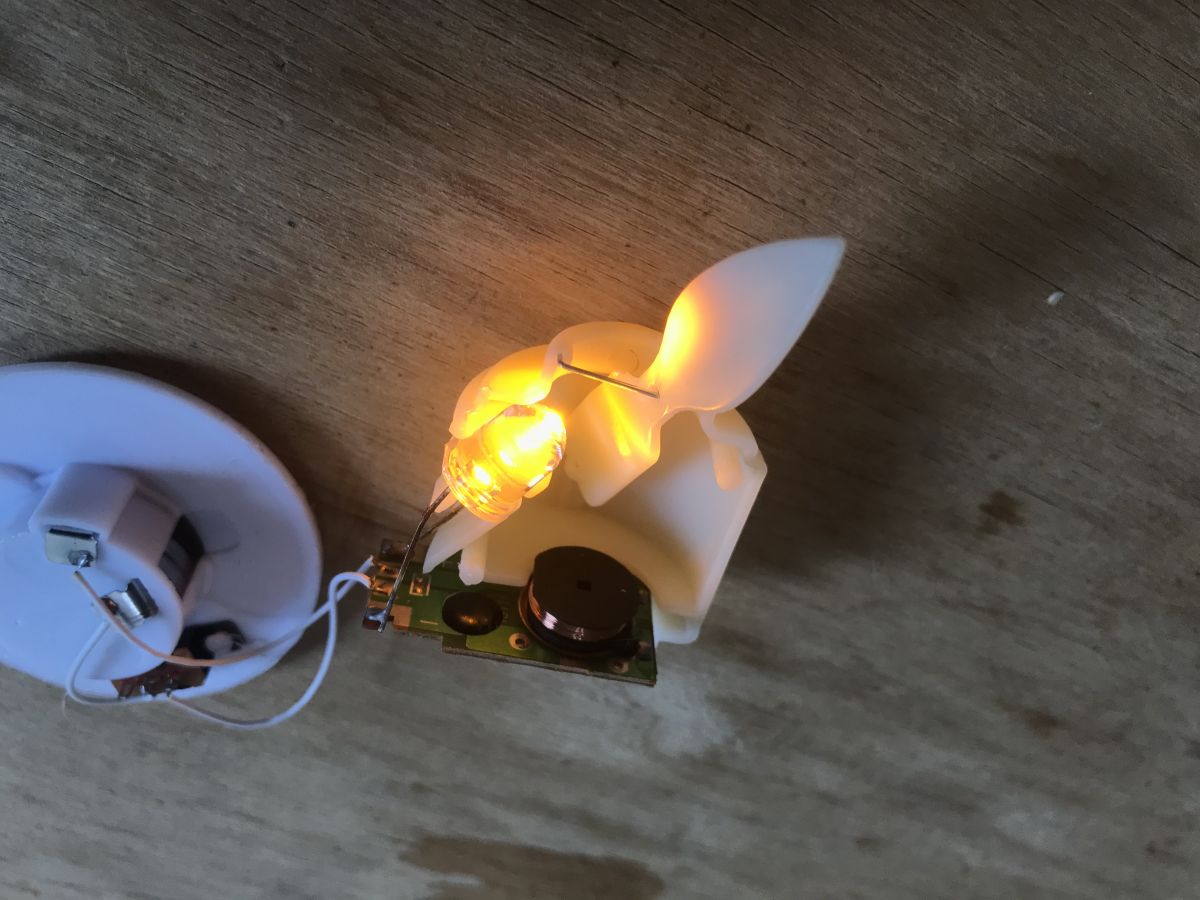
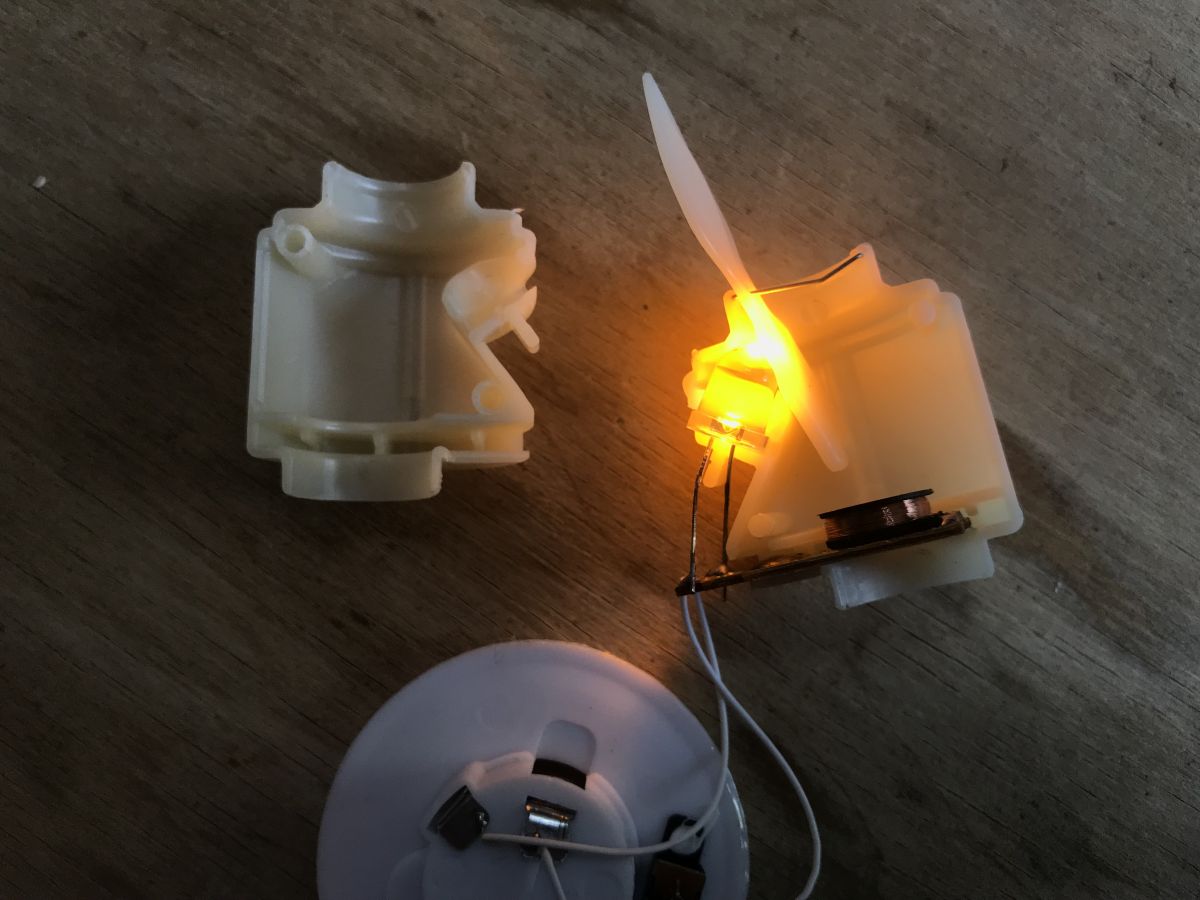
The effect when inserted is also nice, but is unlikely to provide us with any illumination:

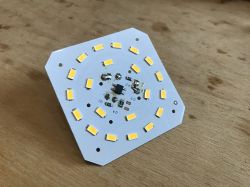
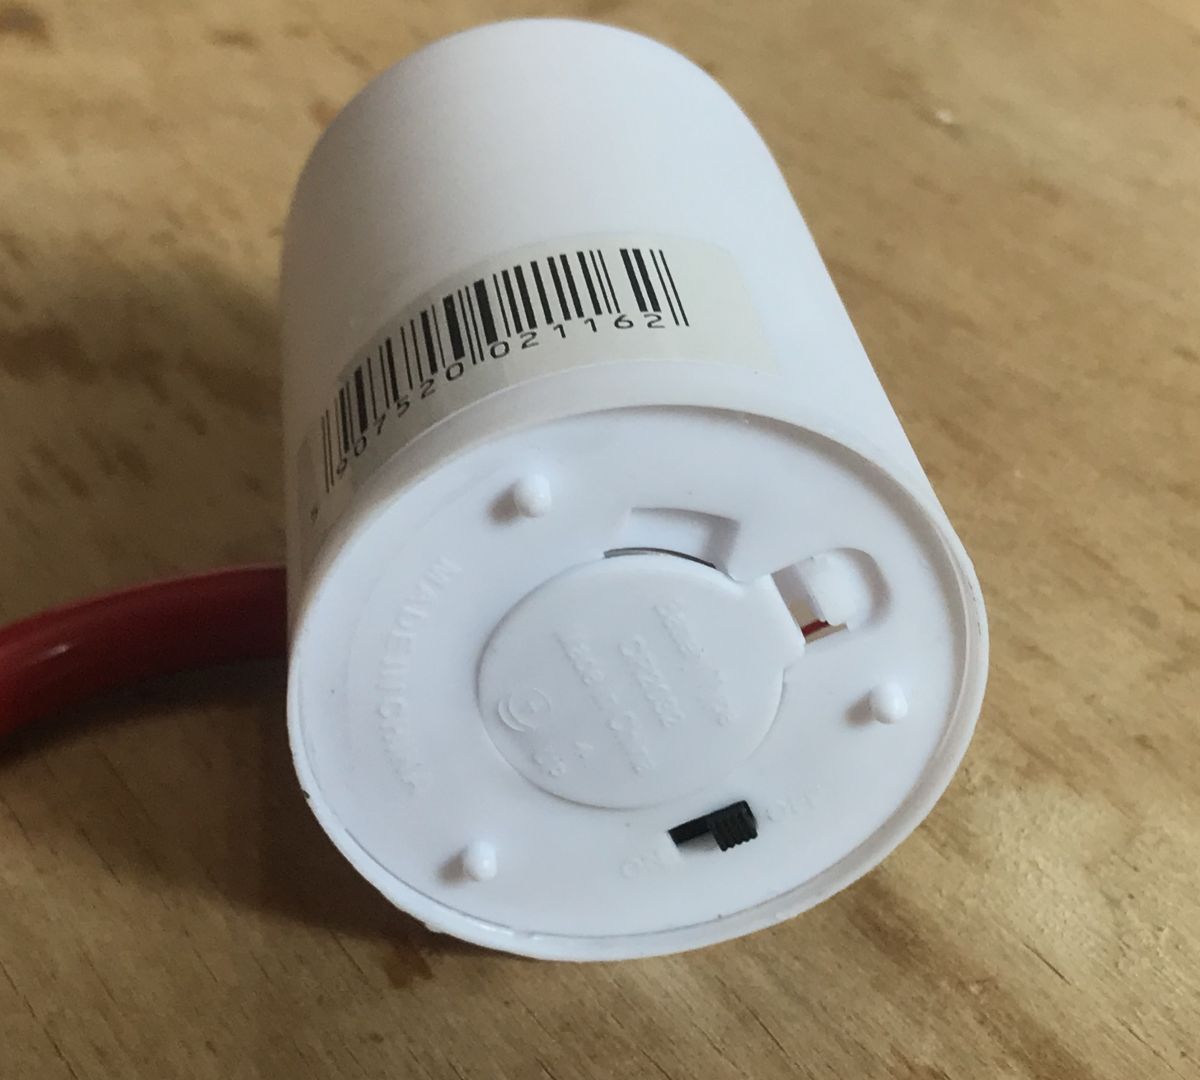
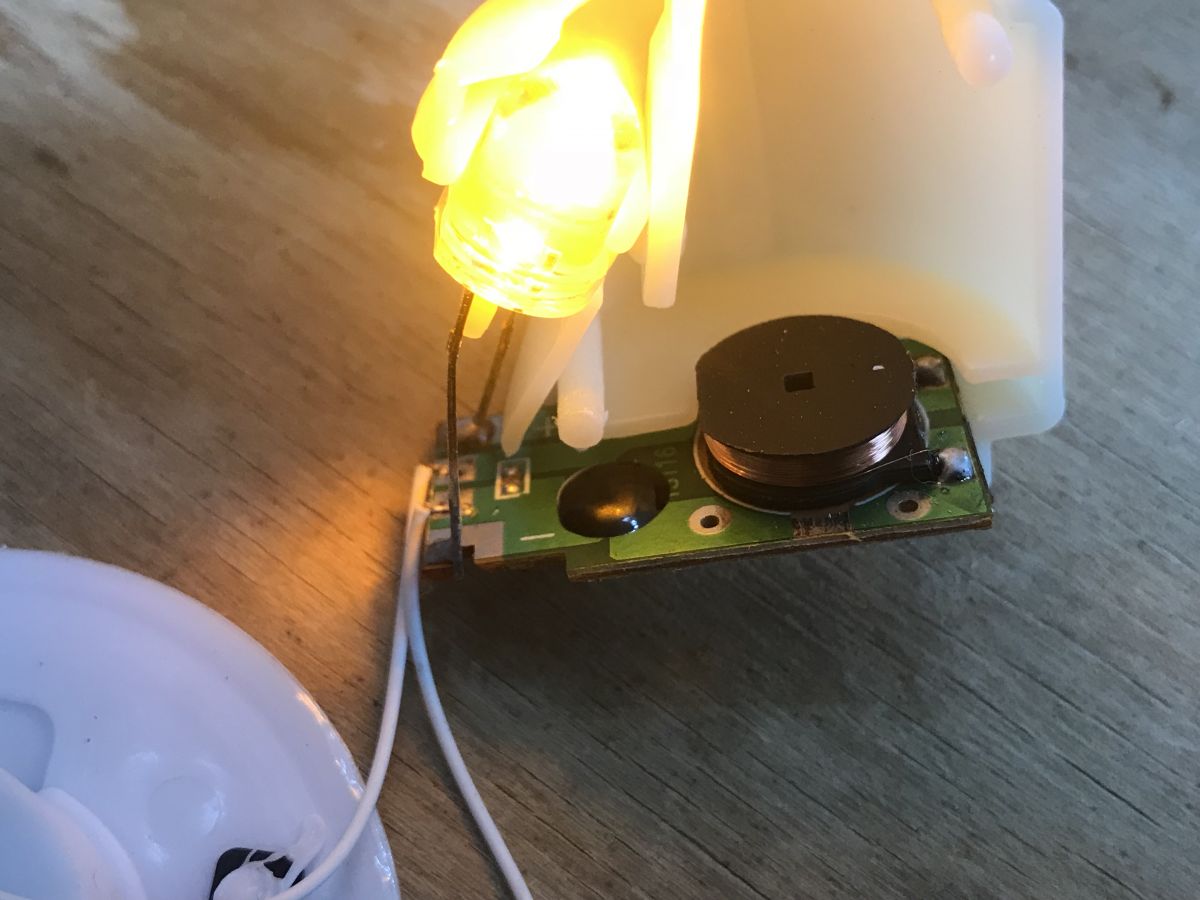
By the way, the inside of these 'candle-lamps' is quite interesting. There is a fine circuit inside that is designed to replicate the behaviour of the flame, i.e. the LED blinking/dimming in a rather random way.
The underside of the lamp:

Centre:

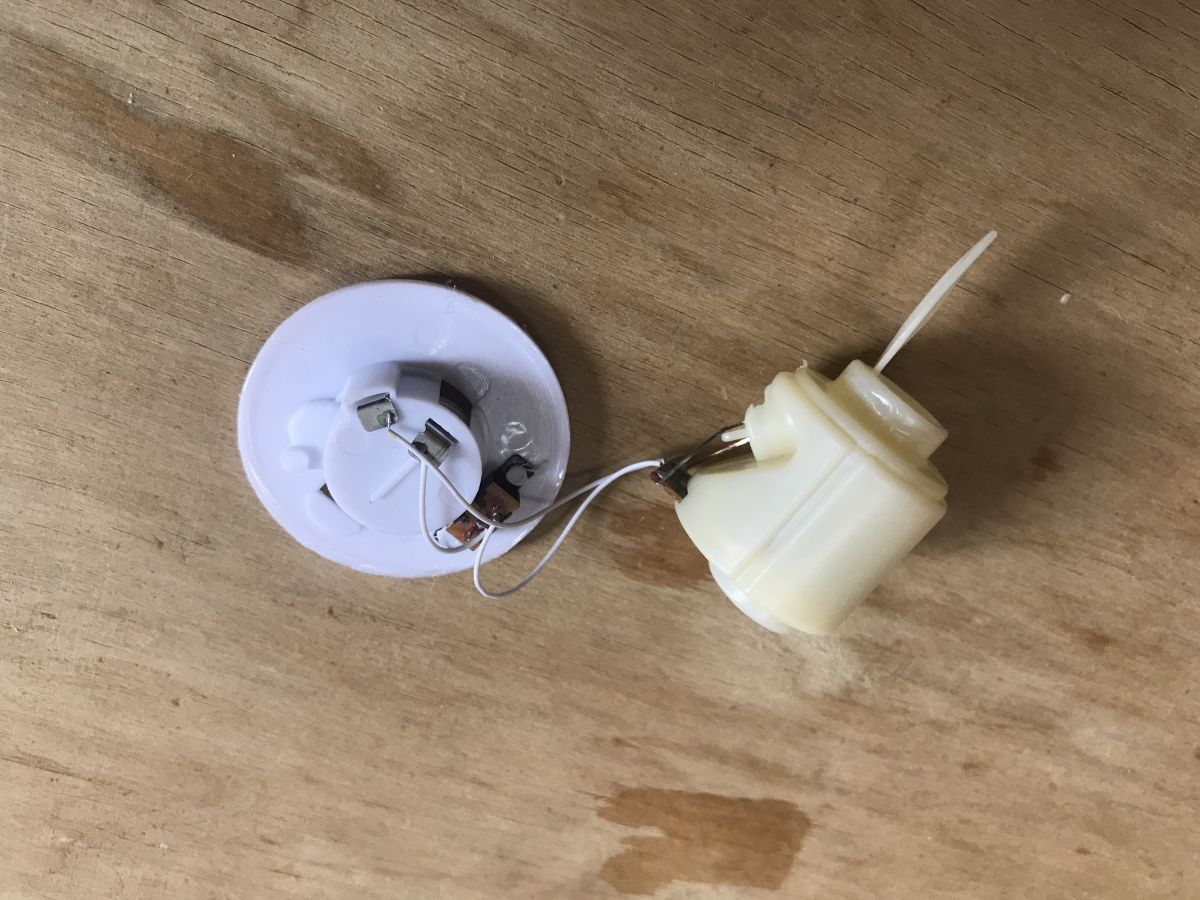
Unfolded measure:

You can see the coil:

And you can see the ferromagnetic element to which the coil responds:
There is also a 'black dot' on the board hiding some additional functionality, but you can already guess how it works. The coil reacts to field changes and based on this controls the brightness of the LED.
Lighting connection - module from LED bulb
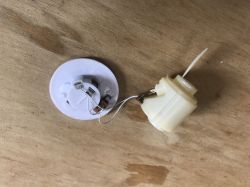
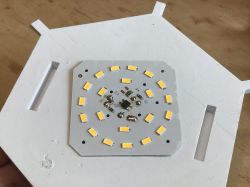
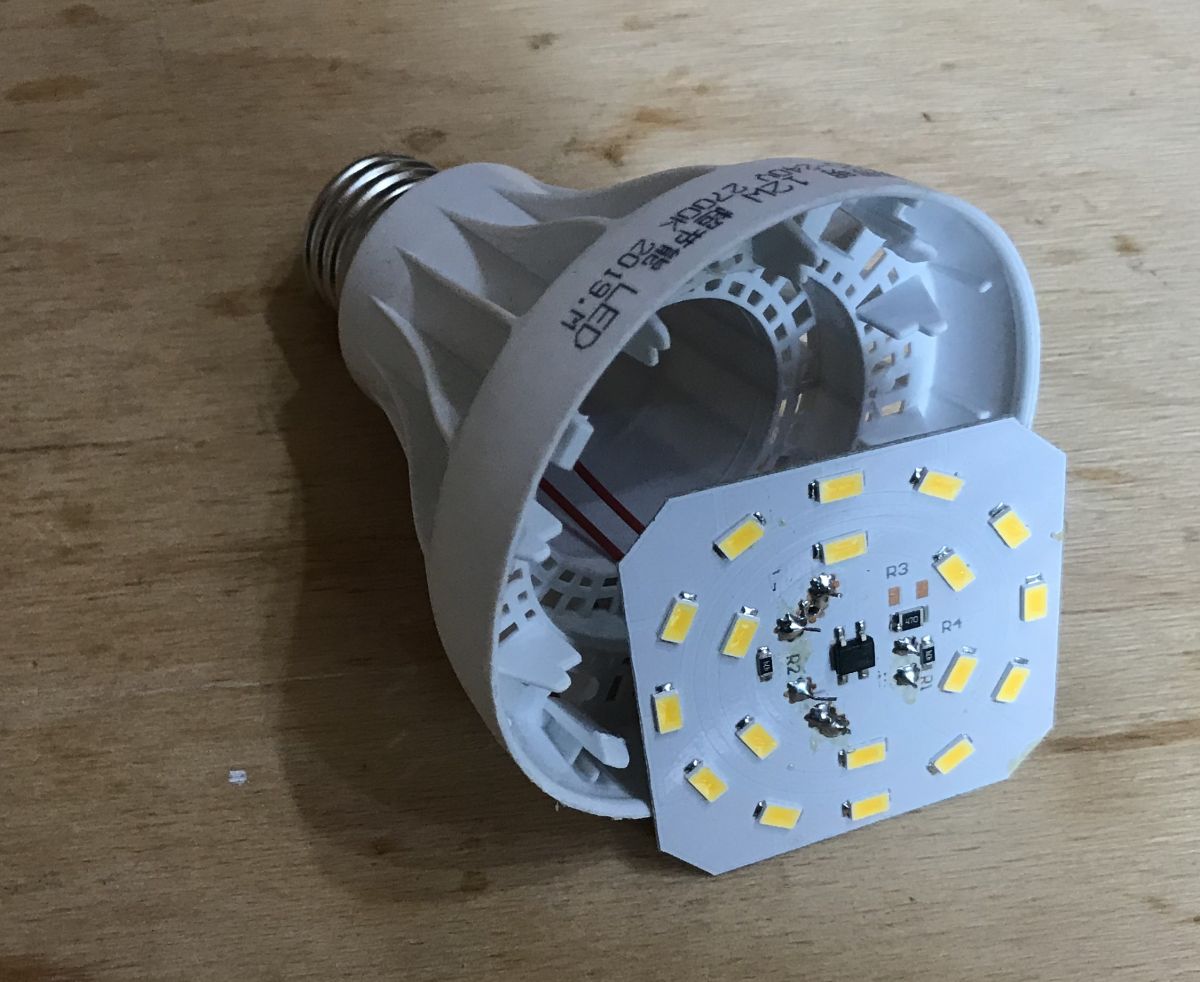
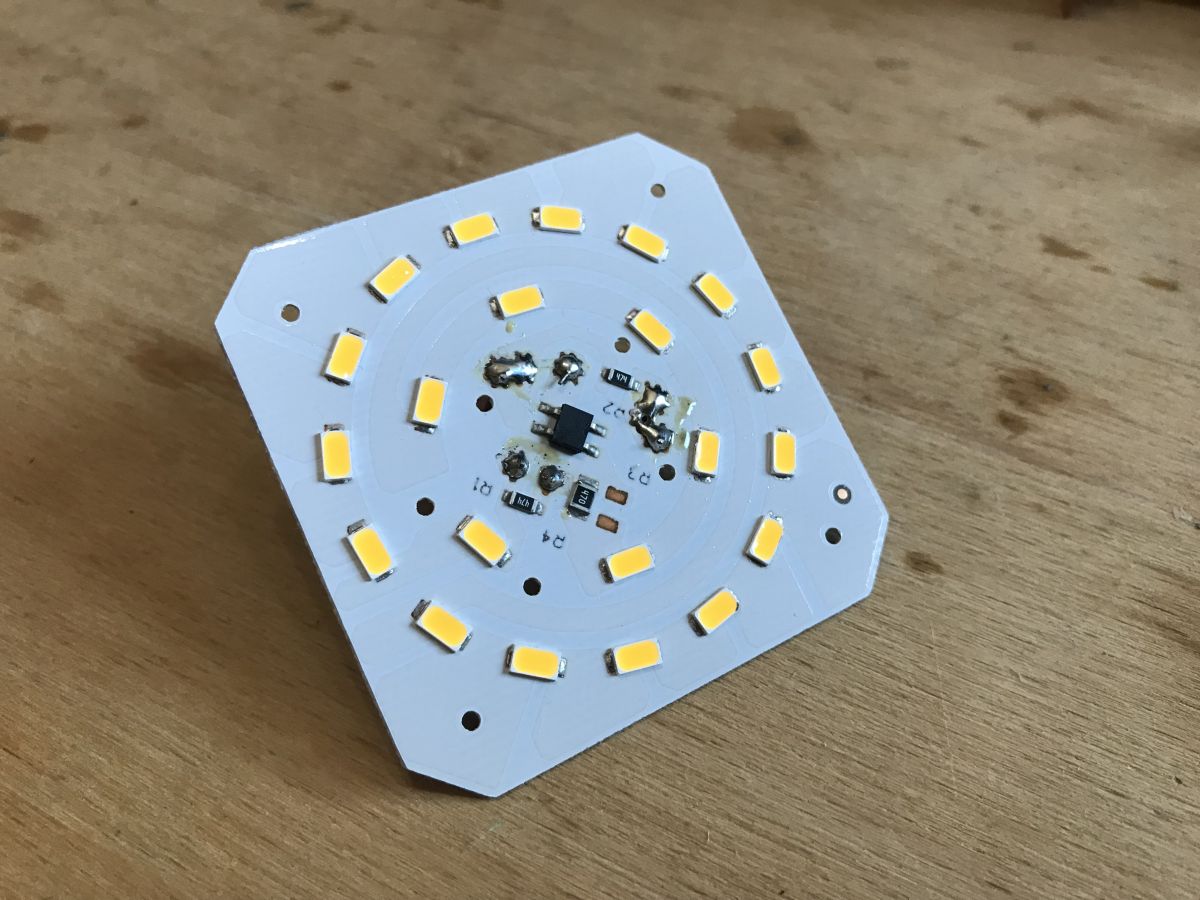
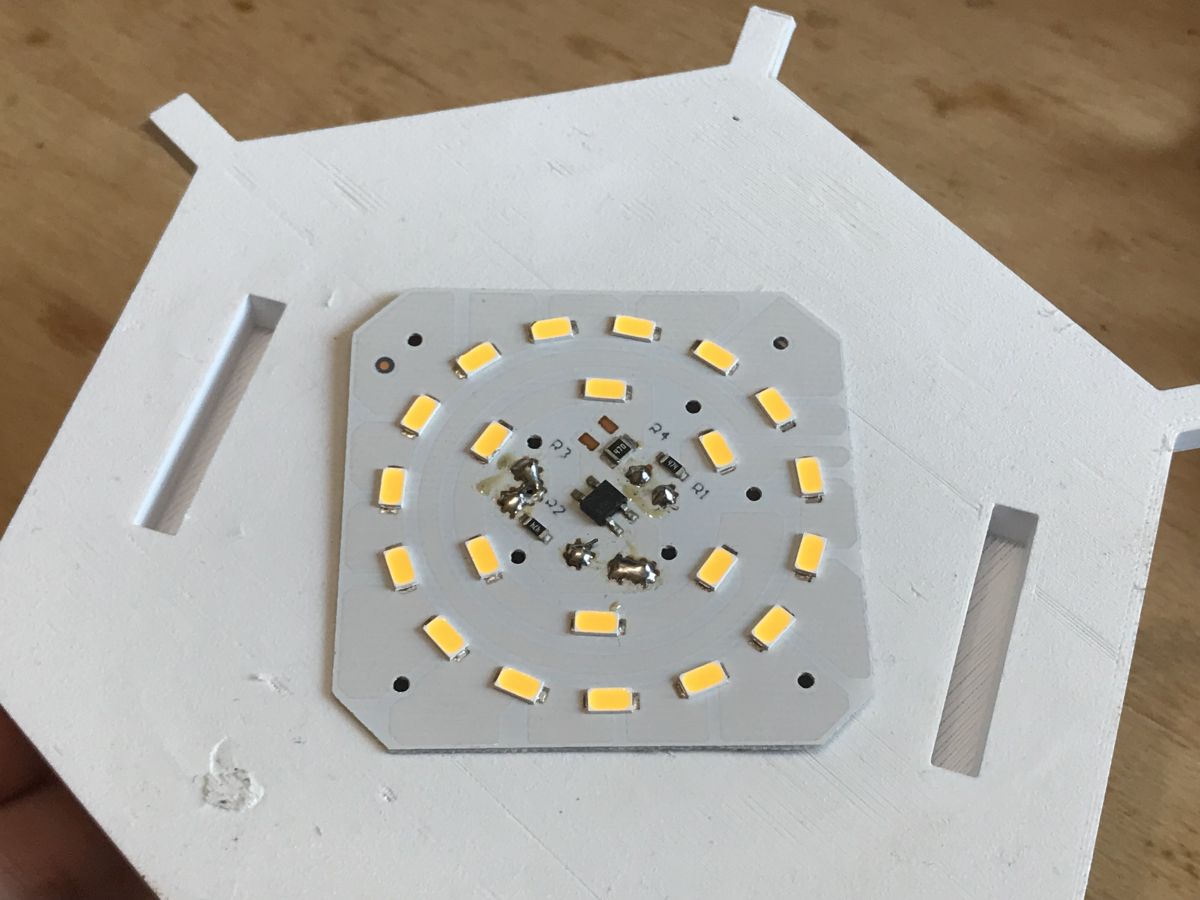
The second, rather spontaneous lighting idea was an LED module from an LED bulb I ordered from China:

The removed module (it has a capacitor on the back from a transformerless power supply):
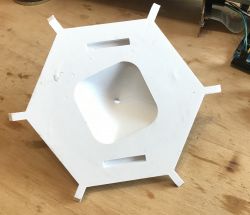
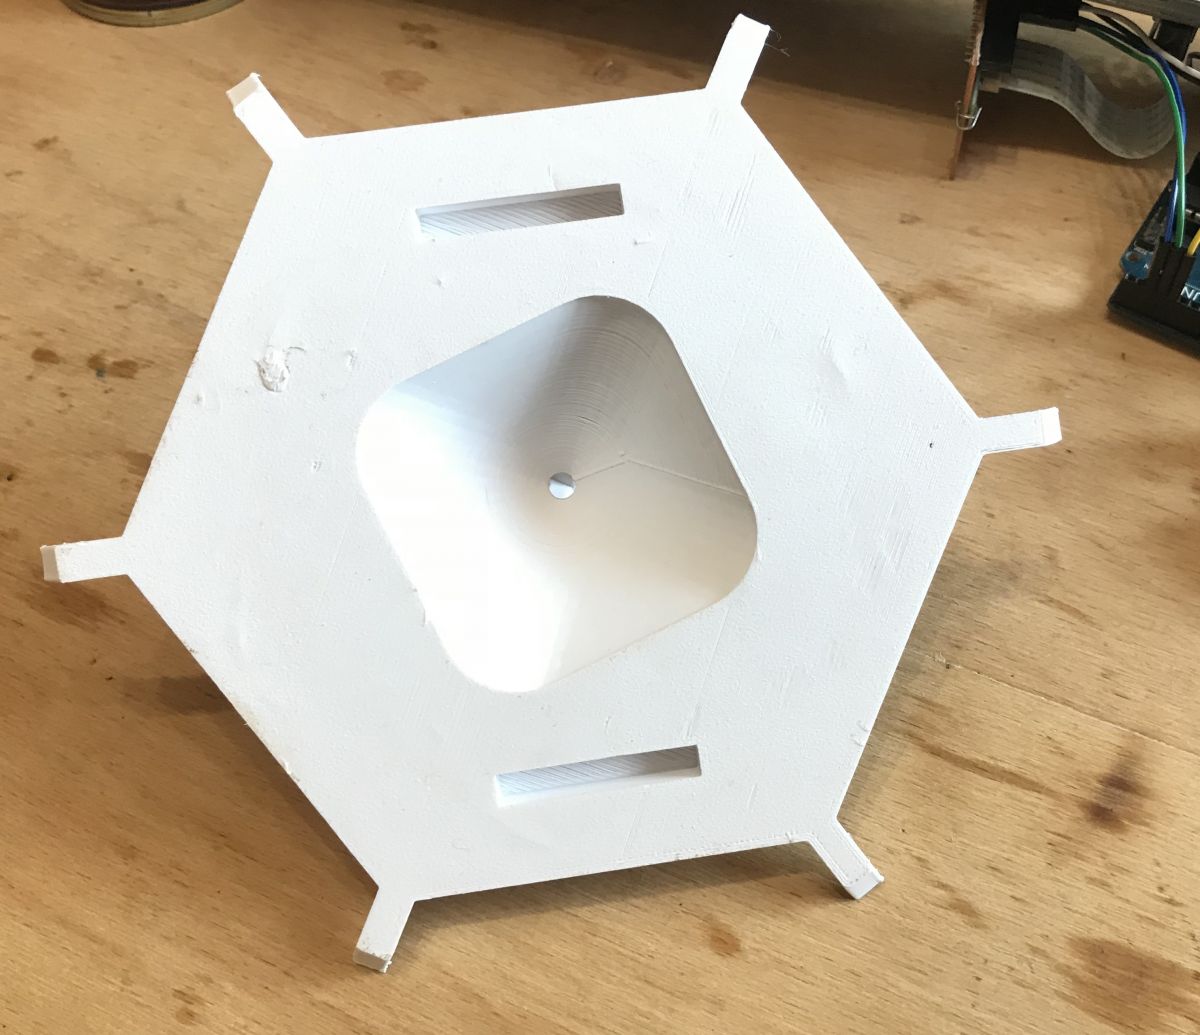
I wanted to fit it inside the lamp. For this purpose I printed the lamp canopies with a suitable indentation:
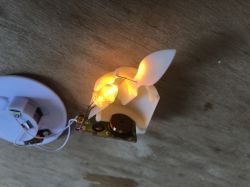
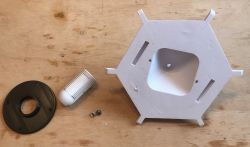
In the process of assembly (screwing on with screws):
The effect is not bad, but in the end I gave up the idea because it is inconvenient and I am not sure that I will have such modules for replacement later.
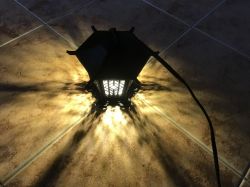
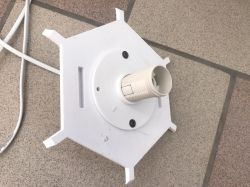
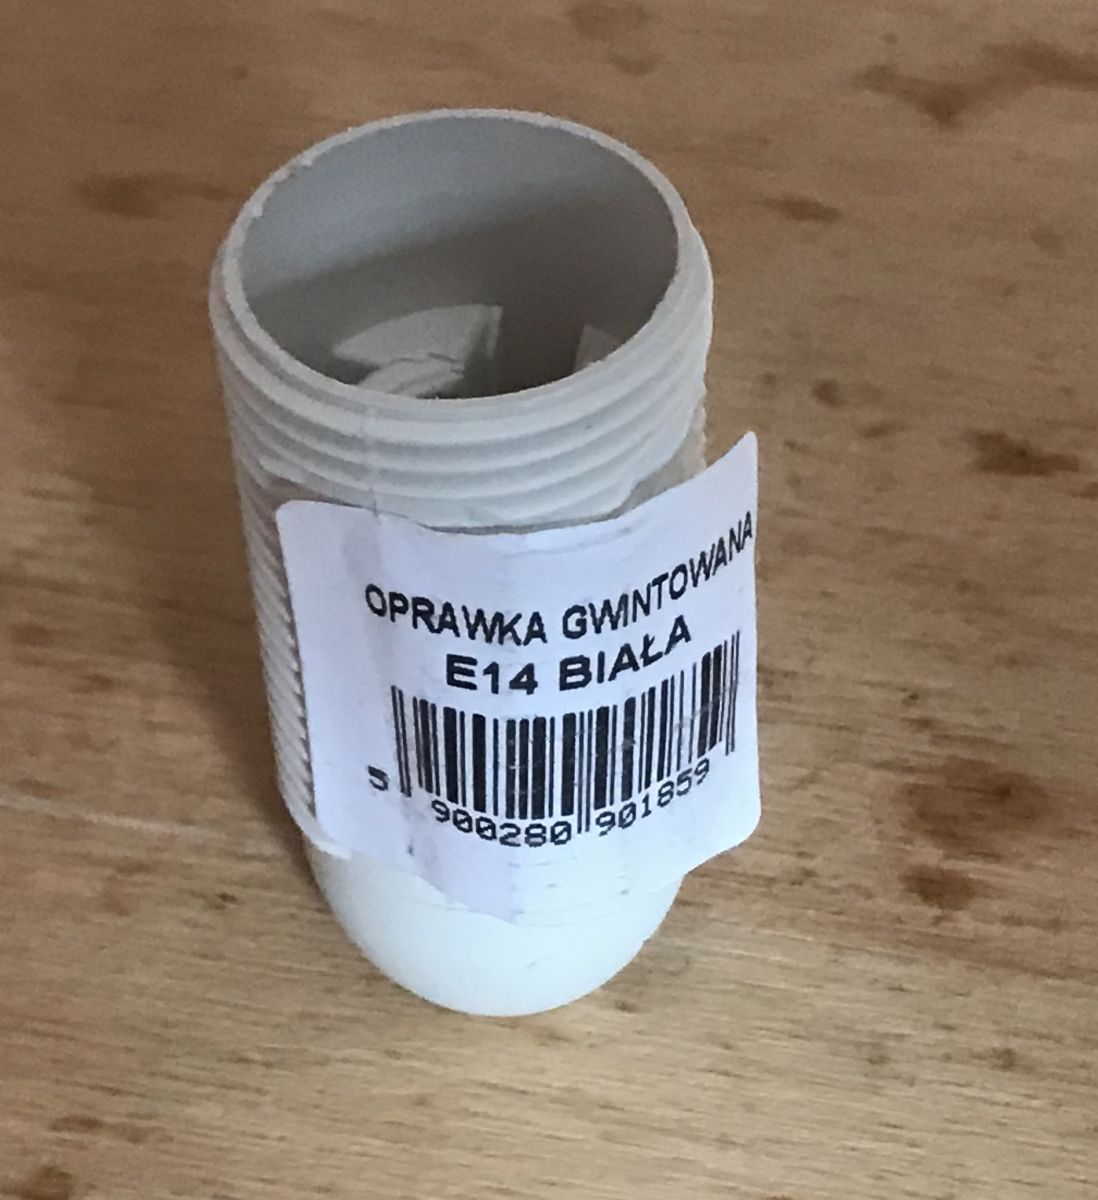
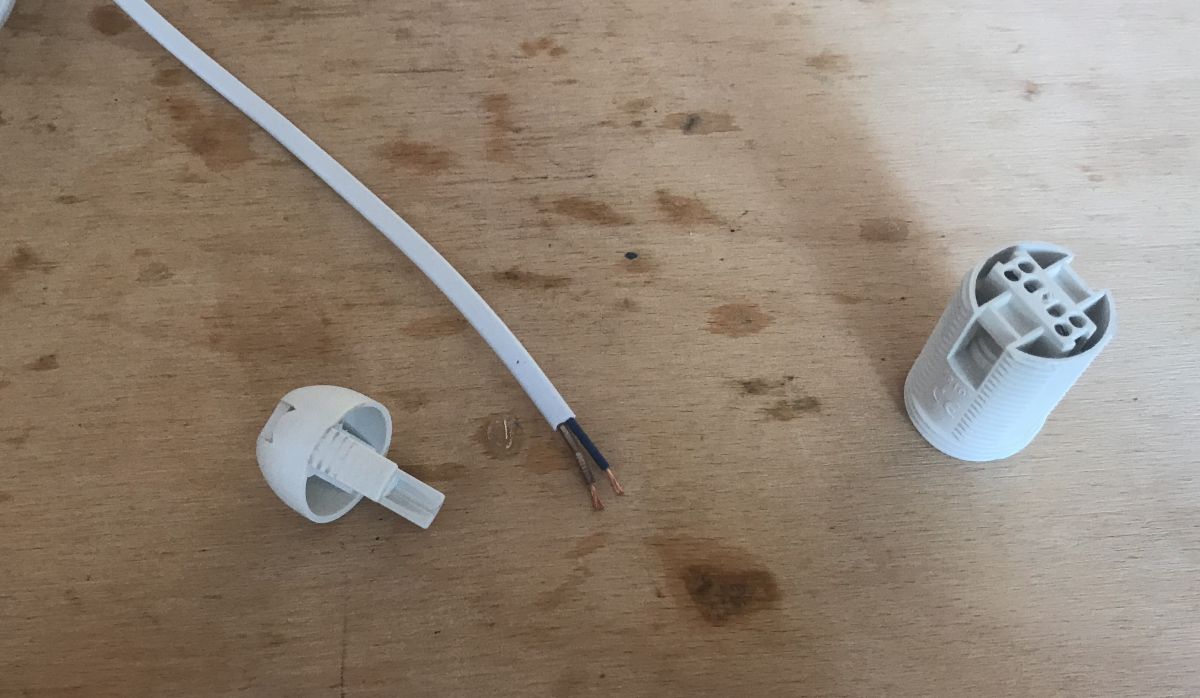
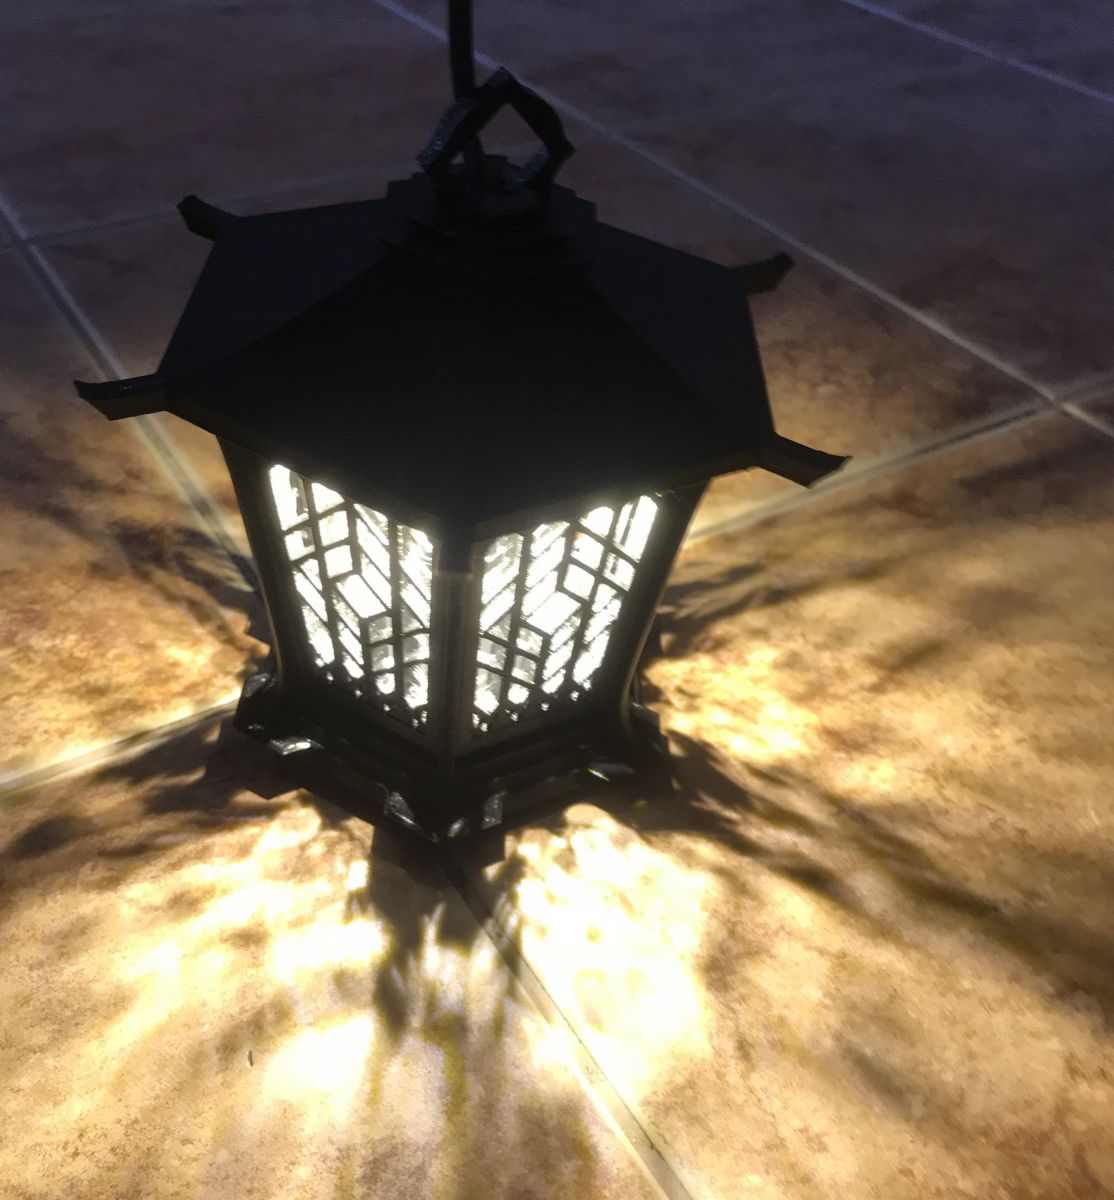
Lighting connection - bulb and E14 thread
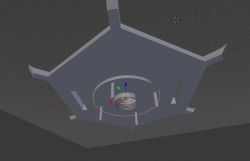
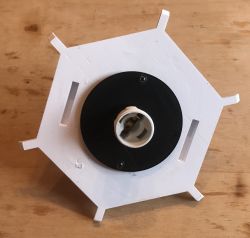
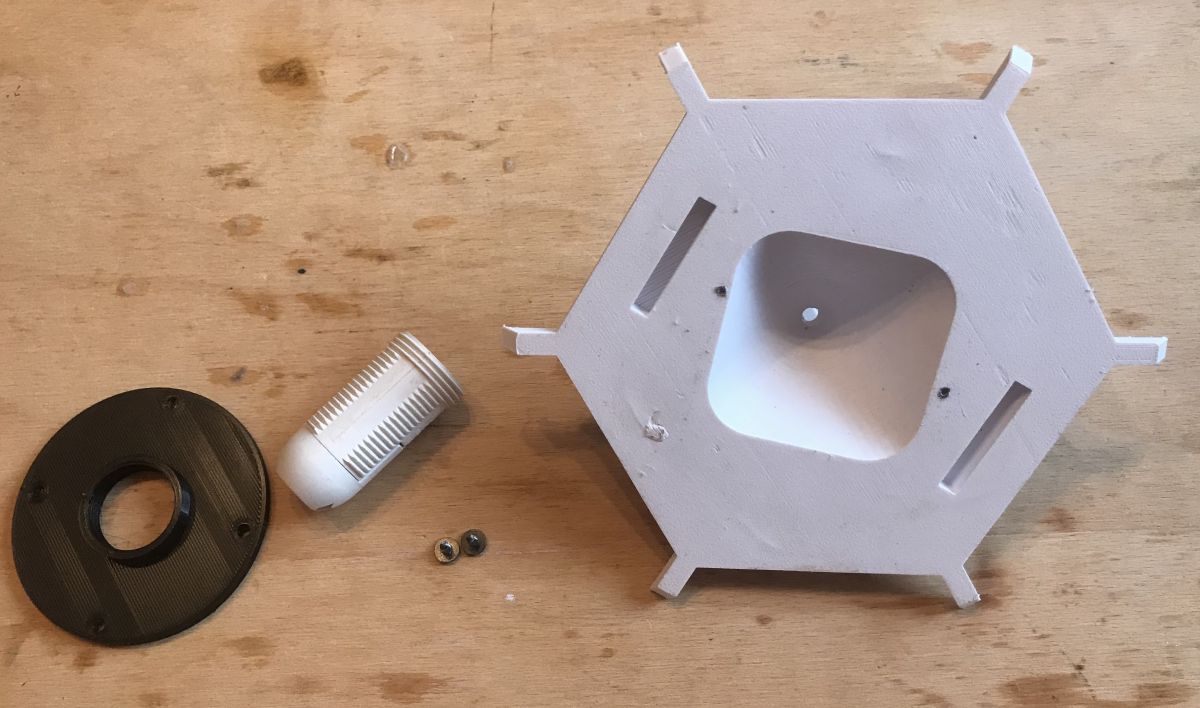
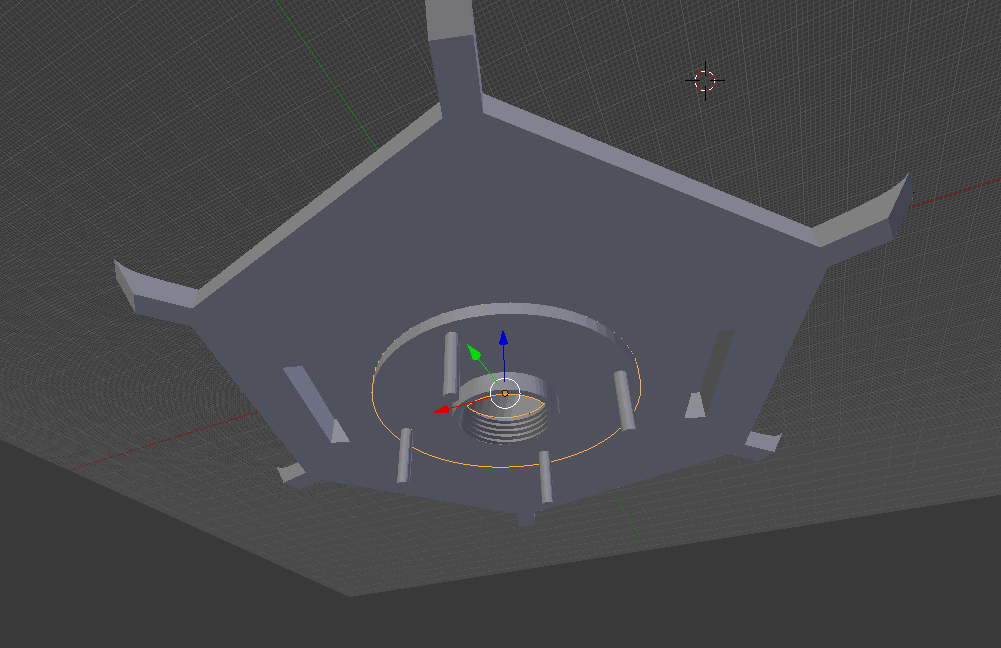
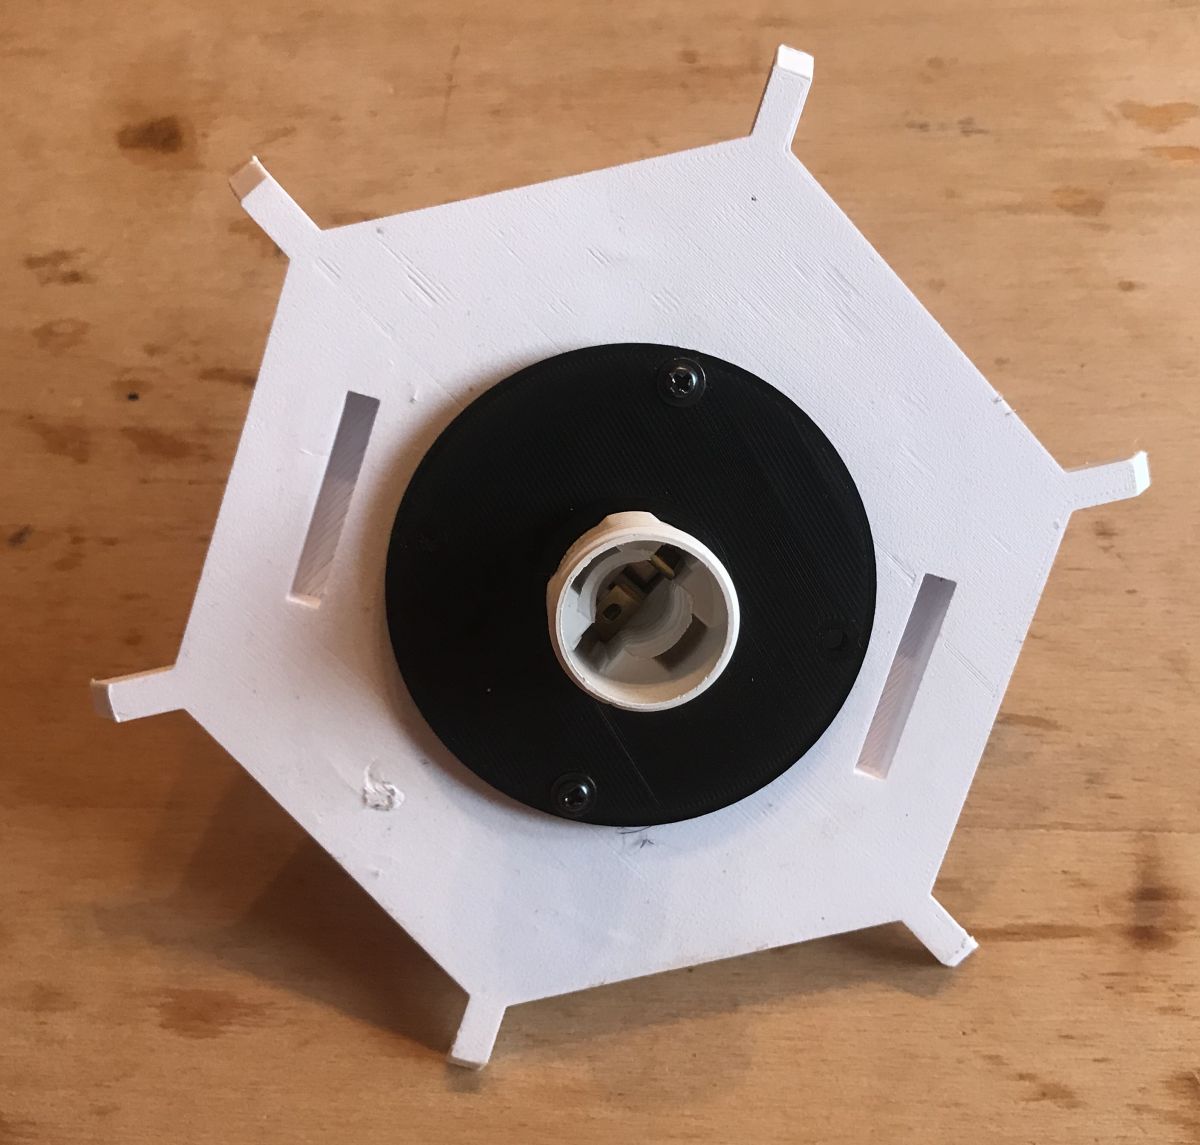
In the end, I decided to fit E14 threaded fittings to the centre:


For this purpose, I designed my own nut/thread for E14. It also has screw holes to connect it to the 'cap' from the lantern:
Assembled:
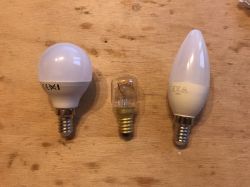
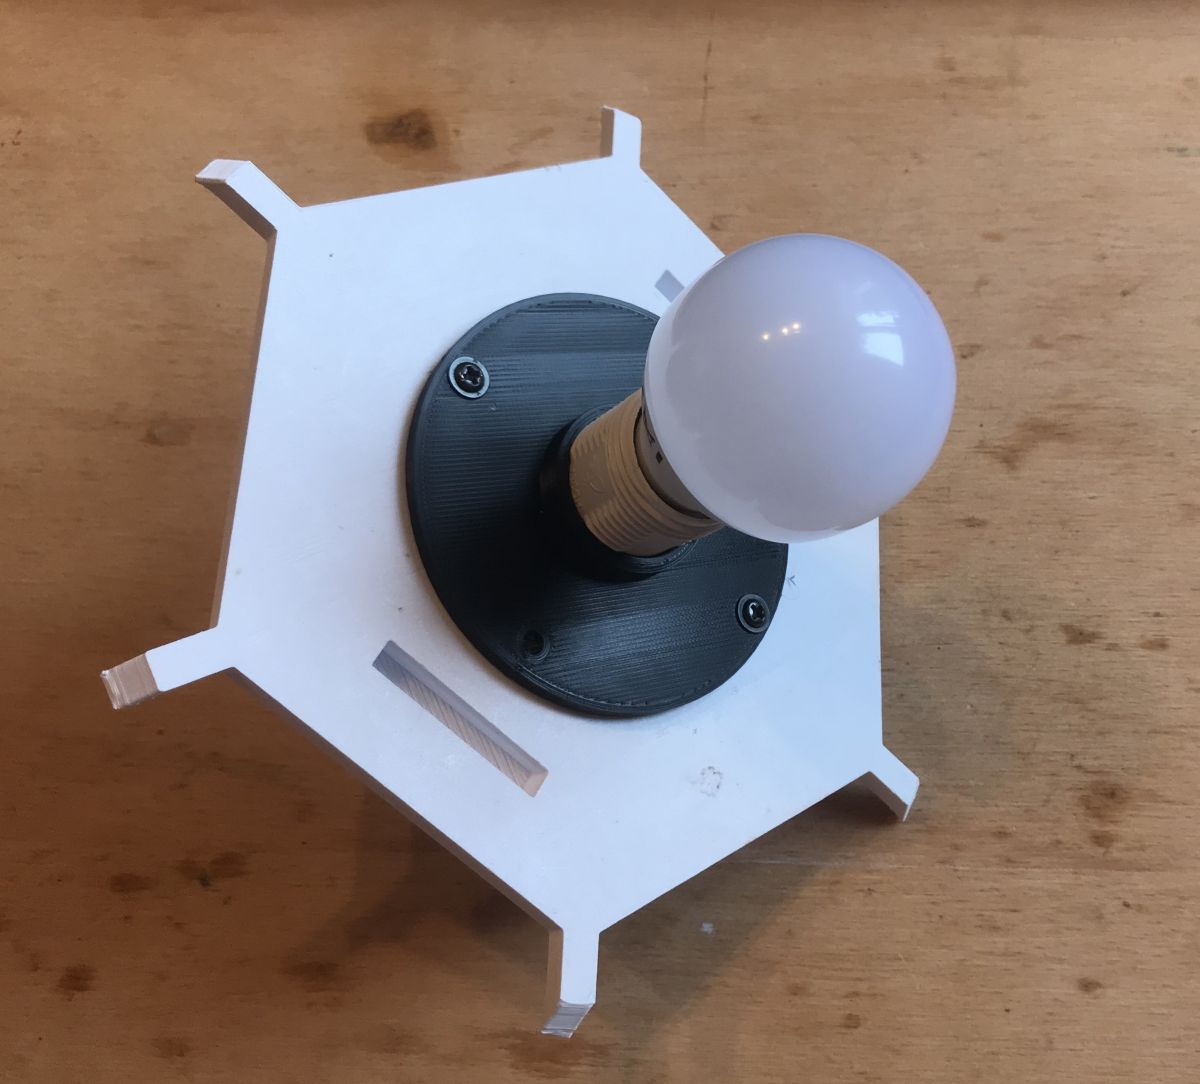
The bulbs I had on hand; the largest one does not fit into the housing, while the milky LED one is just right:
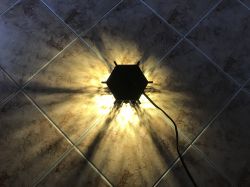
Final result:
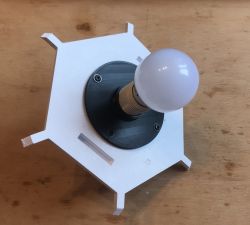
Same, but with a white mount:
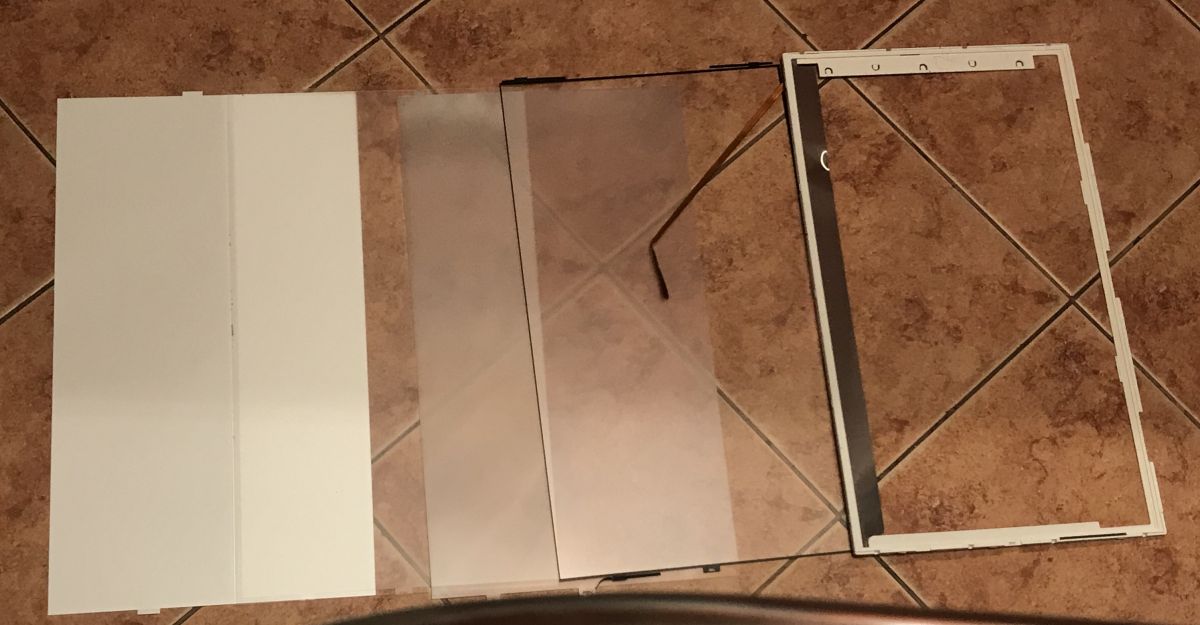
 Lighting diffusion
A lamp made in this way may shine too brightly for some, but you can easily achieve a fuzzier lighting effect. All you need to do this is to use film pulled from an LCD monitor:
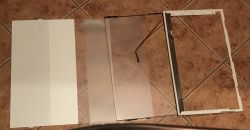
Cut out 'windows':
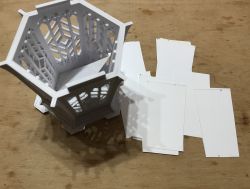
Glued:

But here their attachment could be improved a bit - the internal shape of the lantern makes it difficult to glue them on, it would need to be flattened.
An important issue - heating of the filament
In the case of the bulbs I used, the heating of the printed component is not noticeable at all, there is no problem with it. Nevertheless, it is worth pointing out that if one uses a stronger light source then by all means PLA can warp and melt, especially if the lamp is lit for a long time. This can partly be solved by using a more heat-resistant filament, such as ABS.
Gallery
Black lantern with LED module:

I'll add more photos when the opportunity arises.
Summary Summary
I am as happy as possible with the printed lights - in fact, I printed them as a gift for someone (on a specific request, having already selected the model in question from Thingiverse). For this reason I will give more pictures when I get the chance. The lights look good and don't get hot at all, and the use of 3D printing makes them even more attractive and easy to modify and customise. There is also no problem with making another lamp for the set - all you need is a filament of the same shade, print and you're done.
Do you have any your Christmas projects based on 3D printing? Feel free to discuss and above all - happy holidays!
I give a .blender scene with all the objects (modified lantern elements + my E14 mount) as an attachment:
asianLante...ersion.zip (1.6 MB)You must be logged in to download this attachment. 


Comments
Looks cool. Won't the LEDs start to liquefy the plastic after being lit for a while? [Read more]
This was my first concern but in the case of the bulbs used, the heating is not sufficient to deform the housing. It is best to choose ones with low wattage, such as 3W. And in case of emergency, you can... [Read more]