 Hello my dears.
Here I will present an idea for practical 3D printing: the Makita BL1830 18V battery adapter. This topic will cover the design and printing of an overlay compatible with the contacts of the BL1830 18V battery pack and will form the basis for further projects, primarily involving a Makita->Skil (12V) adapter, and perhaps an LED torch or Makita-powered power bank.
I will design the model in Blender, print it on Ender 3 Pro from PLA filament and finally give the STL and .blend sources for download.
Makita BL1830
This topic is about the quite popular Makita BL1830 18VLi-ion 3.0Ah battery. The battery is designed for various types of equipment, screwdrivers, etc. It is produced by various manufacturers and you can also get cheap (and at the same time low quality) clones of it.

The possibility of having one type of battery compatible with all tools is very convenient, for this reason, in this topic I will try to extend this compatibility further.
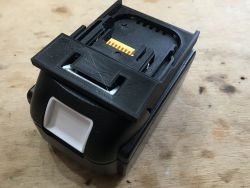
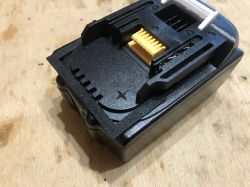
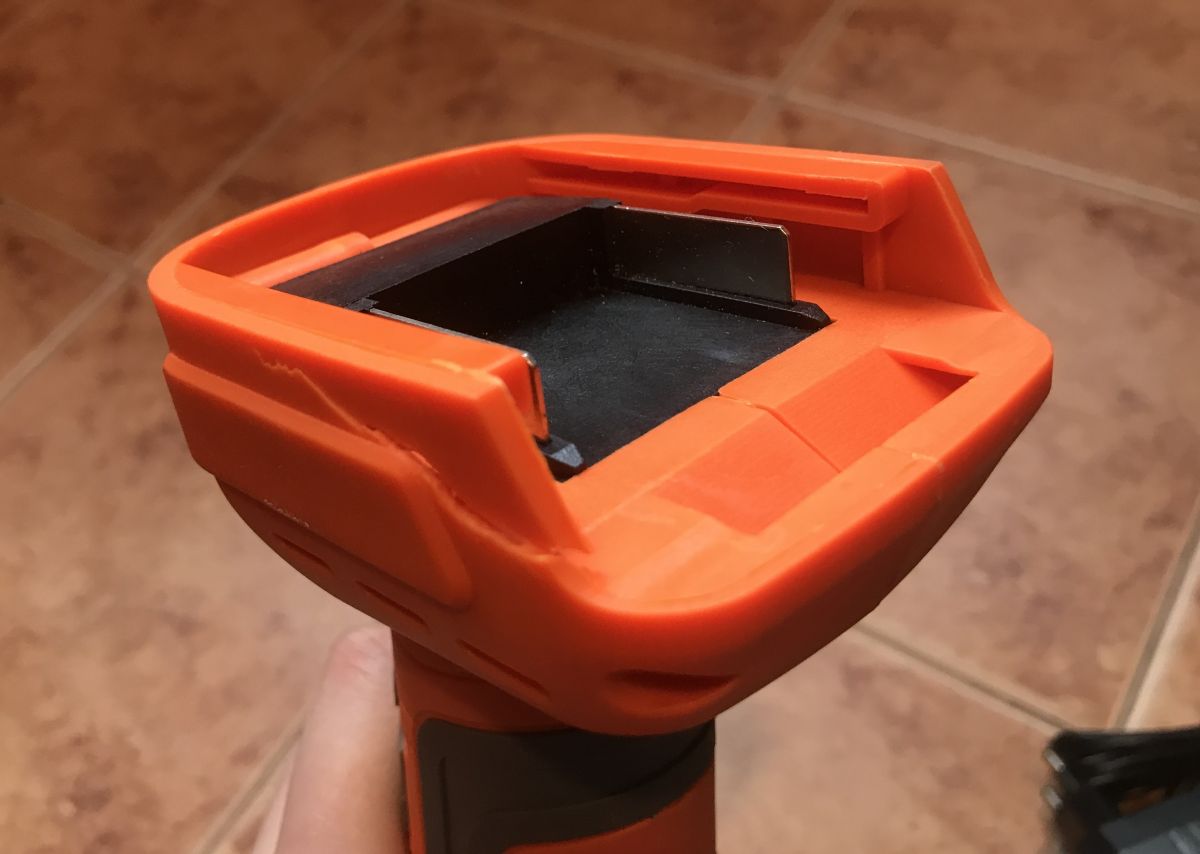
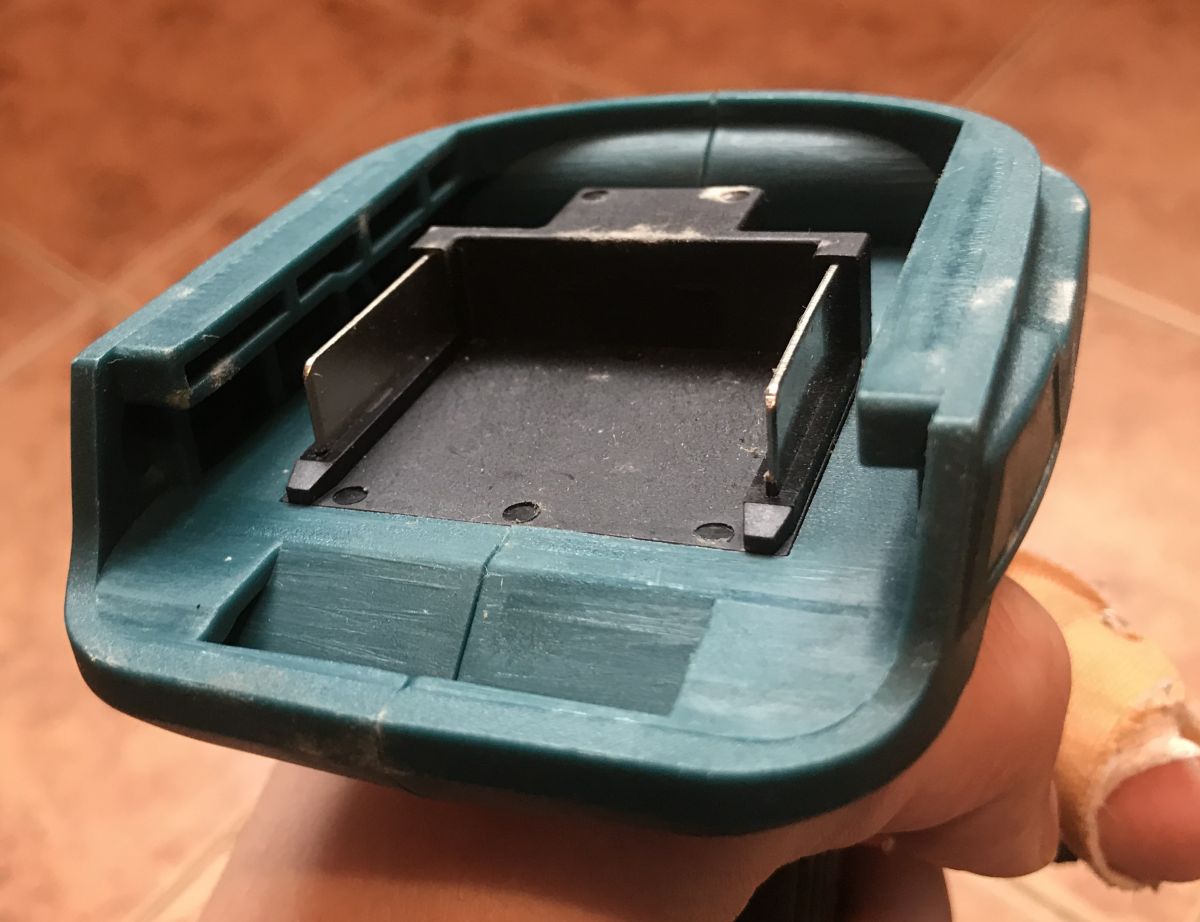
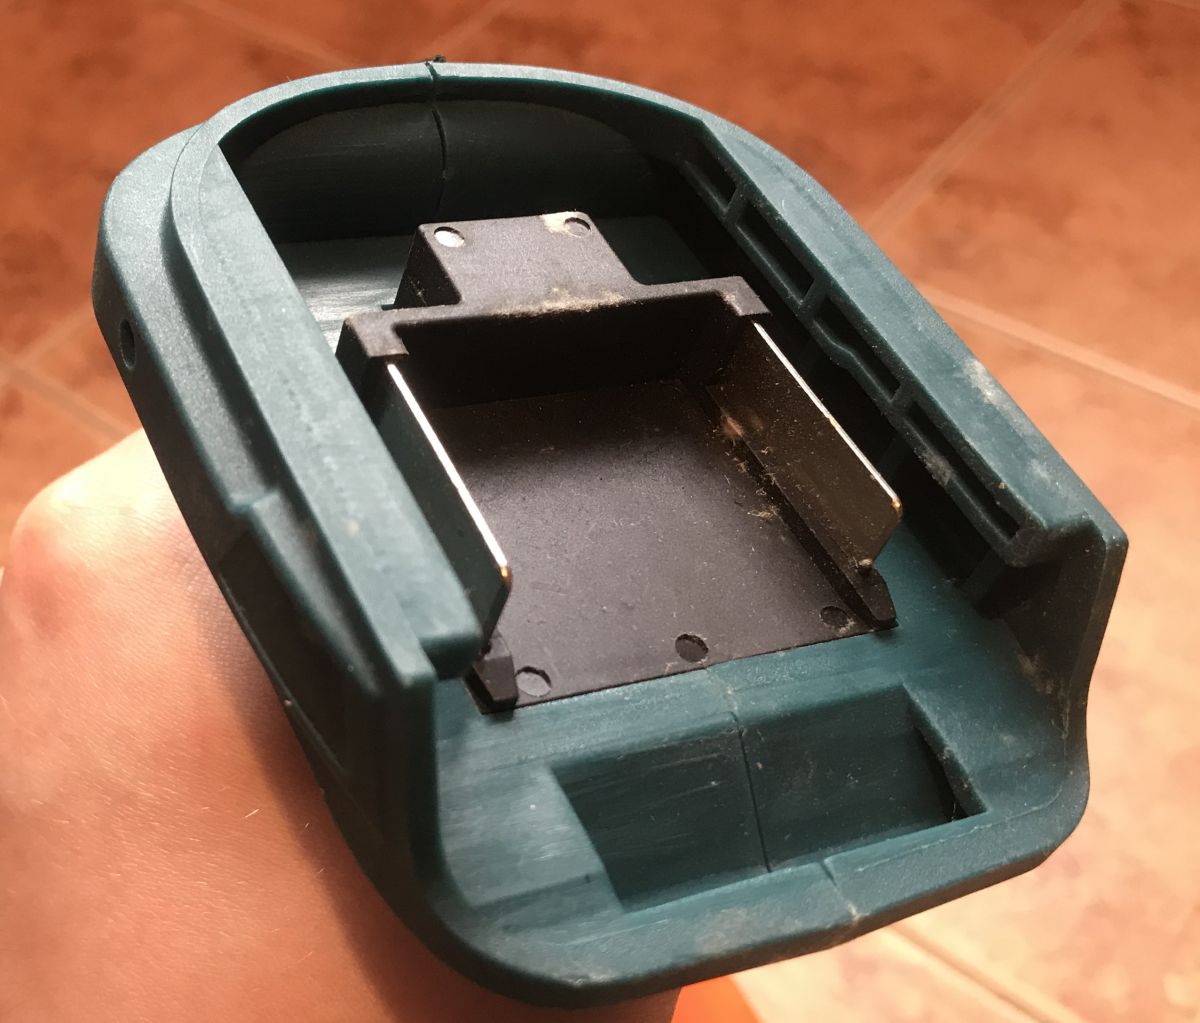
How does the connection to the battery look like?
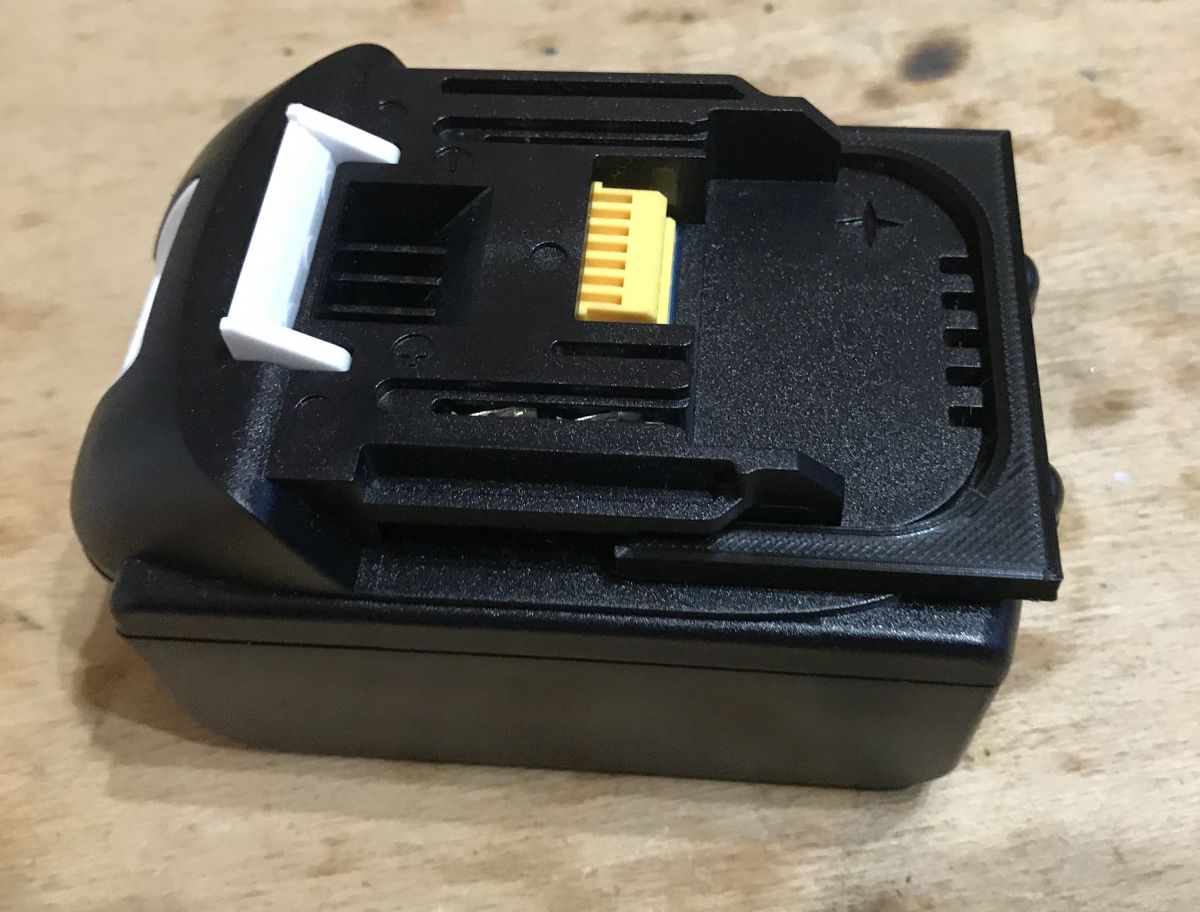
The connection is very simple. The battery slides into the two guides, the screwdriver has two metal contacts and a recess for the clip:


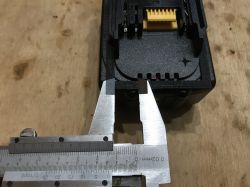
We will need to design our 3D object so that it has these guides of the correct dimensions, so that it can be fitted with contacts (cut from sheet metal of a certain thickness) and so that it has an indentation for the battery clip.
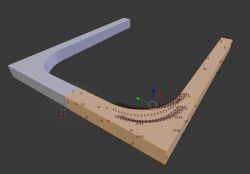
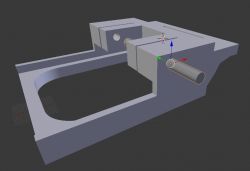
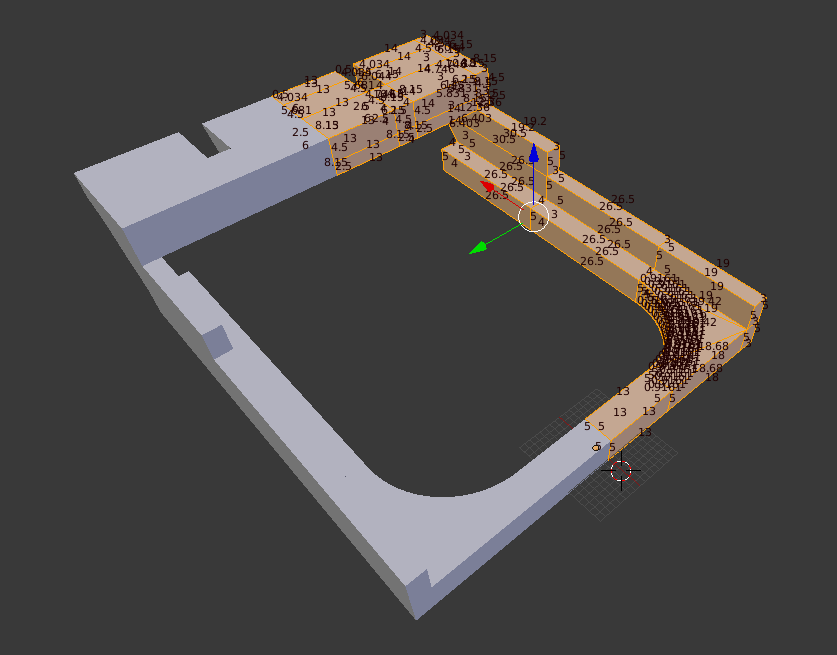
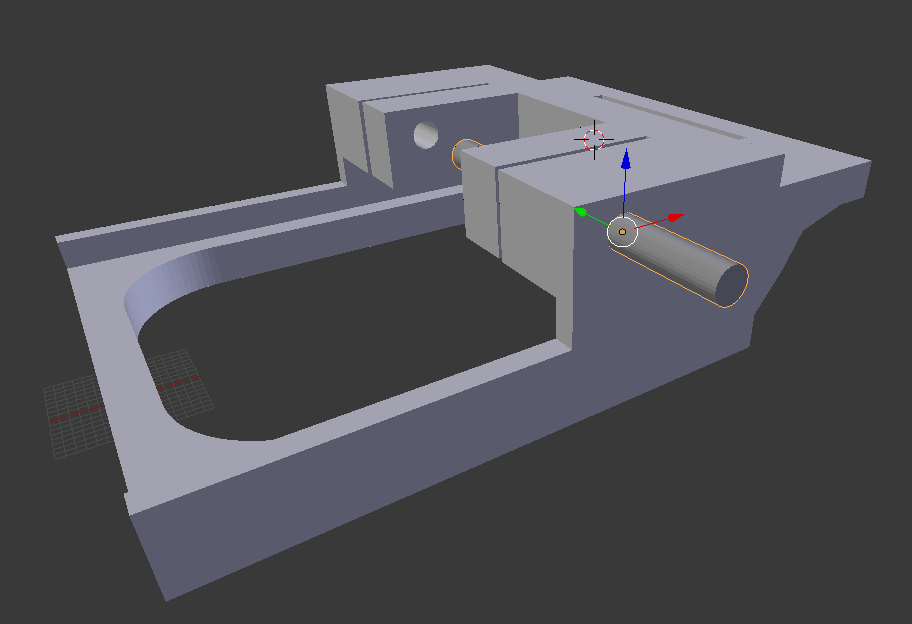
Design the adapter in Blender
I designed the adapter from 0 in Blender 2.79.
I will show the steps here with a short commentary.
I did the whole project with the Mirror modifier (mirror image), as both sides of the adapter are symmetrical.
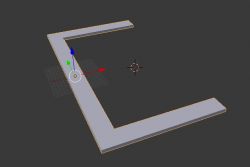
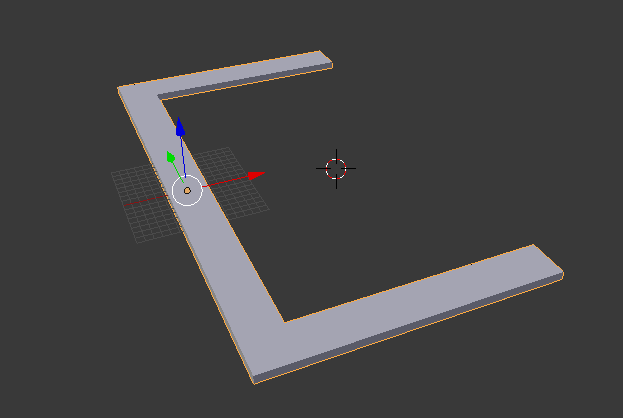
I started with this section:

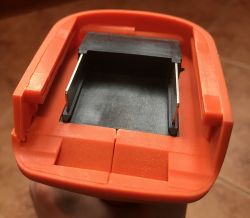
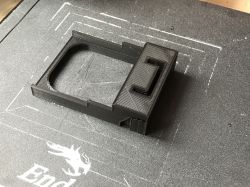
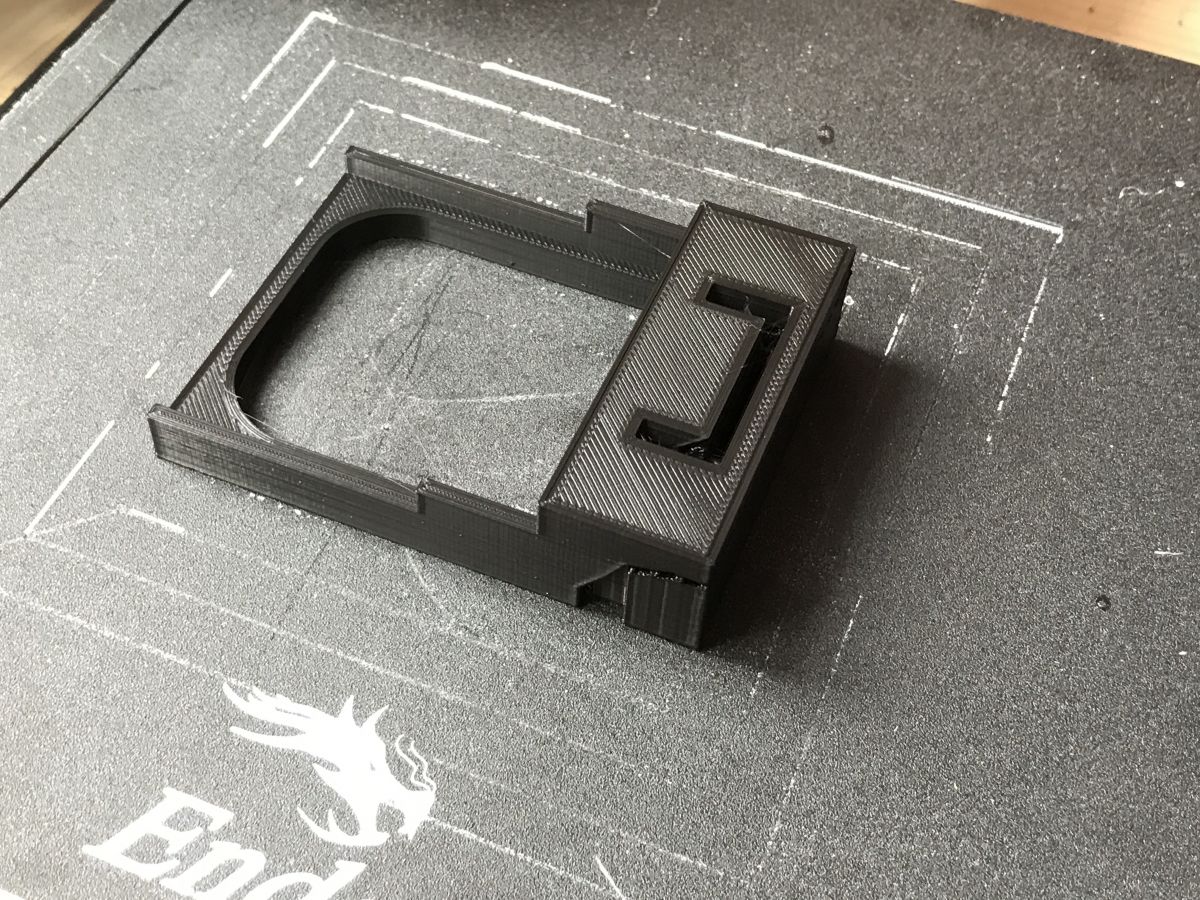
Fitment. The hitch works, the printed adapter holds solidly to the battery.
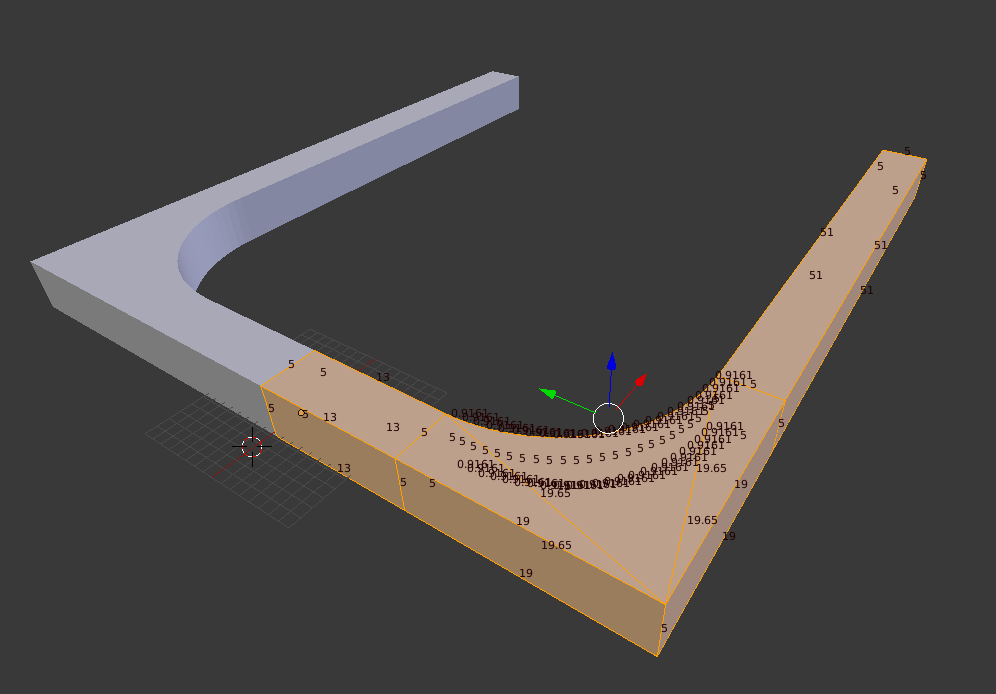
I did the rounding using the Bevel tool:

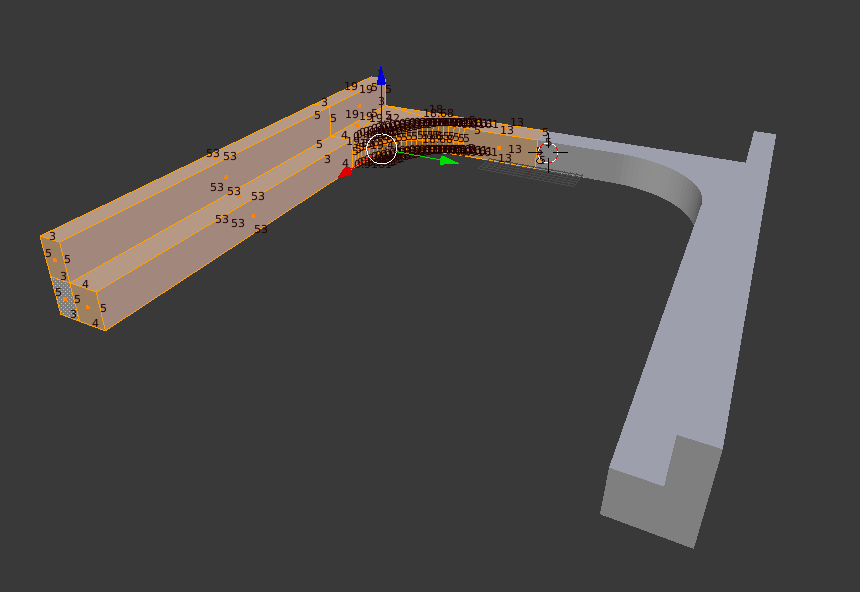
Guides (I use Extrude to build the model, also I often add walls/edges by hand using F):
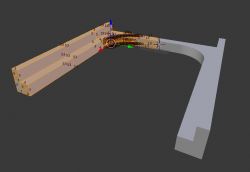
The build-up and space for the abutment:

Print:
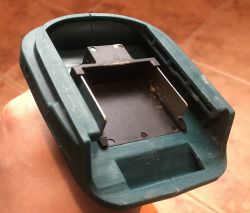
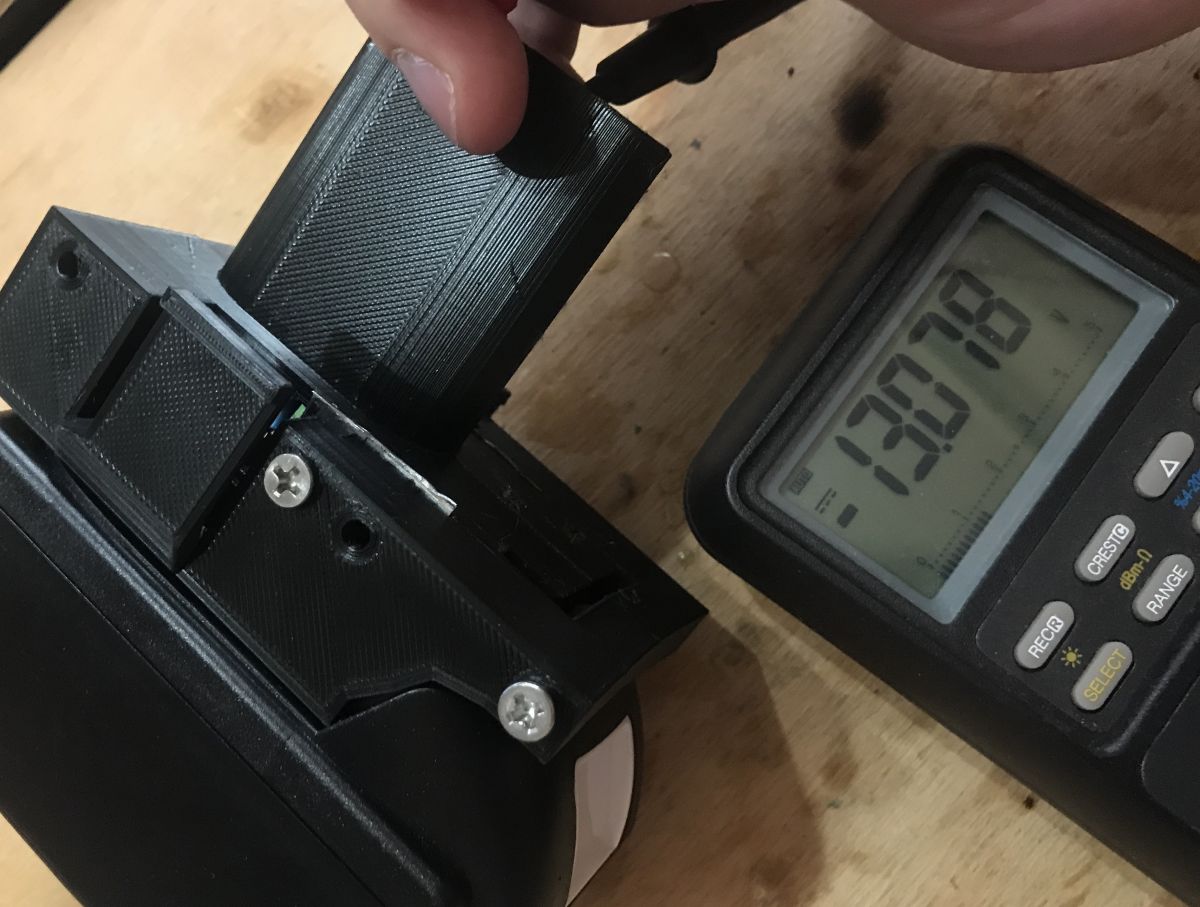
Fitting:
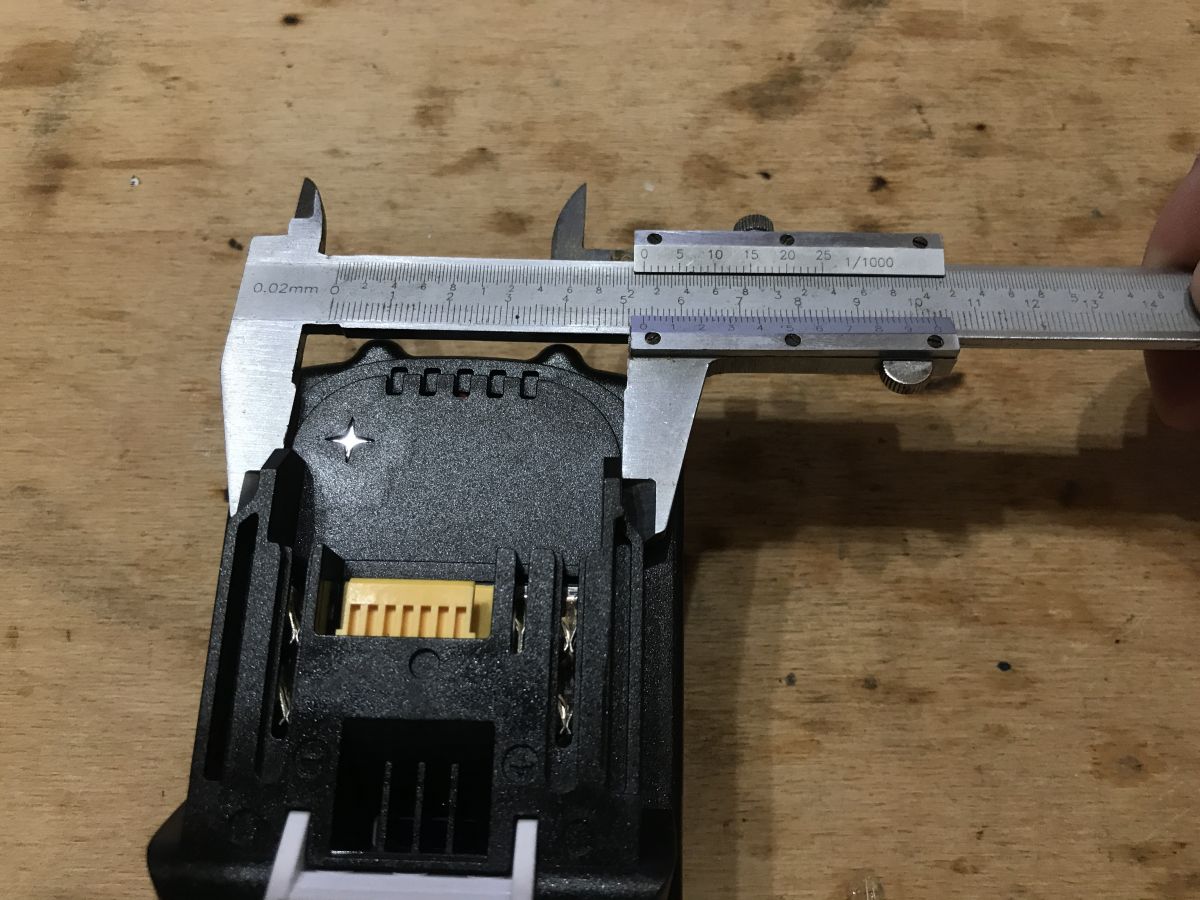
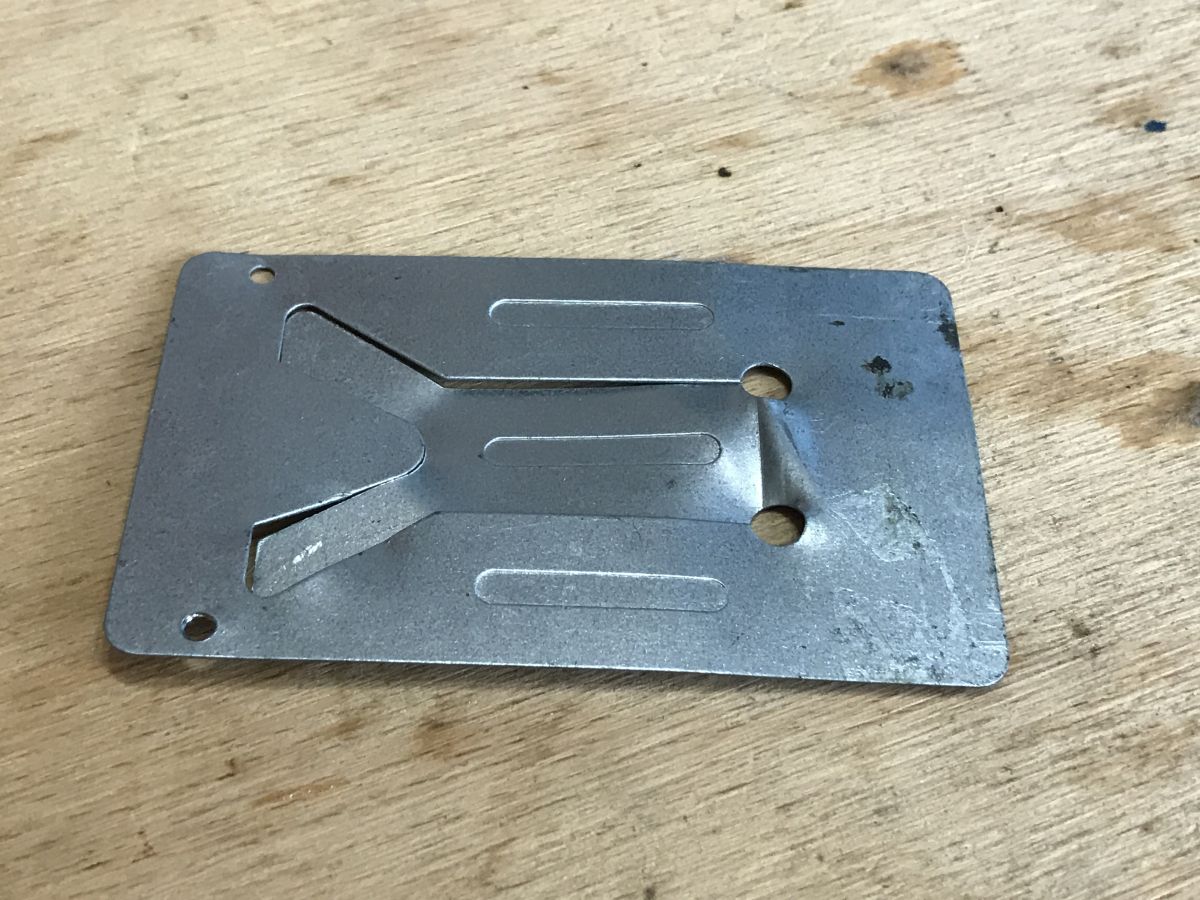
Now the contacts have to be made. I only had an old (cheapest possible) soldering iron stand at hand:
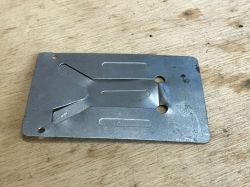
In terms of attaching it, I decided on a single screw hole, as long as the sheet metal matched the print that was enough. I made the holes using a Boolean modifier:
Just the thickness of this sheet metal fits:
Cut the plate and the adapter base is ready.
Following topic
From this point, we can develop our project already in some specific direction. I can see at least a few different applications here:
- makita BL1830 adapter for screwdriver to another battery (with built-in step-down converter as needed)
- USB power bank powered by the BL1830 (if we bought a decent battery and it is e.g. under warranty or we carry it with us anyway, the idea is quite practical...)
- a high-power LED torch e.g. based on COB modules or similar
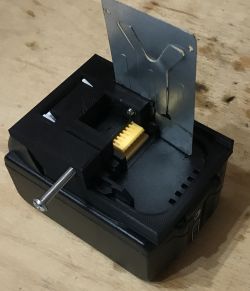
Personally, I have started working on the first idea on the list, which is a Makita adaptor for an old (found on the electro junk) Skil 12V:

In the photo above, the adapter already includes a step-down converter, as the Makita gives 18V. But about that already in another topic.
Summary
3D printing is once again showing its usefulness, and using new batteries with old equipment is not only satisfying but also environmentally friendly.
Such an adaptor is simple and cheap to make (cheaper than off-the-shelf ones where available), and in the case of my equipment fully meets all requirements.
Now a question for you - what ideas do you have for using Makita batteries? What else could you do based on your own rechargeable battery adapter?
PS: But of course I take no responsibility for how you cause yourself a fire or spoil the battery by not connecting it properly or completely. Everything has to be done within common sense, and with cells there is no joke.
I attach the sources of the model:


Comments
You can print e.g. a battery torch, usb charger etc., lots of it on https://www.thingiverse.com [Read more]