 Hello my dears.
Here I will demonstrate a simple way to match any two 3D objects, for example imported from STL format. The matching will be done automatically and will allow us to print elements that can be glued and/or clamped together. I will perform the matching in Blender based on the boolean modifier, in this case using the boolean difference of the shapes.
Where did the idea for the topic come from?
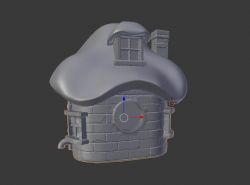
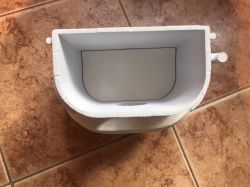
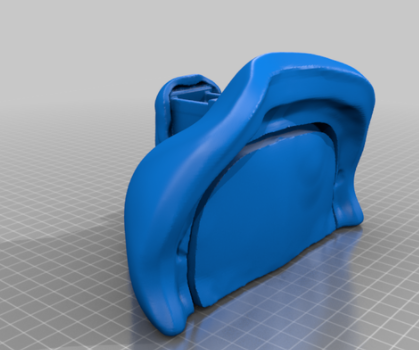
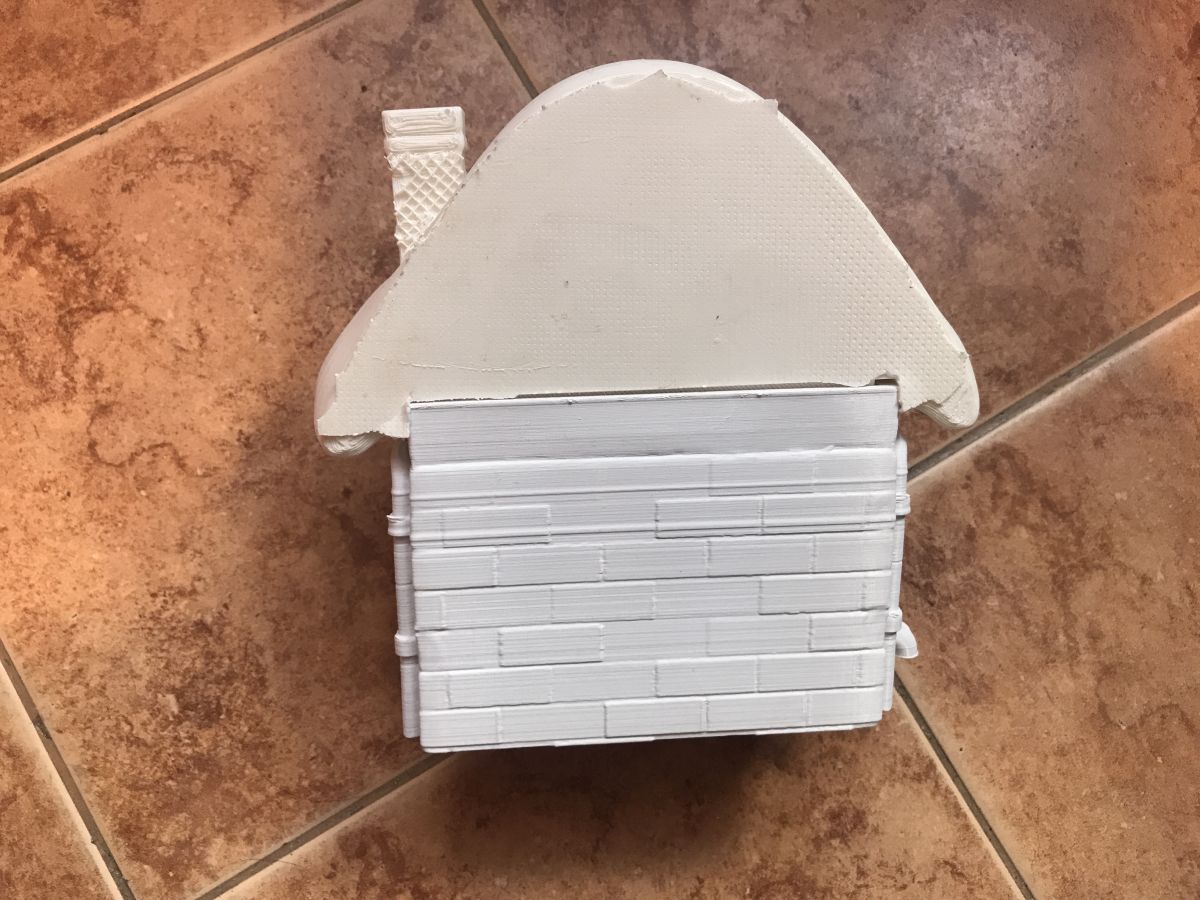
The idea to write this topic came when I myself came across the problem of fitting two pieces together. I was printing a decorative house for someone from PLA filament, which consists separately of a canopy and a base:
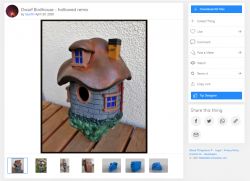
This is the finished model, so everything should fit together, right?


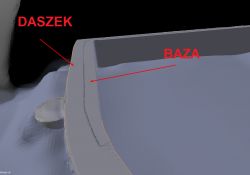
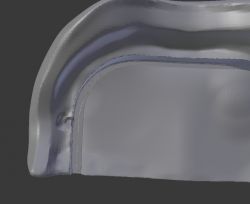
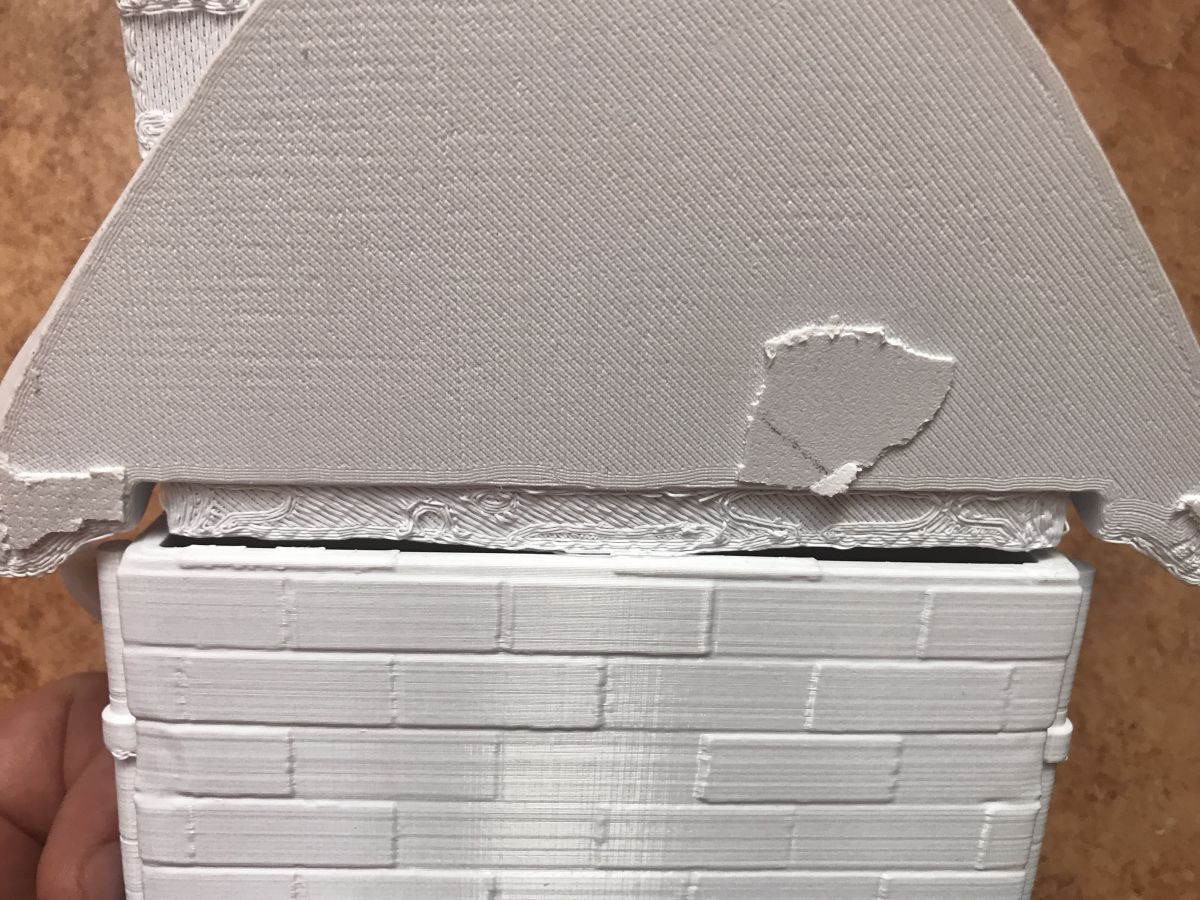
Unfortunately, after downloading the STLs and printing them without changing the scale, it became apparent that the reality was more problematic:
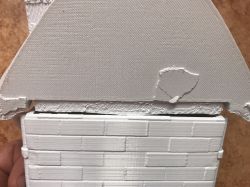
 (in the photo the print is not yet fully cleaned of support and raft, but that is not the purpose of this topic)
I know the pictures don't do it justice, but the pieces don't match up in any way. And it's not a matter of precision of printing, or there pressing them together, the margin of error is too big, it just looks like the author of the model forgot to give the last version of one of the elements....
It's time to fix this.
Correcting STLs in Blender
Blender can import and export STLs without any problems. The STL is essentially just a collection of vertices and polygons (created from just those vertices) and nothing more.
Objects from e.g. Thingiverse are also in this format.
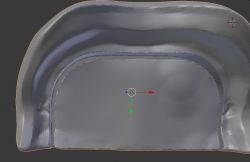
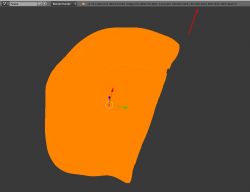
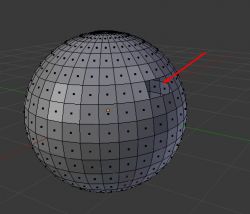
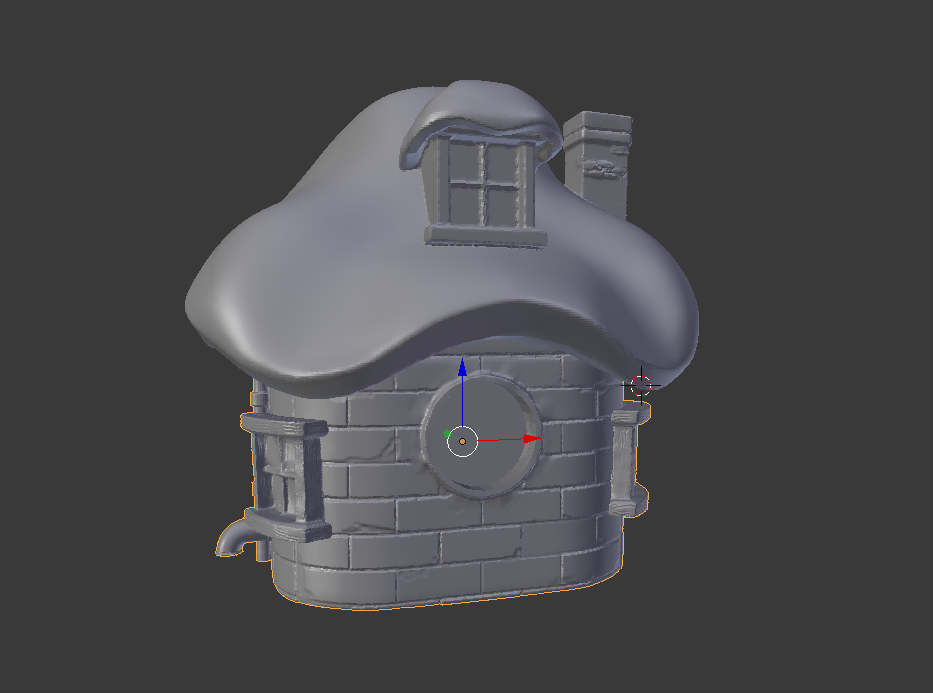
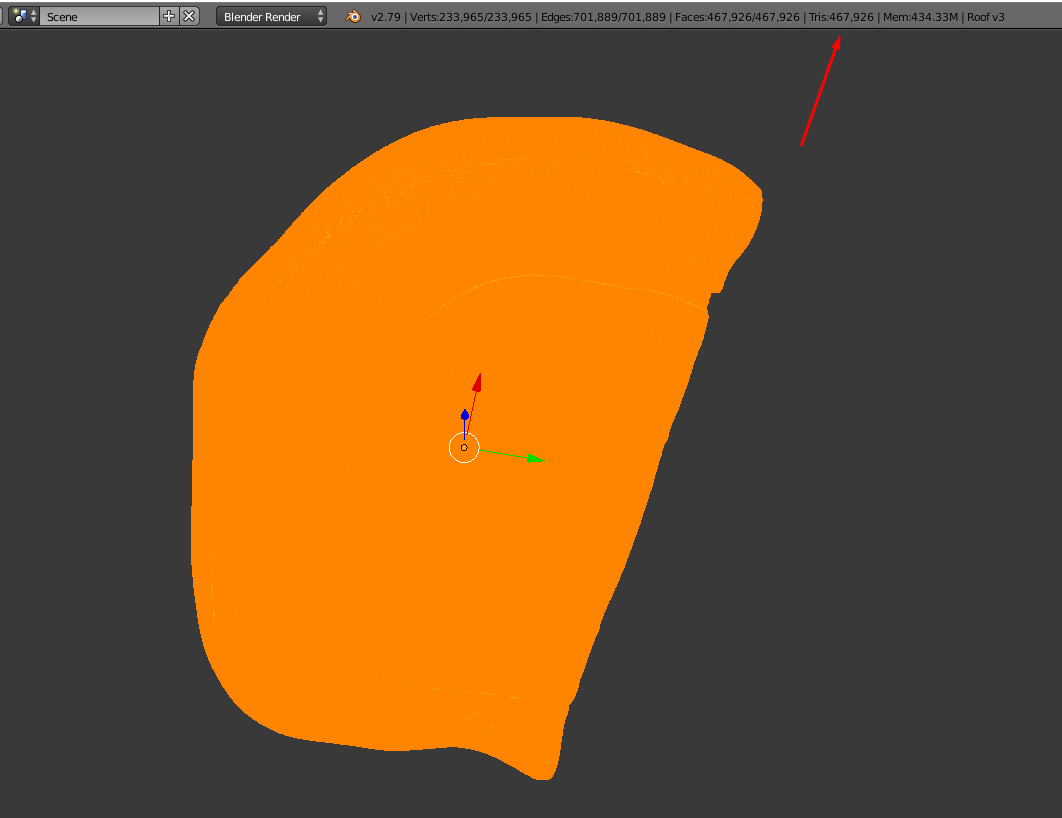
I imported both models to see if they really don't match:
Clearly they don't:
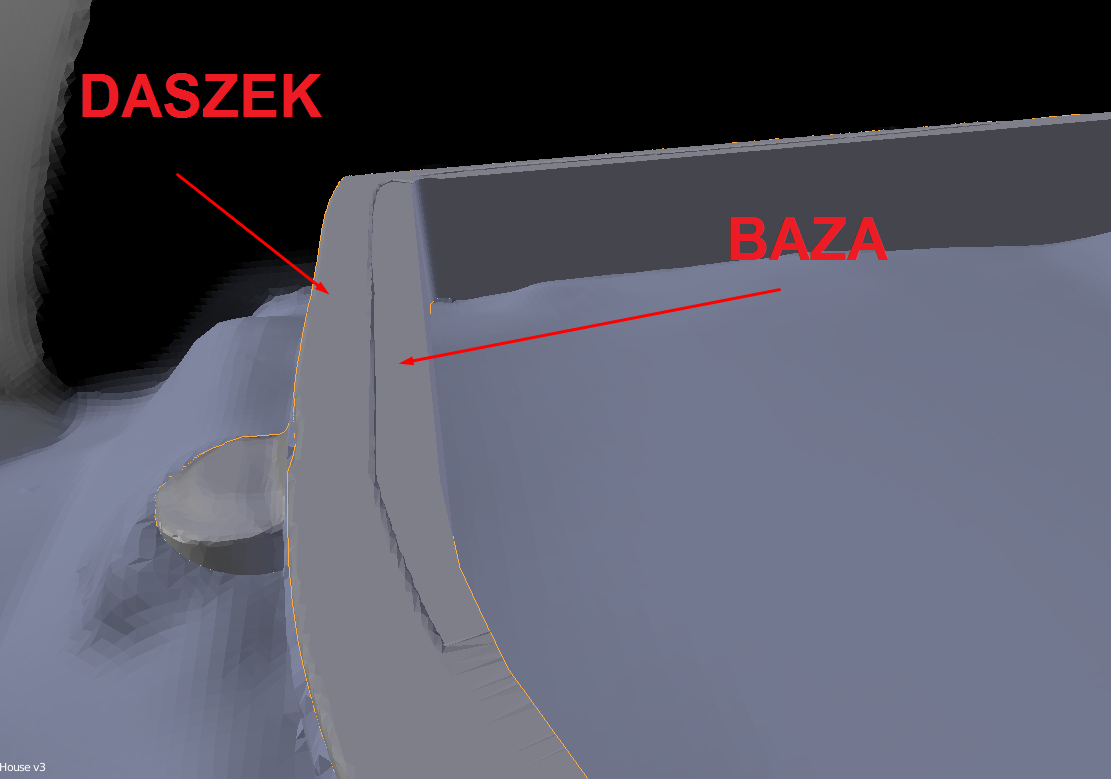
This could be manually corrected by fully modifying the grid, but automatic solutions are better.
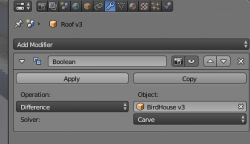
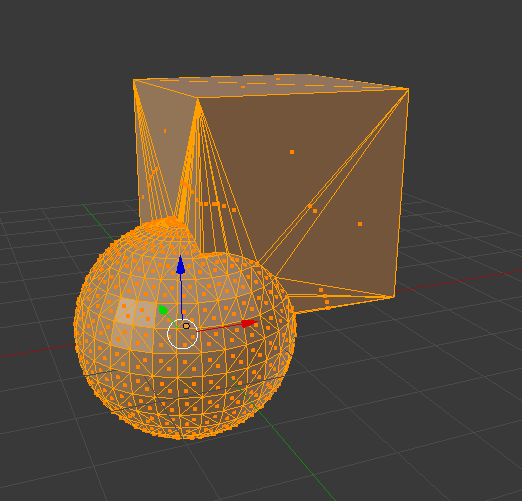
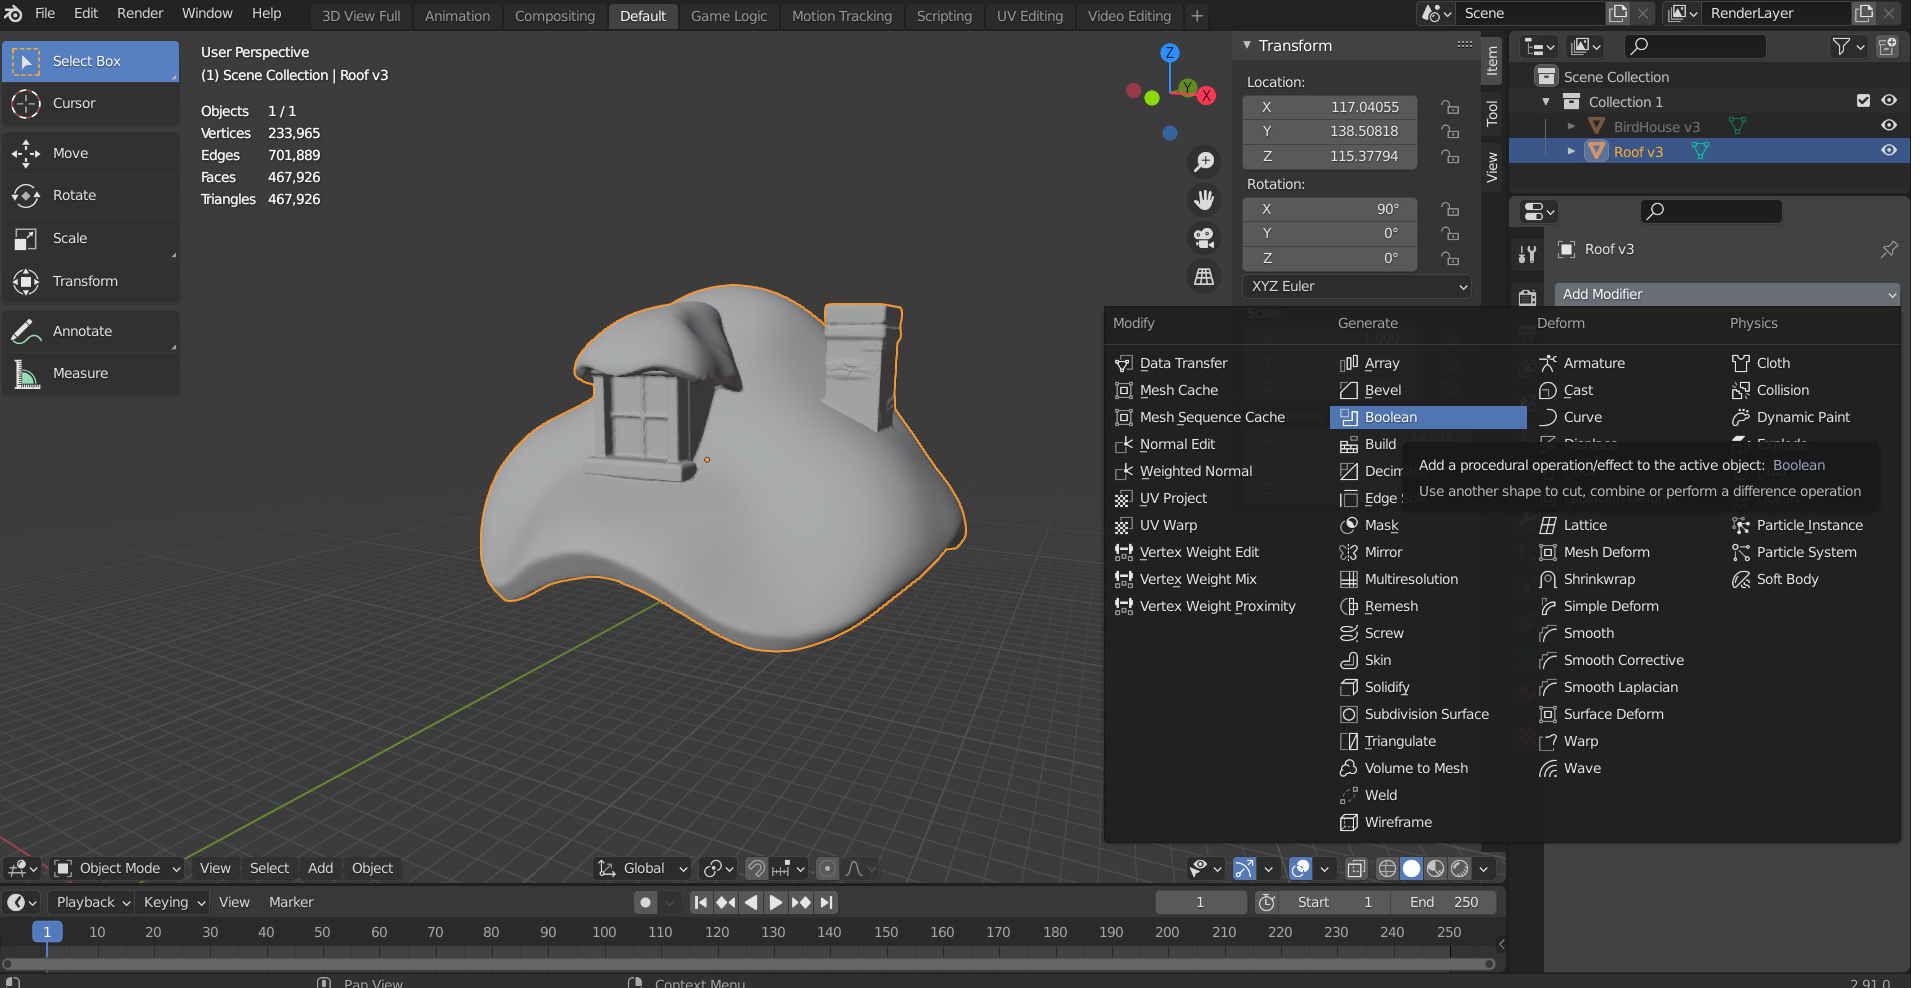
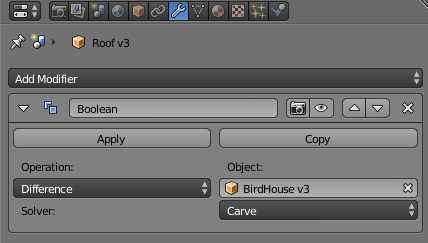
Just use the boolean modifier. In Blender it works on even arbitrary shapes, even with a lot of triangles:
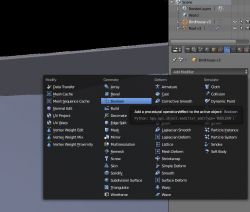
In the newer Blender it looks like this:

Boolean performs a boolean operation on two shapes. It adds, subtracts or combines the current object with the given selected object.

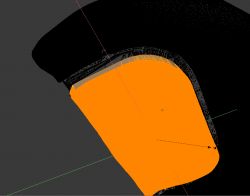
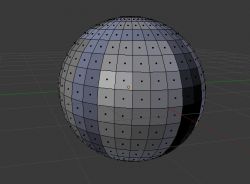
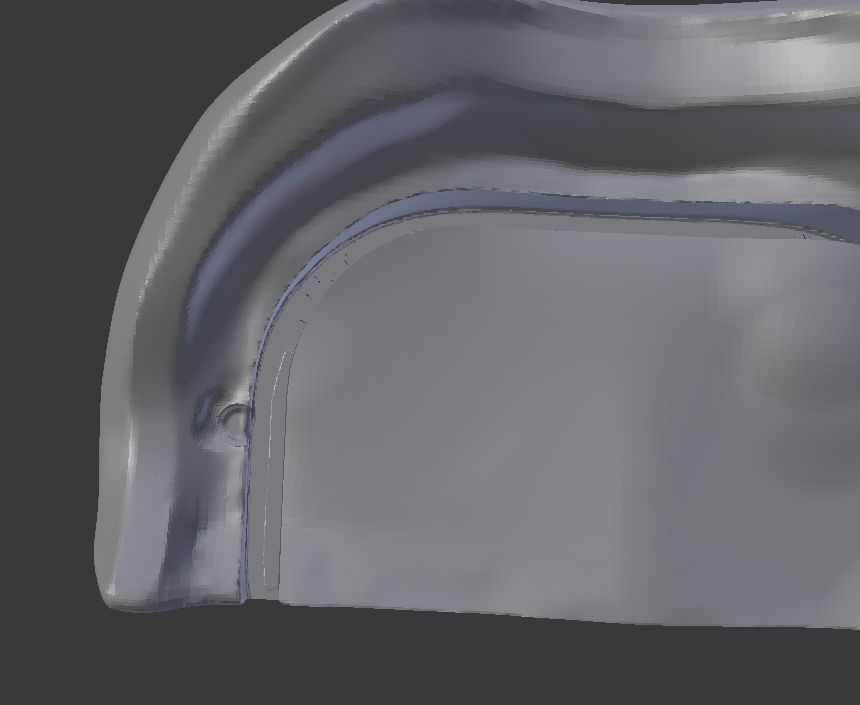
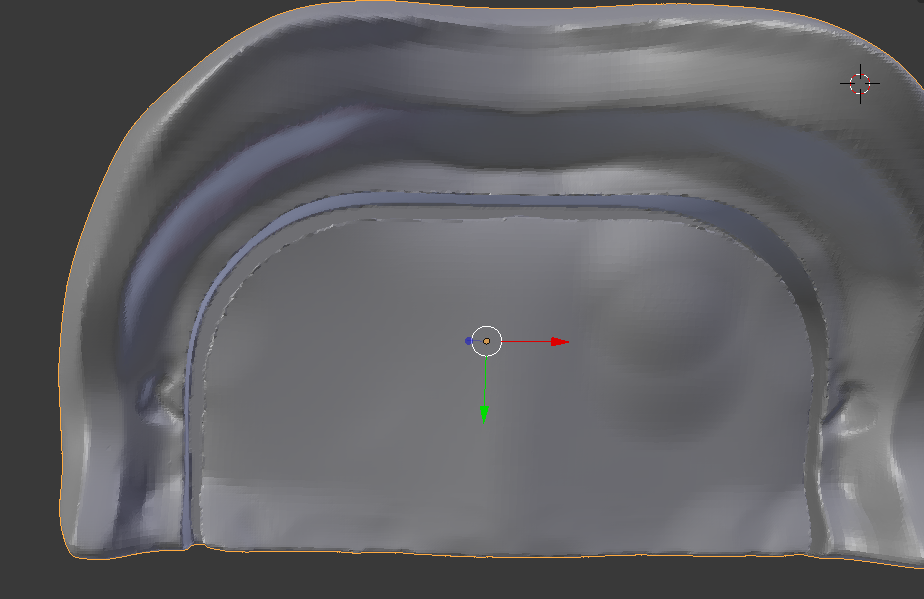
The result (after Blender has been running for a while):
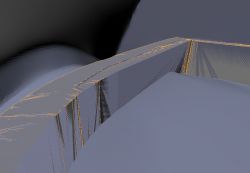
(for comparison, without boolean):
Then you can possibly accept the boolean (replace the modifier so that its changes are saved permanently in the mesh, then the modifier itself disappears from the list):
And possibly still do manual adjustments (manually select two walls and then Select Linked Faces option and done).
and still e.g. scale down (reduce) the selection.
By the way, the processed object has almost half a million triangles and Boolean still embraces it.
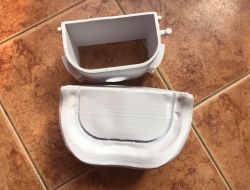
 Final fitting
After my correction, everything fits together flawlessly. It fits snugly, you don't even need to glue altogether. Revelation, it is a pity that the original STLe is not well prepared....

 Demonstration of three boolean modes
I think it is still worth showing on simple shapes what the three boolean modes are.
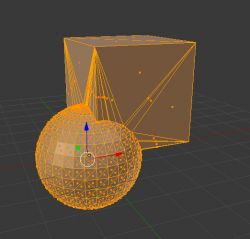
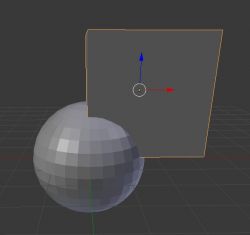
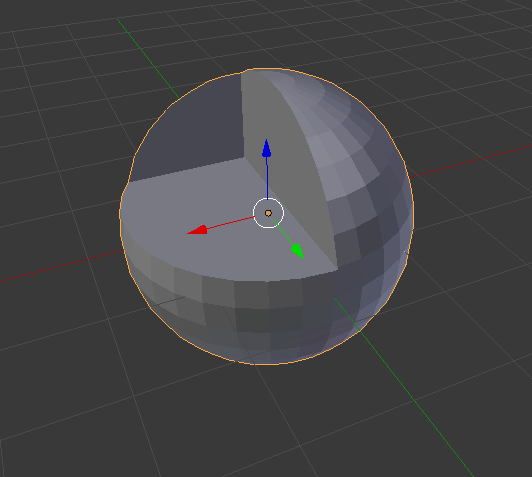
NOTE: in the examples I have only used a cube (cube) and a sphere (sphere), these are convex solids, but in Blender boolean works on other shapes too, they don't have to be convex!
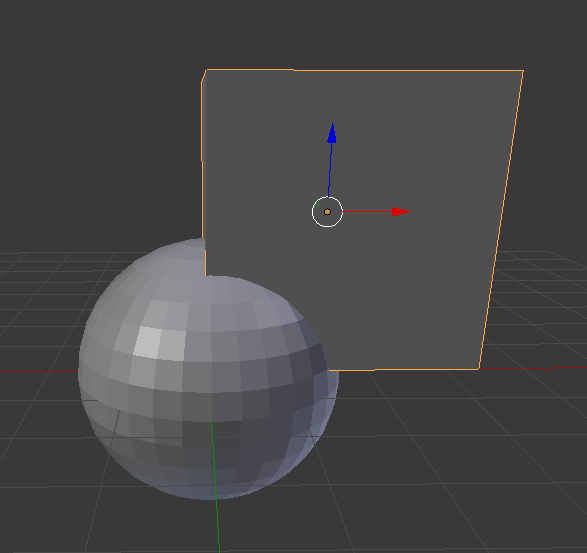
Two objects:
Their sum:
Common part:
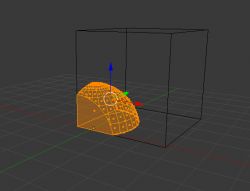
Difference (cube subtracted from sphere):

I think this is a good illustration of how Booleans work in Blender (and beyond).
Troubleshooting
However, Boolean may not always work as expected, even though it can handle a really wide variety of shapes in the current version. Below I give a few tips that will solve most problems with boolean.
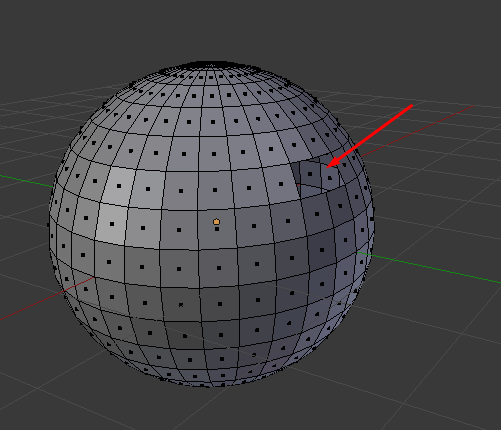
1. is the object airtight, 'watertight', or does it have holes in the mesh? The holes should be closed, this can also be messed up by Slicer e.g. Cura:
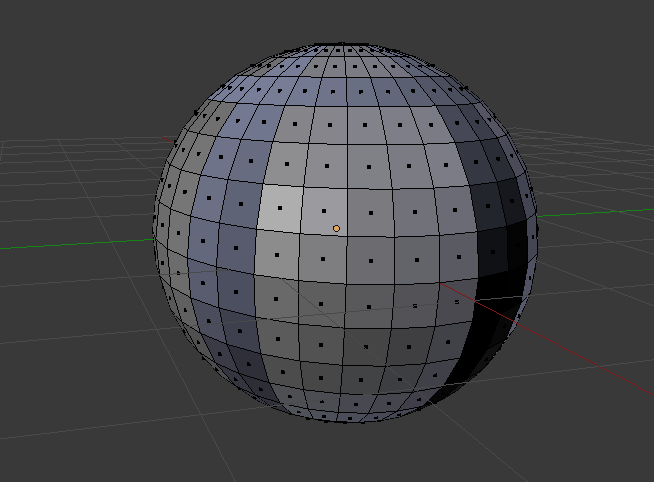
2. are the wall normal vectors consistent, are there no inverted walls? In Blender, it's a good idea to select the whole thing and do a "make normals consistent".
But inverted walls are also visually visible in Blender (different shade):
NOTE: if, on the other hand, we have 'backface culling' turned on, the back side of the wall will not be visible at all, the wall will only be visible on one side and on the other side we will just see a lack in the geometry.
3. in case of problems you can remove duplicate vertices (Remove Doubles)
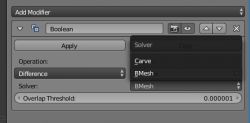
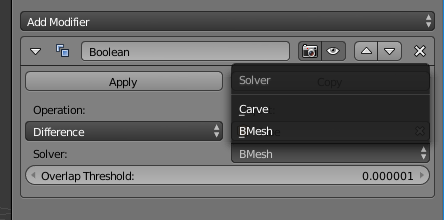
4. it is worth trying both boolean implementations (BMesh and Carve) and changing the overlap threshold:
5. in the case of complex or leaky geometry, the boolean can 'reverse' the operation of its modes, e.g. make a difference instead of an intersection, etc. It's worth simply selecting a different boolean mode on a trial basis and seeing what results it gives (although this is treating the effects rather than the causes, better to improve the mesh)
6. If the mesh is very dense (has a lot of triangles) then it can be reduced (modifier decimate).
7. if the result of a boolean operation after export to Cura or any other slicer you use, generates a strange print after giving "Preview" (print preview), it means that probably the source shapes were not tight, i.e. they had holes in the mesh and the generated object also has holes in the mesh, which spoils the slicer.
8. in order to better see the state of the object mesh, I recommend turning on "backface culling" in Blender (then the 'back' sides of the walls, e.g. those from the centre of the cube, will not be visible)
Summary
Blender allows you to very easily modify and enhance any STL models, for example ones downloaded from Thingiverse. In addition, in Blender you can do boolean operations on imported models and the boolean modifier supports even complex shapes, as well as dealing with large numbers of triangles. This makes it possible to quickly fit two objects together, so that, for example, they fit press-fit after printing.
In the case described in this topic, I basically just applied the boolean once and then scaled down a section of the model and everything fit together perfectly the first time. These are just two operations that can be learned in a few minutes and as you can see actually even saved the print and the model.


Comments
Also, does Blender have a function to automatically refill holes in the mesh if the object, as you write, is not tight? [Read more]
There is 'Fill Holes', you have to check for yourself depending on the version what shortcut there is for this, I enable it by pressing the spacebar and typing the name of the operation (a reliable way... [Read more]
Regarding the automatic filling of holes in the mesh: After the installation of the add-on related to 3D printing, in the "3D Print" toolbox (accessible from the toolbar - n key on the keyboard) there... [Read more]