A good extruder for the Ender 3 Pro? Dual gear extruder. My impressions.
TL;DR
- A dual gear extruder upgrade for the Ender 3 Pro replaces the fragile plastic extruder arm and aims to improve filament feeding over the standard aluminium part.
- Installation requires removing the stepper motor, its gear, and the Bowden tube, then aligning both cogs to the filament line and setting their height carefully.
- A worked e-steps example starts from 95 and, after measuring 64.5mm extruded from a 100mm command, calculates a new value of 147.3.
- After four months of heavy printing, the printer fed filament more reliably, with fewer skips, slips, Bowden issues, and hot-end problems.
- The upgrade does not replace proper bed leveling, nozzle cleaning, Bowden fixing, or heat-creep troubleshooting; those basics still matter.
Generated by the language model.
Hello my dears.
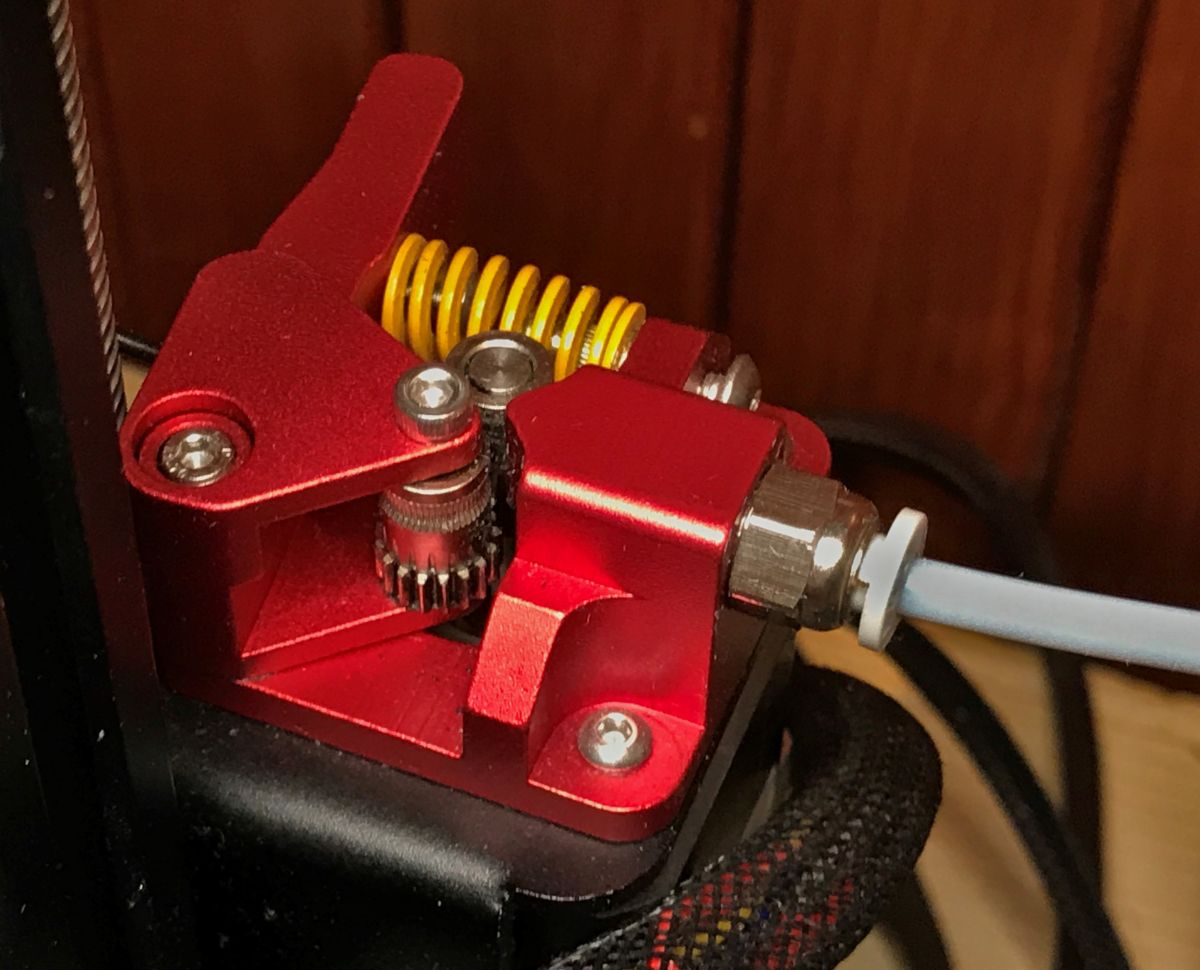
The defect of a cracking plastic extruder arm is rather familiar to any long-term user of the Ender 3 printer. Virtually every plastic extruder arm cracks and quickly becomes unusable. As a rule, the extruder is then replaced with its aluminium counterpart, but here I would like to present an alternative to this choice, the 'dual gear extruder' - an extruder with two cogs (double knurl), providing more precise and more robust filament guidance. I will outline its installation here and describe my impressions a few months after replacement.
Introduction
My first original extruder came to a poor end after less than six months of use:
I then replaced it with its classic aluminium counterpart:

Overall, it wasn't too bad, although after prolonged use I felt that there were some difficulties in properly calibrating the tension of the spring that presses the movable arm against the bearing.
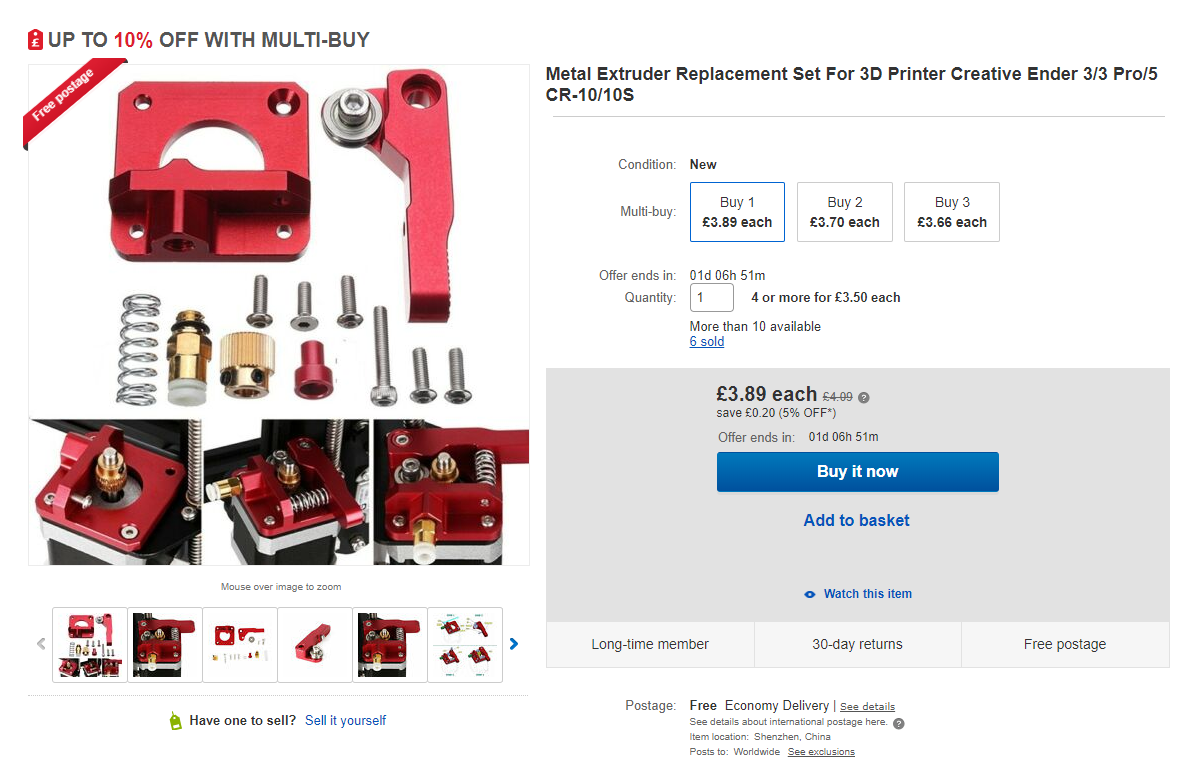
After some time I heard positive feedback about the dual gear extruder and decided to try it out:

In the end, however, I bought it in our country. It is time to describe its installation.
Installing the dual gear extruder
Installing this extruder requires unscrewing the stepper motor (when unscrewing, hold it so it doesn't fall), as well as removing the gear from the motor shaft (it's held on by a small screw), and (of course) removing the bowden tube.
Below are some photos of the assembly.
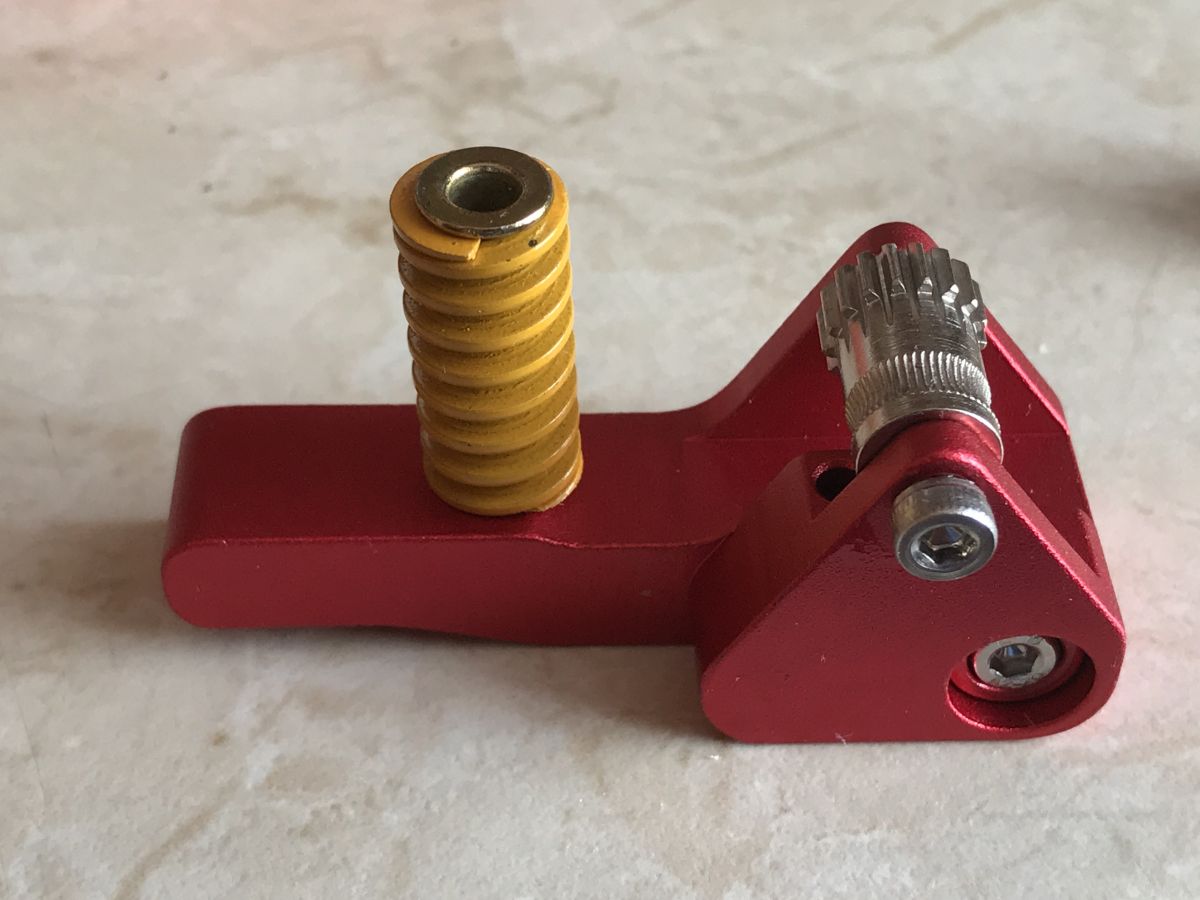
Kit:
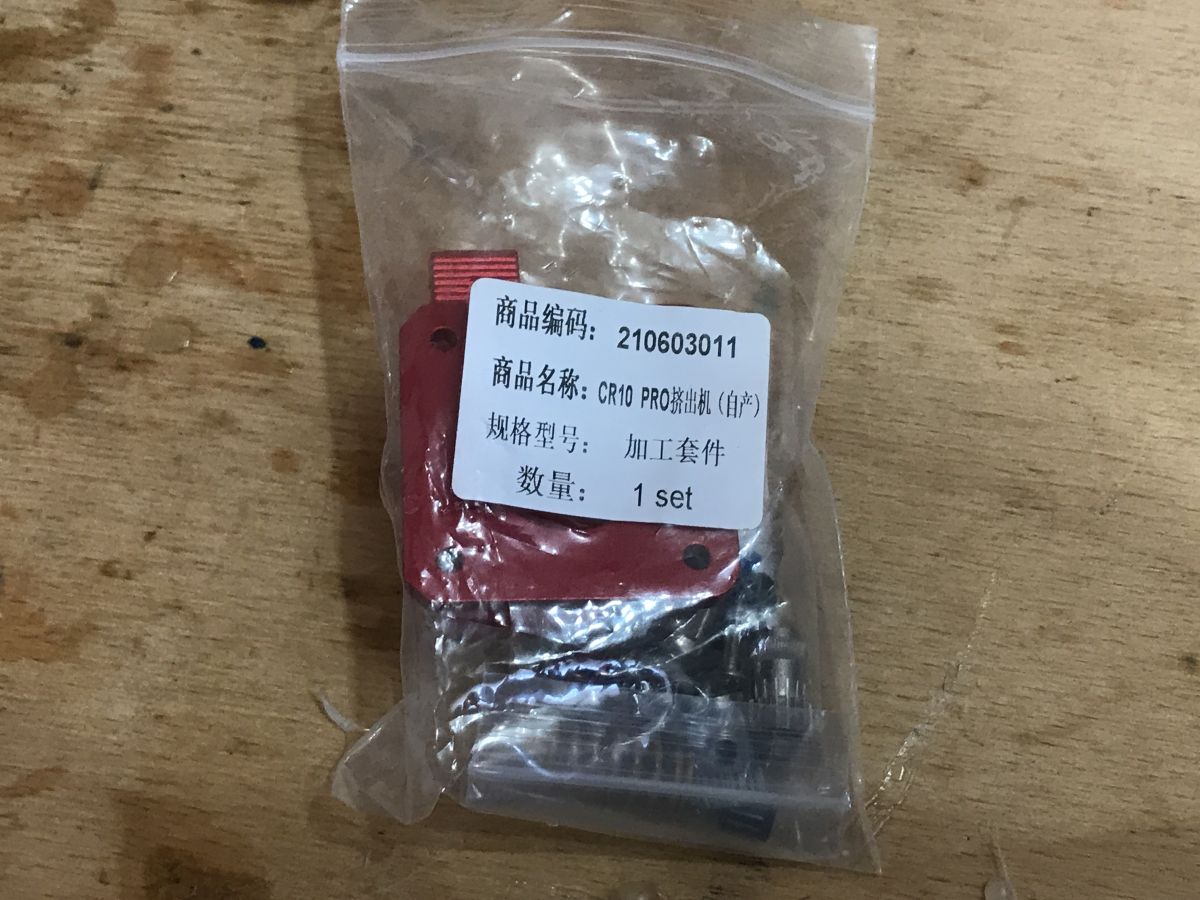
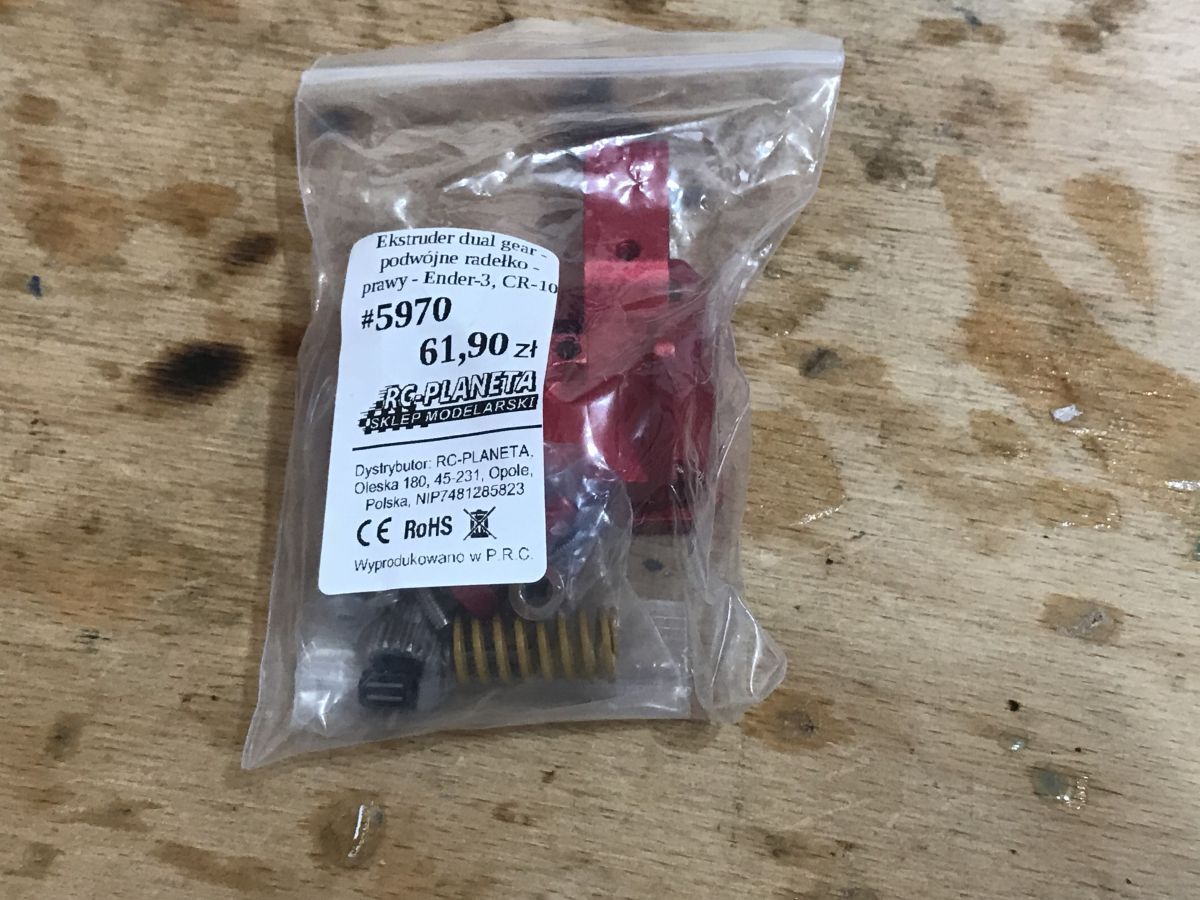
Kit contents:
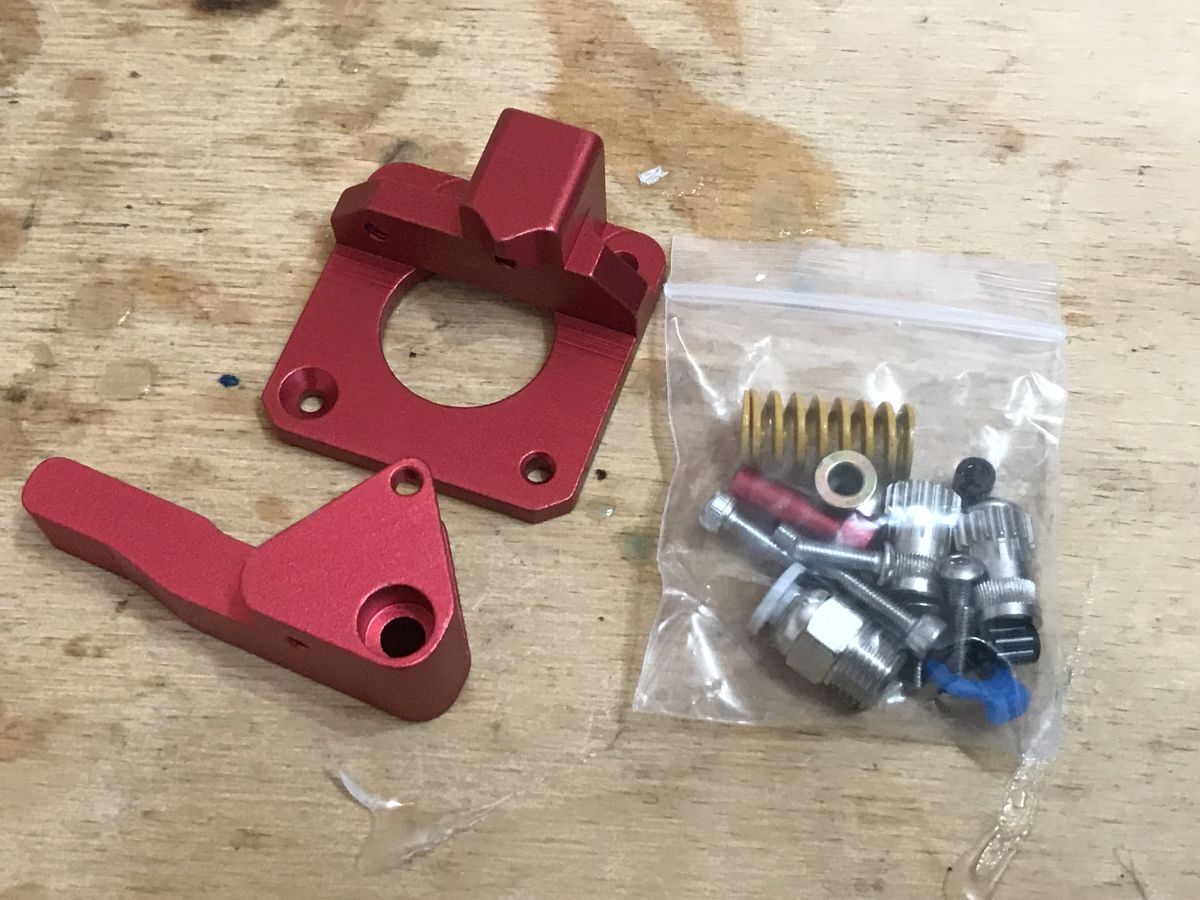
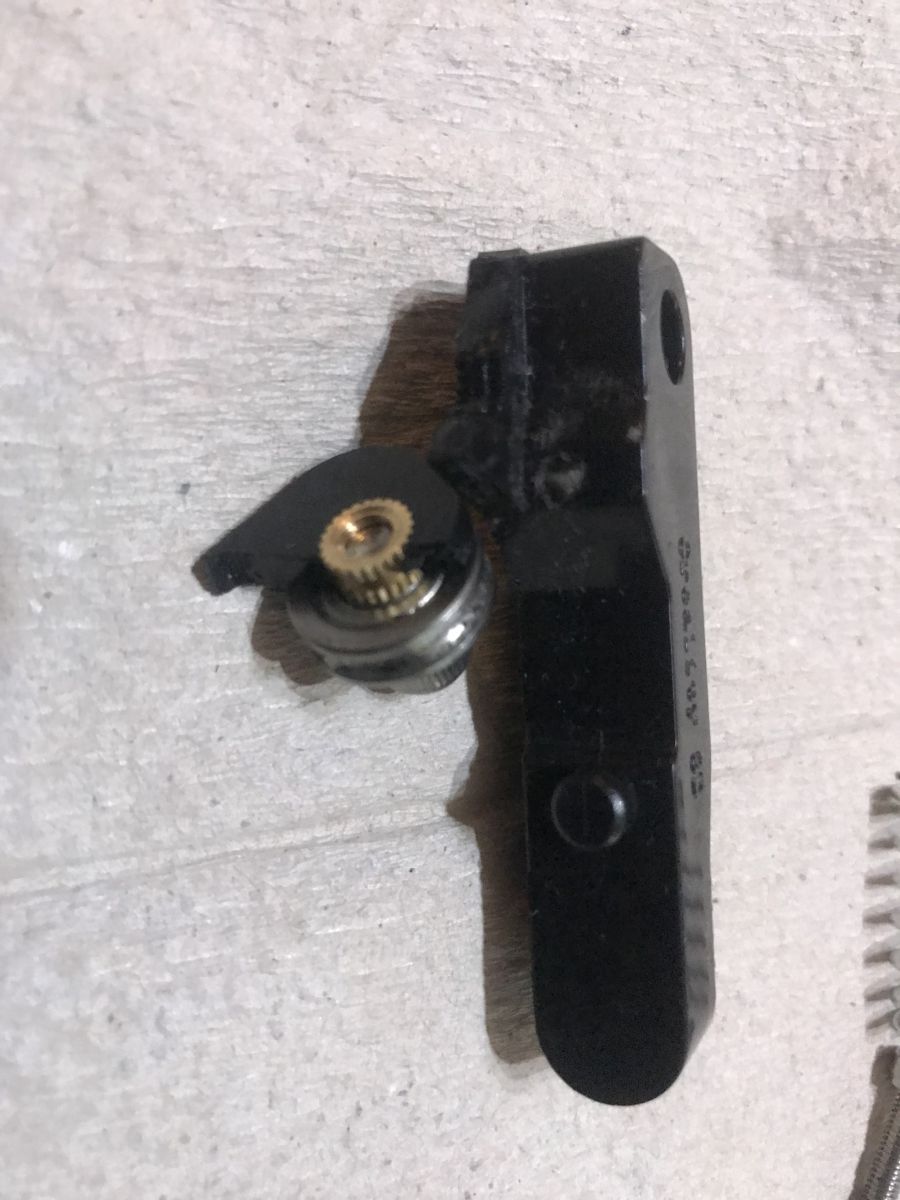
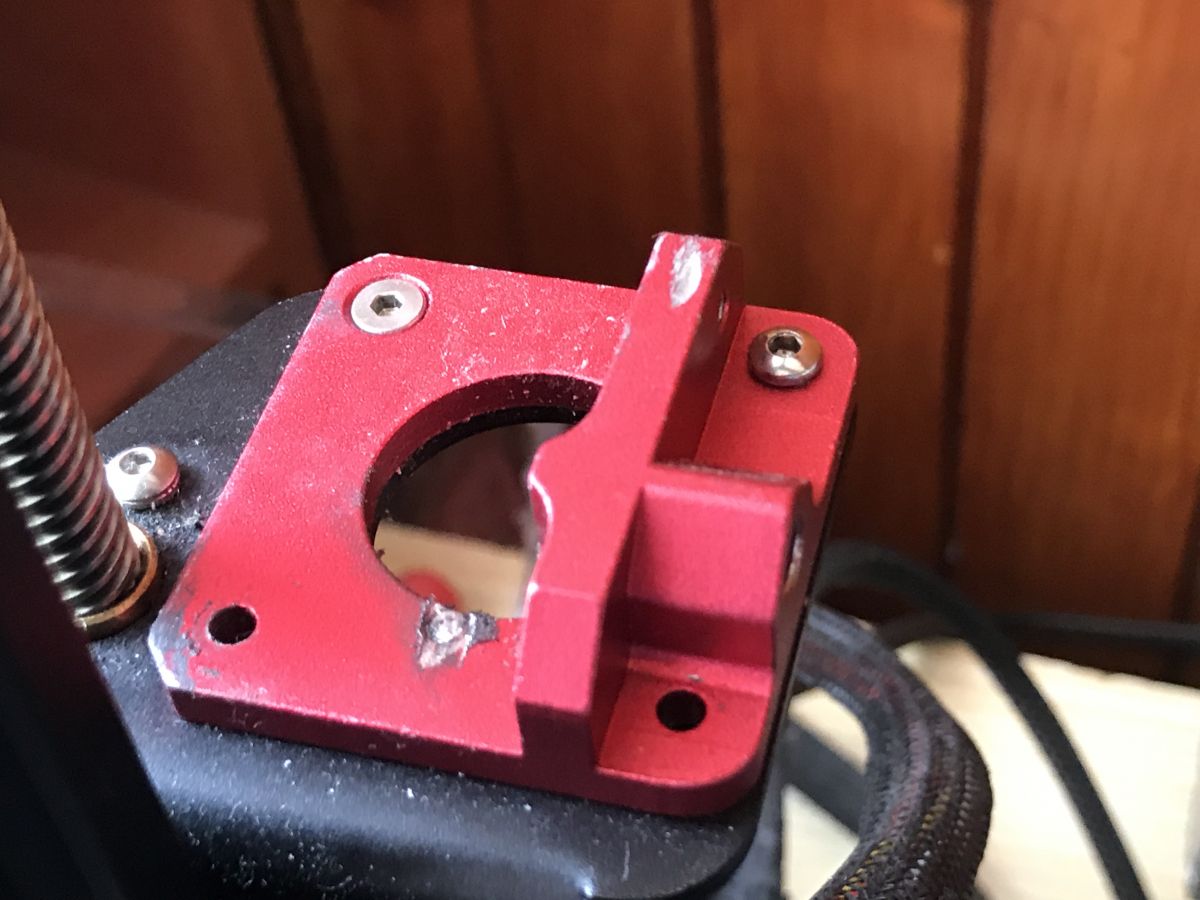
Bearing and arm assembly:

Before removing the old extruder, of course we warm up the hot end to remove the filament (we do not remove the filament "cold" by pulling it out by force, I hope we know that this is not the right thing to do):
Disassembly of the previous extruder. You can clean everything by the way:
If you unscrew these screws the engine will drop. It needs to be held in place.
Disconnect the cables:
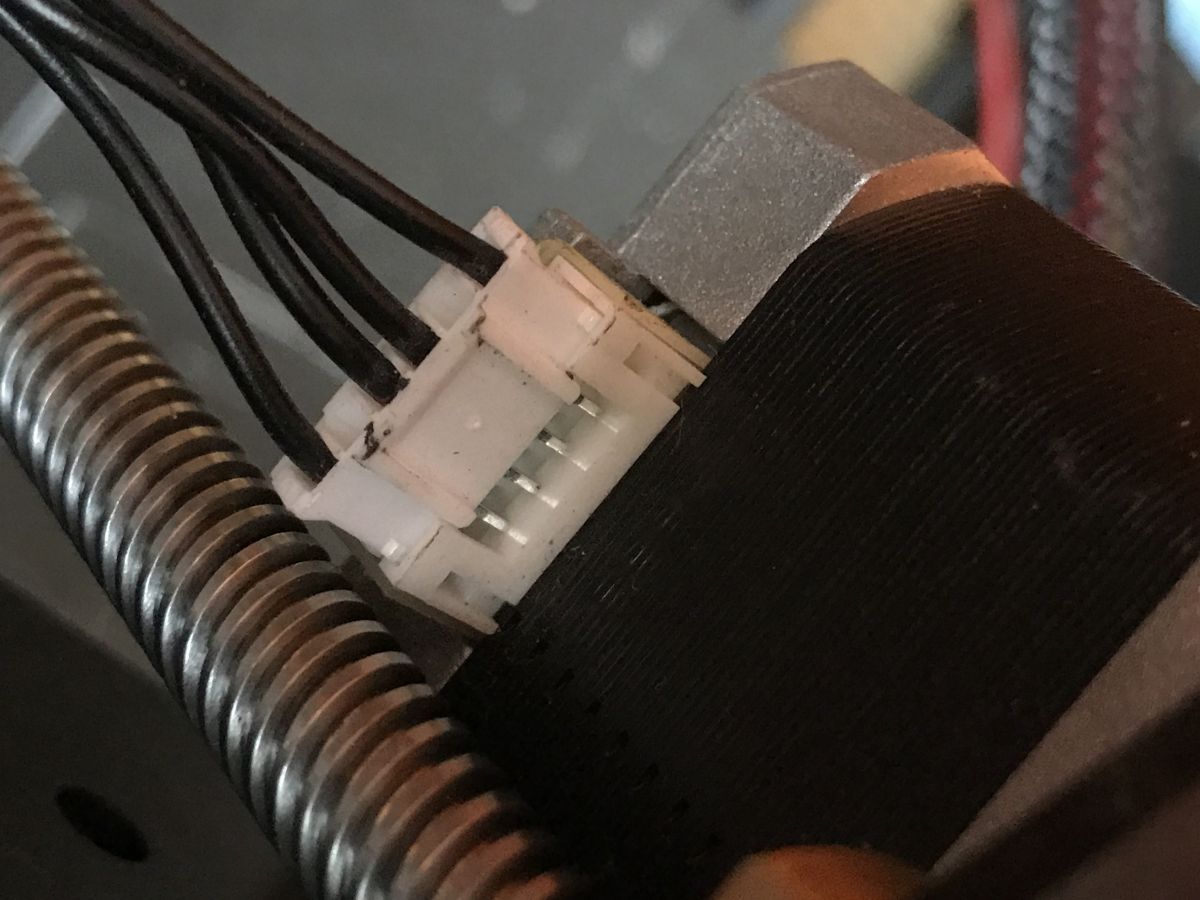
I used a trace amount of WD40 to lubricate the bearings (the two black parts shown in the photo) as I didn't have anything better at hand, although I know it's not a good solution (lithium grease, for example, would be better):

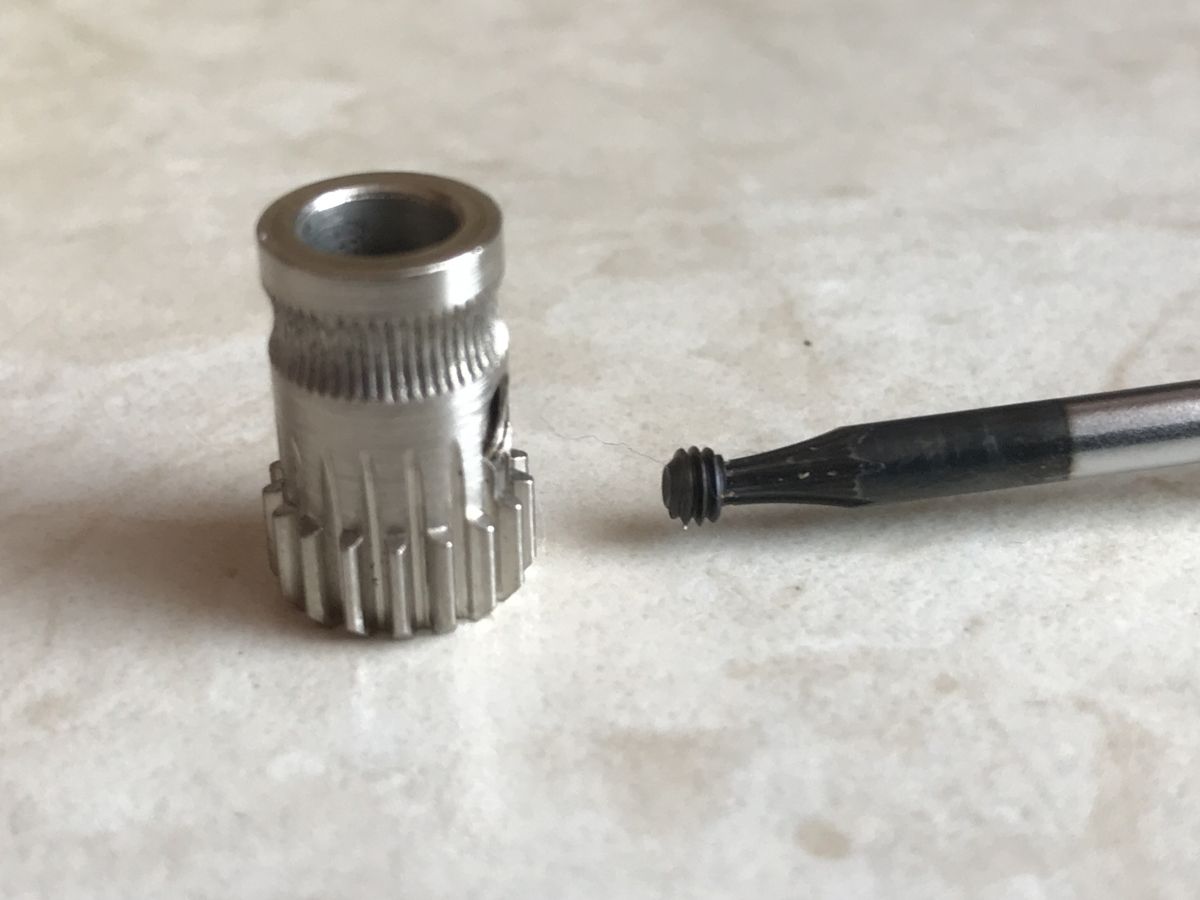
Removing the cog from the extruder stepper motor shaft. The little black screw needs to be removed:
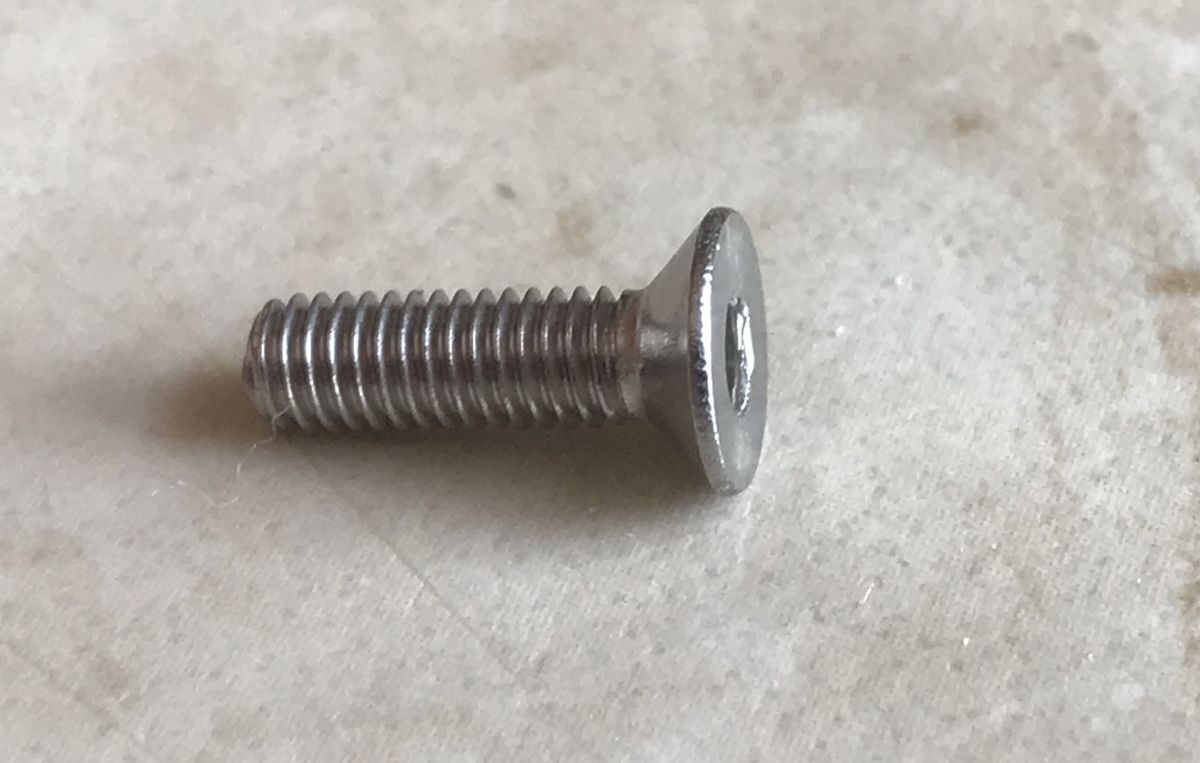
Remember to use screws with a flat head (otherwise the extruder arm will snag on it):
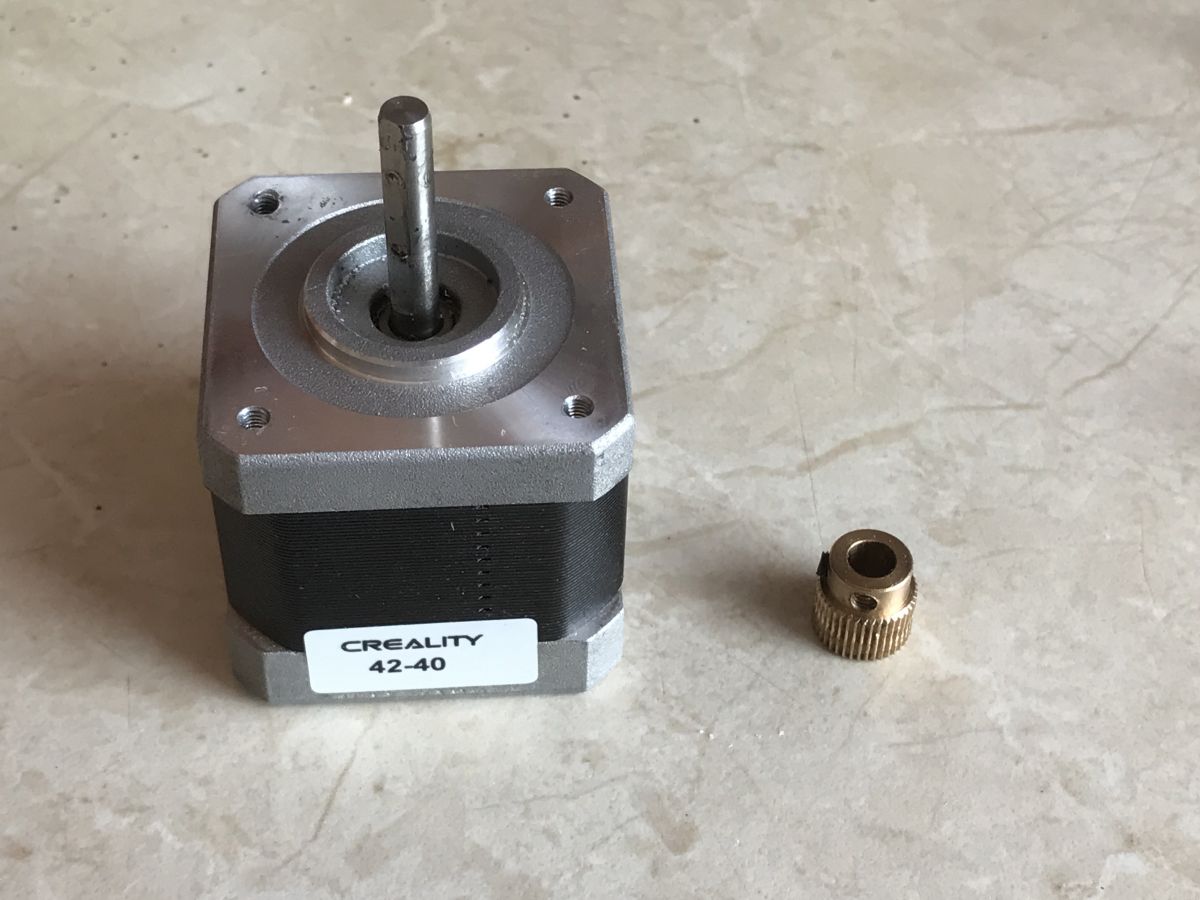
Dual gear extruder base pre-screwed already with motor:
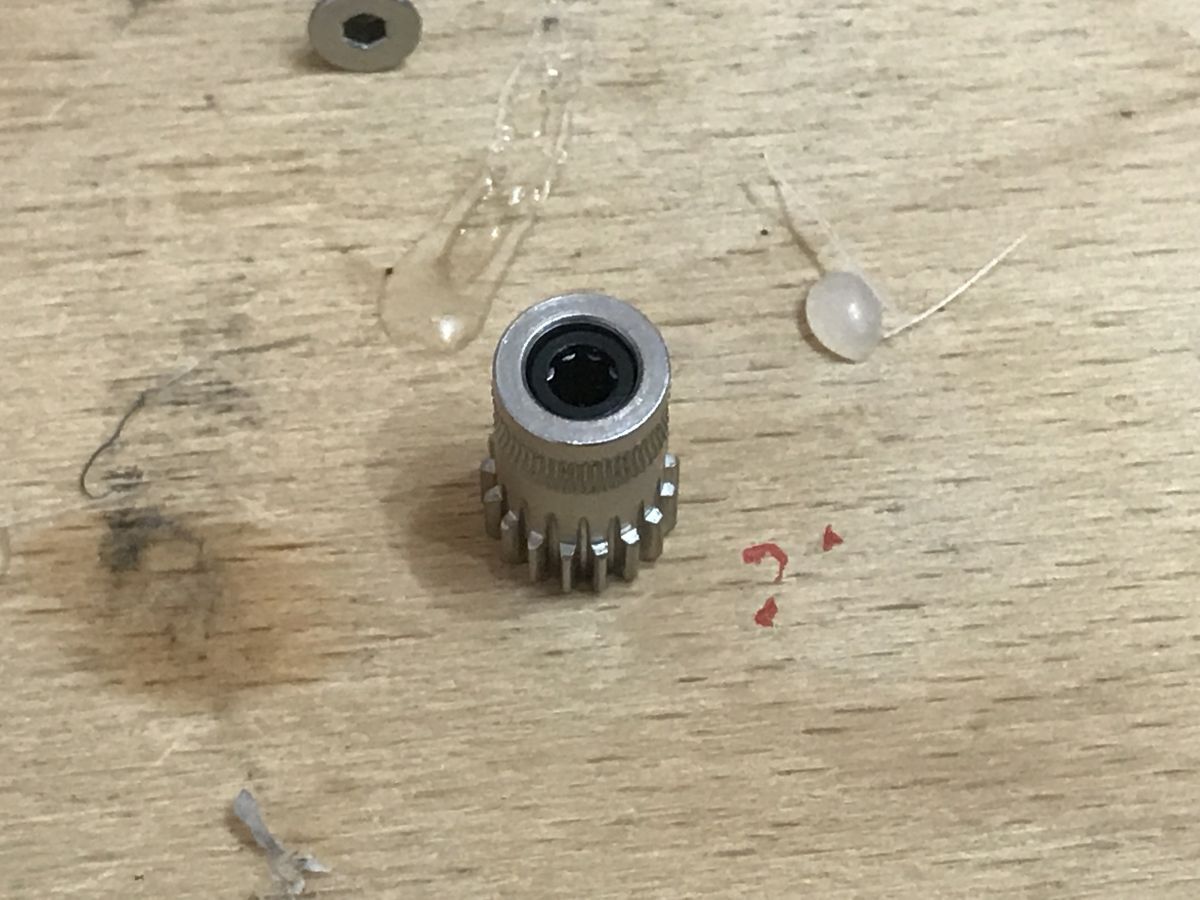
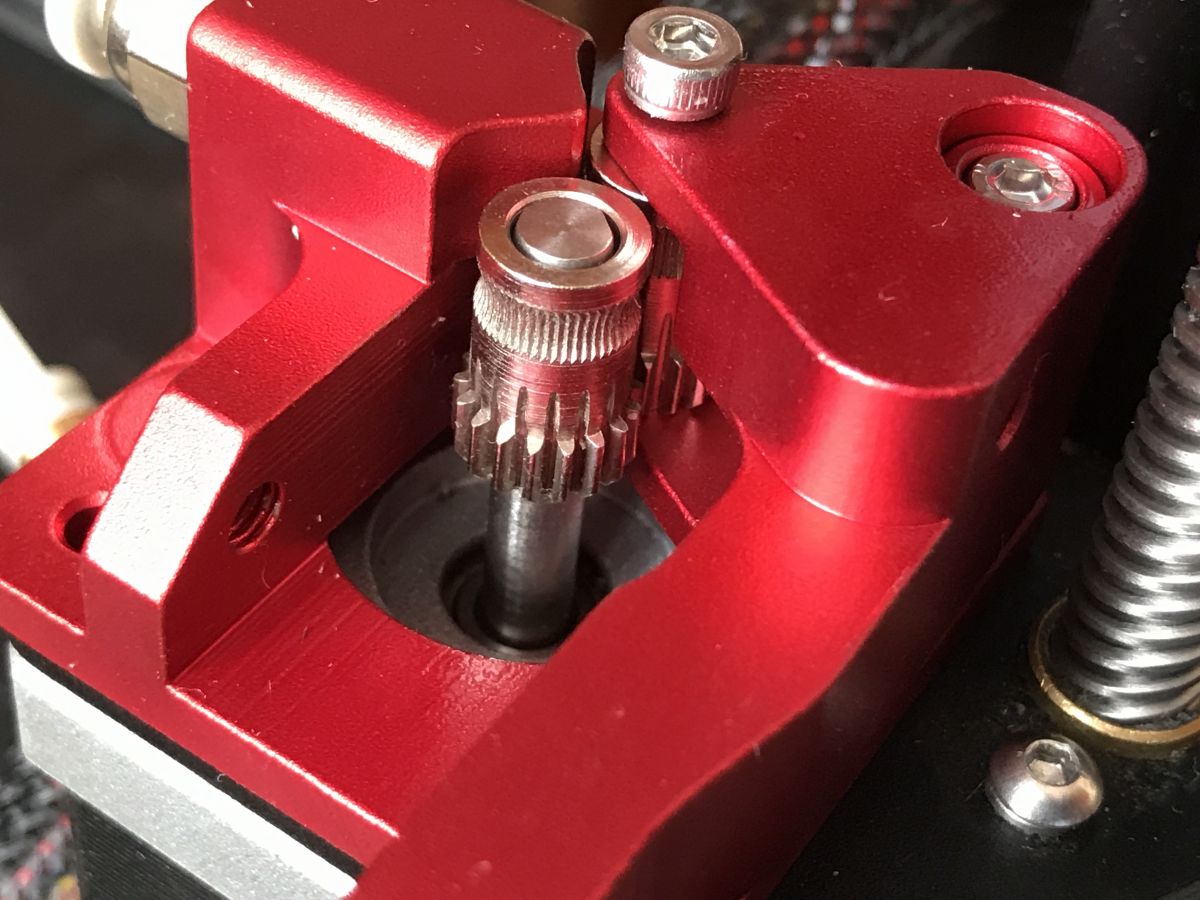
Prepared cog for the motor shaft (small screw visible at the end of the screwdriver):
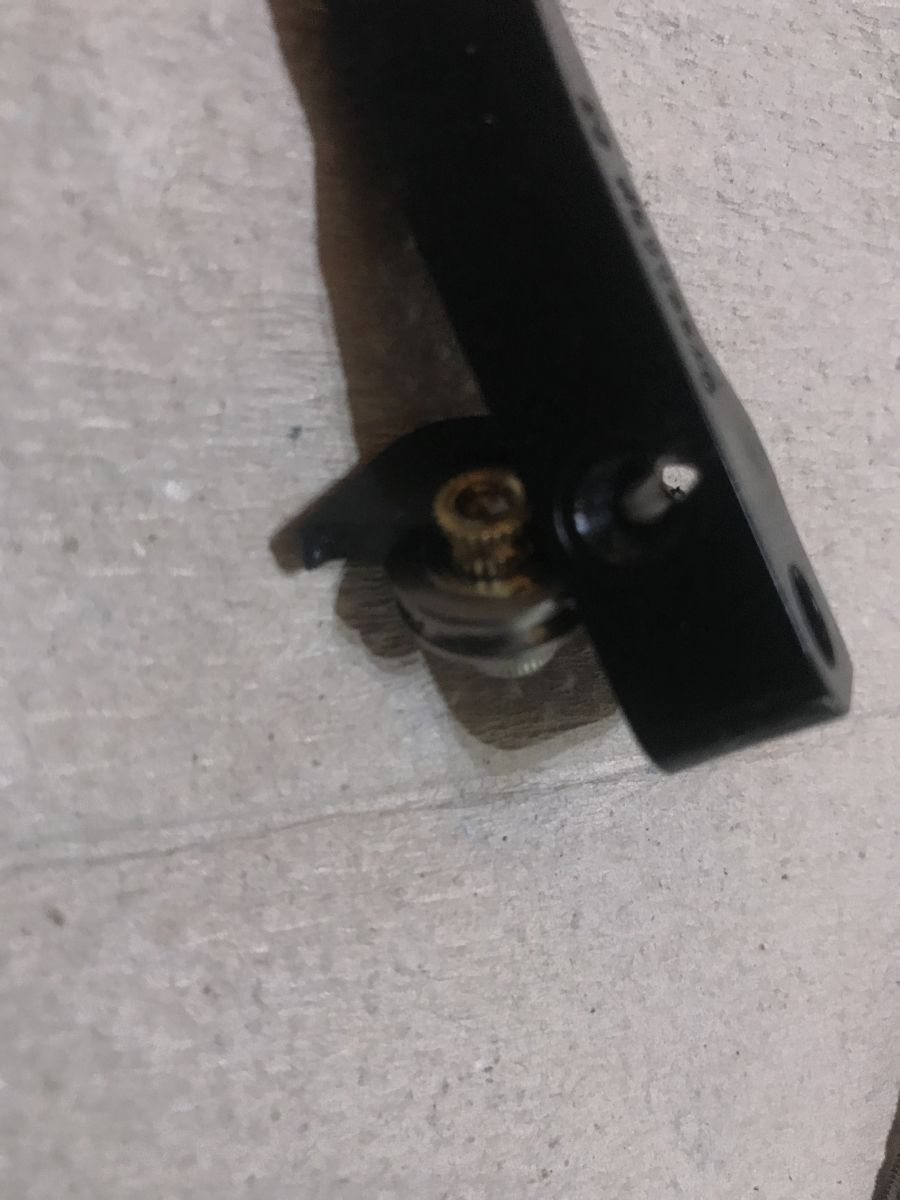
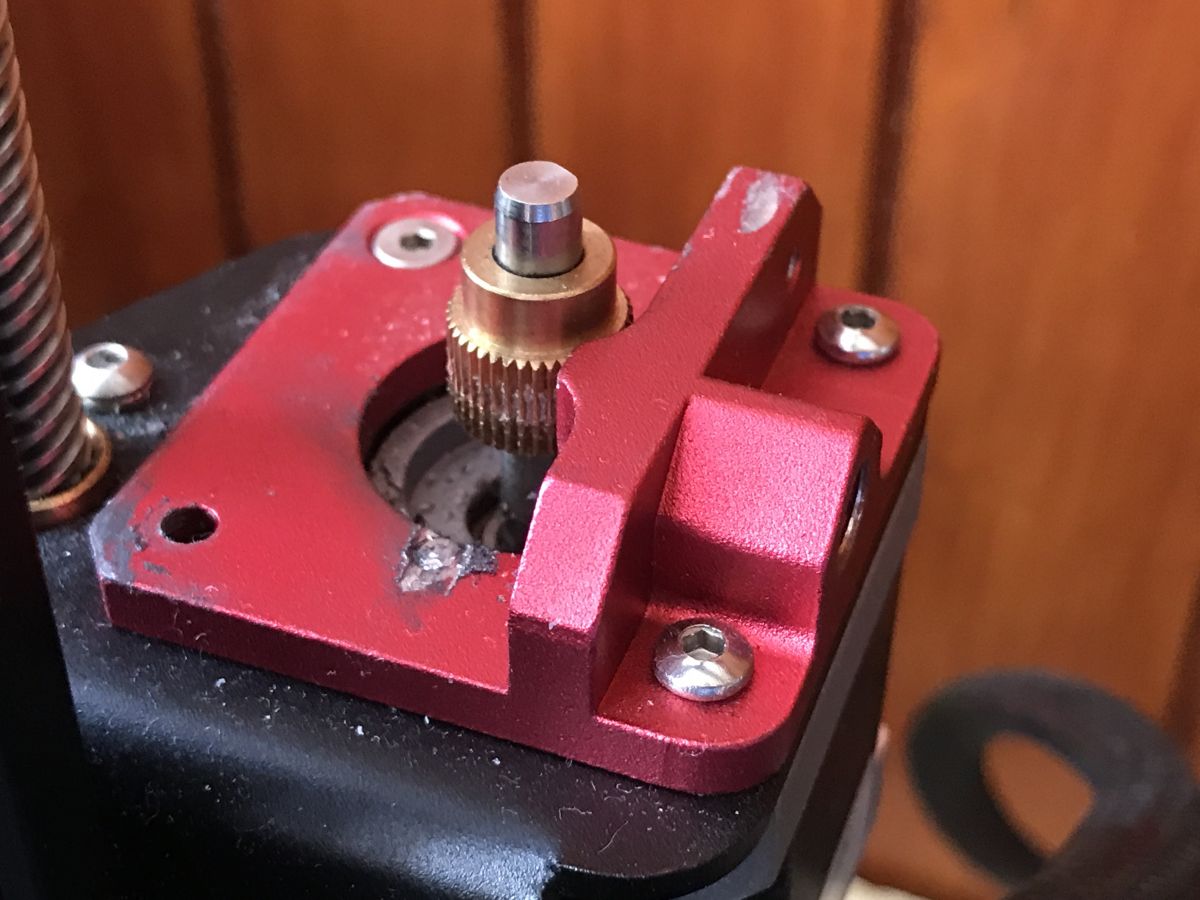
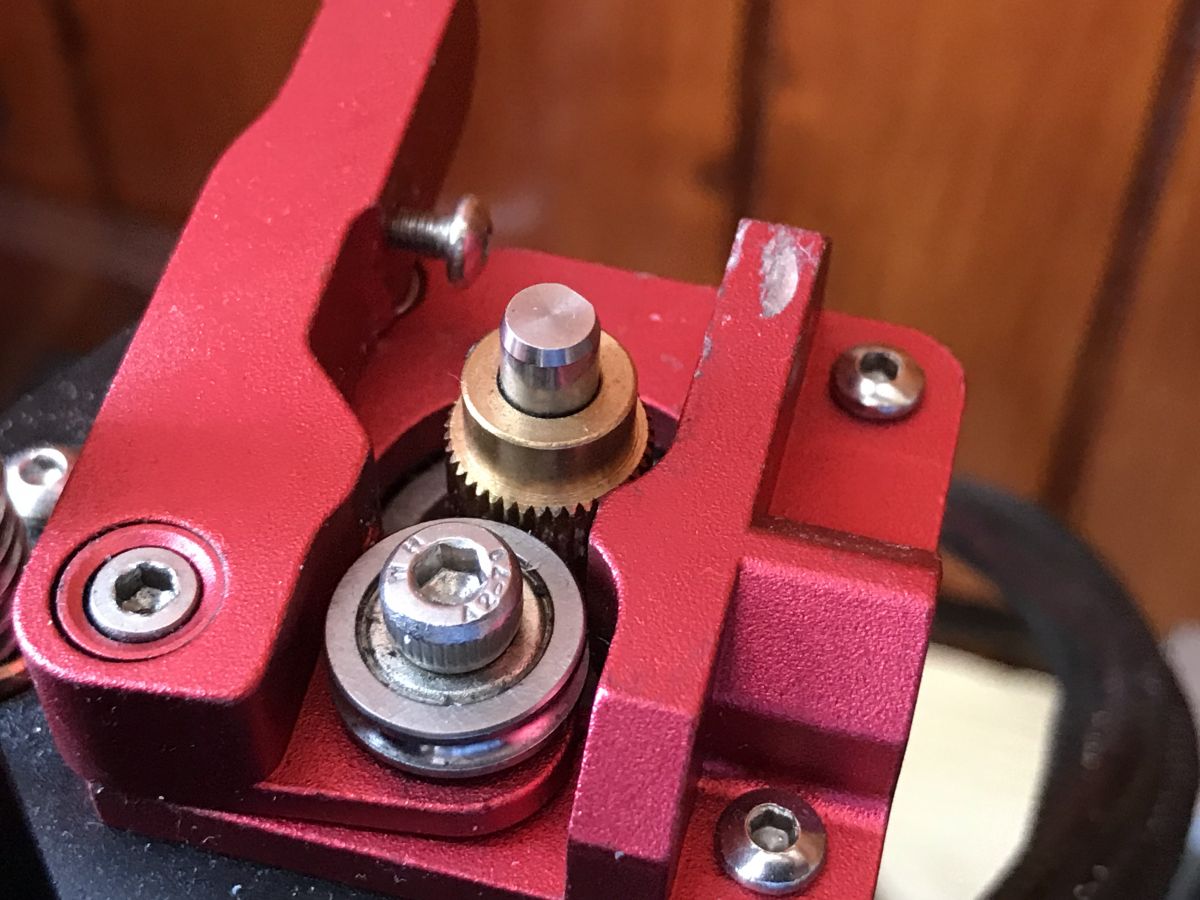
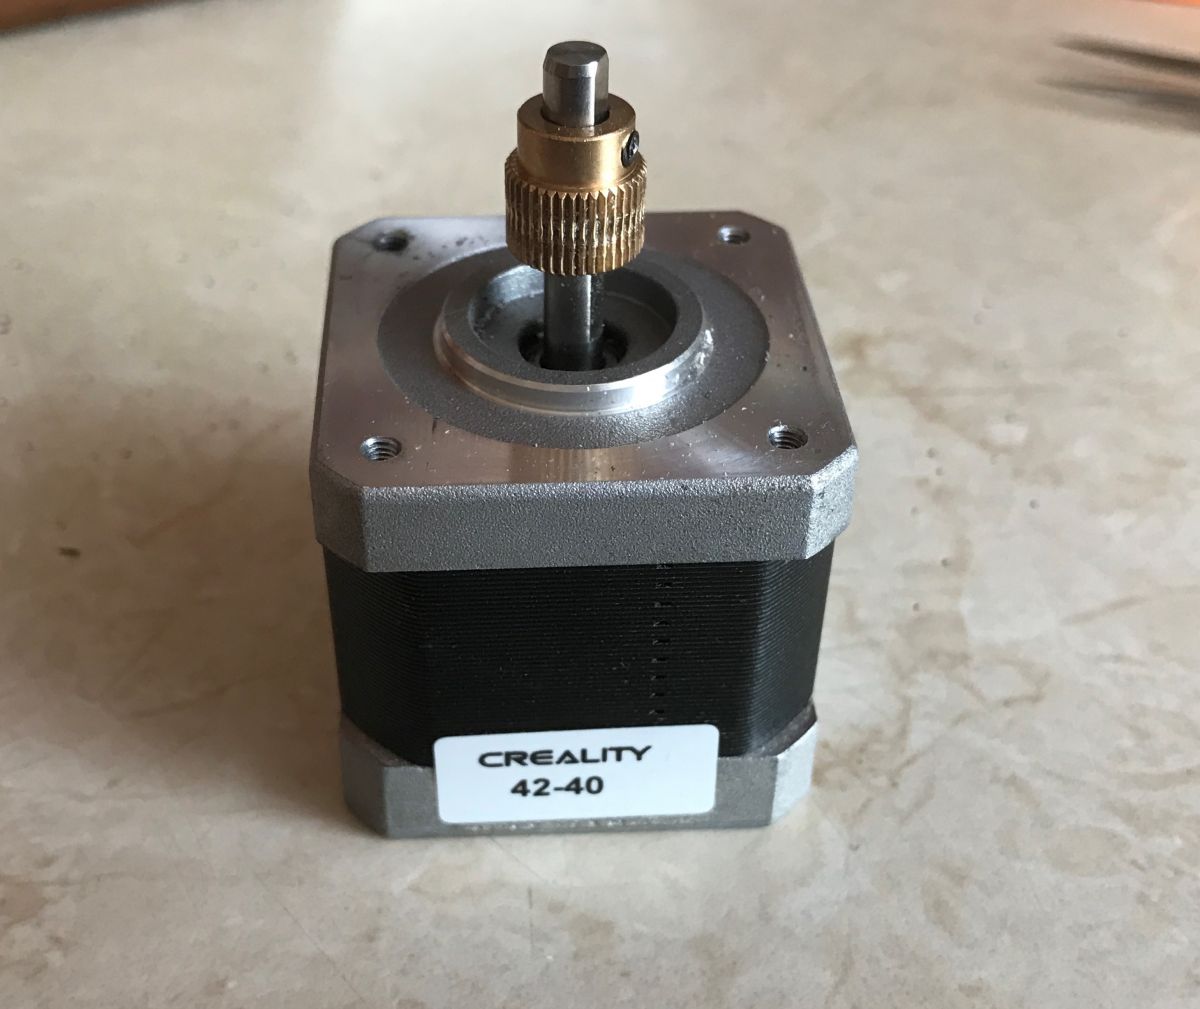
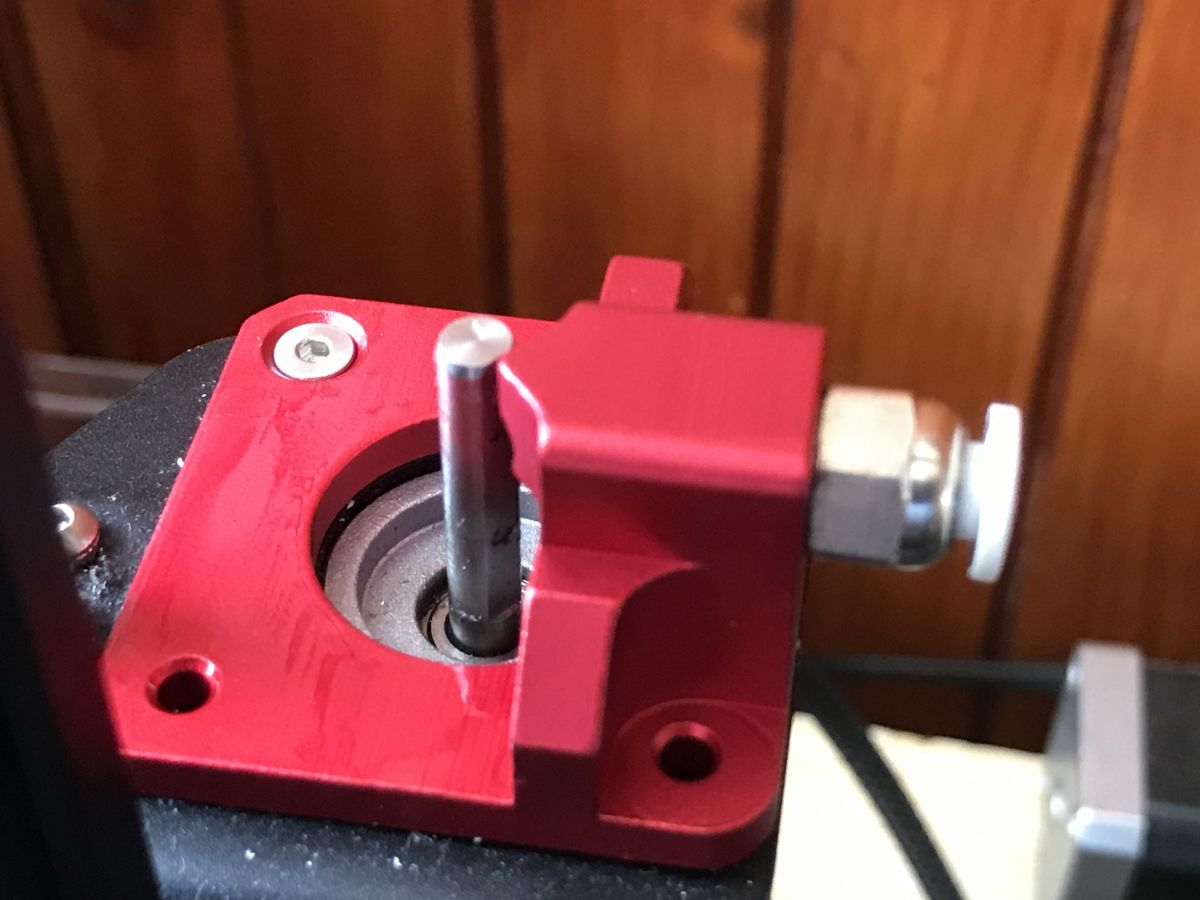
Adjusting the height of the cog. It must be in line with the line of the filament (I put white in the bowden tube for a test):

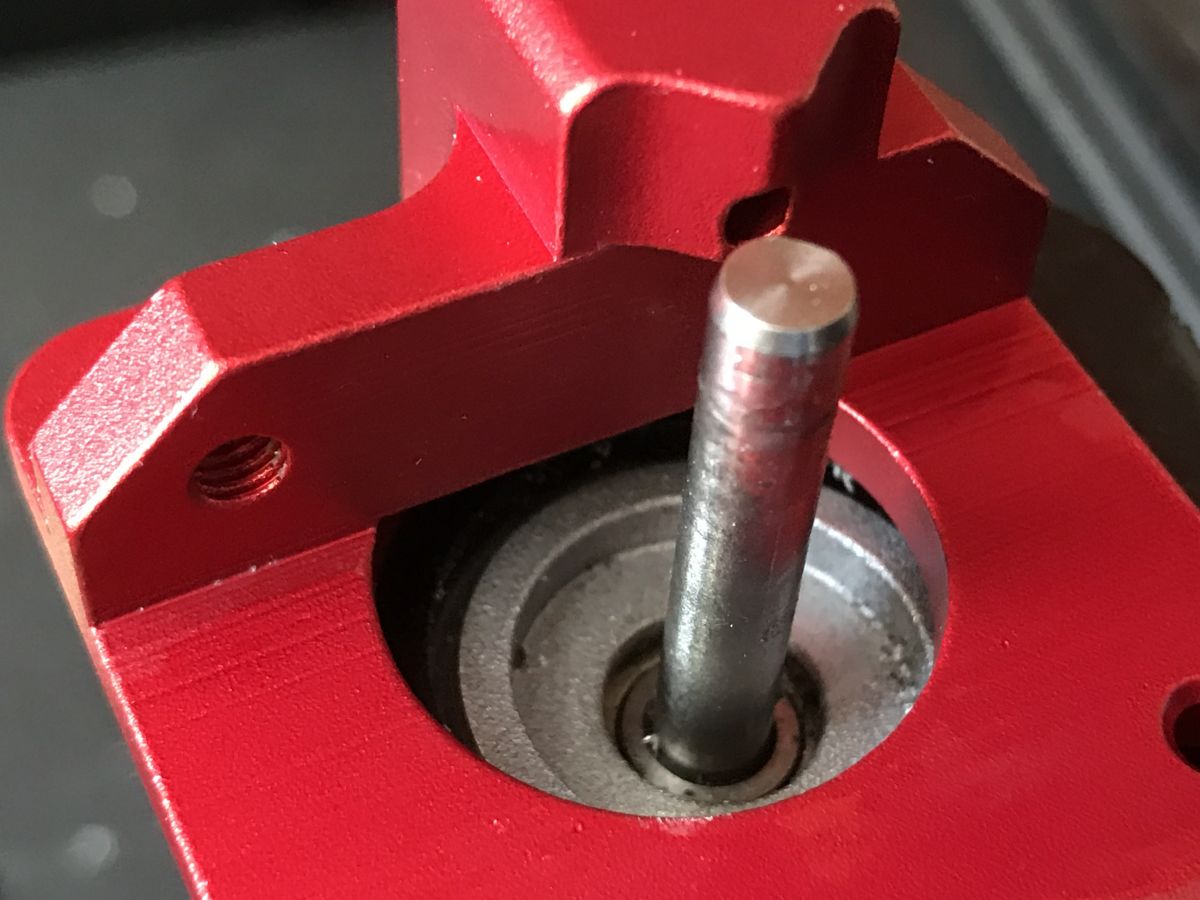
Only after levelling do we press the cog onto the motor shaft with the screw.
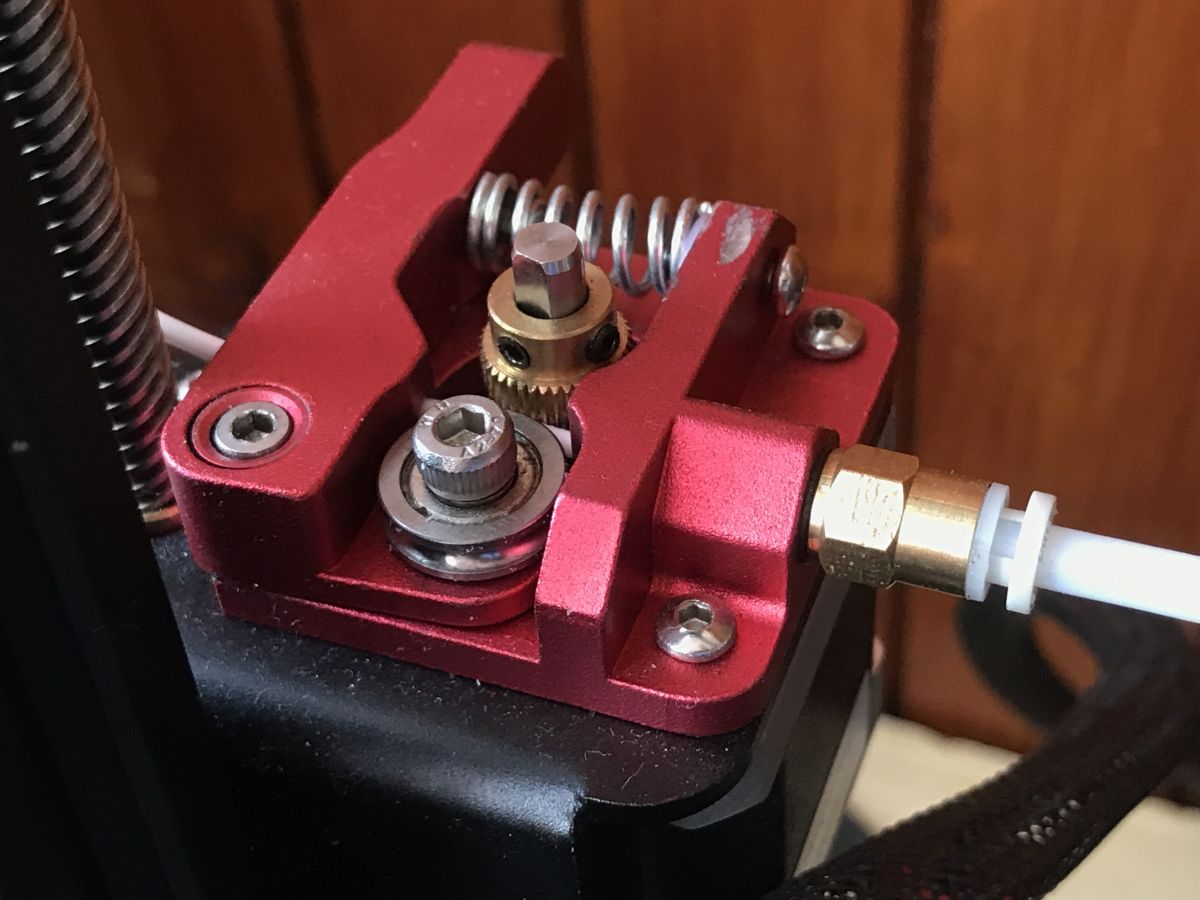
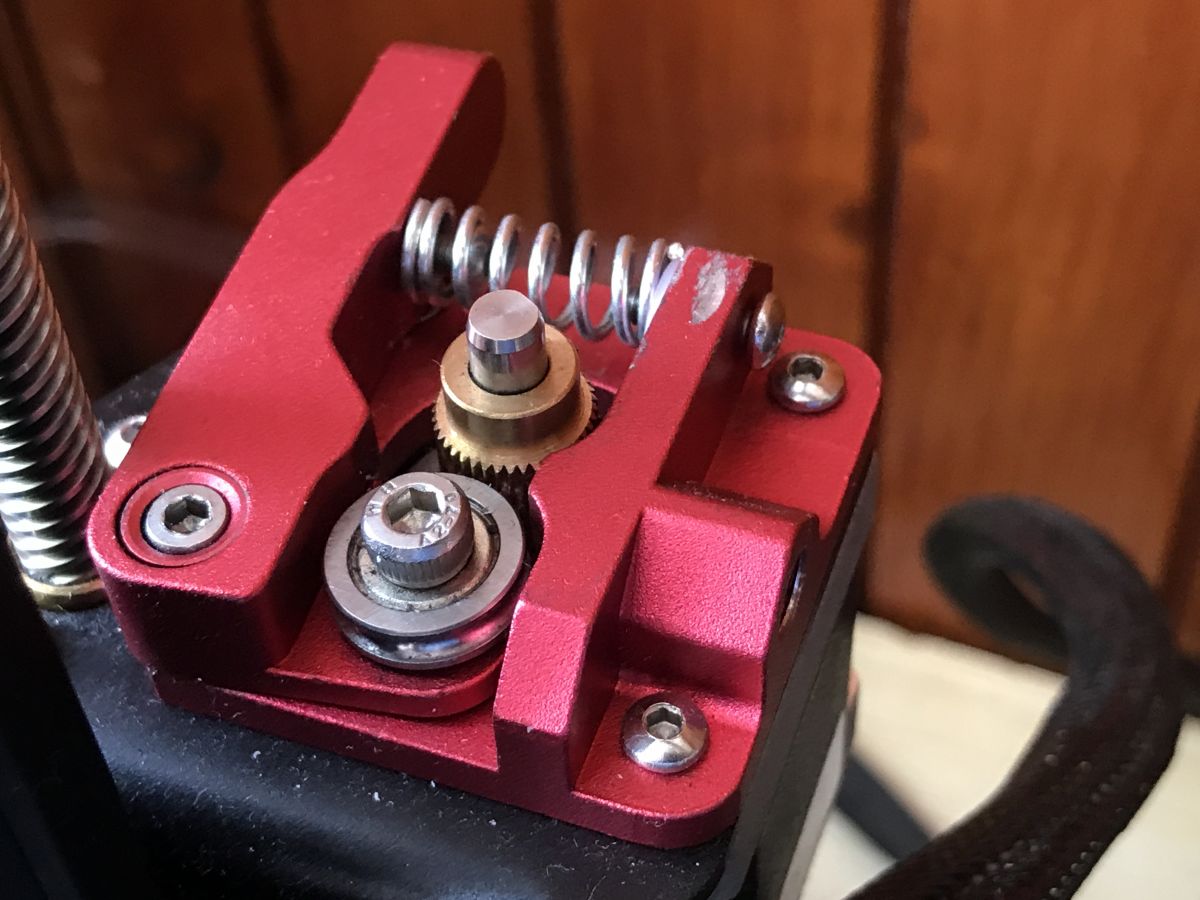
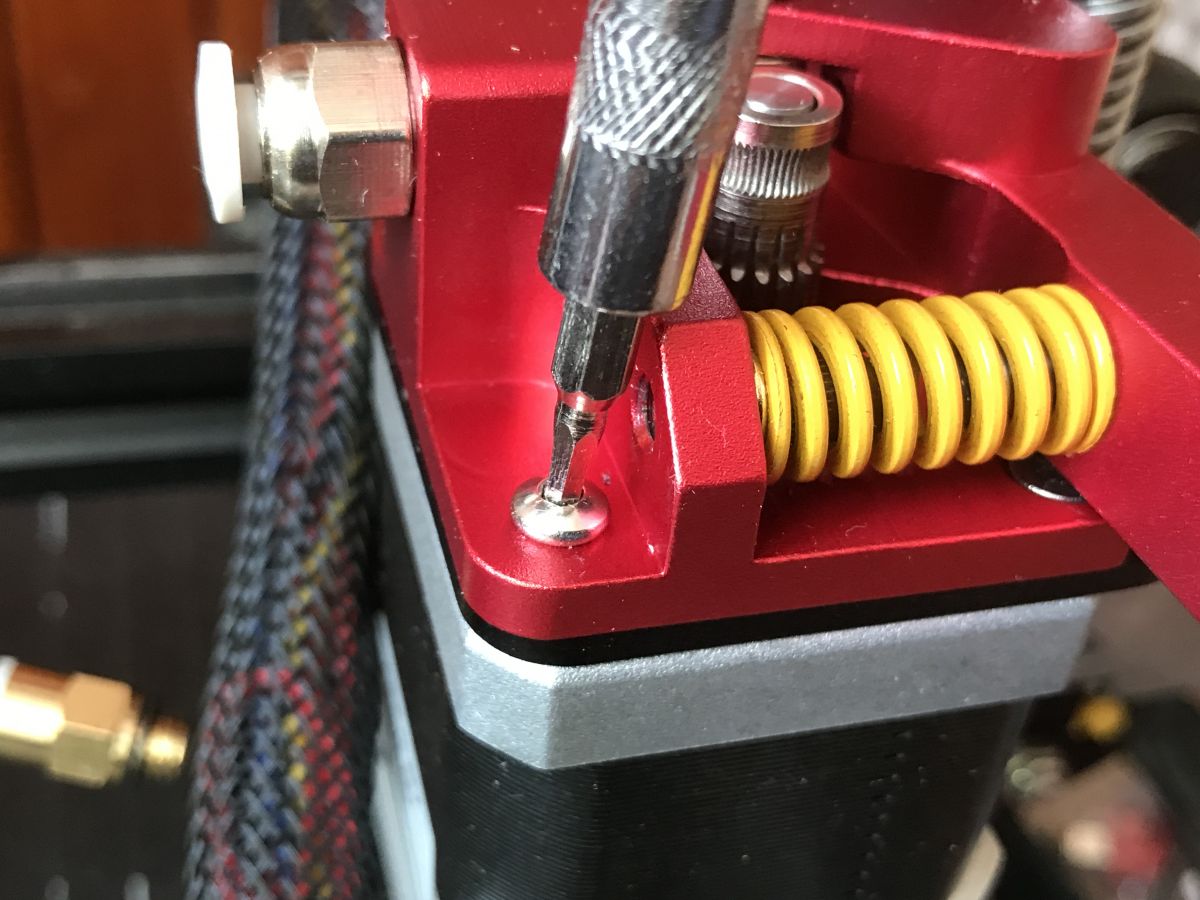
Assembly of the movable arm. The second cog must be at the height of the first one:
Tightening the screw (first we need the one in the photo holding to the motor base):
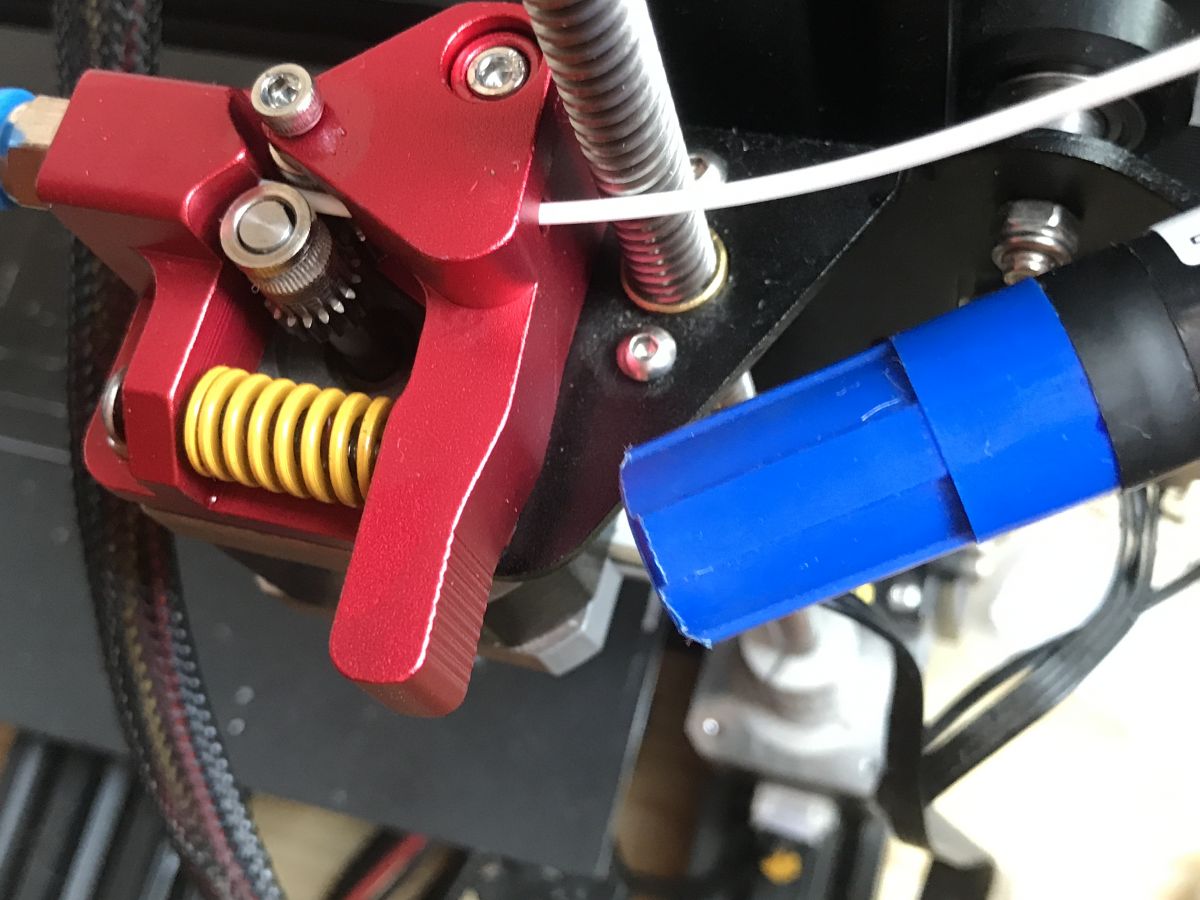
Done:

Necessary step - e-steps calibration
Calibrating e-steps is a very simple process.
I had not originally planned to describe it here, but since it is essential, I will nevertheless attempt to detail it here.
Calibrating e-steps involves 'teaching the printer' how many steps the extruder motor needs to take to extrude 1mm of filament.
This value varies depending on many factors, extruder settings, etc.
Some people calibrate this via software to a computer and communicate with the printer via UART, to this they use ready-made Excel sheets to do the calculations, etc., I will show here the simplest, traditional way.
We need:
- a piece of filament
- calliper (to measure the length of the filament; precision is important)
- marker (to mark the place on the filament)
- calculator
1. Measure a distance of 100mm from the extruder filament entrance and mark it on the filament. Then measure an additional 120mm from the entrance of the filament and mark this too. This is in case the extruder pulls in the whole 100mm.
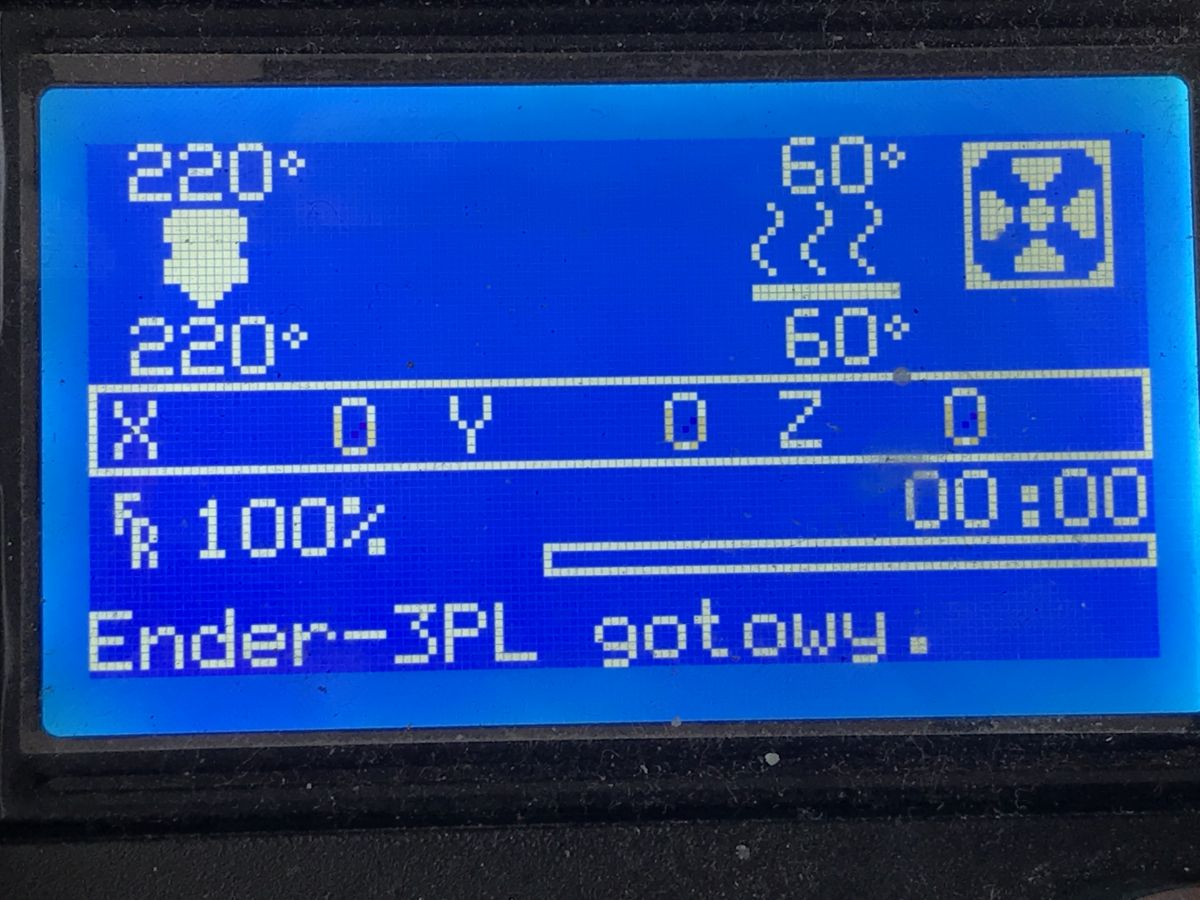
2. We heat the printer to the correct temperature for the filament
3. We extrude 100mm (or at least in theory 100mm, because in practice how much will come out is about to be checked and then calibrated).
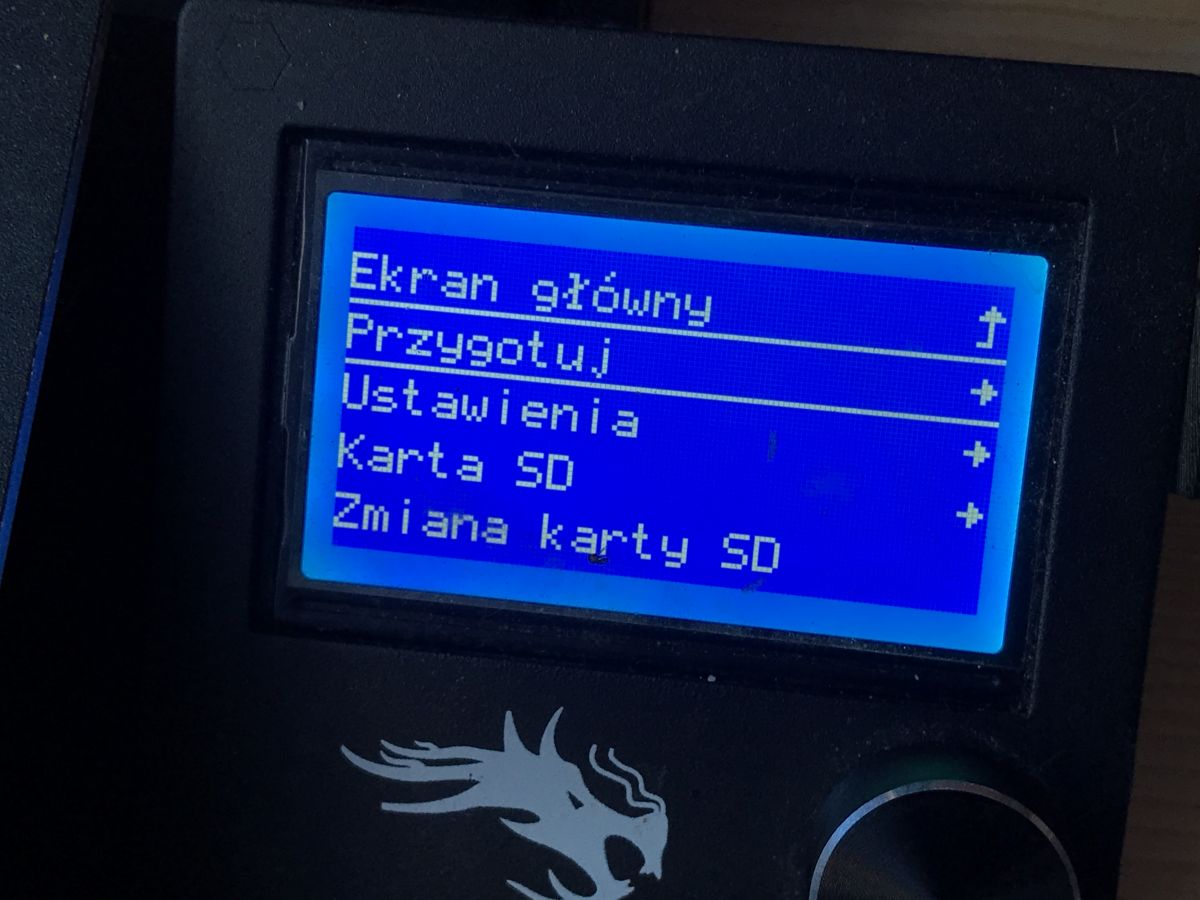
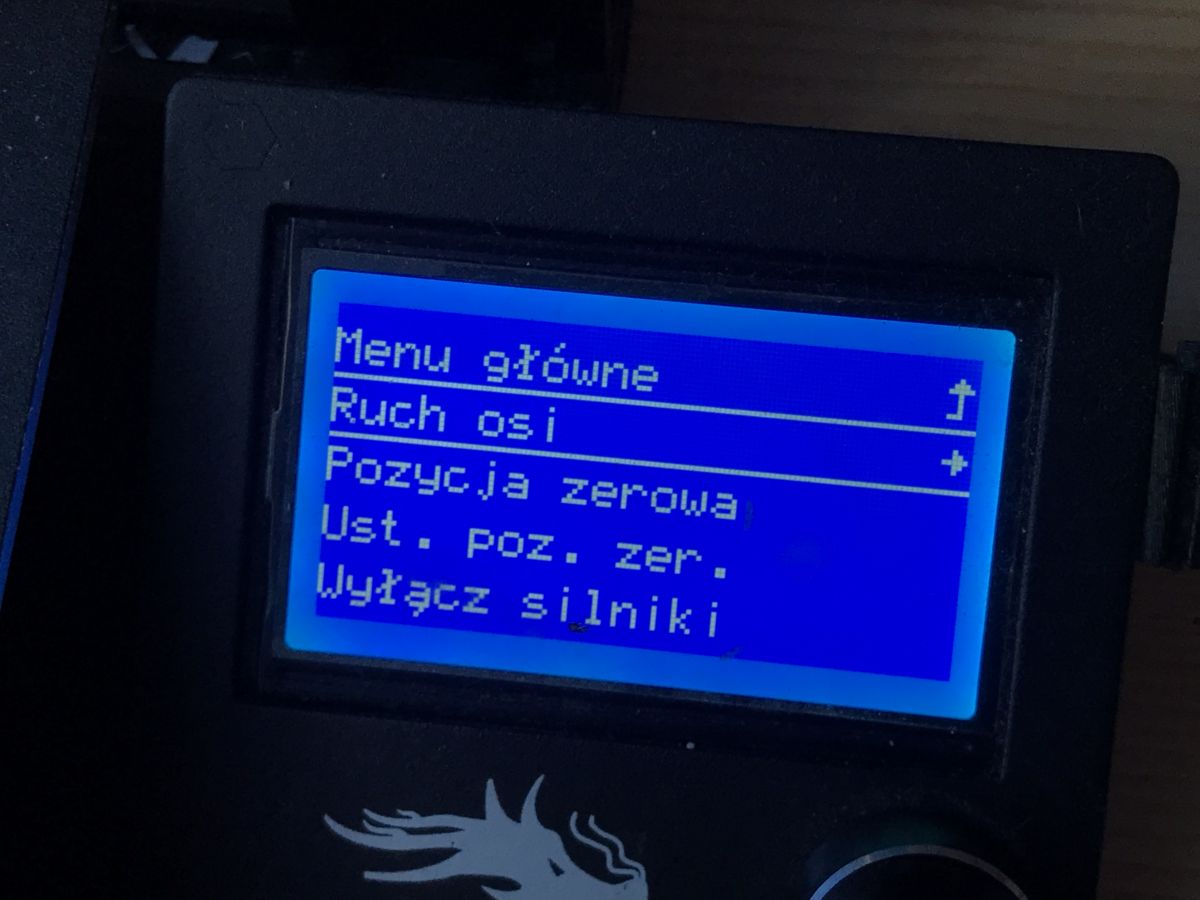
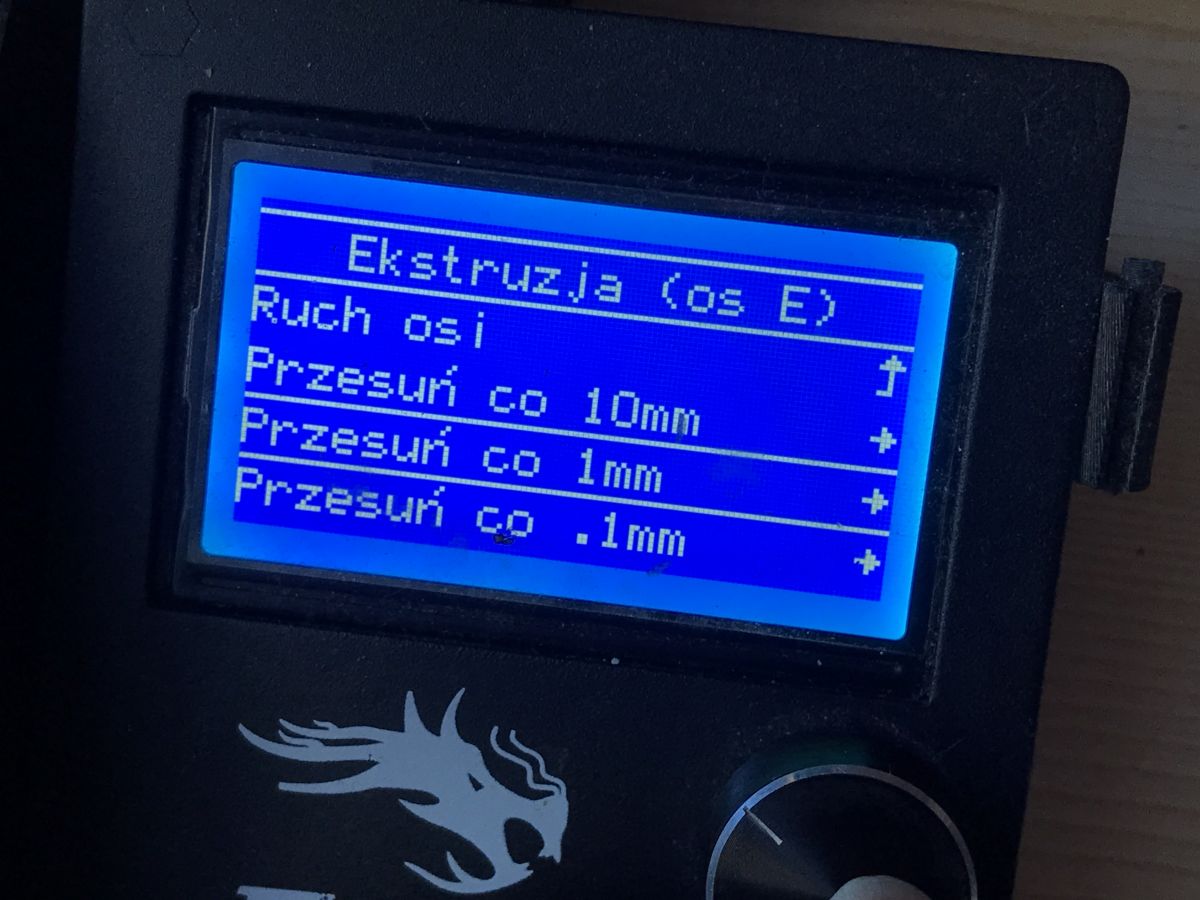
Prepare->Move axis->Extrusion (axis E)->Move every 1mm

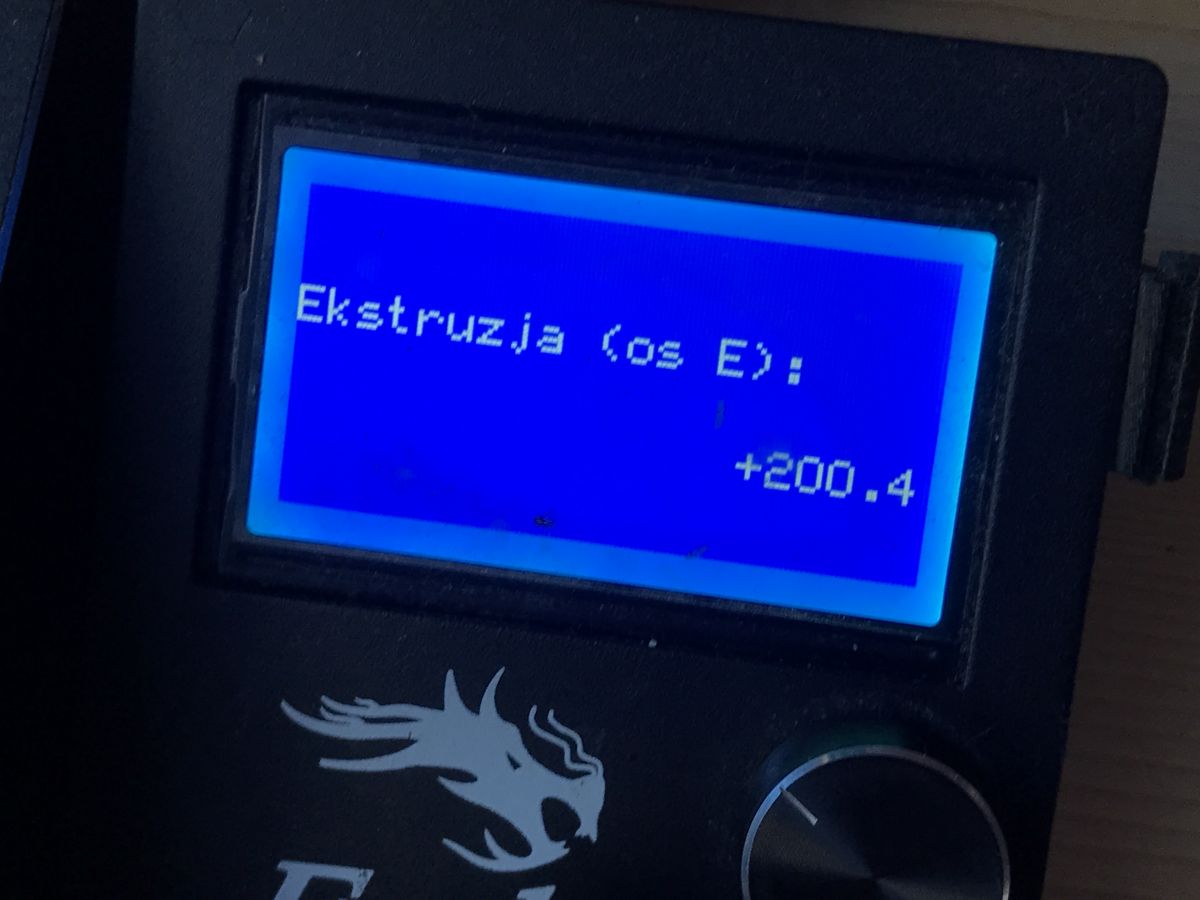
4. We check how much has actually been extruded (we measure the new distance from the extruder input). This distance, of course, tells us how much extruded filament is left, not how much came out, so if there is, say, 25mm left to the 120mm point, then we know that 95mm has been extruded.
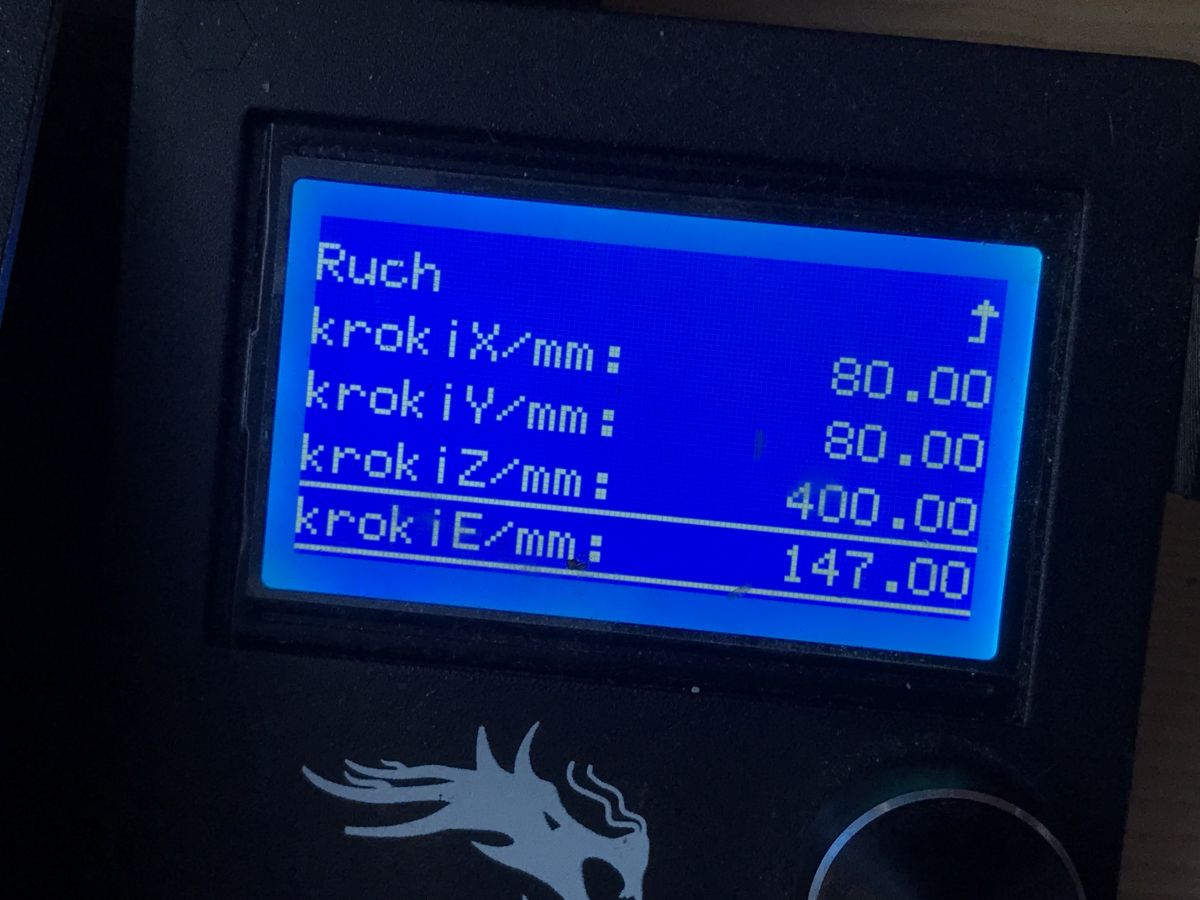
5. We check the current value of the e-steps.
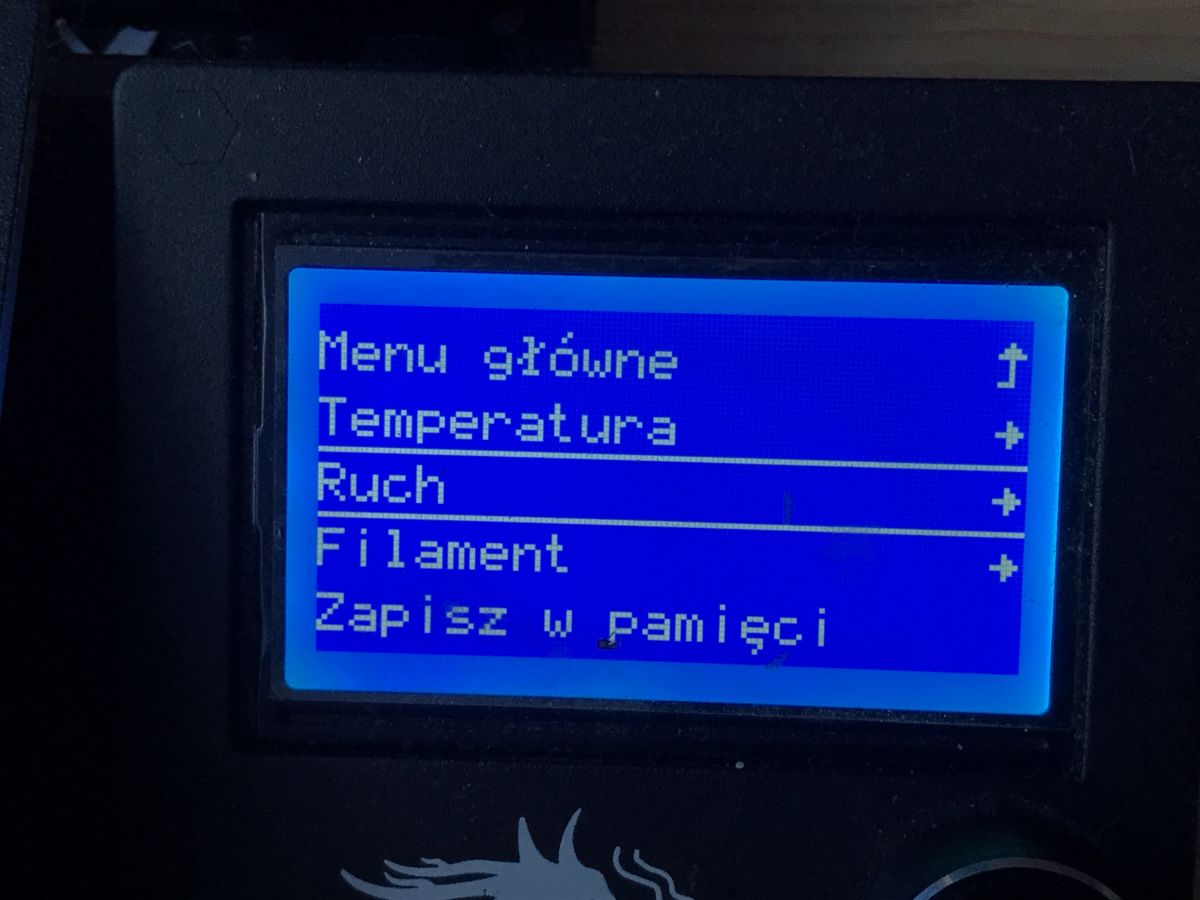
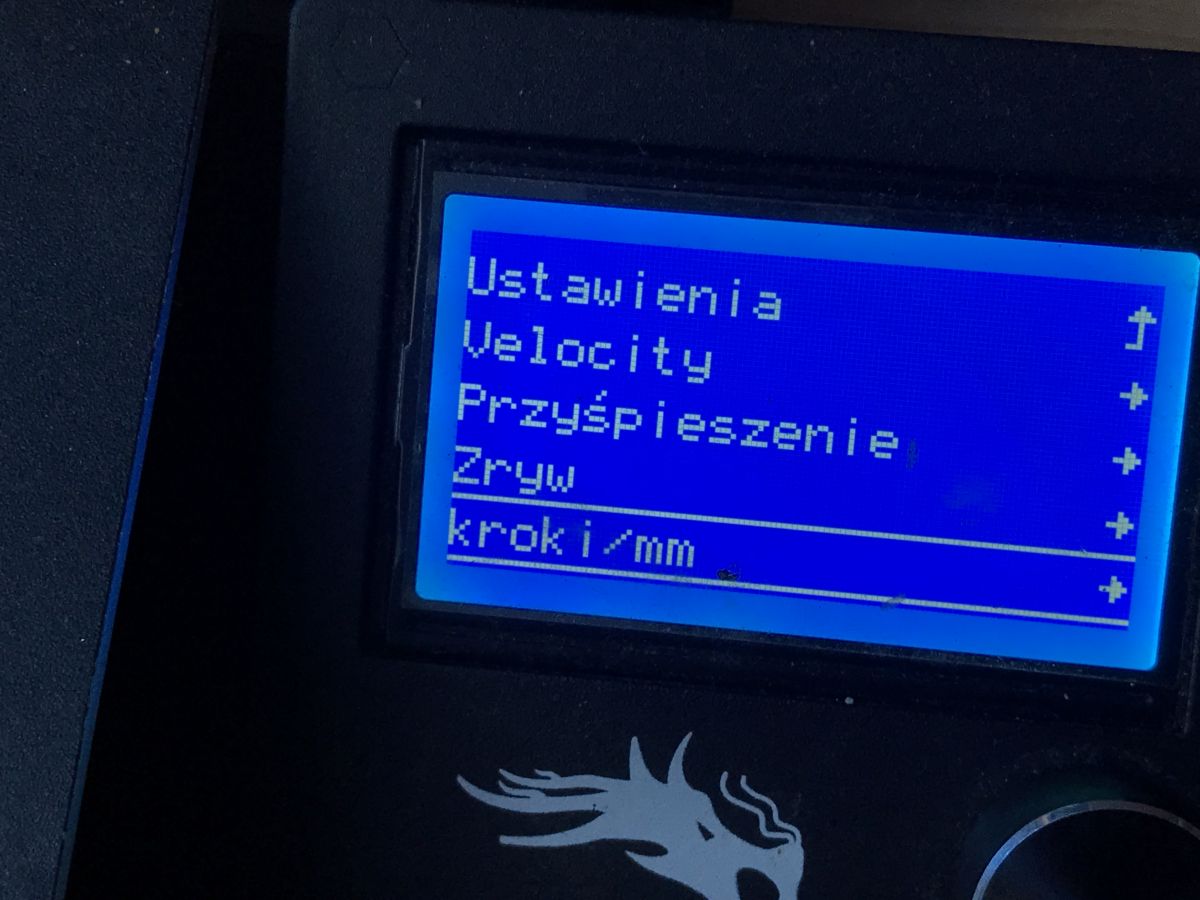
Settings->Motion->steps->E-steps.
In my case it was the default 95:

6. We calculate the new e-steps value according to the formulas:
100 * CurrentValueESteps = X (number of steps needed to extrude 100mm of filament)
New_ESteps = X / MeasuredLengthExtrudedFilament
For example:
CurrentStepsValue = 95
100 * 95 = 9500 (number of steps needed to extrude 100mm of filament)
MeasuredLengthExtrudedFilament = 64.5mm (actually 64.5mm of filament just passed through)
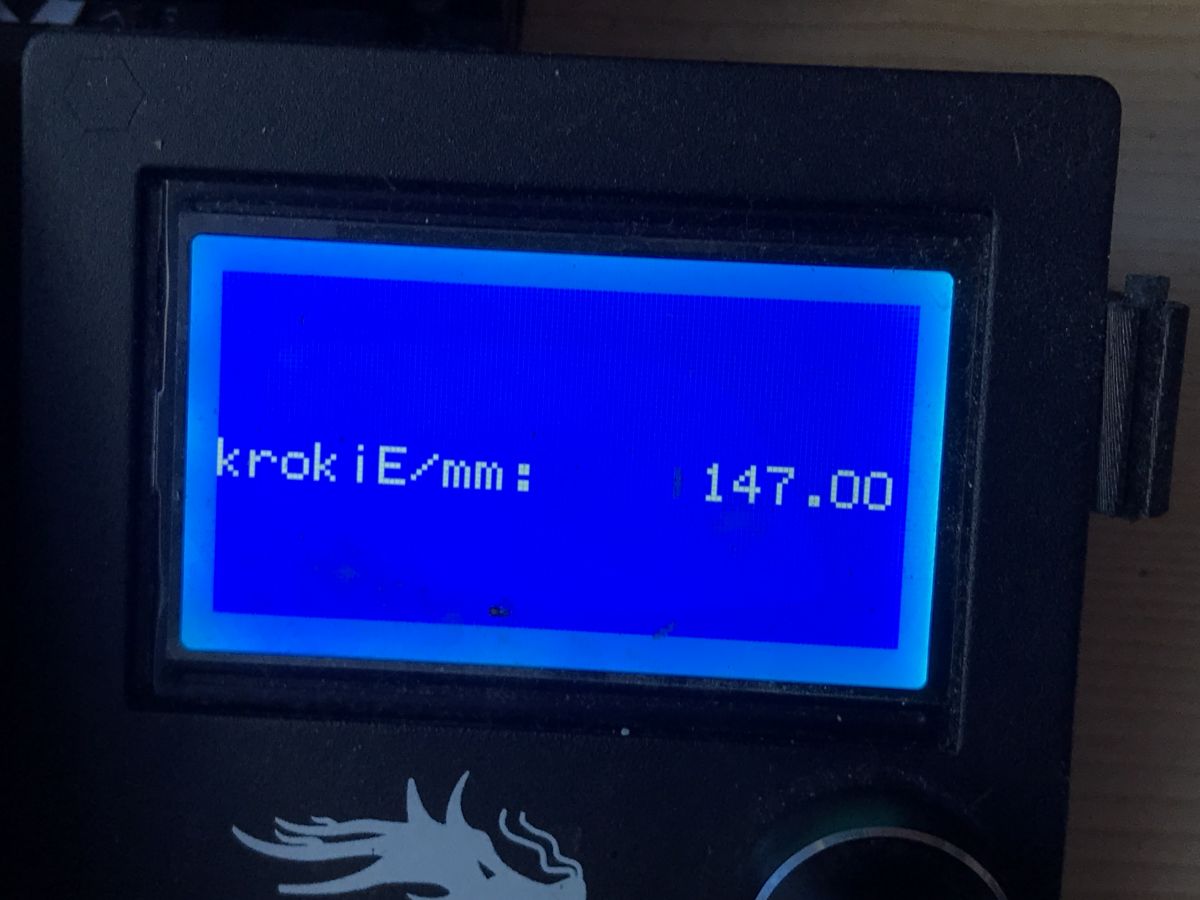
New_ESteps = 9500 / 64.5
New_ESteps = 147.3
(we can leave the values after the decimal point, as far as I know the firmware supports them)
7. Set new E-steps
Settings->Motion->steps->E-steps.
8. Save changes to EEPROM
 We save the calculated value also outside the printout
We save the calculated value also outside the printer, on a piece of paper, in case we reset the EEPROM.
9. Repeat the process, points 1-8 (at least once, also to verify that we have set it correctly)
NOTE: If you have the bowden tube removed then you don't even need to do the "with a pen" method, basically you can cut the filament right at the extruder exit, do a 100mm extrusion and measure how much of that filament came out. This is equivalent to what I have described.
NOTE: It is worth knowing that the esteps setting command can also be added to our gcode exported from the slicer, in which case it overwrites the printer setting.
NOTE: The printer may have a safety feature that blocks extruder control when the hot end is not warmed up. If this happens, simply warm it up.
Summary
After fitting the dual gear extruder I specifically waited a good 4 months of printing (and the printer works for me a lot) to finally give a verdict. I didn't want to judge in advance, and additionally I waited until the famous "rubbing" of the cog against the arm appeared, however it didn't happen at all in my case, even though I took a relatively cheap (cheapest?) dual gear extruder.
Perhaps this is because I raised both cogs appropriately and matched their height to the filament line.
In any case - revelation . The quality and convenience of prints has permanently improved. Previously, I had occasional problems with the bowden, sometimes with the hot end, every few weeks I had to unplug it, or I saw, for example, that the extruder motor "ticks" (loses steps, 'extruder skipping'), or even the filament slips, extrusion or retraction does not extend/retract the filament as much as the printer would expect (and I had calibrated e-steps)....
And now the problems are practically non-existent - this new extruder solidly holds and feeds the filament, it is not afraid of possible dirt or there older spools of plastic. I regret that I did not buy it earlier.
I don't know if your experiences are similar, but I still have to add something at the end - NOTE - swapping to a dual gear extruder should obviously not be used as an alternative to removing heat creep, levelling the table or cleaning the nozzle there. The table has to be leveled anyway, as well as the bowden should be properly fixed, etc. etc. The printer must be taken care of.

p.kaczmarek2 wrote 14408 posts with
rating 12345 , helped 650 times.
Been with us since 2014 year.
Comments
Direct drive extruders are a thing of the past these days... Because the price of such a BMG clone is not bad and it beats it.... [Read more]
It is completely illogical to use a direct-drive extruder, as this forces the use of a very powerful motor, which weighs its own weight. In the case of a bowden-type filament feeding system, that is,... [Read more]
I would disagree with this because bodwen is leading the way. Especially in low cost printers... Edery Aneta etc similar designs.... Hardly anyone uses direct because it requires a solid frame.... [Read more]
You disagree with what I DID NOT write ;) I'm talking about respectable machines and you cited Aneta or Ender as examples.... Besides, a solid frame is the basis of this type of machine. [Read more]
The standard extruder before modifications that you have presented here is simply crap. I providentially bought it once, suffered, modified it (with as such success) and thanked it in favour of a BMG clone... [Read more]
@pkaczmarek2 this extruder as presented by a colleague is total rubbish, well maybe not rubbish but shoddy, and it is slightly better than the stock one. The advantage is that it is dualdrive and does... [Read more]
@fimek @adversus thank you for your suggestion, perhaps I'll try it out, although so far I'm not complaining about the one in the theme (still relative to the stock one) The extruder pictured in... [Read more]
You can buy a stupid Titan in Poland for 50zl.... And it's better too, only it's worse than BMG.... [Read more]
Let me put it this way: when I was forced to print by machine and the printer was working non-stop for a whole week, the plus/minus 50 PLN in the price of the extruder makes absolutely no difference. What... [Read more]
I am using an ender 3 V2 and have also fitted this extruder as the author of the post. More problematic is not the mechanical failure of the arm but the slipping of the filament on the bearing and the... [Read more]
@pkaczmarek2 I didn't write when I bought, and the fact is that I bought before VAT was introduced, but in fact a quick search on Ali from today shows that it is possible to get a bargain (the black BMG... [Read more]
This is exactly the type of problem I had with it: https://obrazki.elektroda.pl/3744634400_1575828547_thumb.jpg since changing to the one in the topic it is much better. Maybe the different... [Read more]
I have the same extruder that I put on the Ender 3. Before assembling it I immediately threw away the screw that was supposed to be the axle for the take-off shaft. I used a piece of 3mm diameter axle... [Read more]
I am swapping to BMG straight away. At first the description encouraged me but after further research I came to the conclusion that I would take my chances with BMG Is there an STL for this somewhere?... [Read more]
For example, here: https://www.thingiverse.com/thing:4901100 [Read more]
Yes, it's on the Voron project website, all the files, documentation etc are available. On Youtube you have tutorials on how to put it together. Overall I am very happy with this Voron M4, it beats BMG... [Read more]
Thanks. Will have to try and put it together :-) And maybe one of you could help with the topic of fan selection for the Ender? I have set up a topic: https://www.elektroda.pl/rtvforum/topic3841610.html#19678553 Today... [Read more]
Hello,can someone share the Polish Firmware for ender 3 pro ver 2.4.7 .I can't find it anywhere and don't want to start a redundant topic. [Read more]