logo elektroda
logo elektroda
X
logo elektroda

Procedure for Attaching Frame to Plasterboard Corners: A Step-by-Step Guide

9063 16
ADVERTISEMENT
Treść została przetłumaczona polish » english Zobacz oryginalną wersję tematu
  • #1 16737334
    Anonymous
    Anonymous  
  • ADVERTISEMENT
  • Helpful post
    #2 16737563
    marekhab
    Level 33  
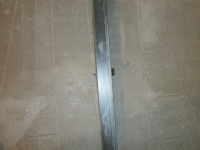
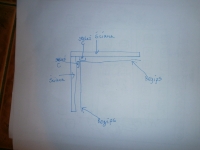
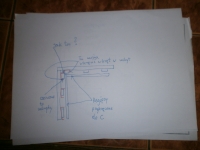
    At the corners, give two profiles, one for the wall, as close to each other as possible.
    It is good to screw them together, because when the walls will work, the joint between the panels in the corner may crack.
  • ADVERTISEMENT
  • Helpful post
    #3 16737797
    Parowy
    Level 22  
    Welcome.

    I deal with this professionally and I would like to help you, but I don't really understand what you want to do.
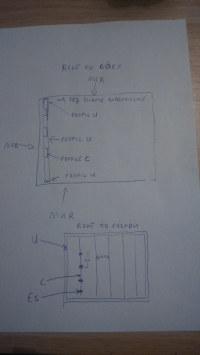
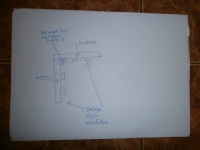
    Why do you put a C profile on the handles (so called ES) in the corner?

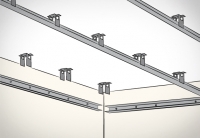
    Ceiling C profiles are mounted as if in the middle of the structure, U profiles are mounted at the floor, ceiling and walls.
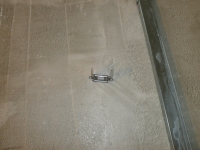
    The C profile is inserted into the center of the U-profiles on the floor and ceiling, and the C-profile can be fixed to the wall with ES grips.

    Have you viewed the YT tutorial videos?
  • #4 16737844
    Anonymous
    Anonymous  
  • Helpful post
    #5 16737870
    maurycy123
    Conditionally unlocked
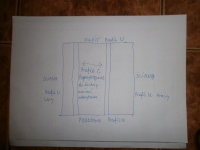
    You mount the U-profile on the ceiling. From this you "lead out" the riser and install two U-profiles on the walls plus the floor. You install C-profiles in the middle. You can also put one C-profile at the same U-profiles on the walls. Then, after screwing the KG, you will have something to screw the next U-profiles to. It is difficult to explain to someone who has not done it.
  • ADVERTISEMENT
  • #6 16738119
    Anonymous
    Anonymous  
  • Helpful post
    #7 16738184
    Parowy
    Level 22  
    Kurtka na wacia wrote:
    It will not be a ceiling, but a wall ...


    I figured it out, but you have ceiling profiles, if I'm not mistaken - CD60 is the main ceiling profile that matches the width of the escutcheons.

    Theoretically, the wall can be placed on the ceiling profiles, but you need to give more grooves and possibly cover it twice with the board.

    In your case you are making the ceiling on the wall, the main CD60 profiles should be every 40 cm, on each main profile also every 40 cm.

    https://youtu.be/EEgc4UZ0cXw

    Procedure for Attaching Frame to Plasterboard Corners: A Step-by-Step Guide
  • #8 16738187
    maurycy123
    Conditionally unlocked
    Kurtka na wacia wrote:
    I used to put regipsy,
    And you don't know how to deal with this problem?
  • Helpful post
    #9 16738196
    Parowy
    Level 22  
    Kurtka na wacia wrote:
    ... My doubts are raised by U left and right profiles. They will only be attached at the top of the ceiling and floor. And in the middle? ..


    Why is this so?
    There is just no wall to pin it?

    Edit:
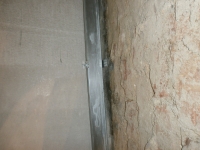
    In the last photo from your first post, on the right, the wall is, what's the problem?
  • ADVERTISEMENT
  • #10 16738211
    Anonymous
    Anonymous  
  • #11 16738269
    Parowy
    Level 22  
    Procedure for Attaching Frame to Plasterboard Corners: A Step-by-Step Guide

    First, close one wall with the plate, then turn the next profiles to the plate. This is it?
  • #12 16738312
    Anonymous
    Anonymous  
  • #13 16738353
    mod22
    Level 28  
    And why can't there be profiles against the wall?
  • #14 16738363
    Anonymous
    Anonymous  
  • #15 16738403
    mod22
    Level 28  
    So screw the first cd profile 4 cm from the wall, close it with a plate. Start next wall from u30 to previous wall to first profile cd, etc.
  • #16 16738520
    Parowy
    Level 22  
    Kurtka na wacia wrote:
    Ok. I can handle it. Come on, that's not what I mean ...
    But I will do as you advise. First, one wall, then bolted to the board. Come to reduce the room by the width of U + regips.


    Precisely because it is not possible to screw C to the handle (esa) in such a tight place - in the sense in the corner, it was invented that there is a U profile pinned to the wall, and the plate is turned to it.

    And don't worry about the surface, it won't get smaller. It will be the same with both solutions.

    Edit:
    On the other hand, if you want there to be no U but C attached to the esa next to the walls, you can do it.
    After assembly, plastering, etc., the strength of the wall in this place, with this method of assembly, will not be much lower.
    Problems will arise when screwing the board, the C profile supported by esami only on one side may bend when screwing the screw, you need to strain a little to catch it to the board, and when you succeed, give the screws densely (every 10-15 cm) to the previous one held the profile until the next one was screwed.
  • #17 16887996
    Anonymous
    Anonymous  

Topic summary

The discussion revolves around the procedure for attaching a frame to plasterboard corners. The user seeks guidance on how to secure profiles at wall corners, specifically when creating a 90° angle between racks. Responses suggest using two profiles at the corners, securing them together to prevent cracking due to wall movement. It is recommended to mount U-profiles on the ceiling and walls, with C-profiles inserted in the middle. The user is advised to attach the first profile 4 cm from the wall, close it with a plate, and then proceed to the next wall. Concerns about the stability of the structure and the method of attaching profiles are addressed, emphasizing the importance of proper screw placement to avoid bending during installation.
Summary generated by the language model.
ADVERTISEMENT