 .
.
How do I replace the battery on my iPhone? How do I remove the screen? How much does such a replacement cost if we do it ourselves? Can a complete layman (me) handle it? Here I will try to answer these questions, as circumstances forced me to perform this replacement. After many years of use, my iPhone had essentially stopped working on its battery, it held a charge for maybe 15 minutes and the % charge jumped from 100% to 1%. For this reason, I decided to replace it, and to make it more interesting, I did it myself...
Purchasing battery kit [/size] .
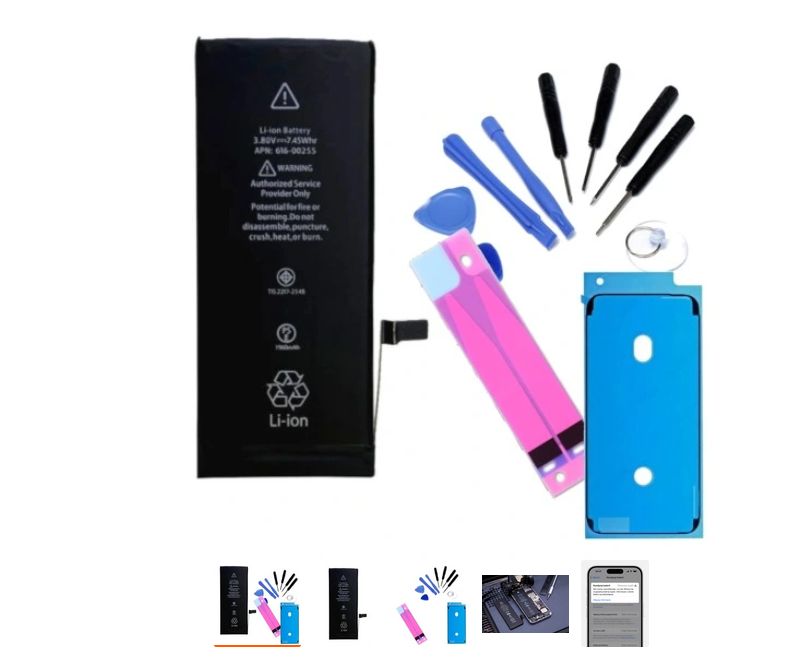
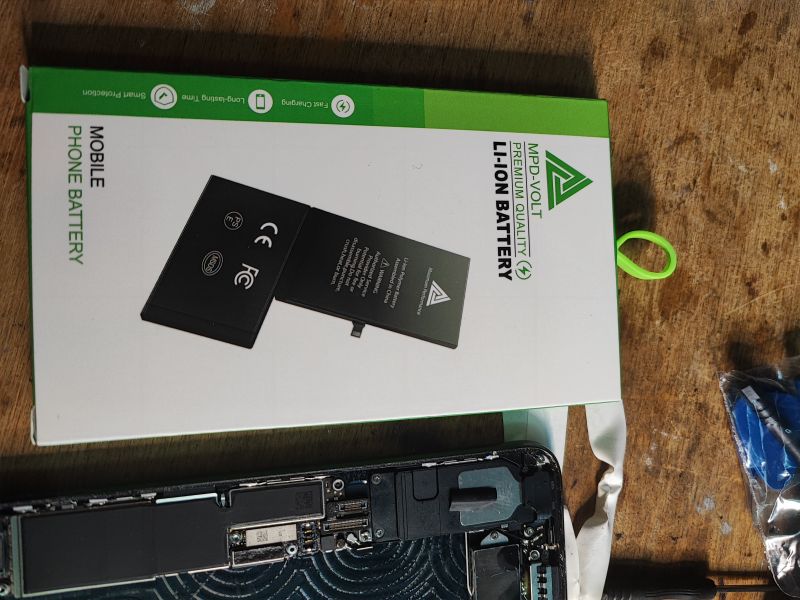
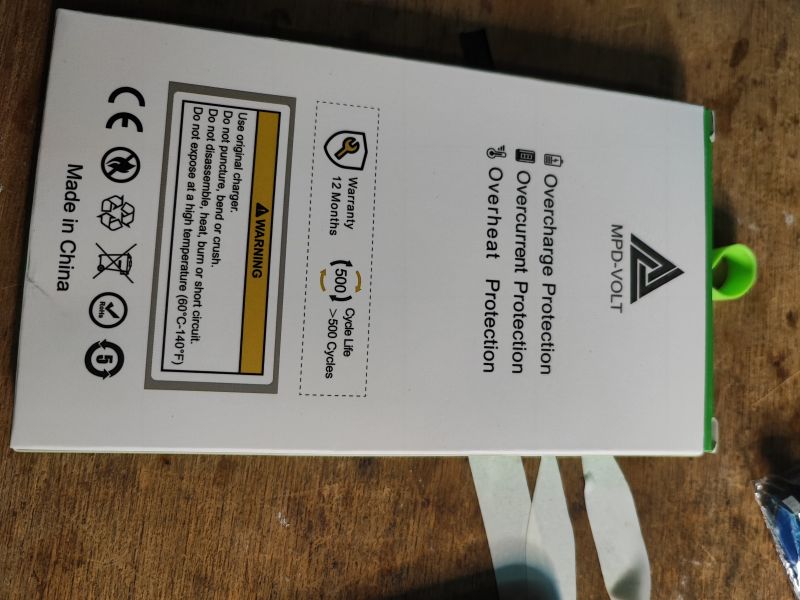
You can get a kit on the internet containing (supposedly?) all the necessary tools for this operation. I will check it out. I purchased it for 60zł:
 .
.
The battery here is unlikely to be original, but as long as it works I won't complain. You can get shipping for free, so for now the cost of play is 60zł....
The kit should be matched to the phone you have - the battery for the iPhone 7 Plus does not fit the iPhone 7 itself, etc!
NOTE .
As I wrote in the introduction - this is my first replacement, so if you are looking for information on how to do this, I recommend you verify the instructions from me with other sources too. You can also look for videos illustrating such an exchange. The methods on the videos may vary slightly, for example I will not be removing the Taptic Engine module, but the basic steps should be the same everywhere.
Interchange process [/size] .
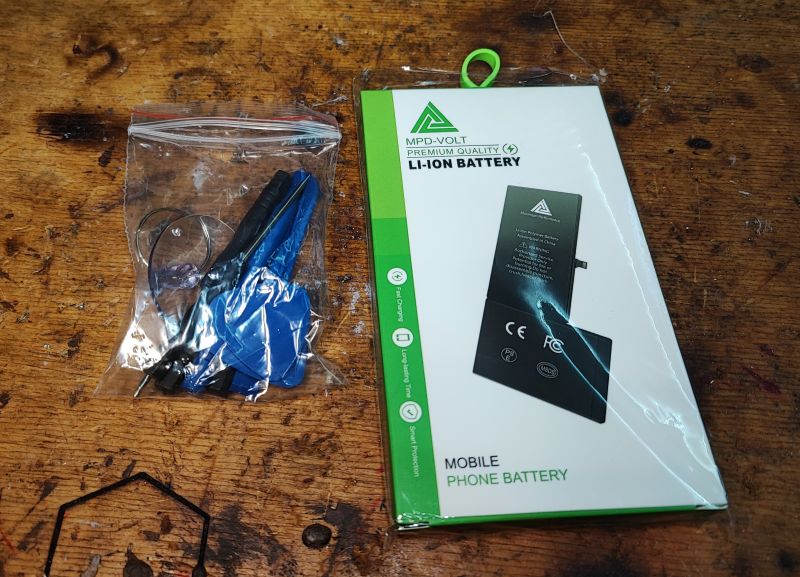
I made sure the battery was completely drained and the phone switched off. I prepared the kit:
 .
.
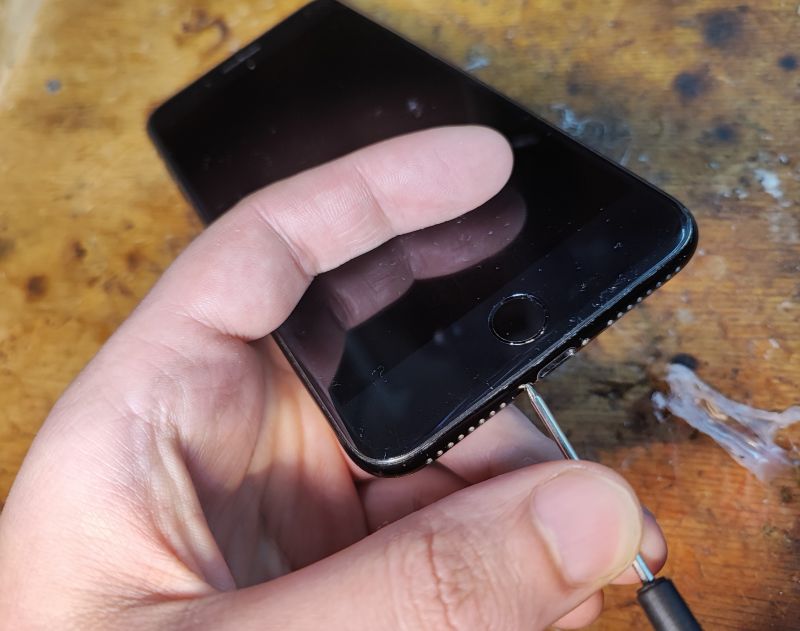
I started by removing the two 3.4mm pentalobe screws at the USB port:
 .
.
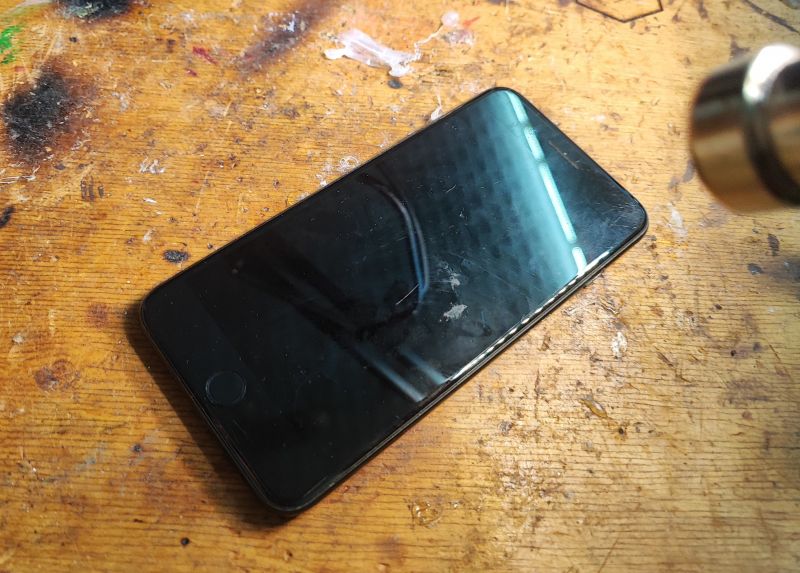
I then took to heating the screen. Heating will make the glue stick less well. I used hot air without a tip, temperature the lowest possible, 100°C, heating from a distance, with a feel. You might as well use a hair dryer:
 .
.
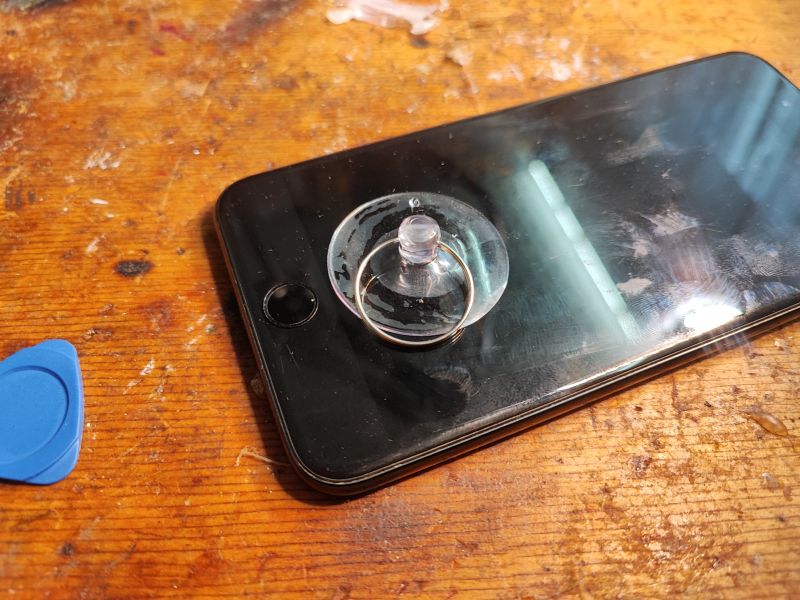
I then tried to lift the screen with a suction cup. The suction cup has to be placed over the Home button, but it cannot be hovered over it:
 .
.
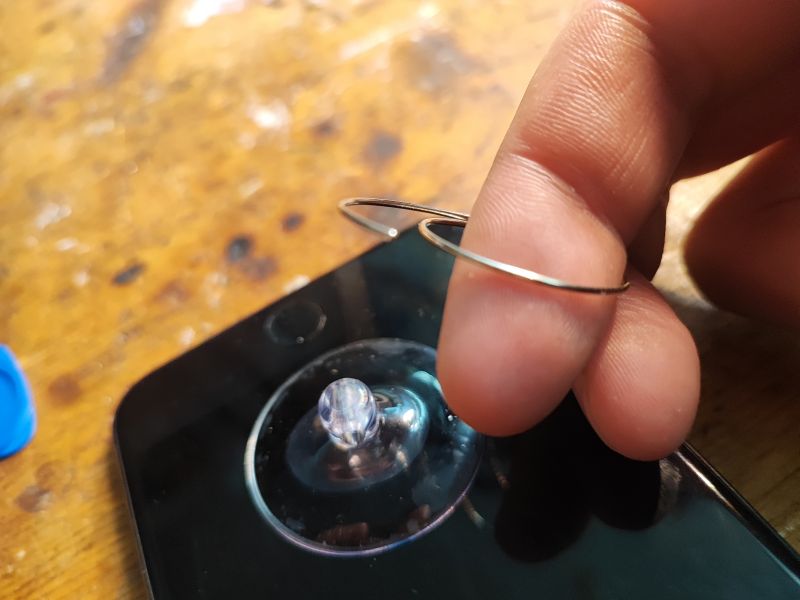
It seems so easy on the videos on the internet.... And in my case the ring has come apart from the suction cup:
 .
.
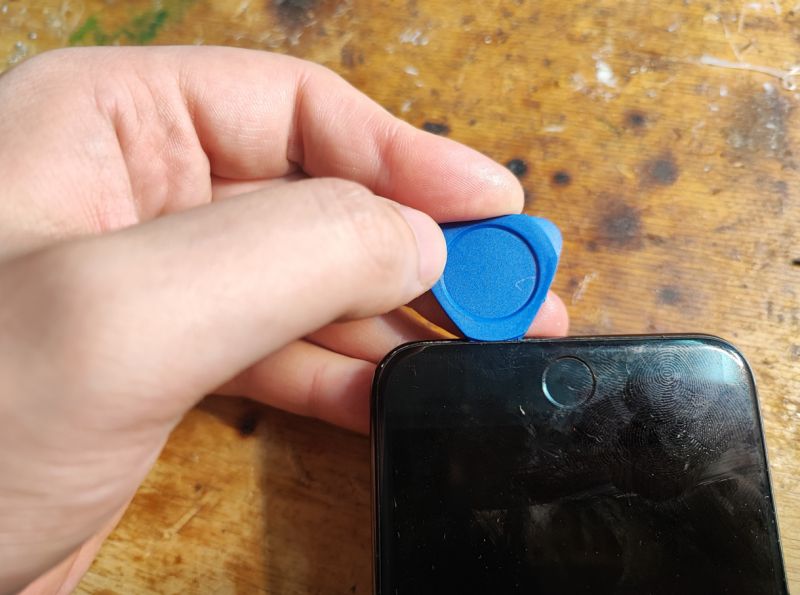
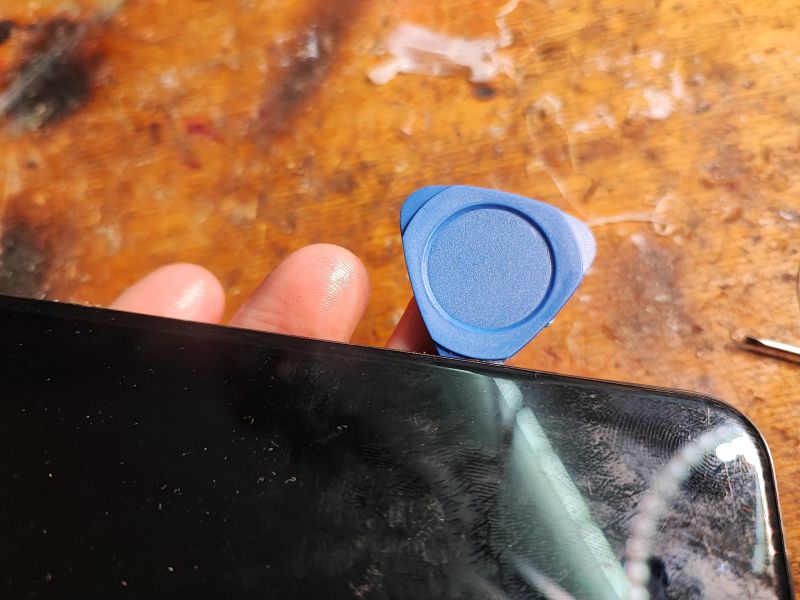
In the end I had to go against common sense, take a chance and help myself with a flat wide screwdriver, carefully, no deeper than 2-3mm, then inserting a guitar pick into the slot:
 .
.
I went around the phone with it, carefully, not putting it in too deep, as there are ribbons there:
 .
.
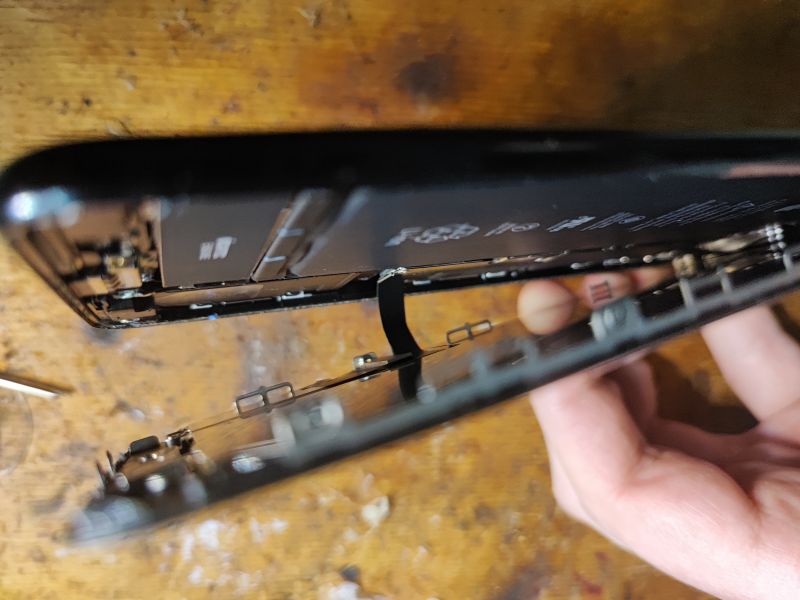
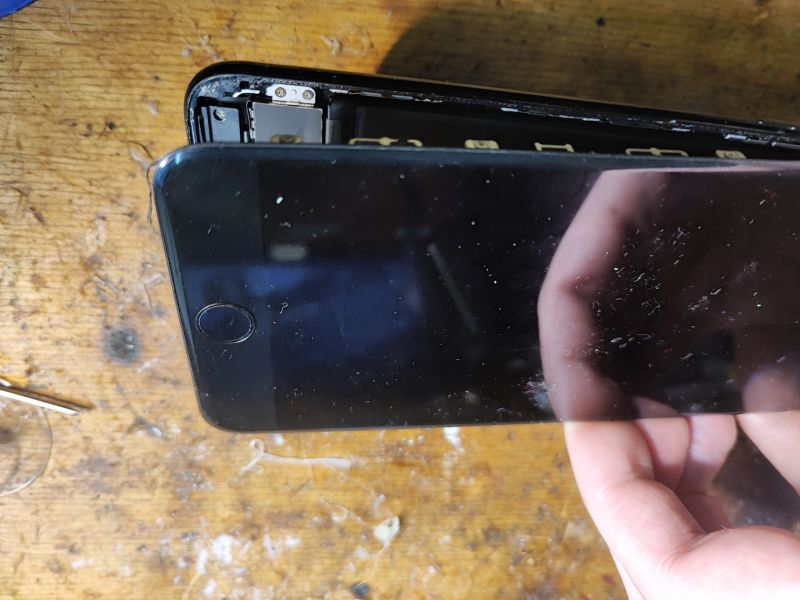
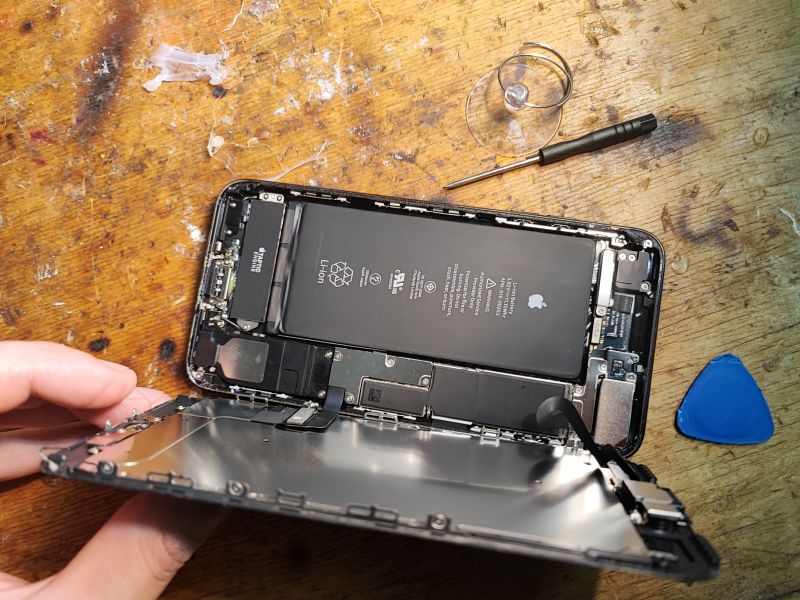
The phone opens like a book - details coming soon:
 .
.
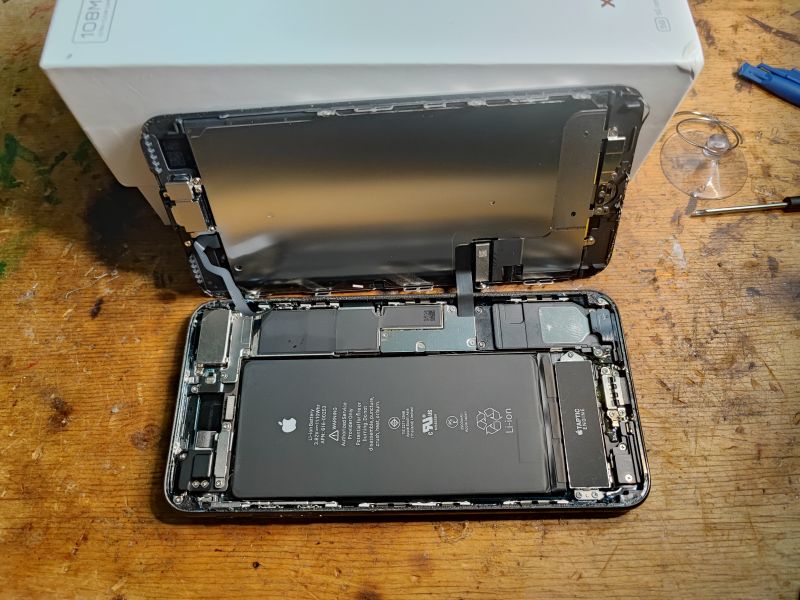
The ribbons will still hold the screen, so it's a good idea to stand some sort of box next to it to avoid stretching them:
 .
.
Now it's time to disconnect the screen and battery.
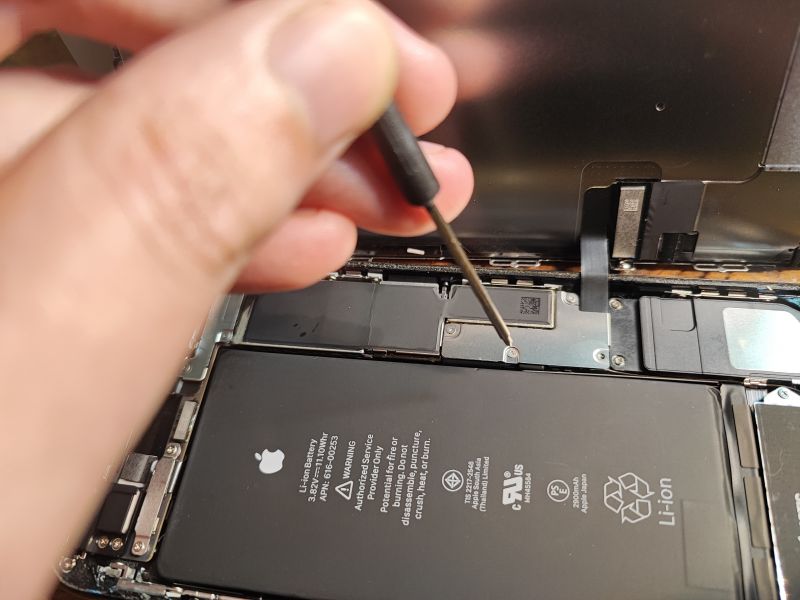
The connectors need to be exposed, I took a Y000 "triangular" screwdriver and removed four screws:
 .
.
And actually three, because by the fourth the screwdriver refused to obey and no longer unscrewed anything.... by some miracle it had dulled. .
I reported the problem to the dealer who sent me another set:
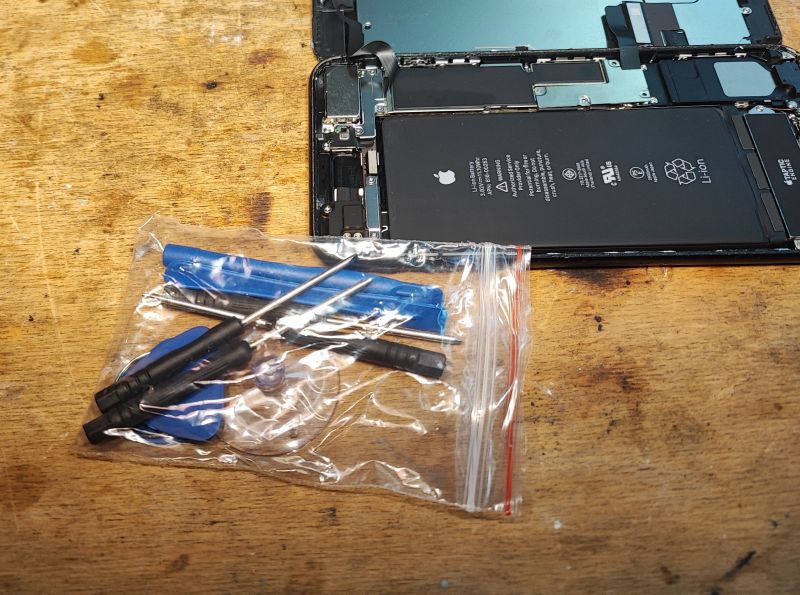
And only then did it work:
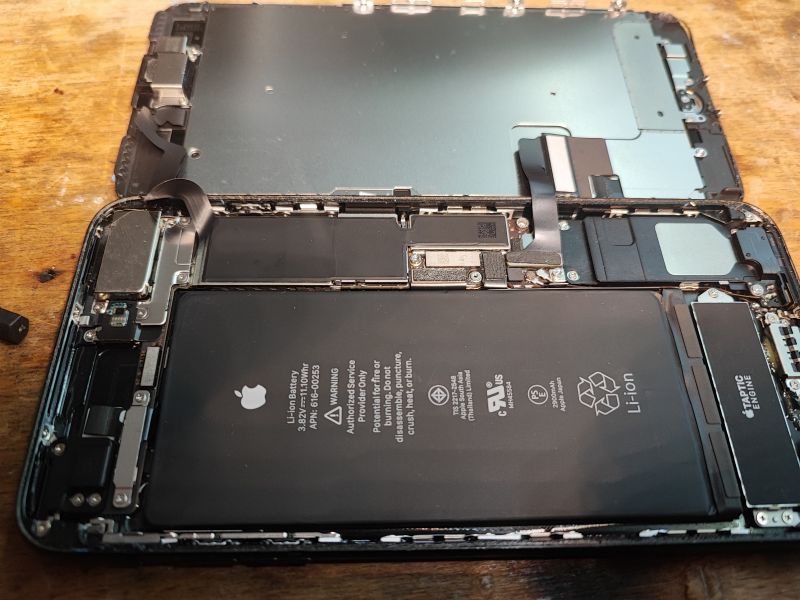
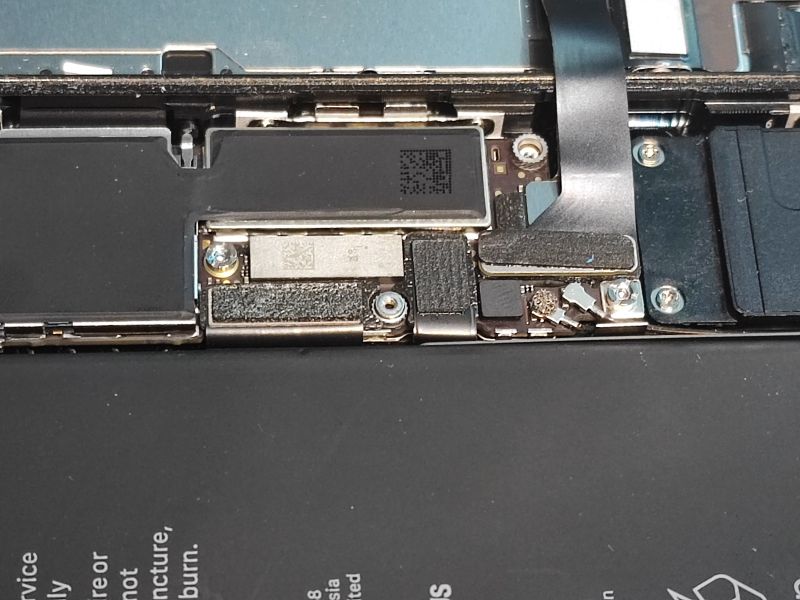 .
.
I have disconnected the ribbons:
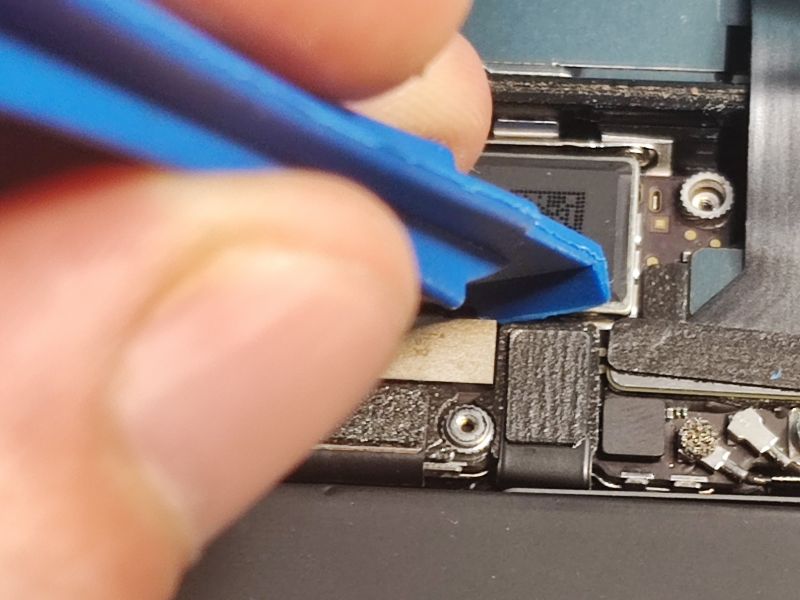 .
.
Same with the other ribbon going to the screen, I unscrewed the screws, Y000:
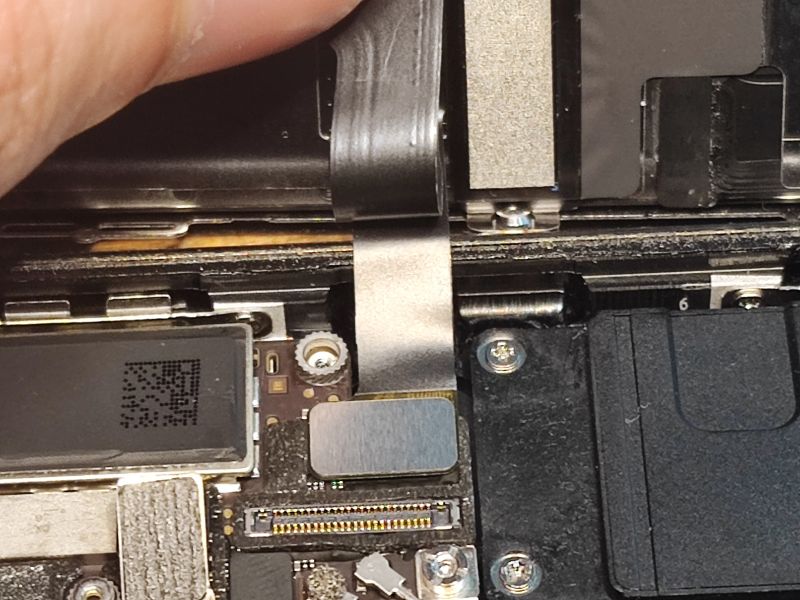
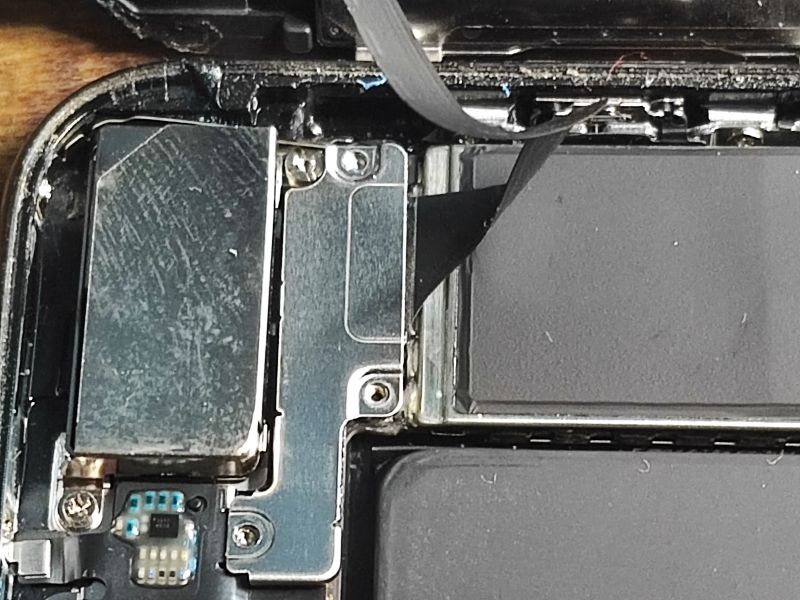
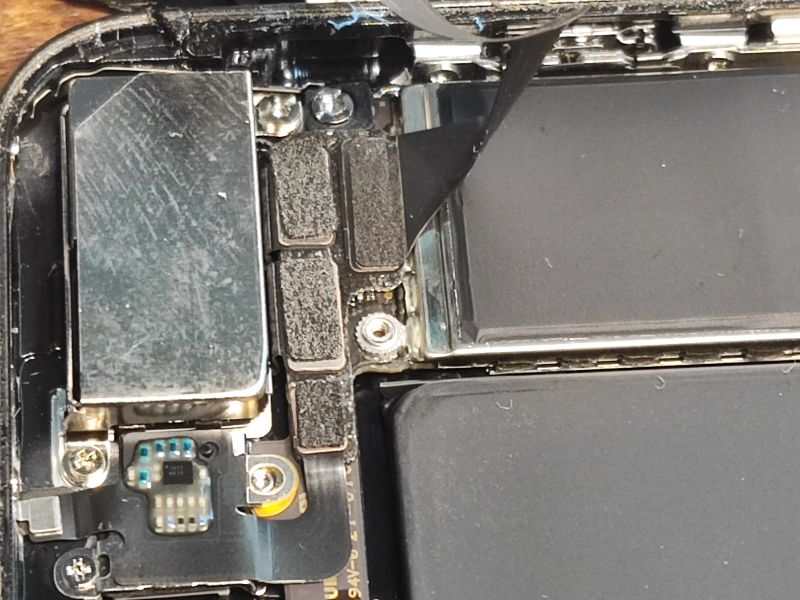 .
.
The screen has been released:
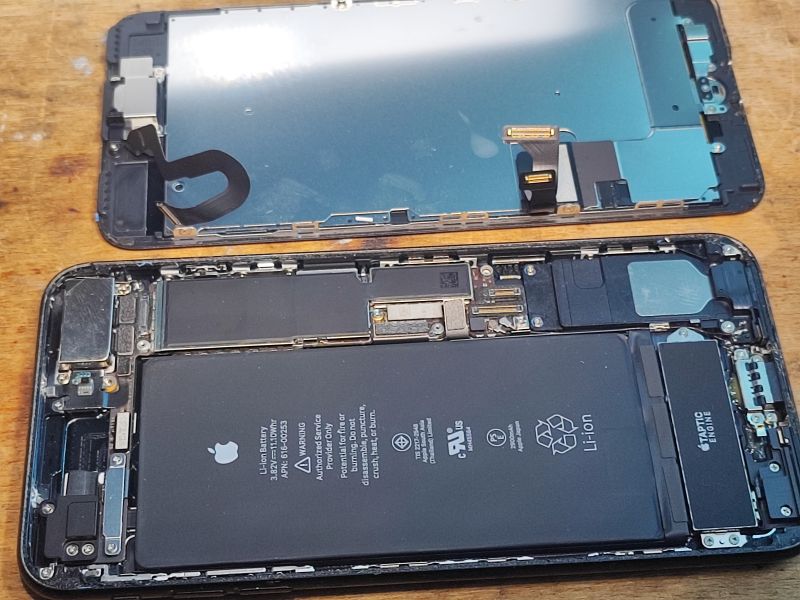 .
.
On the internet, some people here are still unscrewing the Taptic Engine, but I didn't move it.
Now it was time to remove the battery. I sprayed it with isopropyl alcohol, spreading it underneath so that the glue from the three strips of double-sided ribbon let go a bit:
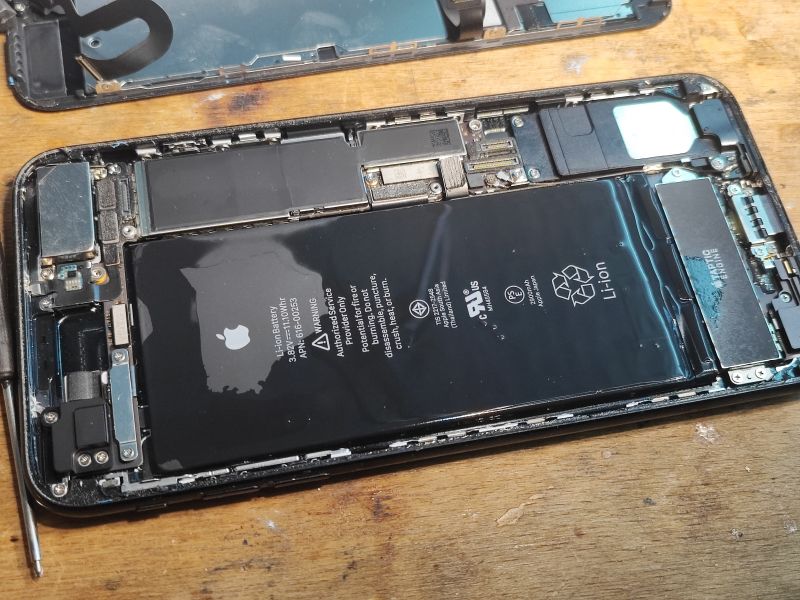 .
.
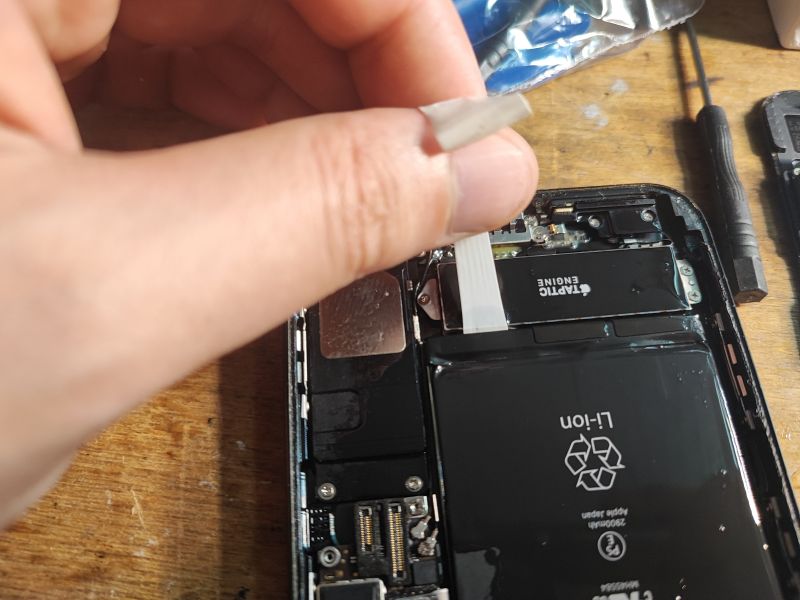
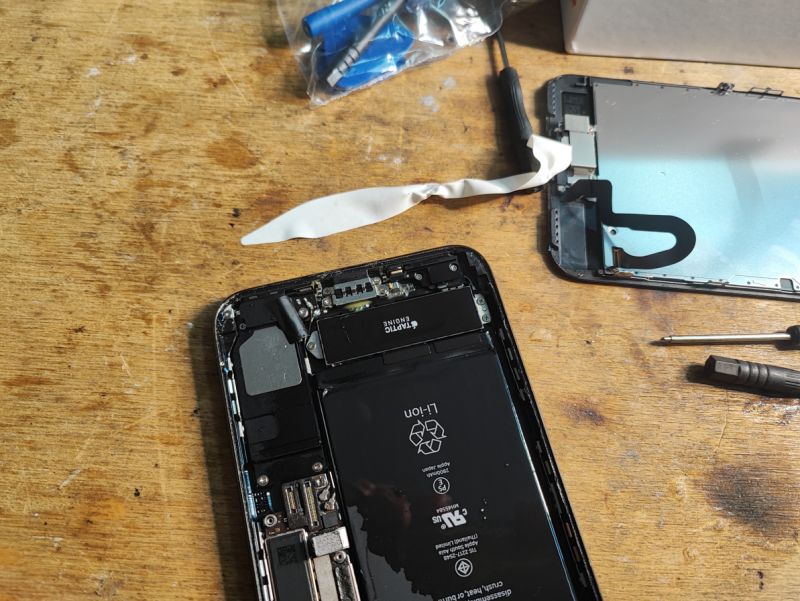
I then started to remove these ribbons:
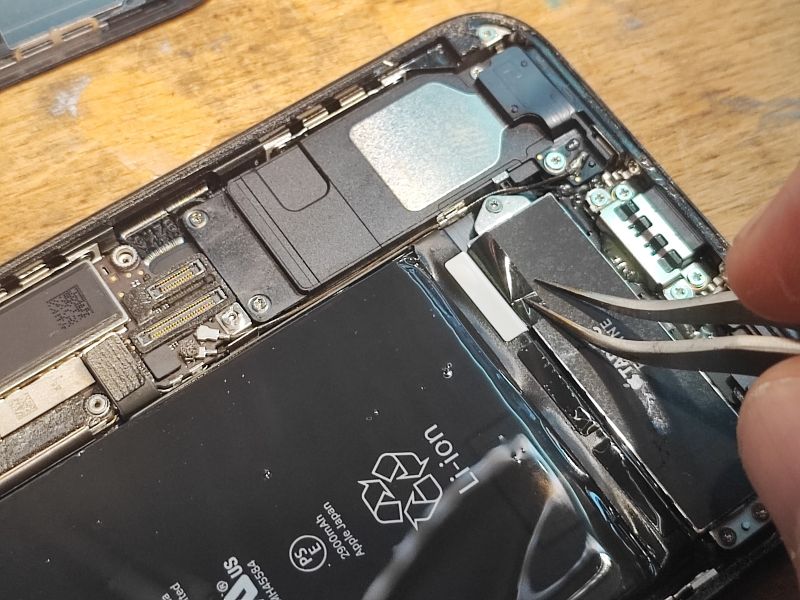 .
.
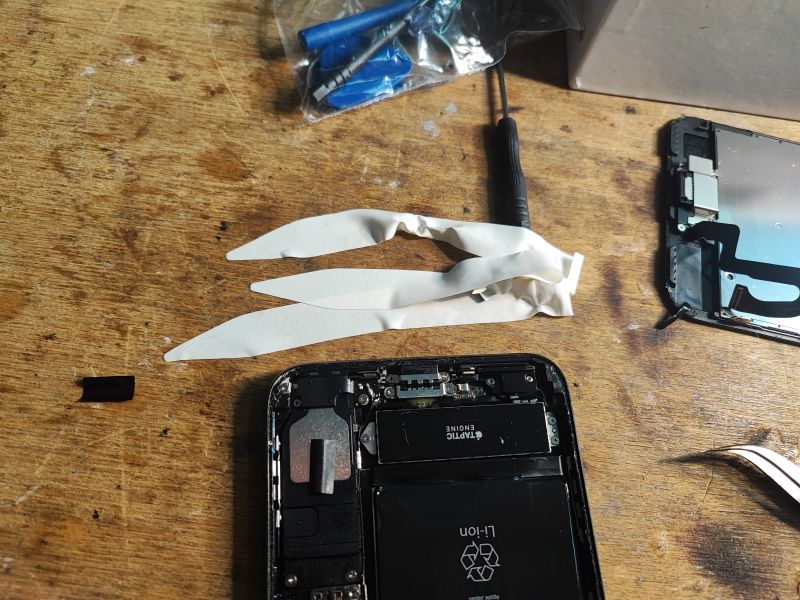
Here on the net it was mentioned that they were easy to break off, but in my case nothing like that happened. They rolled up and out nicely:
 .
.
Please, here are all three in full:
 .
.
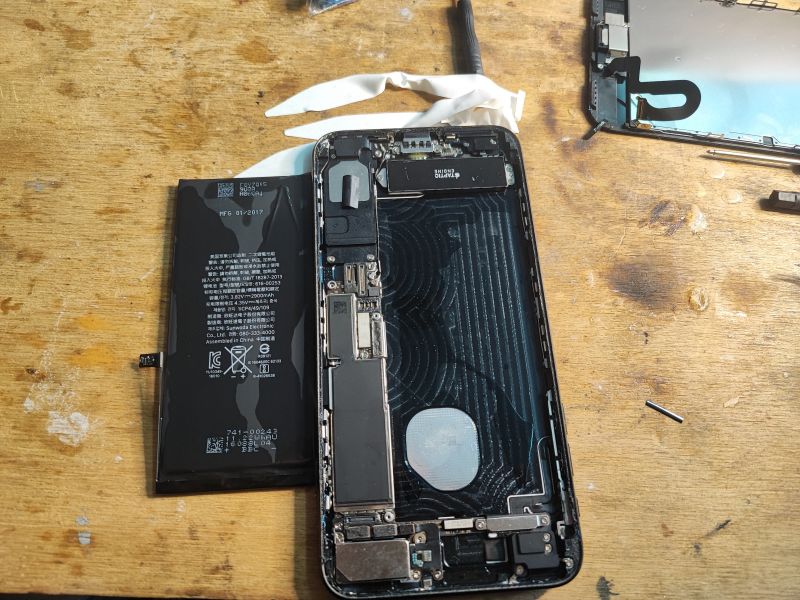
The link can now be removed without any problems:
 .
.
Replacement:
 .
.
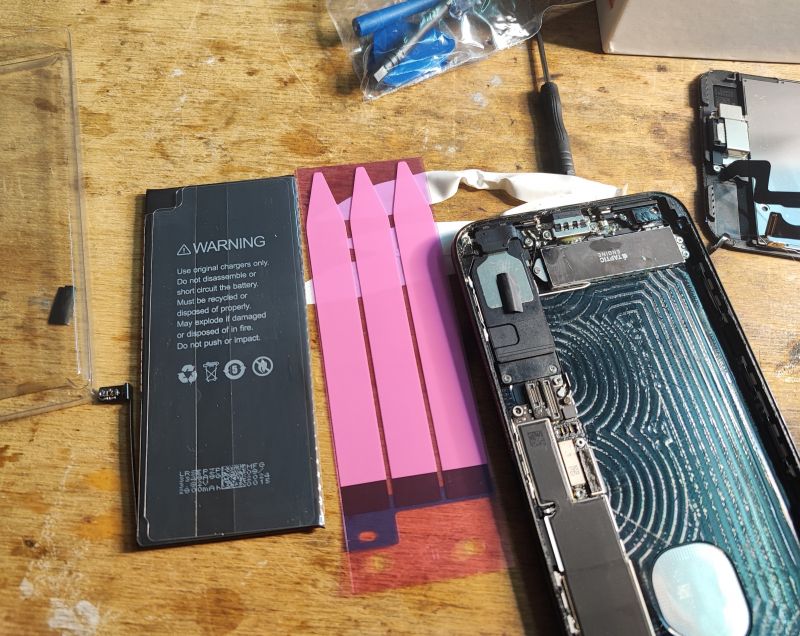
There is also tape included for the replacement, but it got slightly tangled for me so I only had to glue the battery onto part of it:
 .
.
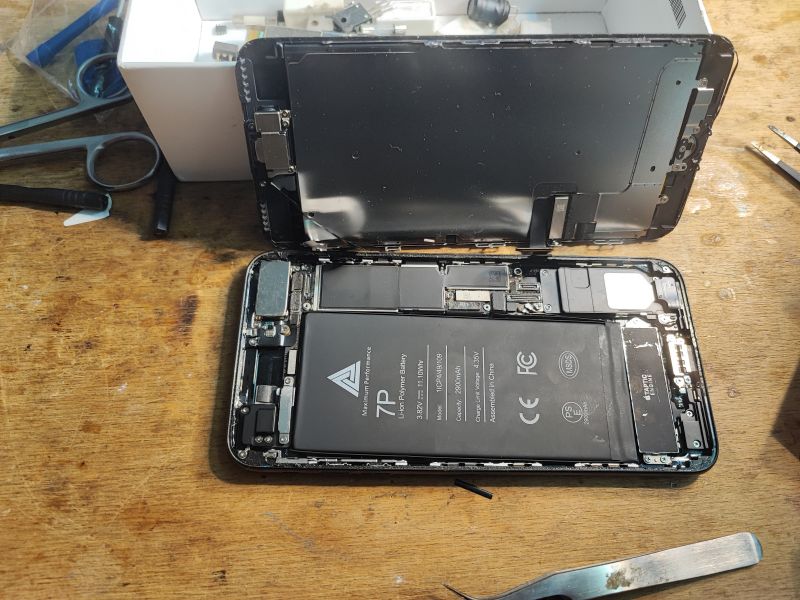
I attached the ribbons:
 .
.
NOTE: The three screws here are 1.2mm, the fourth is 2.6mm. I have marked the place for the 2.6mm with an arrow:
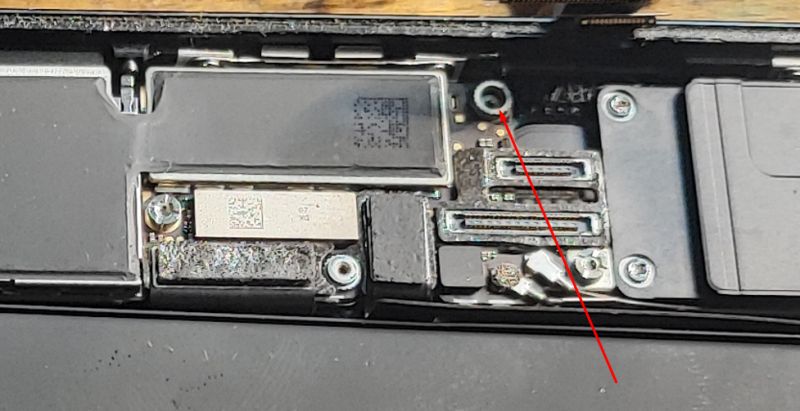 .
.
Similarly, here we have two 1.0mm and one 1.3mm:
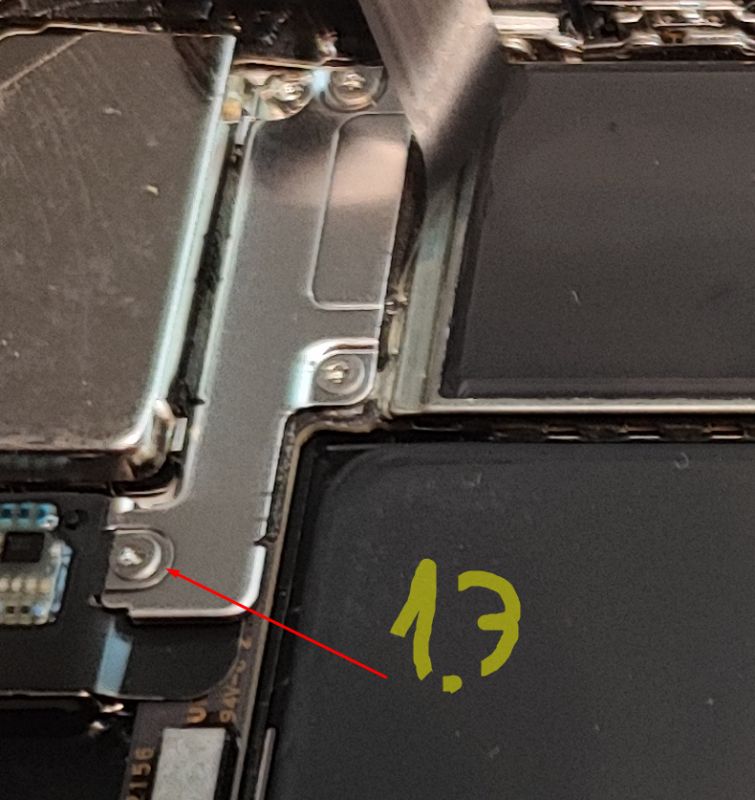 .
.
For now, I fired up my phone for a test run:
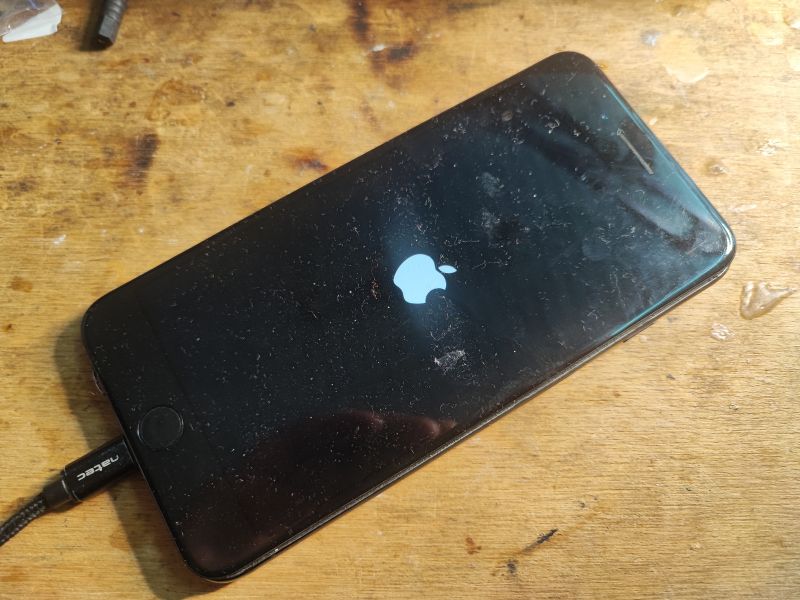
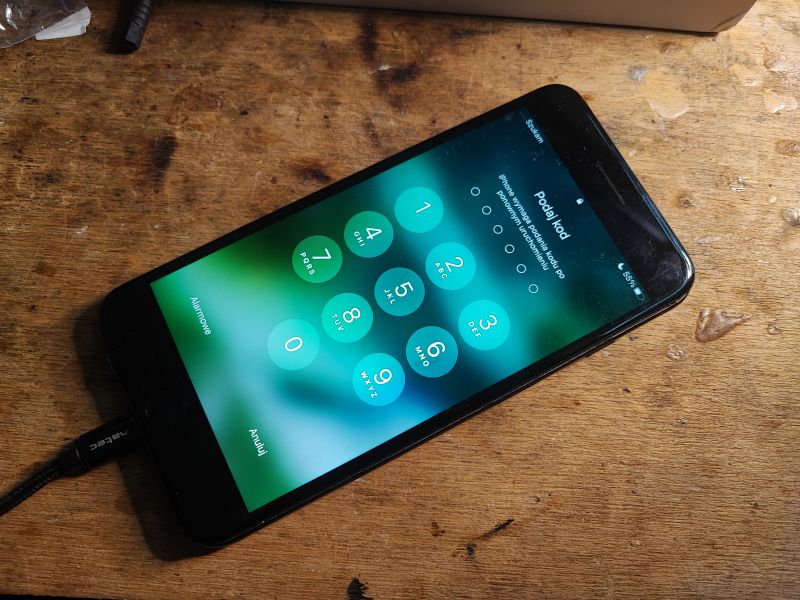 .
.
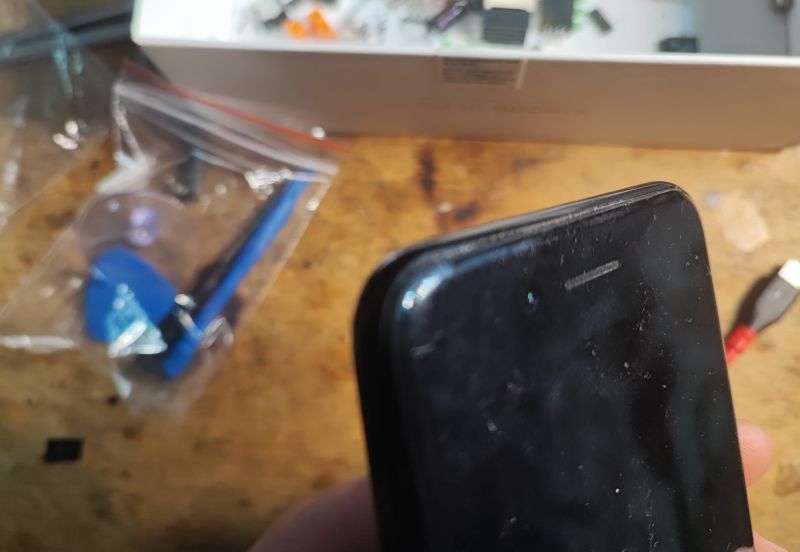
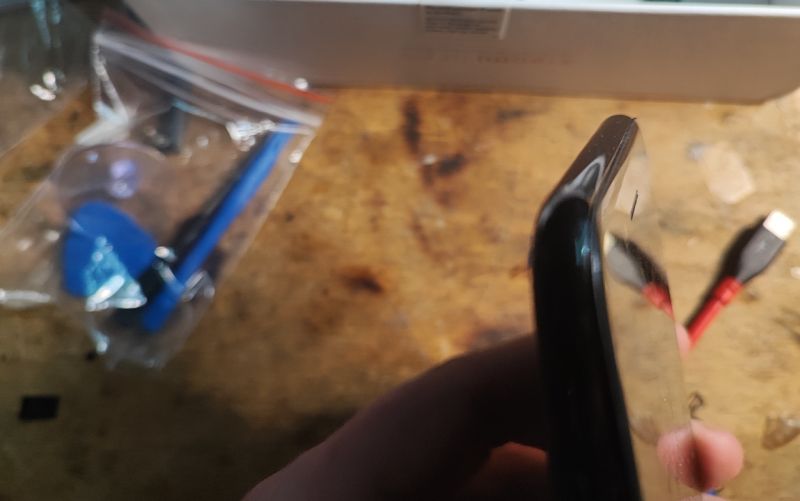
When assembling, I started with the hooks from the top of the screen, otherwise it won't go in:
 .
.
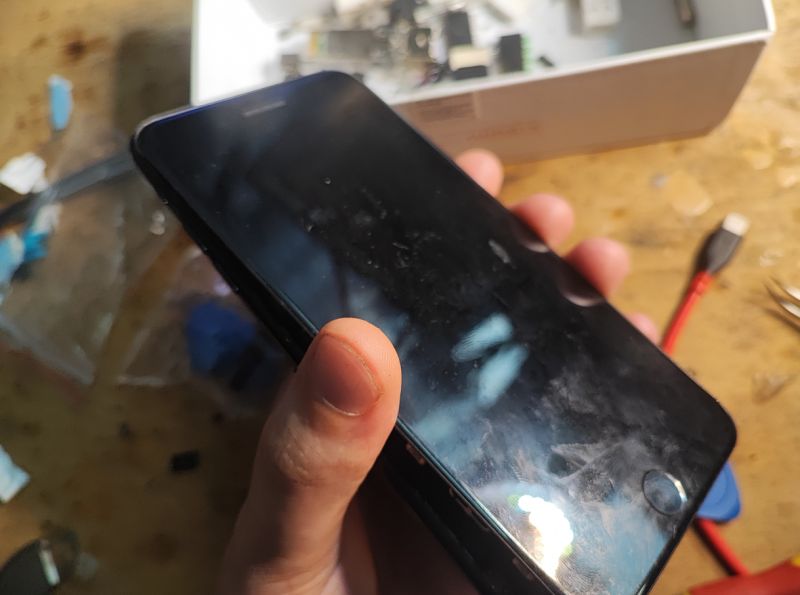
I then pressed the other side:
 .
.
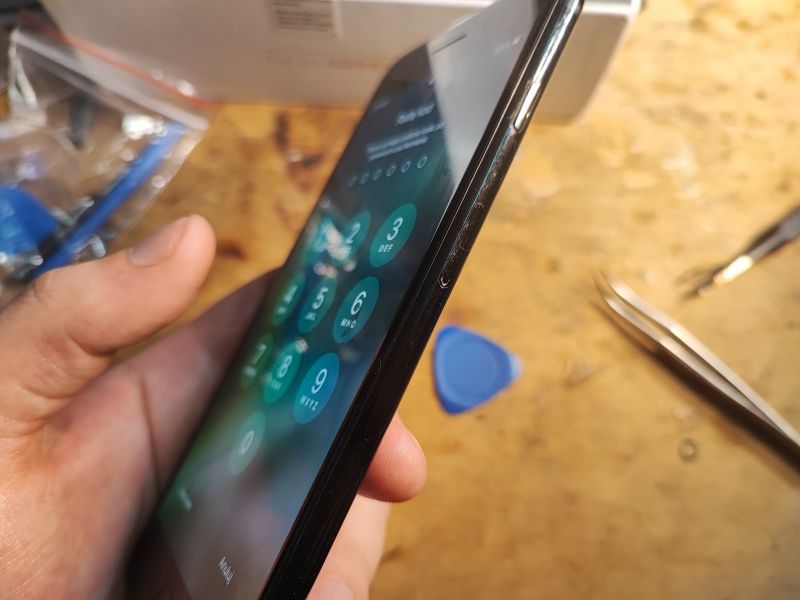
The phone works:
 .
.
In this kit from the topic I still have a sort of insulating frame under the screen, but I haven't fitted it for now.
I screwed the two pentalobe screws into place.
Summary .
The operation was successful - battery replaced. Total cost: £60. In addition, I needed a source of warm air (hairdryer or hot air), a little isopropyl alcohol to loosen the strips under the battery and, in my case, something stronger, flat, to gently lift the screen from the Home button side, although this lifting is generally bad practice and should be possible without it.
The hardest part for me was two stages:
- just levering the screen (the suction cup from the kit came apart and couldn't lift it, maybe I wasn't heating it enough? And so it peeled off)
- putting new tape under the battery (it ended up getting a bit sticky and I cut it off and gave it smaller pieces)
A positive surprise was the removal of the old tape, it's not that difficult.
In addition, there was a hitch in the whole process, because the cheap screwdriver from the kit failed after 3 screws, but the seller quickly sent me a replacement... what quality must these screwdrivers be that one broke so quickly? After all, I didn't try to unscrew the mismatched screw with it....
I can also point out here that I only used two screwdrivers from the set and there were four. I didn't need two more.
Basically, however, I closed in this amount of £60 anyway, there were no additional costs.
For the first time, I'm very satisfied, because nothing was damaged.... so it can be done after all.
I guess that's it, we'll see how long this new battery will last. Now a question for you - have you done a similar replacement yourselves, or would you prefer to have it serviced? .
On the iPad, battery replacement looks even worse...
PS: If I start having problems with this new battery I'll let you know, we'll see if it was worth spending the £60.
Cool? Ranking DIY Helpful post? Buy me a coffee.


