logo elektroda
logo elektroda
X
logo elektroda

[BK7231T] Connect 10W Smart RGB Bulb

jookia  0 3228 Cool? (+4)
📢 Listen (AI voice):

TL;DR

  • The BK7231T-based Connect 10W Smart RGB Bulb, also sold as the Laser 10W Smart RGB Bulb B22, appears under product IDs LSH-B22RGB10W and CSH-B22RGB10W.
  • The WB2L drives KP18055ESP and BP1633 LED drivers with PWM, controlling blue, red, warm white, cold white, and green channels.
  • Its power stage is a 220v capacitive drop circuit that outputs 12v and passes 220v to VIN.
  • Flashing OpenBeken through Tuya Cloudcutter and configuring P6, P7, P8, P24, and P26 restores web-based colour control.
  • Multiple revisions share the same product ID, so you must open the bulb to verify the chipset, and the author warns it may brick.
AI summary based on the discussion. May contain errors.

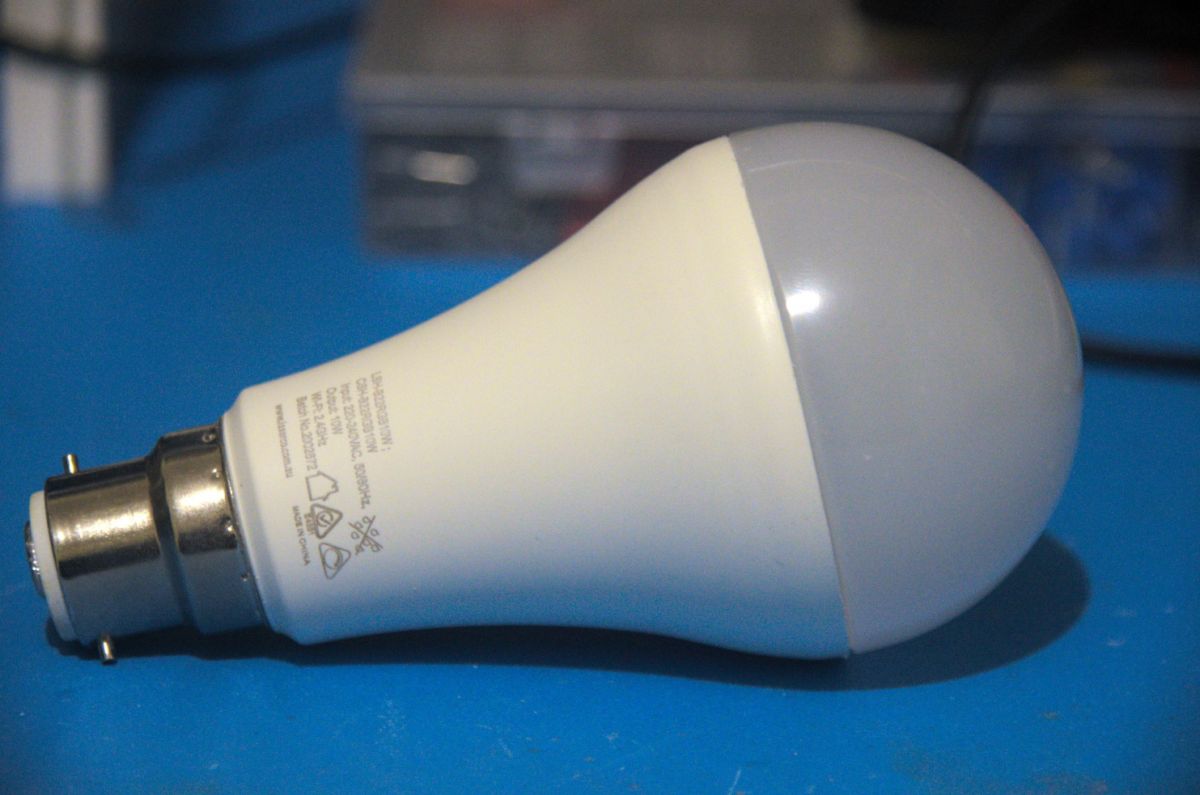
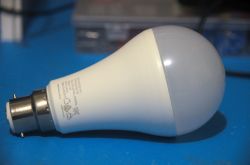
Hello, today I want to introduce the the Connect 10W Smart RGB Bulb, also known as the Laser 10W Smart RGB Bulb B22. I bought this bulb in 2021 and threw away the packaging earlier this year as a cleanup, so I don't have any packaging pictures. Sorry!

Teardown
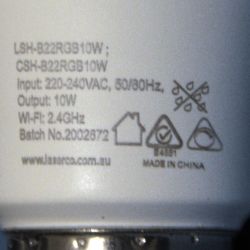


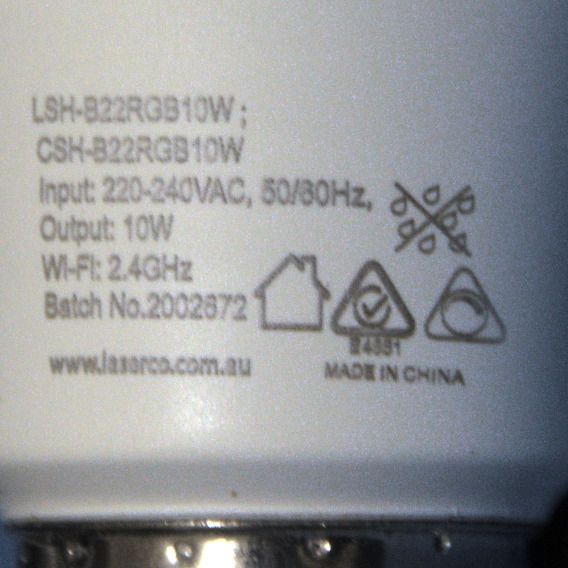
The bulb has two product IDs: LSH-B22RGB10W and CSH-B22RGB10W. Laser Co seems to sell this bulb under its own brand and the Connect SmartHome brand it owns.

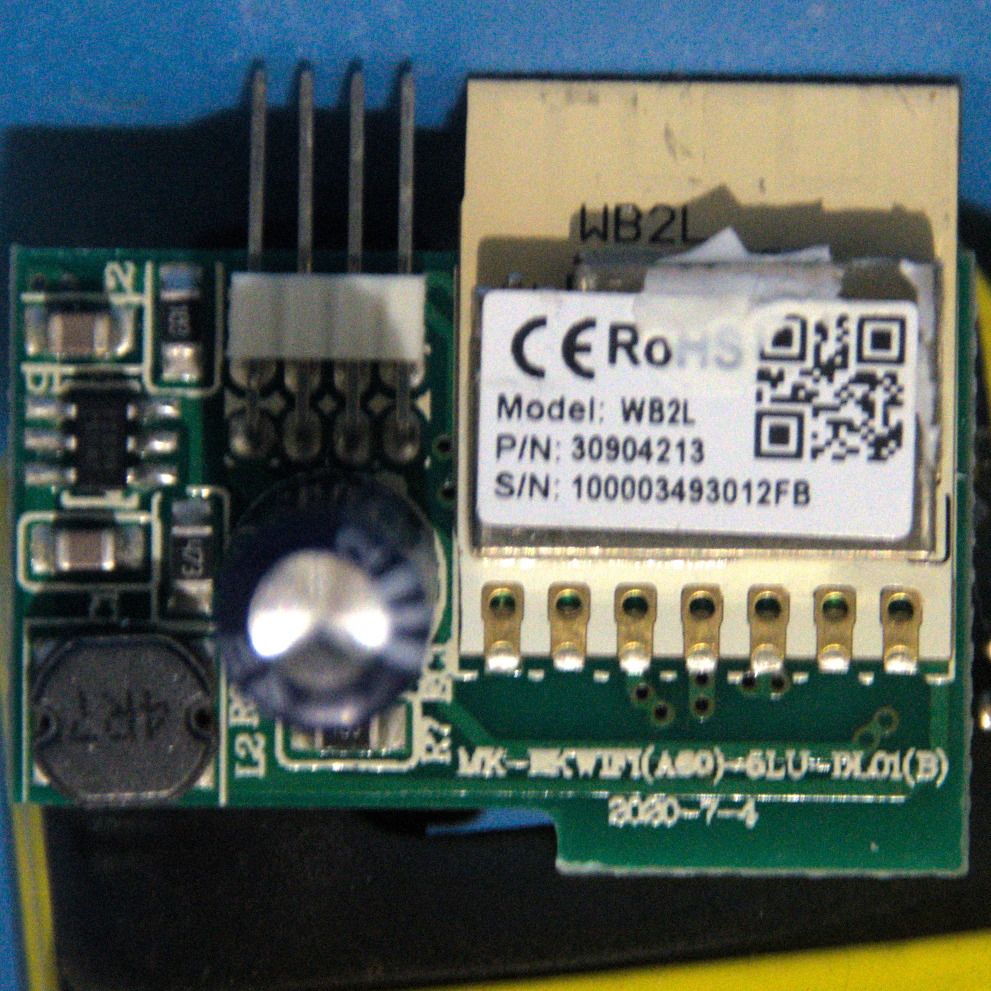
Multiple revisions of this bulb exist (ESP8266 chip, WB2L chip) but the manufacturer doesn't change the product ID. This means you need to open your bulb to find out what's actually inside. Because of this I don't recommend buying this bulb.
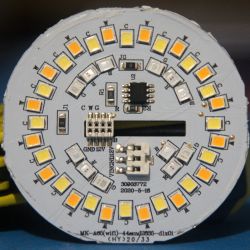


I didn't photograph the power circuit as it's just a 220v capacitive drop circuit that outputs 12v and passes through 220v to VIN.

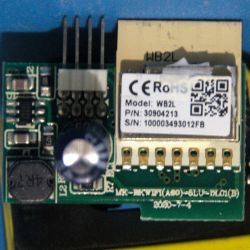
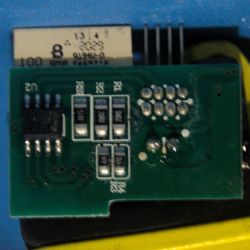
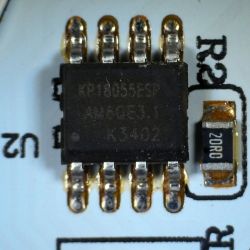
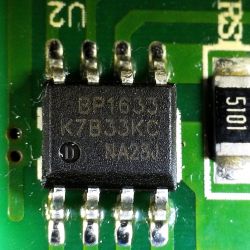
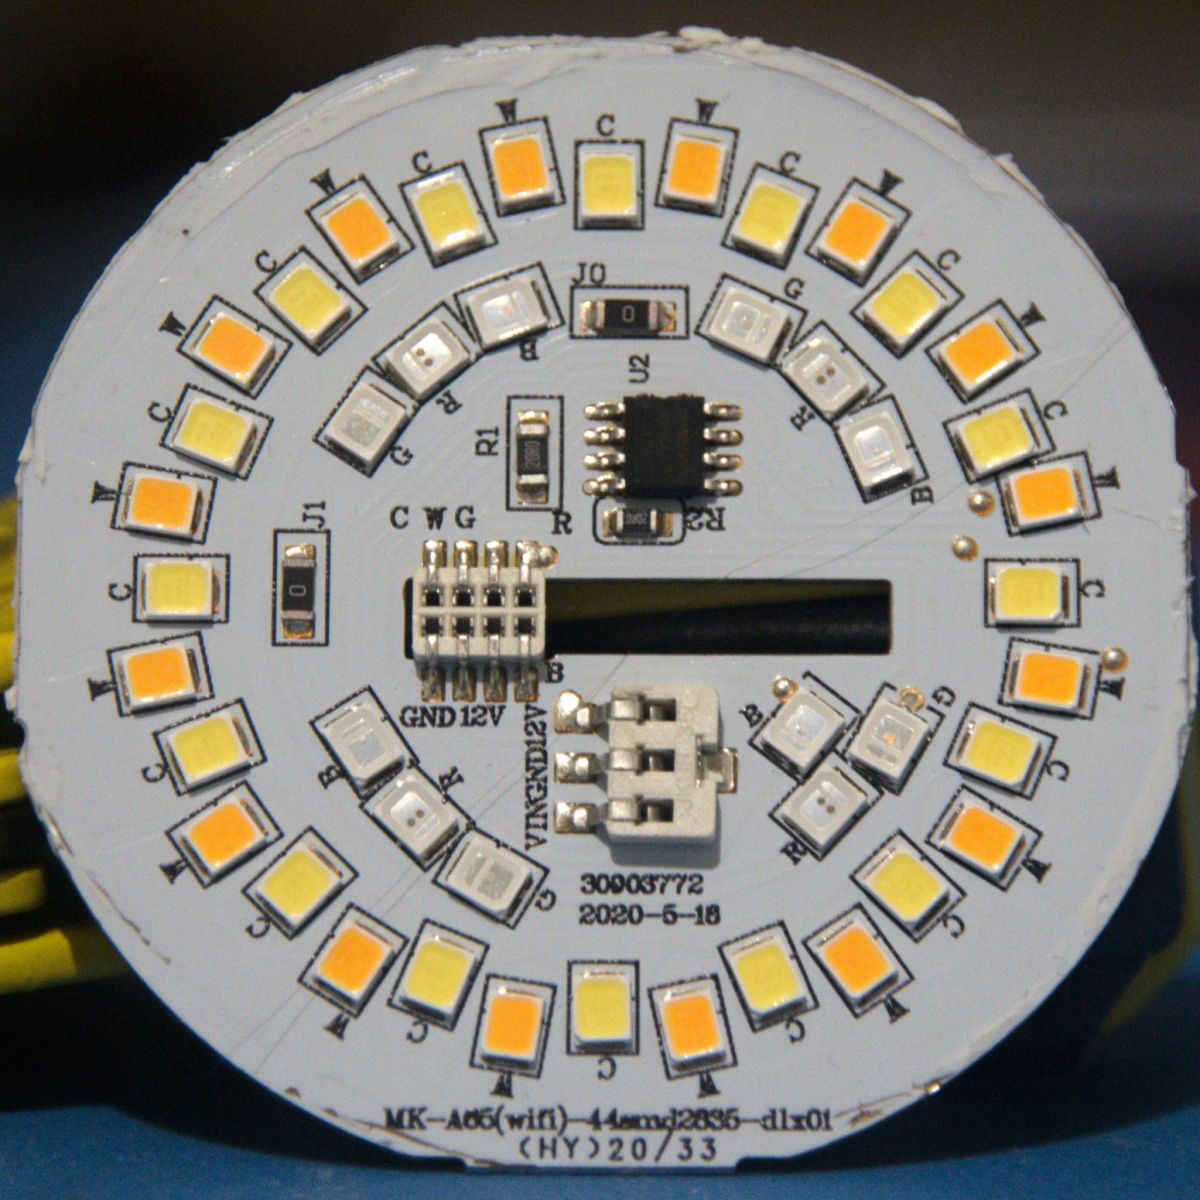
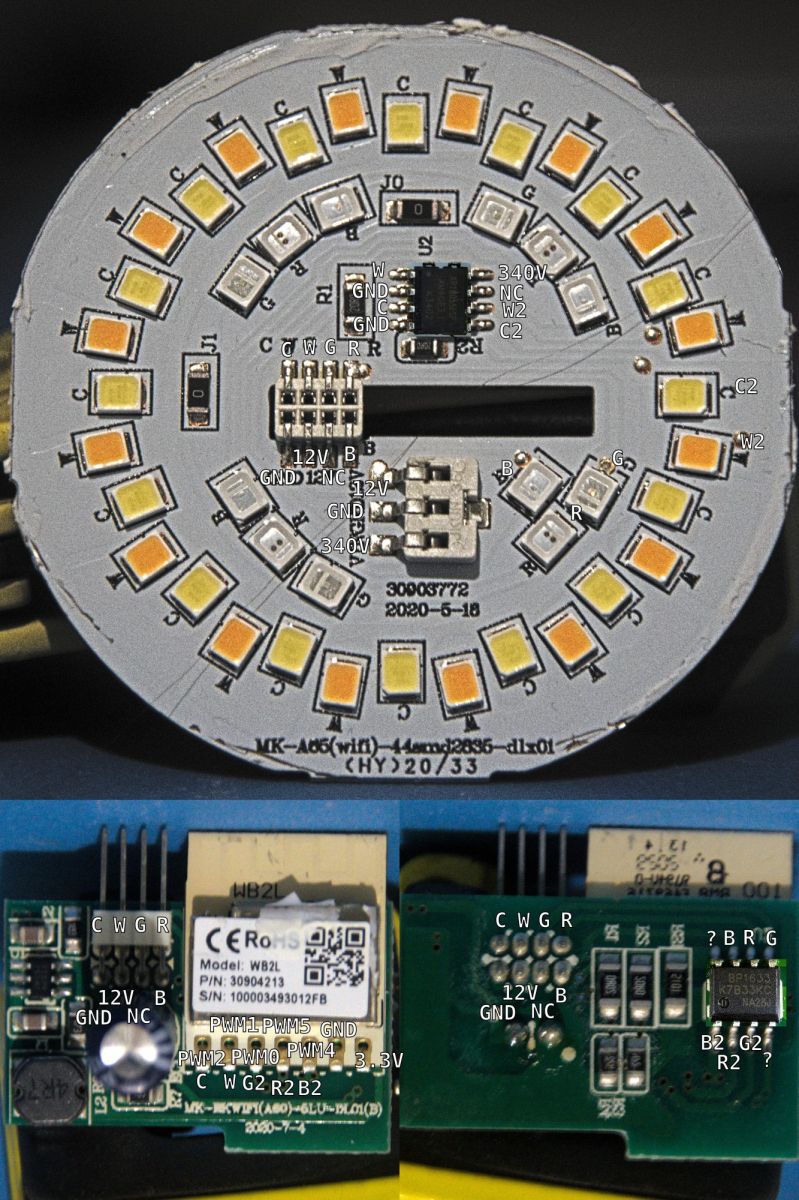
Here's a labelled collage of all the pins (click to zoom!):
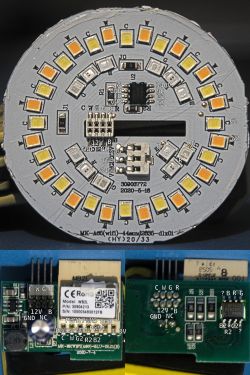


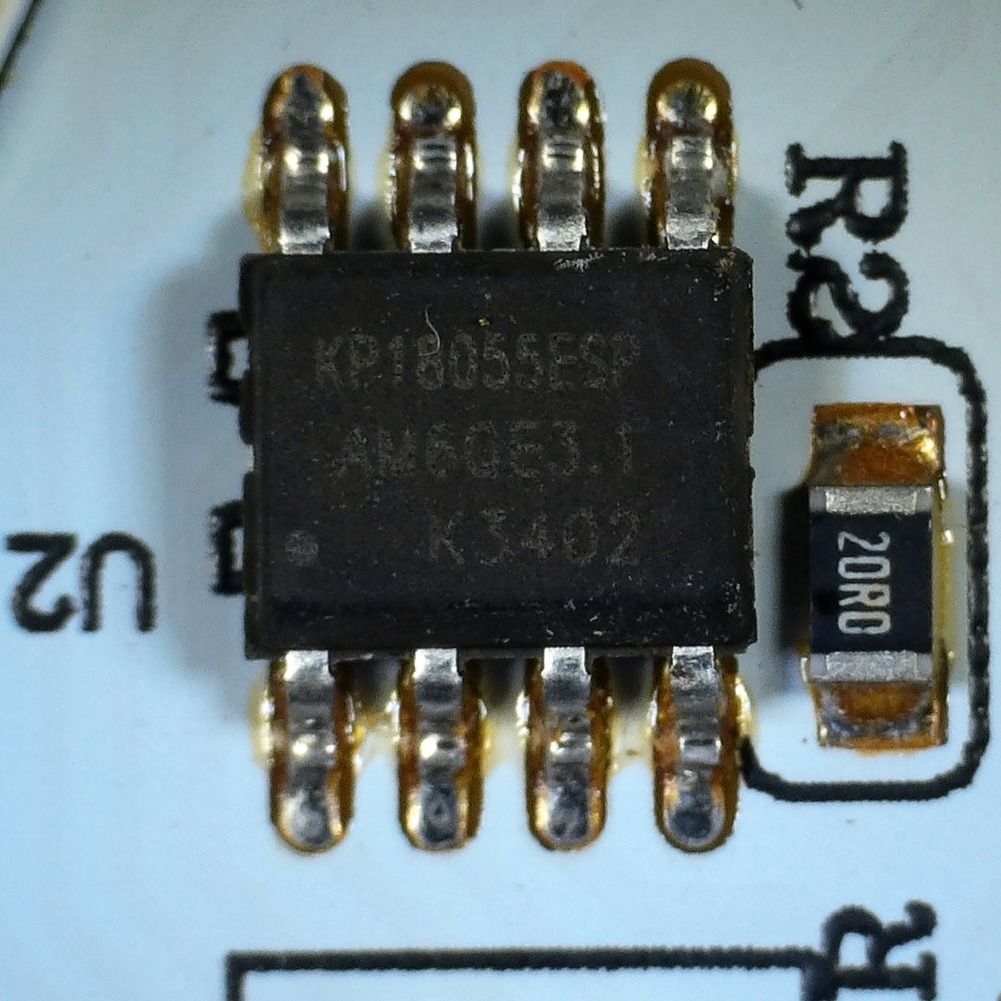
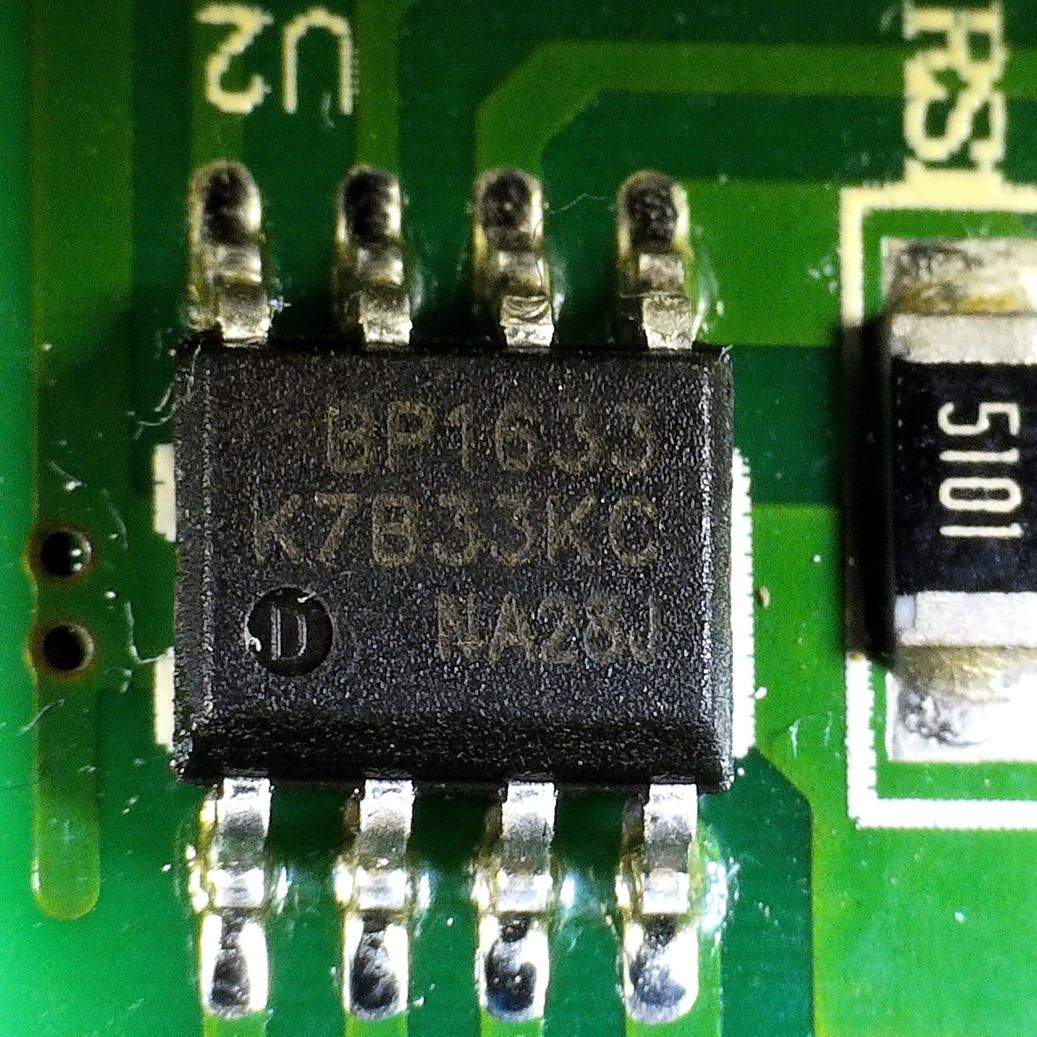
The operation is fairly simple: The WB2L sends PWM signals to two LED drivers. One is a KP18055ESP and the other is a BP1633. The mapping goes like this:

PinLED
PWM4Blue
PWM5Green
PWM0Red
PWM1Warm white
PWM2Cold white


Install guide

Warning: Read all appropriate documentation and warnings for Tuya Cloudcutter and OpenBeken. If your bulb does not have the same chipset as mine it's possible you will brick your device. Follow their installation instructions instead of mine if possible.

Installation is roughly these steps:

1. Set up Tuya Cloudcutter using their instructions
2. Grab the BK7231T firmware in CCtr format from OpenBeken
3. Place it in the custom-firmware directory
4. Run Tuya Cloudcutter and select update firmware mode
5. Select a device by firmware (I used oem-bk7231s-light-ty-1.1.2-sdk-2.0.0-30.06)
6. Select the firmware you've downloaded
7. Follow the instructions
8. Connect to the bulb's Wi-Fi access point
9. Note your device's IP address
10. Change the noted IP's last octect to 1 (so if your IP is 192.168.1.20, use 192.168.1.1)
11. Open the IP in your web browser, in a URL like this: http://192.168.1.1/
12. Configure the bulb's Wi-Fi access point
13. Re-connect to your regular Wi-Fi network

Configuration is done using these steps:

1. Find the IP of your bulb using your router page
2. Open it in your web browser, in a URL like this: http://192.168.1.5/
3. Go to the configuration page
4. Go to the 'Configure Module' page
5. Set P6 (PWM0) to PWM role, channel 1
6. Set P7 (PWM1) to PWM role, channel 4
7. Set P8 (PWM2) to PWM role, channel 3
8. Set P24 (PWM4) to PWM role, channel 2
9. Set P26 (PWM5) to PWM role, channel 0
10. Save the configuration
11. Return to the original bulb page
12. Test that you can set the light colour

That should be it! If you manage to install OpenBeken but the configuration goes wrong you might need to ask online for some help.

Other notes

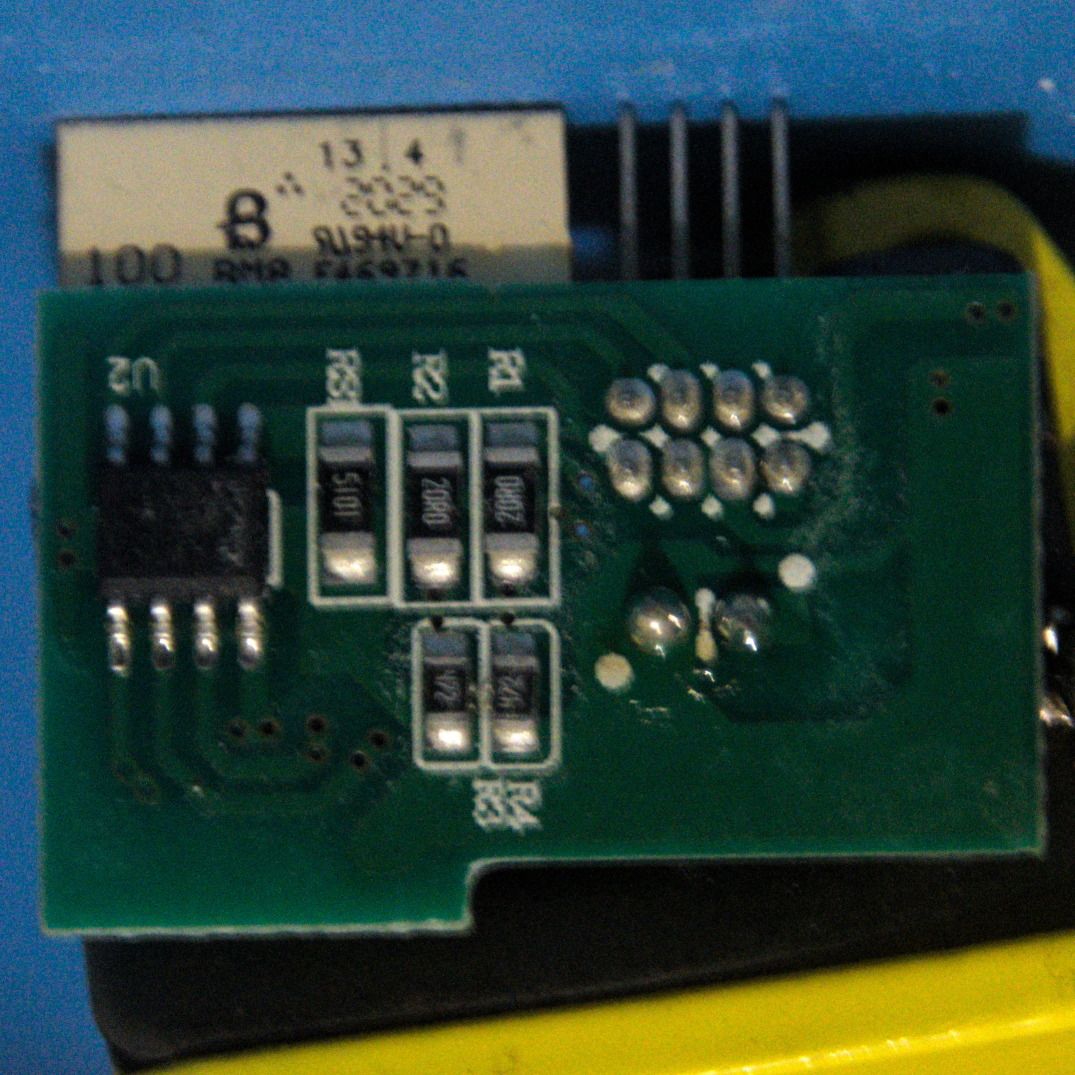
Sorry for the somewhat blurry and incomplete photos. I was in a hurry to have a working light again. I also couldn't find a datasheet for the BP1633 chip.

Full disclosure: I also want to note that this post is an abridged copy of my wiki page here: https://www.jookia.org/wiki/CSH-B22RGB10W . Nothing important is removed, just textual descriptions and general background on what Tuya mods are available.


About Author
jookia wrote 3 posts with rating 4 . Been with us since 2023 year.

Comments

FAQ

TL;DR: 5 PWM channels and “don’t recommend buying” define this FAQ for OpenBeken users flashing the Connect/Laser 10W B22 RGB bulb; it solves chipset-identification, Tuya Cloudcutter flashing, and PWM-channel setup for the BK7231T/WB2L revision. [#20521963]

Why it matters: The same LSH-B22RGB10W and CSH-B22RGB10W product IDs can hide ESP8266 or WB2L hardware, so a blind flash can fail or brick the bulb.

Alternative Product ID behavior Custom-firmware implication
ESP8266 revision Same LSH-B22RGB10W/CSH-B22RGB10W IDs Different firmware path than BK7231T/WB2L
WB2L/BK7231T revision Same LSH-B22RGB10W/CSH-B22RGB10W IDs Thread uses Tuya Cloudcutter plus OpenBeken CCtr firmware

Key insight: Open the bulb before flashing. The product ID alone does not identify the internal module, and the author explicitly warns that the unchanged ID makes this bulb a poor buying choice.

Quick Facts

  • The Connect 10W Smart RGB Bulb is also sold as the Laser 10W Smart RGB Bulb B22, with product IDs LSH-B22RGB10W and CSH-B22RGB10W. [#20521963]
  • The documented WB2L/BK7231T revision uses 5 PWM outputs: PWM0, PWM1, PWM2, PWM4, and PWM5 for RGB plus warm and cold white channels. [#20521963]
  • The power board was described as a 220 V capacitive dropper circuit that outputs 12 V and passes 220 V to VIN, making teardown hazardous. [#20521963]
  • The LED drivers named in the teardown are KP18055ESP and BP1633; the author could not find a BP1633 datasheet. [#20521963]
  • After flashing, the setup example changes a client IP such as 192.168.1.20 to 192.168.1.1 to open the bulb’s temporary web interface. [#20521963]

How do I flash OpenBeken onto a Connect 10W Smart RGB Bulb or Laser LSH-B22RGB10W using Tuya Cloudcutter?

Flash the WB2L/BK7231T bulb with Tuya Cloudcutter in update firmware mode.
  1. Set up Tuya Cloudcutter, then download OpenBeken BK7231T firmware in CCtr format.
  2. Put the file in custom-firmware, select oem-bk7231s-light-ty-1.1.2-sdk-2.0.0-30.06, then choose that firmware.
  3. Follow Cloudcutter prompts, join the bulb Wi-Fi, open 192.168.1.1, and configure normal Wi-Fi. [#20521963]

What pin configuration should I use in OpenBeken for the BK7231T/WB2L version of the Connect CSH-B22RGB10W bulb?

Use five PWM roles: P6 channel 1, P7 channel 4, P8 channel 3, P24 channel 2, and P26 channel 0. In OpenBeken, set P6 as PWM0, P7 as PWM1, P8 as PWM2, P24 as PWM4, and P26 as PWM5. Save the module configuration, return to the bulb page, and test the light color. [#20521963]

What is Tuya Cloudcutter and how does it install custom firmware on Tuya smart bulbs?

Tuya Cloudcutter is the tool used here to replace the bulb firmware through an update-firmware workflow. "Tuya Cloudcutter" is a firmware-installation tool that applies custom firmware to Tuya devices, using a guided update mode and a local setup process after flashing. The thread uses it with OpenBeken BK7231T firmware in CCtr format. [#20521963]

What is OpenBeken and how is it different from the stock Tuya firmware on a BK7231T smart bulb?

OpenBeken is the custom firmware installed after replacing the stock Tuya firmware. "OpenBeken" is custom firmware for BK7231T-class smart devices that exposes local web configuration, including module pins, PWM roles, Wi-Fi setup, and light-channel testing. In this bulb, it lets you map 5 PWM outputs manually. [#20521963]

Why does the Connect 10W Smart RGB Bulb have different internal chipsets under the same product IDs LSH-B22RGB10W and CSH-B22RGB10W?

Laser Co appears to sell multiple hardware revisions without changing the product ID. The thread names ESP8266 and WB2L versions under the same LSH-B22RGB10W and CSH-B22RGB10W identifiers. That means the outer listing cannot prove the internal chipset. The author says you need to open the bulb to know what is inside. [#20521963]

ESP8266 vs WB2L versions of the Laser 10W Smart RGB Bulb — which one is easier to flash with custom firmware?

The thread only documents the WB2L/BK7231T flashing route, not an ESP8266 procedure. The author used Tuya Cloudcutter with OpenBeken BK7231T CCtr firmware on the WB2L version. They warn that a different chipset can brick the device. So the easier version is not established from this thread alone. [#20521963]

How can I identify whether my Connect SmartHome RGB bulb uses a WB2L, BK7231T, or ESP8266 module before flashing it?

Open the bulb and inspect the module, because the product ID does not identify the chipset. The thread states that ESP8266 and WB2L revisions exist under unchanged product IDs. The photographed unit uses a WB2L module, which belongs to the BK7231T flashing path used with OpenBeken. Do not rely on LSH-B22RGB10W or CSH-B22RGB10W alone. [#20521963]

What does the PWM pin mapping mean for red, green, blue, warm white, and cold white LEDs in this BK7231T bulb?

The PWM mapping tells OpenBeken which microcontroller output controls each LED color channel. PWM4 drives blue, PWM5 drives green, PWM0 drives red, PWM1 drives warm white, and PWM2 drives cold white. This creates a 5-channel RGBCW bulb configuration. Wrong mapping can swap colors or break white-channel control. [#20521963]

How do KP18055ESP and BP1633 LED driver chips work in the Connect 10W Smart RGB Bulb?

The WB2L sends PWM control signals to two LED driver chips, a KP18055ESP and a BP1633. Those drivers then control the LED channels for red, green, blue, warm white, and cold white. The thread does not include BP1633 electrical specifications, because the author could not find its datasheet. [#20521963]

What should I do if Tuya Cloudcutter bricks or fails to flash my BK7231T smart bulb?

Stop following this bulb-specific guide if the chipset differs from the documented WB2L/BK7231T version. The author warns that using the wrong path can brick the device. If OpenBeken installs but configuration fails, ask online for help. The thread gives no recovery wiring, serial-flash method, or unbrick procedure. [#20521963]

How do I find and open the temporary OpenBeken Wi-Fi access point after flashing a smart bulb?

Join the bulb’s temporary Wi-Fi access point after Tuya Cloudcutter finishes flashing. Note the IP address assigned to your device. Then change the last octet to 1 and open that address in a browser. The thread gives 192.168.1.20 becoming http://192.168.1.1/ as the example. [#20521963]

Why do I need to change the last octet of my IP address to access the OpenBeken setup page after flashing?

You change the last octet to reach the bulb’s access-point gateway address. In the thread’s example, the connected device receives 192.168.1.20, so the setup page sits at 192.168.1.1. This lets you open OpenBeken’s temporary web page before reconnecting the bulb to normal Wi-Fi. [#20521963]

What safety precautions should I take when opening a 220V smart bulb with a capacitive dropper power supply?

Treat the opened bulb as a mains-voltage device, because the power circuit passes 220 V to VIN. The thread describes a 220 V capacitive dropper that outputs 12 V and still carries 220 V internally. Do not work on the board while powered. Avoid touching exposed power circuitry during teardown or testing. [#20521963]

How do I troubleshoot incorrect colors or swapped channels after configuring PWM outputs in OpenBeken?

Check the five PWM roles and channels against the documented mapping. Set P6/PWM0 to channel 1, P7/PWM1 to channel 4, P8/PWM2 to channel 3, P24/PWM4 to channel 2, and P26/PWM5 to channel 0. Then save and test color output from the main bulb page. Swapped colors indicate a wrong channel assignment. [#20521963]

What are the risks of buying a Connect or Laser 10W Smart RGB Bulb for OpenBeken if the manufacturer does not change the product ID between revisions?

The main risk is buying a bulb that does not match the documented WB2L/BK7231T hardware. The same LSH-B22RGB10W and CSH-B22RGB10W IDs can cover ESP8266 and WB2L revisions. The author’s expert warning is direct: “I don’t recommend buying this bulb.” A wrong chipset can brick the device during flashing. [#20521963]
AI summary based on the discussion. May contain errors.
%}