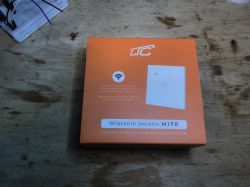
Hello, today I will show you another firmware change guide for a WiFi light switch popular in our country. Device will be flashed with OpenBeken , futhermore, we will also automatically detect GPIO configuration for this device with our BK7231 Easy Flash Tool.
Purchase of LXM170
I did the flashing for the reader, who sent me this device, But I know where the switch was purchased:

60 zlotys (about 15$) for the switch, it's not that bad, especially since it's in our country....
Description is mainly a marketing boast in every possible way:
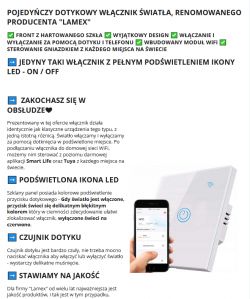
POLISH PRODUCER LAMEX - are they sure? I rather think it's a Tuya product imported from China?

Time for some specifics:
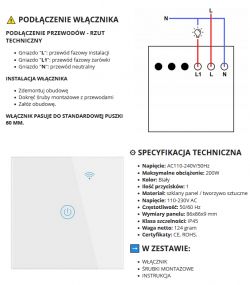 That is, it's the simplest switch as possible, no RF, no "no-neutral" mode, etc.
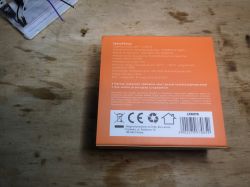
Packaging:
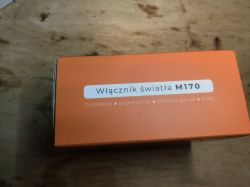

Content - although there are screws:
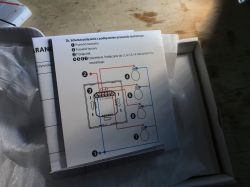
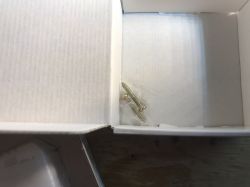
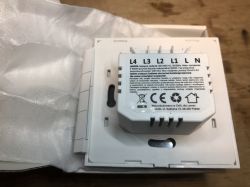
Teardown of LXM170
Now removing the front:
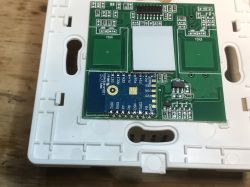
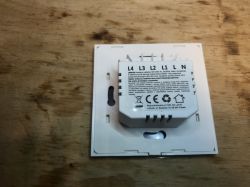
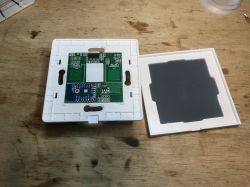
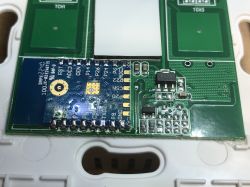
So here we have a WiFi module (probably something from BK7231), a pushbutton controller in SOIC, a three-legged LDO and a transistor from relay control. Let's look further:
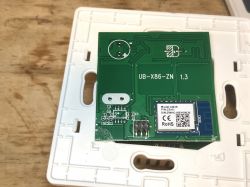
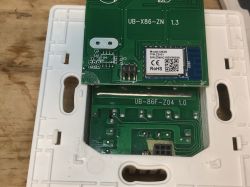
The module is a CB3S:
https://developer.tuya.com/en/docs/iot/cb3s?id=Kai94mec0s076
By the way, you can also see the place for the RF chip in SOIC8 along with the oscillator, but here it is not soldered.
Flashing our firmware
Let's upload OBK:
https://github.com/openshwprojects/OpenBK7231T_App
In order to do it, we use our flasher:
https://github.com/openshwprojects/BK7231GUIFlashTool
Solder RX, TX and GND and 3.3V:
Applied flux:
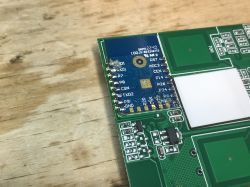
Flashed:
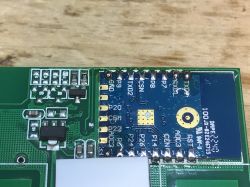
Soldered:
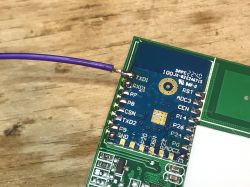 .
.
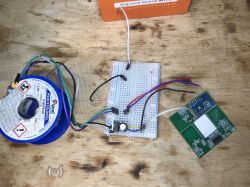
Flasher layout:
Flasher correctly reads Tuya configuration with Read operation:
Code: YAML
https://openbekeniot.github.io/webapp/templateImporter.html
Template:
Code: JSON
Human-readable description:
Device seems to be using CB3S module, which is BK7231N chip.
- Relay (channel 1) on P6
- WiFi LED on P26
- Button (channel 1) on P10
The OBK configuration is ready, no need to guess anything. You can already make the connection with Home Assistant.
For more info, you should take a look at the Elektroda com channel on Youtube:
https://www.youtube.com/@electrodacom
Summary
This was the simplest switch as possible, no extra features, but at least it was easy to cut from the cloud and connect to Home Assistant. It was a bit easier than the switch which we presented on YT , because here we didn't have to desolder the controller in the SOIC because it wasn't connected to the RX/TX pins (when something is connected to the RX/TX port it can interfere with programming), so I think I can easily this switch to someone looking for something to easily change firmware.
Cool? Ranking DIY Helpful post? Buy me a coffee.


