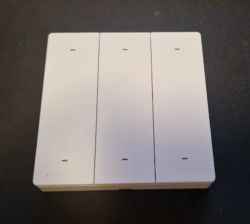
Sonoff R5 Scene Controller is a battery-powered 6-gang remote wall switch featuring three different button events (click, double or hold). It is usually paired with Sonoff Gateway, but here we will show you how you can pair it with ESP32 Tasmota device and use it with Home Assistant to create custom automations.
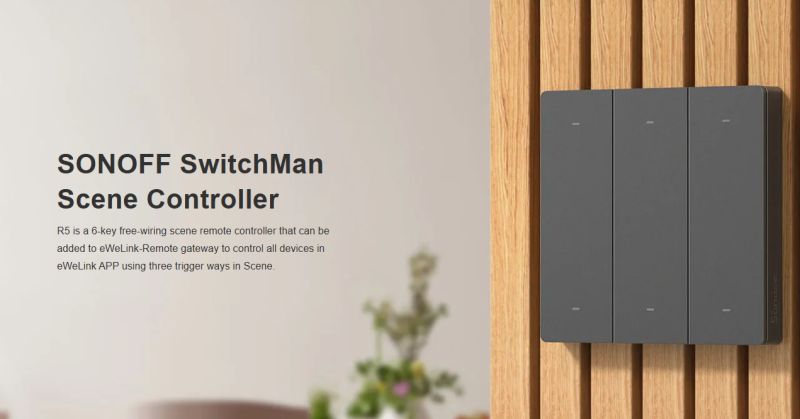
Sonoff R5 Scene Controller features physical button (tactile switches), so it may be preferred by some users over the solutions based on touch buttons.
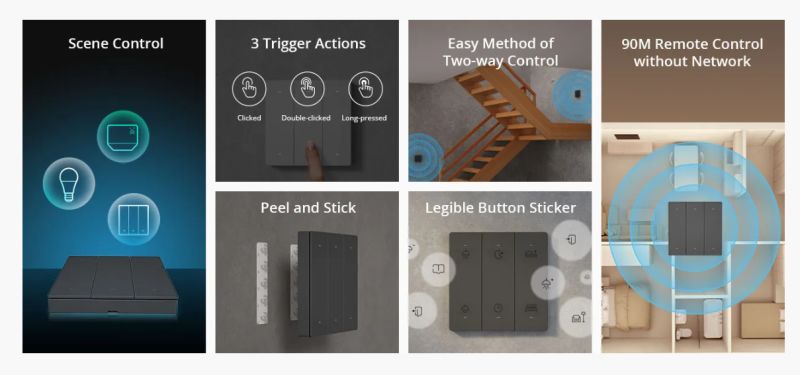
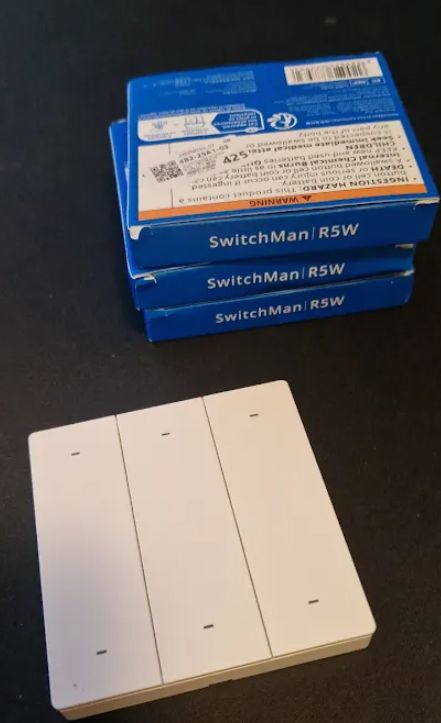
So, I assume that you have at least one R5 switch. You don't need the Sonoff gateway for this guide.
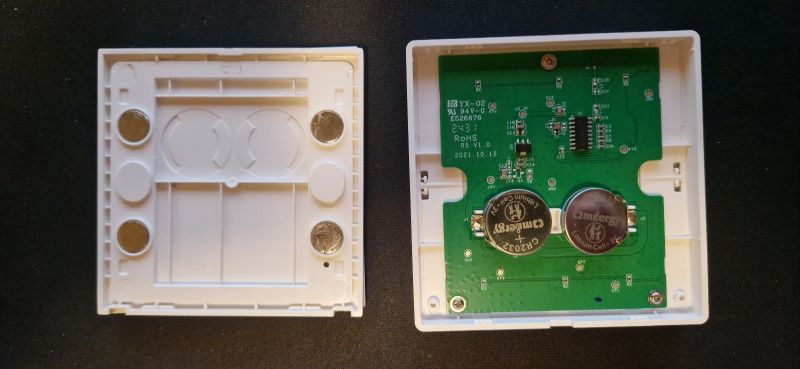
Just make sure that your R5 has required batteries, as it runs on two CR2032.
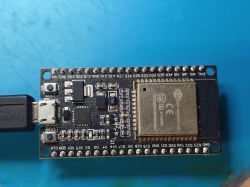
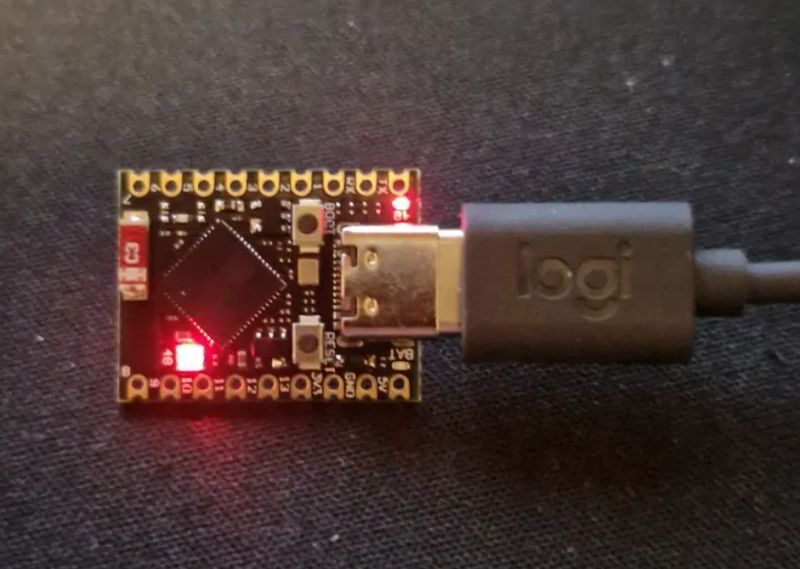
Then, you will need ESP32 device. Even a tiny board like ESP32-S3 Super Mini USB Type-C will work well.
Flash it with Tasmota Mi32-bluetooth version (file ends with *-mi32.bin) - https://github.com/Jason2866/Tasmota-specials/tree/firmware/firmware/tasmota32/other
Choose Tasmota matching your ESP - there are multiple ESP32 versions, C3, S3, etc. Use esptool or Tasmota online installer, or any other flasher of your choice.
Once Tasmota is running and connected to your WiFi, run in Tasmota console:
SetOption115 1
This will enable BLE. Then, in Tasmota Berry scripting console, paste this to auto load scripts:
code is shown below as image and also present in attachment - removed due to spam filter
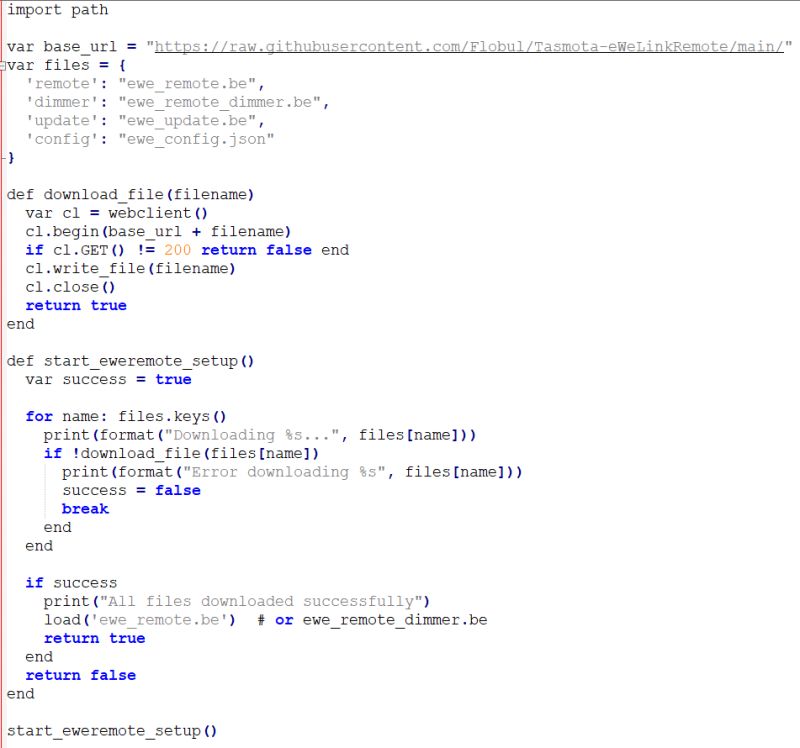
This will fetch required scripts from Github. Remember, it requires internet access!
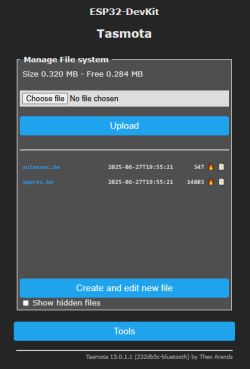
Check the console output and once completed under Manage File system check if the needed files are present:
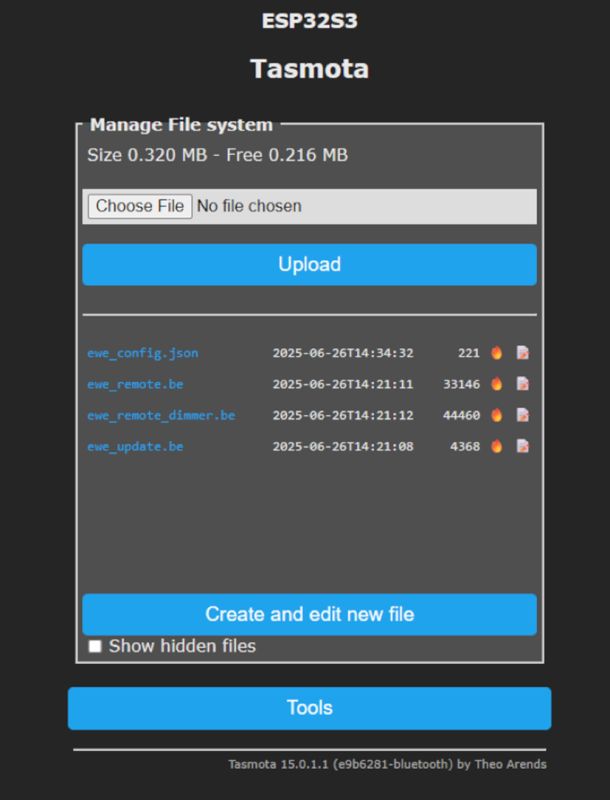
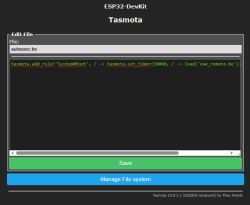
Click on create and edit new file, name it autoexec.be and paste this line in:
code is shown below as image and also present in attachment - removed due to spam filter
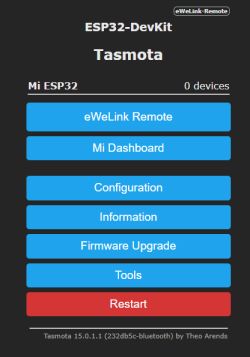
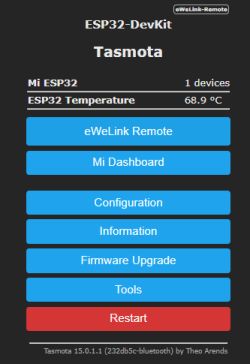
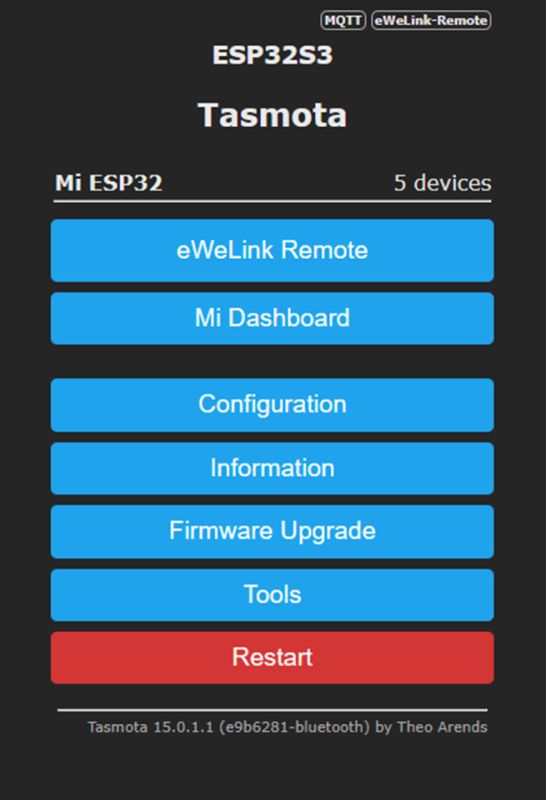
Device should restart and you will get a new button on tasmota device home page:
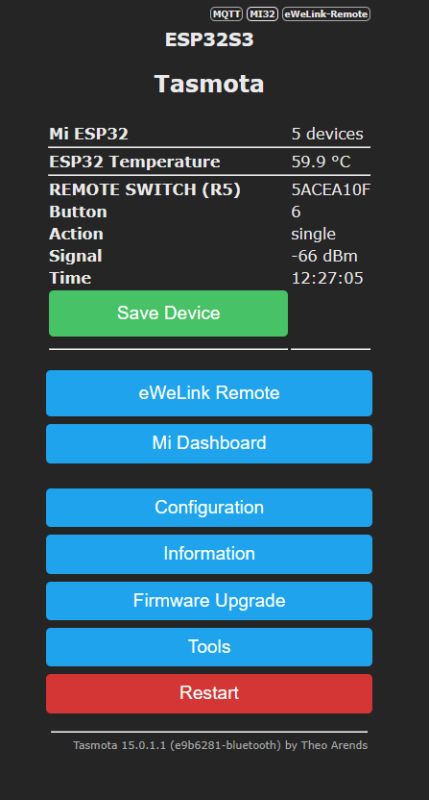
Now click a button on your Sonoff device it should appear above and click Save Device:
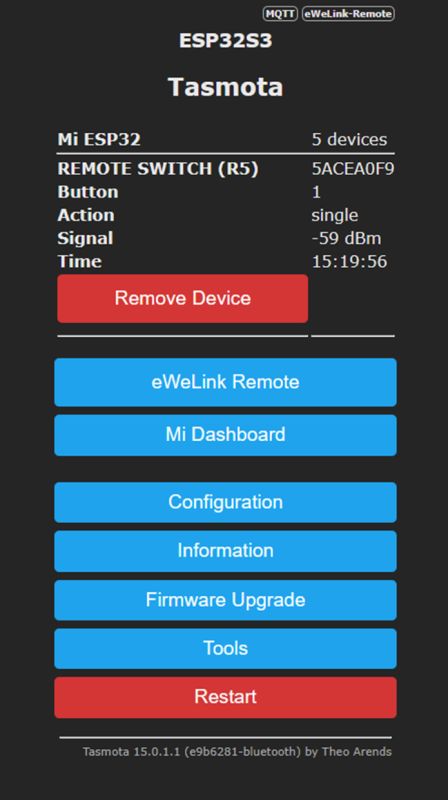
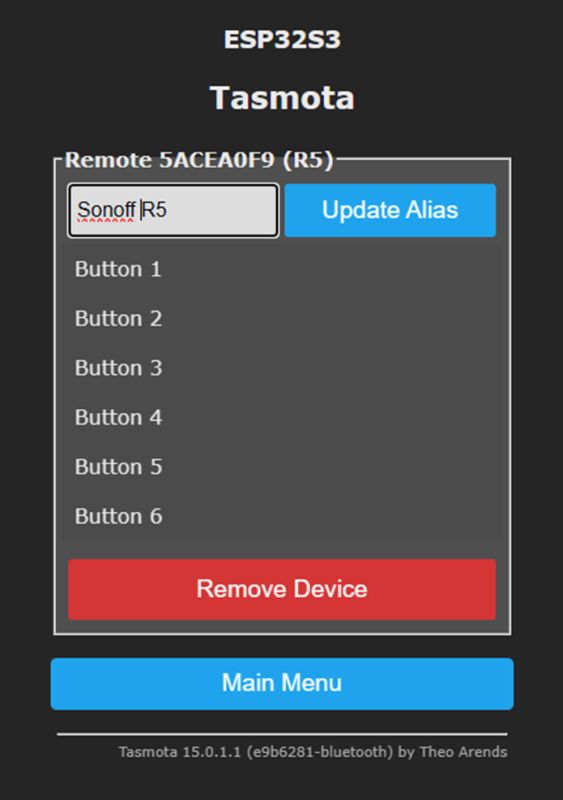
Once device is saved if you click on the eWeLink Remote button you can set up Alias name which will be important once you start integration into HA.
Name the device something recognizable (Sonoff R5 in my case):
Configure MQTT with the data of your choosing, just like you usually do with Tasmota:
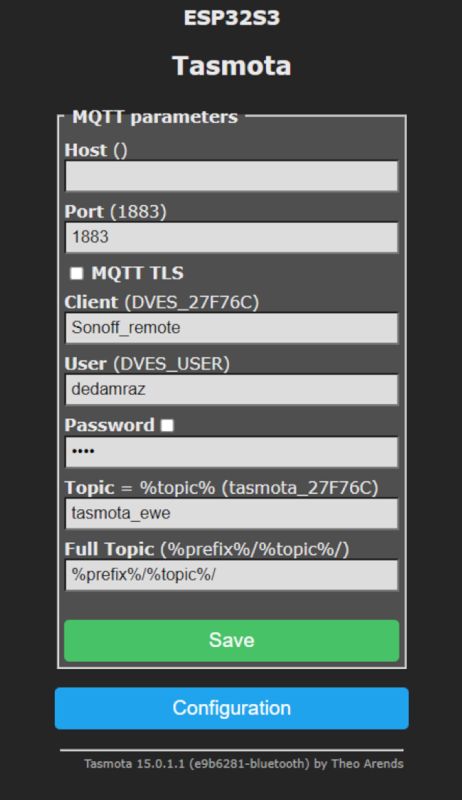
Device will reboot and connect to your HA, or should say MQTT running on HA.
Go back to tasmota console and type this in:
EweTopicMode 3 %prefix%/remote/%alias%/%type%
Now we can test out HA MQTT setup, go into MQTT and click configure, under Listen to topic type:
/tele/remote/#
and start listening, press a button on your device, and you should see your device come up:
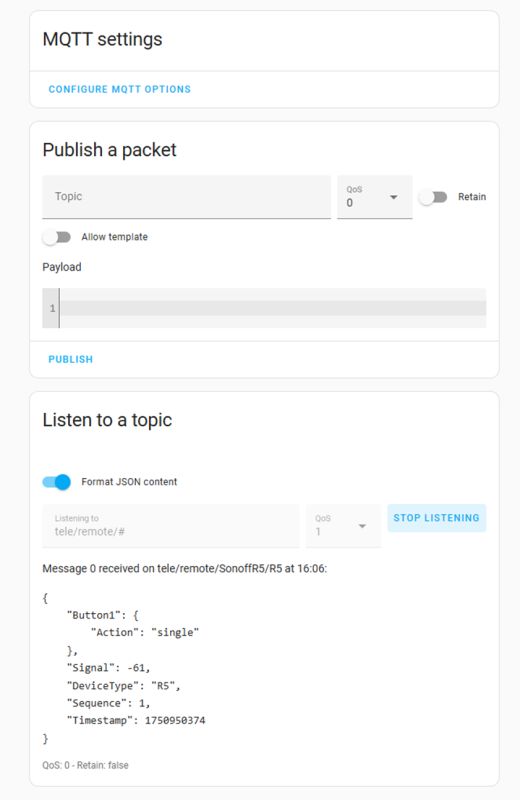
Each button event (click, double click or hold) is published via ESP32 to Home Assistant.
Almost there, go back in your browser and while still in MQTT, click on the 3 dots on the side of core-mosquito integration entry and select Add MQTT Device.
Name your device, give it a model and configuration URL (http://<tasmota_device_IP>)
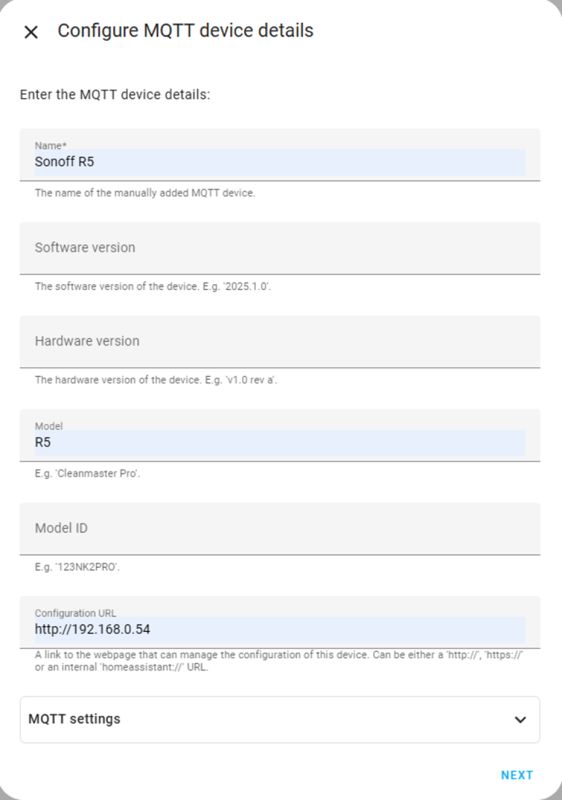
On the next screen Type of entity should be Binary sensor and entity name you chose for yourself:
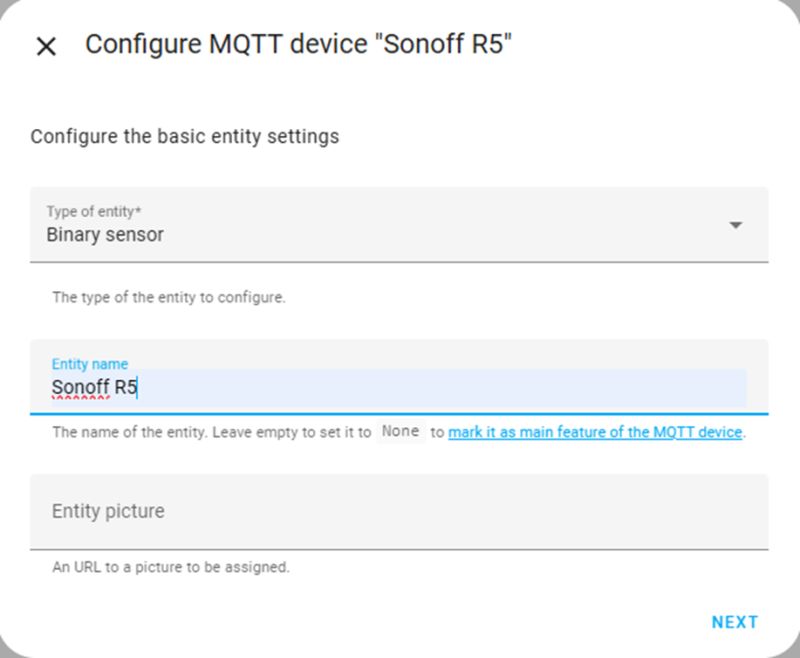
On the next screen leave the device class empty, you can change this later if you need to.
Click next and now we are configuring MQTT specific data. State topic should be:
tele/remote/<your_device_name>/<model>
Value template field should contain this string:
{% if value_json.Button1.Action == 'single' %}ON{% else %}OFF{% endif %}
Payload for on and off should remain the same, click on advanced settings and for OFF delay type in 1, leave expire after blank:
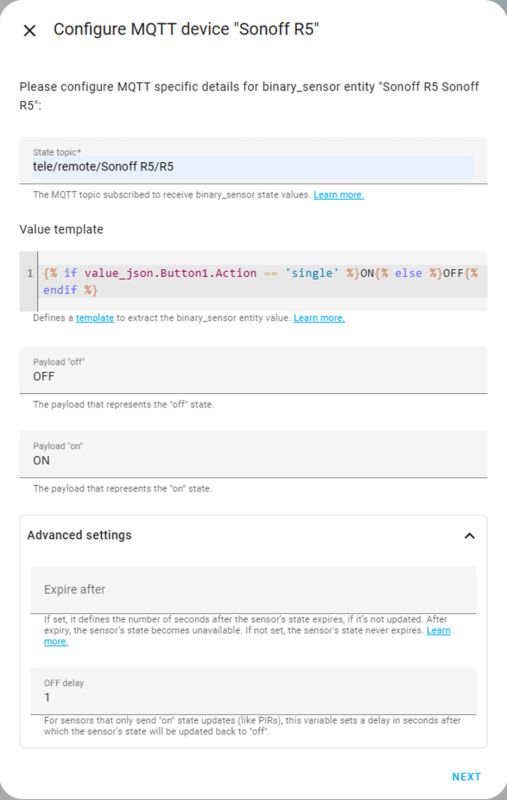
We are done, finish the wizard and a new Sonoff R5 entry should appear, click on 1 device under it’s name and test:
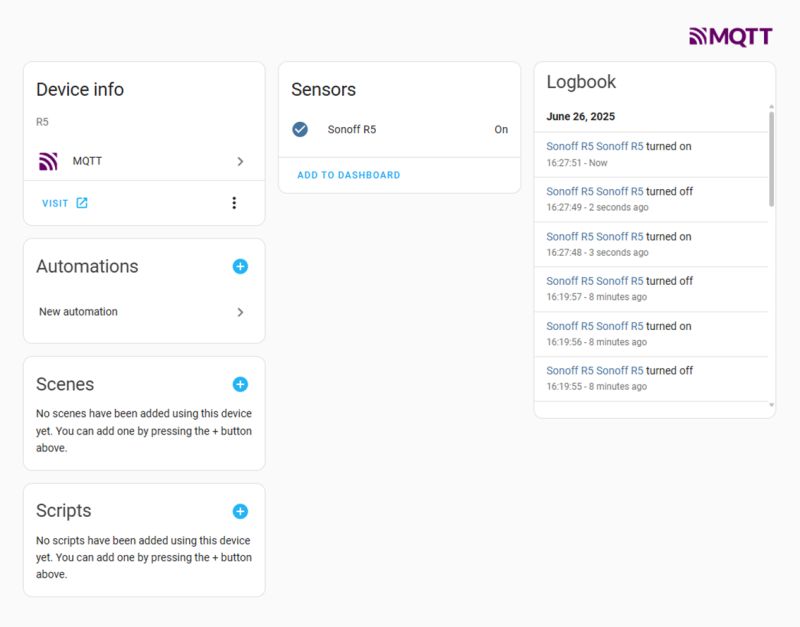
The same approach can be used for other buttons, just use names like Button2, Button3, etc. Similarly, you can use event names like "double" or "hold".
The same way can be used to connect multiple R5 buttons to single ESP, just set different aliases:
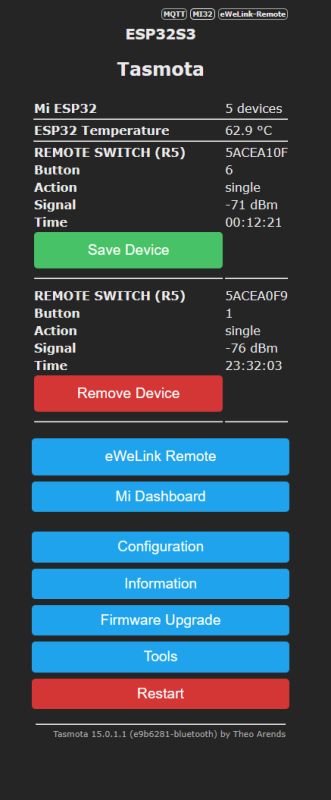
That's how you can connect multiple R5 buttons to Home Assistant via ESP32. Of course, you can also use any other MQTT server and just process published data there, even with Node-Red. For more information about eWeLink Tasmota support, see Flobul/Tasmota-eWeLinkRemote readme:
https://github.com/Flobul/Tasmota-eWeLinkRemote?tab=readme-ov-file#installation
Full credit goes to Flobul, you can also check his repository for other supported devices like dimmers, etc. Also special thanks to @DeDaMrAz for testing, photos.
That's all for now, but in the next part we may try to connect other devices to our gateway. Let us know if you've found this guide useful - do you have any experience with using ESP32 as BT gateway? Feel free to share.
Cool? Ranking DIY Helpful post? Buy me a coffee.


