 .
.
Here I'll cover running the ESP32-Cam in PlatformIO, analyse how streaming video (?) from this board works, and show how to access the pixels of the image taken from the camera (e.g. to draw rectangles).
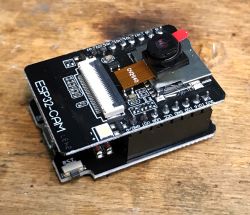
The ESP32-Cam is a small and handy board offering an ESP-32S module (4MB Flash, 520KB RAM) along with an additional 4MB of external SRAM, and the eponymous camera (OV2640) with up to 1600×1200px resolution. Next to the camera there is also an LED which can be used as a backlight, and on the other side of the board we have a slot for a microSD card to, for example, save photos taken on it.
The ESP32-Cam is normally programmed via UART, like other ESP modules, but it is worth buying an ESP32-Cam-MB adapter for it, which is basically a CH340G-based USB to UART converter.
You can get a whole kit like this for a few tens of zlotys, depending on whether you buy in our country or import from China.
Here I will present just such a kit:
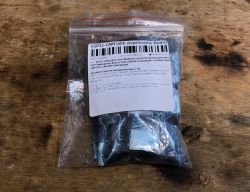
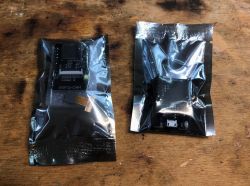
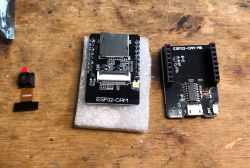
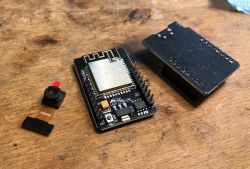
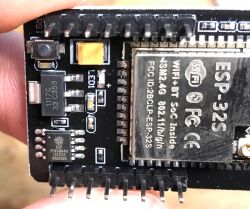
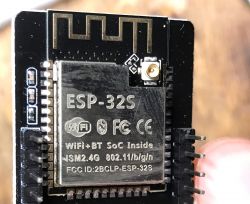

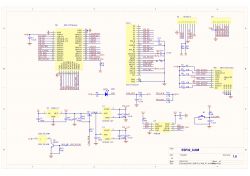
Diagram:
Demonstration software .
The board has a pre-loaded demonstration program. I have posted a copy of it on my repository:
https://github.com/openshwprojects/FlashDumps/commit/8d0b74c26a26db29a91fd226e7d85909b4ca6eb4
The program creates an open access point that anyone can join:
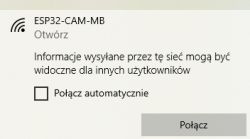 .
.
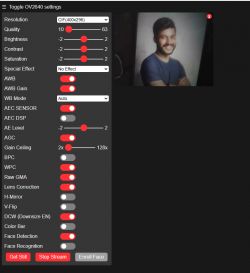
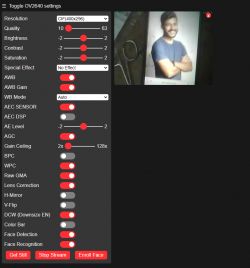
A control page is available at IP address 192.168.4.1, along with a live view of the camera:
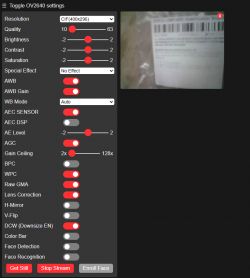
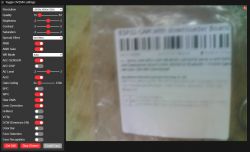
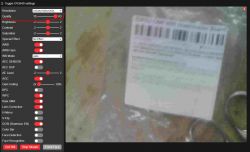
 .
.
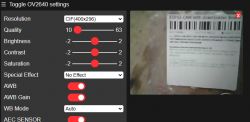
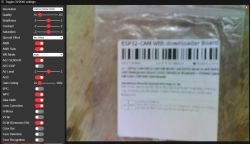
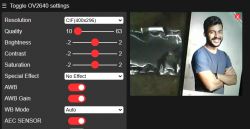
Something didn't sit right with me at first, and then I realised that I had tested without removing the protective film from the lens! It was because of this that everything was so blurry. Here's another one now, with the film off:
 .
.
Face detection in both cases did not work either on my person or on photos from the internet.
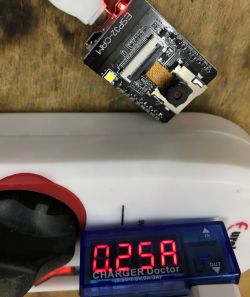
Here is the current draw when streaming video, 250mA measured before LDO, at 5V:
 .
.
<br> Compile the demo in PlatformIO .
Now it's time to compile and upload something yourself. There are plenty of tutorials for this Arduino IDE board on the internet, so I took the PlatformIO. PlatformIO is a free add-on for Visual Studio Code. I tried running a demo project in it. It can be found in various forms on the internet, such as here:
https://github.com/grimmpp/esp32-cam-example
There was a bit of trouble at first with the missing fd_forward.h , but I reworked the code to remove this dependency.
src/app_httpd.cpp:22:10: fatal error: fd_forward.h: No such file or directory
The full project can be downloaded here:
https://github.com/openshwprojects/esp32cam-simplified/tree/main/esp32cam-simplified
Just open in PlatformIO and compile, the result is the same program as preloaded, only without the face recognition.
There is no point in giving screenshots here as everything works analogously... .
It is worth remembering that in main.cpp here we have a choice of tile type:
Code: C / C++
The main function also initialises the camera accordingly depending on whether SRAM is available:
Code: C / C++
<br> Minimal example in PlatformIO .
This may come as a bit of a surprise, but to fire up a simple stream, we only need to make a single HTTP request, which is the type of content returned by the server. Such a request is automatically sent repetitively by the browser, resulting in a moving image:
Code: C / C++
The "multipart/x-mixed-replace;boundary=" content type in HTTP allows multiple pieces of content to be streamed in a single request, where each piece replaces the previous one. Here it is used in conjunction with JPG compression to stream video as a sequence of JPEG images in real time, thereby creating a simple web "webcam".
In this situation, there is no HTML code here, we have a direct link to the stream, just as you can directly open an image in your browser, or there an XML file....
Add HTML .
We can now add an HTML document in which we embed our camera view. Just a note - we can't just add support for another path, because the browser refreshes this camera view all the time. For this reason, it will be more efficient to create a separate mini server, a separate TCP socket, etc:
Code: C / C++
Now the stream will be on a port 1 larger, i.e. as we create the server on 80 by default, the stream will be on port 81. This is because somehow these sockets need to be distinguished.
The stream method stays the same, so let's just look at the page_handler, where I put a simple page:
Code: C / C++
The original esp32-cam example has the HTML documents encoded as hex in separate headers, this I typed the whole thing "at my finger tips" for simplicity.
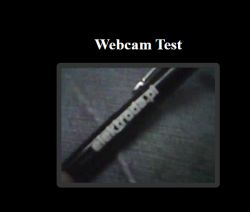
The result:
 .
.
ADVERTISEMENT
<br> Download JPG .
We already have the function that creates the JPG image in the code, so we just need to use it. So let's add a button to download a snapshot from the webcam:
Code: HTML, XML
You also need to add its handler:
Code: C / C++
Handler implementation:
Code: C / C++
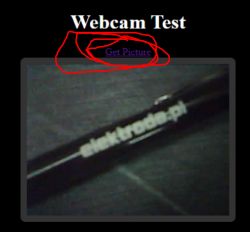
The result is a link which, when pressed, will download our JPG image:
 .
.
<br> LED operation .
The LED in question is located on pin four:
Code: C / C++
We set this pin to output mode just like on the Arduino:
Code: C / C++
We will add an HTTP endpoint to handle the pin:
Code: C / C++
The endpoint also needs to be registered:
Code: C / C++
It would now be possible to send a manual POST to control the diode, But it is easier to add buttons on the control panel:
Code: HTML, XML
From now on it is possible to control the LED from the web page:
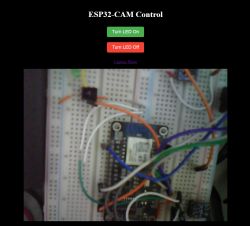 .
.
The LED consumes approximately 50mA:
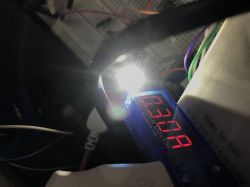
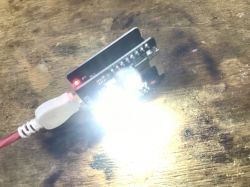 .
.
Image format .
Now we will try to apply something to the captured image. We can get the frame buffer with the esp_camera_fb_get function:
Code: C / C++
The structure of the buffer is as follows:
Code: C / C++
Here we mainly have its data (bytes), dimensions (width and height) and pixel type. Various pixel formats of different sizes are supported here:
Code: C / C++
In addition to the usual formats (3 bytes per pixel - RGB888, 3 bytes per two pixels - RGB444 - 4 bits per colour, so 4+4+4 = 12 bits per pixel), we also have here the possibility to receive pixels immediately subjected to lossy JPG compression - the PIXFORMAT_JPEG format.
So my first thought was to change the pixel format from JPG stream to e.g. RGB555 in the camera initialisation:
Code: C / C++
Unfortunately this solution is not an option as it spoils both the existing image capture and the stream. I have not been able to get this to work even at small resolutions, so I suspect that the library used may not support it. For this reason, I decided to use the fmt2rgb888 and fmt2jpg functions to first convert the JPG stream from the camera frame to RGB888 data, and then (after editing) to change that data back to JPG. I put my data processing itself in a function. Here is a new callout of the download of one image, along with my editing of it:
Code: C / C++
NOTE: The above code assumes that FRAMESIZE_SVGA [800x600] resolution is set.
The whole operation here is very inefficient, but that's not the point. First, I fetch the camera frame with the esp_camera_fb_get function, then allocate a buffer for pixels (RGB888 format), then decode the frame to those pixels (fmt2rgb888), release the camera frame (esp_camera_fb_return), edit the pixels (my_demo_rgb888), and then finally convert them back to JPG (fmt2jpg). Of course, I also free up memory.
What's left is the pixel editing itself - well, since we already have classic RGB888, you can, for example, scratch the rectangles:
Code: C / C++
Other operations can be implemented analogously, including, for example, drawing text.
Result:
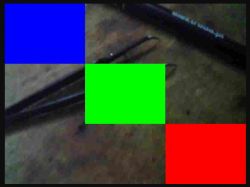 .
.
<br> How to configure OTA in PlatformIO? .
OTA, or software update over WiFi, has already been discussed in a related topic:
How to program a Wemos D1 (ESP8266) board in the shape of an Arduino? ArduinoOTA in PlatformIO .
Analogous here - I refer you to the documentation:
https://docs.arduino.cc/libraries/arduino_esp32_ota/
Summary .
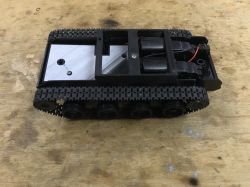
Very cool board, I am comfortable programming with it in PlatformIO. There are already some interesting projects realized on it on Github, so I will probably present something else based on it. Maybe some simple classification objects, or some kind of text or QR reading in simple form? We'll see, I've got an interesting chassis module from a robot besides, just need to protect the motors so they don't kill the ESP with surges:
 .
.
From my side, that's it, but have any of you already done any project on ESP with camera? Feel free to discuss.
PS: There was already this board presented on our forum by colleague @ArturAVS in the topic ESP32-CAM, 2Mpix camera module for IoT part 1 , but the Arduino IDE which I try to avoid was used there, so I decided to show an alternative here anyway. .
I am attaching a project from PlatformIO containing my experiments on this topic. In addition, the project is stripped of the face detection system, so there will be no problem with the missing fd_forward.h.
Cool? Ranking DIY Helpful post? Buy me a coffee.


