logo elektroda
logo elektroda
X
logo elektroda

Exploring Sensylink CHT8320 Sensor from ZY-TH02Pro with OpenBeken

divadiow 1812 8
ADVERTISEMENT
  • Helpful post
    #1 21365273
    divadiow
    Level 35  
    I wasn't that interested in getting another battery-powered TuyaMCU temp/hum sensor working with OpenBeken so decided to strip this ZY-TH02Pro down to just the sensor for use in testing. The sensor is labelled "ML DAET" alongside the Sensylink logo. Not very helpful considering other Sensylinks are usually "CHT83xx".
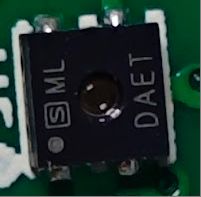
    Close-up of a black electronic component marked ML DAET.

    A kind person at Sensylink informed me it was the CHT8320. A datasheet was supplied, attached.

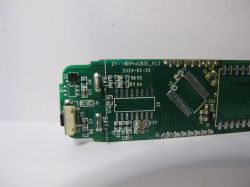
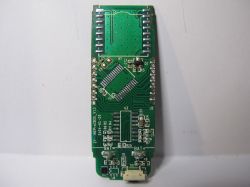
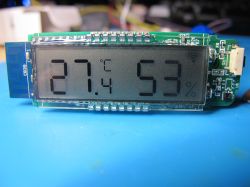
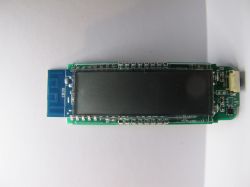
    First, here's a quick dump of some things relating to the device as a whole for context.

    SEO keywords:
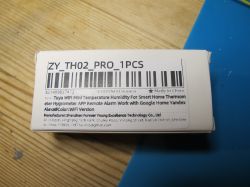
    Shenzhen Forever Young Excellence Technology Co., Ltd
    QDO 2401 NT CJT 34013
    ZY_TH02_PRO_1PCS
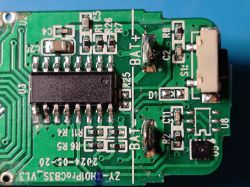
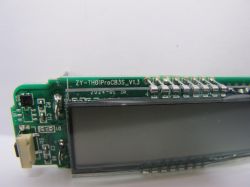
    ZY-TH01ProCB3S V1.3
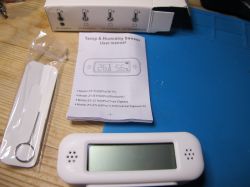


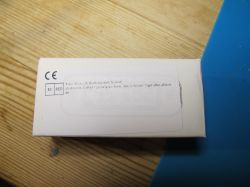
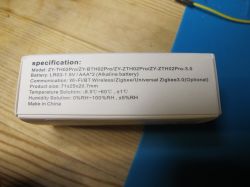
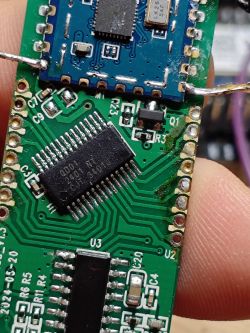
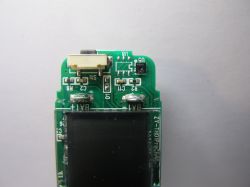
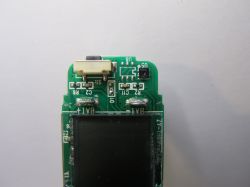
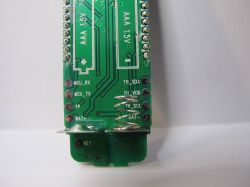
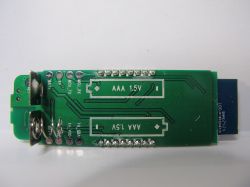
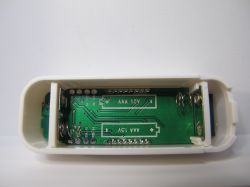
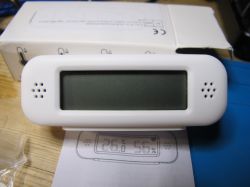
    Temperature and humidity sensor with a user manual and tool. Box with manufacturer information for Sensylink. Box of ZY_TH02_PRO_1PCS with product label and barcode. Sensor packaging showing technical specifications. Close-up of a circuit board with integrated circuits. PCB with electronic components and wires connected to a CB3S module. Close-up of a circuit board with electronic components. Close-up of a green circuit board with two visible integrated circuits. Close-up of a circuit board with two integrated circuits. Printed circuit board labeled ZY-TH01ProCB3S V1.3 with electronic components. Circuit board with various components. LCD display of ZY-TH02Pro temperature and humidity sensor showing readings of 27.4°C and 53%. Circuit board with display and CB3S module on a white background. Close-up of the ZY-TH02Pro sensor circuit board with visible electronic components. Close-up view of the green circuit board of the ZY-TH02Pro temperature and humidity sensor with some components. ZY-TH01ProCB3S V1.3 module with LCD display Printed circuit board with visible contacts and labeled terminals. Bottom of a circuit board with soldered electronic components and slots for AAA batteries. Interior view of an open electronic device with empty slots for AAA batteries and visible printed circuit board. Digital display of temperature and humidity sensor in a white casing.
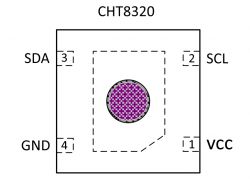
    Pin diagram of CHT8320 sensor

    UART boot

    Code: Text
    Log in, to see the code


    Tuya dpIDs

    Code: JSON
    Log in, to see the code


    Factory CB3S firmware attached.


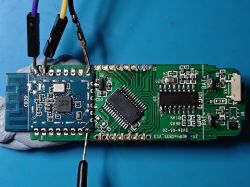
    With the TuyaMCU, LCD, LCD driver IC and CB3S removed the TH_SDA, TH_VDD and TH_SCL test pads can be used to give life to the CHT8320 - powered from CB3S/ESP universal adaptor 3V3:
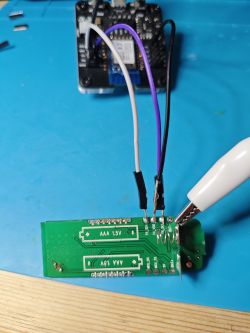
    Prototype board assembly with connected wires to the sensor.

    and with

    Code: Text
    Log in, to see the code


    we see the sensor I2C address detected with 'scani2c soft' command
    Code: Text
    Log in, to see the code


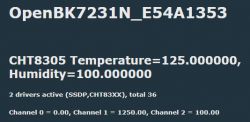
    and with the CHT83XX driver set

    Code: Text
    Log in, to see the code


    Code: Text
    Log in, to see the code


    Screenshot showing measurement results from CHT8305 sensor.

    Firmware was submitted to Cloudcutter team for profile creation https://github.com/tuya-cloudcutter/tuya-clou...erature-and-humidity-with-display-v2.1.8.json

    and that's where I'm currently at. I guess the driver needs some work and I now need to permanently solder and route the 4 wires out of a case for a permanent sensor testing solution.
  • ADVERTISEMENT
  • Helpful post
    #2 21365302
    divadiow
    Level 35  
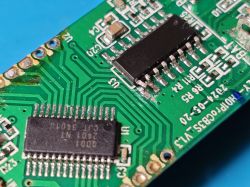
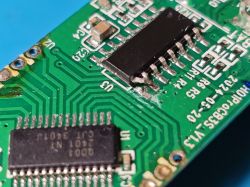
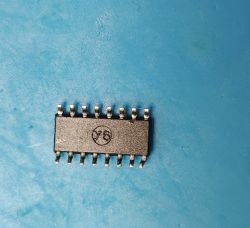
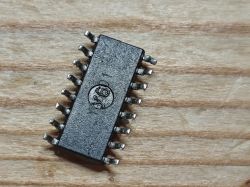
    on the underside of the SOIC-16 TuyaMCU - "Y6". But it looks like the Y6 is stamped on top of something else. Y46D01?

    Chip with marking Y6 on a blue background. SOIC-16 integrated circuit with markings on a wooden background.

    Added after 1 [hours] 29 [minutes]:

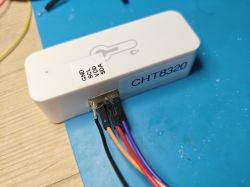
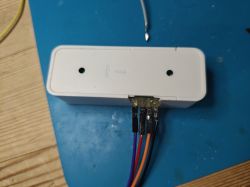
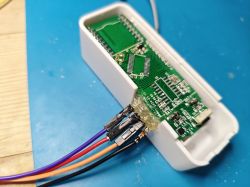
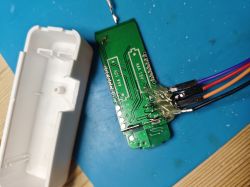
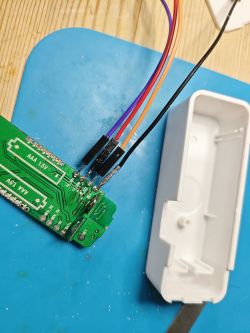
    soldered, rehoused in disused TH01 case, glued, labelled

    Plastic housing labeled CHT8320 with four copper wires on a blue background. Plastic enclosure with holes and attached wires on a blue background. Close-up of a circuit board with attached wires inside a white case. Circuit board with attached wires and white casing on a blue mat. Green printed circuit board with attached wires on a blue pad, next to a white plastic casing.
  • ADVERTISEMENT
  • #3 21367217
    divadiow
    Level 35  
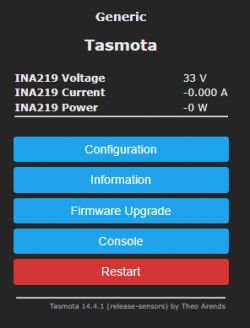
    not yet tested the actual sensor. Tasmota's Sensors firmware detects as

    Screenshot of Tasmota user interface with voltage, current, and power readings for INA219 sensor.
  • #5 21457871
    p.kaczmarek2
    Moderator Smart Home
    So we need to add CHT832X to OBK? I need to order that sensor, I wonder if I'll manage to find a good deal.

    AT least datasheet is here...
    Helpful post? Buy me a coffee.
  • ADVERTISEMENT
  • #6 21457873
    divadiow
    Level 35  
    TLDR:
    -my first stripped-down TH02Pro was too stripped and the sensor doesn't work as it is right now.
    -CHT832x is an SHT30 clone so the SHT3X driver works. My second TH02Pro works with SHT3X driver

    SHT3X sensor information panel with temperature 24.0°C and humidity 45%.

    see https://www.elektroda.com/rtvforum/topic4107989.html

    Added after 24 [minutes]:

    p.kaczmarek2 wrote:
    So we need to add CHT832X to OBK?


    I guess it could be listed as supported? Would you want to change driver to reference CHT832x or just leave it untouched?

    Added after 1 [minutes]:

    (Weird that SHT driver doesn't do decimal values on humidity)
  • ADVERTISEMENT
  • #7 21471930
    setum
    Level 5  
    How did you flash this one with OpenBeken?
  • #8 21471990
    divadiow
    Level 35  
    setum wrote:
    How did you flash this one with OpenBeken?

    Hi. I didn't really:

    Quote:
    I wasn't that interested in getting another battery-powered TuyaMCU temp/hum sensor working with OpenBeken so decided to strip this ZY-TH02Pro down to just the sensor for use in testing.


    but if yours has the same firmware version you could try the cloudcutter method https://github.com/tuya-cloudcutter/tuya-cloudcutter
  • Helpful post
    #9 21473239
    setum
    Level 5  
    >>21471990

    Thanks for the info. For some reason, tuya-cloudcutter didn't work for me. It got stuck midway, there are ways to recover from where I was stuck, but I wasn't successful there either.

    Code: Text
    Log in, to see the code

    I then tried to flash OpenBaken using BK7231Flasher. I was able to flash it successfully in place, without removing the board. Power off/on to flash is a bit tricky to do, since it takes a few seconds for power to lose (and display dims), you may have to remove GND as well. It may take a few attempts to get it right. I also had to flash at baud rate 1500000. At lower baud rate, I got the following errors:

    Code: Text
    Log in, to see the code

Topic summary

The discussion centers on integrating the Sensylink CHT8320 temperature and humidity sensor, extracted from the ZY-TH02Pro device, with the OpenBeken firmware. The sensor, marked "ML DAET" and bearing the Sensylink logo, was identified as the CHT8320 through direct communication with Sensylink, supported by a provided datasheet. Initial attempts to operate the stripped sensor failed due to incomplete hardware setup. The CHT832x series is noted as a clone of the SHT30 sensor, allowing compatibility with the SHT3X driver in Tasmota firmware, confirmed by successful operation of a second TH02Pro unit. Firmware flashing challenges with OpenBeken were discussed, including partial success using the tuya-cloudcutter tool and troubleshooting stuck states during flashing. Community references include GitHub issues tracking CHT8310 and CHT832X developments. The conversation suggests adding CHT832X support to OpenBeken and discusses driver naming conventions. Visual documentation of the sensor, PCB markings, and device modifications were shared to aid understanding.
Summary generated by the language model.
ADVERTISEMENT