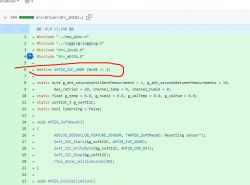
I noticed this pull request (PR) to add support for AHT10/AHT2x/AHT30 temperature and humidity sensors. We've seen the AHT30 in use in the TH01 device, but it is controlled by a TuyaMCU so does not need a driver for direct control by OpenBeken (OBK) in that instance. Same situation for the S09 with an AHT20.
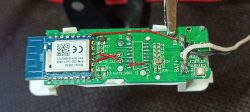
As the Github user NonPlayerCharacter posted in the pull request, this driver will be needed for devices where the user has decided to remove the TuyaMCU, and so control the sensor directly with OBK, or where a device does not come with an MCU at all and the Beken chip interfaces directly.
Code: Text
The sensors are made by Guangzhou Aosong Electronic Co. Ltd under the ASAIR brand name.
The product pages for each:
AHT10
AHT15
AHT20
AHT21
AHT25
AHT30
A comparison of the main specs:
Code: Text
The English datasheets for each are attached to this thread for reference.
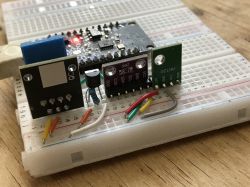
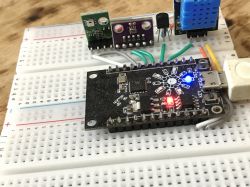
Onto some testing. I am using a NodeMCU dev board with a transplanted BK7231N based CB3S module. To save space, the AHTXX driver is disabled by default, ie it is not included in the general release builds. The binaries specific to the PR need to be flashed to make use of the driver. To download the special binaries navigate to https://github.com/openshwprojects/OpenBK7231T_App/actions/runs/8769670483, login to Github, scroll to the bottom of the Summary page and download the zip file under the Artifacts section
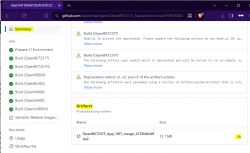
If flashing a BK7231N device that's already running OBK you'll need to use the OTA update method to flash the OpenBK7231N_1187_merge_4738dd2d9ba2.rbl file in the downloaded zip. If flashing by UART using Easy UART Flasher then use OpenBK7231N_QIO_1187_merge_4738dd2d9ba2.bin
I used OTA method from the web application
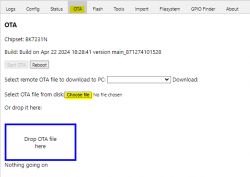
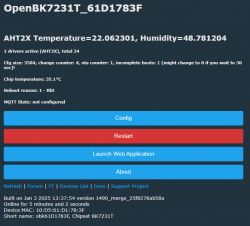
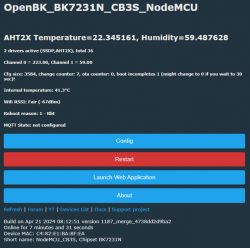
After either method your build details on the OBK main page will be
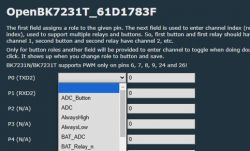
and you'll see AHT2X driver options in the drop-downs on the module page
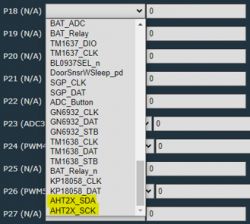
The AHT chips use the i2c protocol to communicate. The i2c (Inter-Integrated Circuit) protocol is a widely used communication method between components on a single integrated circuit, commonly used in microcontrollers and other digital electronics. It was developed by Philips Semiconductors (now NXP Semiconductors) in the early 1980s. i2c is particularly notable for its simplicity and effectiveness in managing communication between multiple integrated circuits over short distances using a minimum number of pins.
You'll notice the AHT (and other i2c drivers in OBK) require an SDA and an SCL pin configuring. This is because i2c only requires two wires to transmit data between devices:
SDA (Serial Data Line): This line is used for transmitting data between the master and slave devices.
SCL (Serial Clock Line): This line is used by the master device to synchronize data transmission across the i2c bus.
Additionally:
-Each device on the i2c bus has a unique address which is used by the master device to communicate with a specific slave device.
-The i2c protocol operates on a master-slave principle, where the master device initiates and controls the data transfer, and the slave devices respond to the master's requests.
-Although it is a master-slave protocol, i2c supports multiple masters on the same bus, allowing more than one master to control the bus without interference through a built-in arbitration process.
-All i2c transactions are synchronized with the clock pulses on the SCL line, making it a synchronous serial communication protocol.
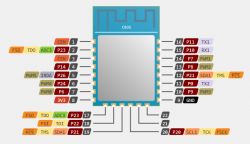
With that in mind, it looks like I will need to use P20 (SCL1) for AHT2X_SCL and P21 (SDA1) for AHT2X_SDA with the CB3S module I have for testing
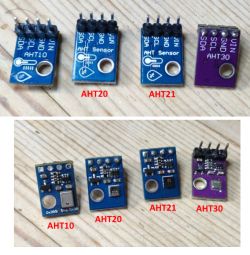
First, here are the AHT sensors I have to play with. They're all from Ali Express. AHT10, AHT20, AHT21 and AHT30. This means I will not be able to test AHT15 or AHT25.

Starting with the AHT10, I connect SDA to P21 (which maps to S3 on NodeMCU) and SCL to P20 (which maps to SK on NodeMCU). I am powering the AHTs with an external 3.3v so a common ground is established between the PSU, the sensor and the NodeMCU.
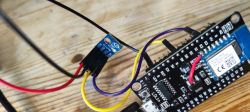
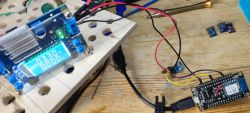
To confirm the sensor is detected we can use OBKs Softi2c feature to detect the address of the device. Set SoftSDA and SoftSCL pins as appropriate. In my case:
in the web application log tab we check the i2c driver is started by entering command startdriver i2c then we can scan for i2c devices with command scani2c soft
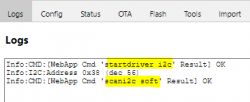
We see in the log it detects and returns the correct address for the AHT10 - 0x38 (in decimal = 56). We should be able to swap to the AHT2X driver now. (note SCK = SCL). All the AHTXX tested will return 0x38 as their address.
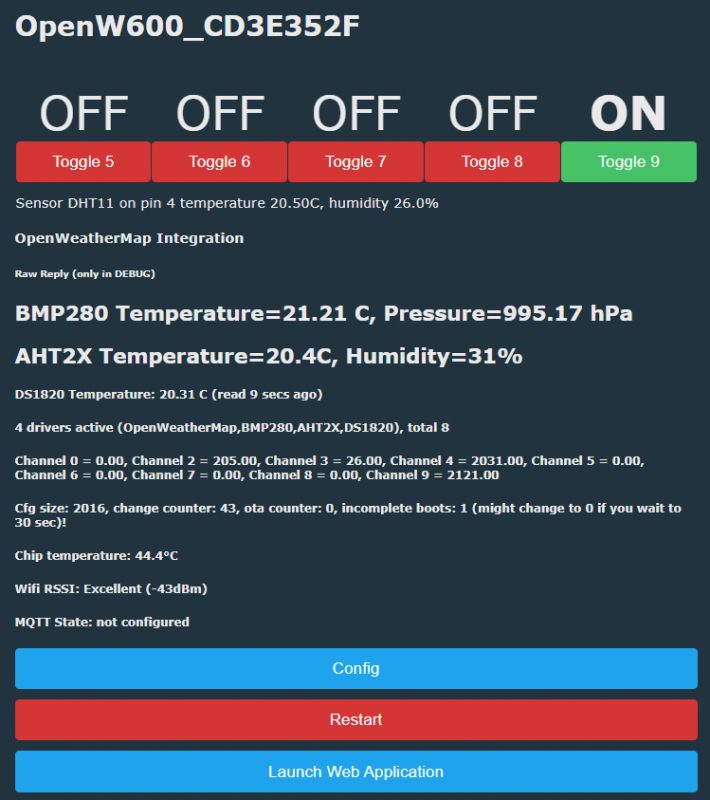
You'll need to save changes after swapping to reveal the second channel box for the SDA assignment. Ensure both channels differ from any other in use. After a reboot the AHT2X driver starts automatically and the temperature and humidity data is displayed as expected
Zipping through the remaining sensors:
AHT20
AHT21
AHT30
Apart from the AHT21 humidity, they all seem consistent. Perhaps the AHT21 will sort itself out if left untouched powered for a while. I also do not have any professional equipment to compare measurements against so not sure how accurate these readings are.
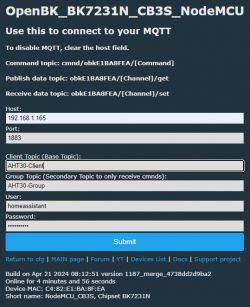
Sticking with the AHT30 I'll demonstrate MQTT/HomeAssistant configuration and discovery. From the Config->Configure MQTT menu I'll set some test topic names, my HA server IP and the username/password credentials specific to my setup and click submit.
Then under Config->Home Assistant Configuration->Start Home Assistant Discovery
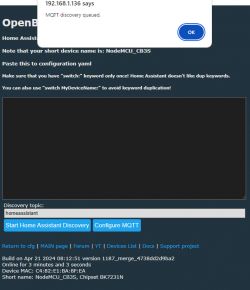
A few seconds later the device tile should appear in HA complete with device name and the sensor readings

Cool? Ranking DIY


