 .
.
Aqara Panel Hub S1 Plus is a smart panel that combines the functions of lighting control, switch and building automation centre. It has a 6.9-inch touchscreen, voice control and app integration. It works as a Zigbee hub and supports Matter, ensuring interoperability with Aqara and other brands. It allows control of light, temperature and camera viewing. It is fully customisable - anyone can adapt its touch panel to suit their own needs.
In this topic, I will show step-by-step how to get this panel up and running, how to connect it to other devices (including the camera) and check its capabilities in detail, including power consumption and operation in case of WiFi failure.
Kit contents and device build .
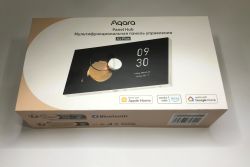
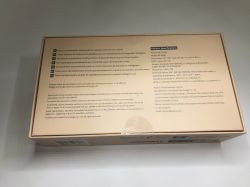
Let's start with the contents of the kit:
 .
.
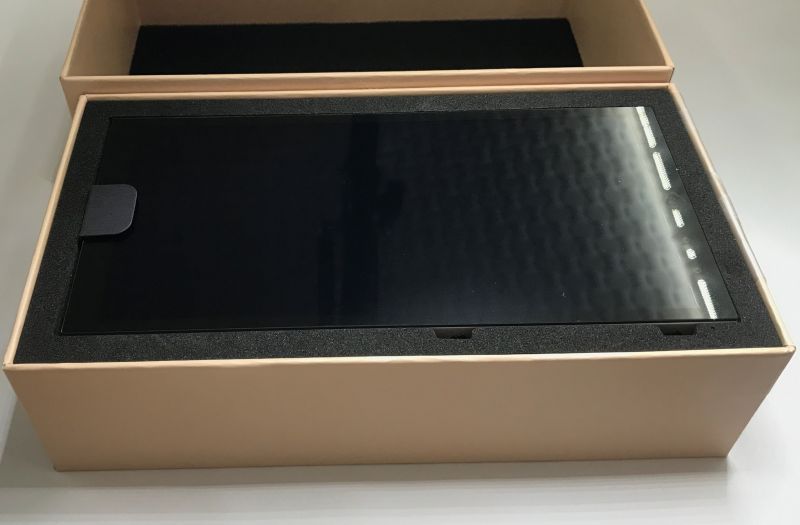
The whole is well protected for transport:
 .
.
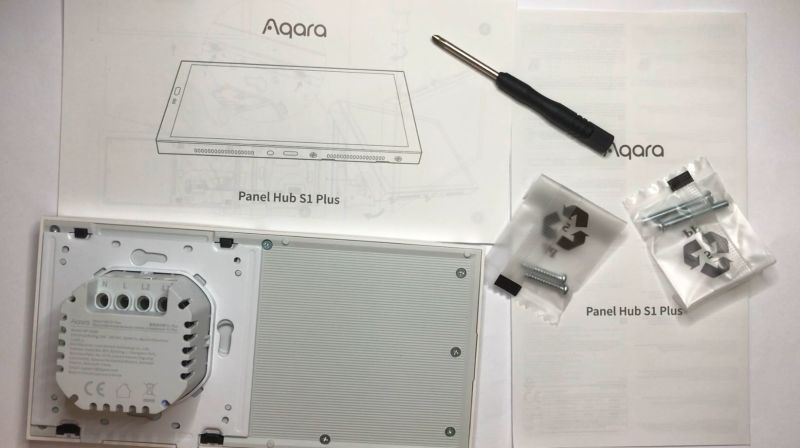
We receive a manual, fixing screws, screwdriver and the device itself:
 .
.
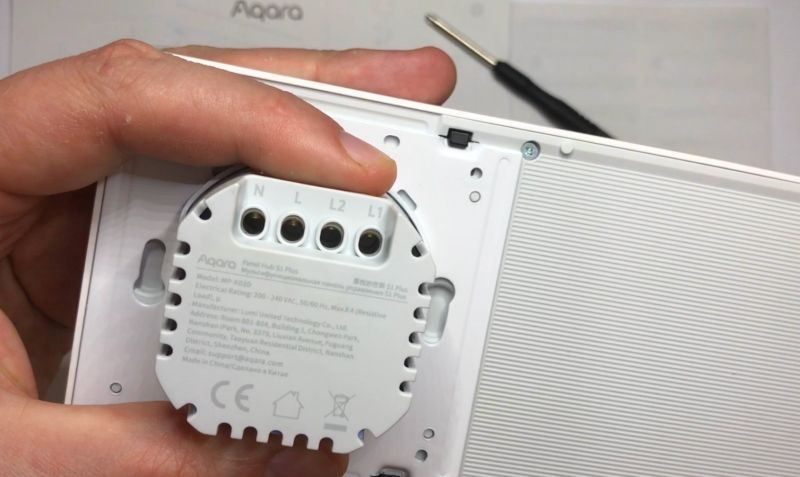
The unit on the back has screw terminals for power supply and two relay outputs for lighting control. Fits into a typical box:
 .
.
However, this is not the only way to mount it. The panel is removable and can be powered by USB. In addition, here we have two 1W speakers and a button from the display.
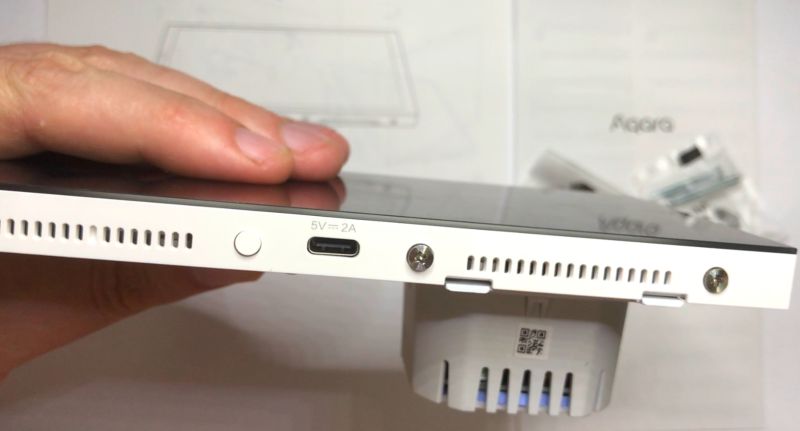 .
.
On this side, in turn, you can see four microphones - if you add a camera to the set, you can even have a video intercom:
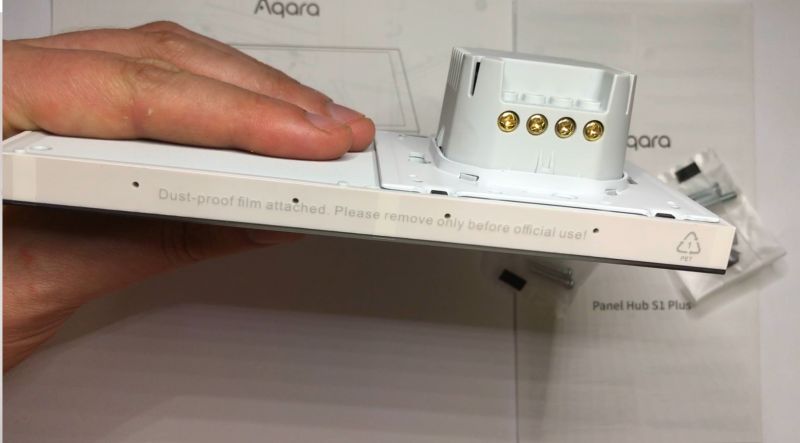 .
.
The device here also has an invisible proximity sensor and a light sensor:
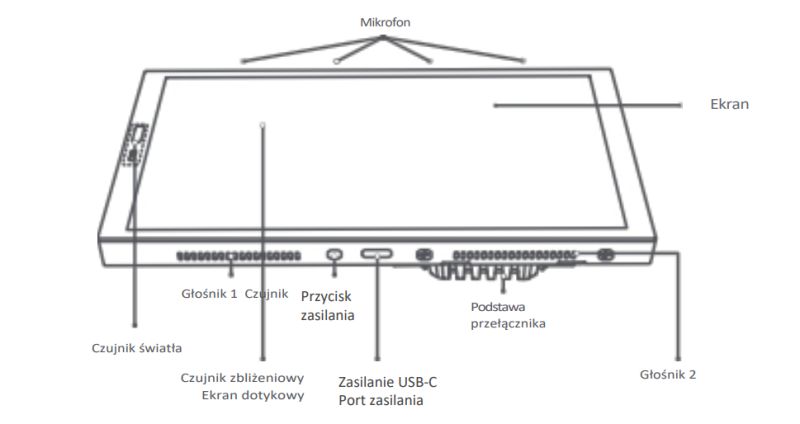 .
.
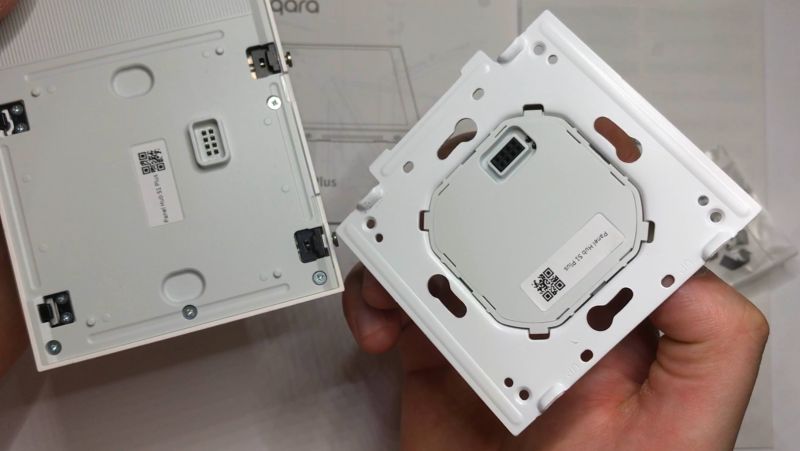
The panel is very easy to remove:
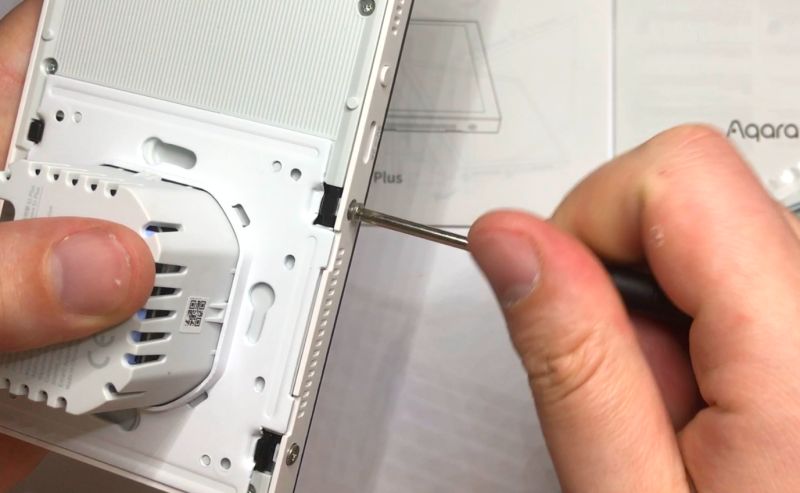 .
.
Finished:
 .
.
First launch - pairing with Aqara Home .
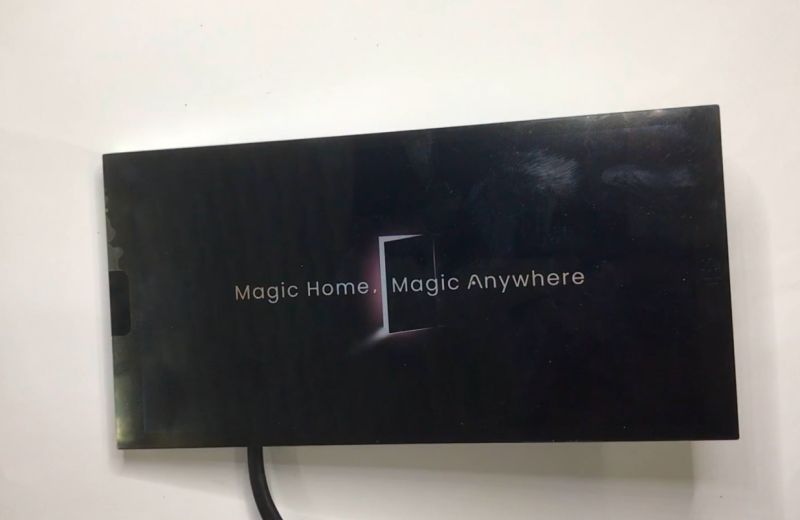
First the welcome screen appears - you have to wait a while:
 .
.
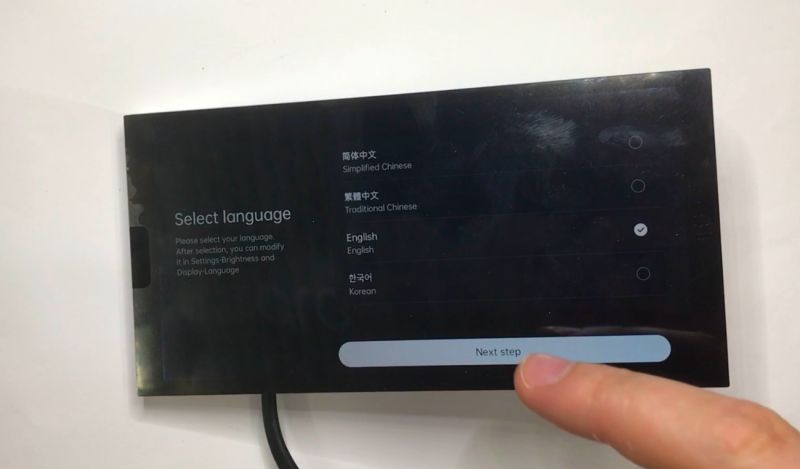
Then you select the language - of course Polish is supported, although at the moment not all translations are perfect.
 .
.
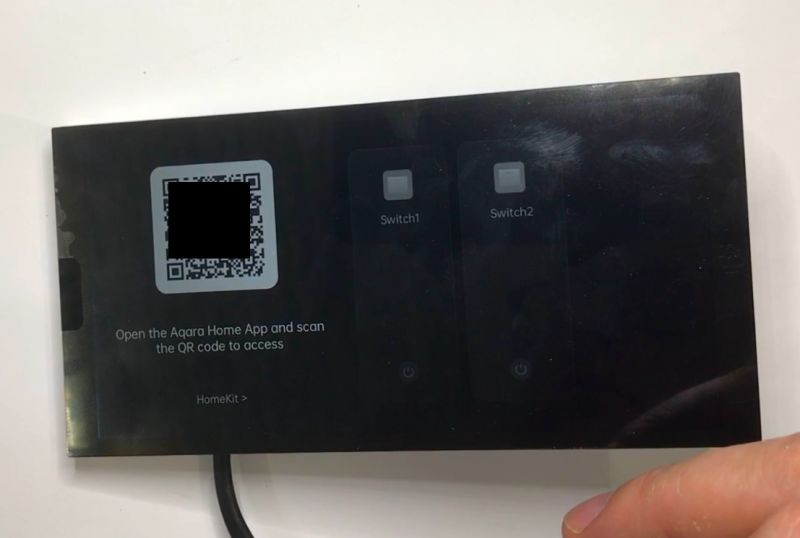
The operation of the device is well thought out - no pairing is needed to control the relays. This allows testing at the installation stage by the contractor. QR code censoring has been added by me.
 .
.
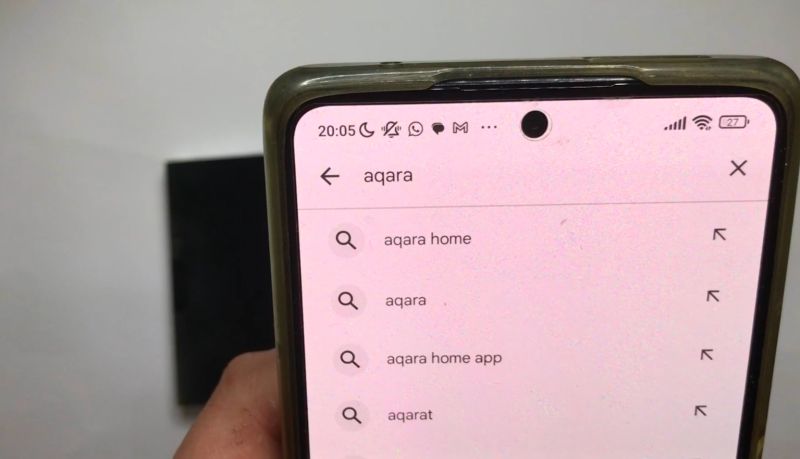
So we download the Aqara Home app:
 .
.
We register an account - email is enough, they didn't ask me for a phone number. That's a plus, I don't want them to have too much data.
 .
.
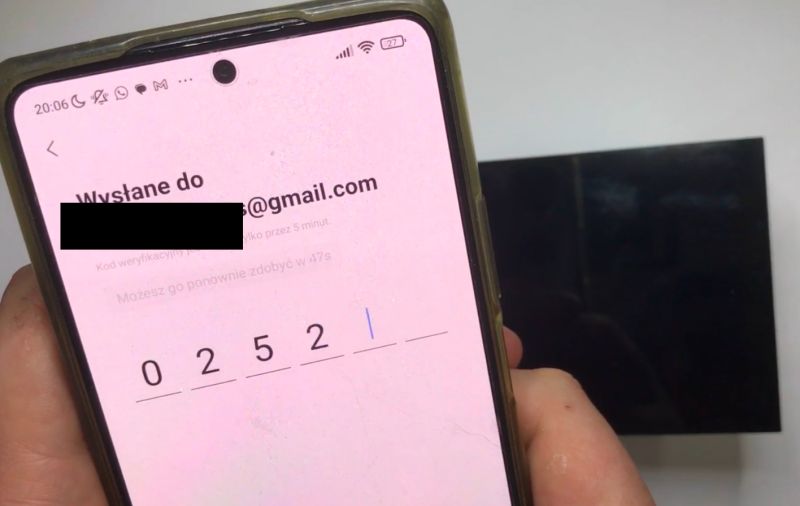
Receive the activation code - check the Spam tab if you need to:
 .
.
We set the password:
 .
.
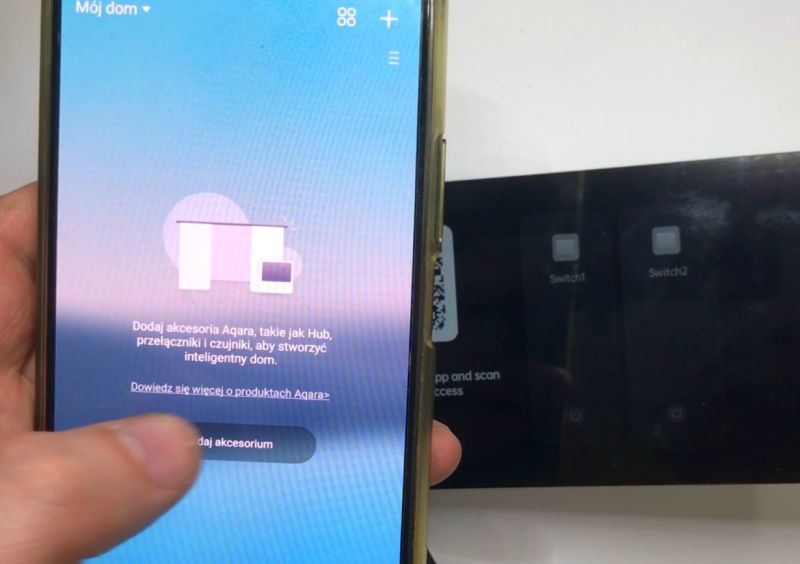
We log in, select "add accessory":
 .
.
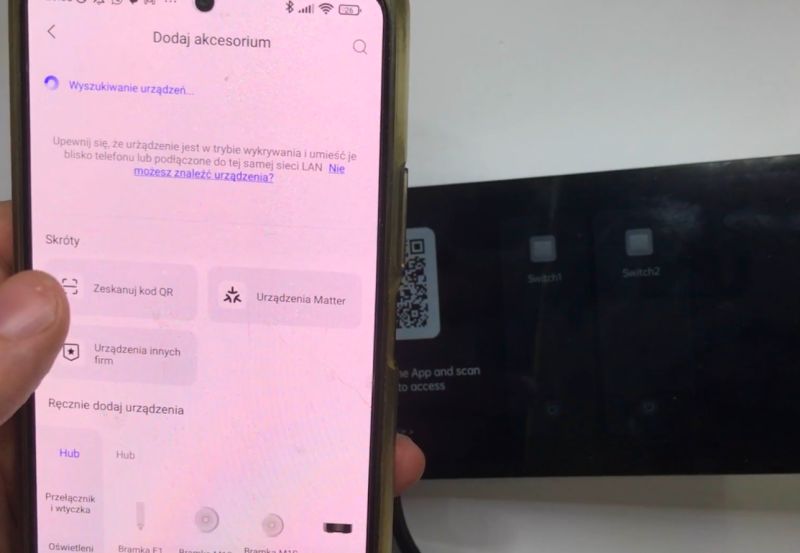
We select the method with the QR code:
 .
.
We scan the QR code:
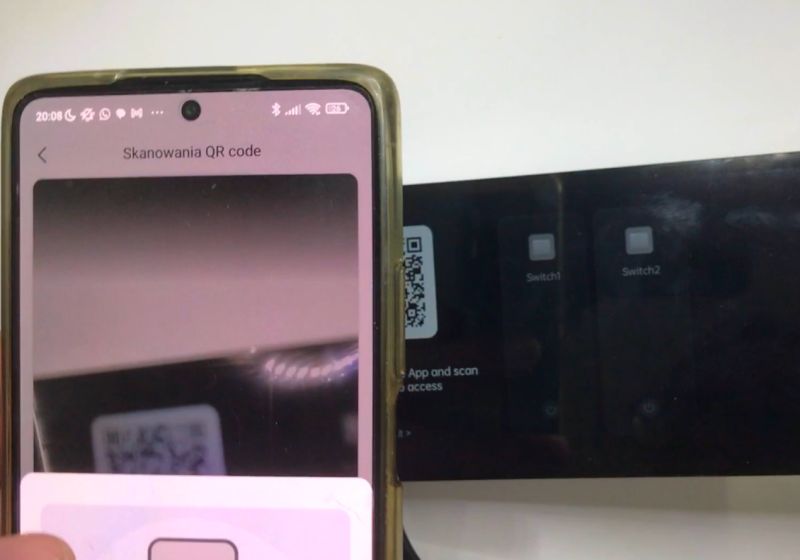 We scan the QR code.
We enter the details for our WiFi network:
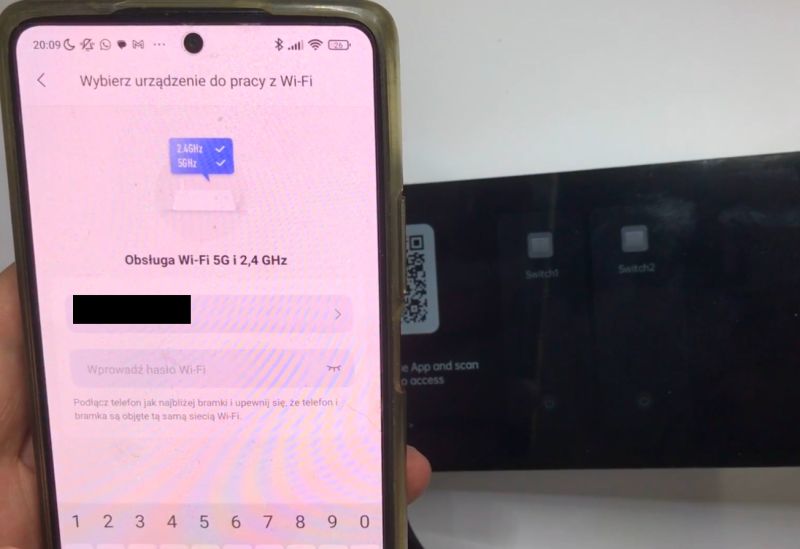 .
.
We wait for the pairing to complete:
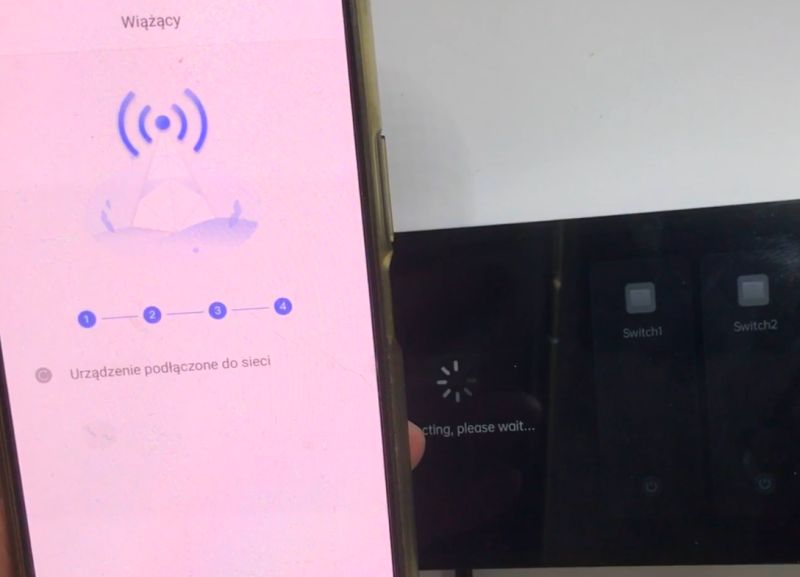 .
.
From then on, the device will be visible in our panel in the app, and the device display itself will also be given access to the other devices paired with our account.
Built-in relays - two bulbs .
The device has two built-in relays supporting loads up to 8A, which is certainly enough to control the lighting in a room.
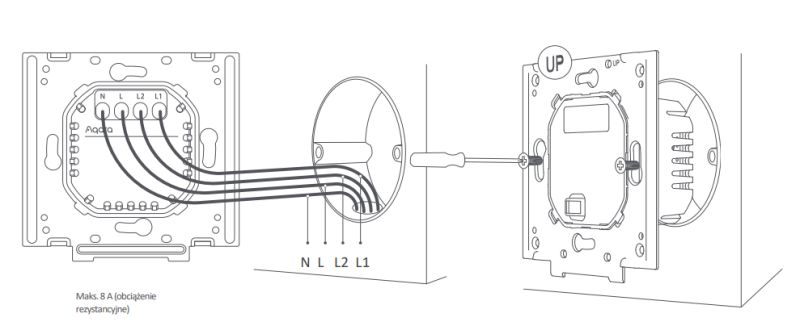 .
.
The whole thing works smoothly and responsively - it catches clicks well and you don't have to touch twice to turn the light on. The configurability of the panel also allows you to change the order of the tiles, so you can give the most important touch switches a go if you need to. The operation of the switches is shown in the video:
It is worth noting that the app and the panel keep track of the state of the switches, for example, when you switch from the panel the app also shows the change of state after a while.
Wide customisation possibilities .
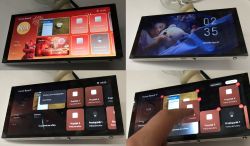
One of the first things that strikes the eye is the high configurability of the device panel. There are selectable skins, editable tiles and even an option to upload your own photos. There are also wallpapers and screen savers.
Let's perhaps start with skins , all of which are free:

 .
.
Here are some photos of what they look like in practice:
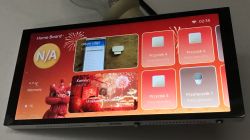
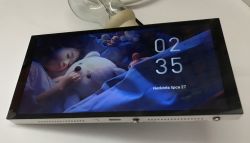
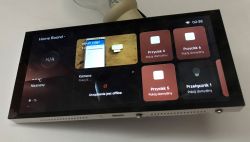 .
.
The caps themselves can be easily moved, added and removed. Press one of the tiles longer and select "Edit dashboard":
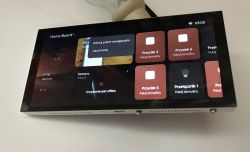
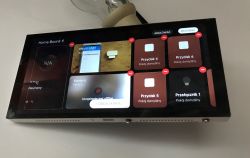
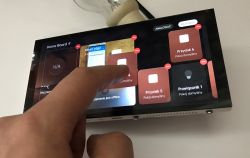 .
.
Built-in relays - power measurement .
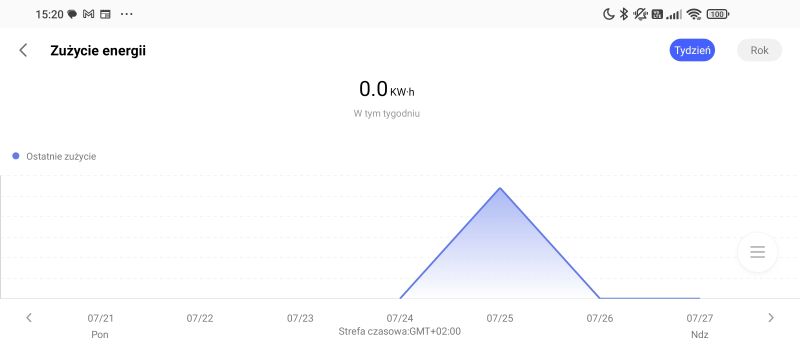
The device is also capable of measuring load power. The measurements are placed on intuitive graphs, giving us an insight into the energy consumption history.
Let us verify the accuracy of the measurement.
Power consumption of the light bulb - according to the device - 67.44W, power consumption of the whole (including the device) - 69W:
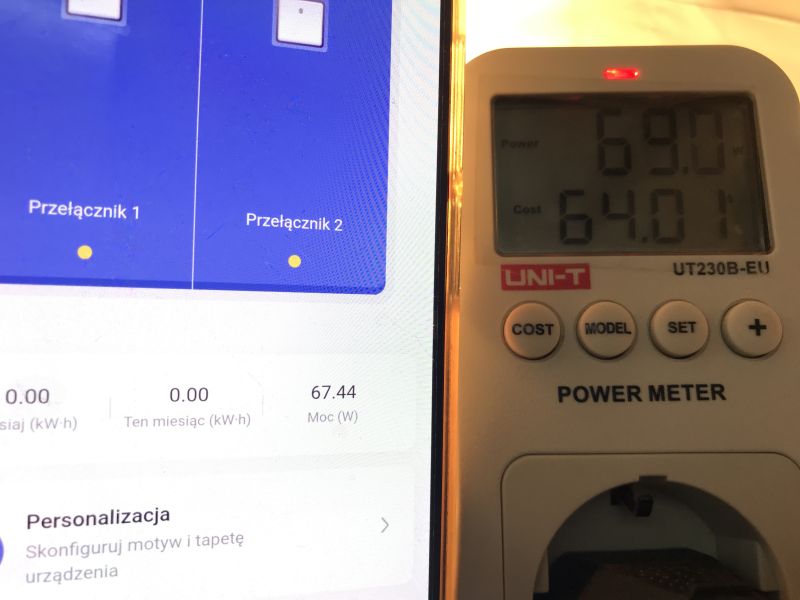 .
.
With the relay off, my meter shows 2.6W. You can now count: 69W - 2.6W = 67.4W, practically perfect.
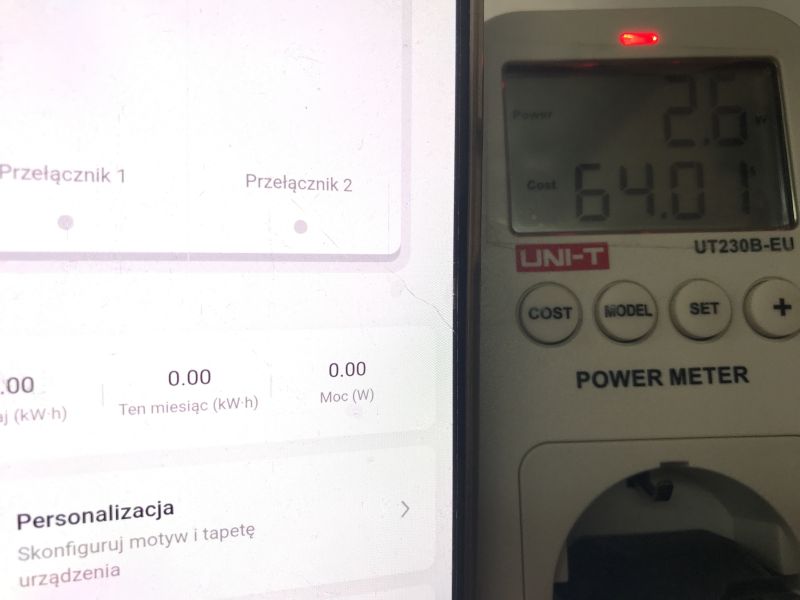 .
.
The charts also have a convenient option to rotate the screen by 90 degrees.
S1 Plus as Zigbee Hub - add your own devices .
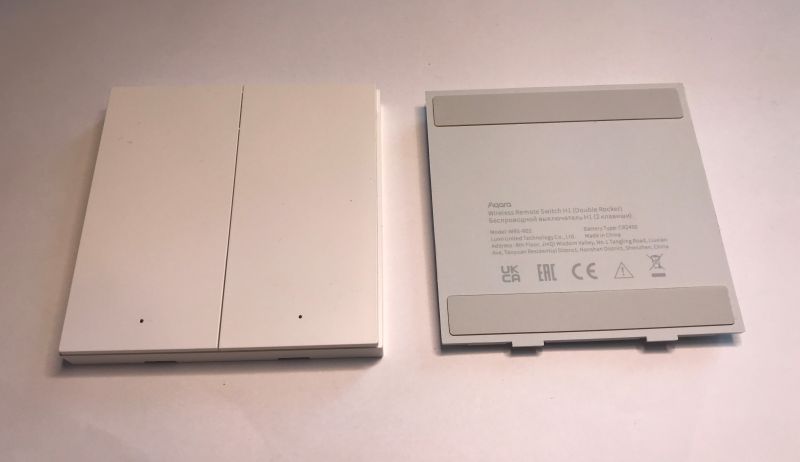
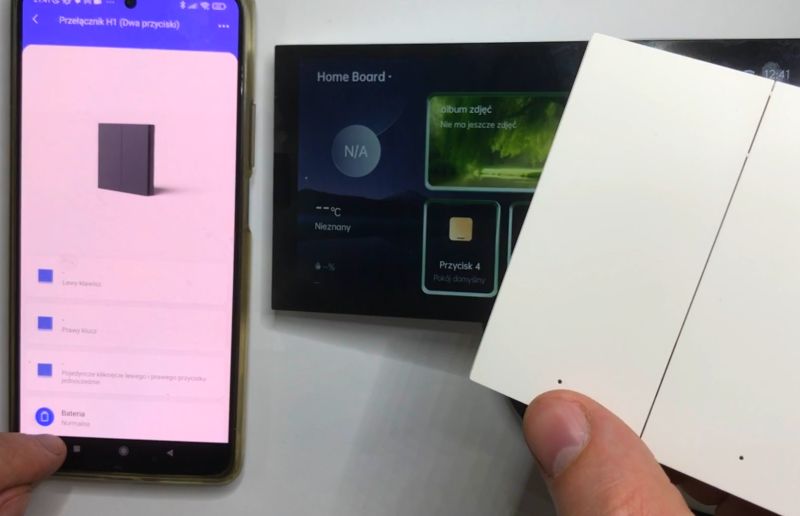
The panel shown also acts as a Zigbee coordinator, so more devices can be connected to it. As an example, I have connected this battery-powered device/scene controller:
 .
.
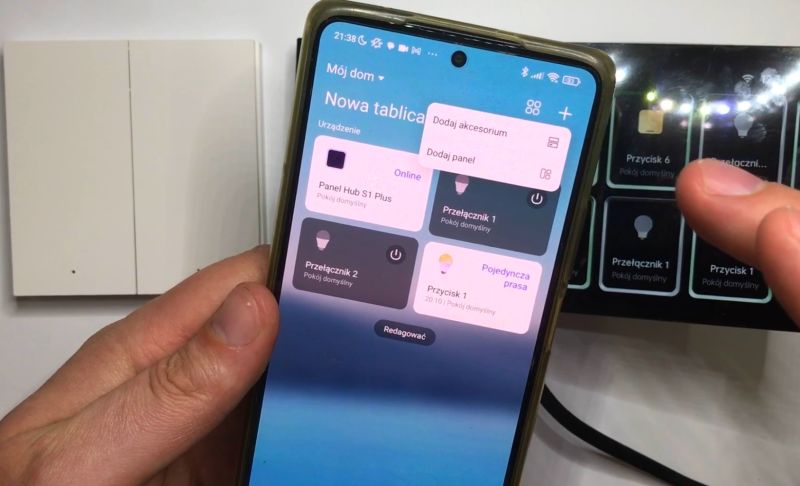
Pairing starts with a tap in the top right corner, from the menu select "Add accessory":
 .
.
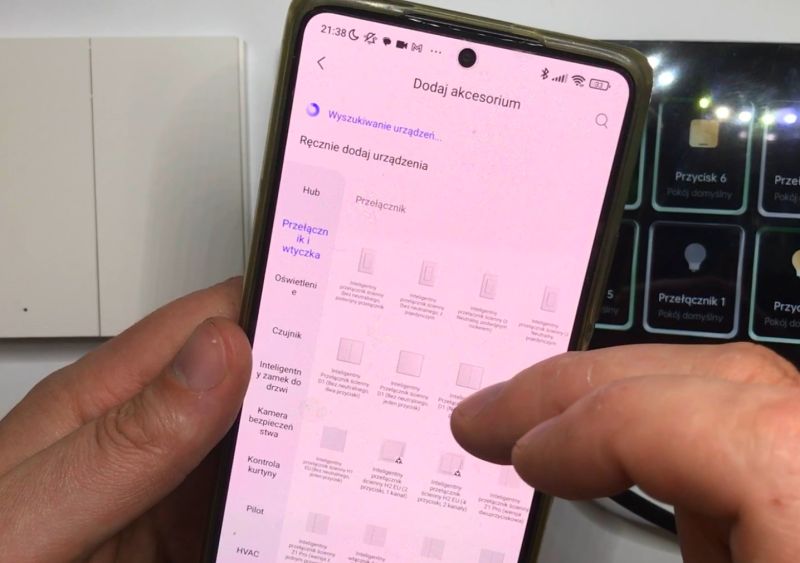
We select our device type from the list:
 .
.
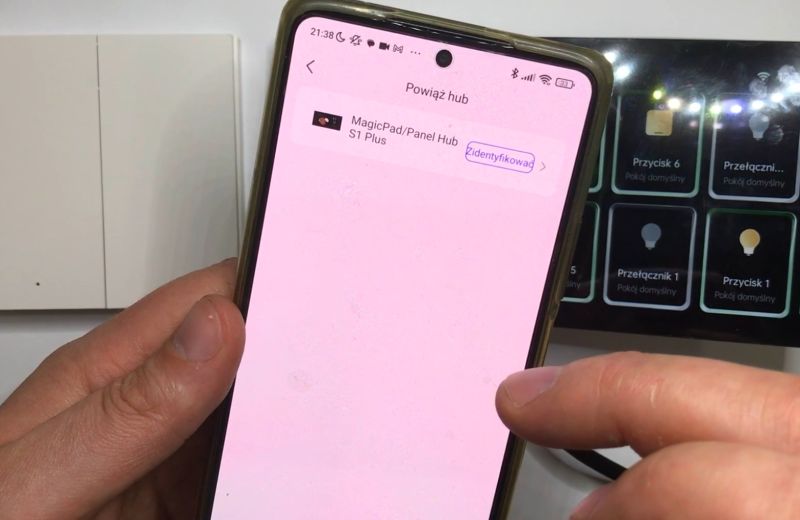
Here we normally have a stage for selecting a control panel, but in the case of one the app goes on by itself:
 .
.
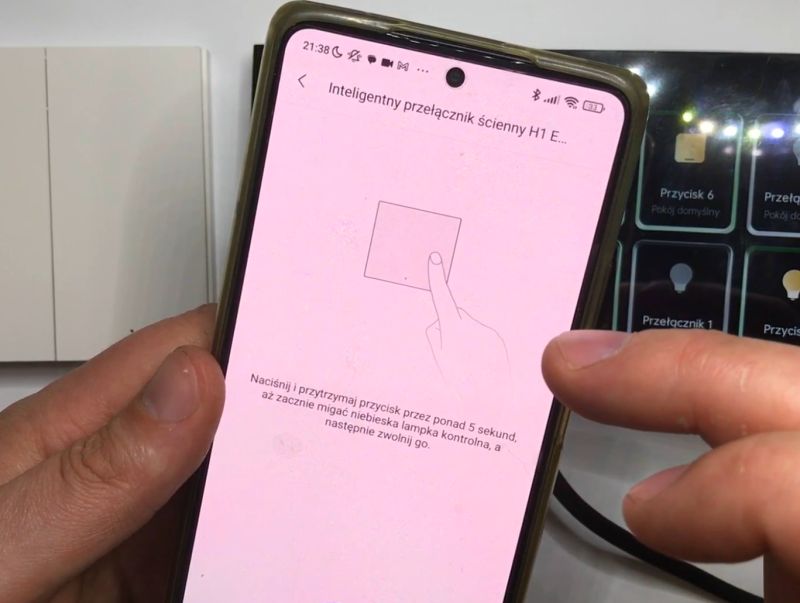
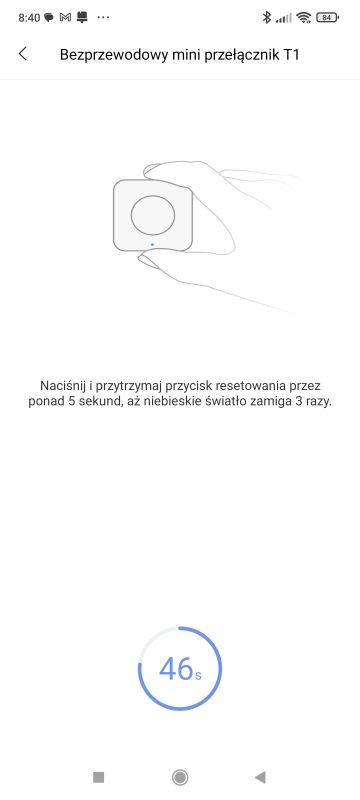
We reset the device according to the instructions:
 .
.
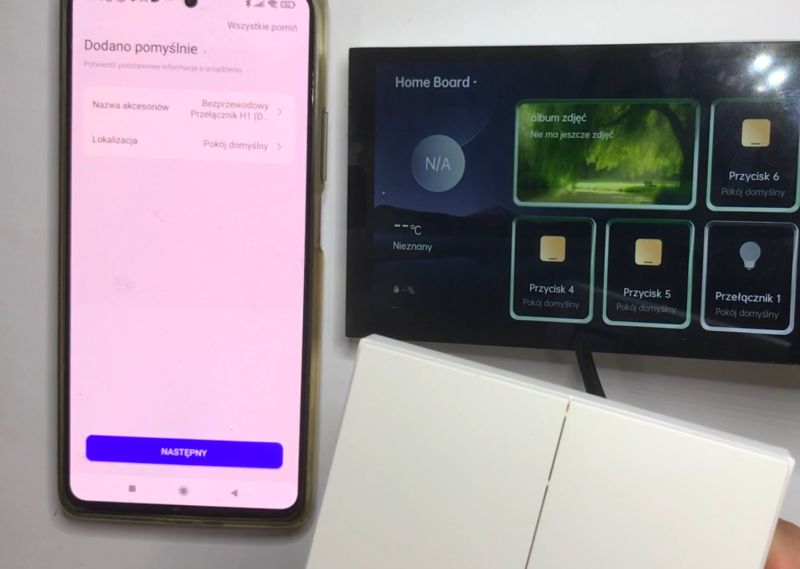
Success:
 .
.
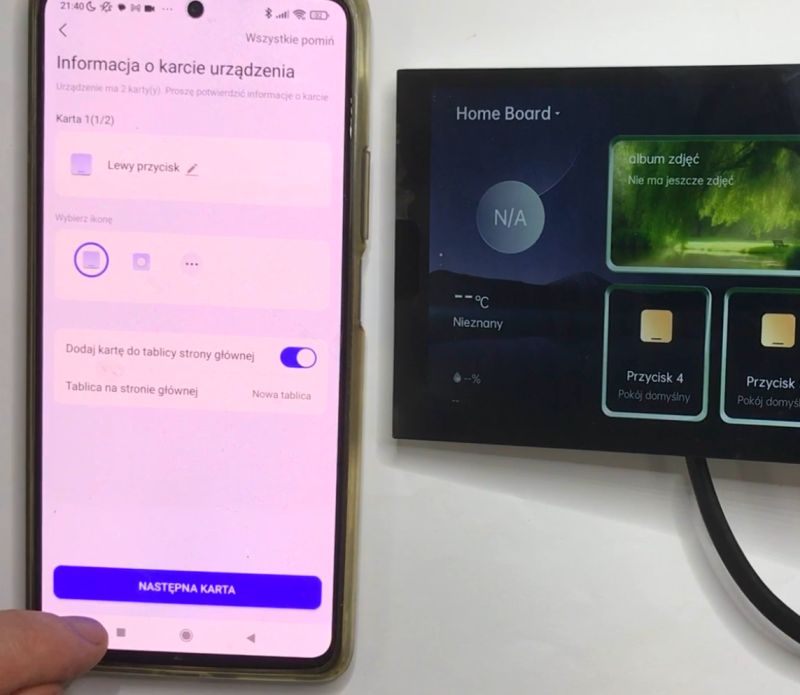
You can immediately configure the device cards, this switch has two buttons, so there are two cards:
 .
.
Paired:
 .
.
S1 Plus automations .
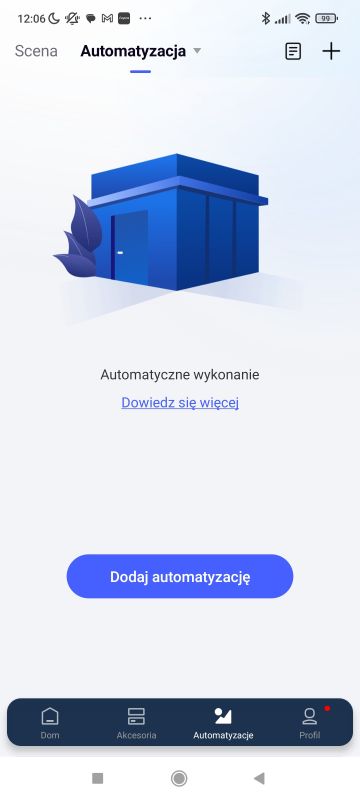
Let's try to create an example automation. Here we will combine the previously paired scene button on Zigbee with a relay from inside the Hub S1 Plus. This is quite a practical idea, because who wouldn't want to have two switches from the same light? Such a thing is useful not only on the stairs, but also for a large room, a bedroom or there living room.
We start by going into Automation:
 .
.
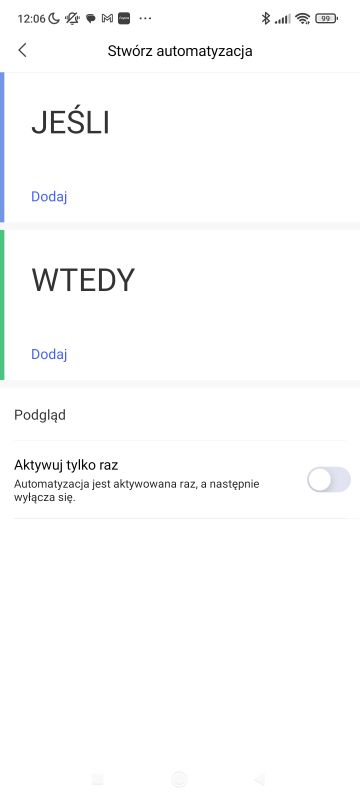
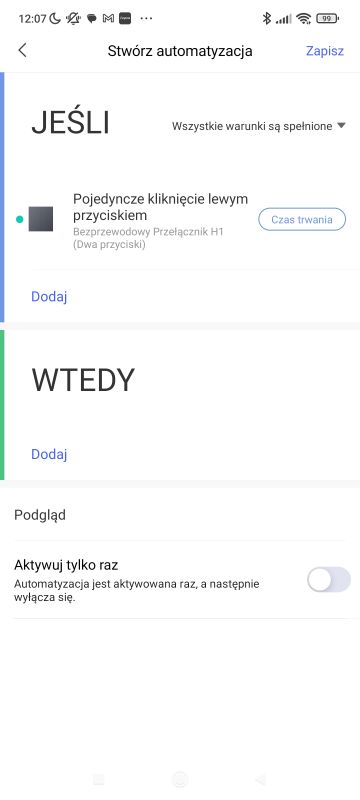
The automation scheme is very simple - we fill in the trigger (IF) and the effect (THEN).
 .
.
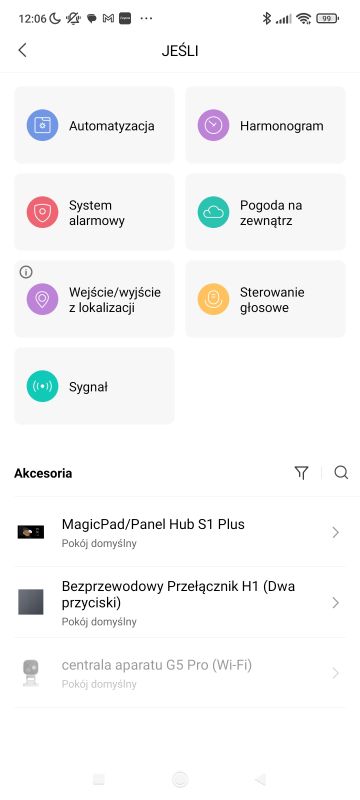
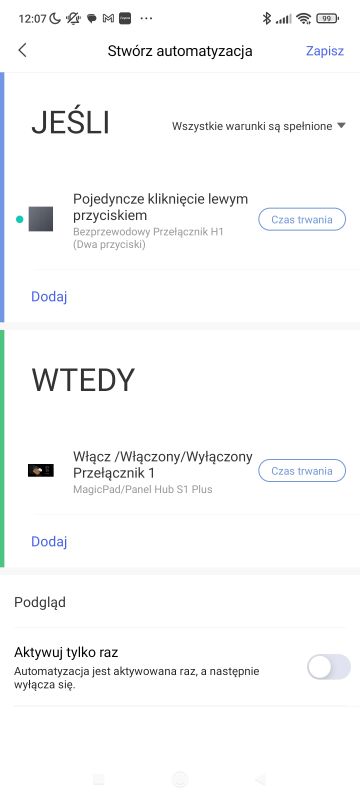
In IF we select our wireless button, or more precisely its single left click.

 .
.
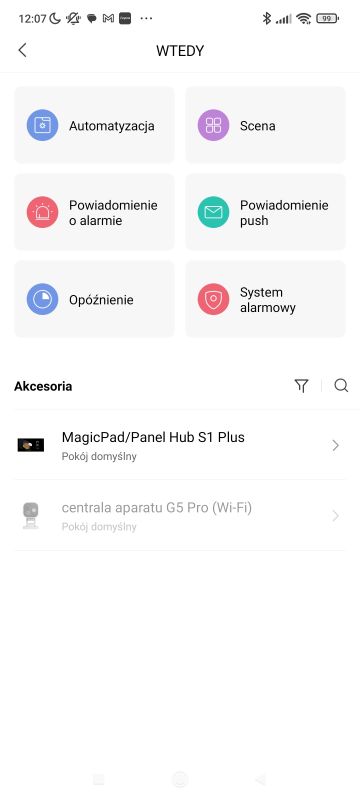
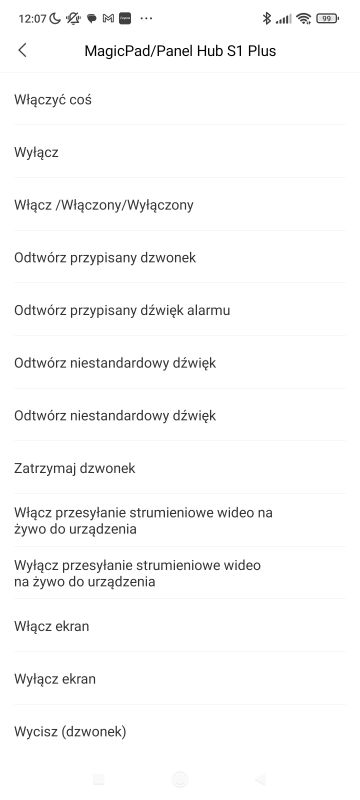
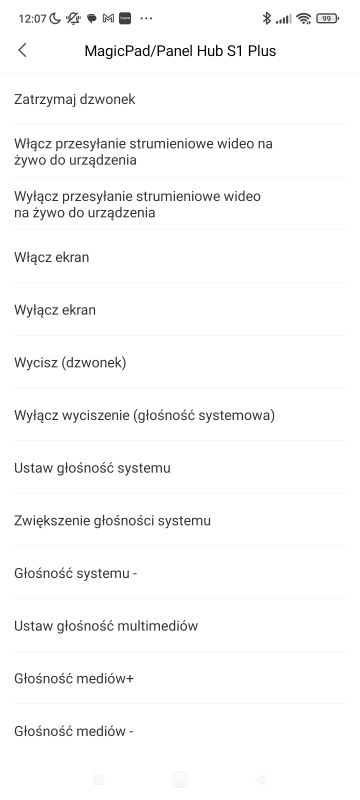
We now fill in the effect - "THEN" field. We select the Hub and can use to admire the wide range of possibilities of this device:
 .
.
As an effect, I chose to flip the relay state to the opposite. This is most convenient for turning the light on and off.

 .
.
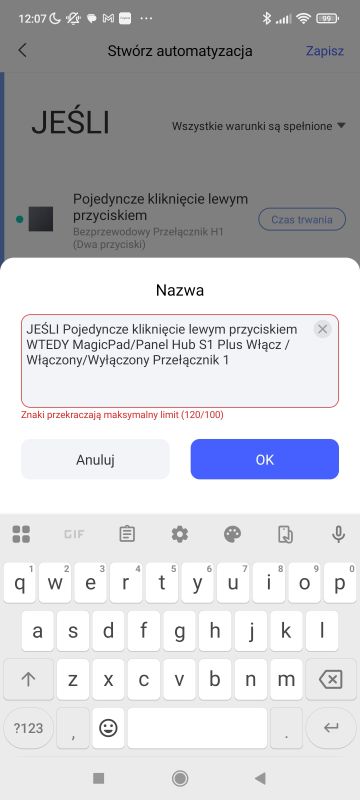
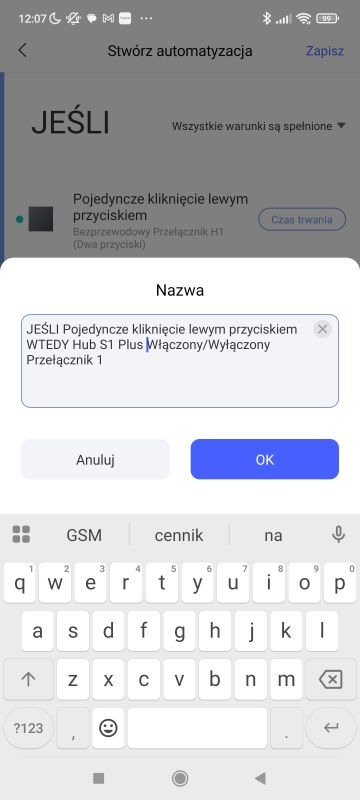
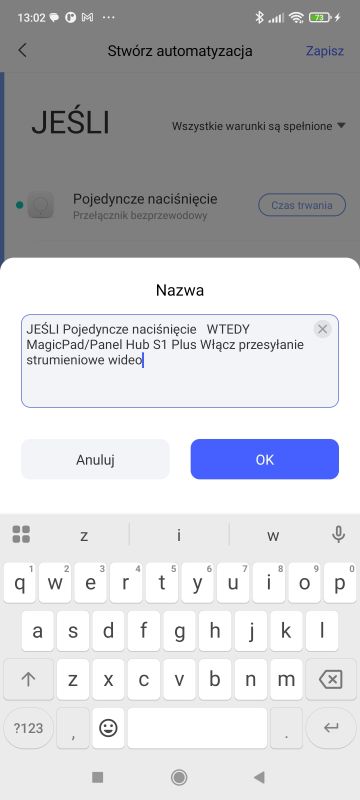
Finally, we still need to name the automation - the programme suggested a name, but it was too long:
 .
.
Everything works and the response is almost instantaneous:
Another button for an example - WXKG11LM .
It is worth remembering that the hub shown here works with a wide range of devices. For my next attempt, I used the Aqara WXKG11LM on Zigbee already presented.
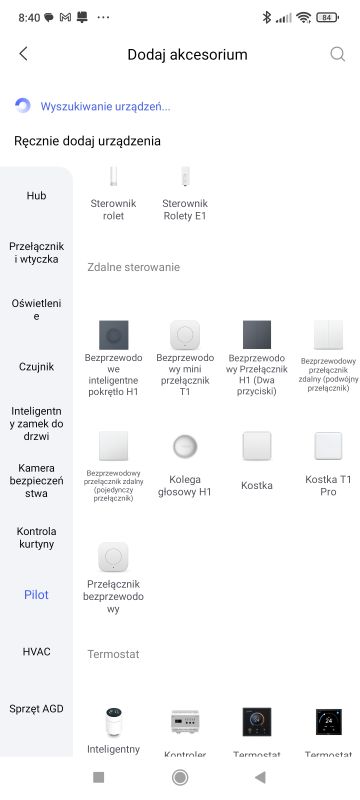
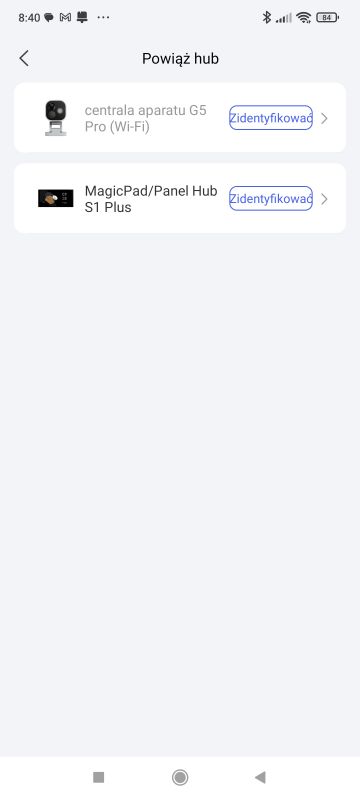
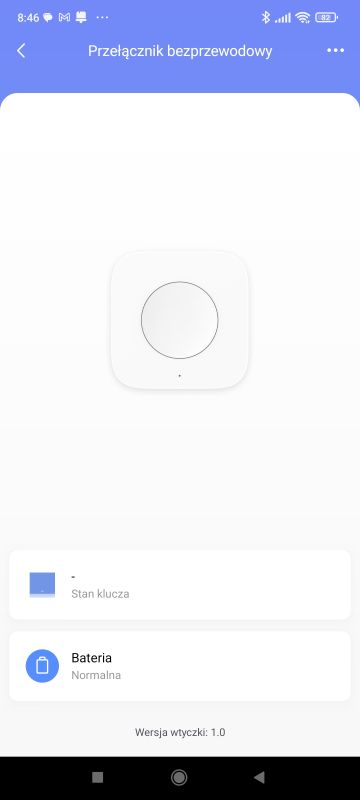
Pairing went off without a hitch. Interestingly, I also had the choice of just adding the camera as a hub:
 .
.
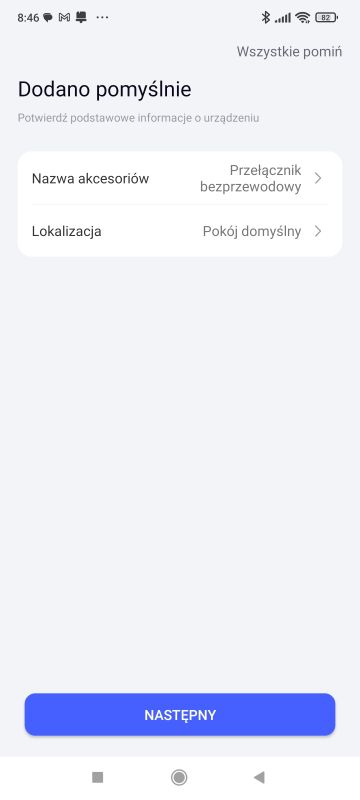
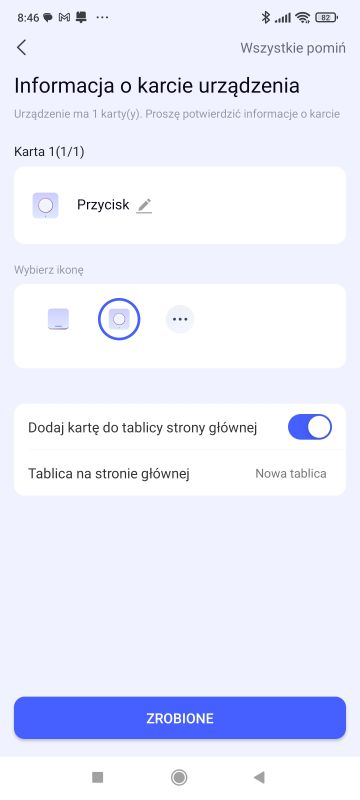
Once paired, again the room or icon and device name can be changed.
 .
.
The device correctly detects events such as single and double clicks.
 .
.
On top of this, there is also an option to detect button presses - full list of triggers below:
 .
.
Lighting control - direct and scene .
The Aqara LED light can be connected in a similar way. A single device can be paired and displayed on the screen:
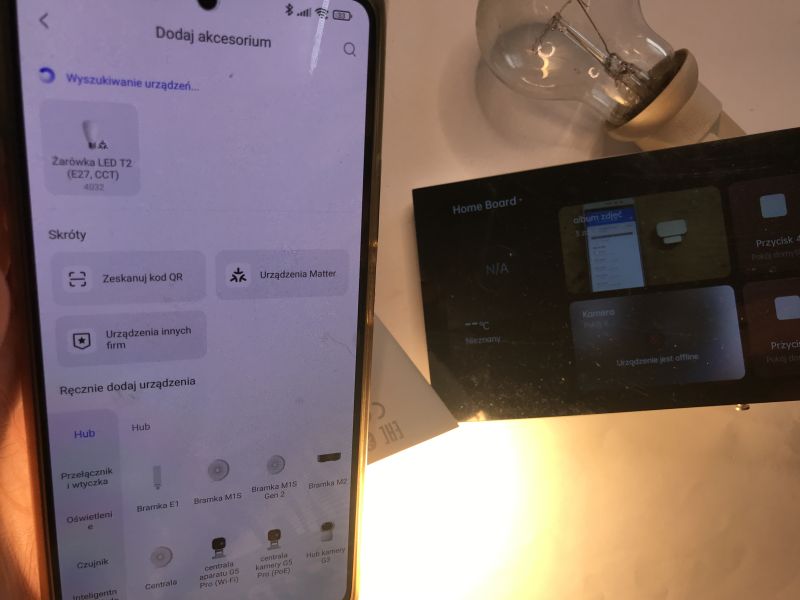 .
.
In this way, its status can be monitored:
However, controlling a single light source is not a very practical idea. It is better to control them in groups. In addition, it is also useful for us to be able to choose the white temperature. Warm white is generally intended for relaxation, for the bedroom, and cold white for work.
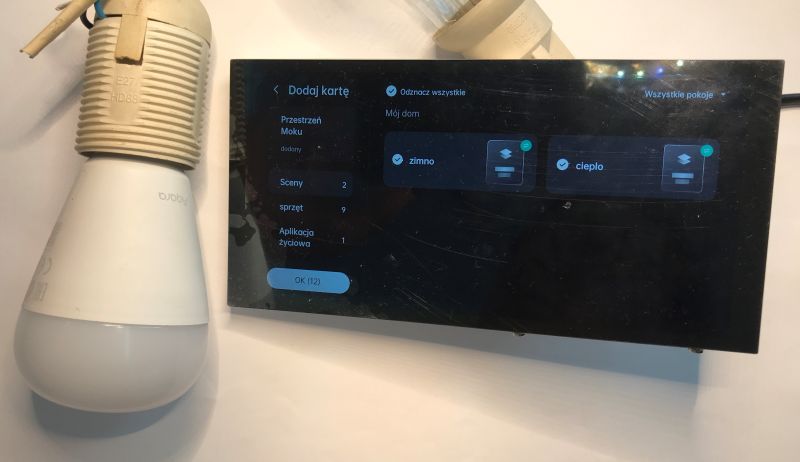
For this reason, I have prepared two scenes setting the two white temperatures respectively:
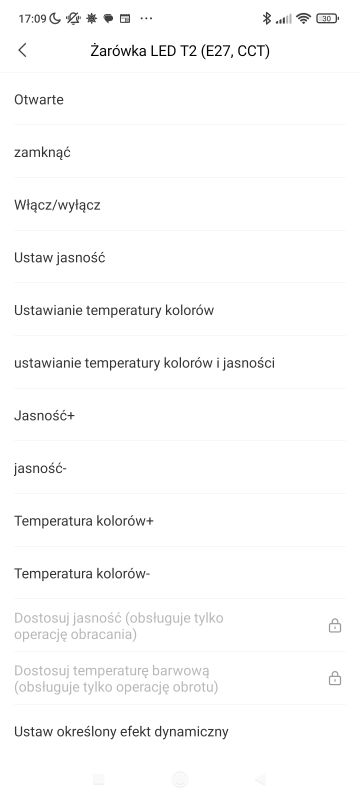
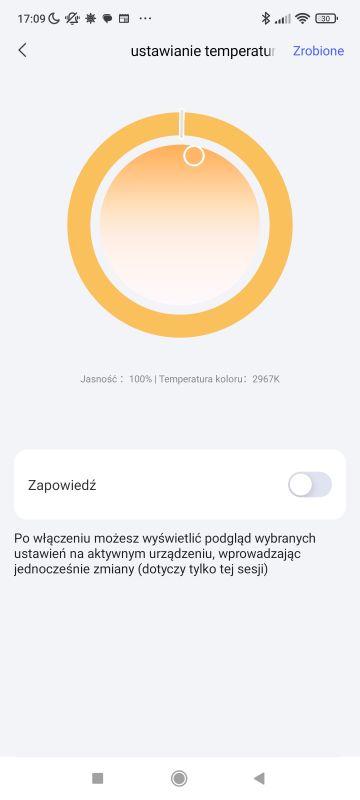
 .
.
Such a scene can control multiple devices simultaneously. I have added both scenes to the screen:
 .
.
Presentation:
One click and a whole room, or even a house, can take on a colour scheme to suit the mood.
Another device - temperature and humidity sensor .
Everything analogously as before. We pair the sensor via Zigbee. We immediately get measurements from it along with their history:
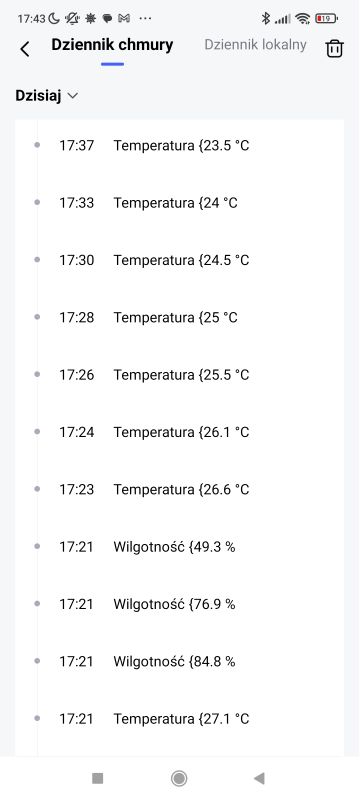
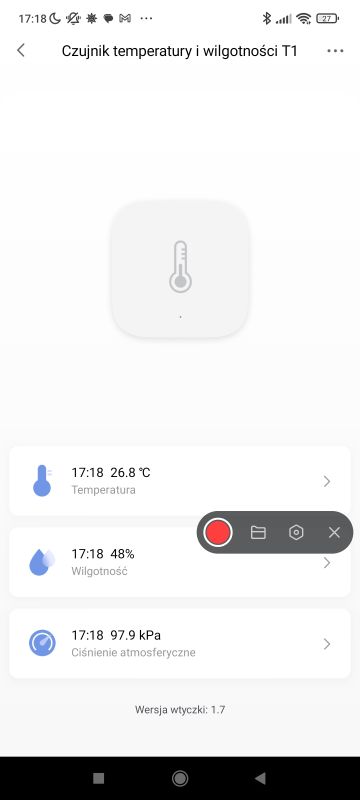 .
.
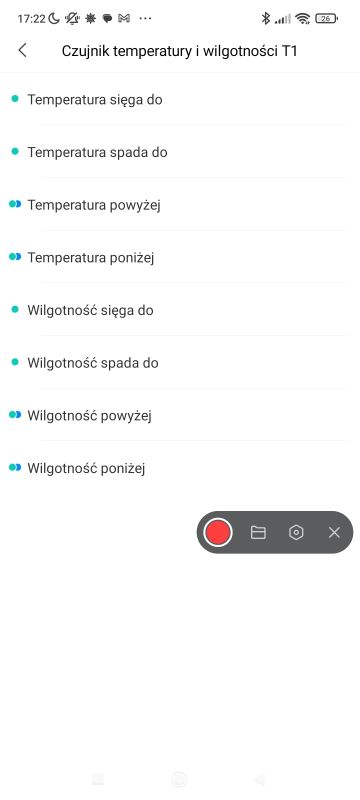
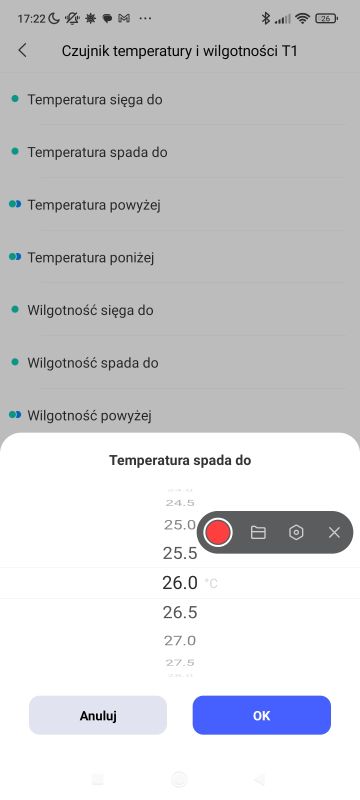
Any measured quantity can trigger automation - heating, cooling, air conditioning can be controlled in this way....
 .
.
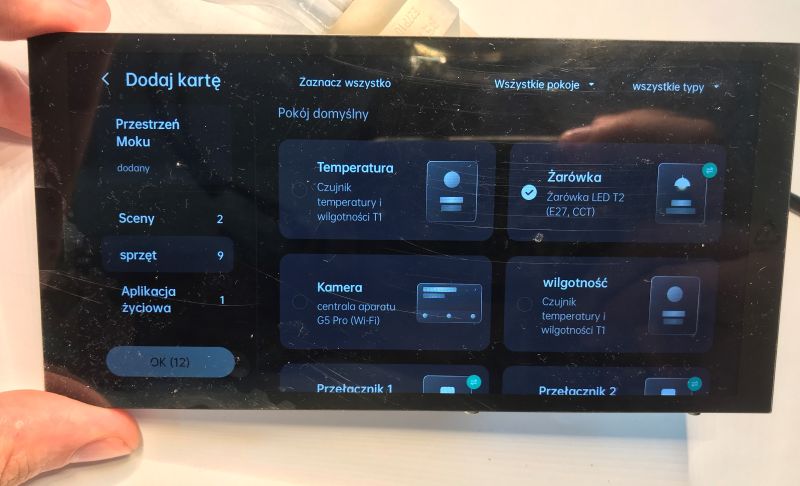
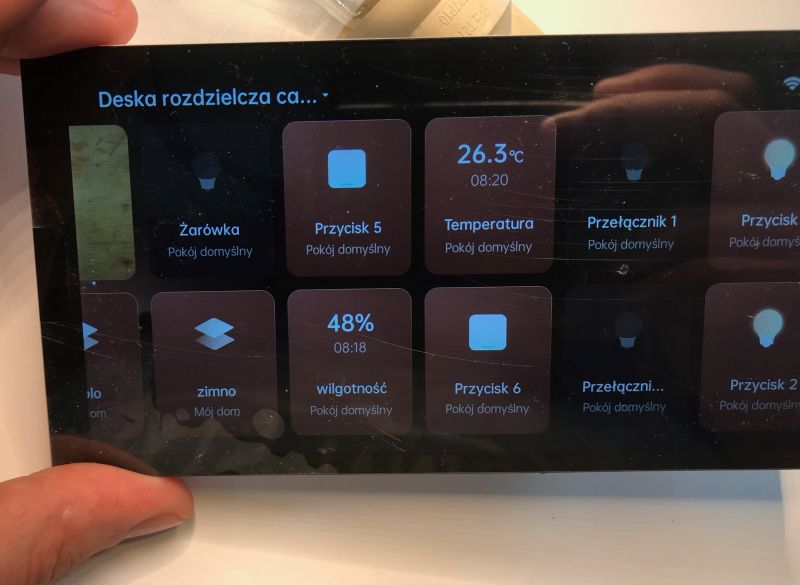
The read values can be placed on the panel with the appropriate icon and name. In this way we can have a quick overview of the temperature in the various rooms as well as the one outside.
 .
.
Is the automation performed without the internet? .
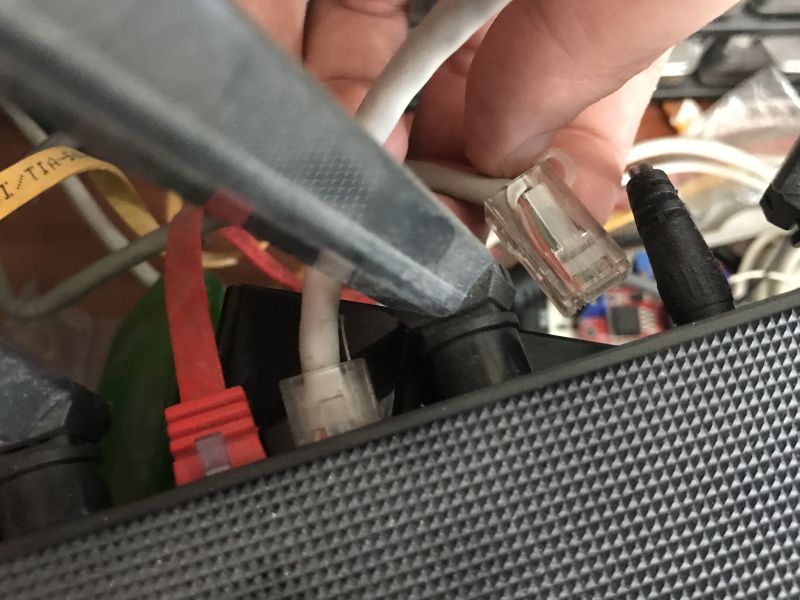
The automation from the previous paragraph performs so responsively that I began to wonder, what happens if I remove the Ethernet cable from the router's WAN port? The router will continue to work, WiFi will still be on, but there will be no access to the cloud.
 .
.
Control from the app does not work, but there is still a connection from the switch on Zigbee.

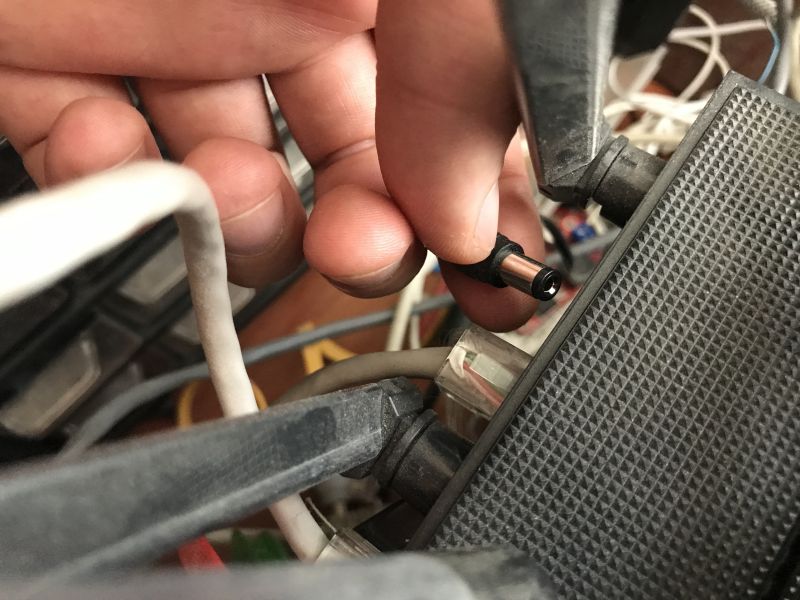
Is the automation done without WiFi? .
This time I completely unplugged the router from the power supply:
 .
.
Zigbee-level control still works, i.e. the automations are remembered by the Hub itself and do not require access to the cloud to execute.
Aqara camera view - DIY video intercom part 1 .
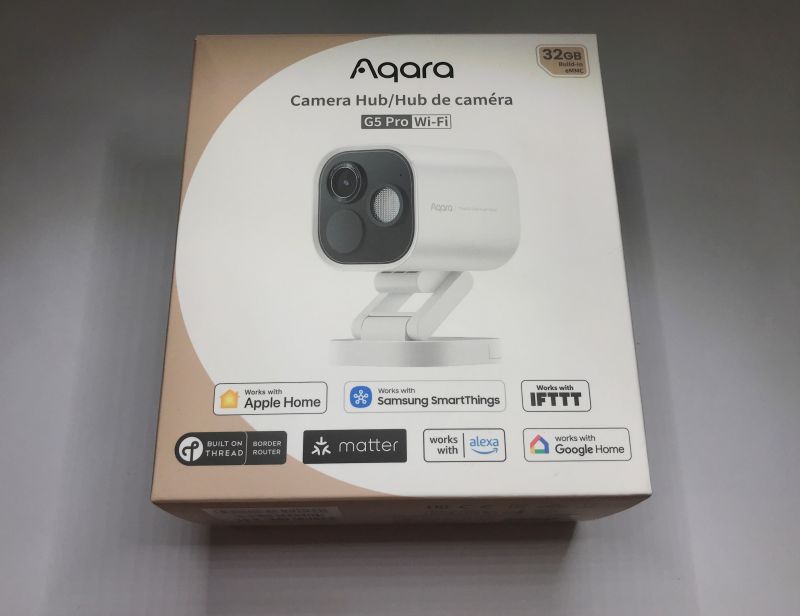
The panel can also work with Aqara cameras, for example the G5 Pro WiFi . As the name suggests, such a camera communicates via WiFi rather than Zigbee, but this is no problem.
 .
.
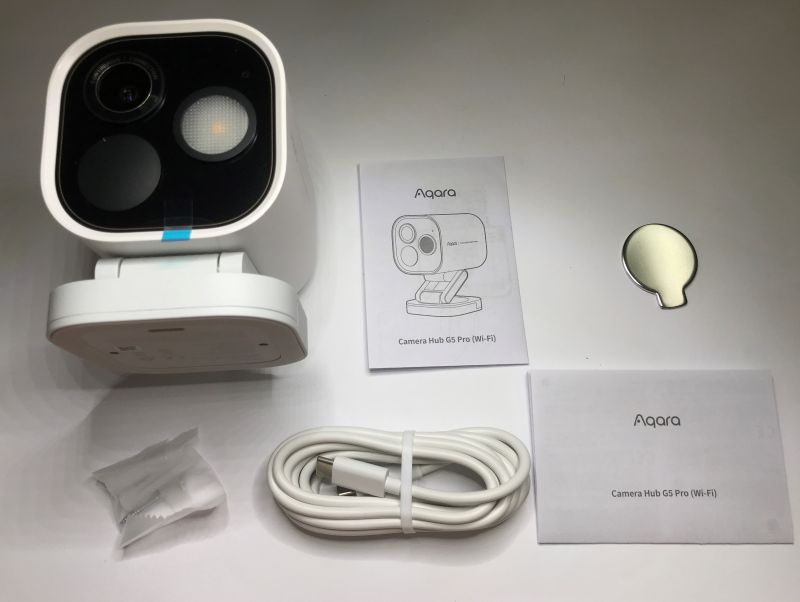
We launch and pair the camera with our Aqara Home account as per the instructions. The Hub S1 Plus panel is not needed at this stage.
 .
.
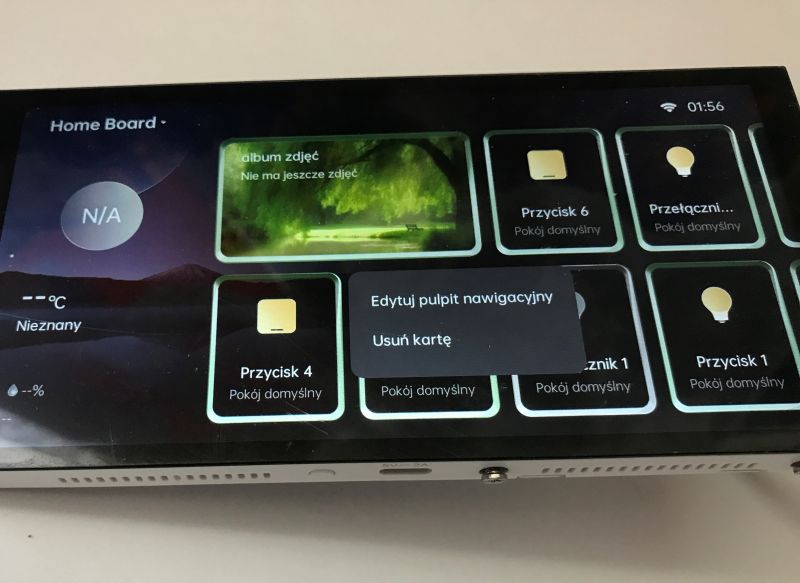
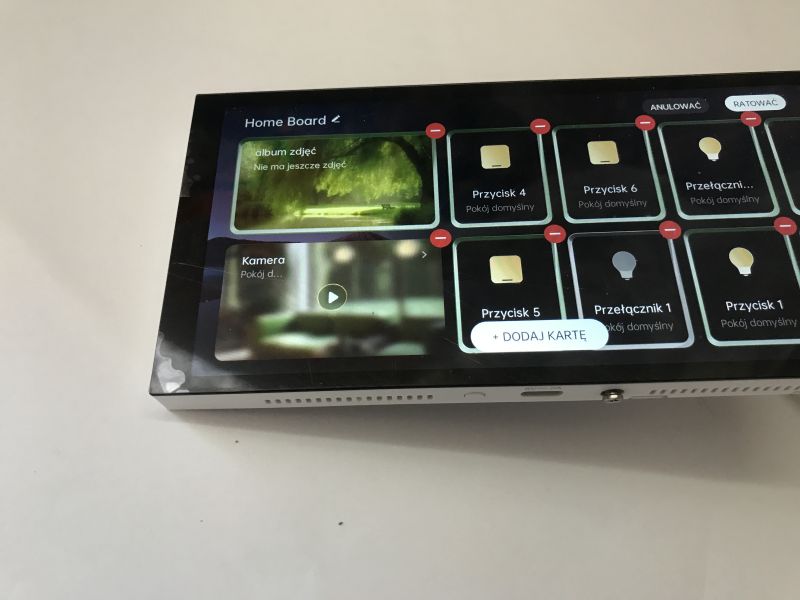
Now it is time to add a camera to our panel. We click any tile longer and enter Desktop Edit:
 .
.
Here you can rearrange the tabs, but this is not our purpose. We select Add Card:
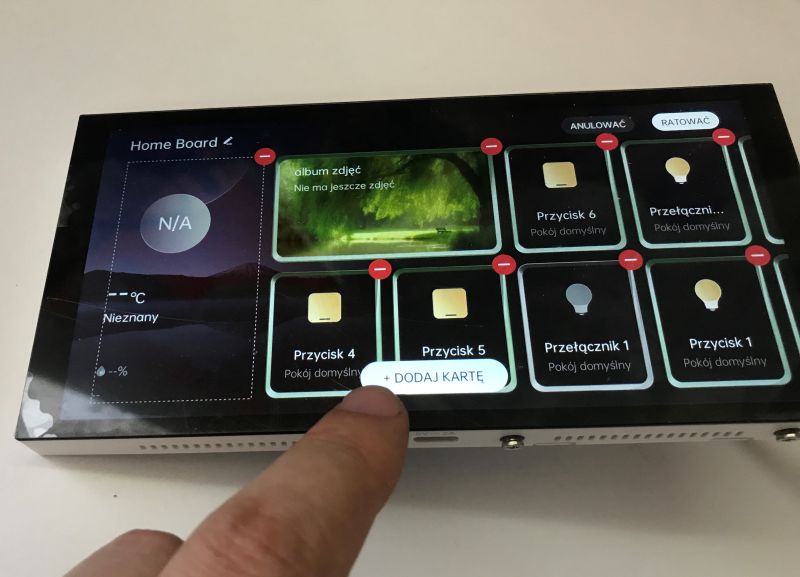 .
.
From this point, we have access to all the equipment from our account. The camera that I have already paired with the app before is also visible there.
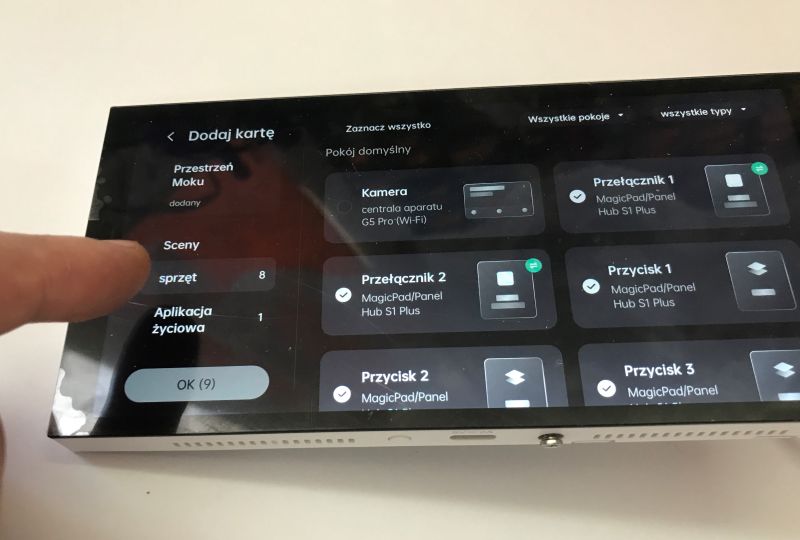 .
.
All you have to do is attach it - check the box:
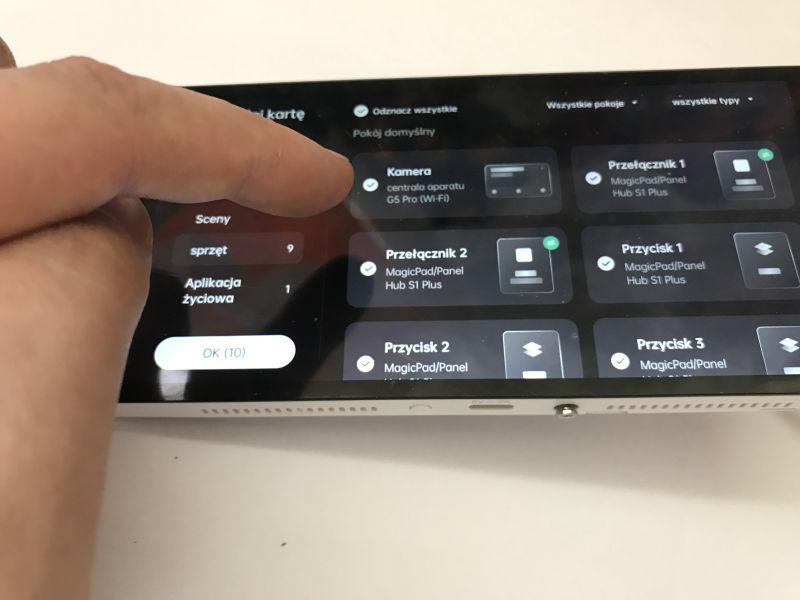 .
.
After exiting and accepting, the camera will be the last tile on our panel. You can now press and move this tile so that it comes first.
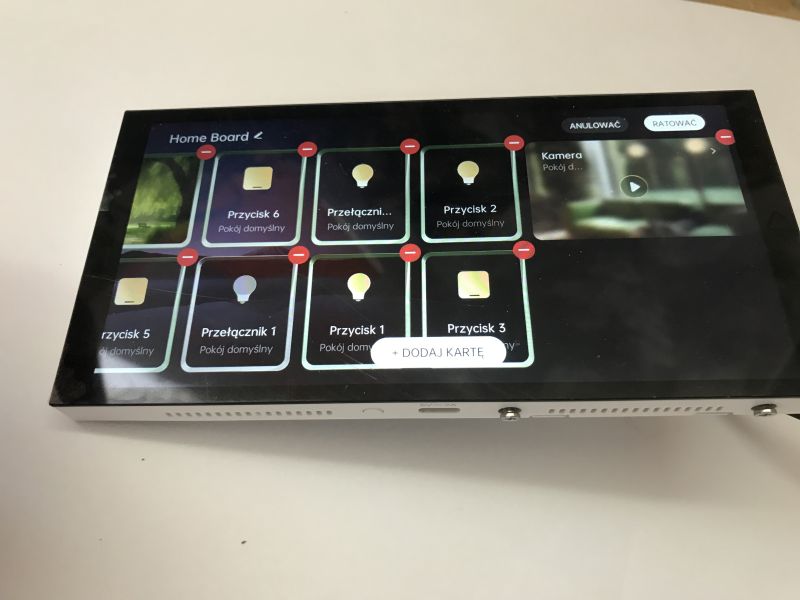 .
.
Finally, we save with the button in the top right corner.
 .
.
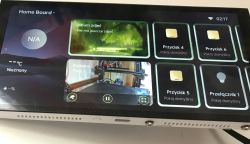
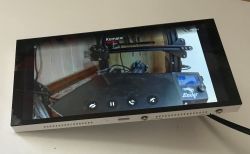
From now on we have a live view of the camera. The full screen can also be switched on.
 .
.
In full screen mode, additional options are available, such as enabling/disabling camera audio or a talk mode, allowing two-way communication.
DIY video doorbell part 2 - bell .
We already have a button, a camera and a hub with a screen - can you make an intercom out of this?
Of course it can!
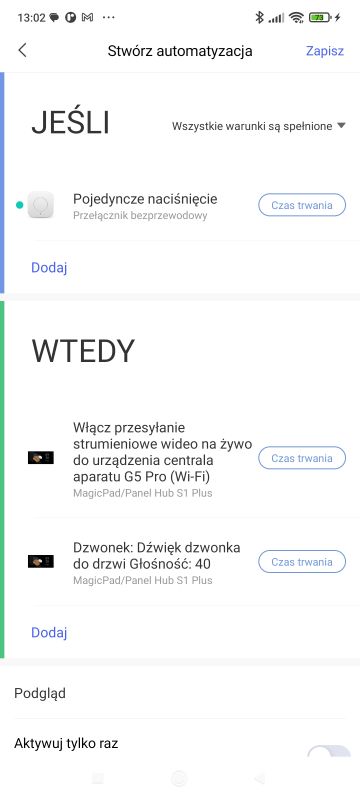
We'll now do the automation as I showed earlier, except that we'll assign it two effect actions:
- playing a melody
- switching on the video stream from the camera to the hub panel
As below:
 .
.
Time for a short test:
Triggering automation according to a schedule .
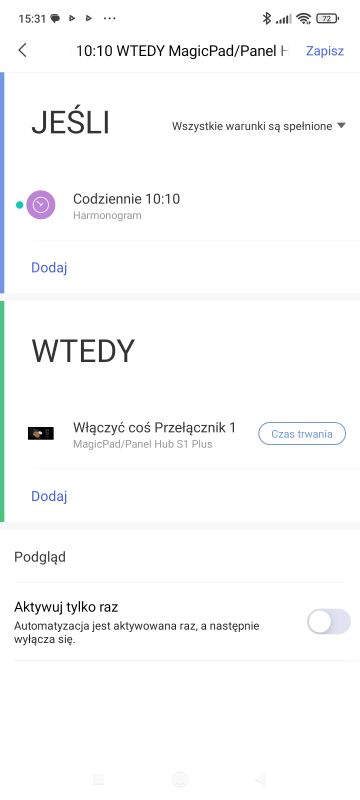
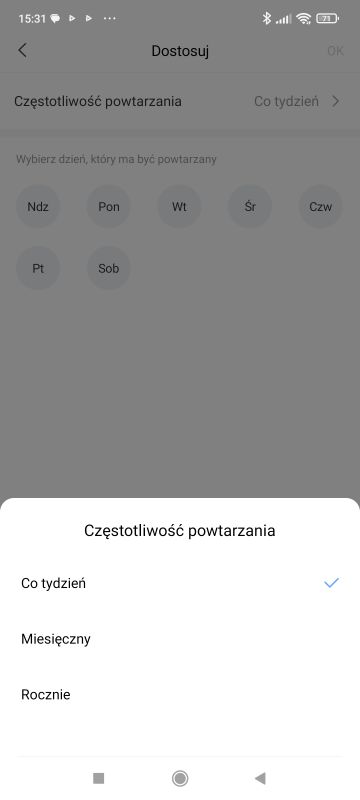
The scheduler allows you to trigger any action at a selected time. The time can be set in hourly and minutely increments, in addition, we can select on which days of the week the action is repeated. In addition, there is also a monthly and annual repeat option.

 .
.
For example, this could be used to automatically switch on the lights in the evening or switch them off in the morning.
Screen lock password .
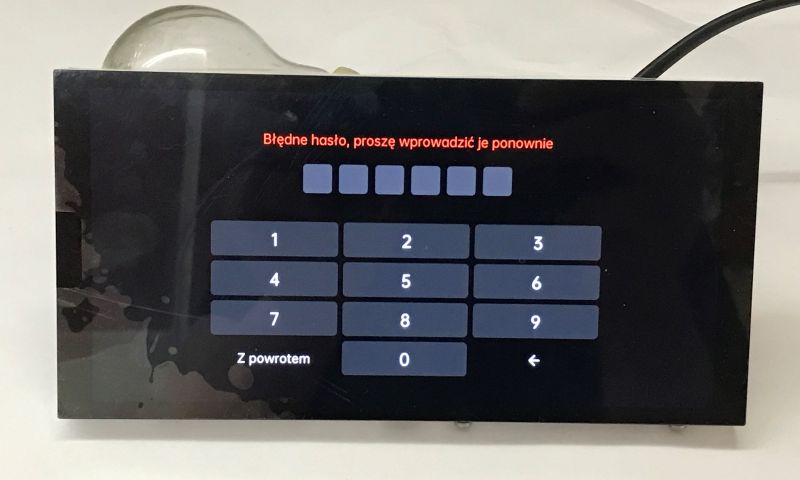
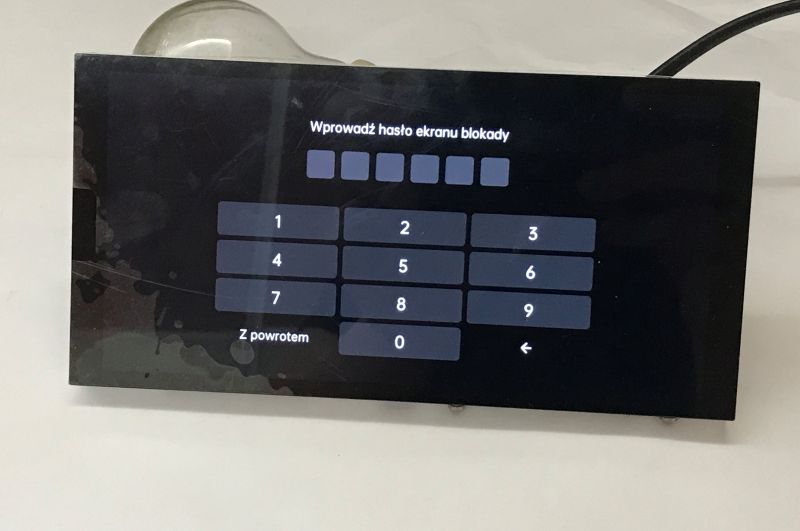
The S1 Plus system offers various slightly more advanced but still useful functionalities. One of these might be the ability to set a screen lock password. In this way, our device can even become a kind of intercom in the stairwell or the vestibule of a flat.
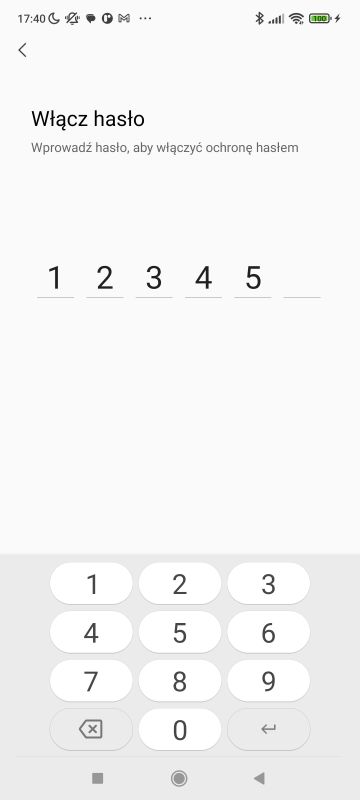
The password is set in the advanced settings - actually, there are two passwords, one for the screen and one for the settings:


 .
.
This is what it looks like in practice:
 .
.
 .
.
Power consumption measurements .
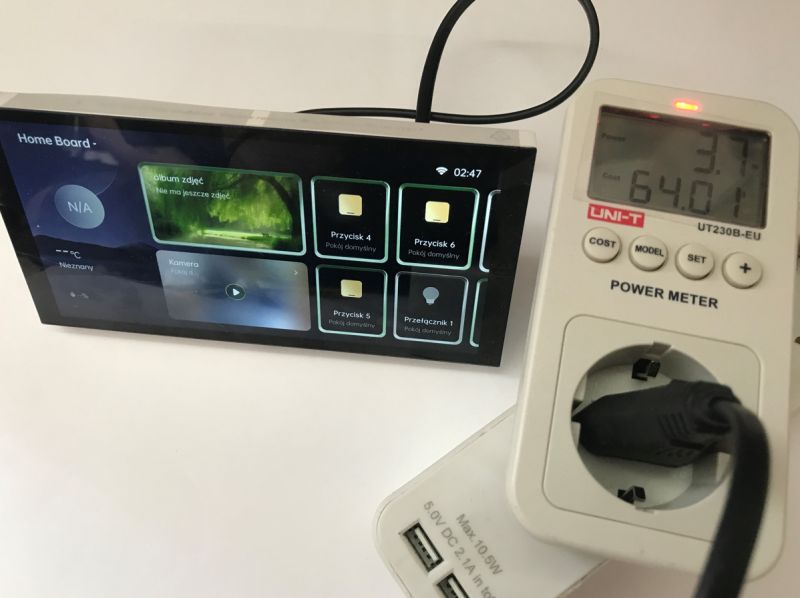
When powered from the mains, approximately 3.7W is consumed. Interestingly, switching on two relays does not seem to significantly affect the power consumed. Could it be that these are bistable relays?
 .
.
When the screen is turned off, the consumption drops to about 2W:
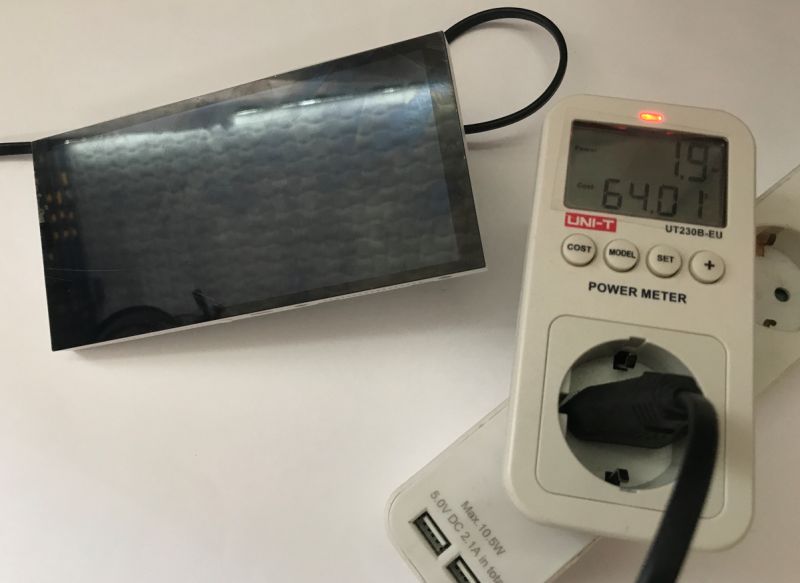 .
.
Similarly for the USB power supply. At 5V, approximately 0.5A, making 2.5W, with this not including the inverter in the power supply.
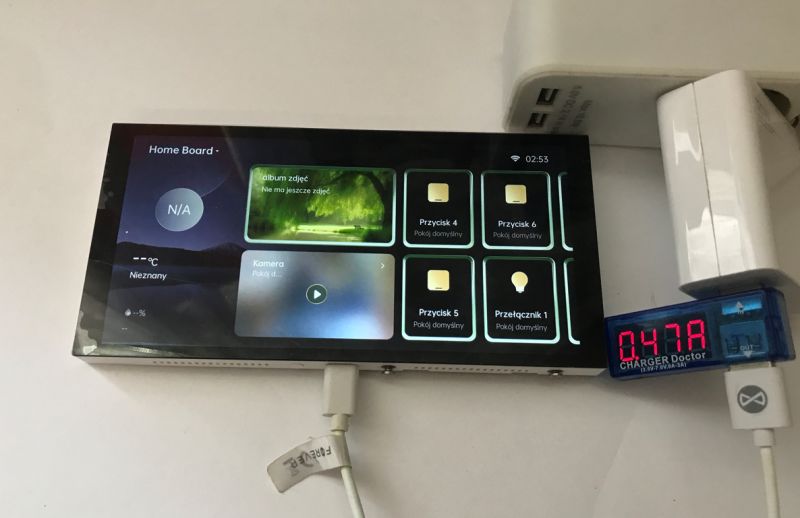 .
.
This value halves when the screen is turned off:
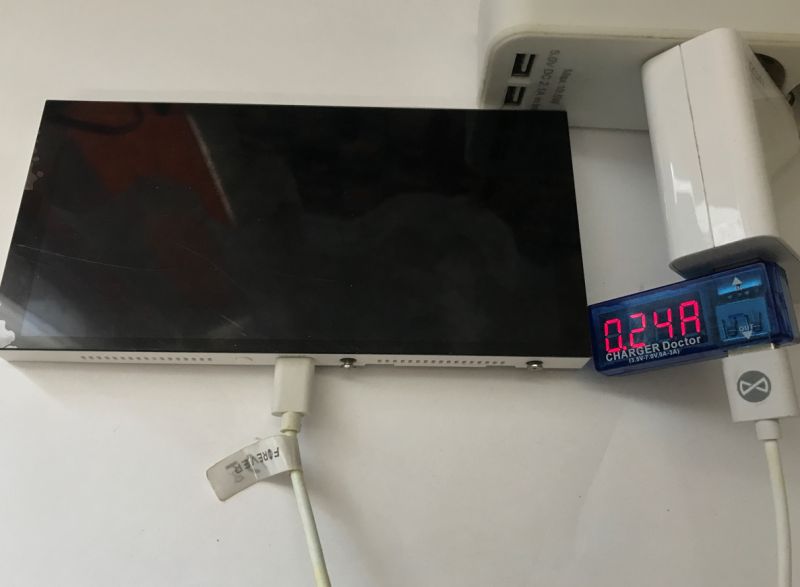 .
.
Out of curiosity, I also checked whether switching on the camera view somehow affects the current consumption? It does, but it is not a significant change:
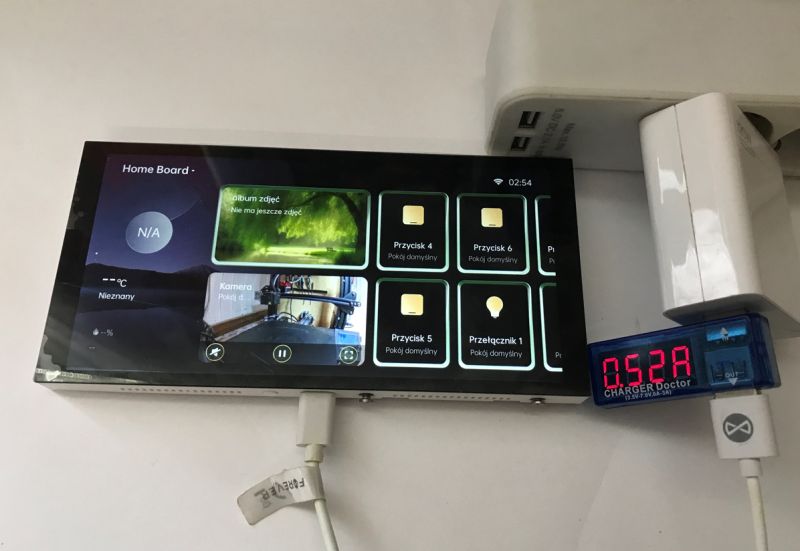 .
.
Are there bistable relays inside? .
A bistable relay is a relay that, when switched on, remains in its state (on or off) even when the control voltage is removed. Unlike monostable relays, which return to their initial state after a voltage loss, bistable relays maintain their state thanks to a latching mechanism or by using two switching coils. In this way, they save current and do not 'click' with lighting when the device is restarted or updated.
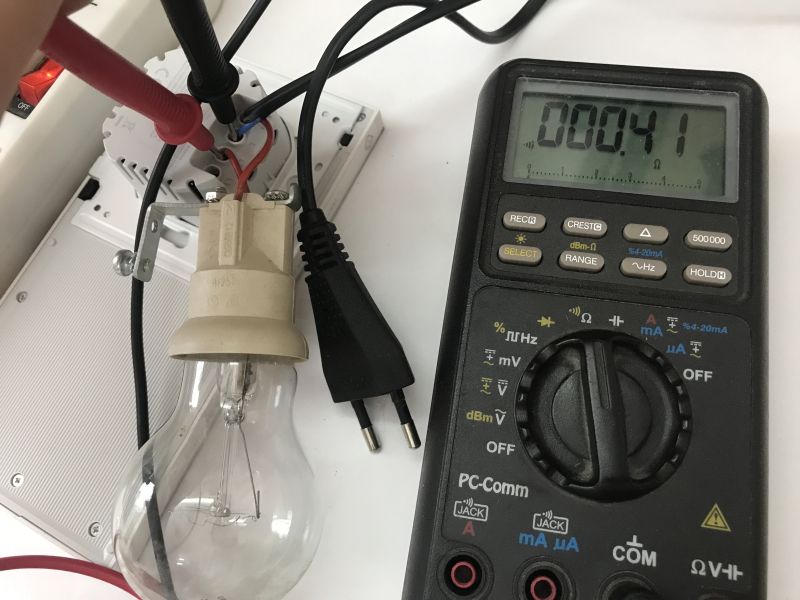
Power measurements just suggested to me that such relays are inside - I checked this by setting the states, disconnecting the power supply and testing whether the contacts are still shorted:
 .
.
A quick test shows that yes, there are bistable relays here.
Interior of Hub S1 Plus .
The whole unit is made solidly and with good quality materials. There are no plastic catches like in cheaper products and the back of the case is metal. You can unscrew the screws and take a look at what's behind it.
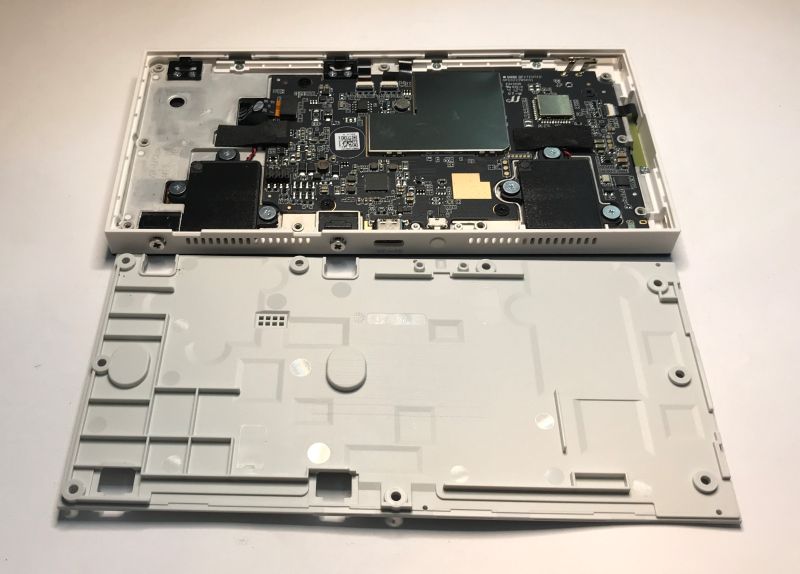 .
.
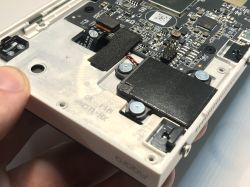
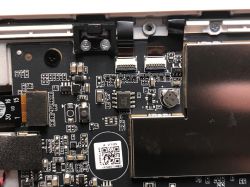
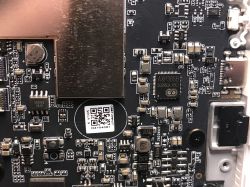
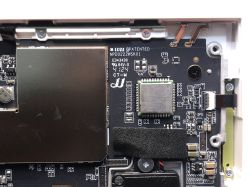
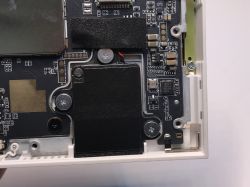
What immediately catches the eye are the two large speakers that provide stereo sound. You can also see the module from wireless communication and the main CPU section, which unfortunately for observers is shielded.

 .
.
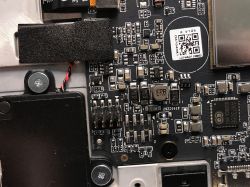
I was interested in that battery at the SD2059. It's probably a time keeper. Will it need to be replaced sometime in there after prolonged use?
Inside I see, among other things, AXP305B, MG21 and PCB designation NPD0222WSK01. This MG21 could be the EFR32MG21 Series 2 Multiprotocol Wireless SoC, controlling Zigbee and Bluetooth.
I also wanted to look at the executive part (power supply and relays) but couldn't find a way to get there.
Product specification .
Panel Hub S1 Plus
Model: MP-K03D
Dimensions: 172× 86× 42.2 mm (6.77× 3.39× 1.66 inches) Input
USB-C: 5V 2A⎓
Wireless protocols: Wi-Fi IEEE 802.11 a/b/g/n/ac 2.4GHz/5GHz, Zigbee
IEEE802.15.4, Bluetooth
Resolution: 1440× 720
Electrical parameters: 200-240 VAC, 50/60 Hz, 8 A max (resistive load), µ
Operating temperature: -10°C~ 40°C (14°F~ 104°F)
Operating humidity: 0 ~ 95% RH, non-condensing
Package contents: Panel Hub S1 Plus × 1, user manual × 1, statement of conformity × 1, set of
screws × 2
Youtube presentation .
I invite you to watch the related video - key issues in an accessible film form with commentary:
Summary .
Aqara Panel Hub S1 Plus is a truly powerful device. The wide range of capabilities and functionality brought by this panel really impressed me. You can really build a lot into this ecosystem - you can even make your own video intercom when you connect the associated camera from Aqara. You could even say that the whole thing is such a Home Assistant for less technical people or people with less free time. Set-up and commissioning is very simple and the possibilities are great. Deeper testing also revealed a lot of pluses, some of which really surprised me - I didn't think automation would continue to work via Zigbee when WiFi was switched off, nor did I expect energy-saving solutions such as bistable relays inside. The whole thing doesn't draw much power either. I think the Aqara Hub S1 Plus provides a good basis for building building building automation with a low entry threshold - for virtually anyone, even non-technical people.
See you in part two - there I'll already focus on the Aqara camera , its AI-based capabilities and I'll even try to run it locally with RTSP. .
[Advertising collaboration with BATNA Ltd.]
Cool? Ranking DIY Helpful post? Buy me a coffee.


