FAQ
TL;DR: Pantum P2500 drum replacements cost PLN 180 (~€40) [Elektroda, lukasku, post #16774910]; “after 30 prints durability looks good” [Elektroda, lukasku, post #16628484] Use silicone spray, 0.8–1 mm registration holes, and correct sensor timing to get sub-10 mil tracks quickly.
Why it matters: Direct-laser printing slashes one-off PCB build time from hours to minutes without messy irons.
Quick Facts
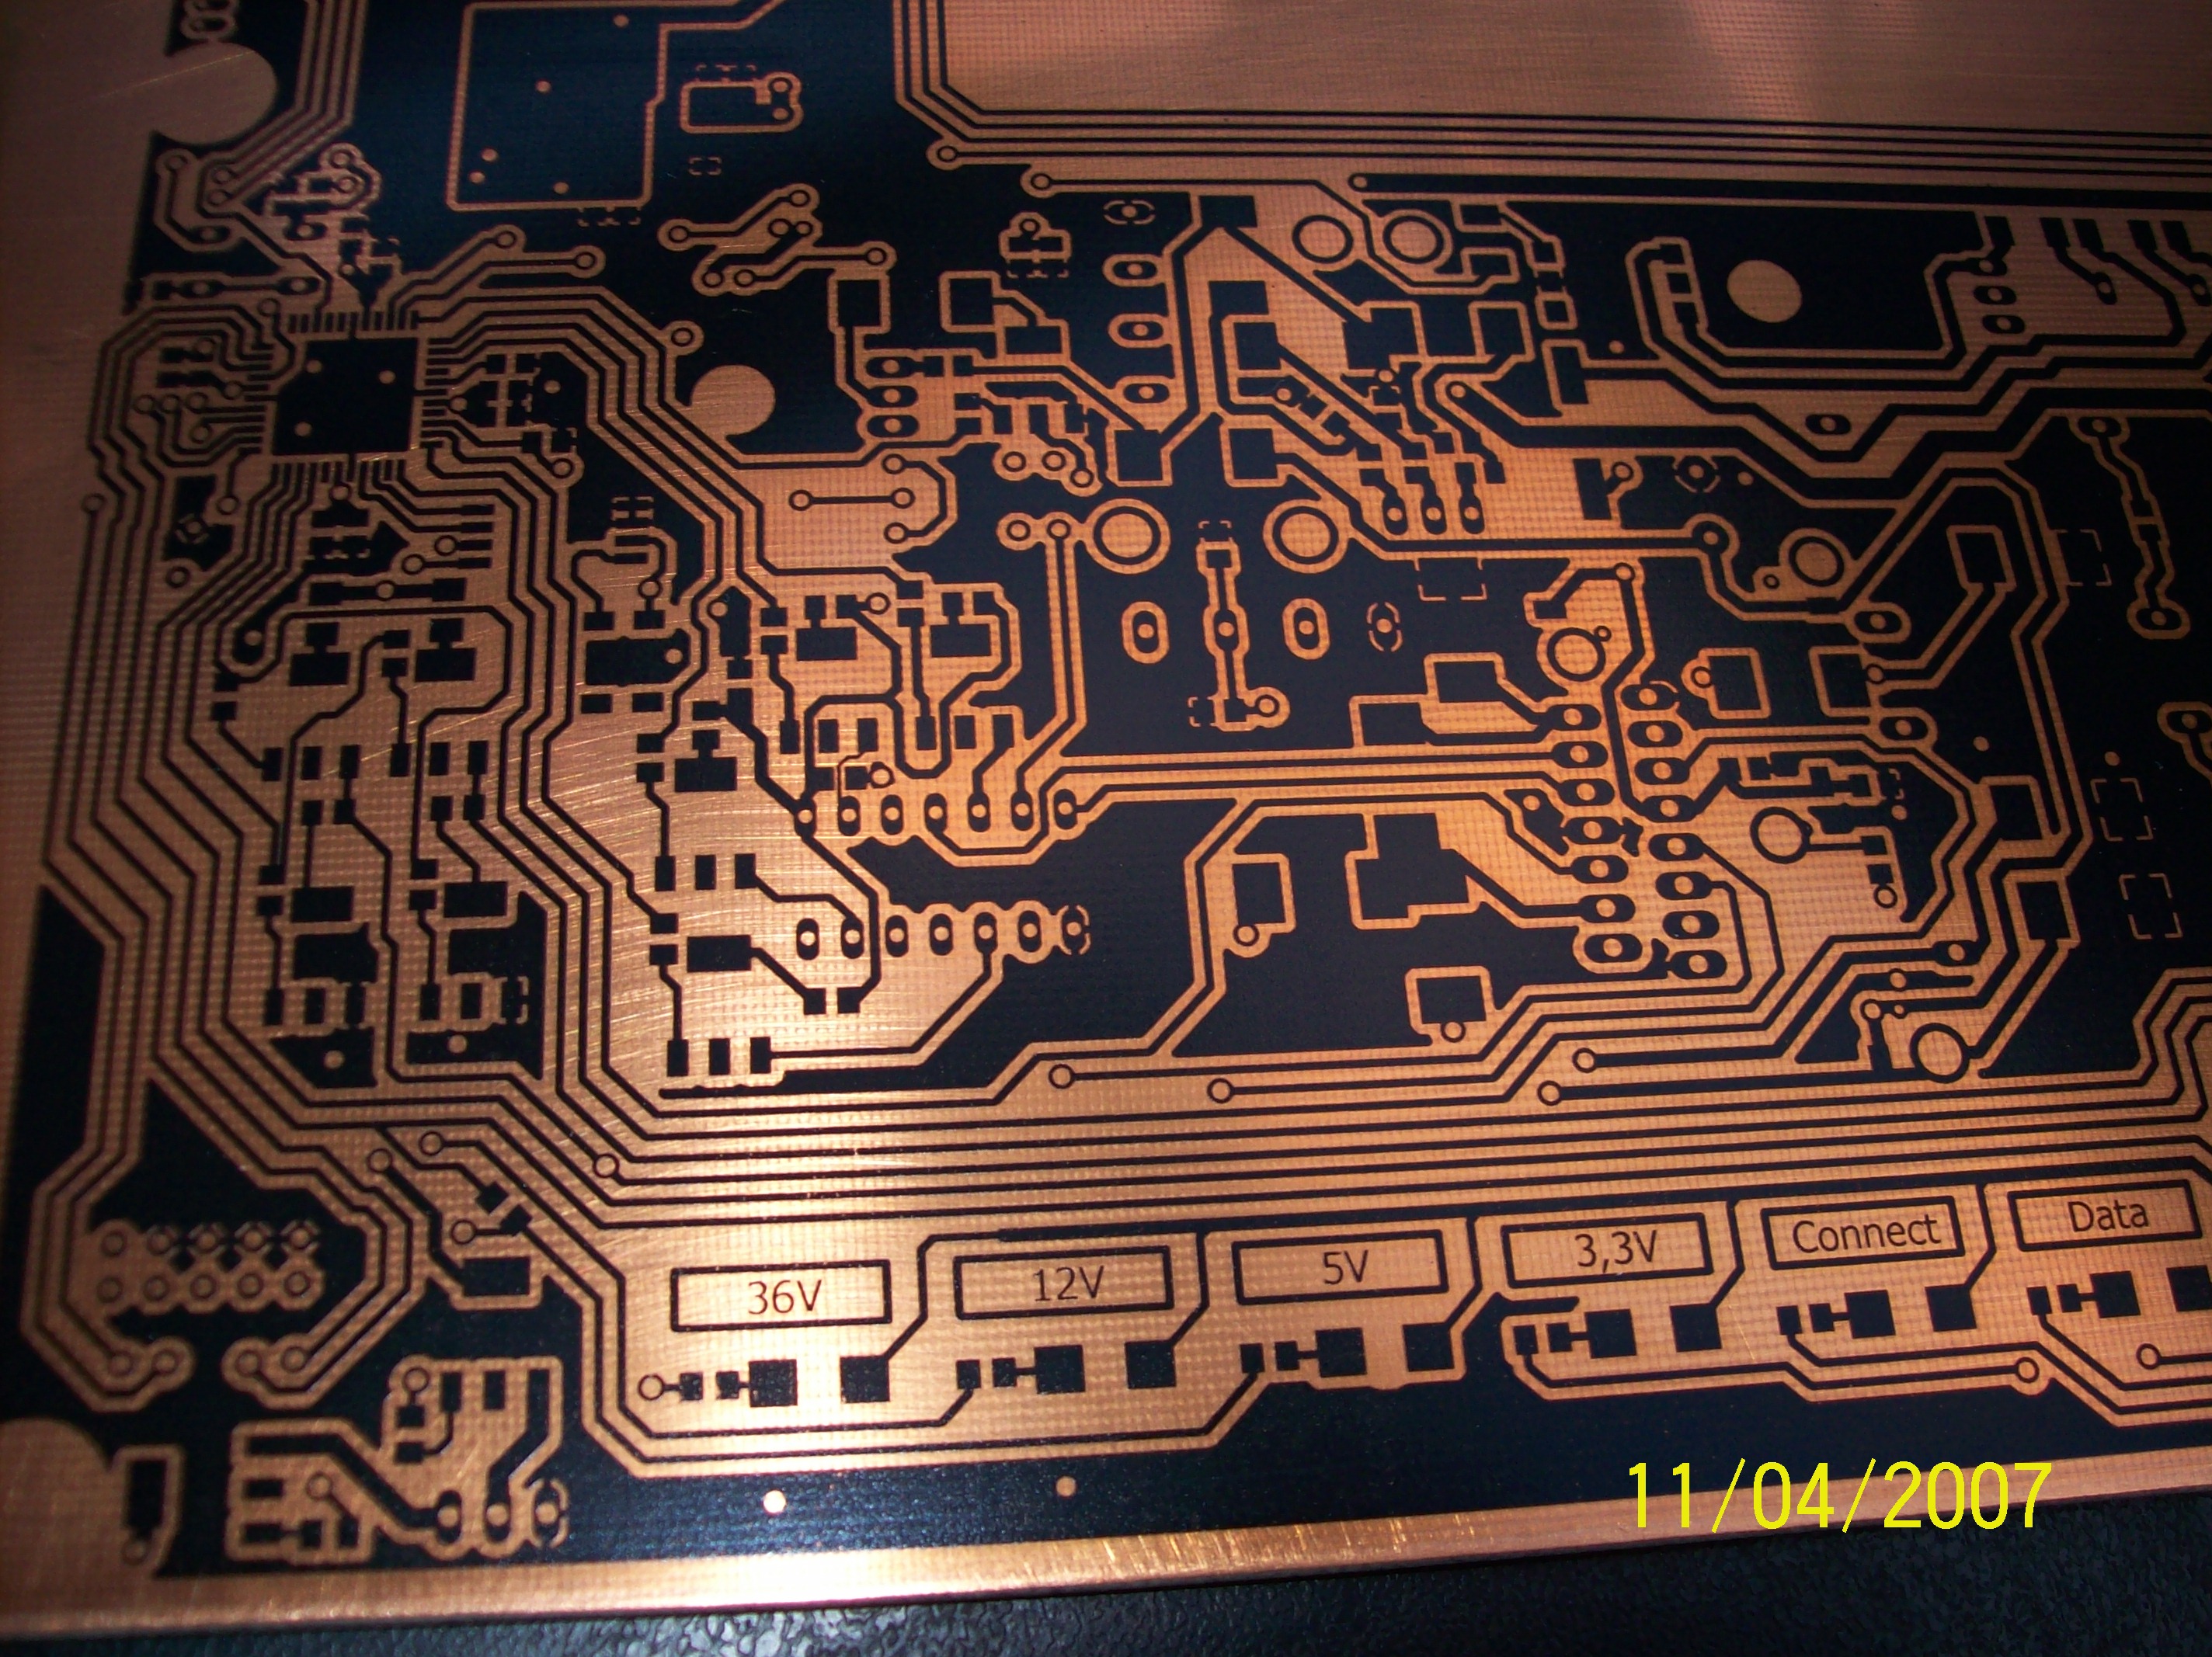
• Typical track width achievable: 7–10 mil (0.18–0.25 mm) [Elektroda, lukasku, post #16970352]
• Replacement OPC drum costs: Pantum P2500 ≈ PLN 180; Lexmark E460 ≈ PLN 15 [Elektroda, lukasku, post #16774910]
• Silicone spray brand tested: K2 Perfect SIL, thin wiped layer [Elektroda, lukasku, post #16630866]
• Tray registration hole: 0.8–1 mm, ≤10 mm below NPIS sensor [Elektroda, silelis, post #16876682]
• Heating for toner hardening: 180 °C for 3 min or acetone vapour 30 s [Elektroda, lukasku, post #16740784]
Which laser printers are most often converted for PCB printing?
What hardware changes are essential on a Pantum P2500/2502?
How do I stop the photoconductor drum from scratching?
Why use silicone spray on the laminate?
What is the correct registration-hole position for Lexmark E260?
Drill a 0.8–1 mm hole about 7–10 mm downstream of the NPIS sensor and 2–5 mm from the sheet edge; farther holes miss the 500–550 ms timing window and toner never fires
[Elektroda, silelis, post #16876682]
How fine can tracks and gaps be with this technique?
Best way to strip toner after etching?
How accurate is double-sided alignment?
Could eco-solvent or UV ink serve as solder-mask?
What common failures should I expect?
How do I run the direct-laser printing cycle?
- Clean, lightly sand, degrease copper; wipe on thin silicone film.
- Feed laminate through modified printer; ensure 180 °C fuser is disabled.
- Bake board at 180 °C for 3 min or expose to acetone vapour 30 s to harden toner [Elektroda, lukasku, post #16740784]
Is CNC milling or UV-laser a better option?
What does the full cost of ownership look like?
Summary generated by AI based on the discussion content.
Comments
This method has one major disadvantage. The laminate must be perfectly straight, of appropriate thickness and perfectly polished. :) [Read more]
Let me disagree :) Well, if you look good, it's not a simple laminate at all. In addition, it has a tape (from the front of the tile) protecting against scratches of the photosensitive drum. Testing... [Read more]
and the name of this agent you do not give in both the first and the second post because, because ...? [Read more]
silicon w spreyu ;) [Read more]
What? And how is copper consumed by silicone ?? [Read more]
It is a silicon spray, which is used to prevent the seals from freezing in the car. Can I digest this silicon? The answer is, I have no idea :) Well, you just need water with washing powder or the... [Read more]
You can make 2 1-sided prints by your way and connect them with pins with empty pages but you probably know. I have such an idea to use the 3D printer reprap for this operation, instead of, or by coupling... [Read more]
Well, you're right. By editing the printer from the description given at the very top, through the rush the only thing that I managed to spoil is a photoconductor. Unfortunately, the toner with it is expensive,... [Read more]
All the time I go to my head to cover the laminate with a thin layer of black paint and burn the paths with a CNC laser. And then in the etchant. [Read more]
For what reason, if 99% of the programs have the option of exporting to HPGL, hence the banal to g-code :) . @lukasku How is it that photos you have from 2007, how the Pantum company was... [Read more]
He did not want to set the date on the camera :D What is this copper so discolored? [Read more]
Probably so. ;) This discoloration of Piotr, probably after the iron - too high temperature and poor laminate. [Read more]
Exactly :) Not after the iron. Well, one of the few things when modifying the printer is the disassembly of the heater / heater. "Print" is a bit "dry" (even without the use of silicon, the... [Read more]
Is something else important yet the blocking mechanism must be removed and the laminate heated before passing through the printer? [Read more]
In this link, http://www.instructables.com/id/Modification-of-the-Pantum-2502W-for-Direct-Laser-/ is nicely described with pictures. If I remember correctly, one roll, heaters, make a plate guide and place... [Read more]
I understand that the plate goes to the oven for fixation, and what about the acetone trick shown here: https://www.youtube.com/watch?v=VY-7hQ6ocx8 [Read more]
This is a slotted optocoupler, no reed switch. [Read more]
I have not tried (my plate is 190x190), but it probably works. As soon as I'm doing a new (smaller) plate, I'll try and check it out. Thanks for the correction. My bad. [Read more]
I've just tested a 405nm laser diode (about, it's blue for violet) and a photosensitive resin (I plan to make a 3D printer but it's cool) and practically harden the 0.1mm layer immediately. As if instead... [Read more]