I greet you cordially.
As in established by me
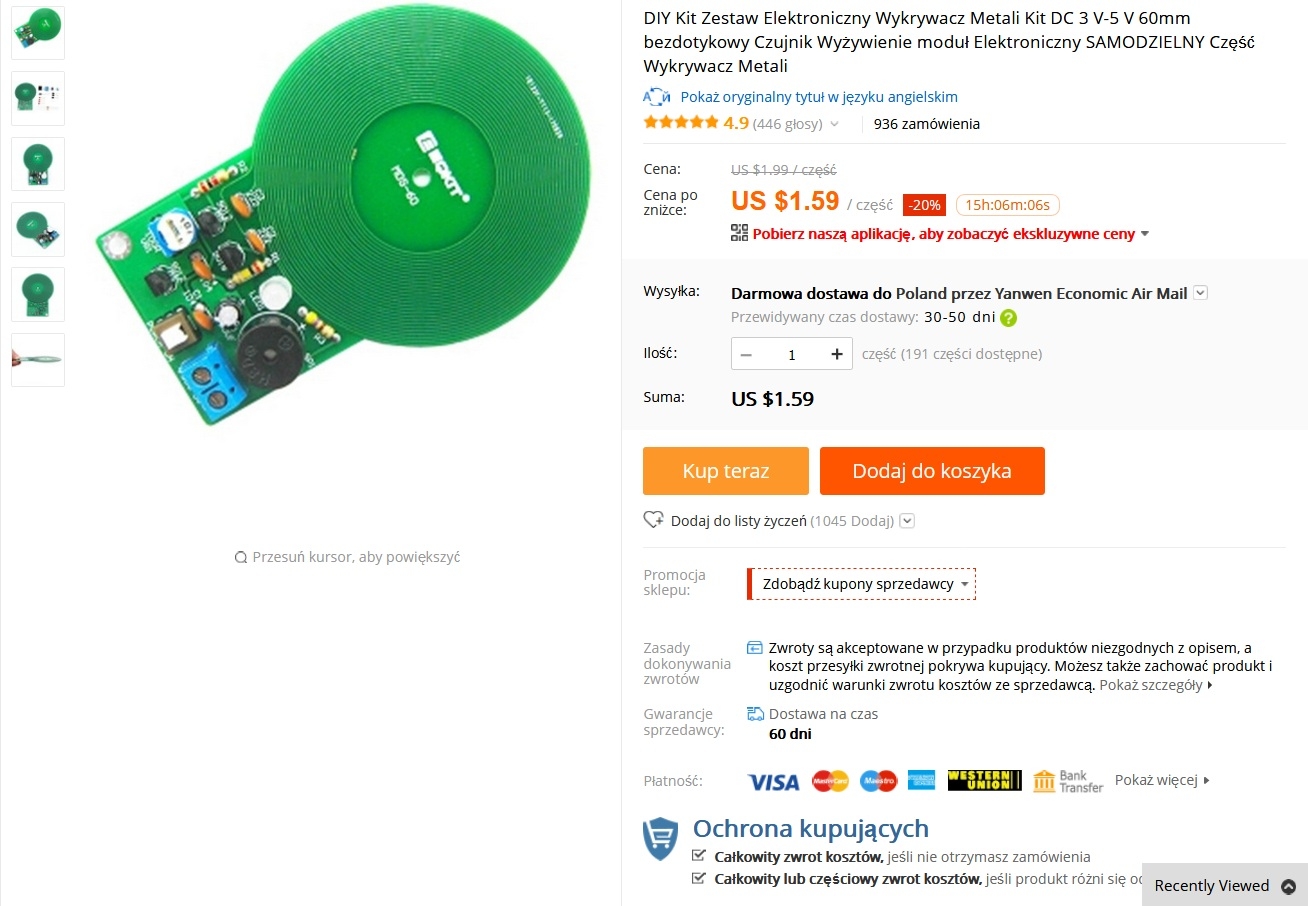
poll for a decisive lead, a mini metal detector for self-assembly has come forward, this is where we will start a series of articles devoted to gadgets.
At a Chinese auction, you can buy this gadget for about six Polish zlotys.

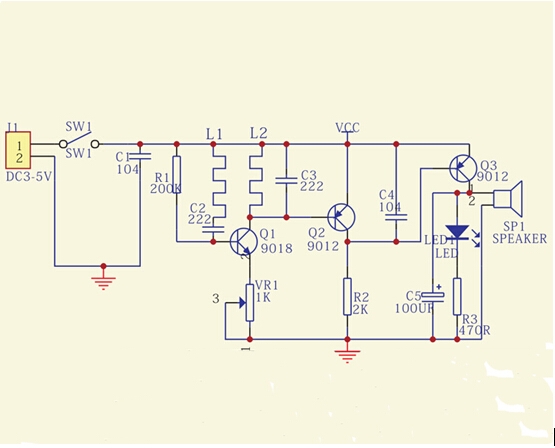
It's a very simple layout, but it does the job pretty well.
I think the diagram will explain everything:
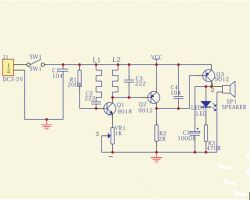
As you can see in the diagram above - it can be done without a microcontroller. :)
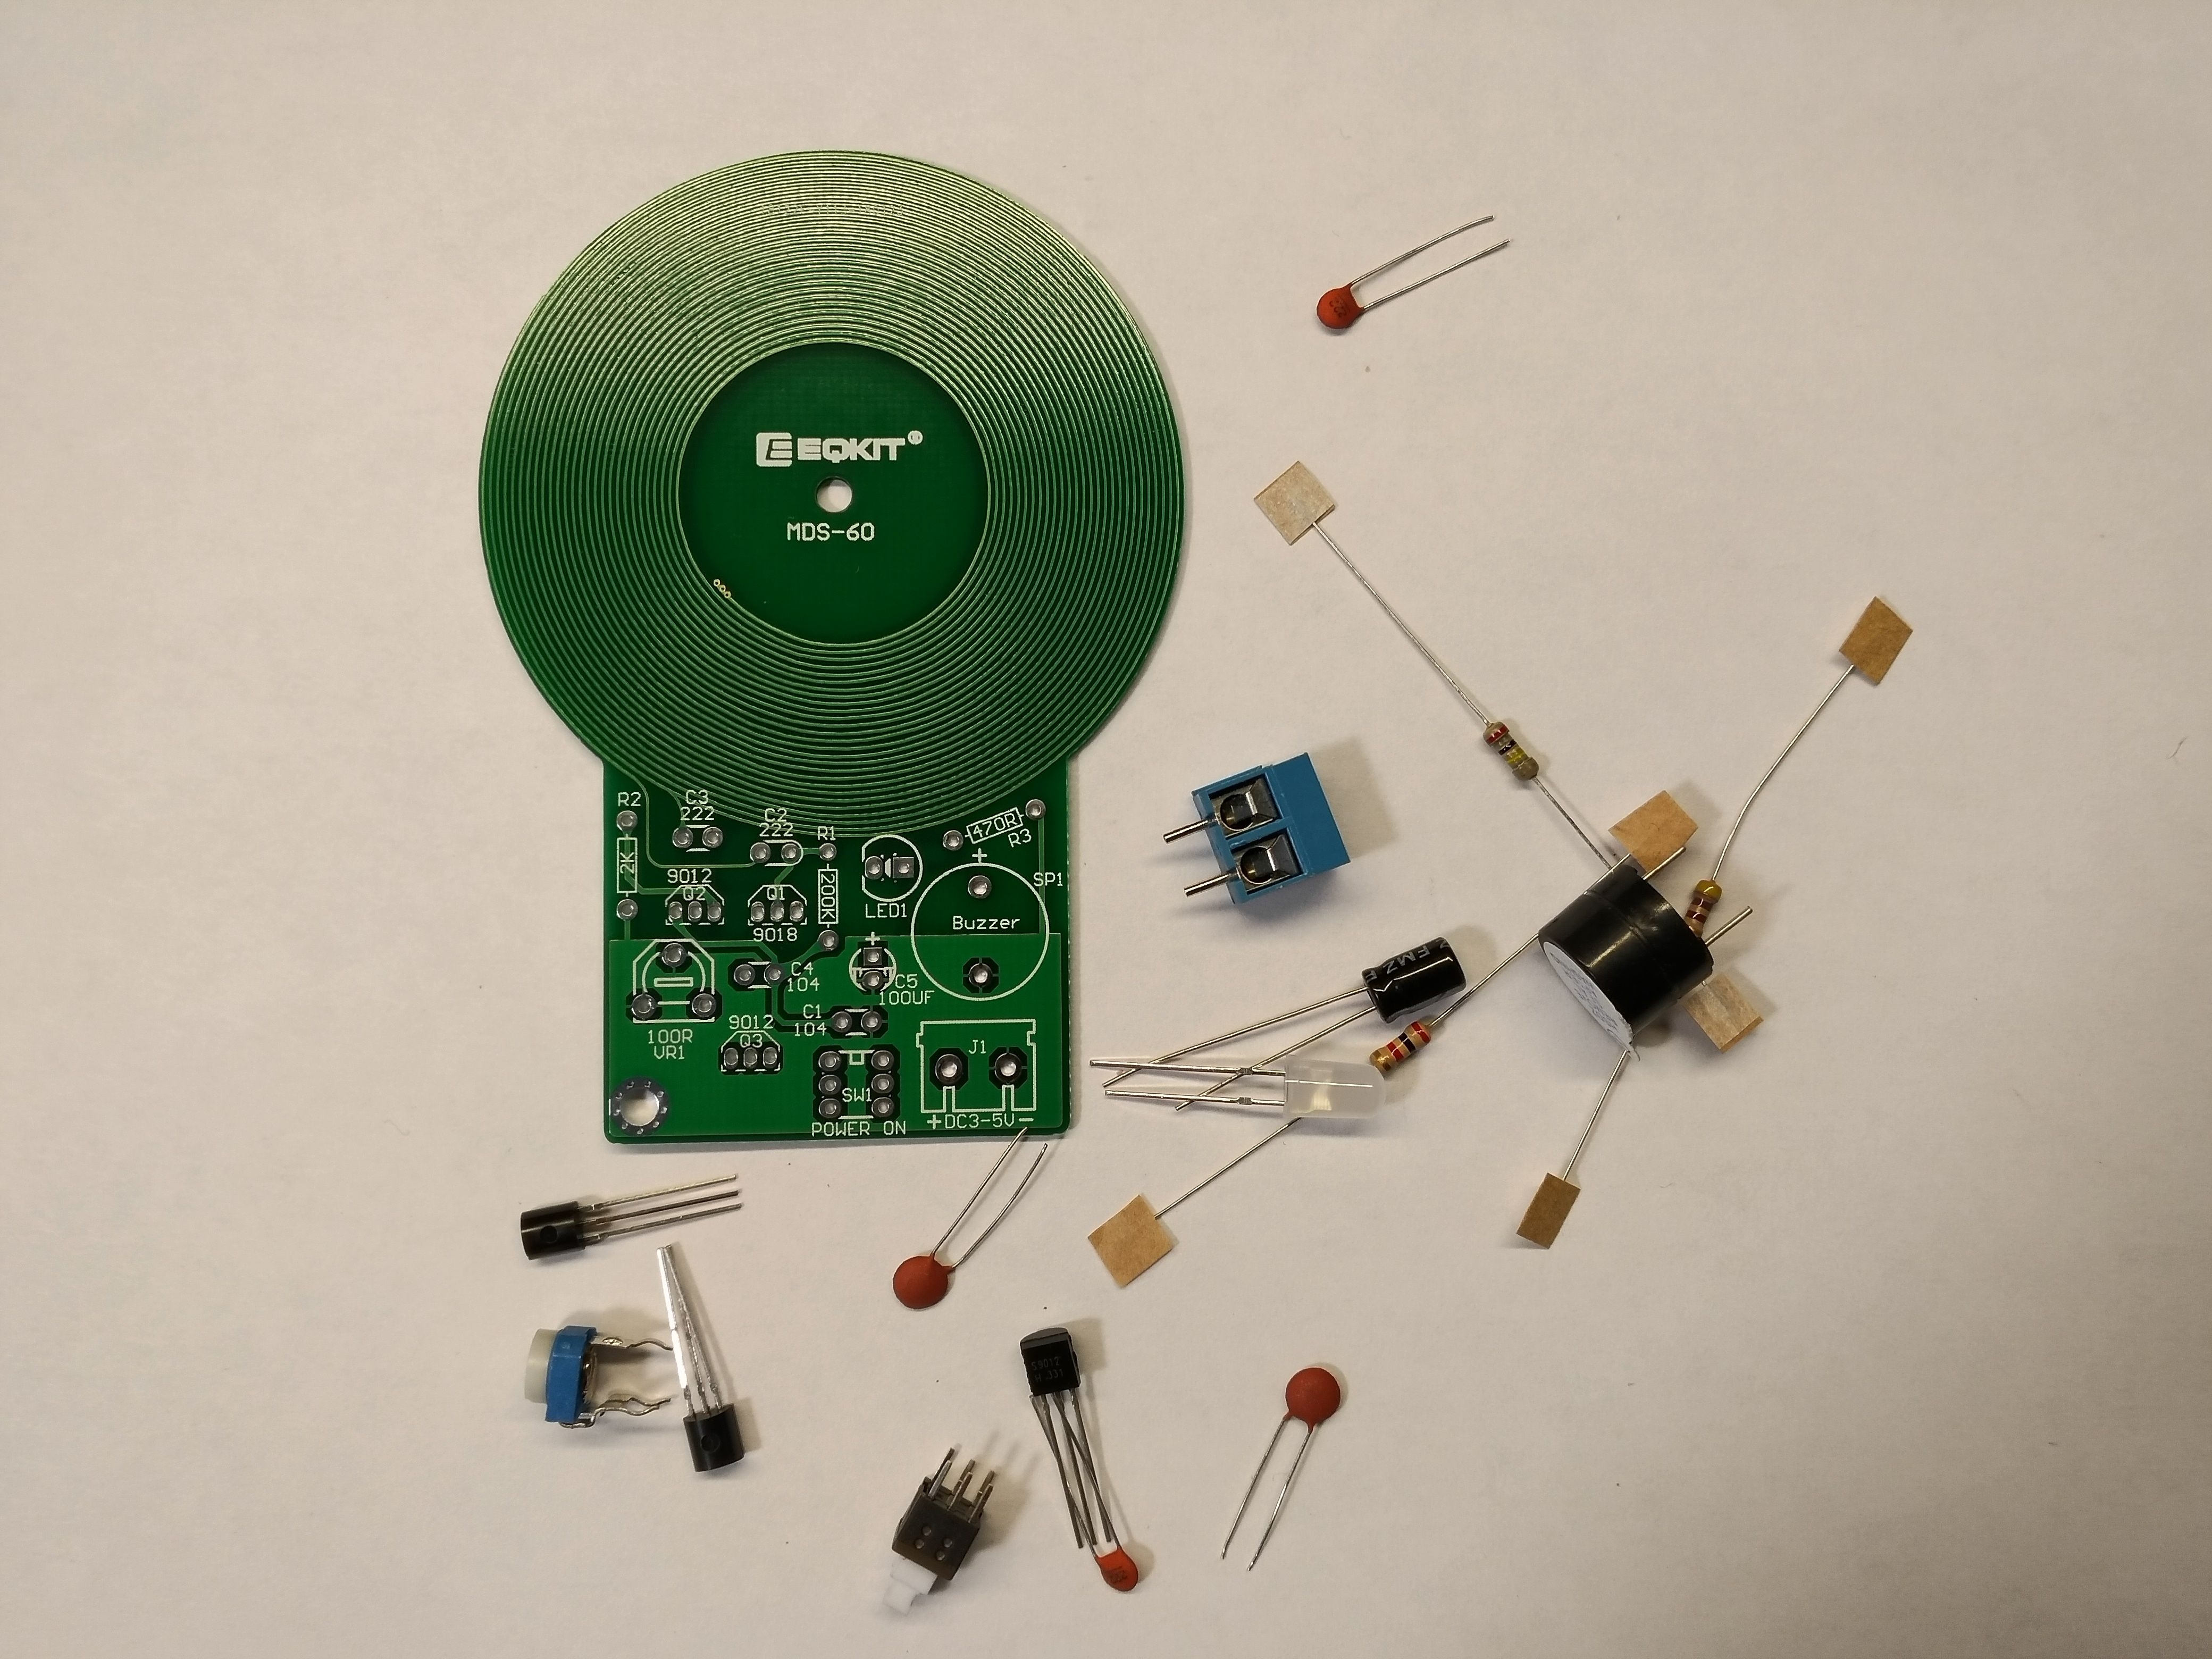
What we get in the package:
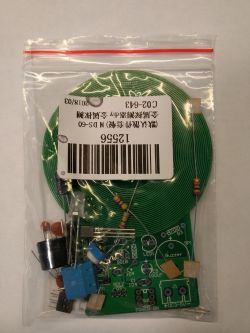
As you can see - there is a regular zip bag, not an ESD Free bag, but what can be damaged here.
After pouring the content onto the table, we don't have too many elements.
Let's start with the technical parameters:
1. The supply voltage is from 3VDC to 5VDC.
2. Power is supplied to the ARK connector. The polarity is described on the PCB.
3. The device consumes approx. 40mA during operation and approx. 5mA in standby mode.
4. The declared "range" is 60mm.
5. Detection of a ferromagnetic object is signaled by a LED diode (it lights up) and a buzzer squeaking.
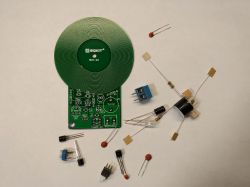
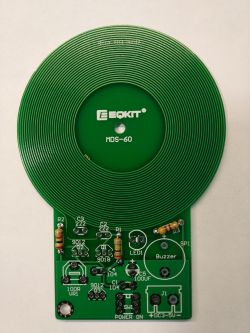
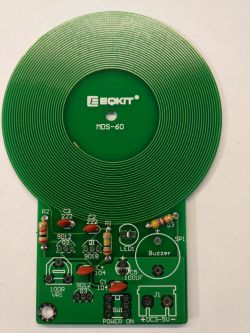
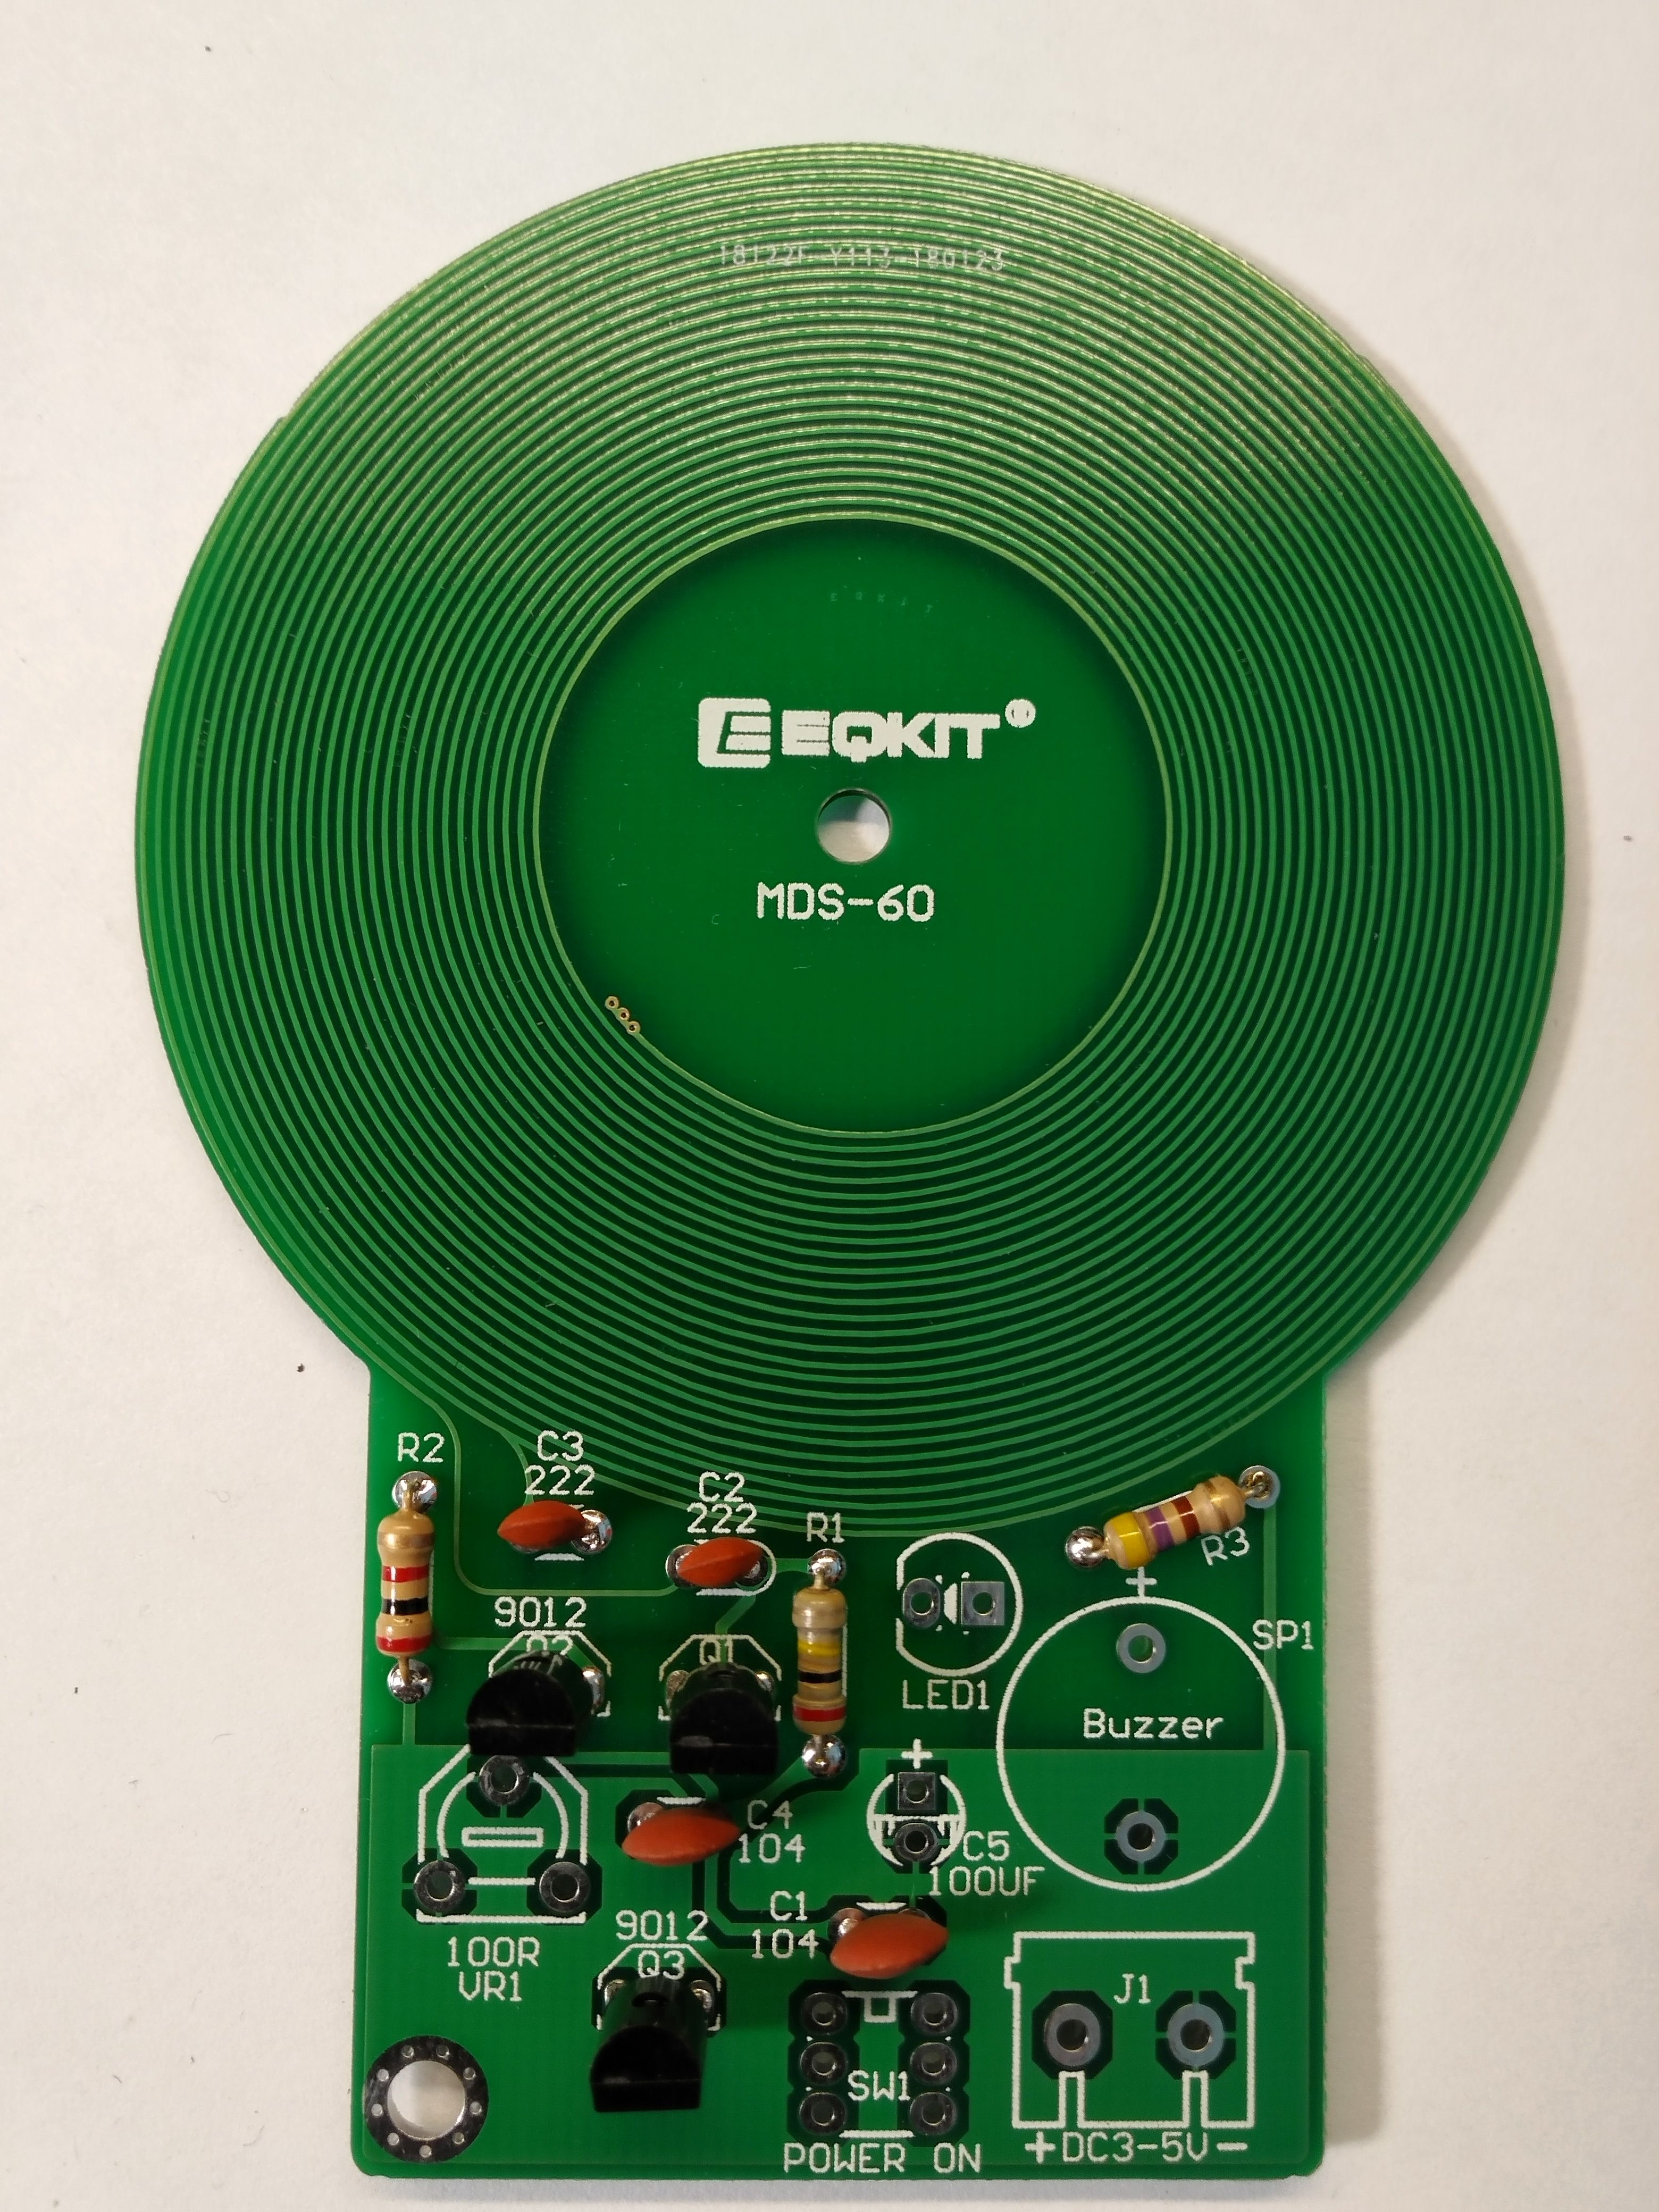
The whole system consists of literally a dozen or so elements, the most important of which is the PCB, which is also a double coil and acts as a probe.
Apart from the plate, we also have:
- two 0.022uF ceramic capacitors (C2, C3).
- two S9012 transistors (Q2, Q3).
- two 0.1uF ceramic capacitors (C1, C4).
- 470Ohm resistor (R3).
- 2kOhm resistor (R2).
- 200kOhm resistor (R1).
- 100Ohm mounting potentiometer (VR1).
- 100uF electrolytic capacitor (C5).
- a red 5mm LED (LED1).
- S9018 transistor (Q1).
- 6mm x 5mm bistable power switch (SW1).
- 12mm diameter buzzer (SP1).
- two-pin ARK power socket (J1).
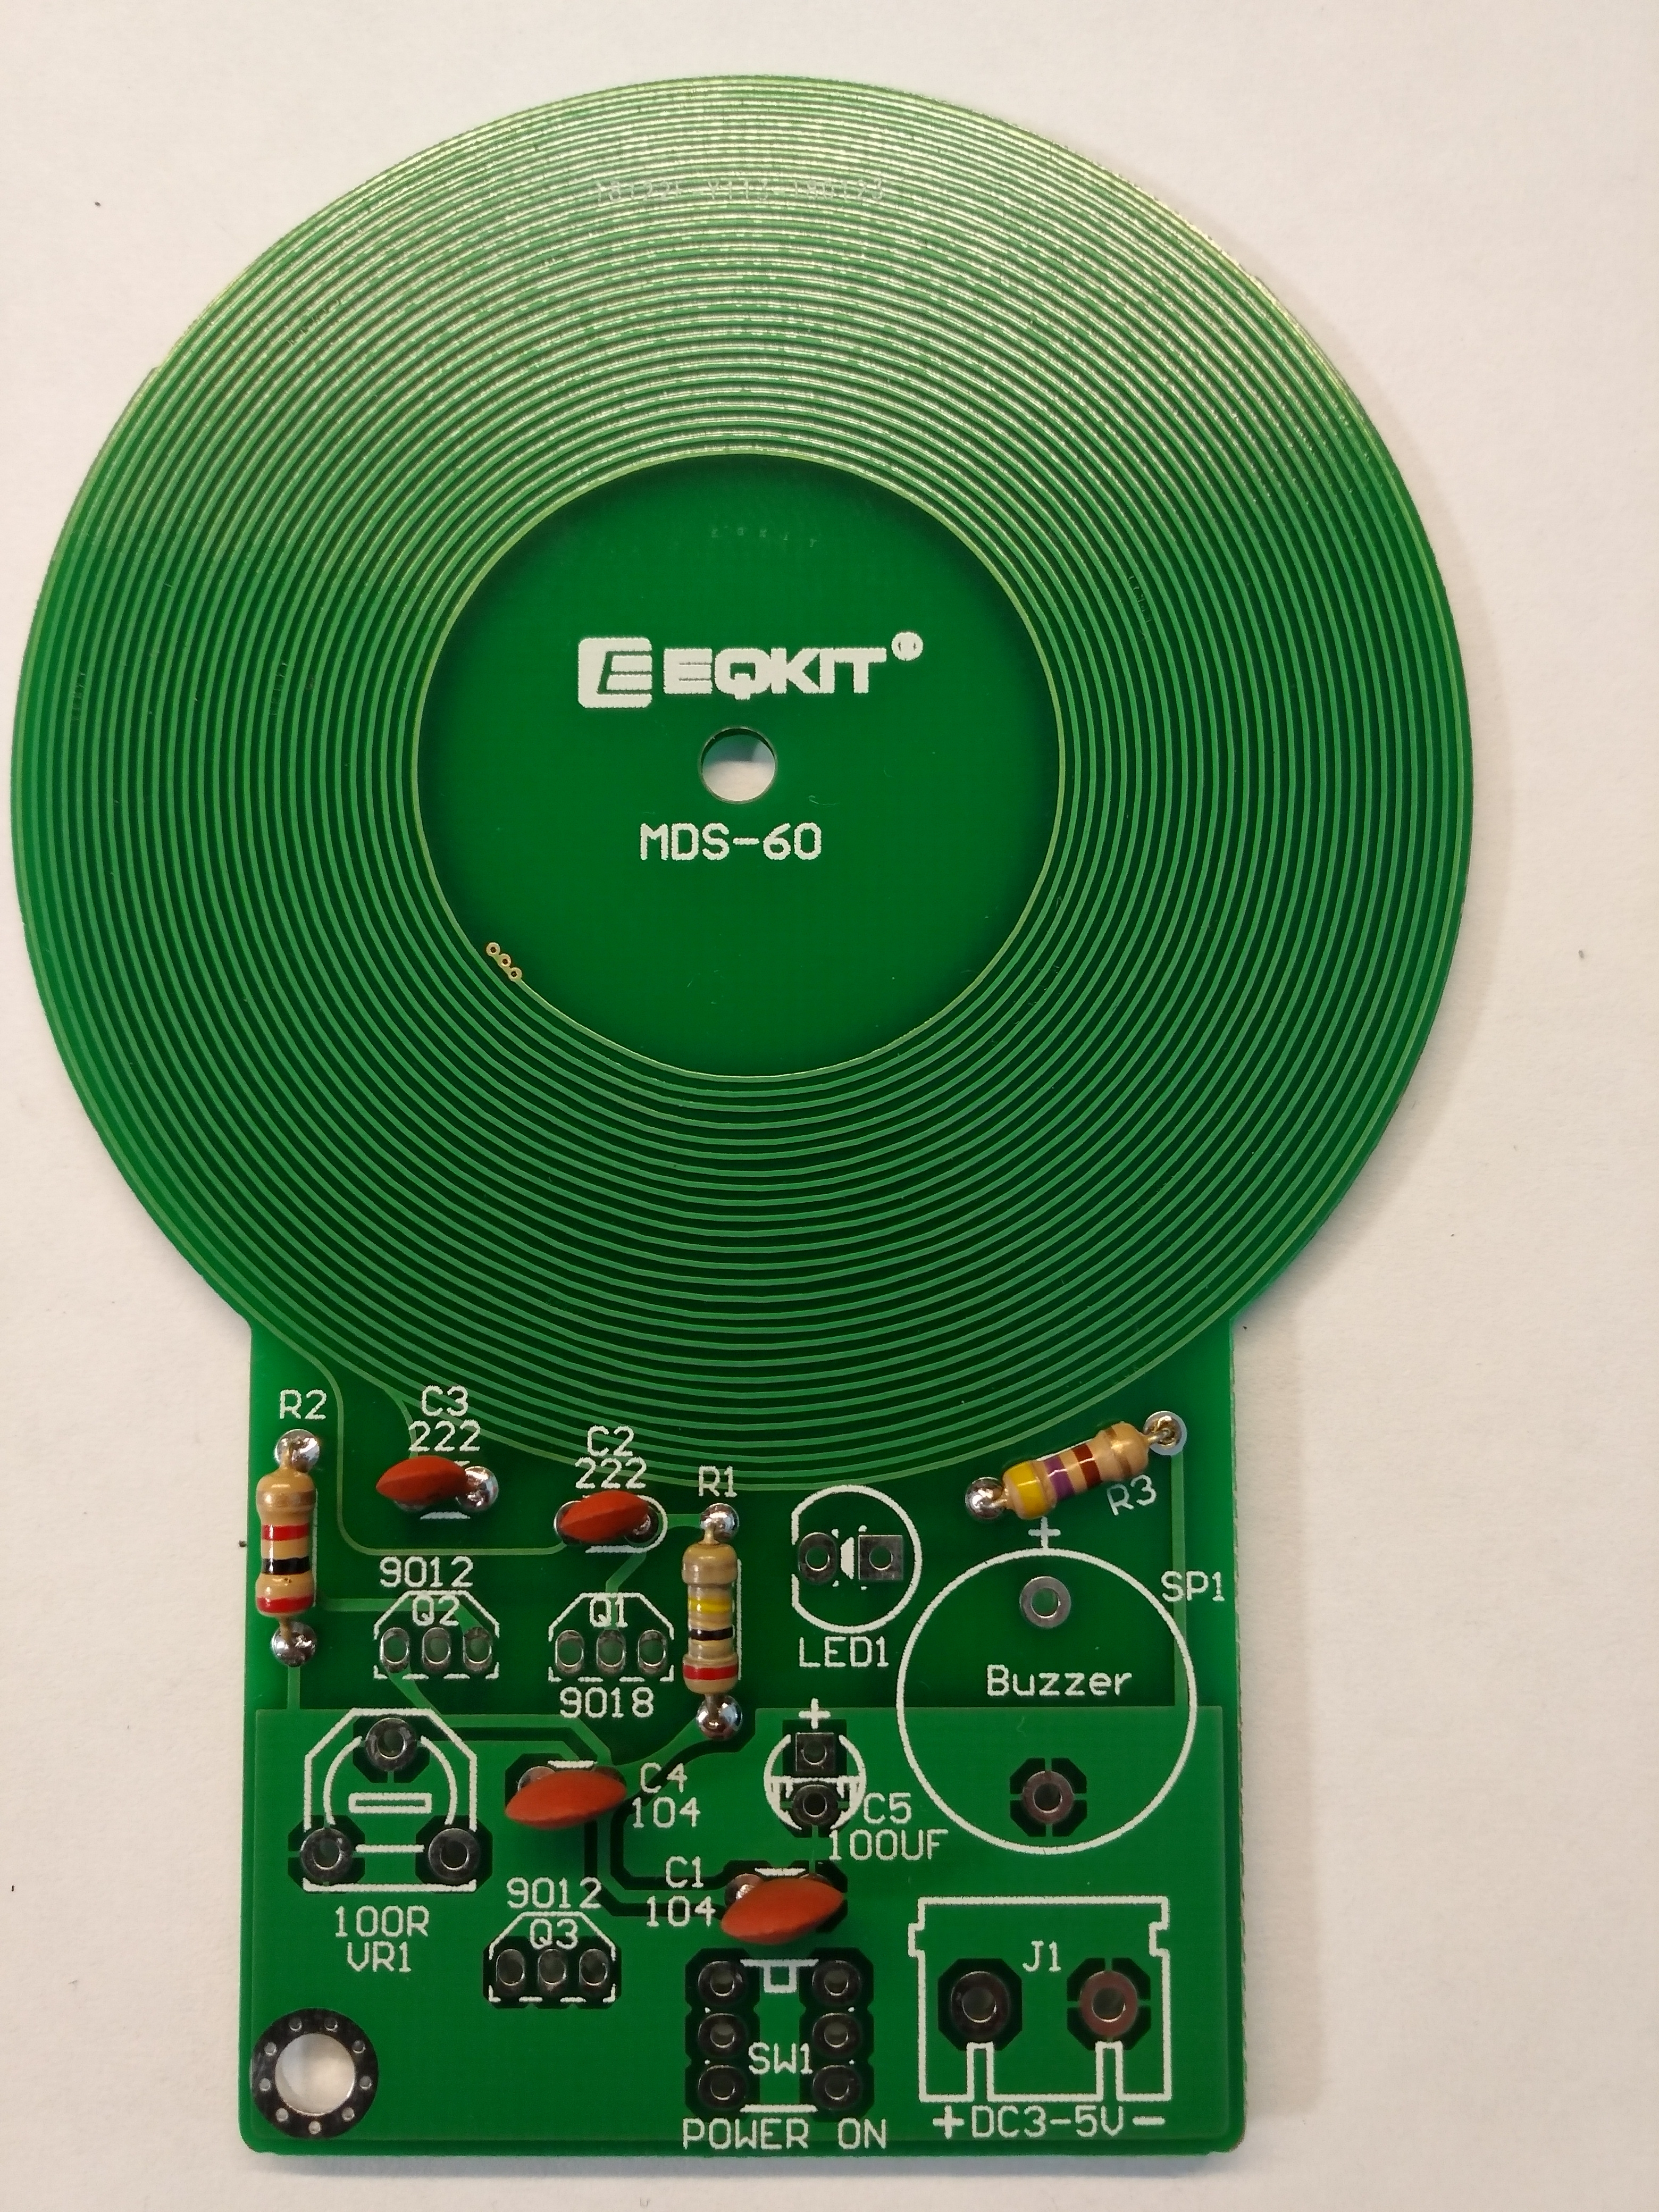
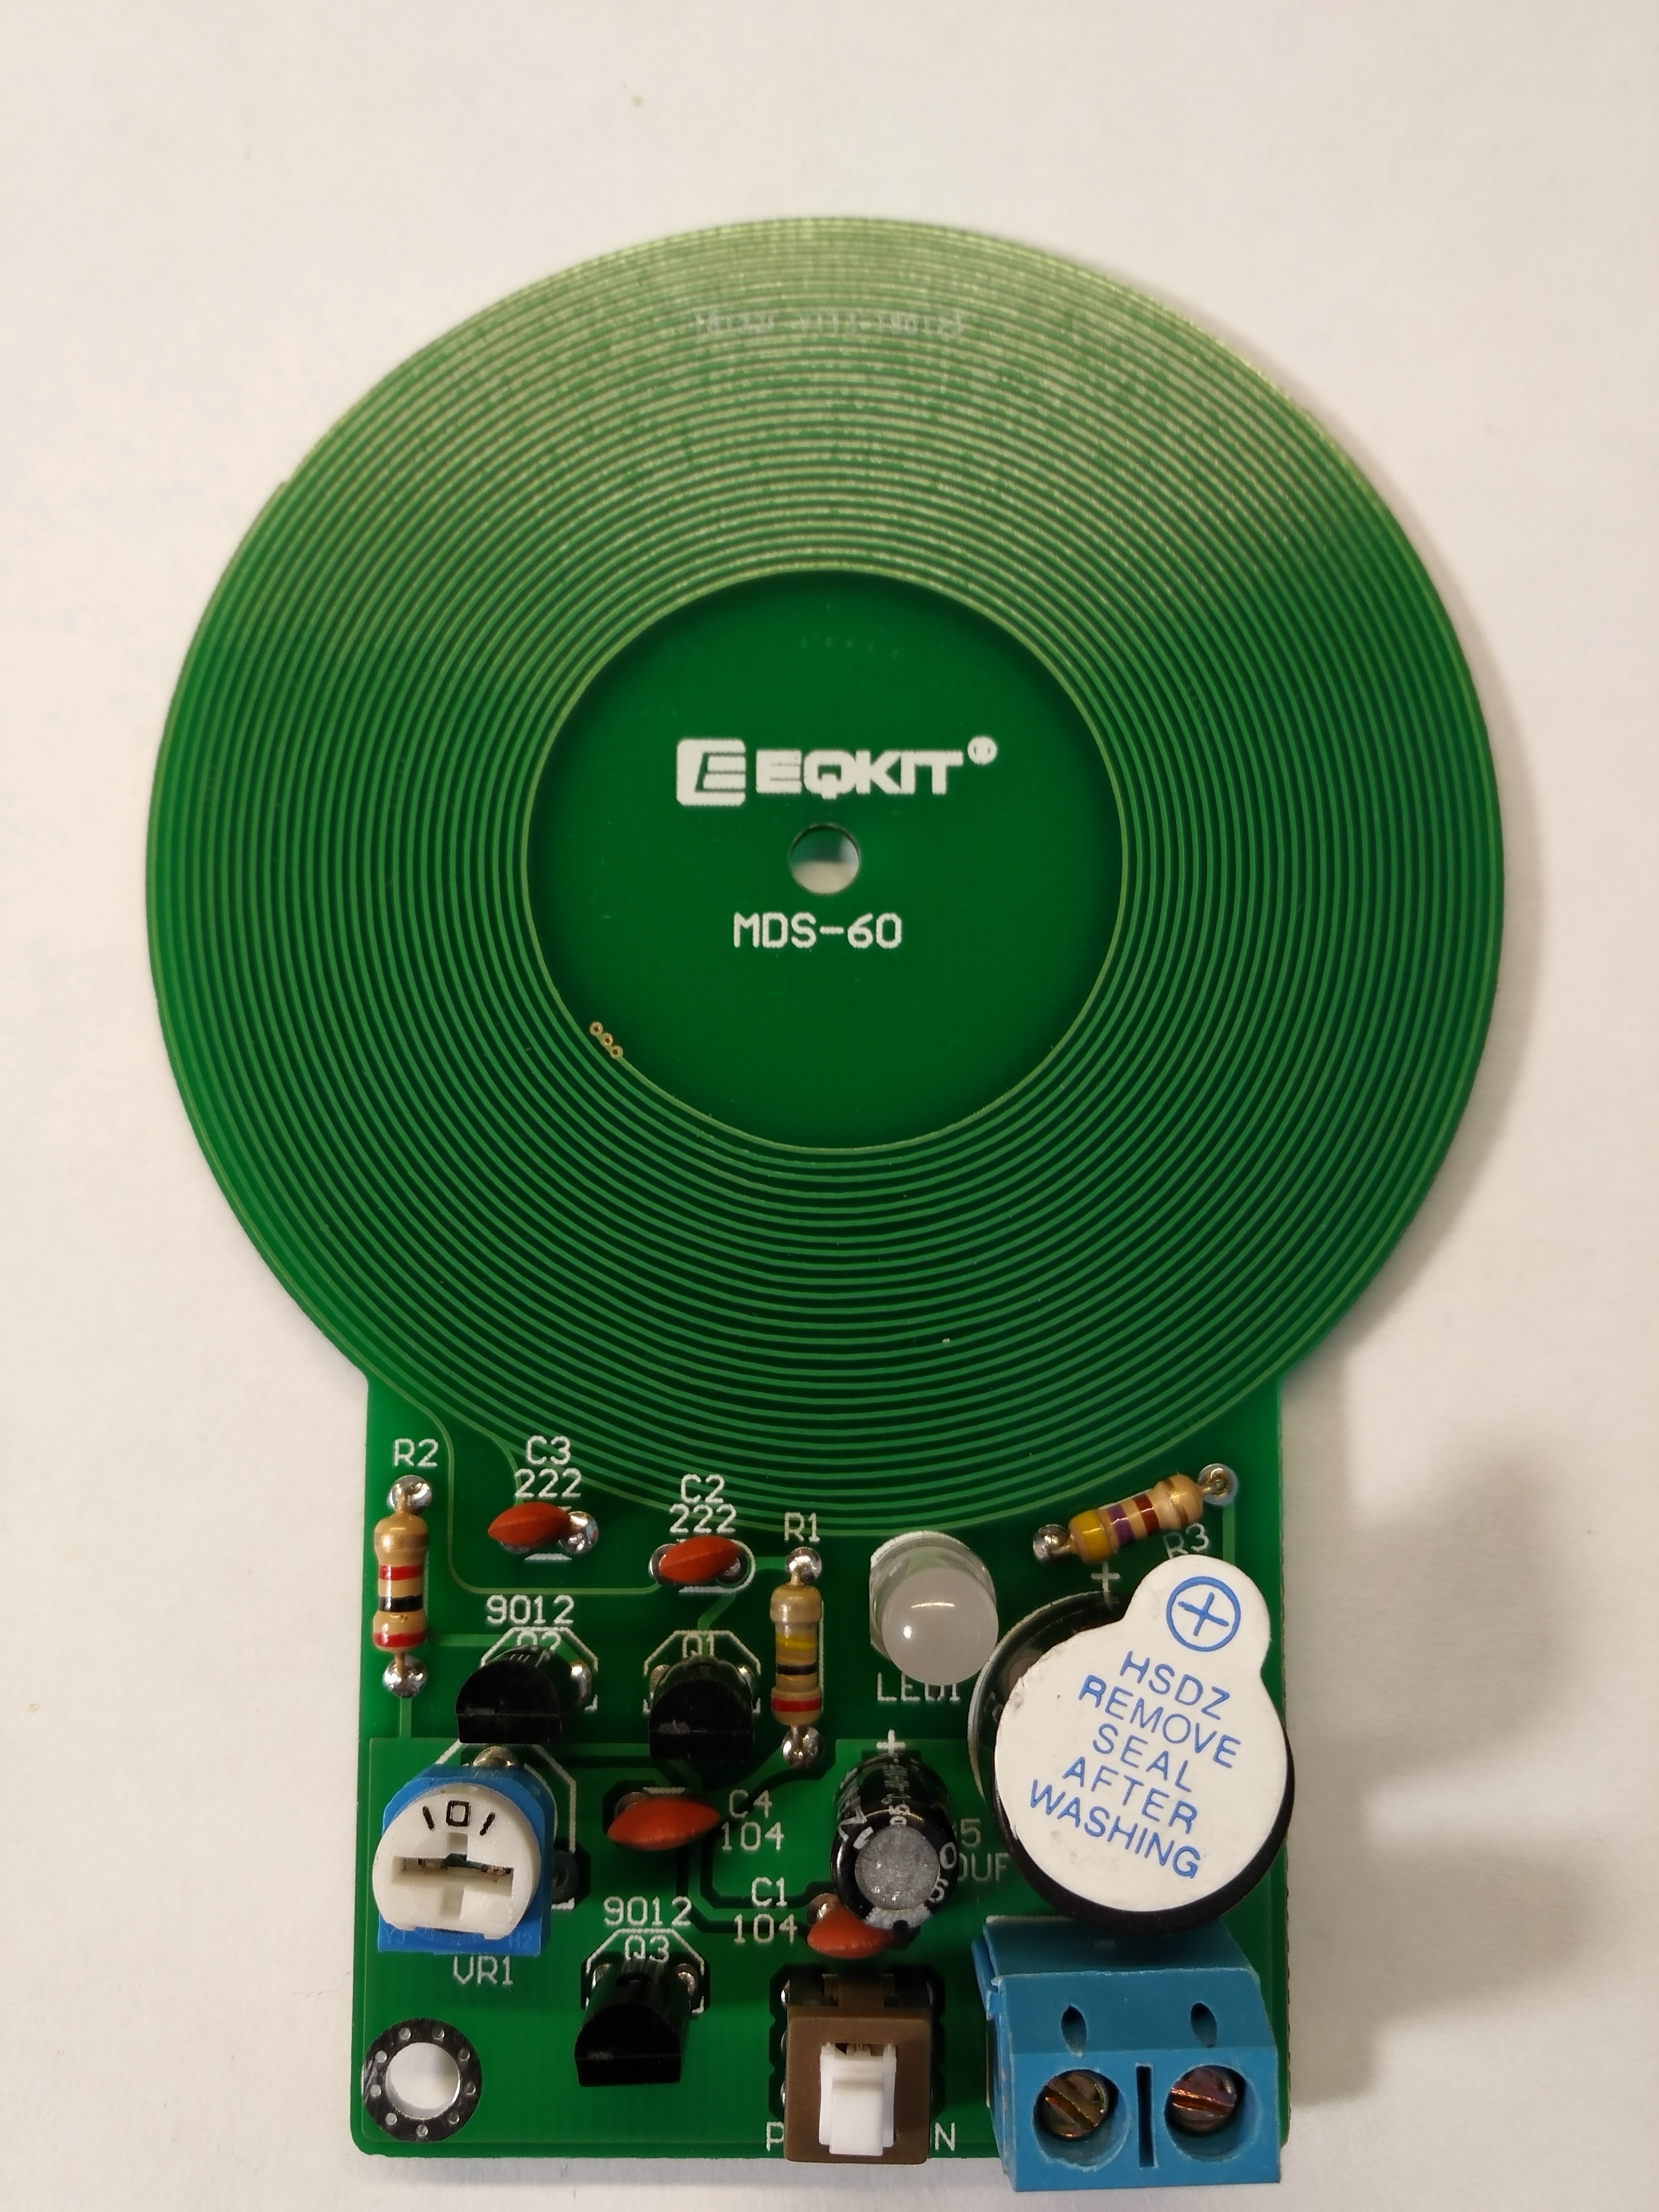
Time for some assembly photos. As usual, we start with soldering the lowest elements.
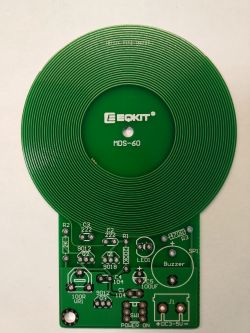
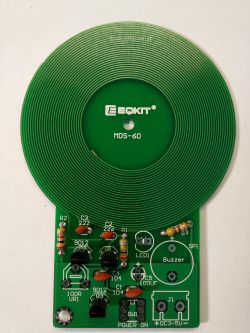
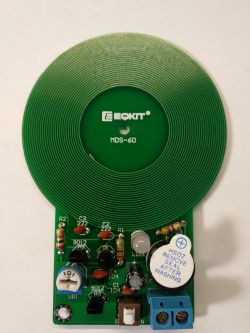
The assembly of the system is very easy. All components are clearly and legibly labeled on the PCB.
After assembly and commissioning, I immediately say that it is only a gadget.
Below is a video of the operation of the device:
I adjusted the system as much as possible. Another brush of the adjustment potentiometer makes the system catch everything possible from the air. Hence, it squeaks endlessly.
In my humble opinion, this chip can only work as an interesting gadget for very beginners and very young future electronics. I quietly hoped that the toto would be useful for detecting wires in the walls, when trying to "hang a picture", but if at 1.5cm - 3cmplaster this gadget is doing better or worse, in the case of plasterboard (where the wires are often a few inches below the surface) it is much worse.
In a word, it is a toy that primarily has educational value.


Comments
In general, such a mini detector is a nice "gadget". It is a pity that the range is 6 cm, but what more to expect. [Read more]
A view of the PCB bottom layer would also be nice. [Read more]
I am disappointed. It just looks like a DIY kit for schoolchildren to experiment a bit. It can be used to detect the type of material or conductors in regular walls. I don't know why people buy it... [Read more]
Shame it's a toy for kids, but what do you expect for less than two dollars. [Read more]
Yes Yes Yes. :D [Read more]
From what I can see there are no better detectors in the form of modules, they are only ready with a boom, ready and factory with a housing. It can be interesting if he got inside and saw what was inside... [Read more]
Looking at the practical aspect, it is much better to construct a metal detector with a radio and a calculator, everyone is knocking over these items somewhere around the house and you can get a greater... [Read more]
I do not know if I understood correctly, but the device will not detect e.g. copper or aluminum? Then you shouldn't count on looking for wires in the walls? [Read more]
Cables in normal plastered walls are detectable. [Read more]
Interesting to remake the coil a bit and use it as a "pinpointer" and give the child a sandbox to look for some treasures in the form of, for example, metal plates. [Read more]
And by the end of the vacation, he will want to Garrett's sandbox. [Read more]
How do you imagine it? [Read more]
Skip the original coils, wind the second one on some plastic tube, and some protection in the form of a thermocouple. Of course, the new coils must have similar parameters to those of the pcb. [Read more]
What kind of detector is this, if gold cannot be detected, copper cannot be detected, silver cannot be detected. [Read more]
[Read more]
A fun detector for electronic beginners so that they can see the waveforms on individual coils with the oscilloscope and what will happen when the metal is in the coil field. [Read more]
@CMS, i.e. the purchase was very missed. It was a pity for your money. Thank you for the review, because some of us might be persuaded to buy this toy. [Read more]
This is good for looking for screws that have fallen on the carpet :P [Read more]
As long as they are at least 8 x 50 mm screws ;) [Read more]