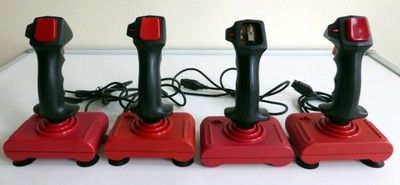
A few days ago one of the people asked me to "conjure" her joystick for Pegasus in the style of a stick (shuttlecock). These types of controllers were popular, for example, among Atari or Commodore consoles, while for Pegasus my eyes had never seen anything like that.

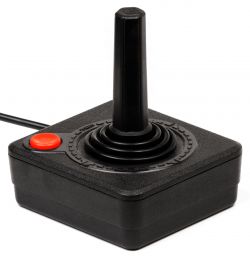
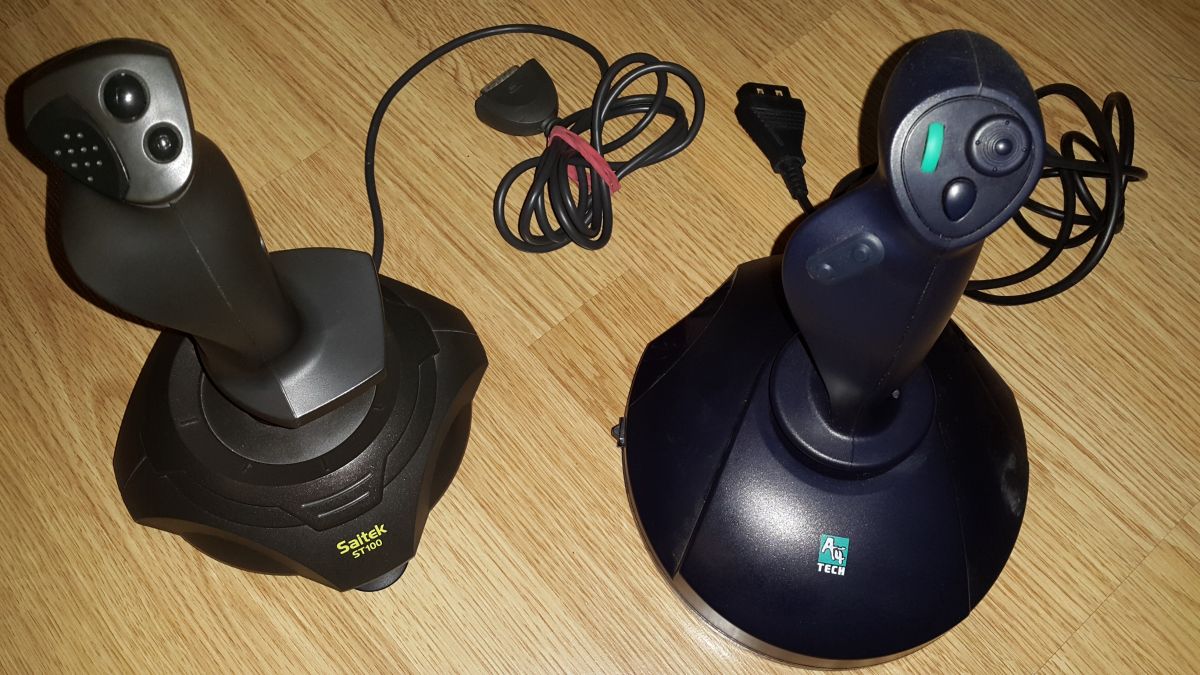
So it was necessary to find some ready-made joystick and adjust its communication interface to the console. The joypads from the above photos have the only advantage - they are trivial in communication: inside we only have contact pads for each of the directions and buttons, and the signals for them are led out in separate wires, each is shorted to ground when pressed.
The downside is the rather poor precision of operation (after tilting the lever beyond a certain angle, the plate is short-circuited) and, contrary to appearances, the price. I think people associate them with the consoles of the old era because I did not find anything at a reasonable price on olx or allegro. And only one button, and the Pegasus requires four (A, B, Select, Start).
Another idea was to buy a modern USB joypad. Here, however, the disadvantage would be the difficulty in communicating with it (the need for USB Host support). It would be possible to connect somehow to the PCB inside, but it would require an in-depth analysis of the interior, which I wanted to avoid.
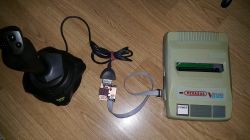
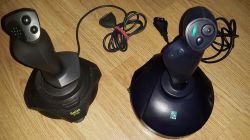
The golden mean turned out to be the purchase of a controller for the old Game Port (DB15 pin), once connected to sound cards. The communication protocol is very simple, and the popularity and low prices on the secondary market (PLN 20-50) meant that I managed to organize two such joypads in one day.
The GamePort specification allows you to send digital information about the state of four buttons and analog information about the state of four sliders (i.e. X1, Y1, X2, Y2). The standard specifies that the deflection of the slider corresponds to a linear change in resistance of 0-100 k?.

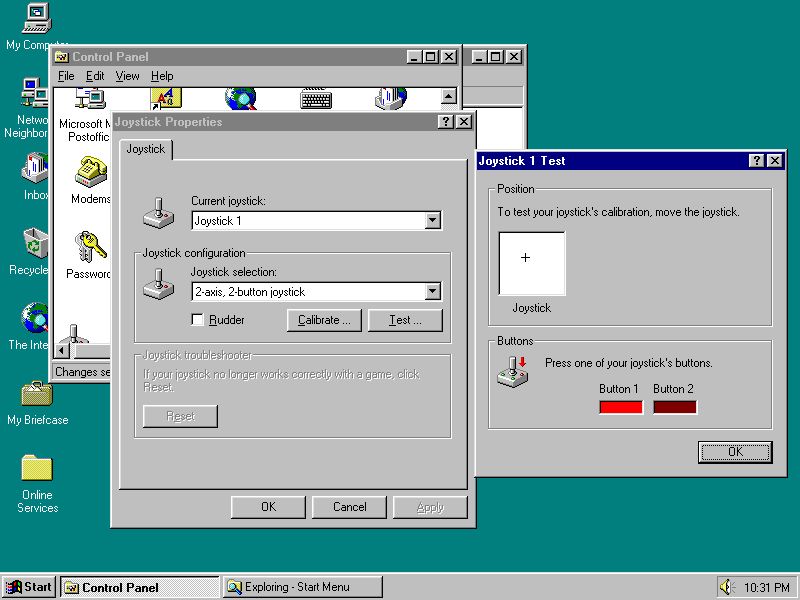
Do you remember in the times of Windows 95 how you calibrated such a joystick in the control panel? The point was simply for the system to know what resistance corresponds to the neutral position of the lever (in the middle) and what is the range of changes for the extreme deflections.
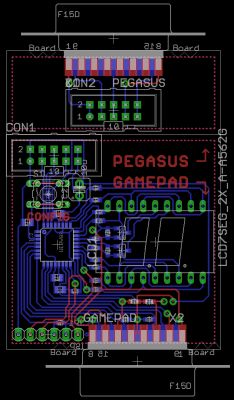
 Adapter design
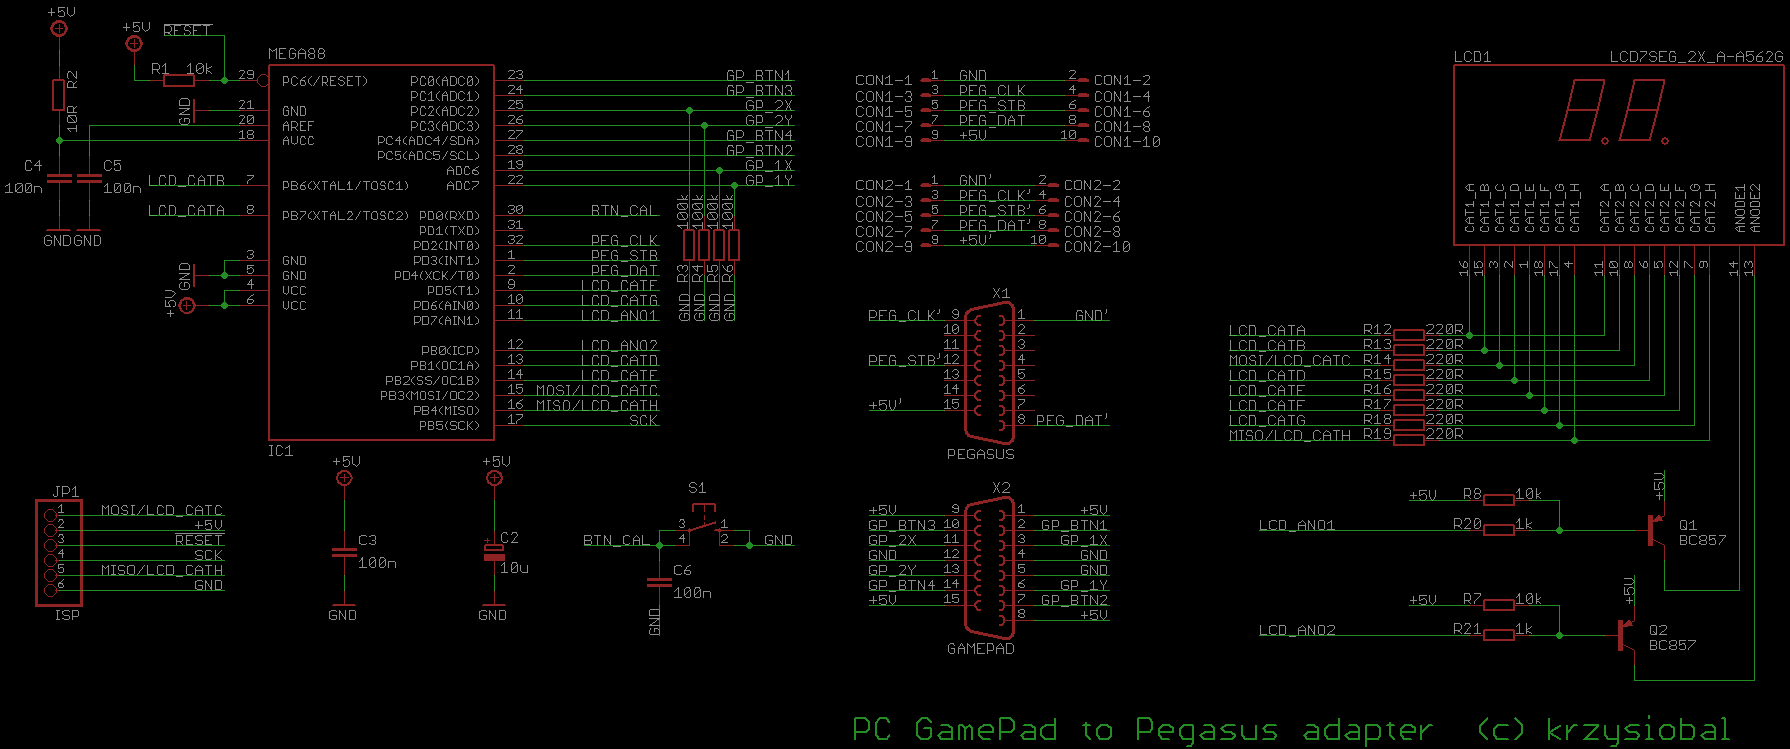
 Connecting such a joystick to the Pegasus is simply impossible. In Pegasus, the state of each button is firstly digital and secondly - sent serially. In Gamepad we have digital + analog and parallel.
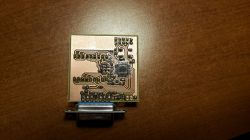
So I thought that I would create an appropriate adapter based on the popular Atmega 88 microcontroller (I have a bit of it, you had to make small stocks, because the prices of chips on aliexpres started to go crazy like margarine prices in a ladybug for a few months).
The Atmega 88 is very similar to the Atmega 8, it even has a little more functions (e.g. interrupts on each of the pins) and in the eastern brothers it was cheaper than the eight. As you can see, supply regulates demand.
You can read resistance in several ways. In the PC, this resistance charges a capacitor (on the sound card) that is connected to the flip-flop. The software measures the time from fully discharged to when the flip-flop changes state and approximates the swing based on that.
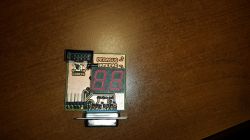
In my case, it was easier to add a 100 k? resistor to the ground by creating a divider, and the voltage value (2.5 V - 5 V) was read using the ADC converter. One button and a display will also come in handy in the adapter (more on that in a moment). And, of course, connectors for connecting to the console and to the joypad. I decided to implement the whole thing in the form of two boards connected with a tape, with only the DB15 socket on the smaller one)

 Calibration
 Of course, it is necessary to calibrate the joystick, or more precisely - to determine the range from which the deflection of the lever is to be considered as "pressing" the direction. It will also be useful to set which of the joypad buttons corresponds to the Pegasus A / B / Select / Start buttons. The above configuration mode is turned on by pressing the CONF button. The following inscriptions will appear on the display:
o LE - tilt the lever to the LEFT to the desired position and while holding it in, press the CONF button
o PR, GO, DO - same, only with a lever to the right / up / down
o B / A / SE / ST - press the button on the joypad, which will be interpreted by Pegasus as appropriate
All this information is stored in the EPROM memory in Atmange, so after turning off / on, there is no need to recalibrate, unless you want to change the button assignments or connect another joystick).
Well, let me just add that playing with such a joystick (at least in platformers) is a torment, maybe for some shooters or fights will be appropriate. Well, tastes are not discussed.


Comments
Interesting project - I remember briefly connected potentiometers under the PC. You can add a kind of "autofire" to the software, with the maximum deflection of the stick you can quickly press in a given... [Read more]
On Pegasus / NES, most games will be worse played with such a joystick, because gamepads were added to these consoles at the factory and the authors of games for this console optimized the controls for... [Read more]
And to think that such an adapter has more computing power than this Pegasus? Nice job. I like such projects: non-trivial, but pointless? A colleague mentioned that communication with the pad in Pegasus... [Read more]
@mdziewie https://www.elektroda.pl/rtvforum/topic3167352.html [Read more]
This is correct. That is a 15 pin game port connector, used for joysticks originally and then a https://xender.vip/ ll sorts of gaming controllers before it was replaced by usb. https://omegle.onl/ [Read more]