
.
Home Assistant's graphical interface is based on the powerful Jinja2 template language. Jinja2 is used to process sensor data, create conditions in automations or dynamically format messages. To make working with Jinja2 easier, Home Assistant offers a convenient Template Editor tool in which you can live preview and test the templates. Here, I will briefly introduce this tool and then show a dozen examples of what the templates allow you to do.
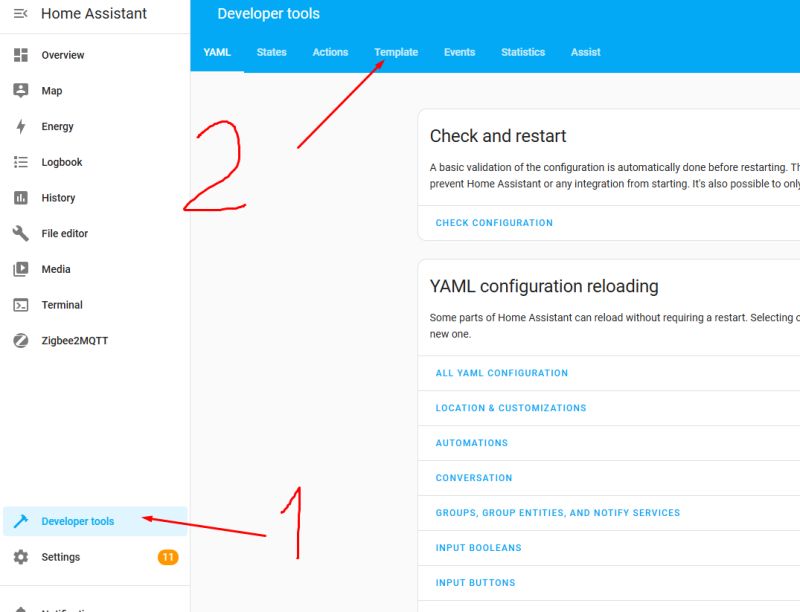
The Template Editor is available under Developer Tools in the Template menu:
.
When it opens, we are greeted by two columns - the template's source code and its live preview in HA:
.
The preview updates itself - you don't need to save anything, what you type on the left you get on the right.
1. Reading entity values 2.
Let's start with the simplest thing, i.e. taking the value of some sensor. Such a sensor, of course, must already be paired with the HA, e.g. via Hass Discovery or via Zigbee.
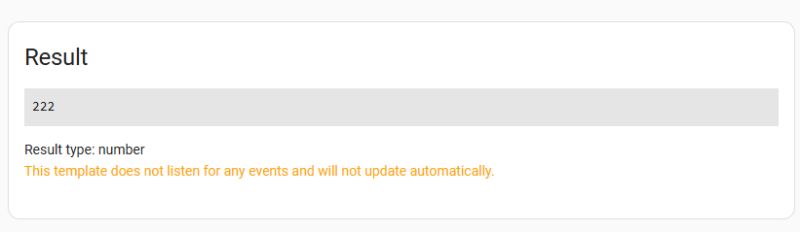
Example:
.
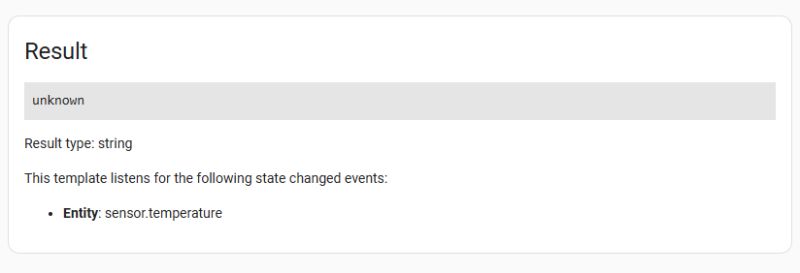
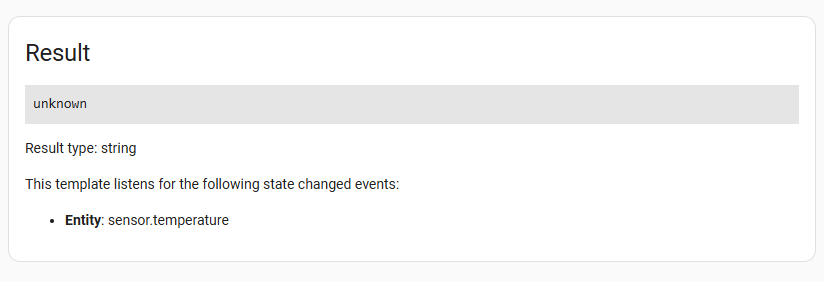
This entry will return the current value of sensor.temperature. If the entity does not exist or something has gone wrong, it will not show an error - it will just return 'unknown'.
.
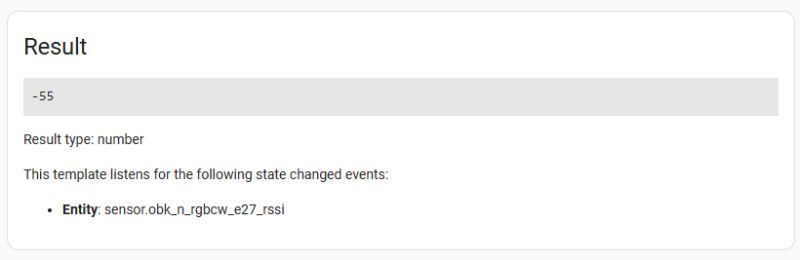
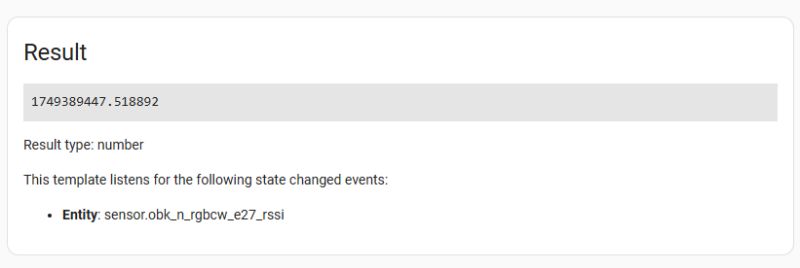
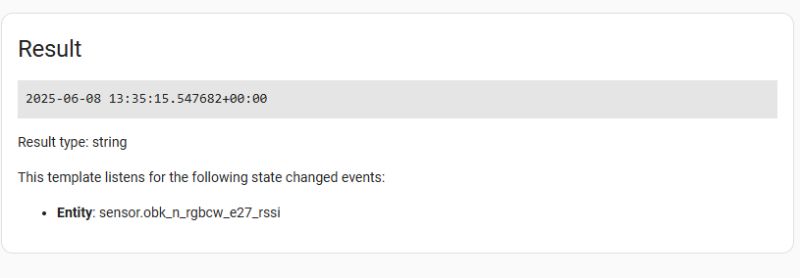
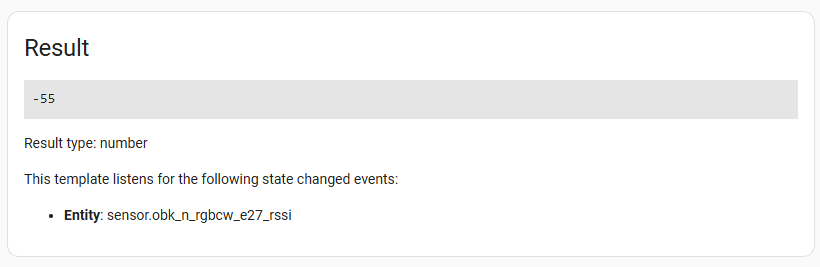
This is how you can get at many values - for example, RSSI from OBK:
.
.
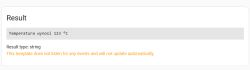
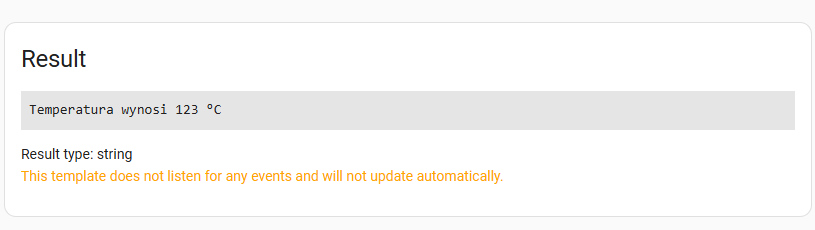
The presence of a unit and rounding can also be specified in the states call:
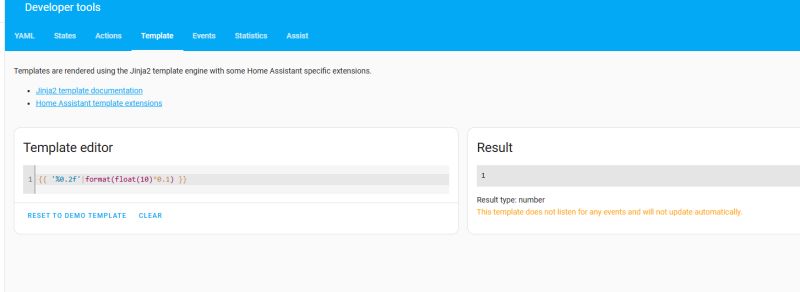
.
This will return the temperature with °C.
The following code will in turn round it:
.
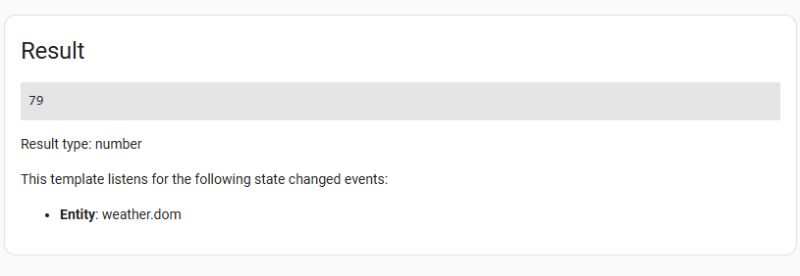
2. Entity attributes .
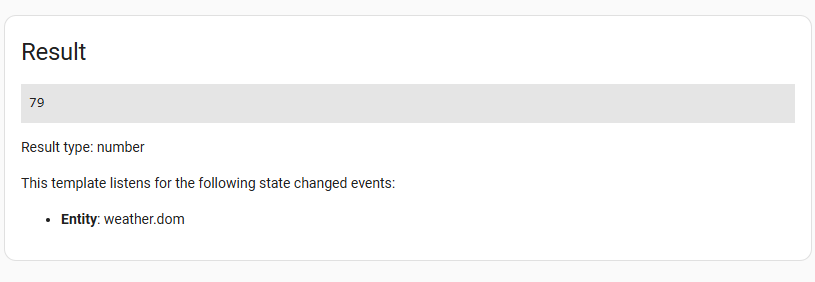
Sometimes, however, the entity value alone is not enough, e.g. in weather the humidity or cloudiness state comes in handy. This is no longer states(), but state_attr():
.
Result:
.
For debugging purposes, the entire house entity can also be previewed:
.
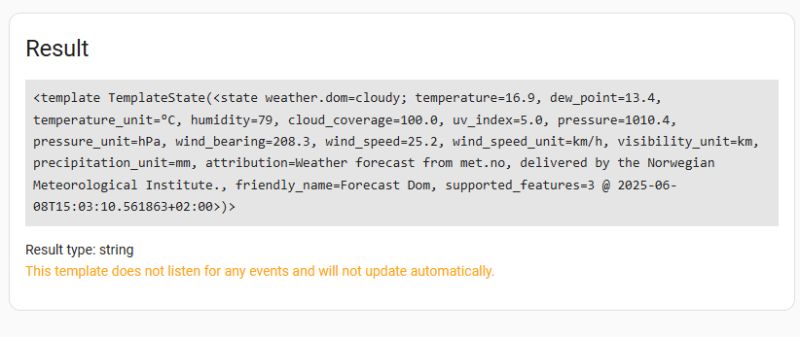
.
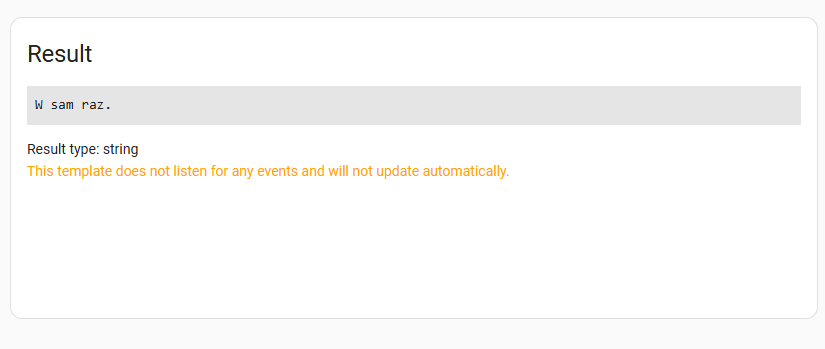
3. If conditions and logic .
This is where the fun begins. Jinja2 allows you to normally use if, else, elif, as in a simple script. As a test for now, I've entered the value in hard:
.
|float converts a textual entity value into a number. Otherwise, the program will attempt to compare subtitles....
.
Same thing, but using the temperature example from the device state:
.
Such a template updates the displayed text itself when something changes. Nothing more needs to be added.
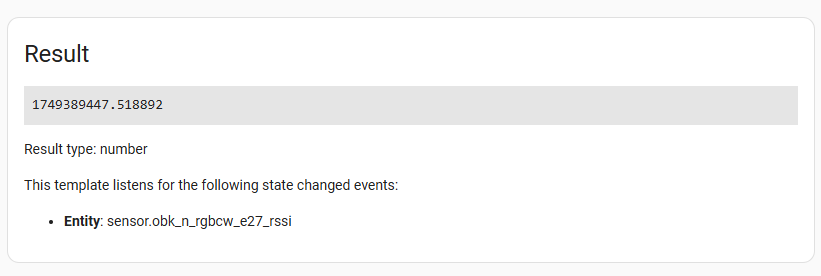
4. When the entity was last changed .
Sometimes we want to check when an entity last changed its state - for example, when a door was opened. This is what the last_changed property is used for.
The easiest way is to extract the raw timestamp:
.
 .
.
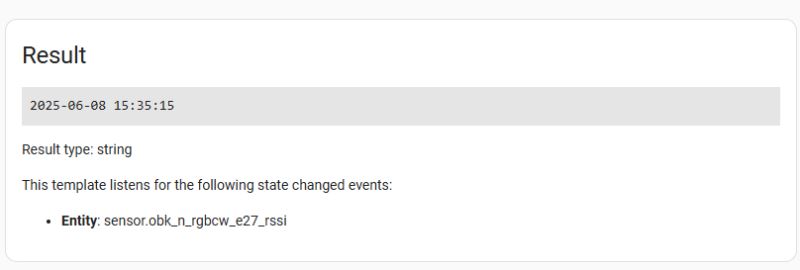
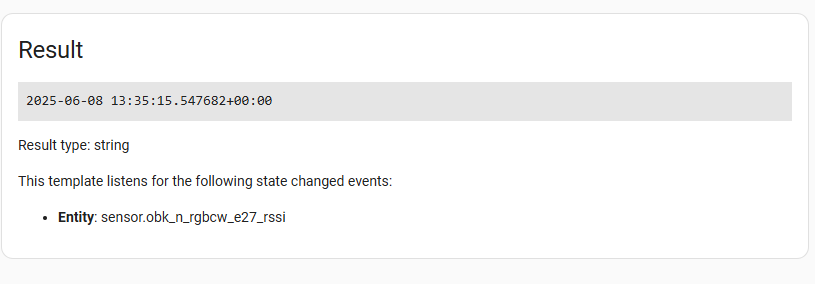
If instead of a number in seconds we prefer something more readable - full date and time:
.
 .
.
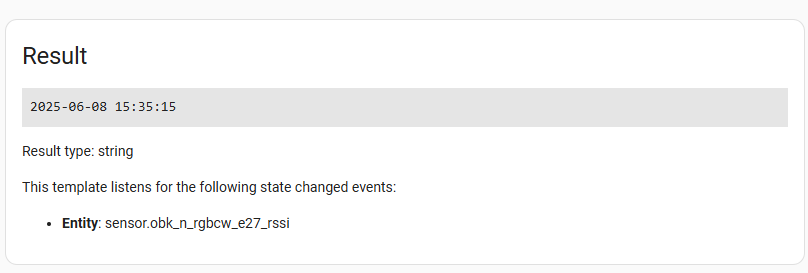
Or with your own format:
.
 .
.
5. Counting time .
Similarly, you can count how long ago an event happened - simply subtract timestamps. Used now() and as_timestamp():
.
This returns how many minutes ago there was traffic, rounded to one decimal place.
 .
.
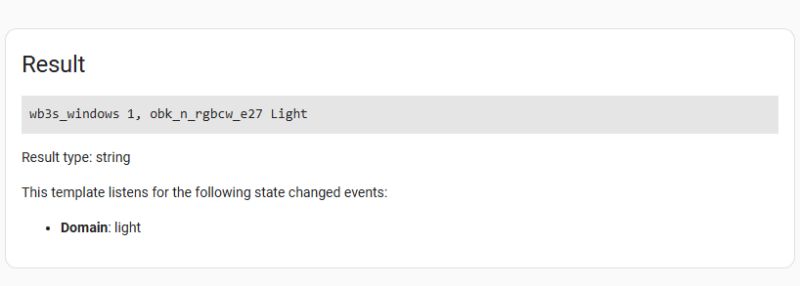
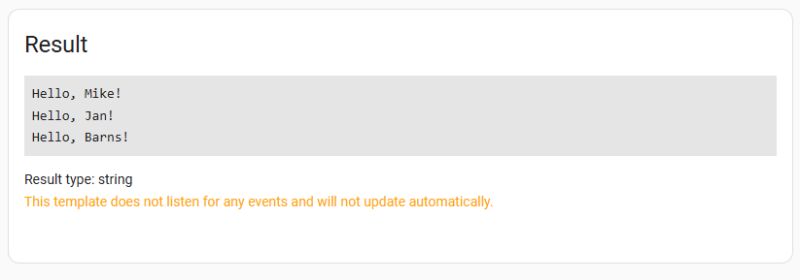
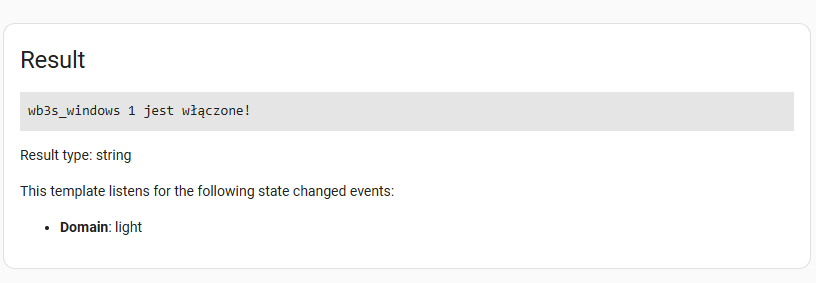
6. Loops - for and in .
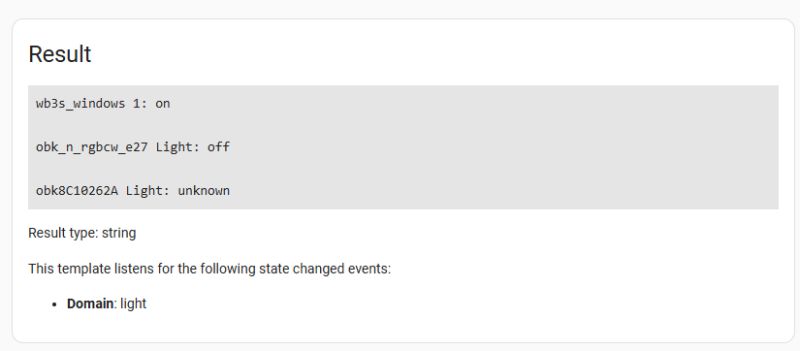
Jinja2 also allows you to fly through a list, such as entities of a given type. Such a template lists all the lights and their states:
.
 .
.
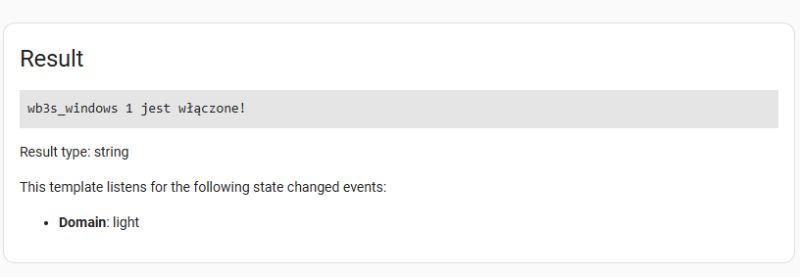
If you only want the ones that are included - it is possible to add a condition in the same loop:
.
 .
.
This is useful for e.g. notifications, automations or for debugging system status without clicking through the interface.
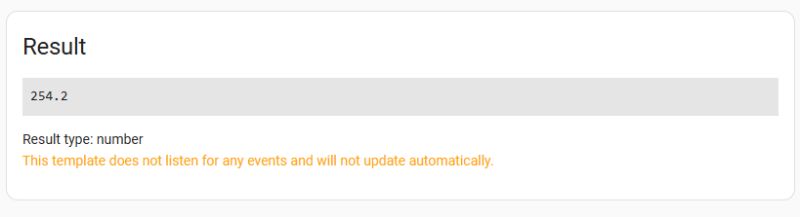
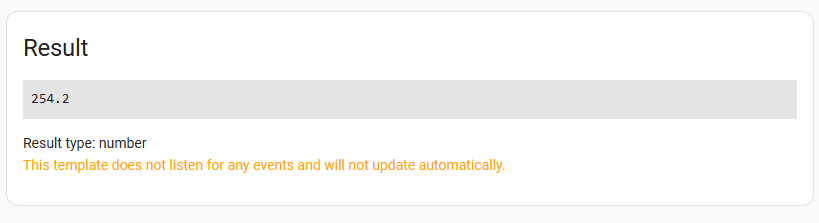
7. Mathematical operations .
In Jinja2, you can perform various mathematical operations directly in the templates. For example, if you want to convert the temperature from Celsius to Fahrenheit, just add a simple formula:
.
The result will be rounded to one decimal place thanks to the round() filter.
 .
.
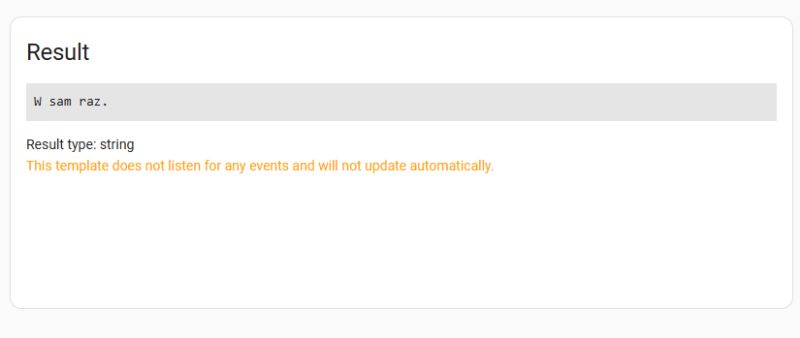
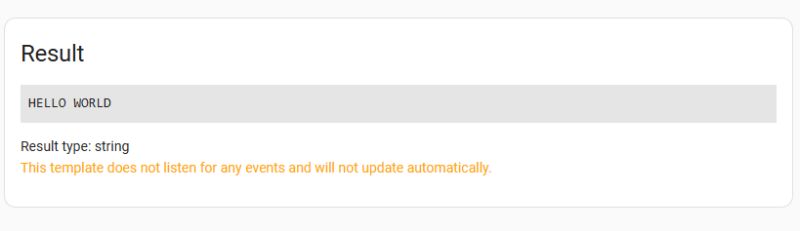
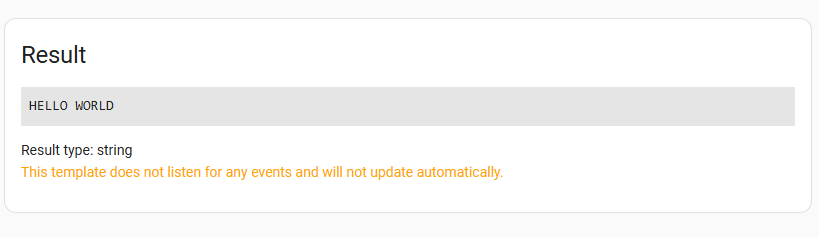
8. Text operations .
You can also use filters to manipulate text, such as changing the case of letters:
.
 .
.
This is useful for standardising text in messages or displaying them in a particular format.
Often you need to combine values from different entities or add your own messages. Jinja2 allows you to do this via the ~ operator:
.
 .
.
9. List handling and data filtering .
Jinja2 allows advanced work with lists. For example, if you want to collect the names of all enabled lights in one comma-separated line, you can use a template like this:
.
 .
.
This is a combination of filters: selectattr selects elements with the given attribute, map retrieves the selected attribute (here the name), and join merges the list into a single text.
10. Checking entity availability .
To make sure the entity exists before using it:
.
This template checks that the sensor.temperature entity is available and does not return the value 'unknown'.
 .
.
 .
.
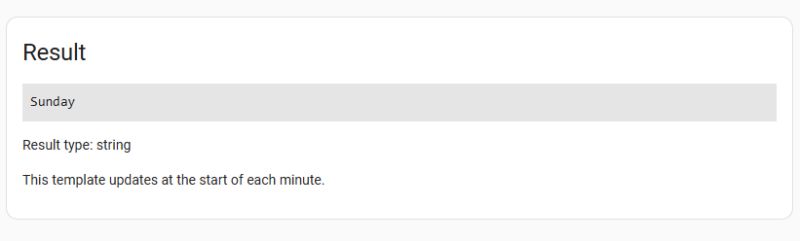
11. Displaying the full name of the day of the week
To get the full name of the day of the week:
.
 .
.
The strftime('%A') function returns the full name of the day of the week, e.g. 'Sunday'.
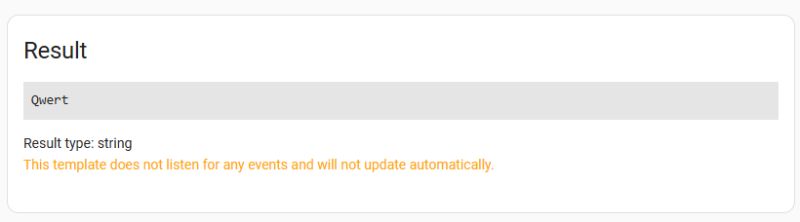
12. Macros (reusable) .
It is also possible to define a macro which can then be used repeatedly:
.
Result:
13. Random selection from a list .
Randomly select one value from the list:
.
 .
.
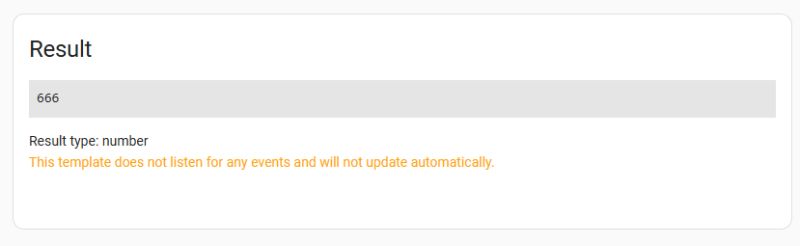
14. Sum and average of a list .
You can also create a list in Jinja and sum it up:
.
 .
.
Analogous - average:
 .
.
That's enough examples from me for now. For more information, please see the HA documentation in English: https://www.home-assistant.io/docs/configuration/templating/
In summary , Jinja2 is a versatile and useful template language in HA. Its syntax may not seem very intuitive at first, but hopefully the examples shown here will help you get started with it. Do you use your own Jinja2 templates in your HA, and if so, for what? .
In the next section I will try to show practical examples of Jinja2 templates in Home Assistant, along with the devices and how and where I used them.  .
.
 .
.
 .
.
 .
.
 .
.
 .
.
 .
.
 .
.
 .
.
 .
.
 .
.
 .
.
 .
.
 .
.
 .
.
 .
.
 .
.
 .
.
 .
.
 .
.
 .
.

 .
.
 .
.
 .
.

Comments
I've reached retirement in programming - now I've been crawling for a dozen days in HA. Let me put it this way: in this yaml-python-jinj programming swamp, I finally find THIS GUIDE to scriptology - what... [Read more]
Thanks, can you advise what the next HA topic I could present and discuss? What is within the area of interest, usefulness? I'm preparing button-card material from HACS and yes I don't know, there are... [Read more]
Thank you for the follow up. I am currently disentangling the topic: "a couple/several events within time window" (I'm formulating the topic w/ the results of various googling attempts). At the moment... [Read more]