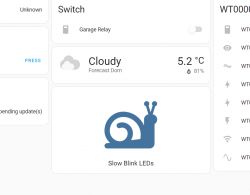
Here I will show you how to create a simple, scriptable button in Home Assistant. Our button will be displayed on the Dashboard and will activate the automation we have selected. I will also show how you can script this button to publish data to MQTT when pressed. Finally, I will demonstrate how you can with one publish control multiple Tasmota or OBK devices.
The theme is based on Home Assistant 2023.11.2 (Frontend 20231030.2). In older versions, the steps may be slightly different, please update if necessary.
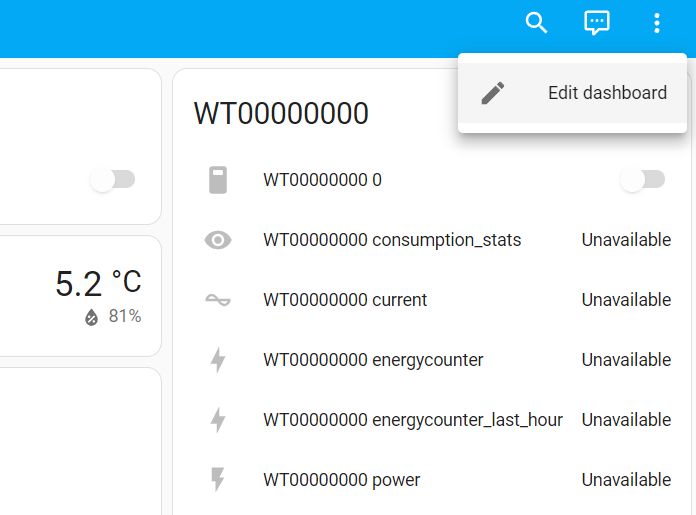
We start from the entrance in Edit dashboard : :
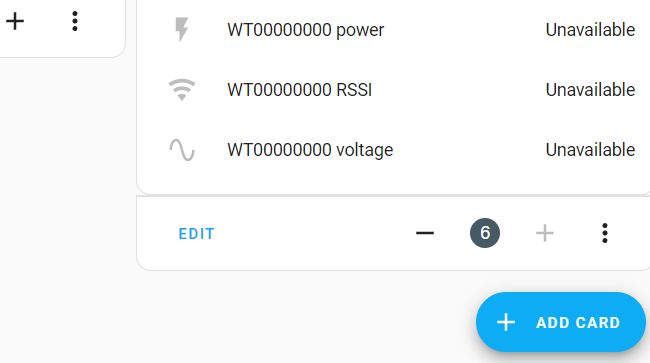
Then, to add a card with buttons, click Add Card : :
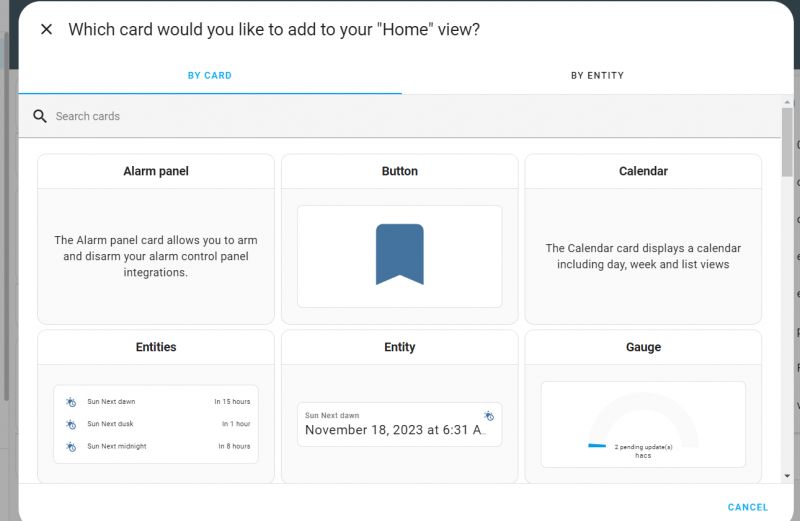
There are many possibilities here, but today we focus on the button, so we choose Button : :
Now we configure our button. You don't have to select an Entity, but it's worth giving it a name and an icon.
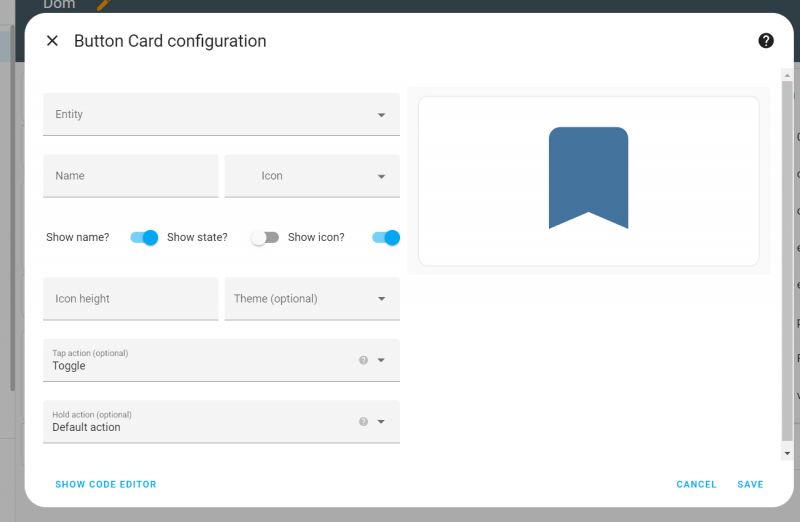
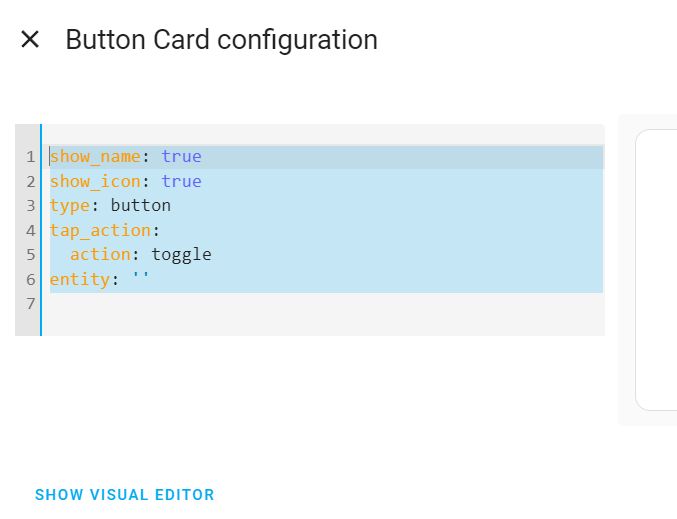
Click ShowCode Editor will show us the Yaml code of our button, but it is more convenient to use the visual editor.
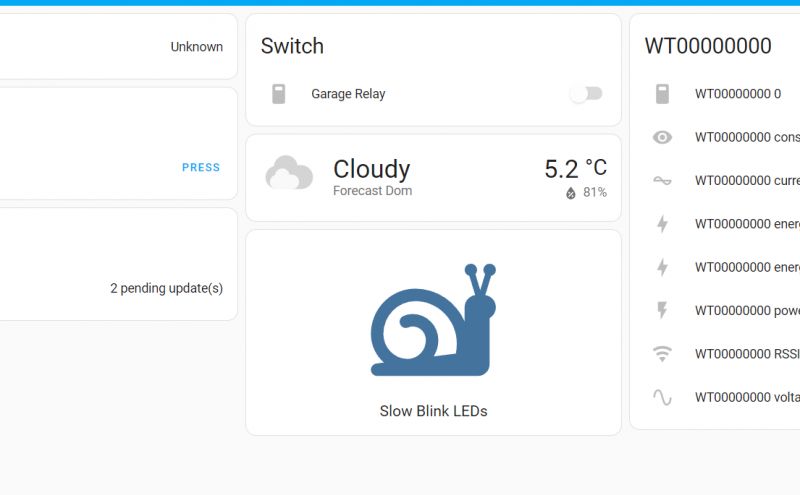
I figured I'd create a trigger button slow animation of blinking LEDs in the room . I gave it an appropriate name and icon:
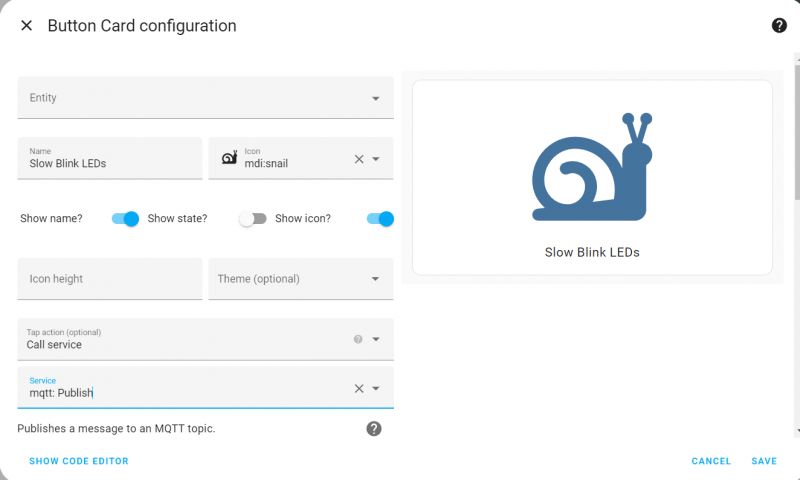
When the button is pressed, the event we have selected will be performed. I chose Call Service -> MQTT Publish , i.e. triggering the publication of data on the MQTT service.
To publish, you need to know what you are publishing and on what topic.
Tasmota and OBK offers us separate MQTT topics for our device, and group topics under which many devices can listen. These are the so-called group topic , as seen in the OBK configuration below:
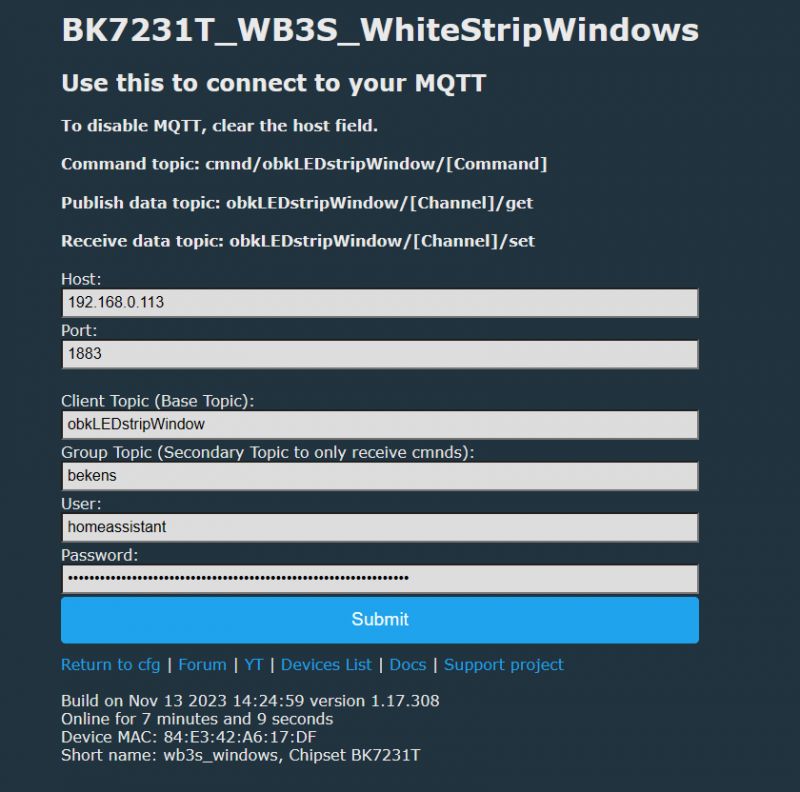
For me, it's a group topic bekens , and the full topic on which you can send commands is cmnd/bekens/COMMAND , where payload MQTT are the command arguments.
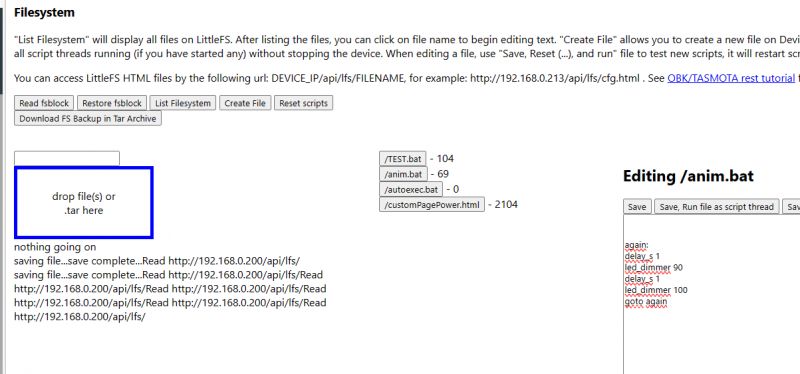
In OpenBeken, on the LittleFS panel, I prepared a simple script with a loop performing a pseudo-animation of LED blinking. A very simple script, it just waits for a while, changes the brightness, waits again, changes the brightness again and then loops:
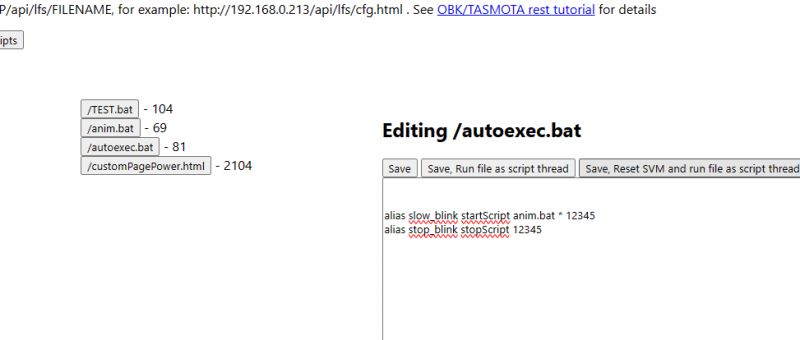
In the main autoexec.bat I defined aliases, i.e. my own commands to start and stop this script:
And then, finally, in the MQTT HA tab I "dry" tested whether the properly prepared MQTT publish was received and processed correctly by OBK:
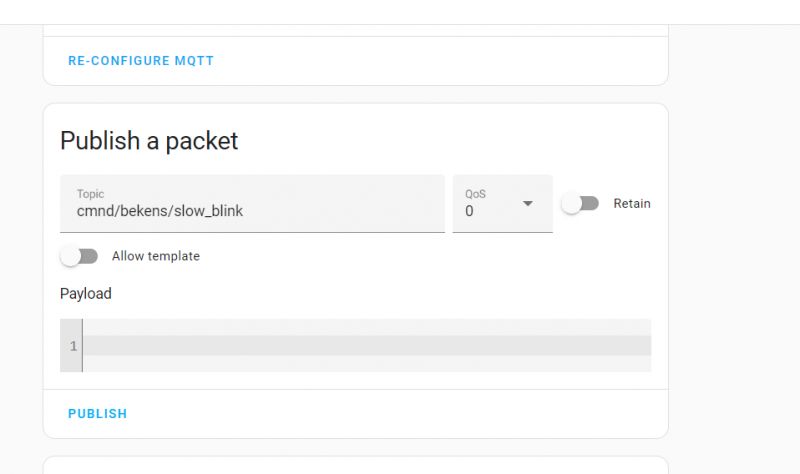
The tests showed that the mechanism on the OBK side works, so we return to the button.
In the button we enter what should be published on MQTT:
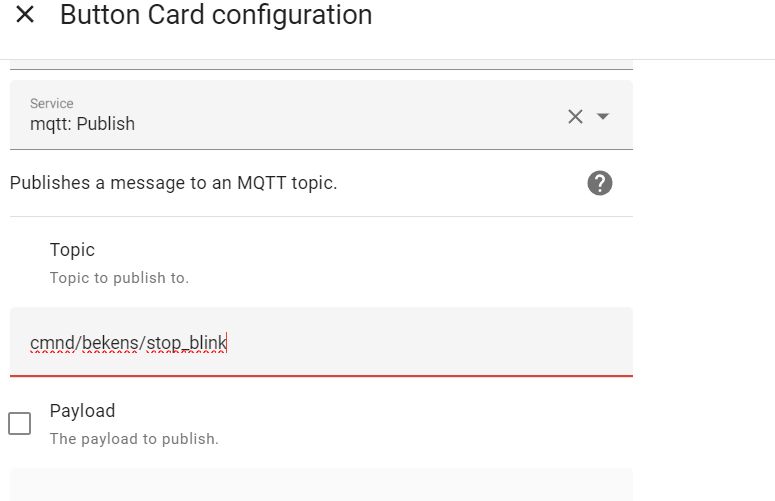
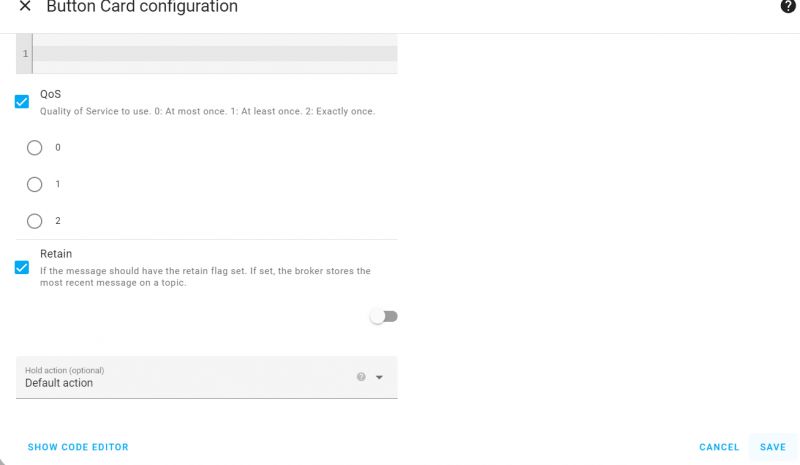
Then you can choose QOS and retain settings, I left them default:
After approval, our button will appear on the panel:
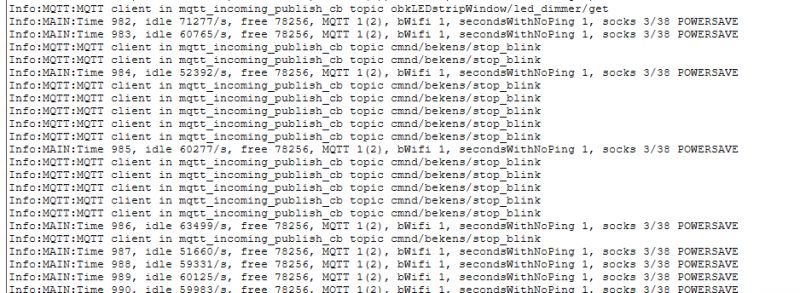
In the OpenBeken log you can easily see whether our button is working. Received MQTT publications on listened topics are written to the log.
For the more ambitious, here's the YAML code for my button:
Code: YAML
Similarly, you can create other buttons for other animations or a button to turn off the animation.
Sources
Sending a command via MQTT to Tasmota (also compatible with OpenBeken):
https://tasmota.github.io/docs/Commands/#with-mqtt
Group topic Tasmoty (MQTT topic for multi-device control, OpenBeken compatible):
https://tasmota.github.io/docs/Commands/#mqtt
OBK documentation, scripts:
https://github.com/openshwprojects/OpenBK7231T_App/blob/main/docs/README.md
Summary
To sum up:
- Home Assistant allows you to create fully scriptable buttons that can trigger various types of automations, services, as well as publish data via MQTT
- group MQTT topic allows you to control many Tasmota or OBK devices at the same time (you can, for example, group devices together by room or role)
- OBK allows you to create simple scriptable animations and automation that can be triggered externally via MQTT
This was, of course, just an example, such buttons can be used to launch selected scenarios or device operating modes, you can, for example, create a button that turns off all the lights in the house, or "prepares" the room before your return (turns on the heating, turns on the lights), you can prepare various buttons for various lighting scenarios (work - cold white, relaxation - warm white), etc.
Do you use scriptable buttons on the Home Assistant panel, and if so, what functions do you give them? Feel free to share your ideas.
Cool? Ranking DIY Helpful post? Buy me a coffee.


