Hello all.
Below is a brief description of the power supply module for the contact plates at the output, which we have two voltage levels - 5VDC and 3.3VDC.
This module can be found on Polish auction portals under the name "MB102 Breadboard Module" at a price from about PLN 6 with shipment or on Chinese portals as "Breadbord power supply module MB102" at a price from about $ 0.50 with shipment.
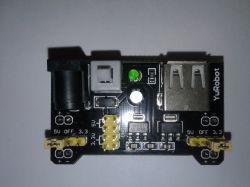
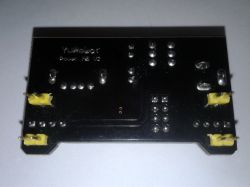
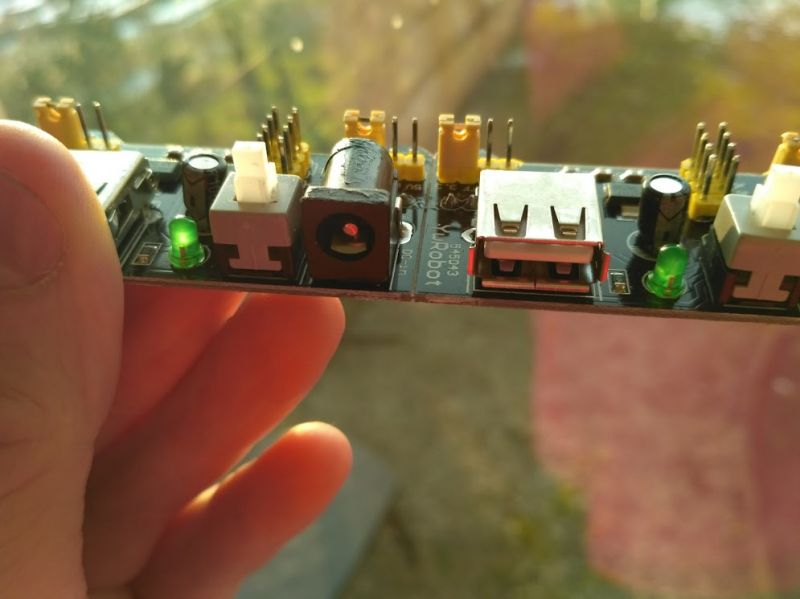
On the PCB of the module, we can find a DC power socket (in my case it is a 5.5x2.1mm socket), where you should provide power not exceeding 15VDC, USB socket, switch, two AMS1117 stabilizers, 1A rectifying diode, LED, several capacitors and pins goldpin and two jumpers.
According to the AMS1117 system catalog note, our stabilizers can give us up to 1A.
The dimensions of the board are: 53x32x26mm
How is it all connected to each other?
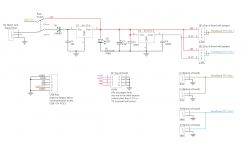
Power from the DC socket goes to one half of the double toggle switch. Then, from the switch, it goes through a rectifying diode to a 5V stabilizer in the SOT-223 housing. From the stabilizer it goes to the goldpin pins, the second stabilizer, this time 3.3V, and returns to the second part of the switch. The USB socket is powered from 5V via the switch. The voltage from the 3.3V stabilizer also goes to the goldpin pins.
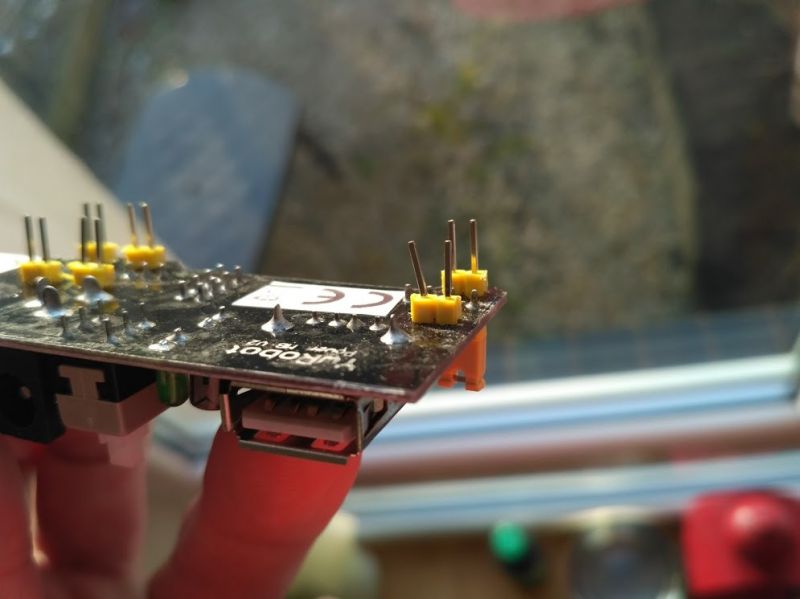
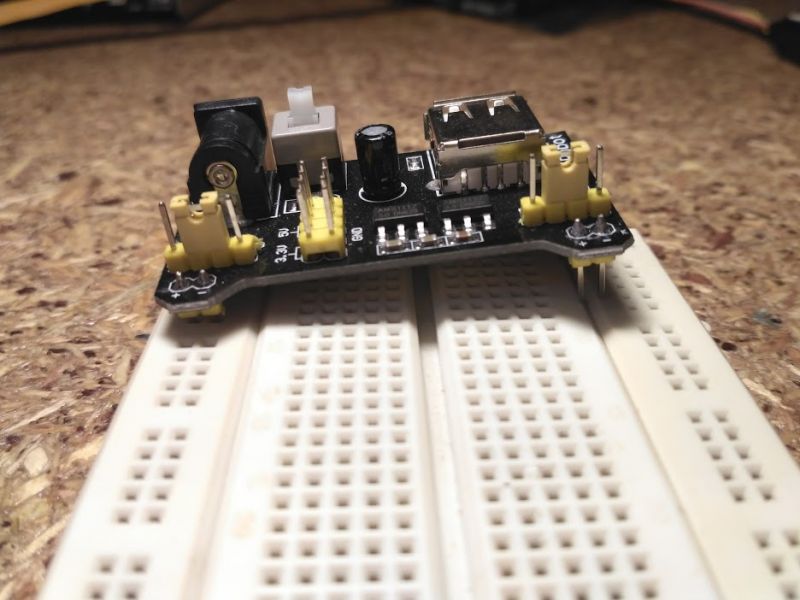
There are two jumpers on the board - on the left and on the right. The left one is responsible for what appears on the left side of the tile, the right one for what appears on the right side.
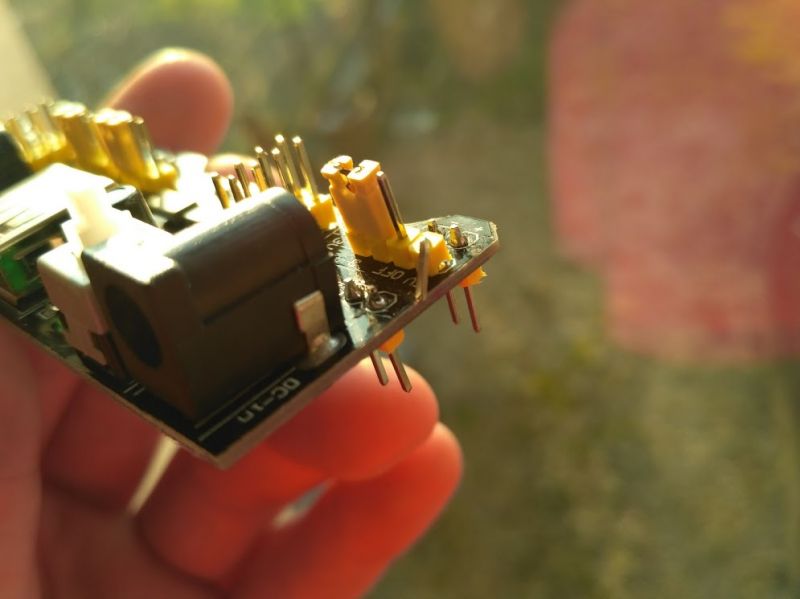
The goldpin pins, where we have jumpers, are described as 5V, OFF, 3.3V. Appropriate jumper setting will give us the selected voltage level on the pins under the board, or no voltage, if we put the jumper on the pins marked as OFF.
At the top of the board we have a double-row, 4-pin goldpin strip, where we have a voltage source of 5V and 3.3V, independent of the settings of the jumpers.
As I wrote above - the stabilizers used here can give us up to 1A, but it should be noted that the 3.3V stabilizer is powered from the 5V stabilizer, so we will not take 1A from each of the available voltages.
As the dropout, according to the catalog note, is 1V and we have a rectifying diode in series with the stabilizer at its input, the minimum voltage that we can supply to our module is about 7V.
I was able to get the maximum out of this 350mA module with an artificial load, when there was still 5V on the output, above this consumption the LED used to inform whether our system is turned on starts flashing and the 5V stabilizer starts to heat up.
At first I thought it was a useless gadget, but I started using this board and I have to admit that it is useful - it fits the breadboard and has two basic voltage levels used in electronics. I no longer need to use a lab power supply to power each module. I quickly connect the power supply to this board and I already have a power supply that I can connect with wires to the goldpin pins on other modules or from which I can power the contact plate. It is true that only 350mA is available, but it easily powers small modules.
Below is a brief description of the power supply module for the contact plates at the output, which we have two voltage levels - 5VDC and 3.3VDC.
This module can be found on Polish auction portals under the name "MB102 Breadboard Module" at a price from about PLN 6 with shipment or on Chinese portals as "Breadbord power supply module MB102" at a price from about $ 0.50 with shipment.


On the PCB of the module, we can find a DC power socket (in my case it is a 5.5x2.1mm socket), where you should provide power not exceeding 15VDC, USB socket, switch, two AMS1117 stabilizers, 1A rectifying diode, LED, several capacitors and pins goldpin and two jumpers.
According to the AMS1117 system catalog note, our stabilizers can give us up to 1A.
The dimensions of the board are: 53x32x26mm
How is it all connected to each other?
Power from the DC socket goes to one half of the double toggle switch. Then, from the switch, it goes through a rectifying diode to a 5V stabilizer in the SOT-223 housing. From the stabilizer it goes to the goldpin pins, the second stabilizer, this time 3.3V, and returns to the second part of the switch. The USB socket is powered from 5V via the switch. The voltage from the 3.3V stabilizer also goes to the goldpin pins.
There are two jumpers on the board - on the left and on the right. The left one is responsible for what appears on the left side of the tile, the right one for what appears on the right side.
The goldpin pins, where we have jumpers, are described as 5V, OFF, 3.3V. Appropriate jumper setting will give us the selected voltage level on the pins under the board, or no voltage, if we put the jumper on the pins marked as OFF.
At the top of the board we have a double-row, 4-pin goldpin strip, where we have a voltage source of 5V and 3.3V, independent of the settings of the jumpers.
As I wrote above - the stabilizers used here can give us up to 1A, but it should be noted that the 3.3V stabilizer is powered from the 5V stabilizer, so we will not take 1A from each of the available voltages.
As the dropout, according to the catalog note, is 1V and we have a rectifying diode in series with the stabilizer at its input, the minimum voltage that we can supply to our module is about 7V.
I was able to get the maximum out of this 350mA module with an artificial load, when there was still 5V on the output, above this consumption the LED used to inform whether our system is turned on starts flashing and the 5V stabilizer starts to heat up.
At first I thought it was a useless gadget, but I started using this board and I have to admit that it is useful - it fits the breadboard and has two basic voltage levels used in electronics. I no longer need to use a lab power supply to power each module. I quickly connect the power supply to this board and I already have a power supply that I can connect with wires to the goldpin pins on other modules or from which I can power the contact plate. It is true that only 350mA is available, but it easily powers small modules.
Cool? Ranking DIY


