OKOS 1 Gang WiFi Smart Light Switch Breaker Hidden DIY Module Okos Smart APP Remote Control Compatible with Alexa Echo Google Home 1 Switch Automation
Product Details
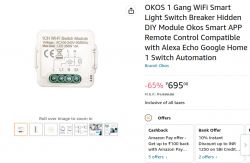


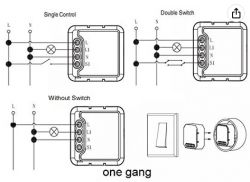
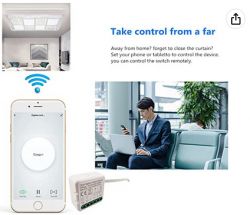
Easy convert your traditional switch into smart switch and get Remote Control, You can connect 1 light switch to this switch module by just installing 1 DIY smart switch module inside the switch board, suitable for installation inside switch box, please confirm the size before ordering.
Control On/Off of the bedroom lights via Your Voice Assistant like Amazon Alexa, Google Home or your mobile phone.
Wi-fi control via your mobile phone 2.4G Networks provides the needed connection to the DIY Switch Module without the need of a separate HUB.
Use the app "Okos Smart" on your Android / iOS device. Allows for Full Control of Your Lights or Compatible Appliances. Multiple Program Options Allow You to Plan the Exact Time to Turn Lights On/Off Automatically.
With this Wifi Switch module you can control your lights with the existing traditional switches and Mobile app simultaneously. Turning the light on via the traditional switch and turning if off via the mobile app/ voice commands is also supported in this unique device.
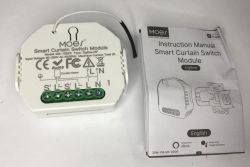
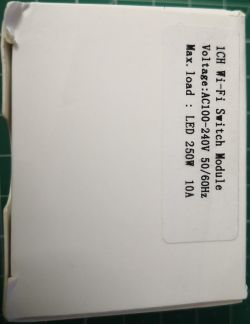
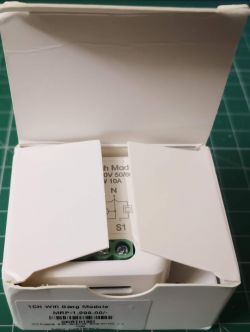
Unboxing

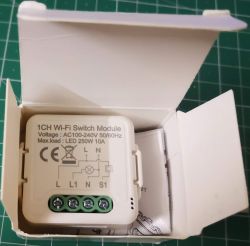
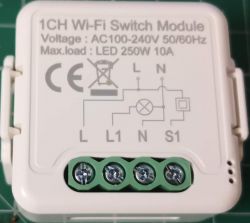
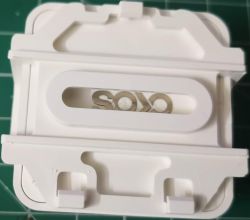
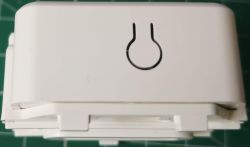
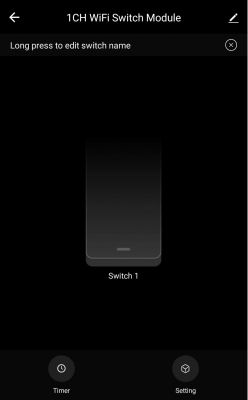
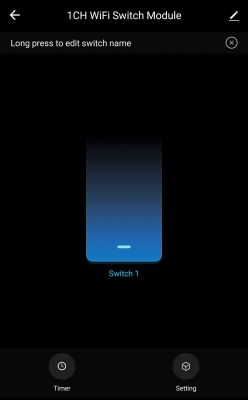
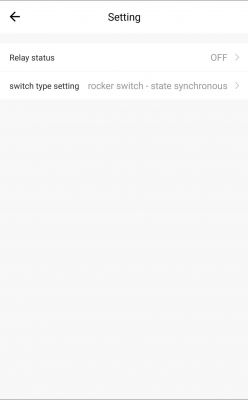
Smart Life App Images
Technical Specs
Controller MCU: WB3S
Relay: 10A 250V
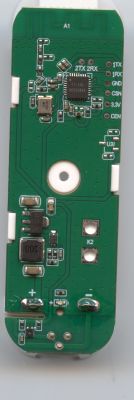
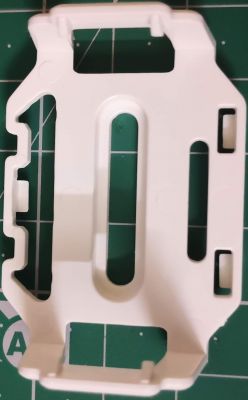
Teardown Images
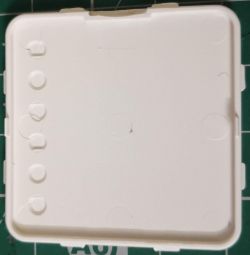

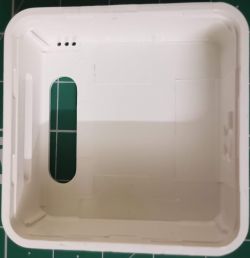
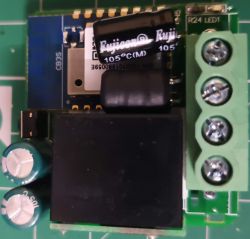
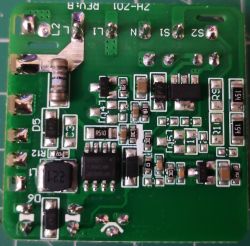
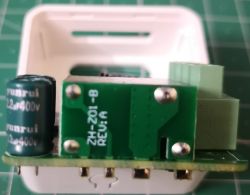
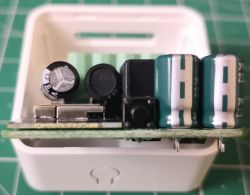
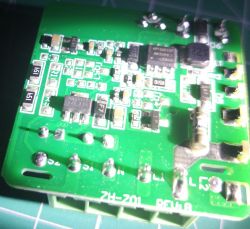
autoexec.bat
Home Assistant Configuration
MQTT Component
Countdown Automation
How countdown works
But first, lets complete the configuration part.
In automation, it is mandatory to select trigger platform as numeric_state as this will avoid re-triggering if the value is changed and the changed value is between above and below parameters of the trigger, In-order for the automation to execute for the next time, the value of the entity must be either <= 0 or >= 86400. For this to work, we need to make sure to set the countdown entity value to zero '0' each time the state of the switch is changed, this will be handled with the below command mentioned in autoexec.bat file.
Next, need to configure the rest api call, enter the below code in configuration.yaml file
This api take 3 parameters, 1) IP address of the device, Channel number and the Channel state, this information is provided via the countdown automation.
And this is how it works.
We set the desired countdown value in seconds which must be above 0 and below 86400
 as soon as a change is detected, automation will fire calling the rest api repeating event function. The state of the switch will be toggled after the number of seconds defined, this change will call the addChangeHandler function will set the state of the countdown channel 2 to zero '0'
Restore Startup State
How to configure switch restore state from home assistant
In configuration.yaml file, enter the below code
Here, we are defining the configure startup api of OpenBK firmware, this take 3 parameters, 1) IP address of the device, the switch/channel number as index and the state of the switch/channel, this information is provided via automation.
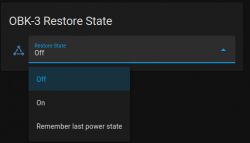
Next we need to create an input_select helper with 3 values as 1) Off for state 0, 2)On for state 1 and 3)Remember last power state for state -1
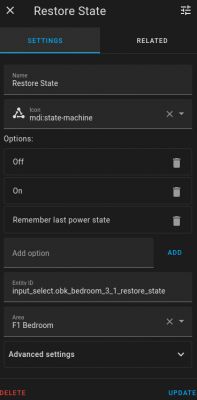
And last, the automation. In automation.yaml file, enter the below code
In this automation, we first do the mapping of the states (0, 1 or -1) based on the trigger ID and pass this information to the reset api. Automation is fired as soon as the trigger state is changed.
Product Details


Easy convert your traditional switch into smart switch and get Remote Control, You can connect 1 light switch to this switch module by just installing 1 DIY smart switch module inside the switch board, suitable for installation inside switch box, please confirm the size before ordering.
Control On/Off of the bedroom lights via Your Voice Assistant like Amazon Alexa, Google Home or your mobile phone.
Wi-fi control via your mobile phone 2.4G Networks provides the needed connection to the DIY Switch Module without the need of a separate HUB.
Use the app "Okos Smart" on your Android / iOS device. Allows for Full Control of Your Lights or Compatible Appliances. Multiple Program Options Allow You to Plan the Exact Time to Turn Lights On/Off Automatically.
With this Wifi Switch module you can control your lights with the existing traditional switches and Mobile app simultaneously. Turning the light on via the traditional switch and turning if off via the mobile app/ voice commands is also supported in this unique device.
Unboxing


Smart Life App Images


Technical Specs
Controller MCU: WB3S
Relay: 10A 250V
Teardown Images


autoexec.bat
// Relay is connected to pin 6
setPinRole 6 Rel

// Set external switch pin
setPinRole 8 TglChanOnTgl

// Set led pin
setPinRole 9 LED

[inContentAd]

// Set button pin
setPinRole 26 Btn

// Assign pin 6, 8, 9 and 26 to channel 1
setPinChannel 6 1
setPinChannel 8 1
setPinChannel 9 1
setPinChannel 26 1

// Set countdown channel
setChannelType 2 TextField

// Set countdown channel(2) to 0 when channel 1 state is either 0 or 1
addChangeHandler Channel1 == 0 setChannel 2 0
addChangeHandler Channel1 == 1 setChannel 2 0
Home Assistant Configuration
MQTT Component
Code: YAML
Countdown Automation
Code: YAML
How countdown works
But first, lets complete the configuration part.
In automation, it is mandatory to select trigger platform as numeric_state as this will avoid re-triggering if the value is changed and the changed value is between above and below parameters of the trigger, In-order for the automation to execute for the next time, the value of the entity must be either <= 0 or >= 86400. For this to work, we need to make sure to set the countdown entity value to zero '0' each time the state of the switch is changed, this will be handled with the below command mentioned in autoexec.bat file.
addChangeHandler Channel1 == 0 setChannel 2 0
addChangeHandler Channel1 == 1 setChannel 2 0
Next, need to configure the rest api call, enter the below code in configuration.yaml file
Code: YAML
And this is how it works.
We set the desired countdown value in seconds which must be above 0 and below 86400
 as soon as a change is detected, automation will fire calling the rest api repeating event function. The state of the switch will be toggled after the number of seconds defined, this change will call the addChangeHandler function will set the state of the countdown channel 2 to zero '0'
Restore Startup State
How to configure switch restore state from home assistant
In configuration.yaml file, enter the below code
Code: YAML
Next we need to create an input_select helper with 3 values as 1) Off for state 0, 2)On for state 1 and 3)Remember last power state for state -1

And last, the automation. In automation.yaml file, enter the below code
Code: YAML

Cool? Ranking DIY


