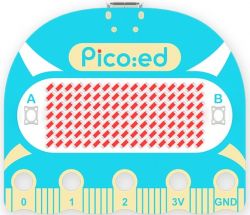
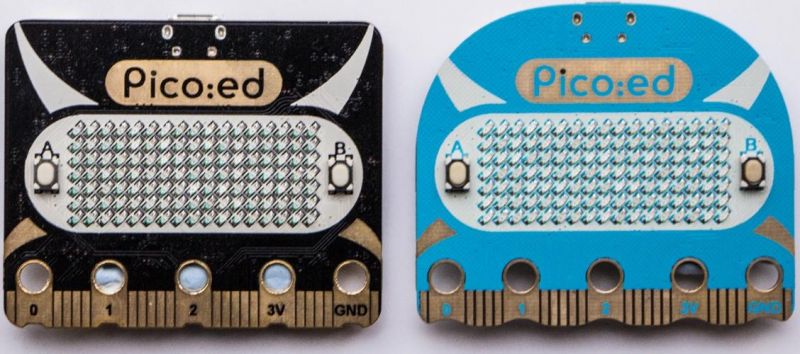
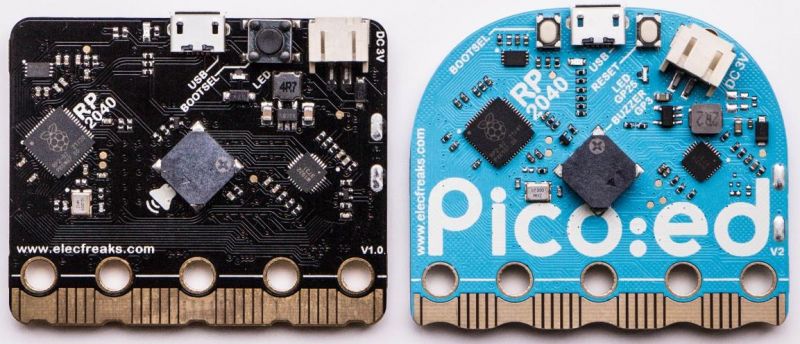
Many educational platforms have been created, from very simple to very advanced. Depending on the user's requirements, one of such platforms for the youngest is the BBC micro:bit (in various versions) based on the Nordic nRF51822 microcontroller with the ARM Cortex-M0 core. For this board, many additional base modules have been created to connect external circuits/peripherals. Elecfreaks has designed and launched a similar educational module called Pico:ed V2 based on the RP2040 controller from Rapsberry. Pico:ed has been equipped with a Wavy connector identical to the micro:bit, which gives compatibility with most micro:bit base modules. It is true that Pico:ed has a little less peripherals on board, but it makes up for these shortcomings with a more powerful and dual-core RP2040 controller.
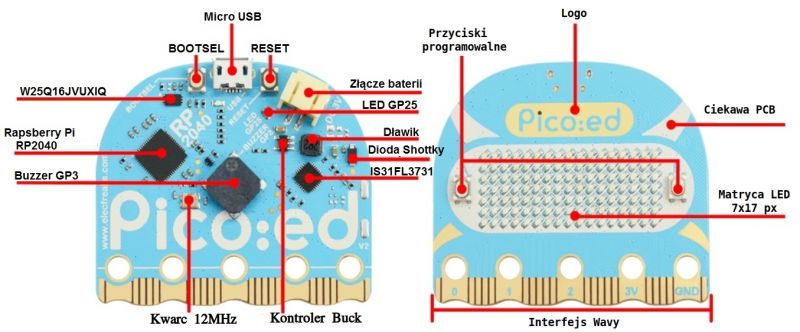
So let's take a look at what we have on board Pico ed v2;
As you can see, this is a slightly more complex board than the module I described earlier Rapsberry Pi Pico RP2040 . What has been put at our disposal?
• RP2040
• 2MB Flash memory (25Q16JWUXIQ)
• USB connector (power/programming)
• Battery/battery connector
• Two programmable user buttons
• Buzzer (GP3)
• LED (GP25)
• IS31FL3731 LED matrix driver controlling 119 LEDs
• 25-pin Wavy edge connector for compatibility with most micro:bit accessories
• Power supply, USB port or two AAA batteries ("fingers")
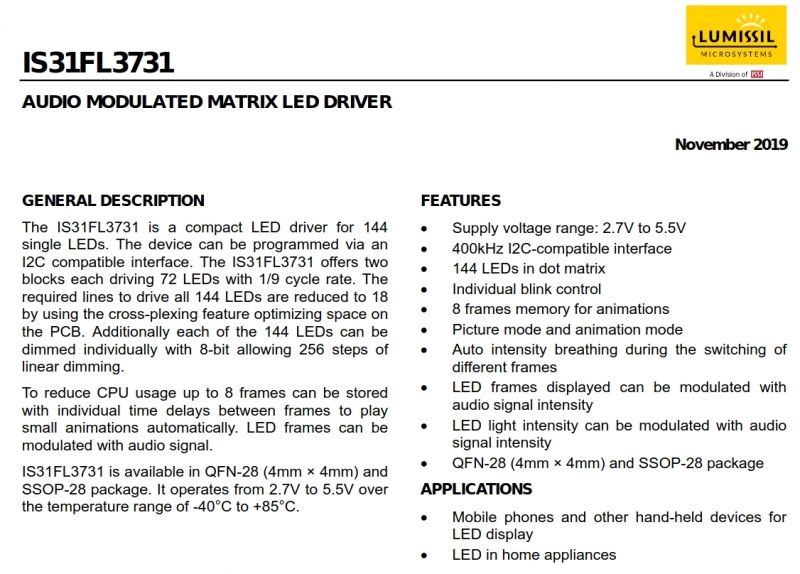
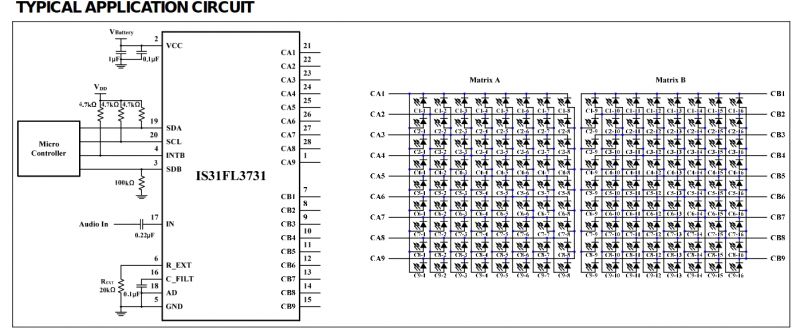
An interesting chip used by Elecfreaks is the LED matrix driver, it allows you to control 144 LEDs via the I²C bus;
Interestingly, it also allows you to adjust the brightness independently for each of the LEDs. In addition, it has been equipped with an analog audio input.
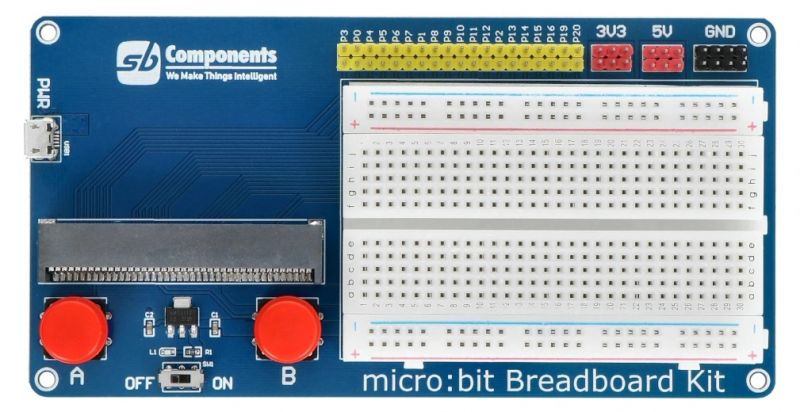
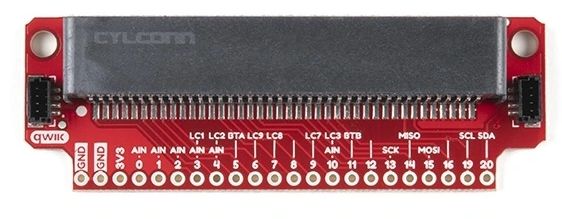
The use of the Wavy connector makes it a bit more complicated to start playing with the module, but a USB connector is enough to start. Since the heart of the module is the RP2040, we basically have the same possibilities in terms of programming. We can do it in the Arduino or Python environment and even MicroBlocks. For more advanced projects, however, it is worth getting a prototype module with a Wavy connector, e.g.;
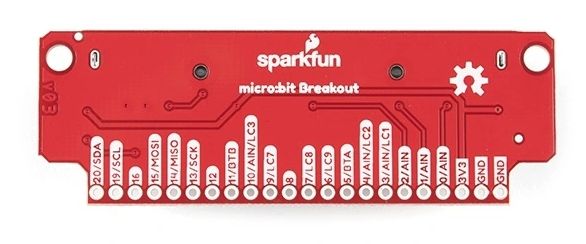
Or, for example, as in the picture below, this one after soldering the pin connector will allow you to use a typical breadboard;
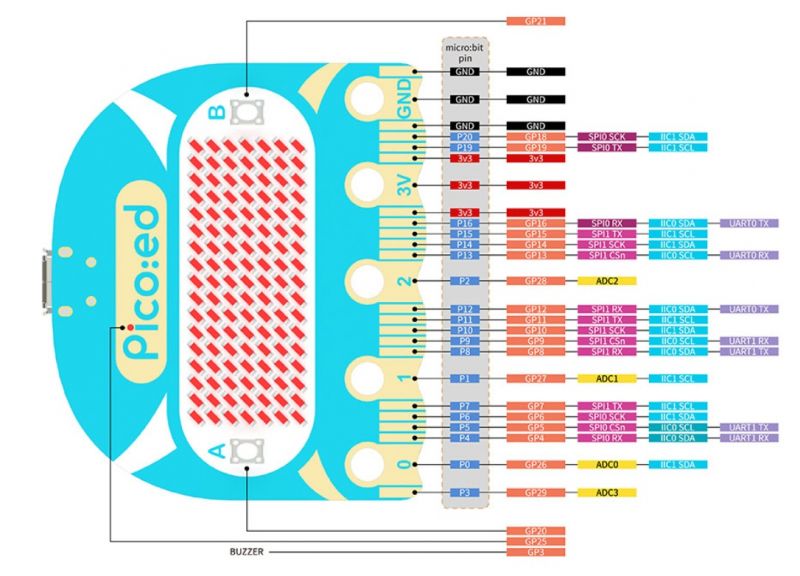
As I mentioned, the manufacturer ensures that the edge connector is compatible with most micro:bit base boards. Here, before connecting, it is worth checking whether the board has the appropriate connections, we can do it based on the description below;
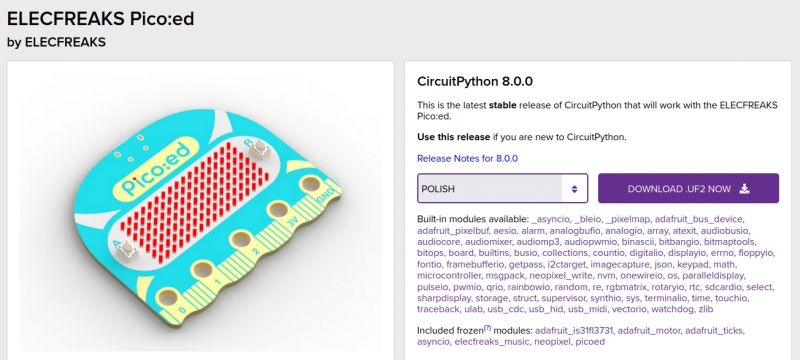
ELECFREAKS has also prepared a lot of help to help you start working with the module, you can find it at this address; https://www.elecfreaks.com/learn-en/pico-ed/index.html So let's see how it works. Download the latest version of CircuitPython from https://circuitpython.org/board/elecfreaks_picoed/;
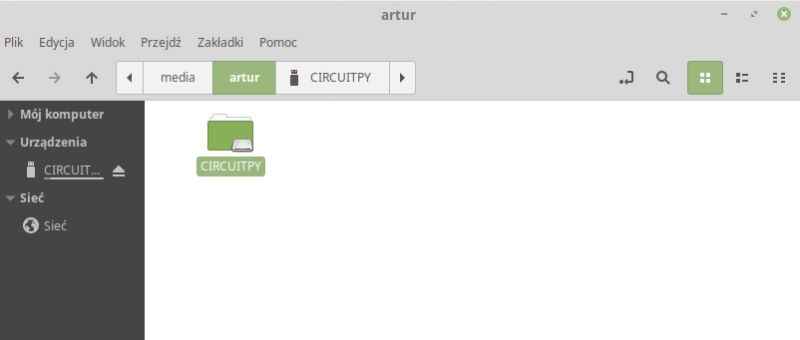
After pressing and holding the BOOTSEL button and connecting to the computer, the Pico ed reports itself as a flash drive;
Copy the downloaded CircuitPython file with the .uf2 extension to the root directory of this disk, the module will restart and report itself as a Python device;
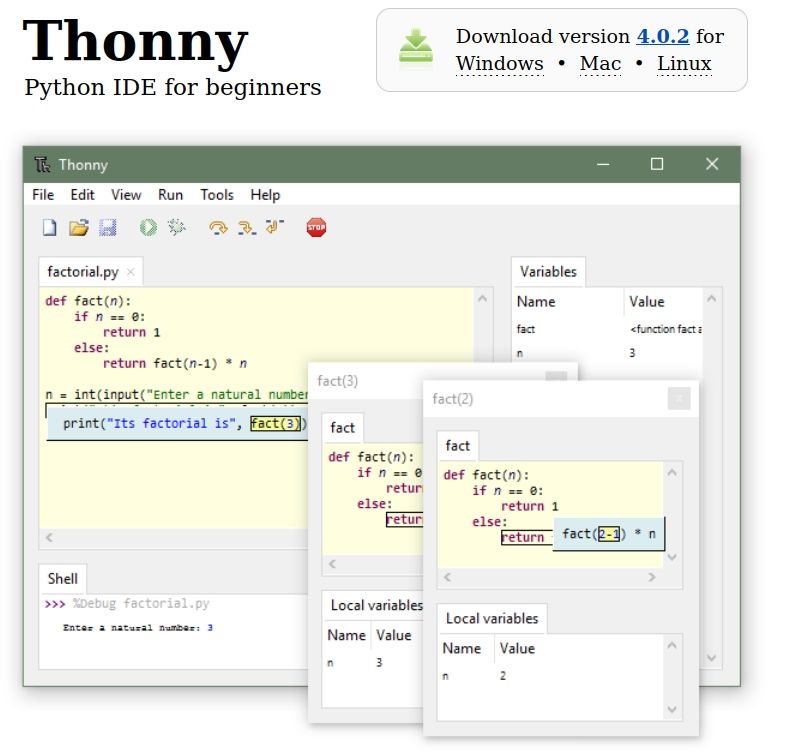
Now we can install and configure the editor designed for beginners, i.e. Thonny. We download it from the home page https://thonny.org/ in the version we need for our operating system;
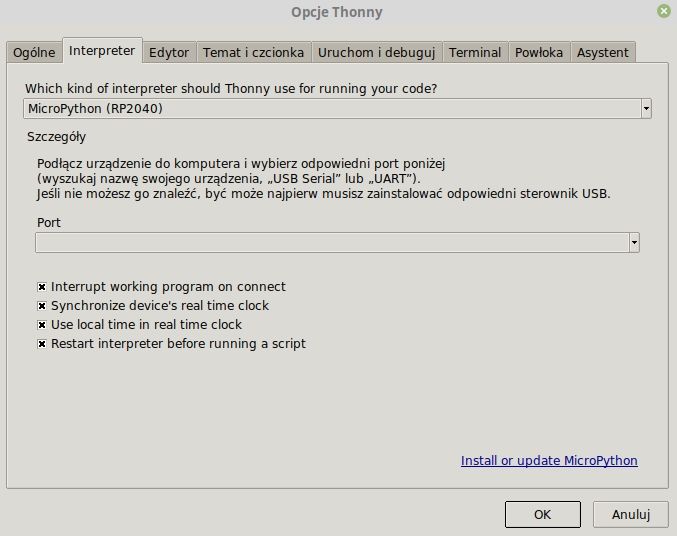
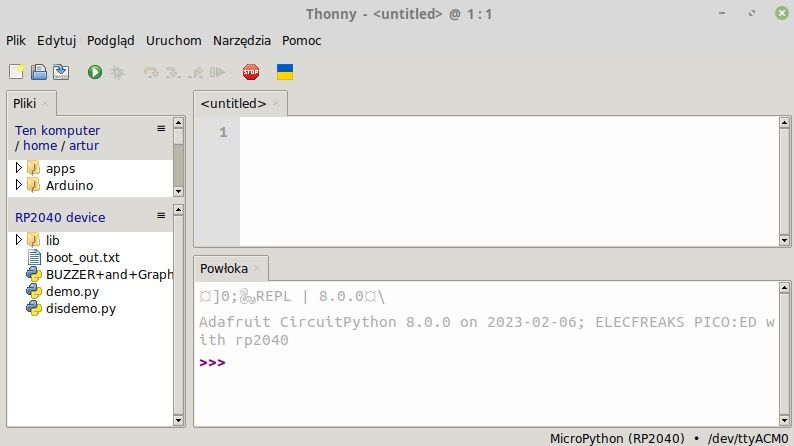
Then we configure it to work with Pico ed, click Tools -> Options and bookmark Interpreter ;
We choose from the top list MicroPython(RP2040) and from the bottom , or if we know the port number, we enter it. With the editor prepared in this way, we close it, connect our module and restart Thonny, the editor should detect it;
In the upper left corner we see local files, below the files on our module. In the window Shell we see the console and above the main editor window. To tell you the truth, already during the tests of RPi Pico I was playing around with modules interchangeably and I accidentally deleted the libraries from the lib folder that were pre-loaded into the Pico ed's memory. I was most interested in the operation of the LED matrix driver, after a short search I found the website; https://www.instructables.com/Picoed-V2-an-Introduction/. After "downloading" the missing library for the driver (which I deleted earlier
Code: Python
I got the following effect;
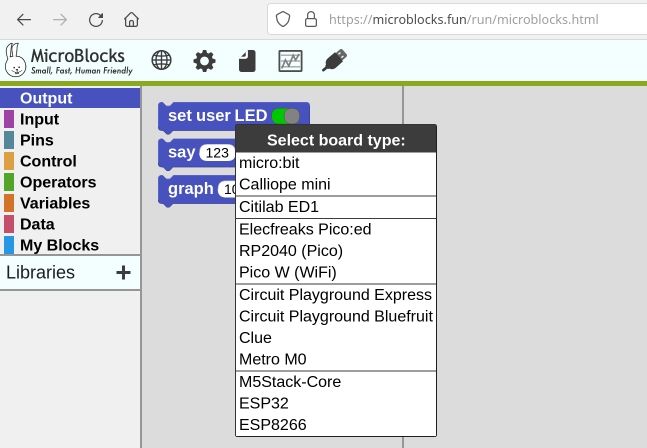
A surefire, perhaps easier way to get started with Picoed; may be the use of MicroBlocks. The editor can be downloaded and installed on our computer (Linux or Windows) or run in the browser as in the screenshot below;
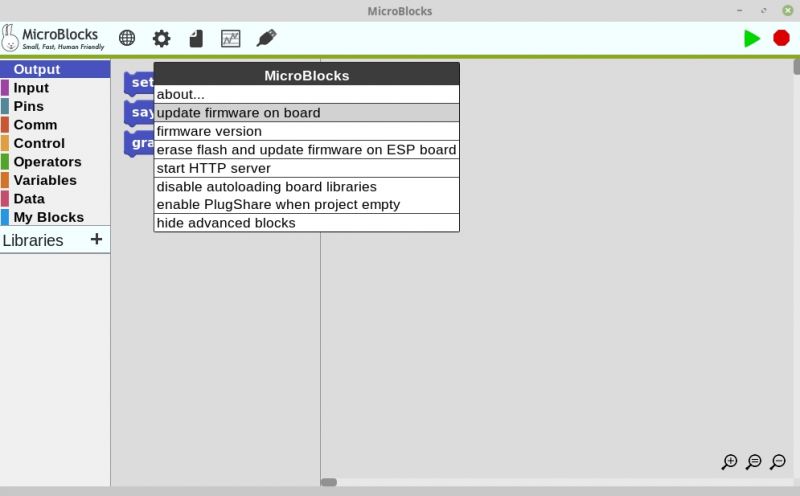
To prepare Pico ed; to work with MicroBlocks, we must upload the appropriate firmware to the flash memory of the module. Click on the cogwheel in the toolbar and select " update firmware on board " and then we indicate the tile we use;
Press the BOOTSEL button and connect to the USB port, after a few seconds we have the module ready to work. Then click the symbol of the USB plug to connect to the module and check the version of the installed firmware;
MicroBlocks are a very interesting solution, especially for the youngest, the program is "built" from predefined blocks. This allows you to understand the algorithms of action and introduce and encourage other programming languages. It should be mentioned that the earlier version, v1.0, is not much different in terms of hardware. The main differences are the external design of the board and minor differences in the assignment of GPIO to peripherals;
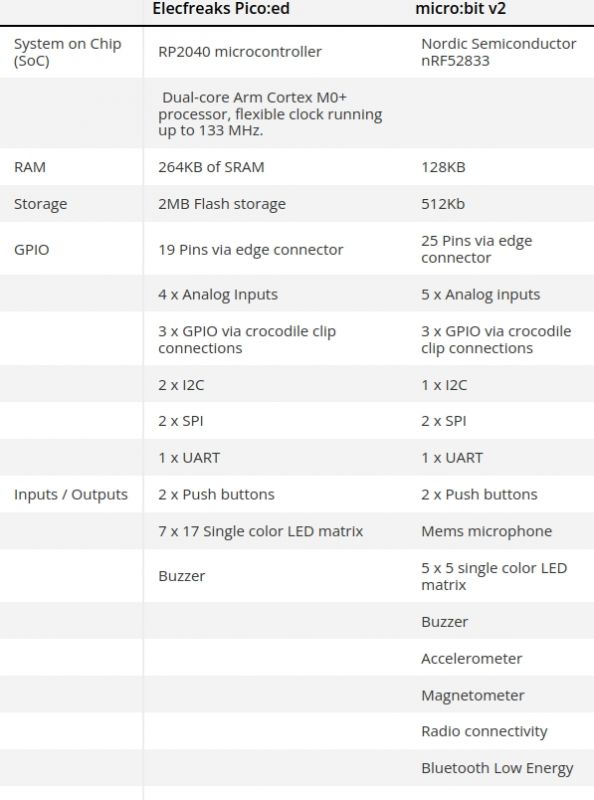
Comparing the hardware resources of micro.bit peripherals to Pico ed;, unfortunately, but the title character is worse;
On the other hand, its larger amount of available RAM and Flash memory as well as two cores give it more possibilities. Especially in the case of beginners who can write programs poorly, it will certainly be an advantage. Additional advantages are the libraries prepared by the manufacturer, which make it much easier to start working with the module. A big plus is also the relatively low price of about $ 15 in the manufacturer's store. In conclusion, Pico ed; v2 is not the successor of bbc micro.bit, but it is rather a full-fledged competitor.
Finally, a small remark, the USB socket in my copy is either of poor quality or factory damaged. Frequently, any movement or attempt to press the buttons resulted in a disconnection. The cable is fine, because there is no such problem with other modules or the phone.
For those interested in MicroBlocks, I recommend the ebook; https://picobricks.com/wp-content/uploads/2022/11/Pico-Bricks-ebook-14.pdf
Special thanks to the store ELECFREAKS for donating the Pico:ed module for testing.
You can order the module Pico:ed v2 in the ELECFREAKS online store
Cool? Ranking DIY


