Greetings!
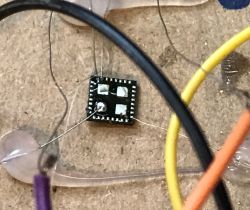
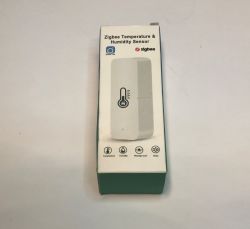
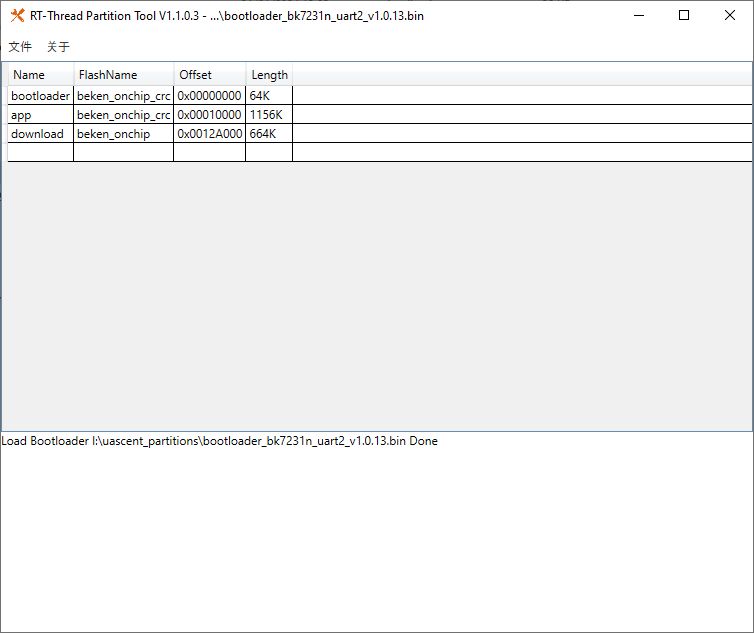
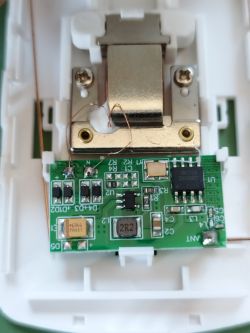
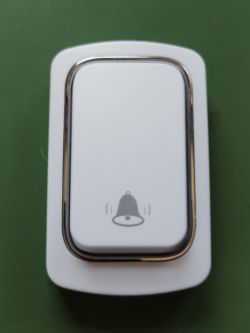
I purchased two wireless Tuya-based doorbells from Aliexpress (WGH-ML-001). I knew it has a Tuya CBU module (see pictures).
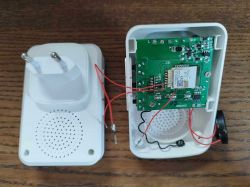
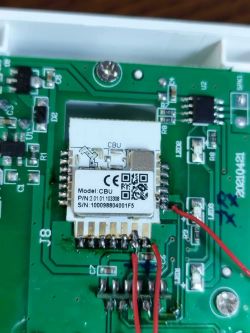
I flashed OpenBeken to one of the devices, after sniffed the UART communication.
To flash the image, I had to remove the module, because the TuyaMCU littered the TX/RX lines. I attached the original firmware to my post.
Here are my findings:
I can PREVIEW the volume and the ringtone by sending the following commands in the command line:
- tuyaMcu_sendState 3 2 100 (for the volume, values are from 1 to 100)
- tuyaMcu_sendState 2 2 14 (for the ringtone, values are from 1 to 40)
However, these commands do not SAVE the settings. For that, the UART communication is the following:
In that, the
- 7th byte (0x00) is the mode (00 = sound&light / 01 = just sound / 02 = just lights)
- 6th byte (0x47) is the volume (from 1 to 100 in hex)
- 5th byte (0x01) is the ringtone (from 1 to 40 in hex)
My first question is, how can I send this RAW data to the TuyaMCU? It works if I use the "uartSendHex" but I cannot make it work with tuyaMCU_sendState. Also, how can I bind these settings to for example dimmers? (one with 1-100 range, and one with 1-40 for the ringtone)?
Keep in mind, after selecting, you must send the last message, otherwise the settings will not save (just preview).
My other question is: After pressing the doorbell button, the WiFi module receives the following on UART:
How can I bind this to a button? (to use in home assistant -> I want to log when was the button pressed, and I want to send a push notification to my phone). This is the important bit, I really do not care if I can't set the volume or the ringtone (however, they may come in handy if you, for example, want to silence the doorbell after 21:00 with an automation or when you want to sleep).
Or can I send the command over http to Openbeken (in this case I will construct the raw data, calculate checksum and send over http with uartSendHex)?
If this can't be done out-of-the-box, can you point me to a tutorial to write my own driver for this?
Thank you very much, and sorry for my English, I hope you can understand what I'm after. Also, sorry if I made mistakes in the post creation, this is my first post here.
EDIT:
Okay, so I fiddled with the thing all day long, and I got the pushbutton to work. I'm sure this is not the best way to do it, but it works.
I added the following to the autoexec.bat:
This links the tuyaMCU to Channel1. But the toggle button never changes back to "OFF" because the UART message from TuyaMCU always has the value "1". So I wrote a script 'resetbutton.bat', and we run it whenever the button value changes to '1'.
The resetbutton.bat:
This waits 5 seconds, and then toggles back the channel to '0'.
Then, I set up MQTT and integrated the button in Home Assistant. Now I know when the doorbell was pressed, and I can send notifications to my phone, or do other stuff via automations.
If you have a more elegant solution to this, please share it.
Also, my other questions are still on (how to deal with changing the volume and the ringtone). It would be nice to have the option to set these from HA.
David
I purchased two wireless Tuya-based doorbells from Aliexpress (WGH-ML-001). I knew it has a Tuya CBU module (see pictures).


I flashed OpenBeken to one of the devices, after sniffed the UART communication.
To flash the image, I had to remove the module, because the TuyaMCU littered the TX/RX lines. I attached the original firmware to my post.
Here are my findings:
I can PREVIEW the volume and the ringtone by sending the following commands in the command line:
- tuyaMcu_sendState 3 2 100 (for the volume, values are from 1 to 100)
- tuyaMcu_sendState 2 2 14 (for the ringtone, values are from 1 to 40)
However, these commands do not SAVE the settings. For that, the UART communication is the following:
Sent by WiFi module:
55 AA	00	06		00 11	0100000D0404010C014700FF04FEFF0031	B2
HEADER	VER=00	Unk		LEN	fnId=1 Raw V=04 04 01 0C 01 47 00 FF 04 FE FF 00 31	CHK
In that, the
- 7th byte (0x00) is the mode (00 = sound&light / 01 = just sound / 02 = just lights)
- 6th byte (0x47) is the volume (from 1 to 100 in hex)
- 5th byte (0x01) is the ringtone (from 1 to 40 in hex)
My first question is, how can I send this RAW data to the TuyaMCU? It works if I use the "uartSendHex" but I cannot make it work with tuyaMCU_sendState. Also, how can I bind these settings to for example dimmers? (one with 1-100 range, and one with 1-40 for the ringtone)?
Keep in mind, after selecting, you must send the last message, otherwise the settings will not save (just preview).
My other question is: After pressing the doorbell button, the WiFi module receives the following on UART:
Received by WiFi module:
55 AA	03	07		00 05	0A 01 00 01 01 		1B
HEADER	VER=03	State		LEN	fnId=10 Bool V=1	CHK

Received by WiFi module:
55 AA	03	07		00 08	05 00 00 04 FEFF0031 		48
HEADER	VER=03	State		LEN	fnId=5 Raw V=-16842703	CHK
How can I bind this to a button? (to use in home assistant -> I want to log when was the button pressed, and I want to send a push notification to my phone). This is the important bit, I really do not care if I can't set the volume or the ringtone (however, they may come in handy if you, for example, want to silence the doorbell after 21:00 with an automation or when you want to sleep).
Or can I send the command over http to Openbeken (in this case I will construct the raw data, calculate checksum and send over http with uartSendHex)?
If this can't be done out-of-the-box, can you point me to a tutorial to write my own driver for this?
Thank you very much, and sorry for my English, I hope you can understand what I'm after. Also, sorry if I made mistakes in the post creation, this is my first post here.
EDIT:
Okay, so I fiddled with the thing all day long, and I got the pushbutton to work. I'm sure this is not the best way to do it, but it works.
I added the following to the autoexec.bat:
setChannelType 1 toggle
linkTuyaMCUOutputToChannel 10 1 1
AddChangeHandler Channel1 == 1 startScript resetButton.bat * 1
This links the tuyaMCU to Channel1. But the toggle button never changes back to "OFF" because the UART message from TuyaMCU always has the value "1". So I wrote a script 'resetbutton.bat', and we run it whenever the button value changes to '1'.
The resetbutton.bat:
delay_s 5
ToggleChannel 1
return
This waits 5 seconds, and then toggles back the channel to '0'.
Then, I set up MQTT and integrated the button in Home Assistant. Now I know when the doorbell was pressed, and I can send notifications to my phone, or do other stuff via automations.
If you have a more elegant solution to this, please share it.
Also, my other questions are still on (how to deal with changing the volume and the ringtone). It would be nice to have the option to set these from HA.
David


