Another teardown - with some interesting wrinkles...
Amazon Listing: https://www.amazon.com/dp/B0B1HSWWDD?psc=1&ref=ppx_yo2ov_dt_b_product_details
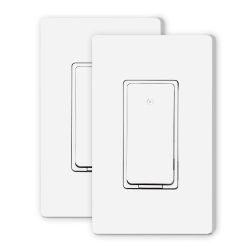
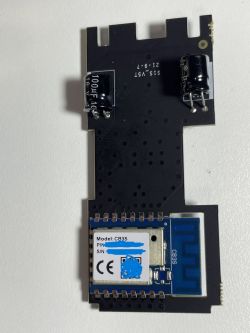
Getting right into it, I ordered a two-pack and got two different versions of the same switch (in the same box!). Both are labeled as YSS102 - no model number or revision codes I can find. One with a green LED and one with a blue LED. One with a BK7231N and one with a BK7231T.
Teardown:
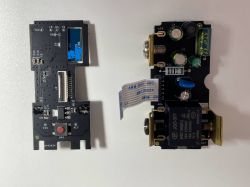
Not to turn this into a review, but I actually like the form factor - screw terminals instead of tethered wires. Hefty metal grounded frame.
But there appears to be a provision for another button or cut-off lever which is not used.
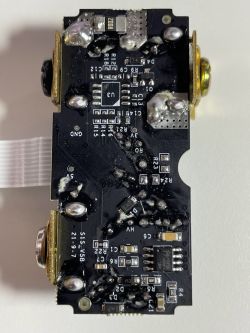
Main Teardown...
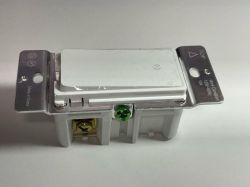
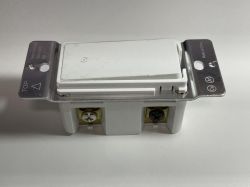
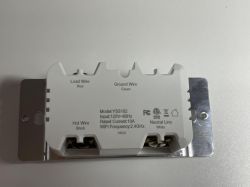
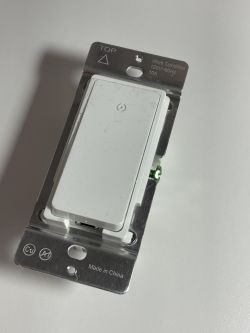
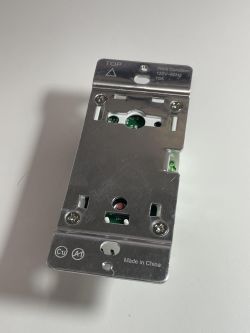
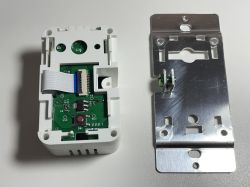
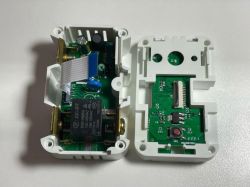
The two different models...

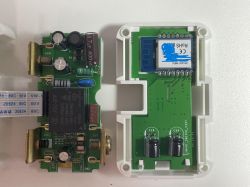
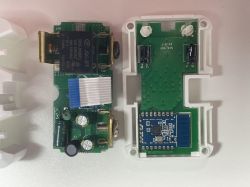
Flashing
* Confirmed that CloudCutter works (on the N) module (didn't test on T). But not sure I'd recommend this unless you first open it up and confirm the module.
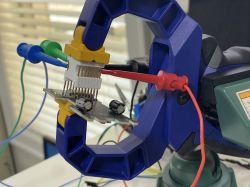
* I used a 3d printed pogo-pin flashing jig - worked like a charm
* shoutout to the latest beta for the flashing app - much smoother than the (admittedly much older) version I'd been using!
Configuration:
Interesting that the two different models have different pin configurations as well as the swapped out WB3S (BK7231T) and "bare" BK7231N modules.
WB3S/BK7231T Model (Green LED*)
1 - Btn - Ch1
6 - Rel - Ch1
14 - LED_n - Ch1 <-- this will make LED come on with the load
BK7231N Model (Blue LED*)
6 - Rel - Ch1
7 - LED - Ch1 <-- this will make LED come on with the load
9 - Btn - Ch1
* not certain that the LED color will always match the module.
I'll upload the JSON configs, but not sure how to go about the whole - one serial number, two modules thing :)
Happy flashing!


