logo elektroda
logo elektroda
X
logo elektroda

Flashing TMWF02 WiFi Fan Module to OpenBeken Firmware using Cloudcutter - TuyaMCU Controls

remleikawura 2412 7
ADVERTISEMENT
  • #1 20740373
    remleikawura
    Level 2  
    Cloudcutter Profile Used: https://github.com/tuya-cloudcutter/tuya-clou...ter/devices/atarm-tmwf02-wifi-fan-module.json
    Links for the dumped firmware: https://github.com/tuya-cloudcutter/tuya-cloudcutter/issues/470

    This module is basically a light dimmer that is used for Fan Speed Control.
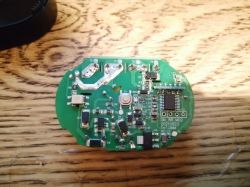
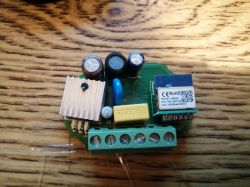
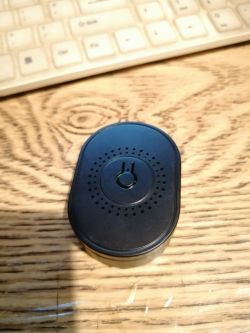
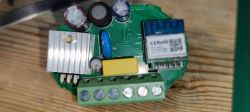
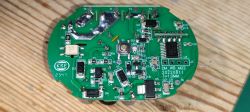
    Printed circuit board of the ATARM TMWF02 fan module with visible electronic components. Fan control module labeled WB2S with a serial number. Black module on a wooden surface near a keyboard.

    Can be easily flashed to OpenBeken without any kind of soldering using Cloudcutter

    The device heavily relies on TuyaMCU for controls. The DpID used on this device is the same with the stock firmware

    DP 1 = Toggle Switch (power on/off)
    DP 2 = Timer (measured in seconds)
    DP 3 = it exists but non-functional (level1 - 5)
    DP 4 = Speed (or rather the dimmer itself)

    Dimmer range is from 1 to 100

    This is what I used to get it functional under OpenBeken firmware. Just add this text to autoexec.bat text file and upload it via Openbeken's webapp under filesystem tab and reboot the device.
    startDriver TuyaMCU
    setChannelType 1 toggle
    setChannelType 4 dimmer
    tuyaMcu_setDimmerRange 0 100
    linkTuyaMCUOutputToChannel 1 bool 1
    linkTuyaMCUOutputToChannel 4 val 4


    Since there's no way for openbeken to make this appear as fan so I created a badly made yaml file for esphome instead. works great so far, the reason why this yaml file is badly made is because you cant really set the data type for fan on esphome, it only defines it as enum for some weird reason when majority of the fan speed controls with tuya are either using string or integer as data type.

    esphome:
      name: tmwf02_exhaust
      friendly_name: tmwf02_exhaust
      name_add_mac_suffix: false
    
    bk72xx:
      board: generic-bk7231t-qfn32-tuya
    
    
    logger:
      baud_rate: 0
    
    web_server:
      port: 80
    api:
    ota:
    captive_portal:
    mdns:
    tuya:
    
    uart:
      rx_pin: P10
      tx_pin: P11
      baud_rate: 9600
    
    wifi:
      ssid: !secret wifi_ssid
      password: !secret wifi_password
      ap:
        ssid: ${name}AP
        password: "ESPNotHome"
    
    button:
    - platform: restart
      name: Restart
    
    debug:
      update_interval: 30s
    
    text_sensor:
    - platform: debug
      reset_reason:
        name: Reset Reason
    - platform: libretiny
      version:
        name: LibreTiny Version
    
    sensor:
    - platform: uptime
      name: Uptime
    
    fan:
      - platform: tuya
        name: "Exhaust Fan"
        switch_datapoint: 1
        speed_datapoint: 4
        speed_count: 100
  • ADVERTISEMENT
  • #2 20740804
    p.kaczmarek2
    Moderator Smart Home
    Thanks, what is the purpose of dpID 2? A "disable after time" function? It could be used in OBK with HTTPButton driver. Create a button saying "turn off after 15 minutes" and script it, etc
    Helpful post? Buy me a coffee.
  • ADVERTISEMENT
  • #3 20741295
    remleikawura
    Level 2  

    Yes, DPID 2 is basically used to set the amount of seconds (60 seconds minimum or else it won't work) and to turn off the module after the "x" seconds you set on it.

    This is what I added to autoexec.bat to get it working:

    setChannelType 2 textfield
    linkTuyaMCUOutputToChannel 2 val 2

  • #4 20741368
    p.kaczmarek2
    Moderator Smart Home
    I would set this field to ReadOnly and then use HTTPButtons to configure commands like "turn off in 15 minutes", etc.

    Here is a random httpButtons sample code:
    
    startDriver httpButtons
    setButtonEnabled 0 1
    setButtonLabel 0 "Turn off after 10 seconds"
    setButtonCommand 0 "addRepeatingEvent 10 1 Power Off"
    //setButtonColor 0 "#FF0000"
    
    
    setButtonEnabled 1 1
    setButtonLabel 1 "Set Red 50% brightness"
    setButtonCommand 1 "backlog led_basecolor_rgb FF0000; led_dimmer 50; led_enableAll 1"
    //setButtonColor 1 "blue"
    

    You would need to adjust it for TuyaMCU
    Helpful post? Buy me a coffee.
  • ADVERTISEMENT
  • #5 20742646
    remleikawura
    Level 2  

    Nice, but I'd rather have these timer options controlled by Home Assistant.

    -----

    Is there still a way to force this module to appear as a Fan entity on Home Assistant?

    I recently installed this module on a 16-inch DC-powered electric fan I had. It works great so far since the DC fan motor speed is actually controlled by just a dumb potentiometer.
  • #6 20884899
    remleikawura
    Level 2  

    Update:

    Updated the ESPHome code to reflect changes with the fan entity. The new update, since version 2023.12.0, now supports the integer data type on the fan entity.
  • ADVERTISEMENT
  • #7 20884929
    p.kaczmarek2
    Moderator Smart Home
    For OBK, you can easily made any custom yaml and it will appear in any way you want. Have you tried that?
    Helpful post? Buy me a coffee.
  • Helpful post
    #8 21001924
    divadiow
    Level 34  
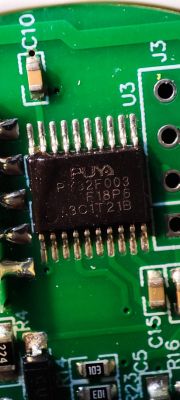
    I've just done one of these. The TuyaMCU is a Puya PY32F003

    Close-up of Puya PY32F003 microchip on a circuit board.

    DP 1, BOOL(rw), switch_fan (风扇开关)
    DP 2, VALUE(rw), countdown_fan (风扇倒计时)
    DP 3, ENUM(rw), fan_speed_enum (风速)
    DP 4, VALUE(rw), fan_speed (风速)

    full Tuya response

    Code: JSON
    Log in, to see the code


    UART boot, with WB2S desoldered

    Code: Text
    Log in, to see the code


    interesting seeing it switch to trying 115200 baud to MCU when it cannot get a response at 9600.

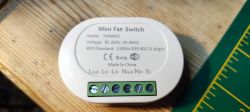
    Here are some basic pics of various parts and a factory flash, attached.
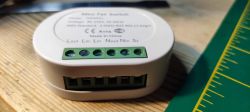
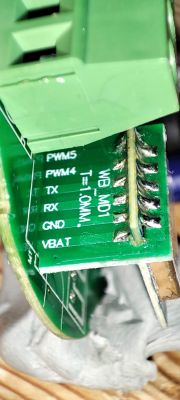
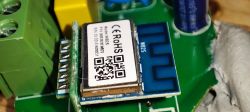
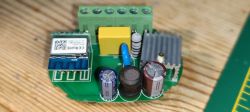
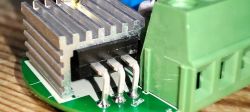
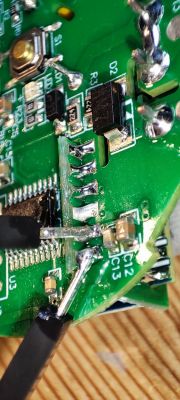
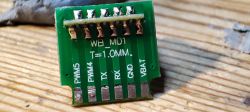
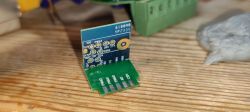
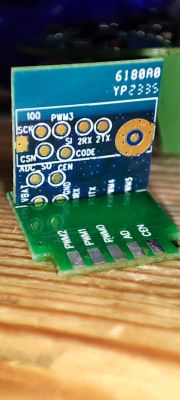
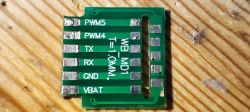
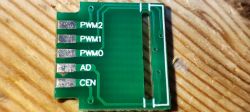
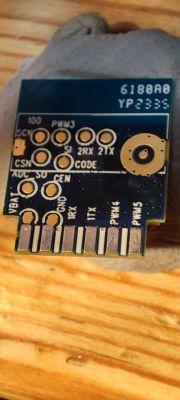
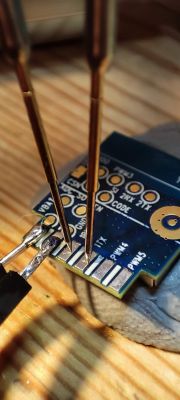
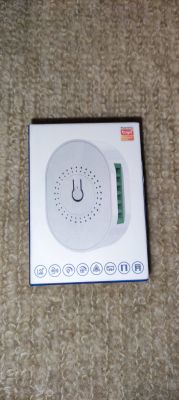
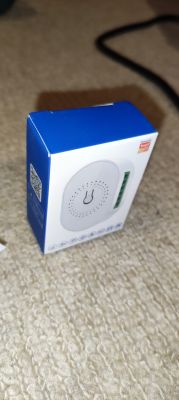
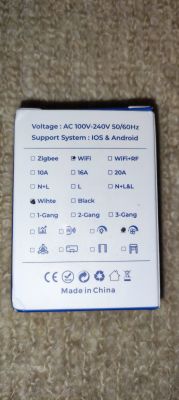
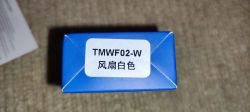
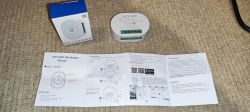
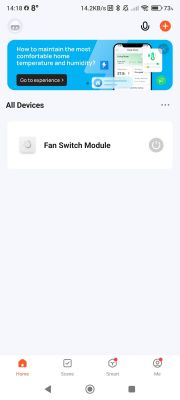
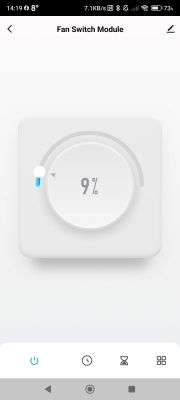
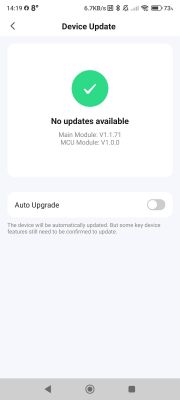
    Mini Fan Switch model TMWF02 with technical markings. Electronic fan switch module with visible label. Fan control module on a cutting mat. Close-up of a PCB with pin labels and a connector. WB2S module on a green circuit board with a capacitor. Close-up view of an electronic module with various components, including capacitors and a WB2S module. Printed circuit board with various electronic components. Electronic module with components on a circuit board. Close-up of electronic components with a heatsink and connector. Close-up of electronics on a green PCB board. Close-up of a PCB with connector labels. Small electronic board with various markings and connectors. Close-up of a PCB with connector labels and metal pads. Printed circuit board with pin labels on a wooden background PCB with track labels for PWMs, AD, and CEN Printed circuit board with labels for various connections. Fan control module with soldering points WiFi Mini Fan Breaker TMWF02 manual with wiring diagrams. Packaging of Tuya fan control module Tuya product box on a beige carpet. View of a smart switch module box with specifications and supported systems listed. Box with label for product ZN304602_01 and QR codes Top view of a blue box labeled TMWF02-W with Chinese characters. WiFi Mini Fan Breaker set with user manual on a carpet Mobile app screen showing Fan Switch Module with a power toggle button. Fan switch module interface with slider set to 9%. Device update screen showing no updates available.

    I've yet to solder it all back together but I do not have a fan to test it with. Would an incandescent 60w bulb be a worthy substitute?
    Update: Yes, 60w incandescent behaves as expected and dims nicely.

    As in a previous post I am using this in autoexec.bat

    Code: Text
    Log in, to see the code


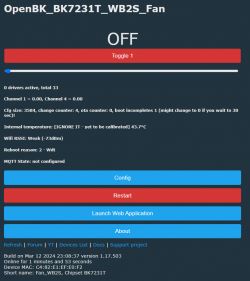
    Fan control panel with an off state

    I do not see it in the device list so, OBK template:

    Code: JSON
    Log in, to see the code


    silkscreen keywords: WB_MD1 / T=1.0MM / KSE / DM_WB_MD2 / 20220811

    https://github.com/OpenBekenIOT/webapp/pull/84

Topic summary

The discussion focuses on flashing the TMWF02 WiFi Fan Module to OpenBeken firmware using Cloudcutter, which allows for control via TuyaMCU. The module functions as a light dimmer for fan speed control, utilizing various Data Point IDs (DPIDs) for different functionalities, including power toggle, timer, and speed control. Users share insights on configuring the timer (DPID 2) for automatic shutdown and integrating the module with Home Assistant for enhanced control. The conversation also touches on the ESPHome code updates for fan entity support and custom YAML configurations for OpenBeken.
Summary generated by the language model.
ADVERTISEMENT