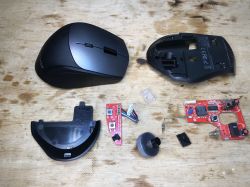
 BW-MO2 is a wireless mouse that is distinguished by the ability to control two computers, this control is switched by a small button on the bottom of the mouse. This mouse simply has two receivers - one for USB Type-C and the other for regular USB. This is very handy for me, as it allows me to operate two machines in the workshop at the same time, without installing solutions such as Barrier, Synergy or Mouse Without Borders.
Unfortunately, the mouse recently rebelled - so I had to look inside it and cleaned it on occasion. I invite you to a short photo gallery of the process.
Interior and cleaning of BW-MO2
There is only one screw on the bottom, on the other side holds the catch:
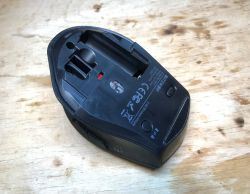
This is how you get inside:
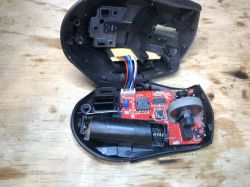
Beyond the dust pulled in by the mouse wheel, we also see the laser sensor and the main mouse controller: MA60H383
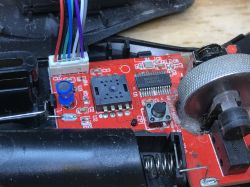
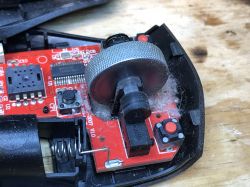
The board is held in place only by clips, and can be levered:
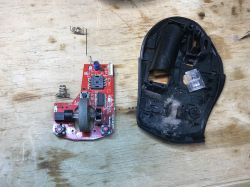
Similarly with the side buttons:
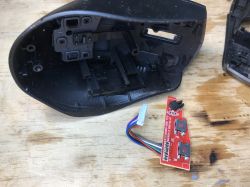
I separated the plastic and cleaned it decently:
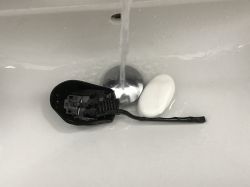
The wheel was also very dirty:
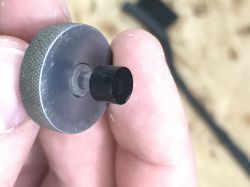
But it was also washed:
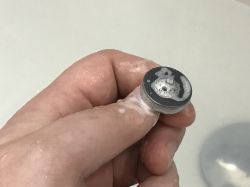
PCB I washed with IPA alcohol:
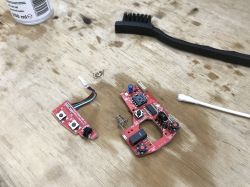
Unfortunately, the left mouse button continued to respond once in 3 attempts. I decided to replace it:
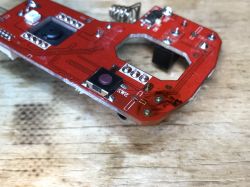
I didn't have such a button (or a matching one), and the mouse was needed "right away" so I cut the footrest out of plastic and soldered what I had:
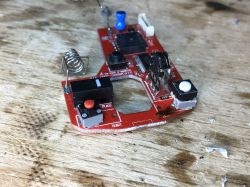
After one fix and a few resizing, it worked. The mouse works like new.
Summary
This was a temporary solution that so far has stayed for the long term and so far has worked flawlessly. It's certainly better to fix the mouse this way than to throw it away, especially since one stock button and a little solder joint doesn't cost much anyway. In addition, the mouse is now practically like new - and the dirtiest thing was probably the wheel, which I also managed to clean decently with a toothbrush. I hope that the mouse will serve me a little longer.
Cool? Ranking DIY Helpful post? Buy me a coffee.


