logo elektroda
logo elektroda
X
logo elektroda

How to Flash ANTELA Smart Plug Model F1s202-EU: A Step-by-Step Guide

fibergm 4104 4
ADVERTISEMENT
  • Helpful post
    #1 21007548
    fibergm
    Level 5  

    Hi I wanted to share my tutorial how to flash the javascript:void(0);.
    I bought it from Amazon Germany on the following link:
    https://www.amazon.de/dp/B09M3MR51K?ref=ppx_yo2ov_dt_b_product_details&th=1
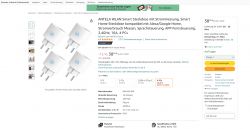
    Screenshot of the ANTELA WLAN Smart Steckdose product page on Amazon.de, showing a set of four smart plugs.
    You need to be cautious, because there are two products from the same manufacturer that look nearly identical.
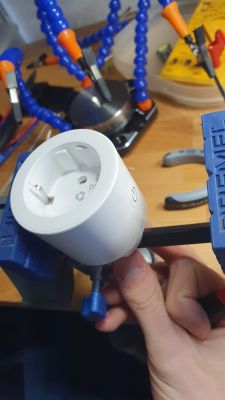
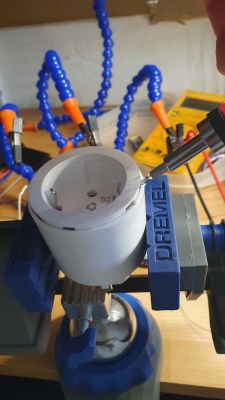
    My plug you can open by applying A screwdriver as shown by in the pictures at the female part of the plug. The other version you can only open at the male part of the plug.

    To open the plug use 2 flat head screwdrivers and push them into the plug as shown in the picture.
    Than lever the inside out using the screwdriver. This method will leave marks on the plug, but that is only the casing.
    You can smooth them out also with sandpaper.
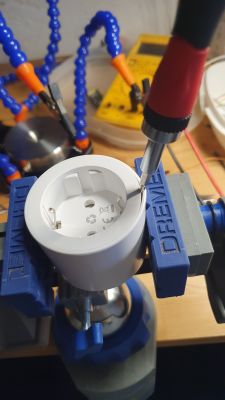
    Close-up of a white plug held in a vise, with a screwdriver inserted into its female part.

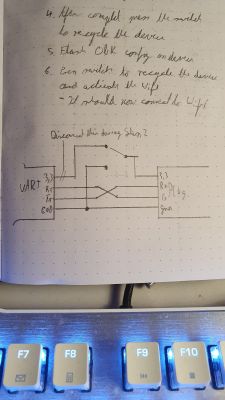
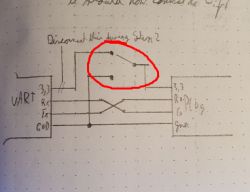
    1. Connect like Picture
    Hand-drawn wiring diagram of a plug on a sheet of paper.
    2. Update the config on the flasher software to the name of the plug and the Password and
    SSID of your Wi-Fi as well as the MQTT broker you wish to use
    3. Press on the Software “Do backup and flash” leave the following dialog box empty
    a. It will ask for a CEN → Here disconnect the 3V3 from the UART flasher from the
    Flasher, but only for a microsecond, the moment the leds on the flasher start
    blinking a again connect the 3v3 back to the flasher.
    4. Get MID
    a. CRC, Erasing and Writing should now follow without any problems.
    5. After writing the Firmware so a recycle of the of the flashed device by connecting its VCC to
    GND (press switch like shown in the schematic)
    6. Flash the obk config,
    a. Here it will ask again you for a CEN reboot follow the same steps as above.
    7. Power cycle the device one last time with the switch (show in the schematic). The LED of the
    plugs should now be bright blue and start blinking. So you can set it up and wait until its is
    connected to with Wi-Fi.
    8. Get the IP address form the Router and access the plug.
    9. Set with a Watt meter in hand the power calculation up.
    10. Integrate the device into homeassistant by either auto discovery (recommend) or by
    manually copy and pasting all the info’s into the config file
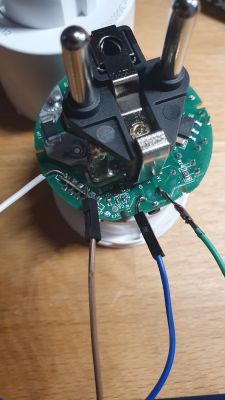
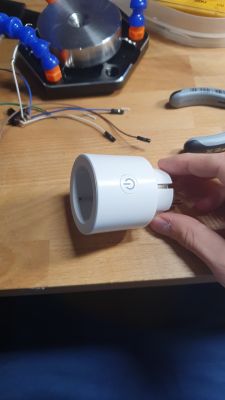
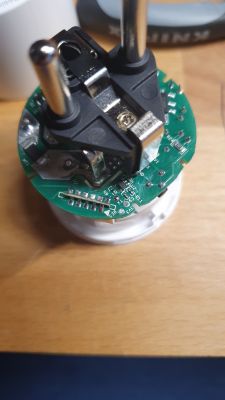
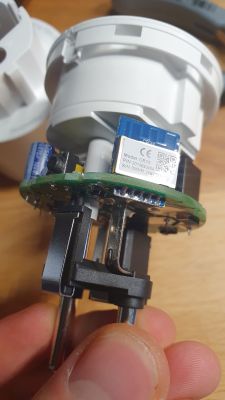
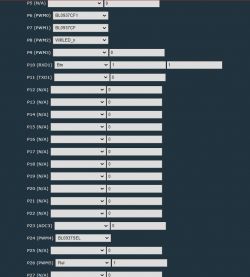
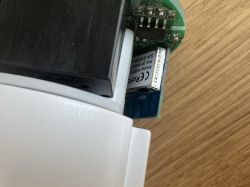
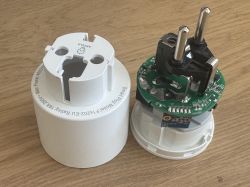
    Open interior of an electrical plug showing wired connections and electronic circuitry. A hand holding a white electronic plug with a power button on a workshop table. Person holding a white electrical plug clamped in a vice on a workbench. Close-up of a white plug held in a vise, with a screwdriver inserted into its female part. Plug secured in a vise, close-up of a hand using a screwdriver to open it. Top view of an open electrical plug with visible electronic components. Close-up of the inside of a plug with electronics, showing screwdrivers used in the plug. Screenshot displaying pin configuration in flashing software.
  • ADVERTISEMENT
  • #2 21007851
    p.kaczmarek2
    Moderator Smart Home
    I can see you are using "connect the unpowered VCC from device to GND for a moment" trick, it's sometimes helpful indeed:
    Electrical wiring diagram with a connected jumper on a yellow background.
    It's just important to make sure you are not shorting the another VDD, the one which is powered! This trick indeed helps sometimes, for example when a device is barely powering itself via RX/TX lines only (yes, it's possible somehow) and does not want to RESET.

    Added after 27 [seconds]:

    EDIT: Can you share template from the Web App, the one in JSON format?
    Helpful post? Buy me a coffee.
  • ADVERTISEMENT
  • Helpful post
    #3 21008237
    fibergm
    Level 5  
    The json file i guess is this:

    Code: JSON
    Log in, to see the code


    For I used the switch in the schematic only for rebooting the device after the flash process was done, and after the config was written.
  • ADVERTISEMENT
  • #4 21014463
    p.kaczmarek2
    Moderator Smart Home
    Interesting, we already have on such plug (same model) on list, but it's based on BK7231T. So they again updated from T to N:
    https://openbekeniot.github.io/webapp/devicesList.html
    Ok, template added:
    https://github.com/OpenBekenIOT/webapp/commit/6a08d8c5ff1e19360f6179e4d53942226fb72df1
    And they swapped two pins so your template will helpful for futher users.
    Helpful post? Buy me a coffee.
ADVERTISEMENT